

captain_hook
-
Posts
675 -
Joined
-
Last visited
Content Type
Profiles
Forums
Gallery
Events
Posts posted by captain_hook
-
-
Fantastic paint job. And they all have an individual look! Very nice.
-
-
-
-
-
-
Absolutely beautiful!
- Chuck and Ryland Craze
-
 2
2
-
-
Thank you for your interest and all the likes. Yes, there are a bunch of new kits coming which will bring the hobby to a new level. I‘m going to a endocrine surgery tomorrow, so I will be off modeling for some days but hopefully will continue the build before Christmas. Stay tuned ... and stay safe.
-
Amazing build so far. Looks great! I also like the color variations of the basswood (?) planking, that gives the ship a more realistic touch.
- BobG, Overworked724 and WalrusGuy
-
3
-
-
-
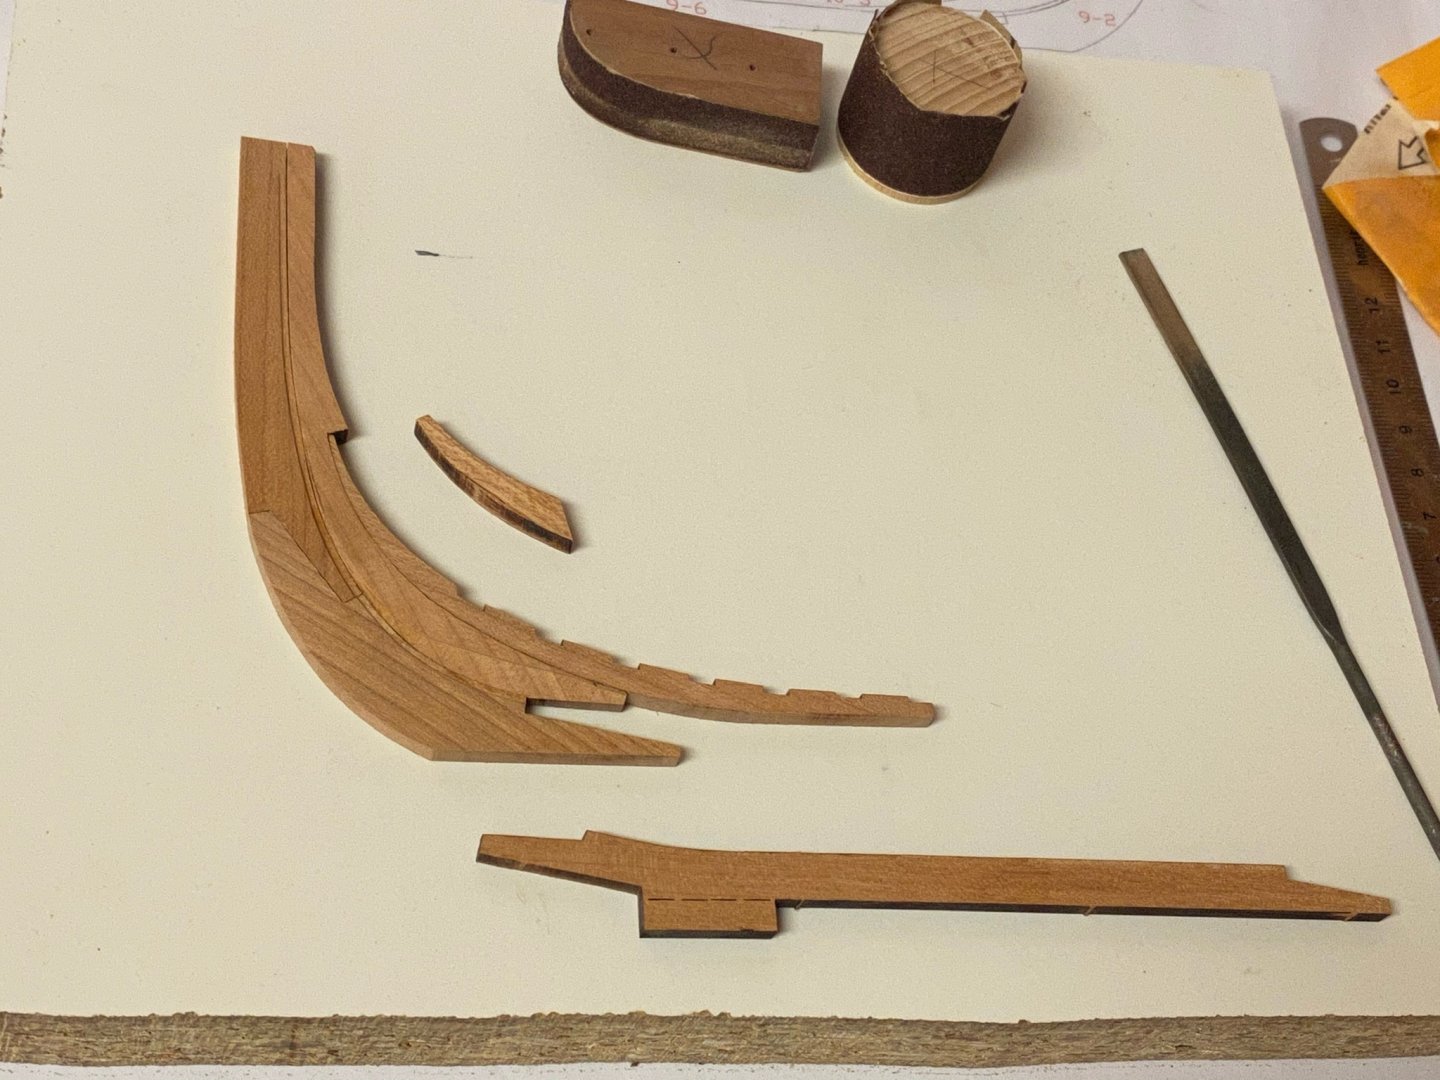
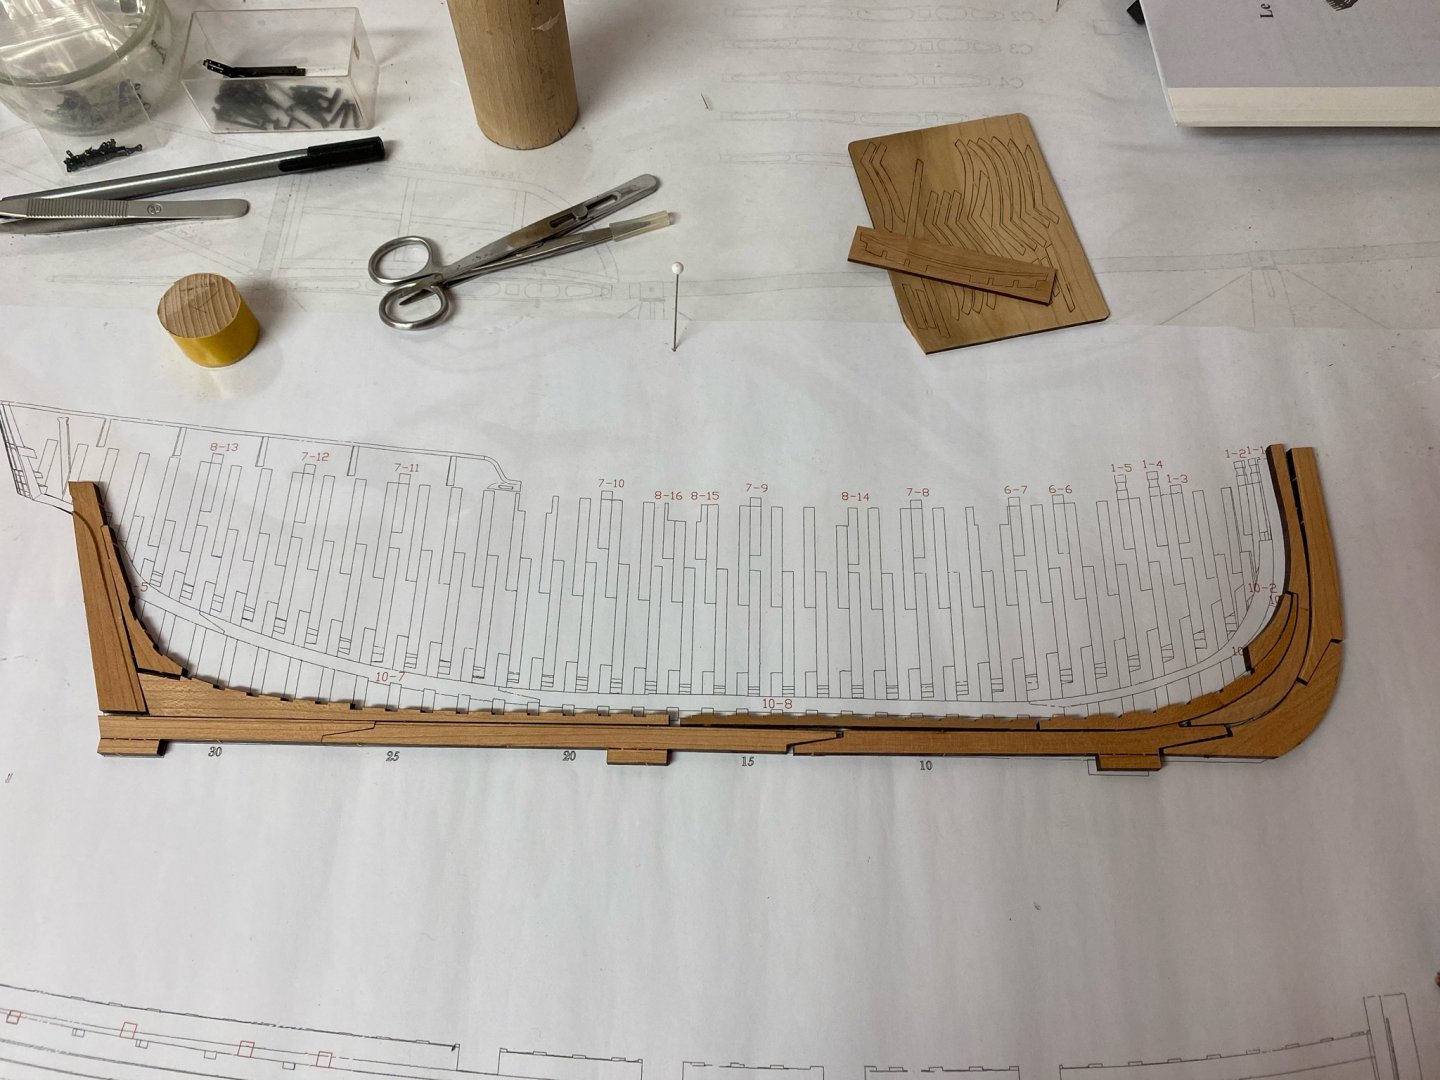
Started to clean the keel parts and dry-fit them on a flat surface. As the laser cuts with an angle, the sides have to be carefully sanded to get them orthogonal to the surface. Will continue tomorrow...
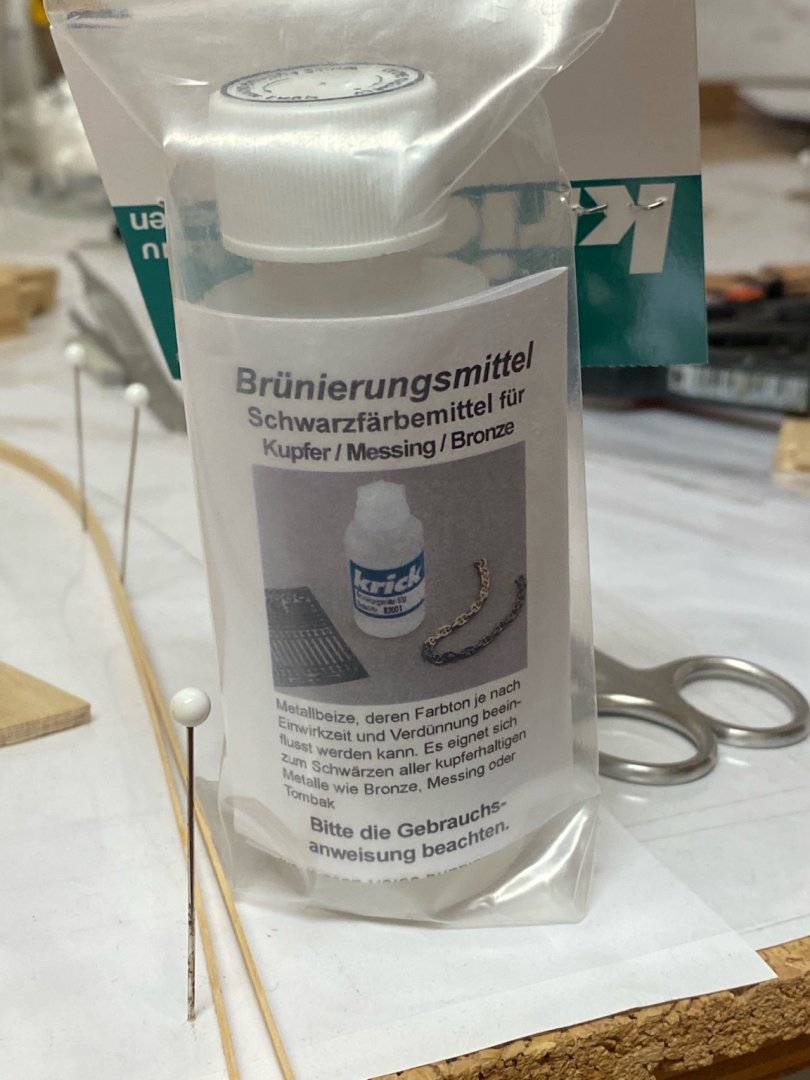
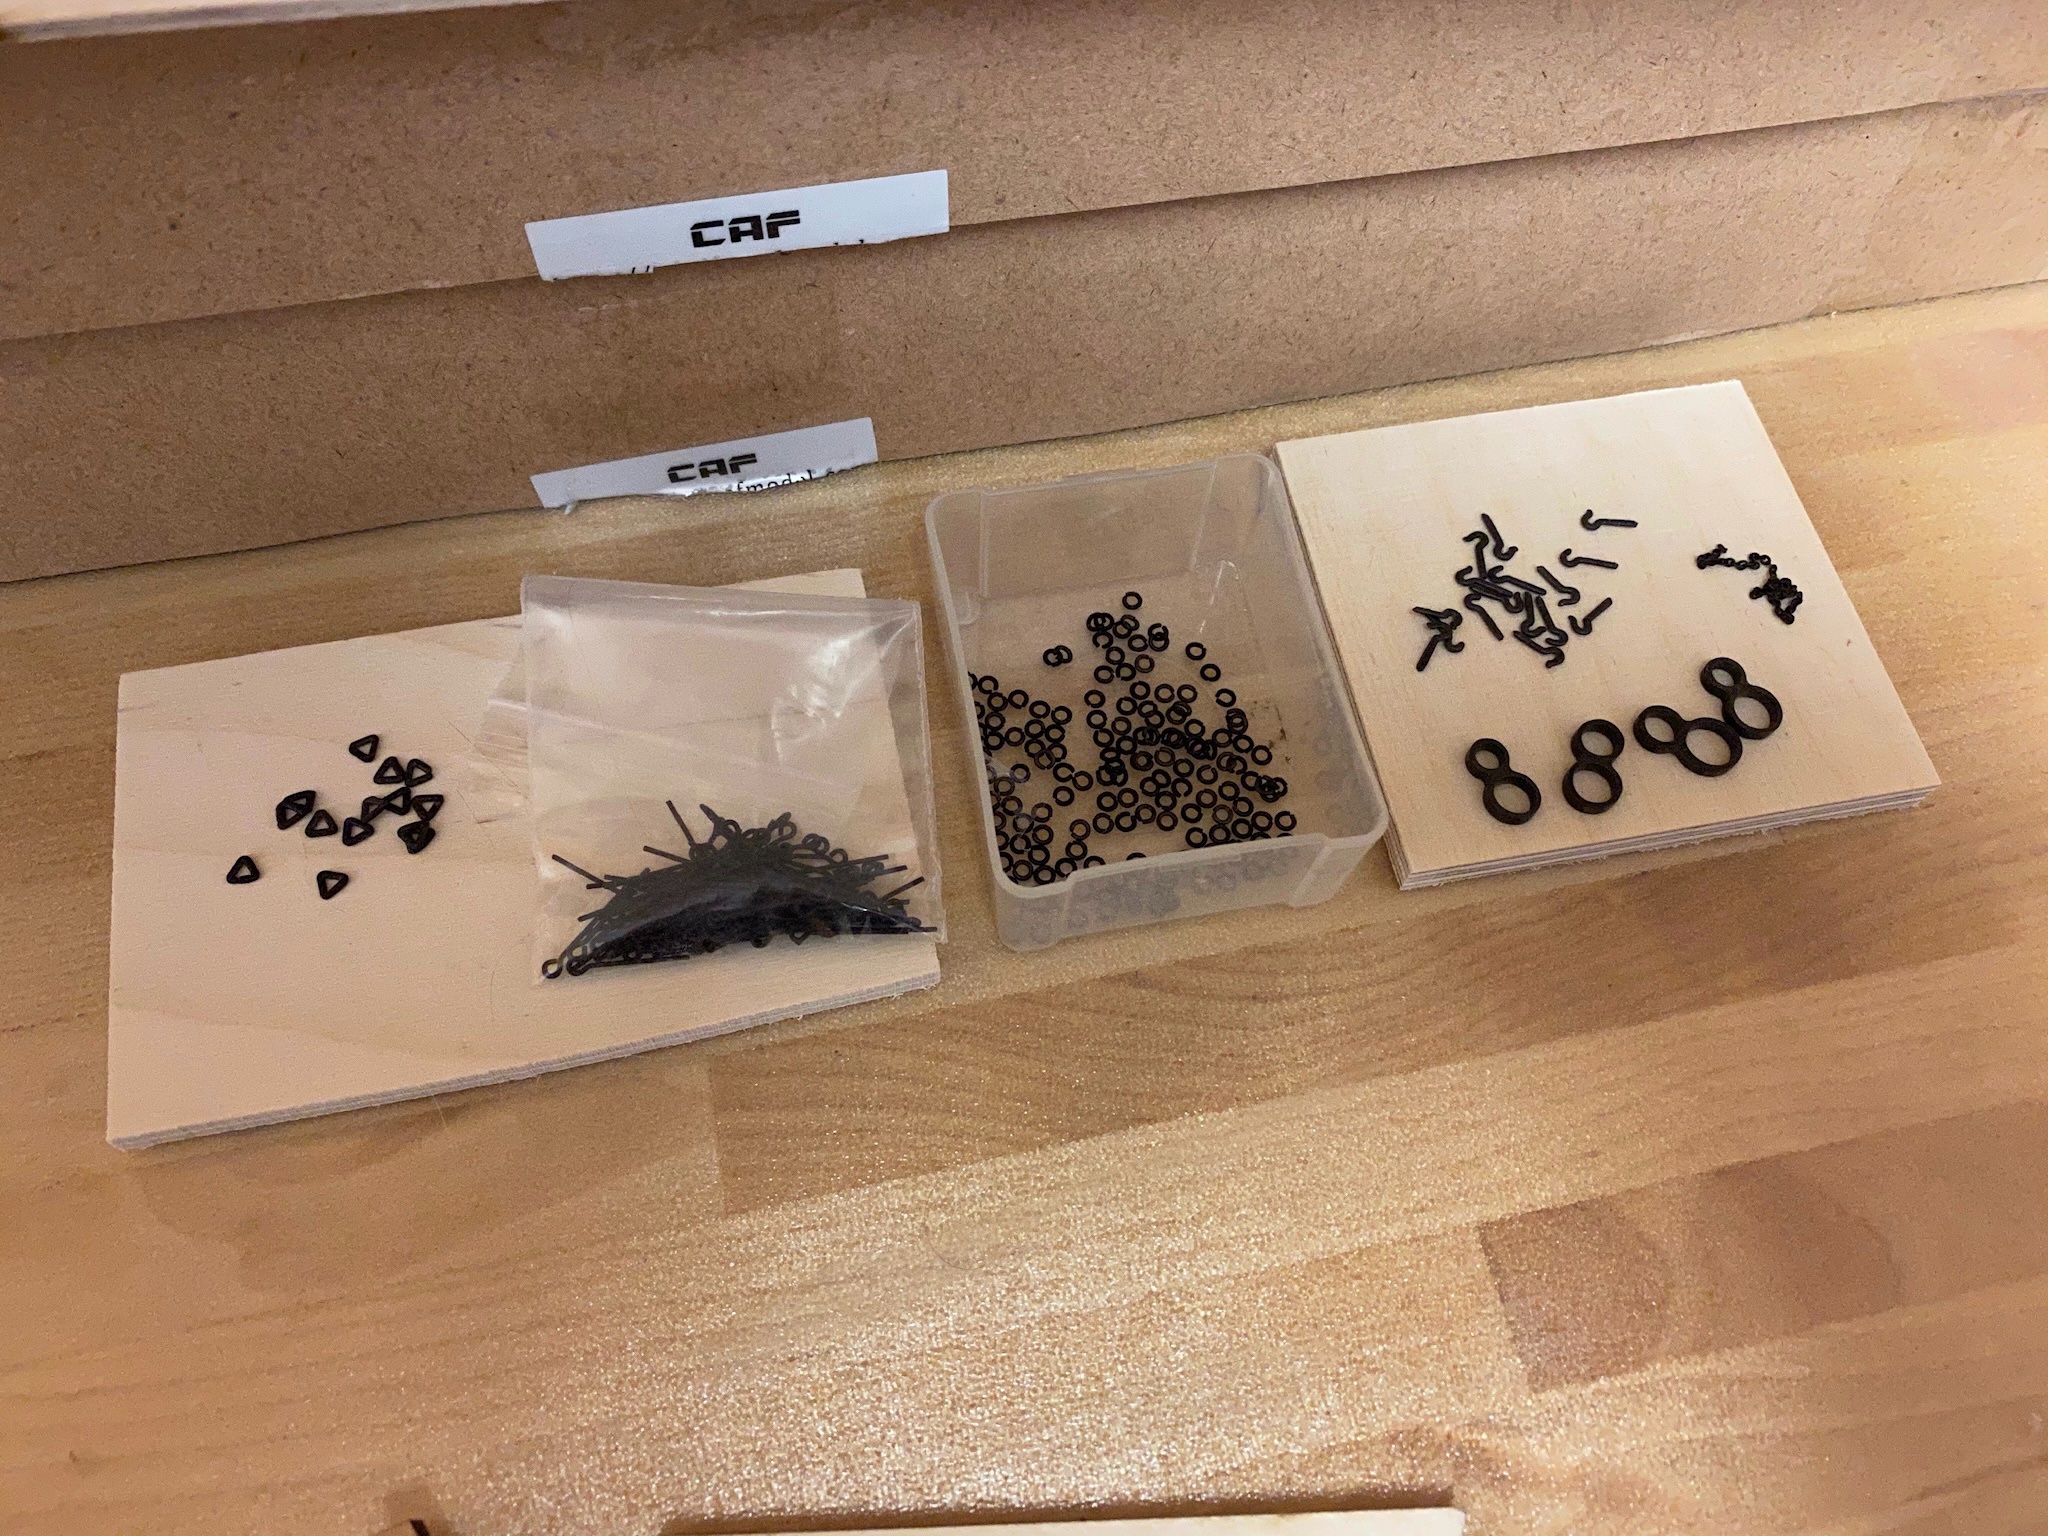
@JJT I use a chemical blackening from a German company called Krick. The parts have to be threatened with cleaning petrol first (to remove fat and fingerprints) and then cleaned with distilled water. Then the parts can be threatened with the Krick „Brüniermittel“. It is heat activated (more temperature means faster blackening) and the colour depth is depending on how long you put it into the chemistry. After another cleaning with water the parts are ready to use. Very easy application. Works with copper as well.
-
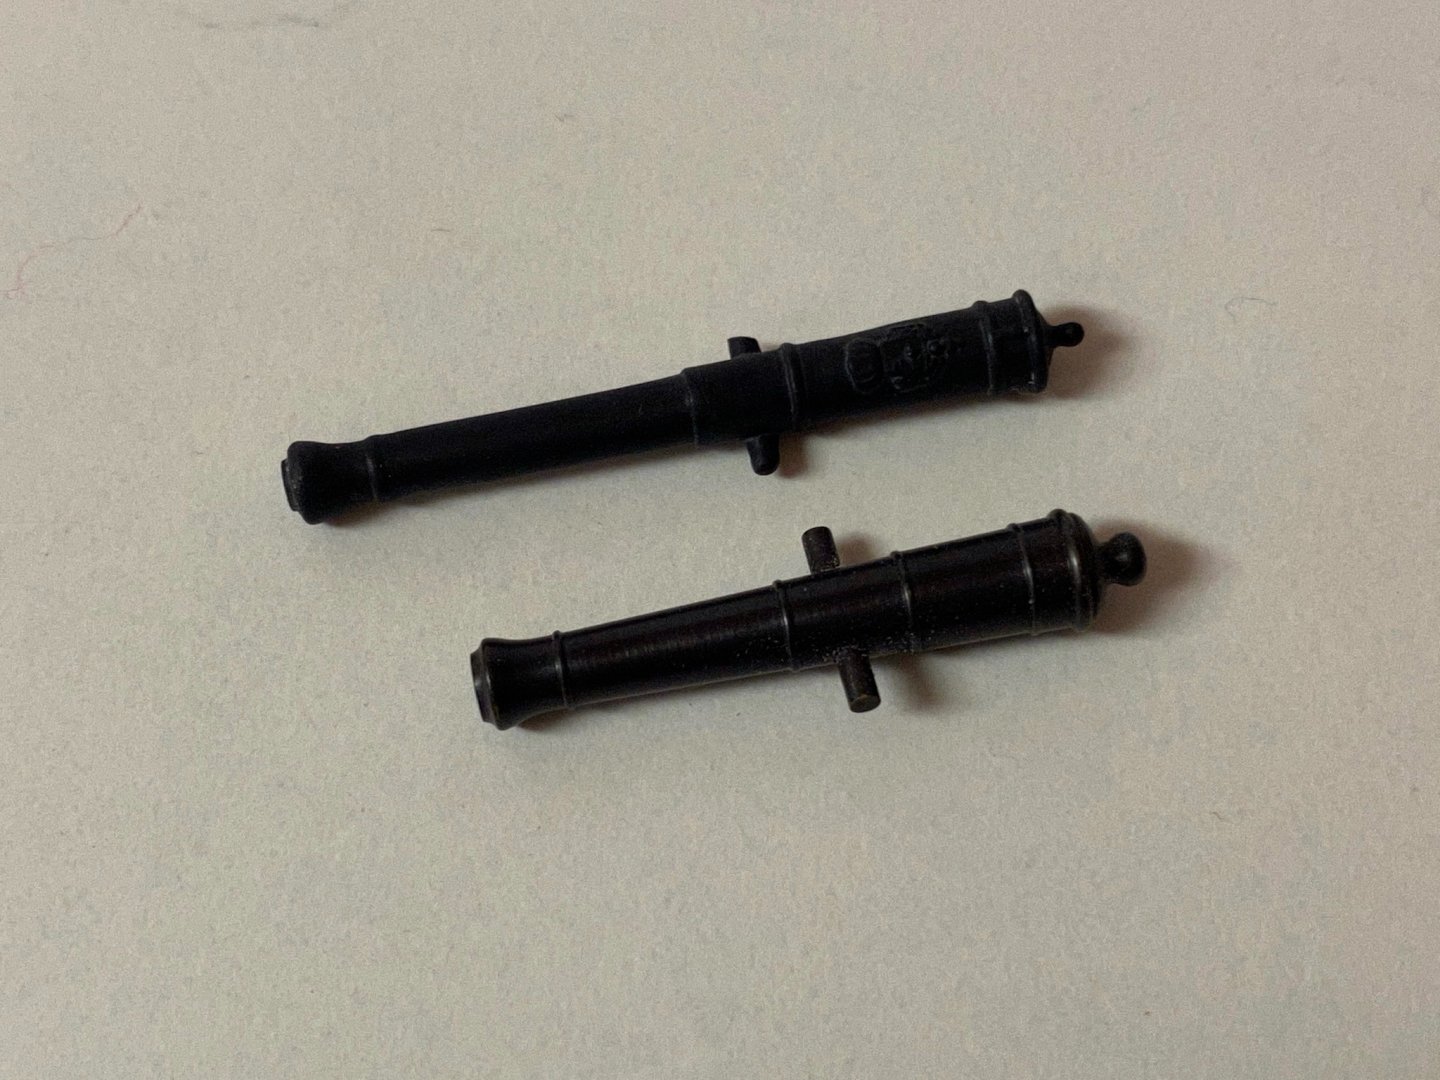
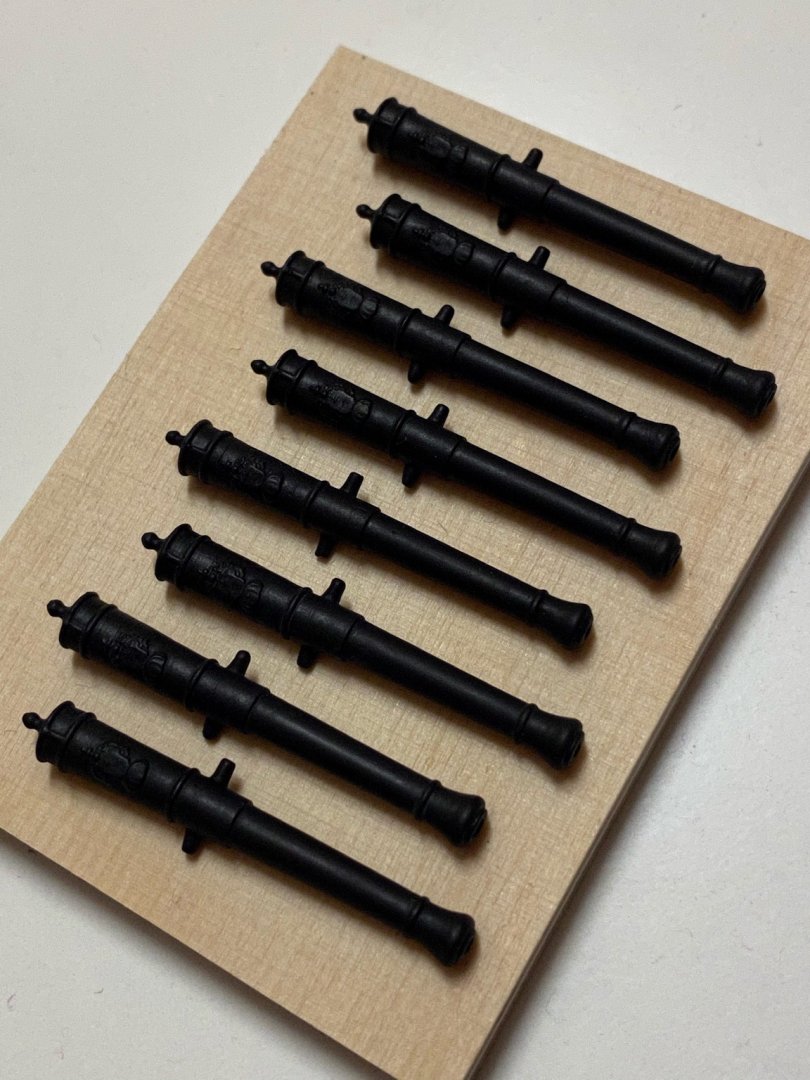
For comparison: The upper one is the supplied 2-pounder and below a 4-pounder gun barrel which will be used for the Badger - both 1:48 scale. I believe these long low-caliber guns were called ‚falconet‘ - a kind of sharpshooting gun. Not able to penetrate any ship’s hull but able to target crew members.
-
I also started to chemically colour the brass parts. These are brass casting parts that need some post processing. The gun barrels for example are nicely detailed but had to be sanded, drilled and to be bend to shape. Now they are ready for installation (which won‘t be done soon). BTW they seem to be largely oversized for 2-pounders but matches the ones shown in the Le Coureur Manual and plans from Ancre that has arrived meanwhile. Stay tuned...

-
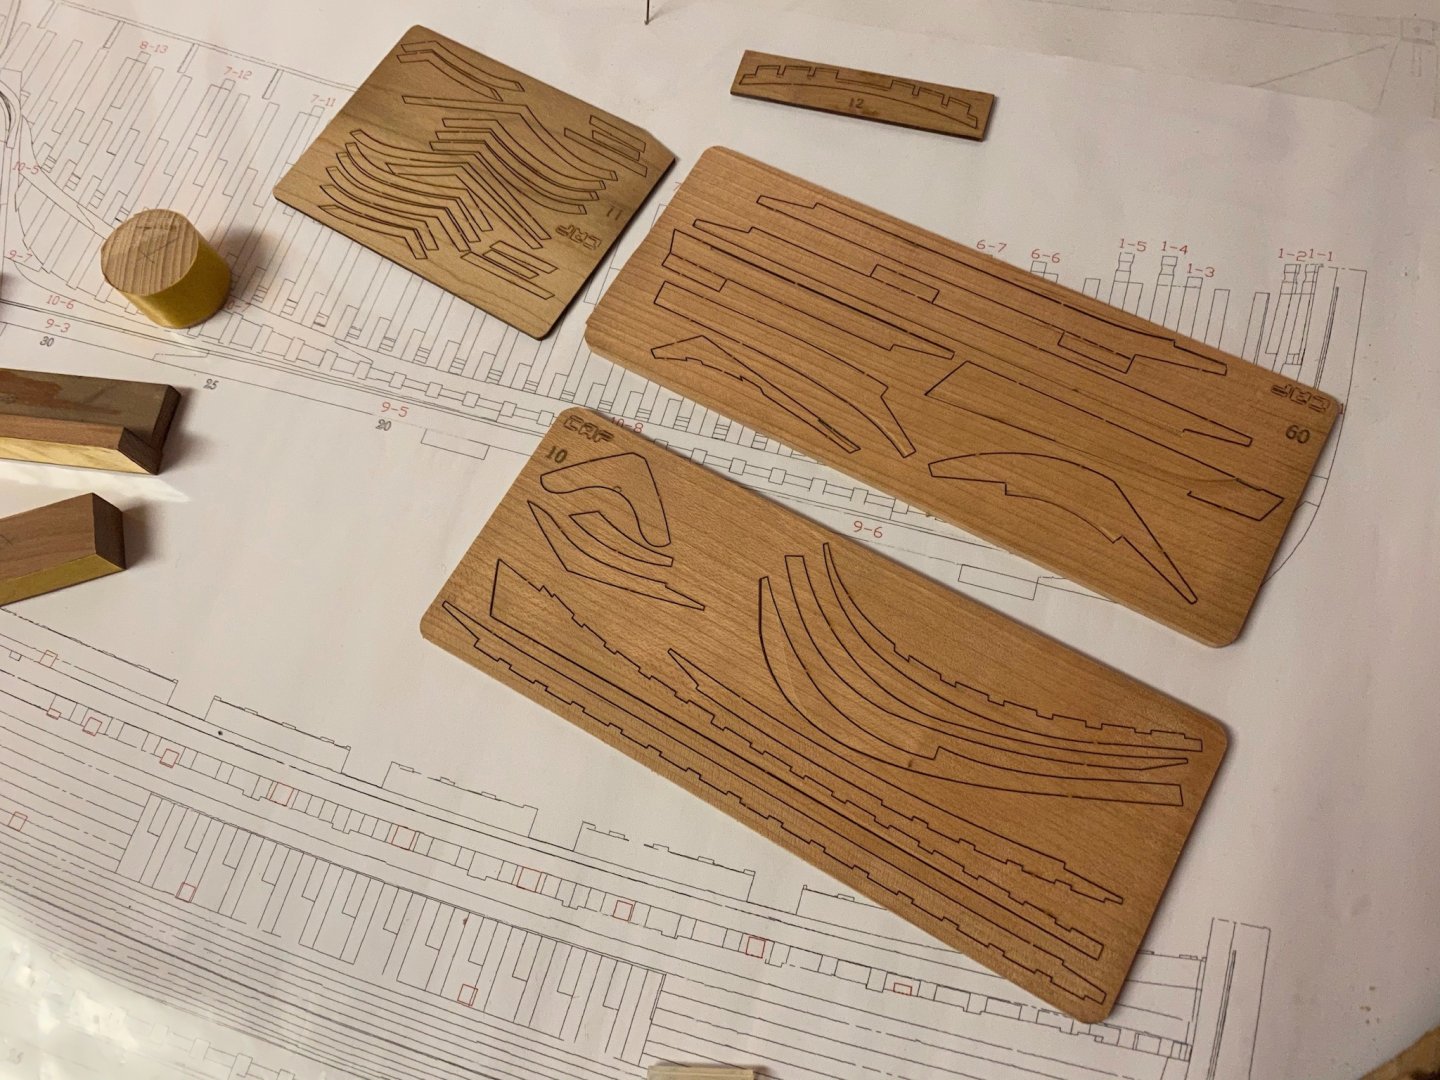
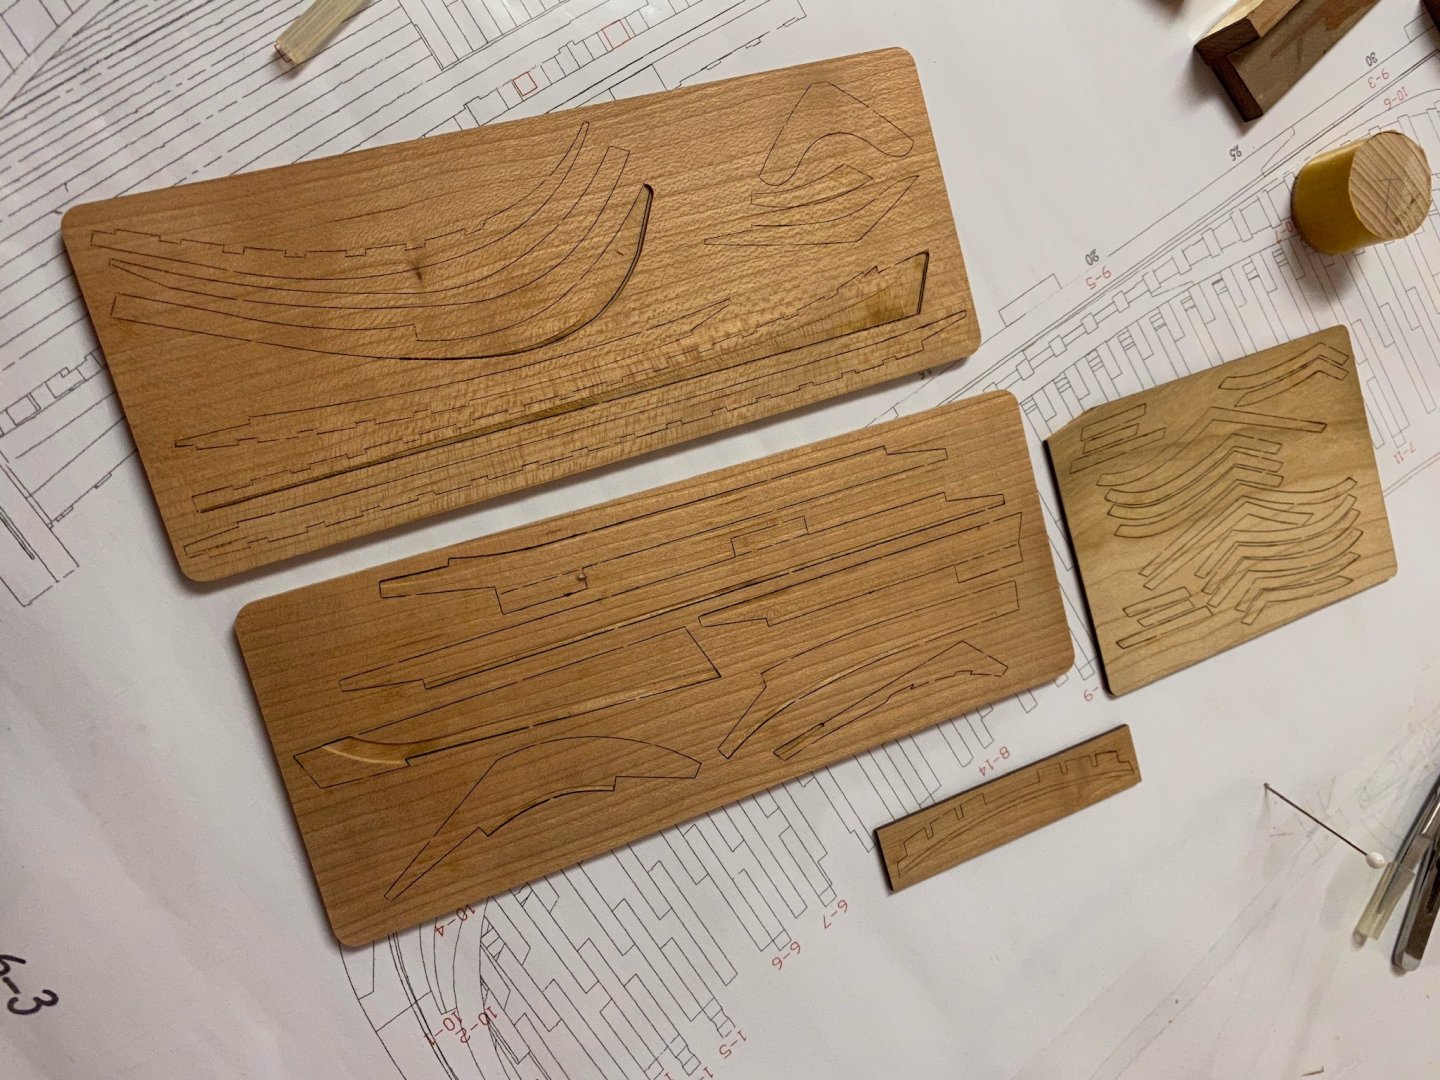
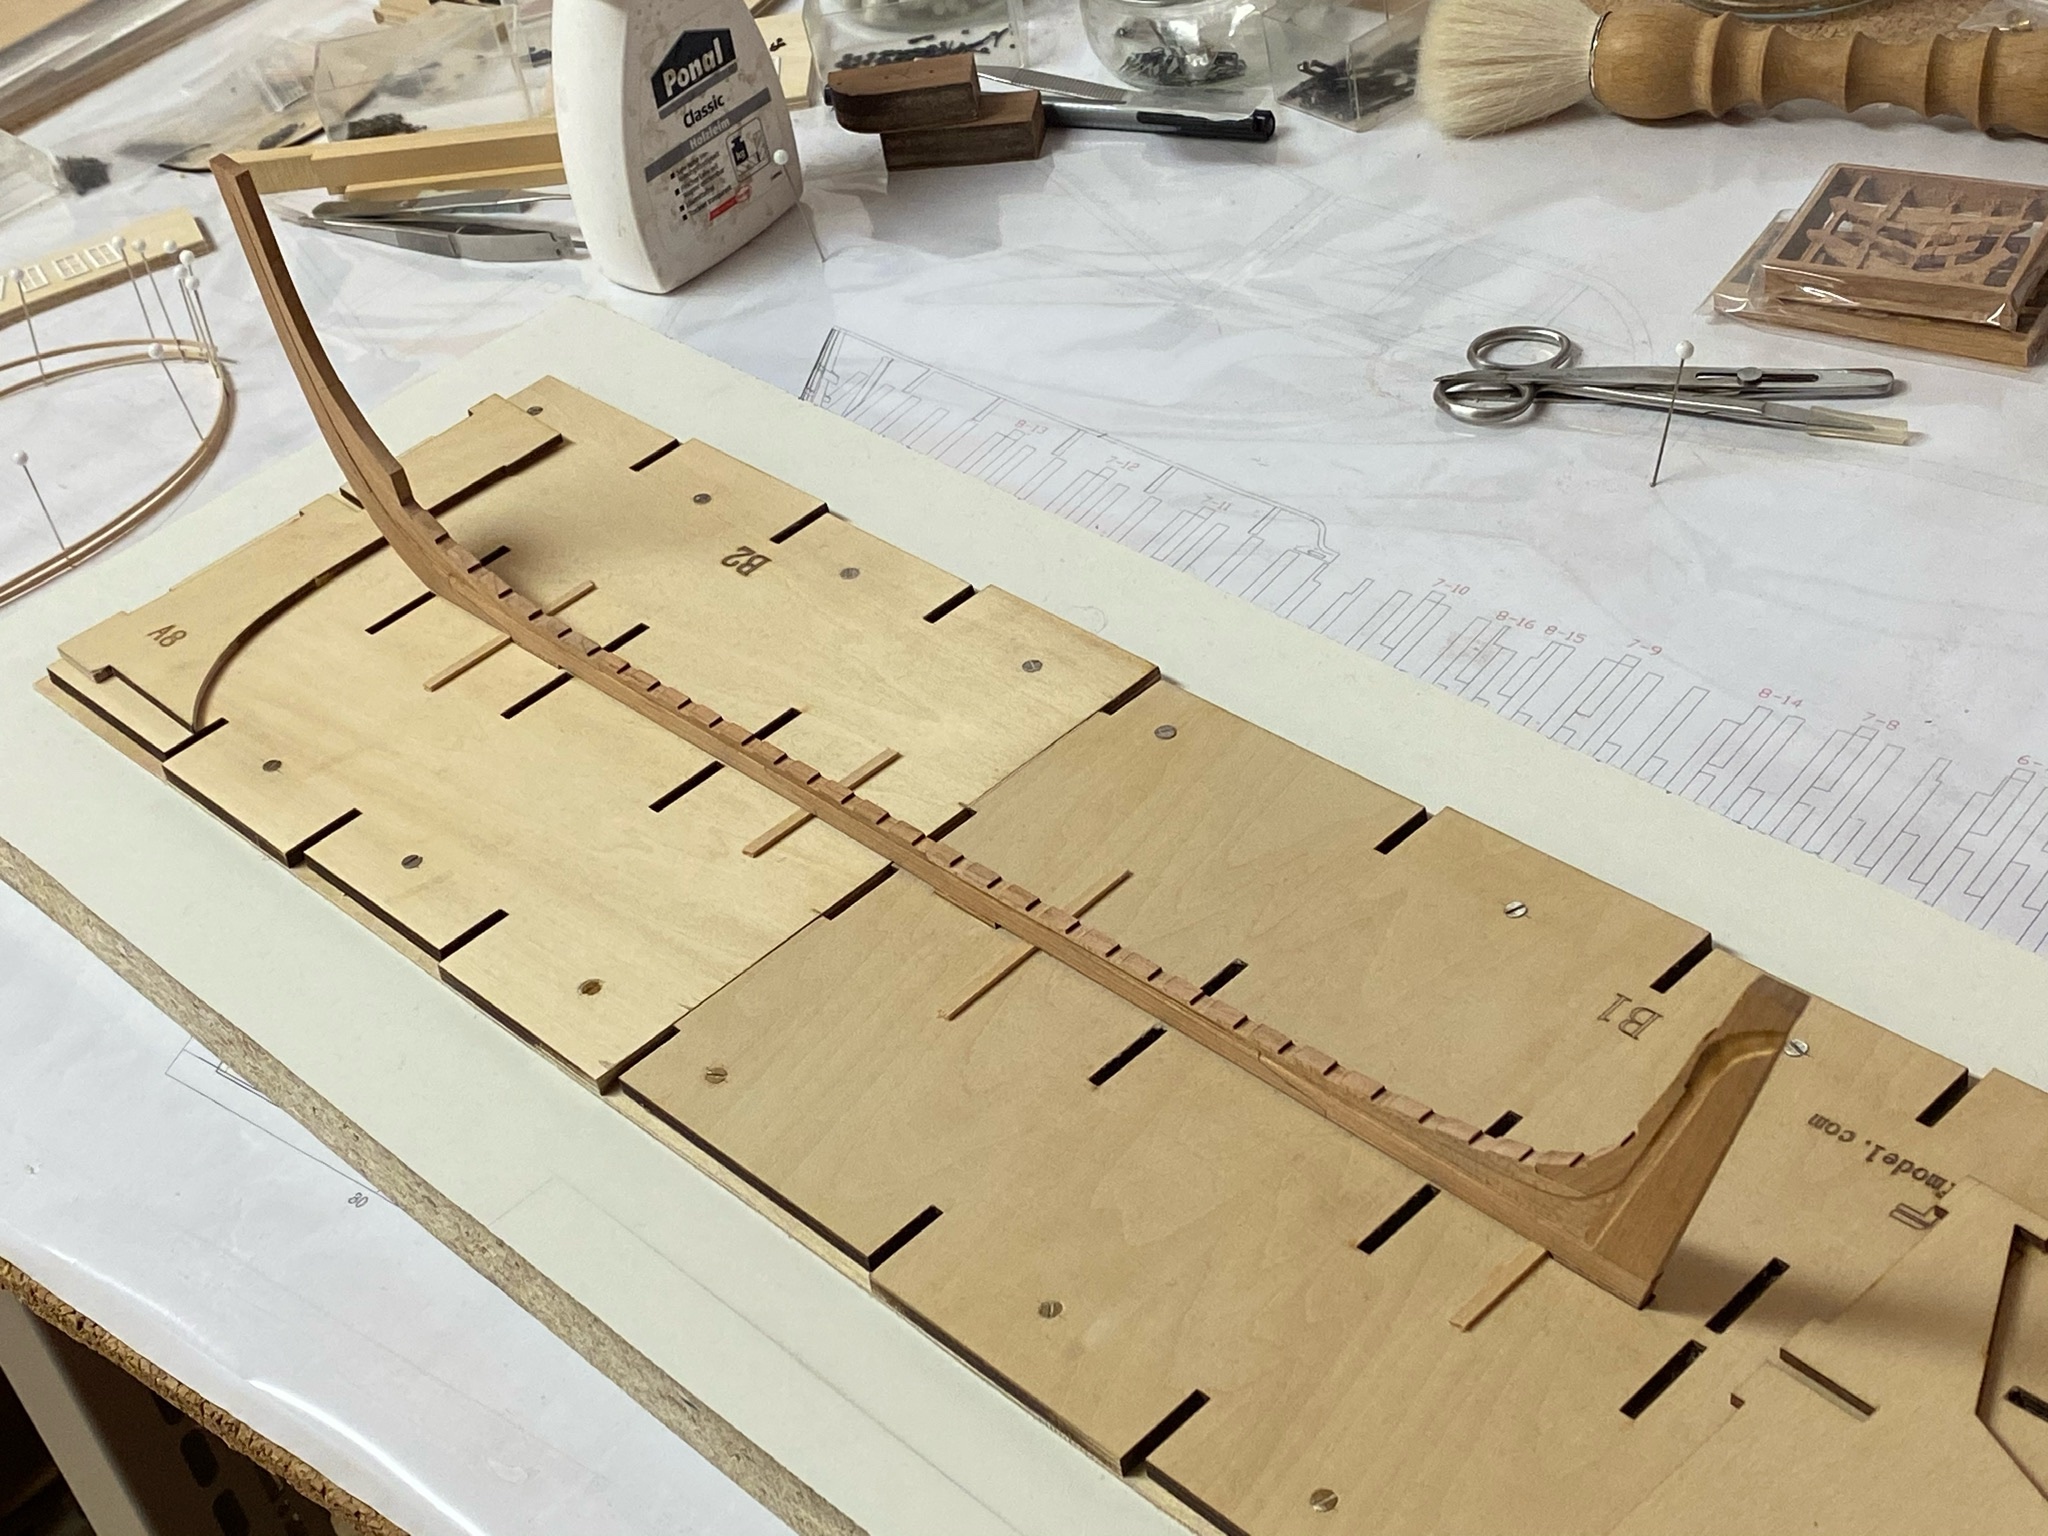
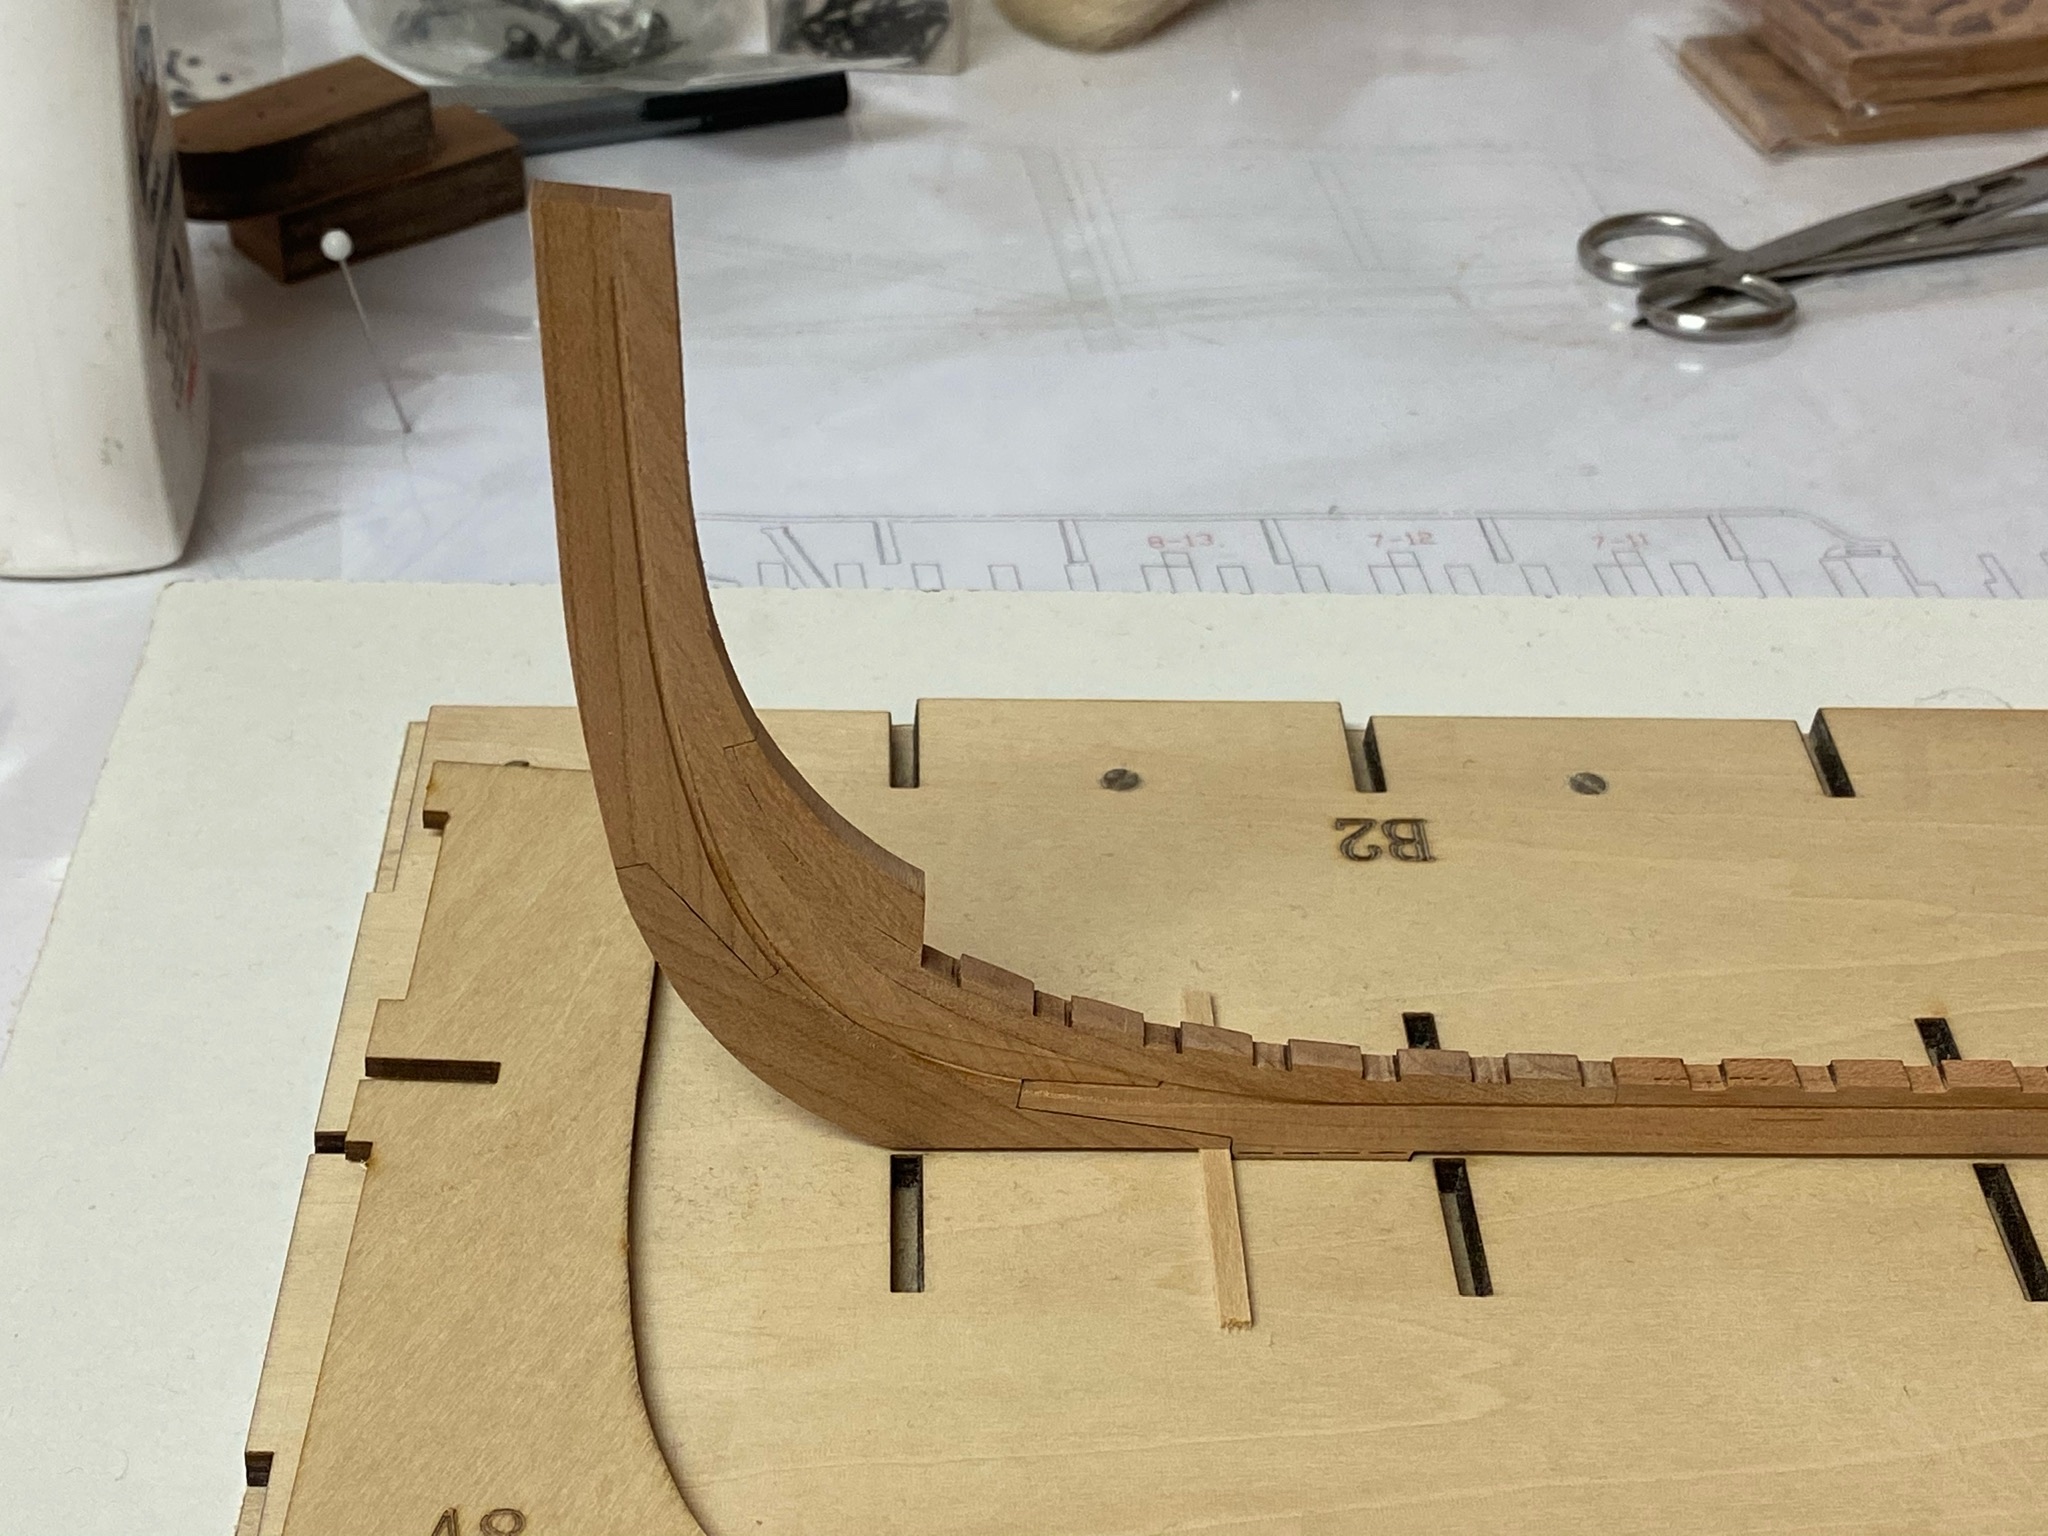
Construction has begun with a little delay. First thing I did was to clean the sheets that contain the keel parts. I sanded all laser char off with a 240 grit sandpaper. That reduced the thickness only by 1/100 mm. Then I carefully released all needed parts from the sheets. The keel goes together like a puzzle, there is no risk of confusion any parts as their location is determined by their shape. Next up is to clean the sides and to assemble the keel.
-
-
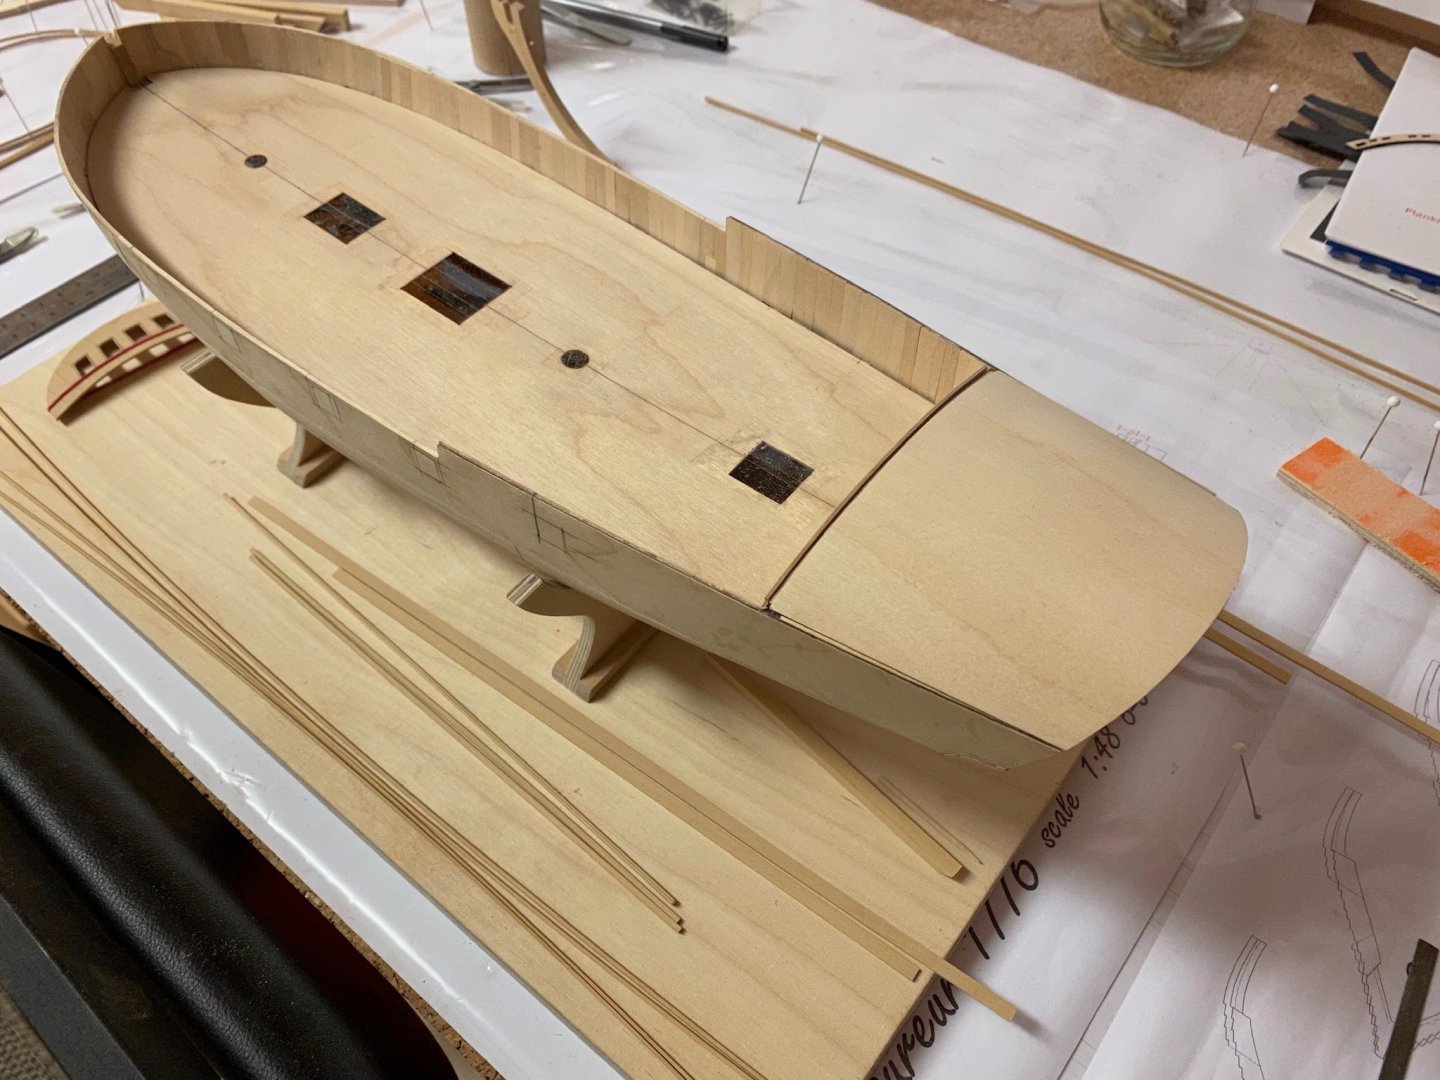
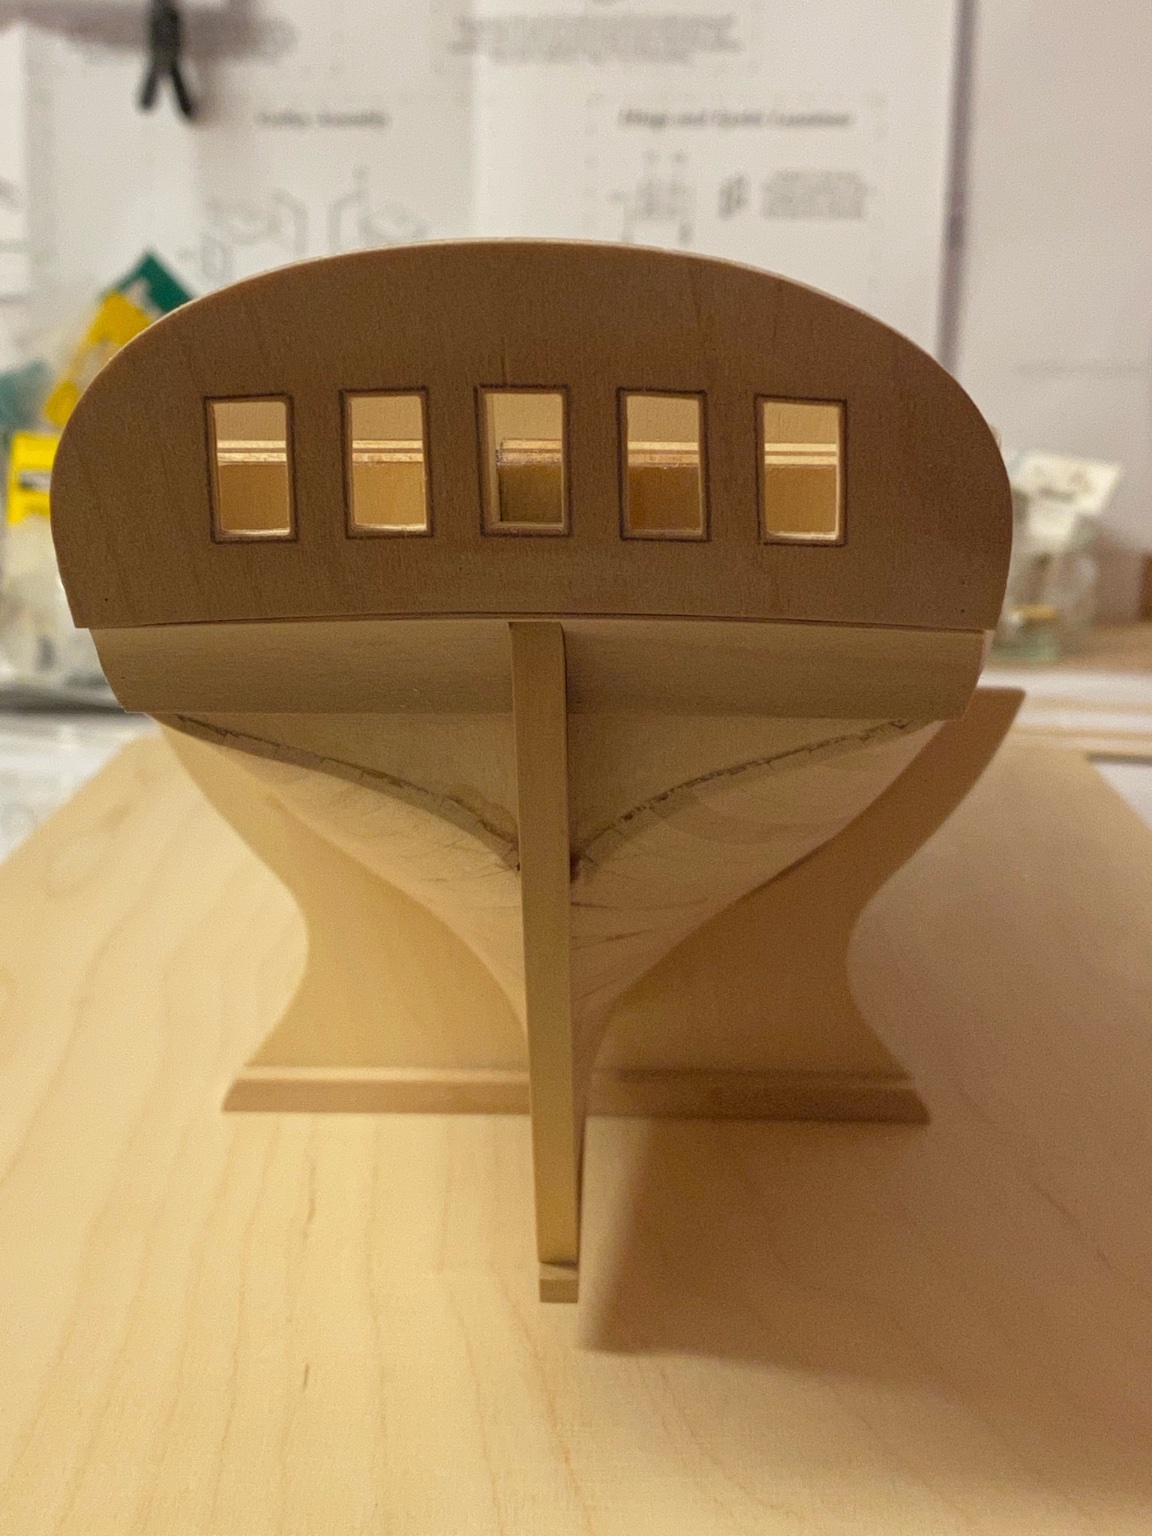
Some more progress. I have installed the transom support, this will supply enough glue surface for the finished transom piece later. Also made the cabin false deck and all profiled sheer rail stripes.
- Edwardkenway, BenD, muratx and 9 others
-
12
-
-
-
-
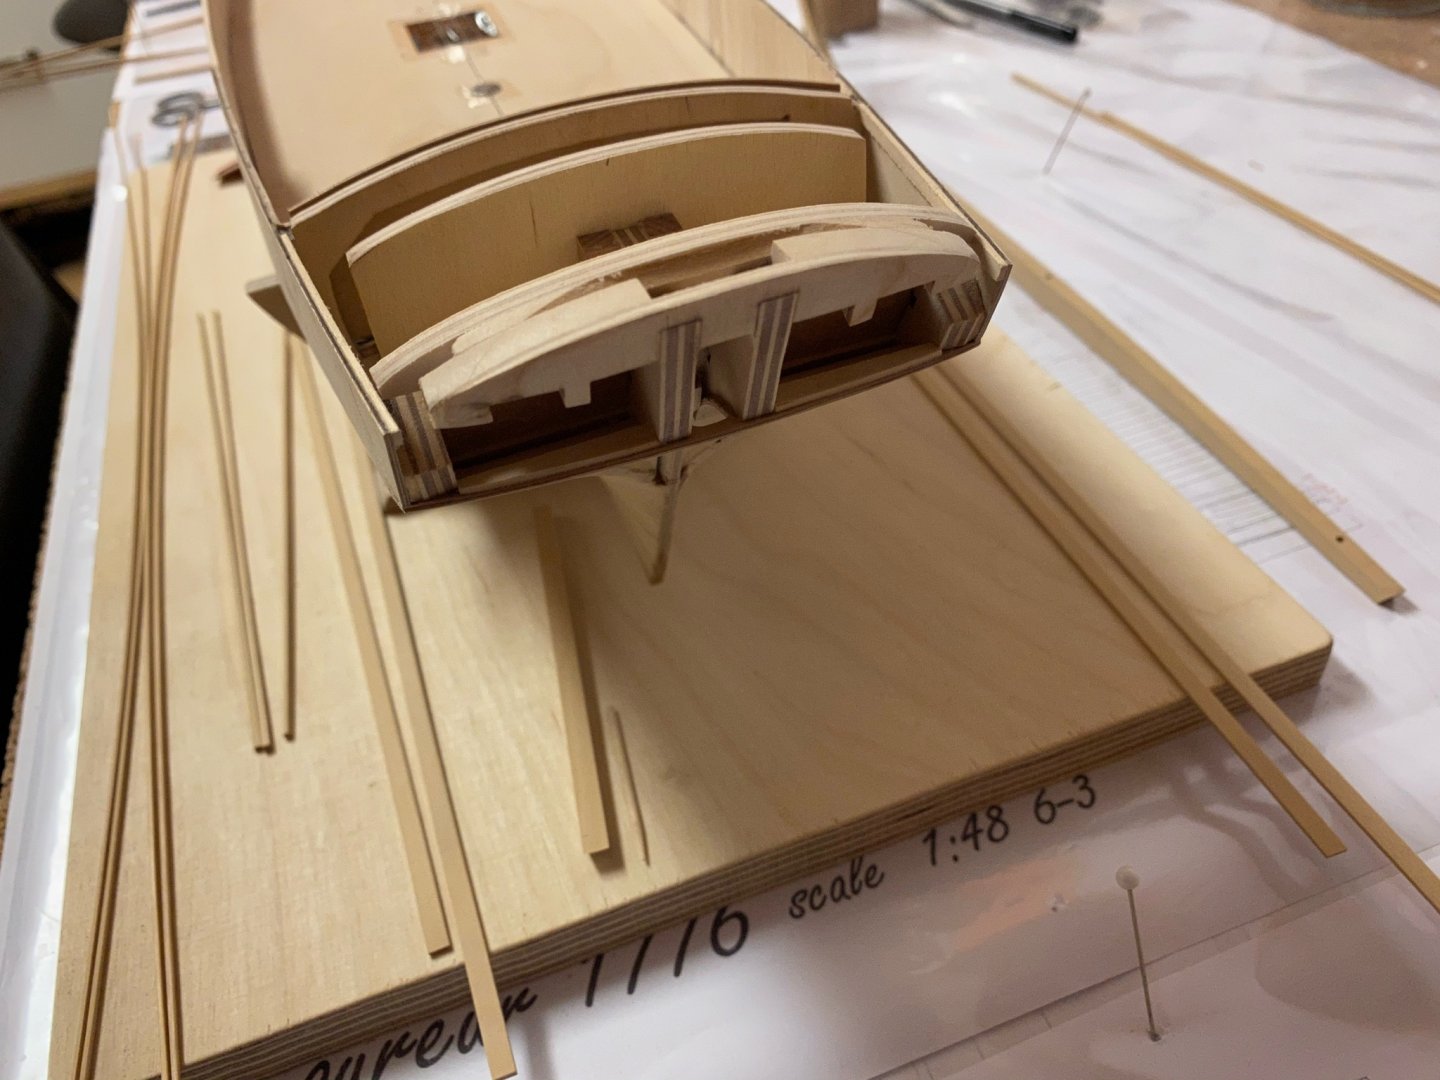
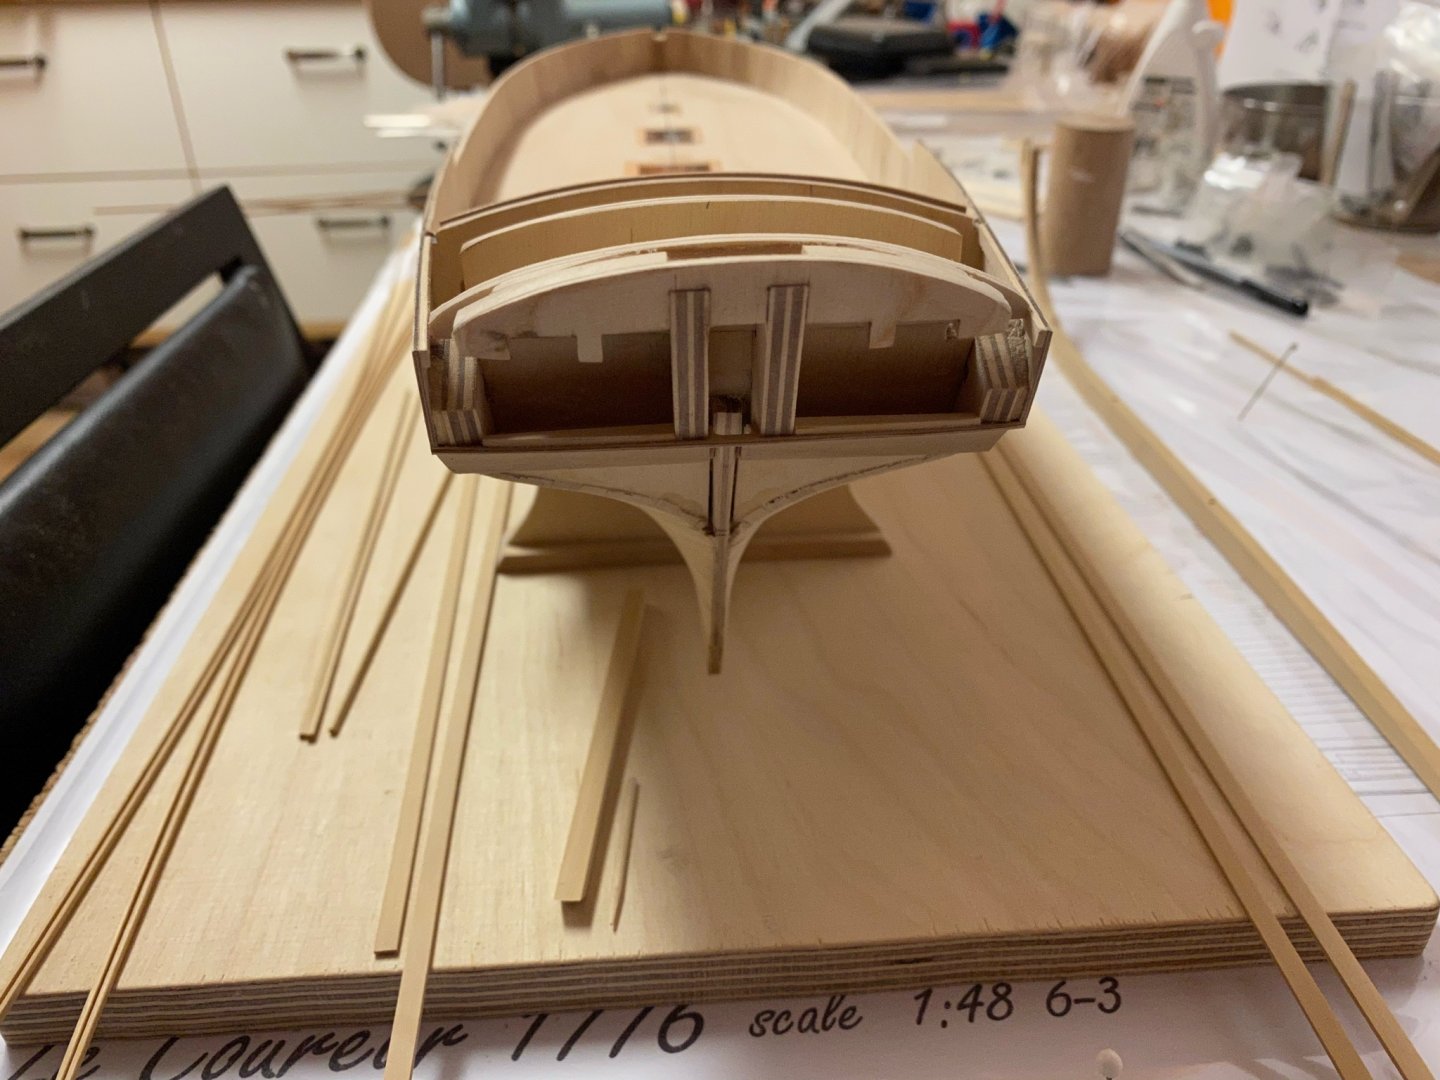
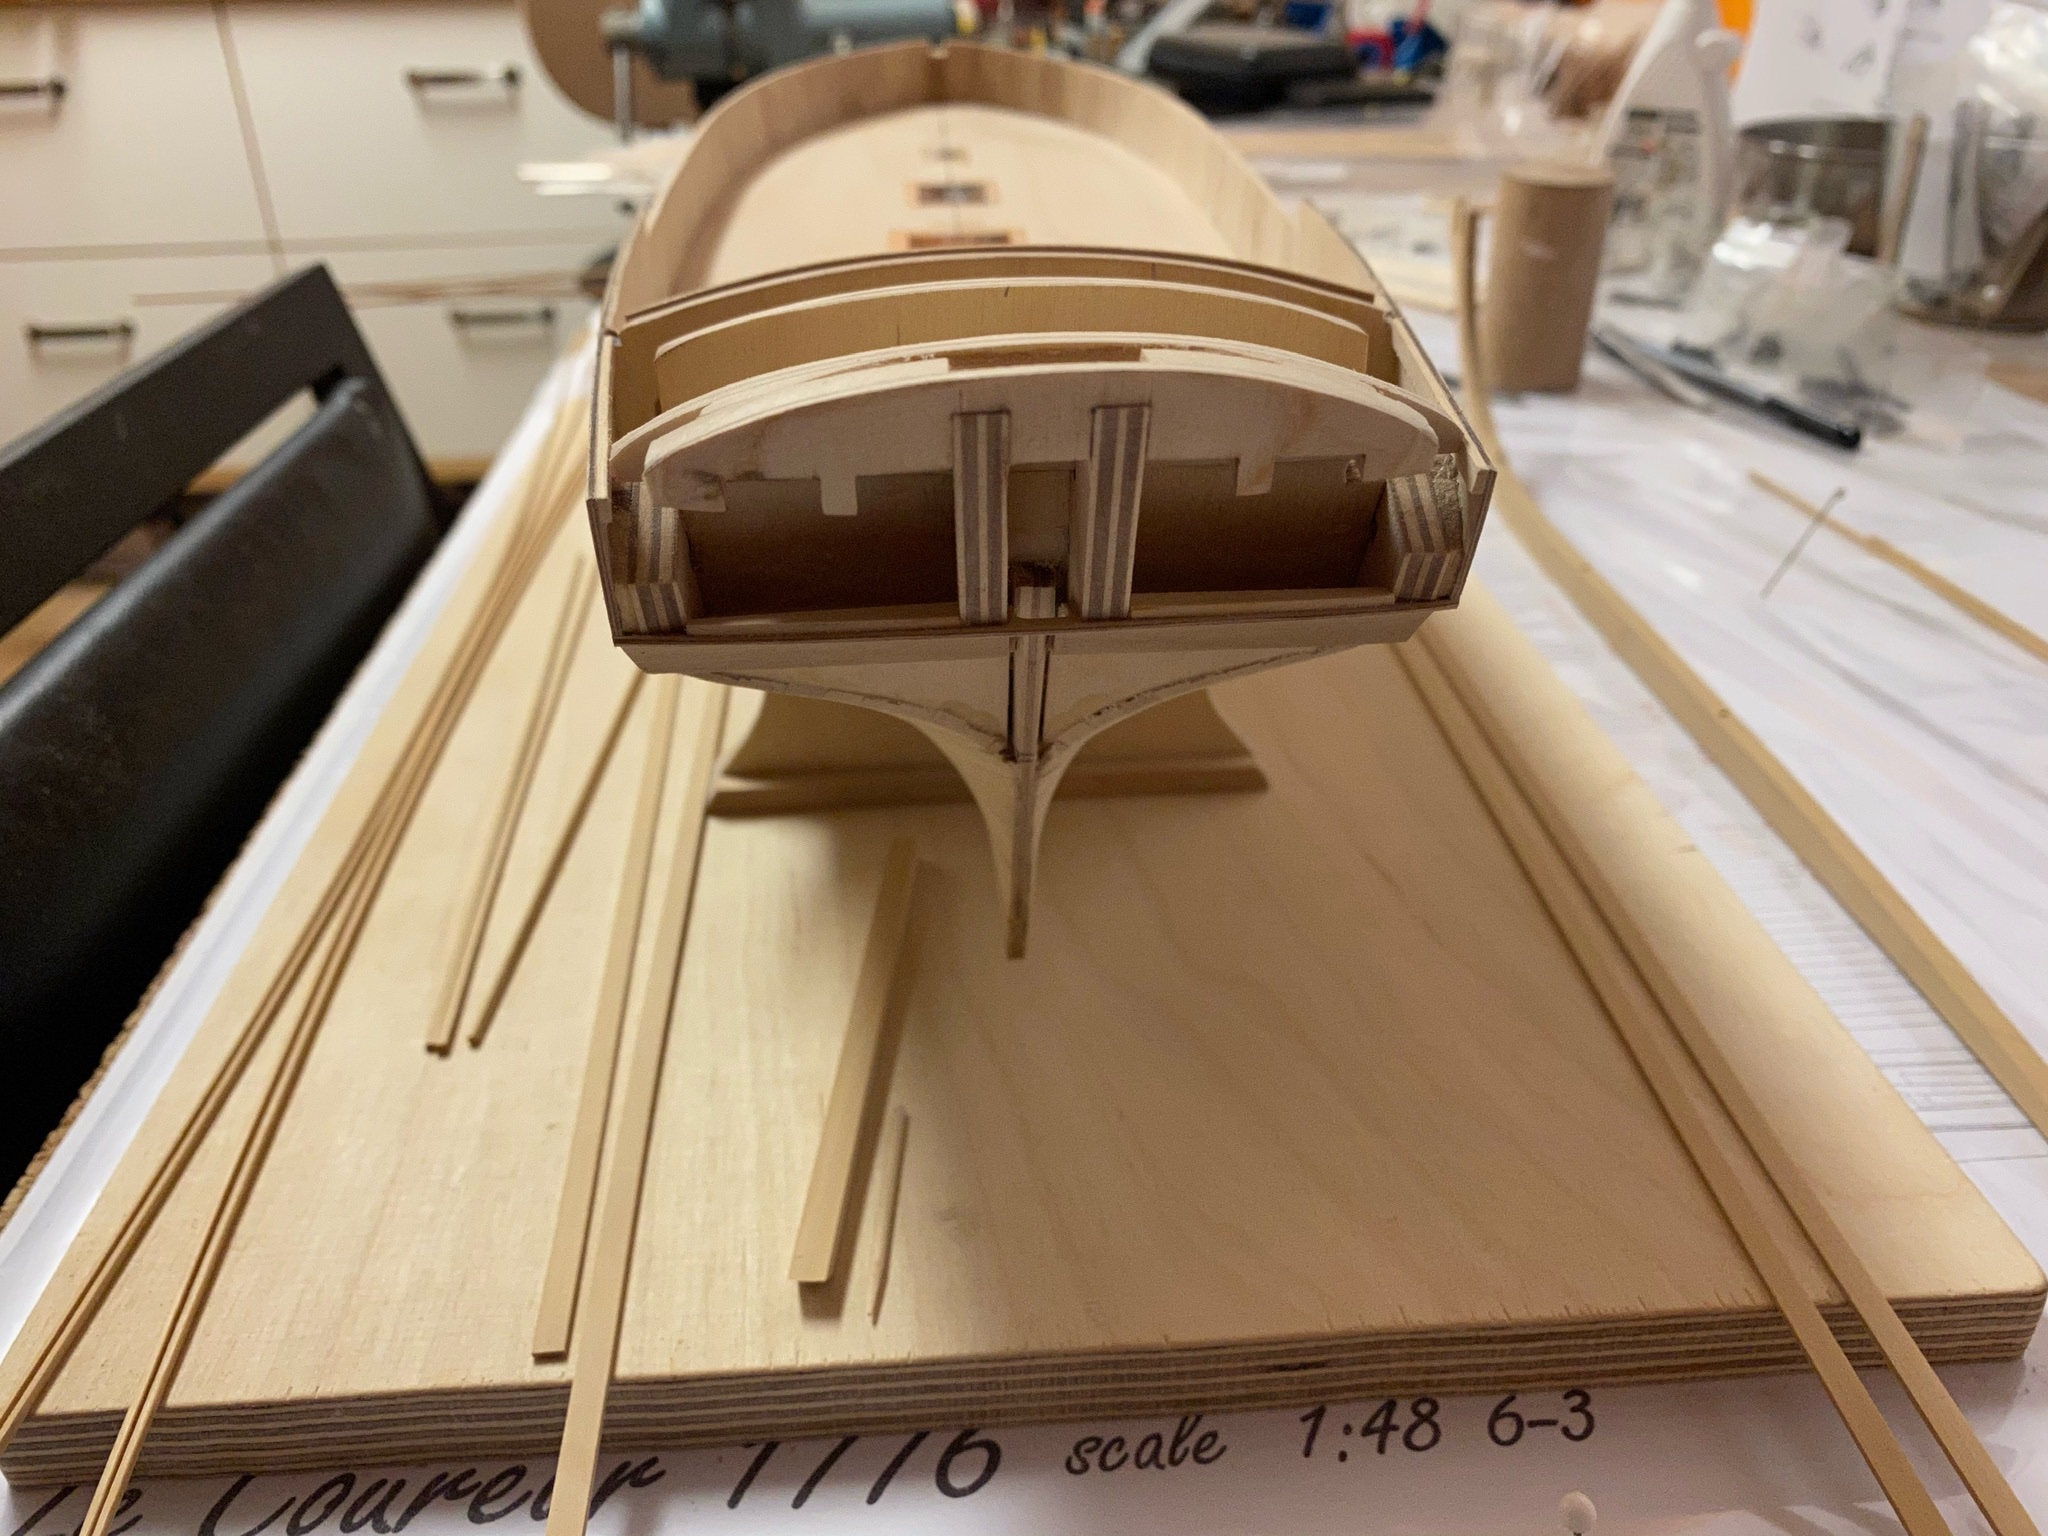
Some more work on the stern. Prepared the stern plywood templates, only minor adjustments needed. The cabin template is just dry-fitted, it will be glued on after all planks and windows have been applied.


- GrandpaPhil, muratx, barkeater and 7 others
-
10
-
Amazing build, congratulations. She is a beauty.
-
Pas mal du tout! Those french sailors must have really been afraid to loose their rudder.


Medieval Fortified Village by Ekis - 1/87 scratch base kit Aedes Ars
in Non-ship/categorised builds
Posted
Looks amazing - true museum quality.