Seventynet
-
Posts
797 -
Joined
-
Last visited
Content Type
Profiles
Forums
Gallery
Events
Everything posted by Seventynet
-
 What a pleasure to review your build log Vaddoc. Truely beautiful and inspirational work. Best, Ian
- 253 replies
-
- 2
-

-
- ketkch
- gaff-rigged
- (and 1 more)
-
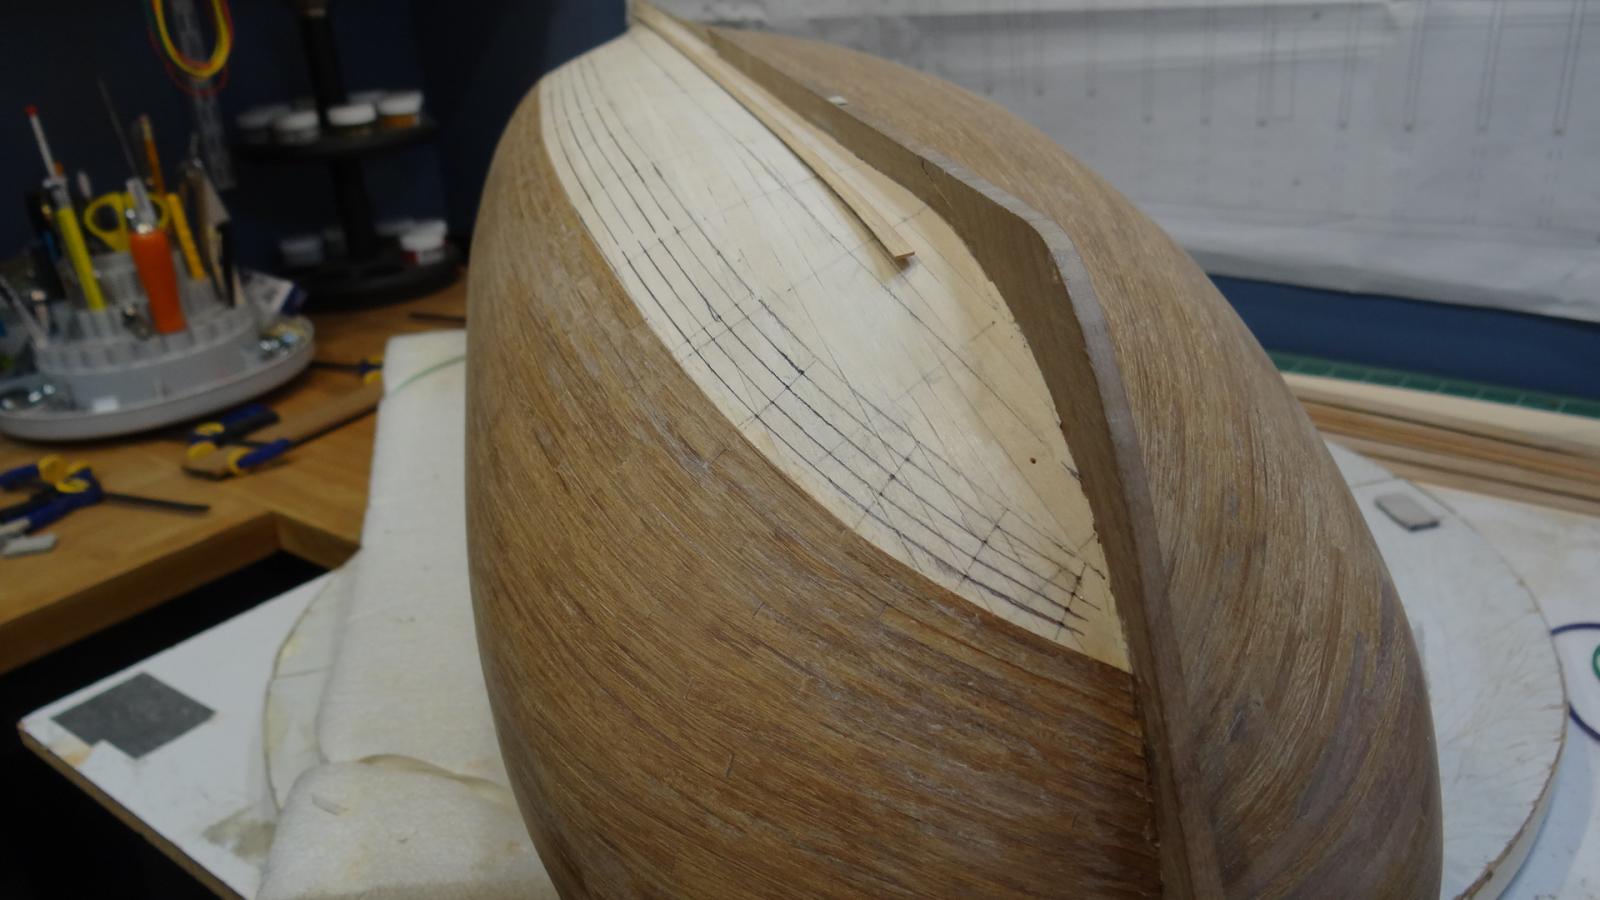
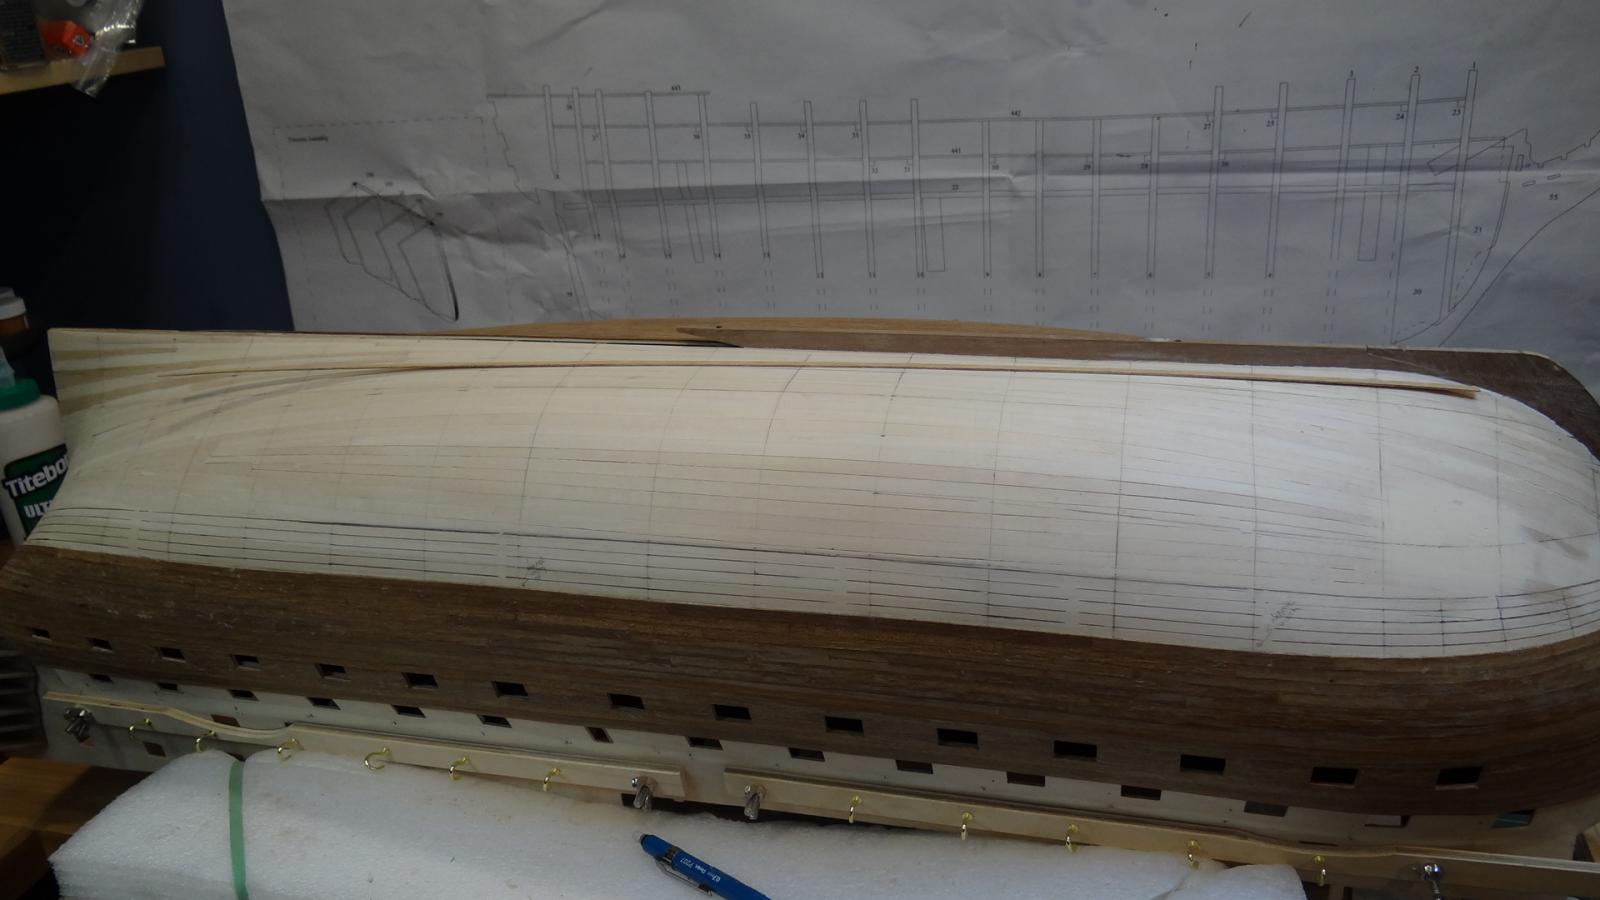
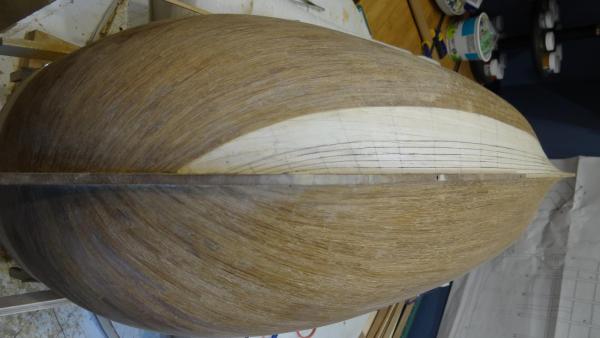
Thanks for the likes and kind comments. I have decided to have a small update on my way to finishing second planking (below the wales anyway). It seems like a small step but in fact it has been a rather large effort getting this planking done. I'm going to take a bit of break before I post again. Happy New Year to you all! and it just never seems to end...


- 191 replies
-
- 24
-
-
- victory
- caldercraft
- (and 1 more)
-
Medic, I think this is what a lot of people use: http://www.amazon.com/s/ref=nb_sb_ss_c_0_19?url=search-alias%3Dtools&field-keywords=minwax+wipe-on+poly&sprefix=minwax+wipe-on+poly%2Caps%2C260 And it's oil-based.
-
Hi Medic, super planking job! I plan to use wipe on poly for my second planking. I have used hand pressure to hold down the planks until the PVA holds, except at extreme bend areas where I used elastic bands and erasers, and very occasionally screw clamps. I've haven't had a single plank pop over six months, so that's some proof that the technique works. Best, Ian
-
Very nice looking job Eric. I shall look forward to your next build! Best, Ian
- 222 replies
-
- 4
-
-
- 18th century longboat
- model shipways
- (and 2 more)
-
Great Christmas gift Waspy. I'm excited to see another Victory builder on here. Best of luck with it. Ian PS, what scale is it?
-
Ken, I just found your log and read through it. That is a very cool project. I hope you don't mind if I dust off a seat and join you. Best, Ian
- 80 replies
-
- 5
-
-
- choctaw
- heinkel models
- (and 1 more)
-
Great work as usual Heinz. I can't help being drawn to that beautiful planking and those perfectly cut wales. A merry Christmas to you and your family. Best, Ian
-
Truly remarkable job Mark, especially considering it's a single planking job! Wow! Let us know what you end up buffing it with please. Best, Ian
-
I am not sure I am using the right terms, but by banding I meant dividing the hull into several bands paralell to the first line of about 3 or 4 planks width per band. But it sounds like you have already rejected the need for that based on the limited number of planks above and below the line you have drawn. It's going to look great. I am following with anticipation. Ian
-
It's individual preference anyway. Will you be going with 20 foot planks or single planks? Individual planks are more time consuming but gives you more control, I think. Also, have you considered banding your hull? It takes additional time but let's you know if you are staying within your original predictions better. I am sure you've already thought of these things so forgive me if you've already rejected these ideas.
-
I think your first planking looks great. I notice on your hull that you apparently have the line curving upwards at the bow more than illustrated in the drawing. Maybe I am wrong but it seems to me that you will have quite an upward sweep at the bow - which is fine if that's what you want. Good luck Rick. Best, Ian
-
Beautiful beautiful! That paint job is also lovely!
-
Mike your gesture is amazing. I am sure the library will appreciate the sweat and love that you put into this beauty. I look forward to your next build! Best, Ian
- 230 replies
-
- 3
-
-
- victory
- artesania latina
- (and 1 more)
-
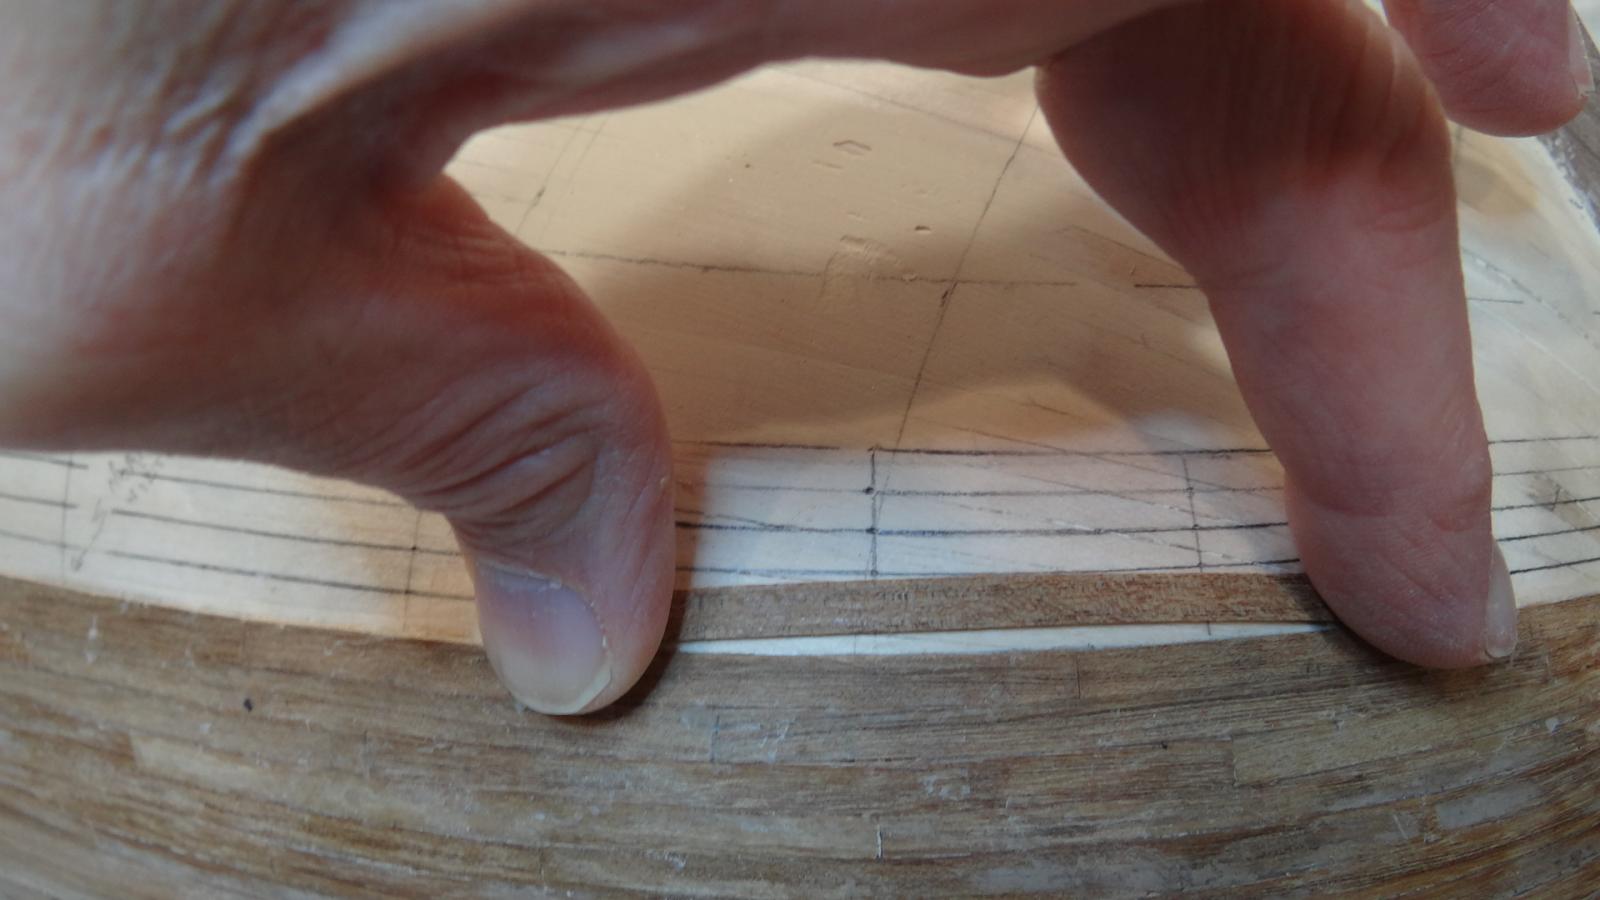
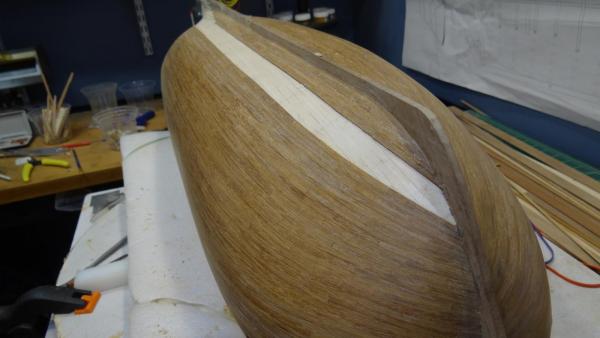
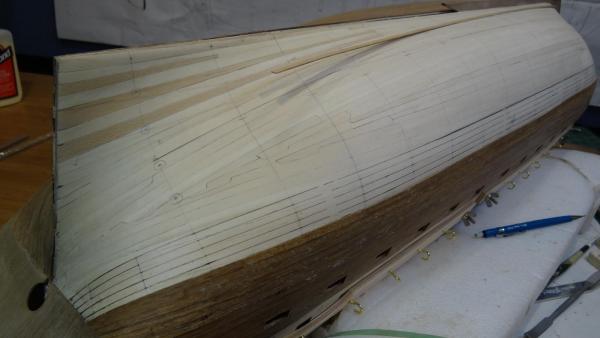
Thanks for looking in and the likes and the compliments Mike and Dimitris. Should I be half as accomplished as any of you! I have to confess, I now feel like a serial edge bender. When I was initially reading up on this hobby I kept seeing the advice on how you should spile and minimize edge bending. And my experience in spiling the starboard side, notwithstanding the mismatching wood issue, was positive. But given my circumstances edge bending is a reality for the port side. So far I am amazed how well it's working. I have shown one picture of a plank to be edge bent against the adjacent planking to give you an idea of the bend. Of course I plane/sand/cut the bottom part of each end to the extent the narrowing plank trace allows - sort of a poor man's spile - then steam, clamp in place, remove, fine tune and then glue down. Anyway I haven't had to install a single drop plank at the bow and probably won't in contrast to the starboard side. How much of that is careful drafting of the bands or edge bending instead of spiling I don't know. Best, Ian

- 191 replies
-
- 9
-
-
- victory
- caldercraft
- (and 1 more)
-
Thanks for the kind words Greg. I find slow and easy gets me where I want to go with this beast. BTW I've asked the admiral for the Cape Cod Catboat kit for Christmas. We'll see but I am feeling lucky so I might have a good distraction from the Vic early in the new year. Best, Ian
- 191 replies
-
- 3
-
-
- victory
- caldercraft
- (and 1 more)
-
Looking good Marcus and thanks for the tutorial. I must say your pictures are very good quality. Best, Ian
- 165 replies
-
- 4
-
-
- cape cod catboat
- Finished
- (and 1 more)
-
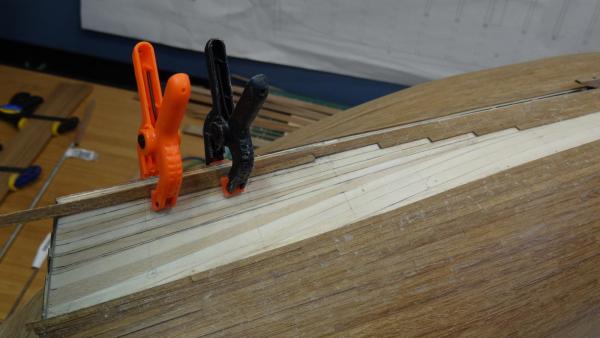
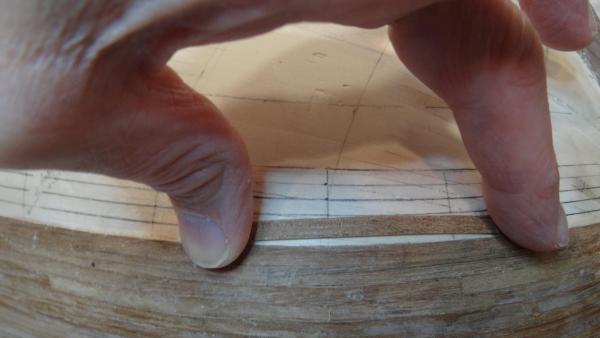
I would just like to add that to slightly bevel, correct or level the edges of planks already laid, or remove hardened glue from same, I have found that a good quality riffler file is invaluable. Ian
-
Hello Rob, good to have you back - from your fellow Calgary Victory modeller! Everything's looking ship-shape. I'll be following along from now on. Best, Ian
-
Thanks Arthur. These are not available for shipping to Canada. However a little more searching on Lee Valley shows a curved and gooseneck scraper along with a burnishing tool: http://www.leevalley.com/en/wood/page.aspx?cat=1,310,41070&p=32644. I can see how useful the gooseneck would be around the stern and stem.
- 191 replies
-
- 4
-
-
- victory
- caldercraft
- (and 1 more)
-
Thank you so much Frank. Those scrapers look like the ticket and part of an overall Christmas wish list at Lee Valley! Best, Ian
- 191 replies
-
- 4
-
-
- victory
- caldercraft
- (and 1 more)
-
Nice planking job Rick.