


Baker
-
Posts
4,134 -
Joined
-
Last visited
Content Type
Profiles
Forums
Gallery
Events
Posts posted by Baker
-
-
-
Indeed.
But if I were an Italian in an Autoblinda. Somewhere on a Yugoslavian railway, where partisans can attack you at any moment.
Then I keep that sand for emergencies only. -
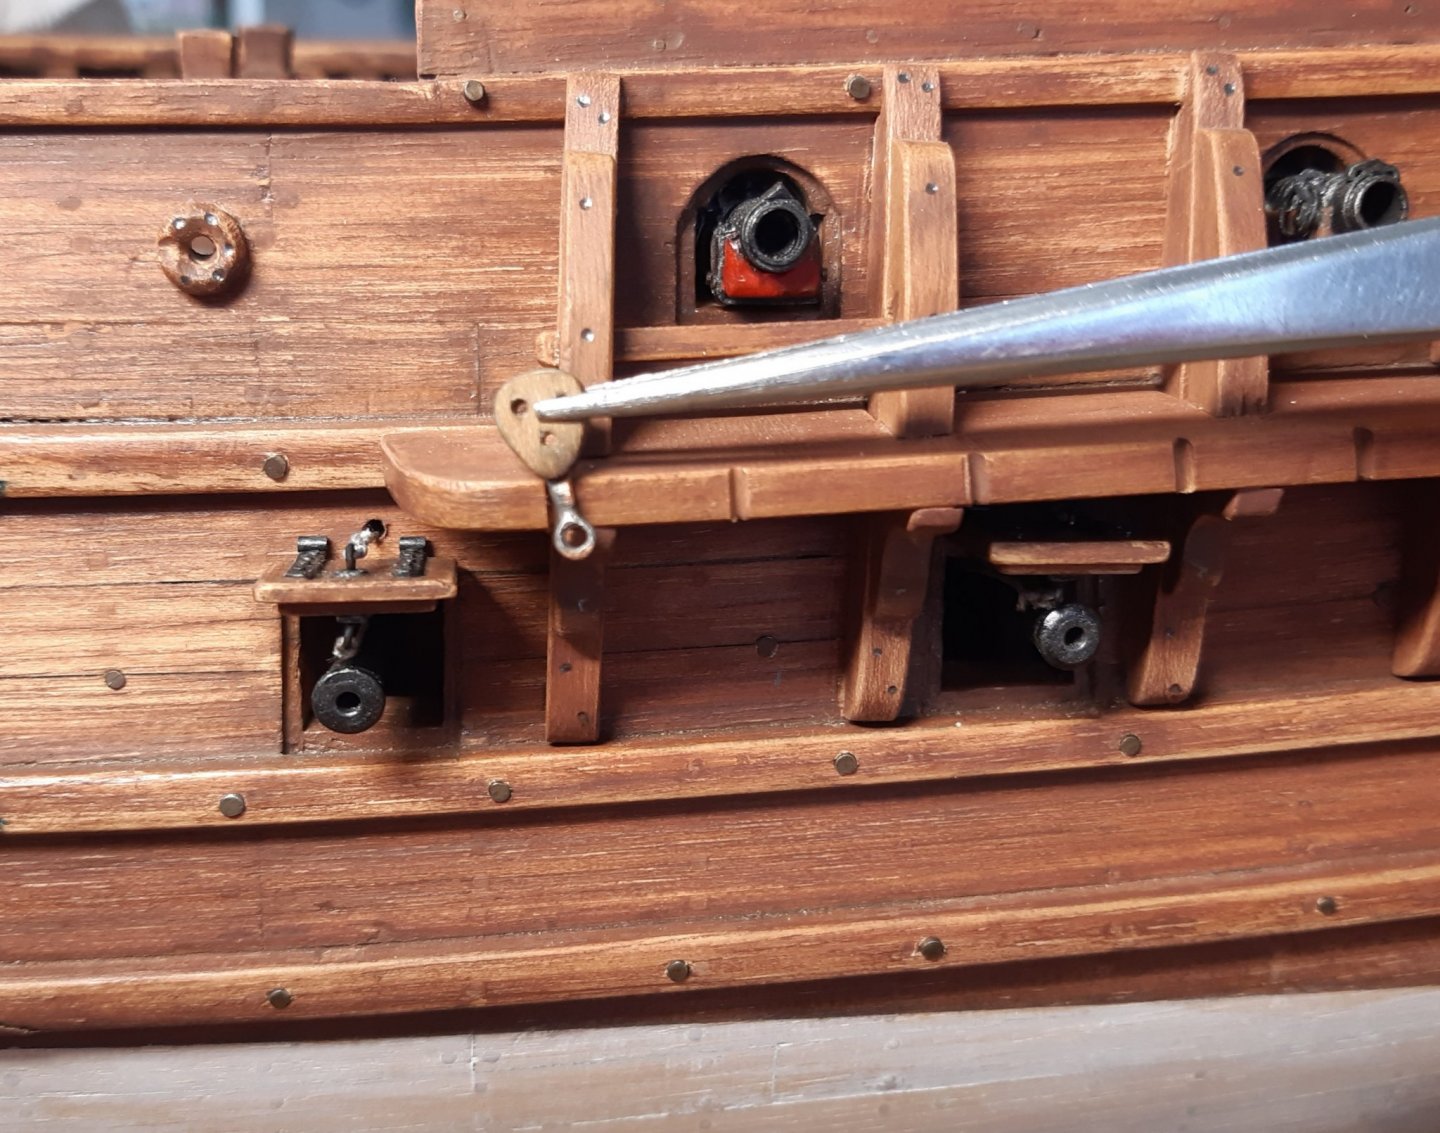
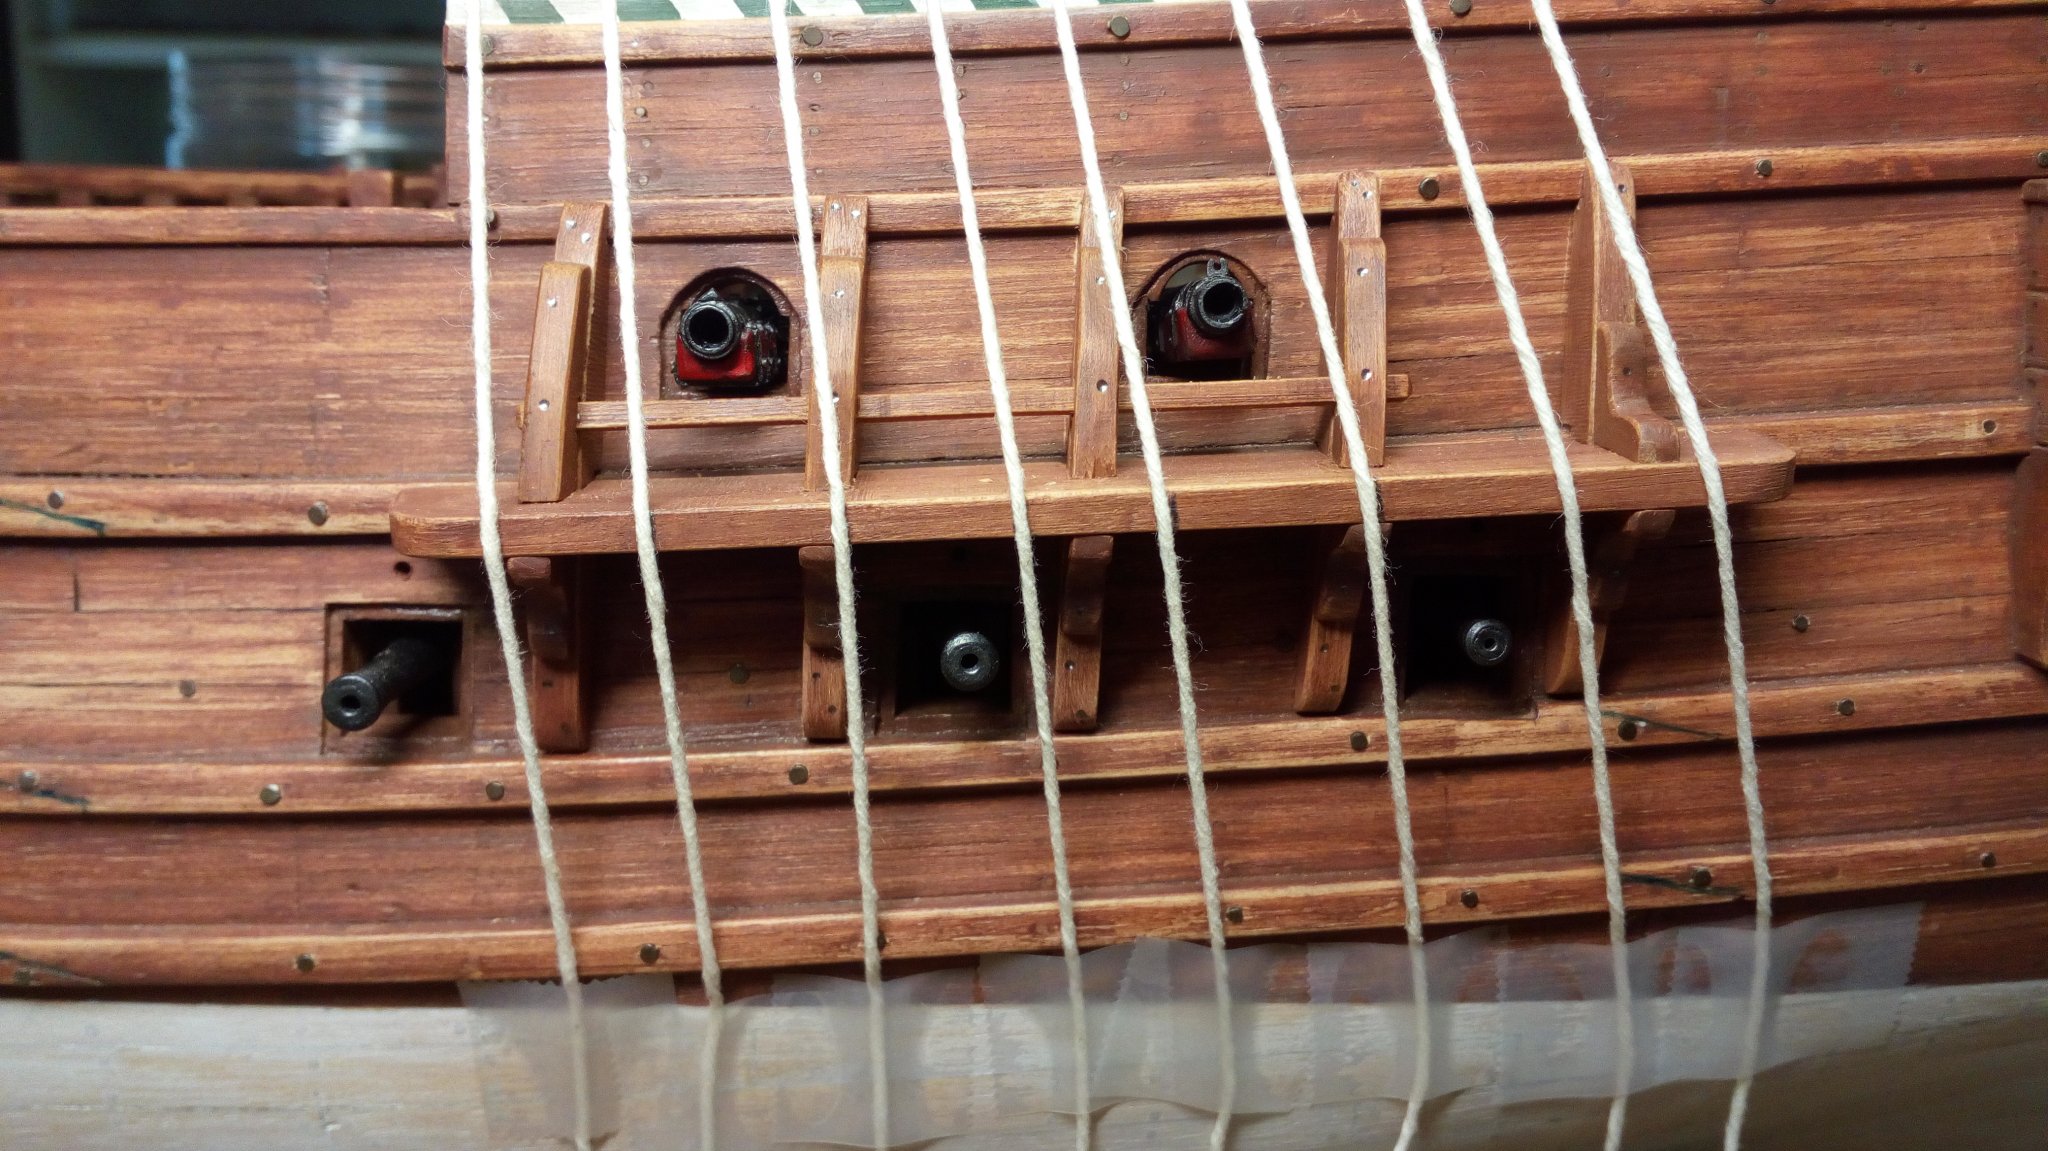
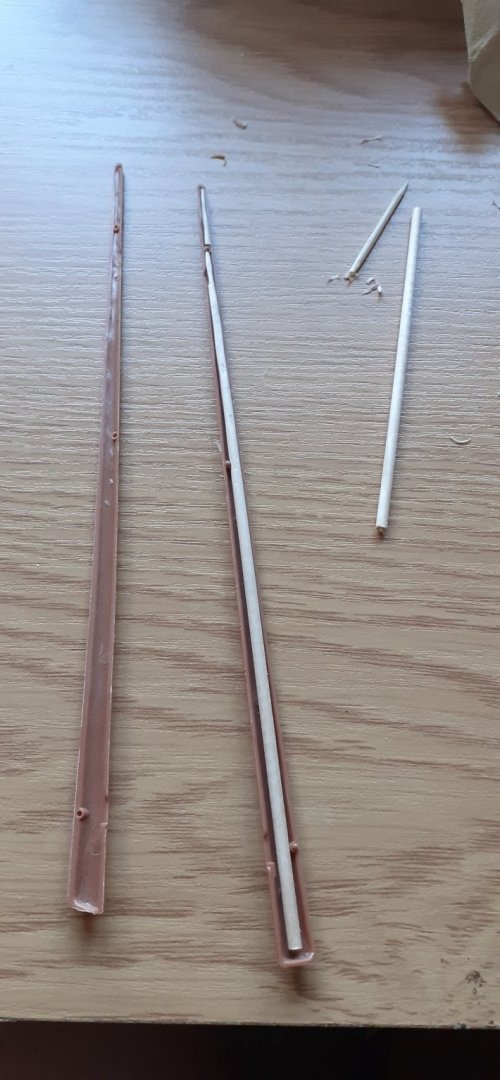
The width of the channels and the exact position of the deadeyes - schrouds has already been tested. That's not going to be the problem anymore.


For now I make the deadeyes first. Then probably the masts. The chains holding the deadeyes will all have different lengths.
Will be fun")
- Louie da fly, mtaylor, davyboy and 2 others
-
 5
5
-
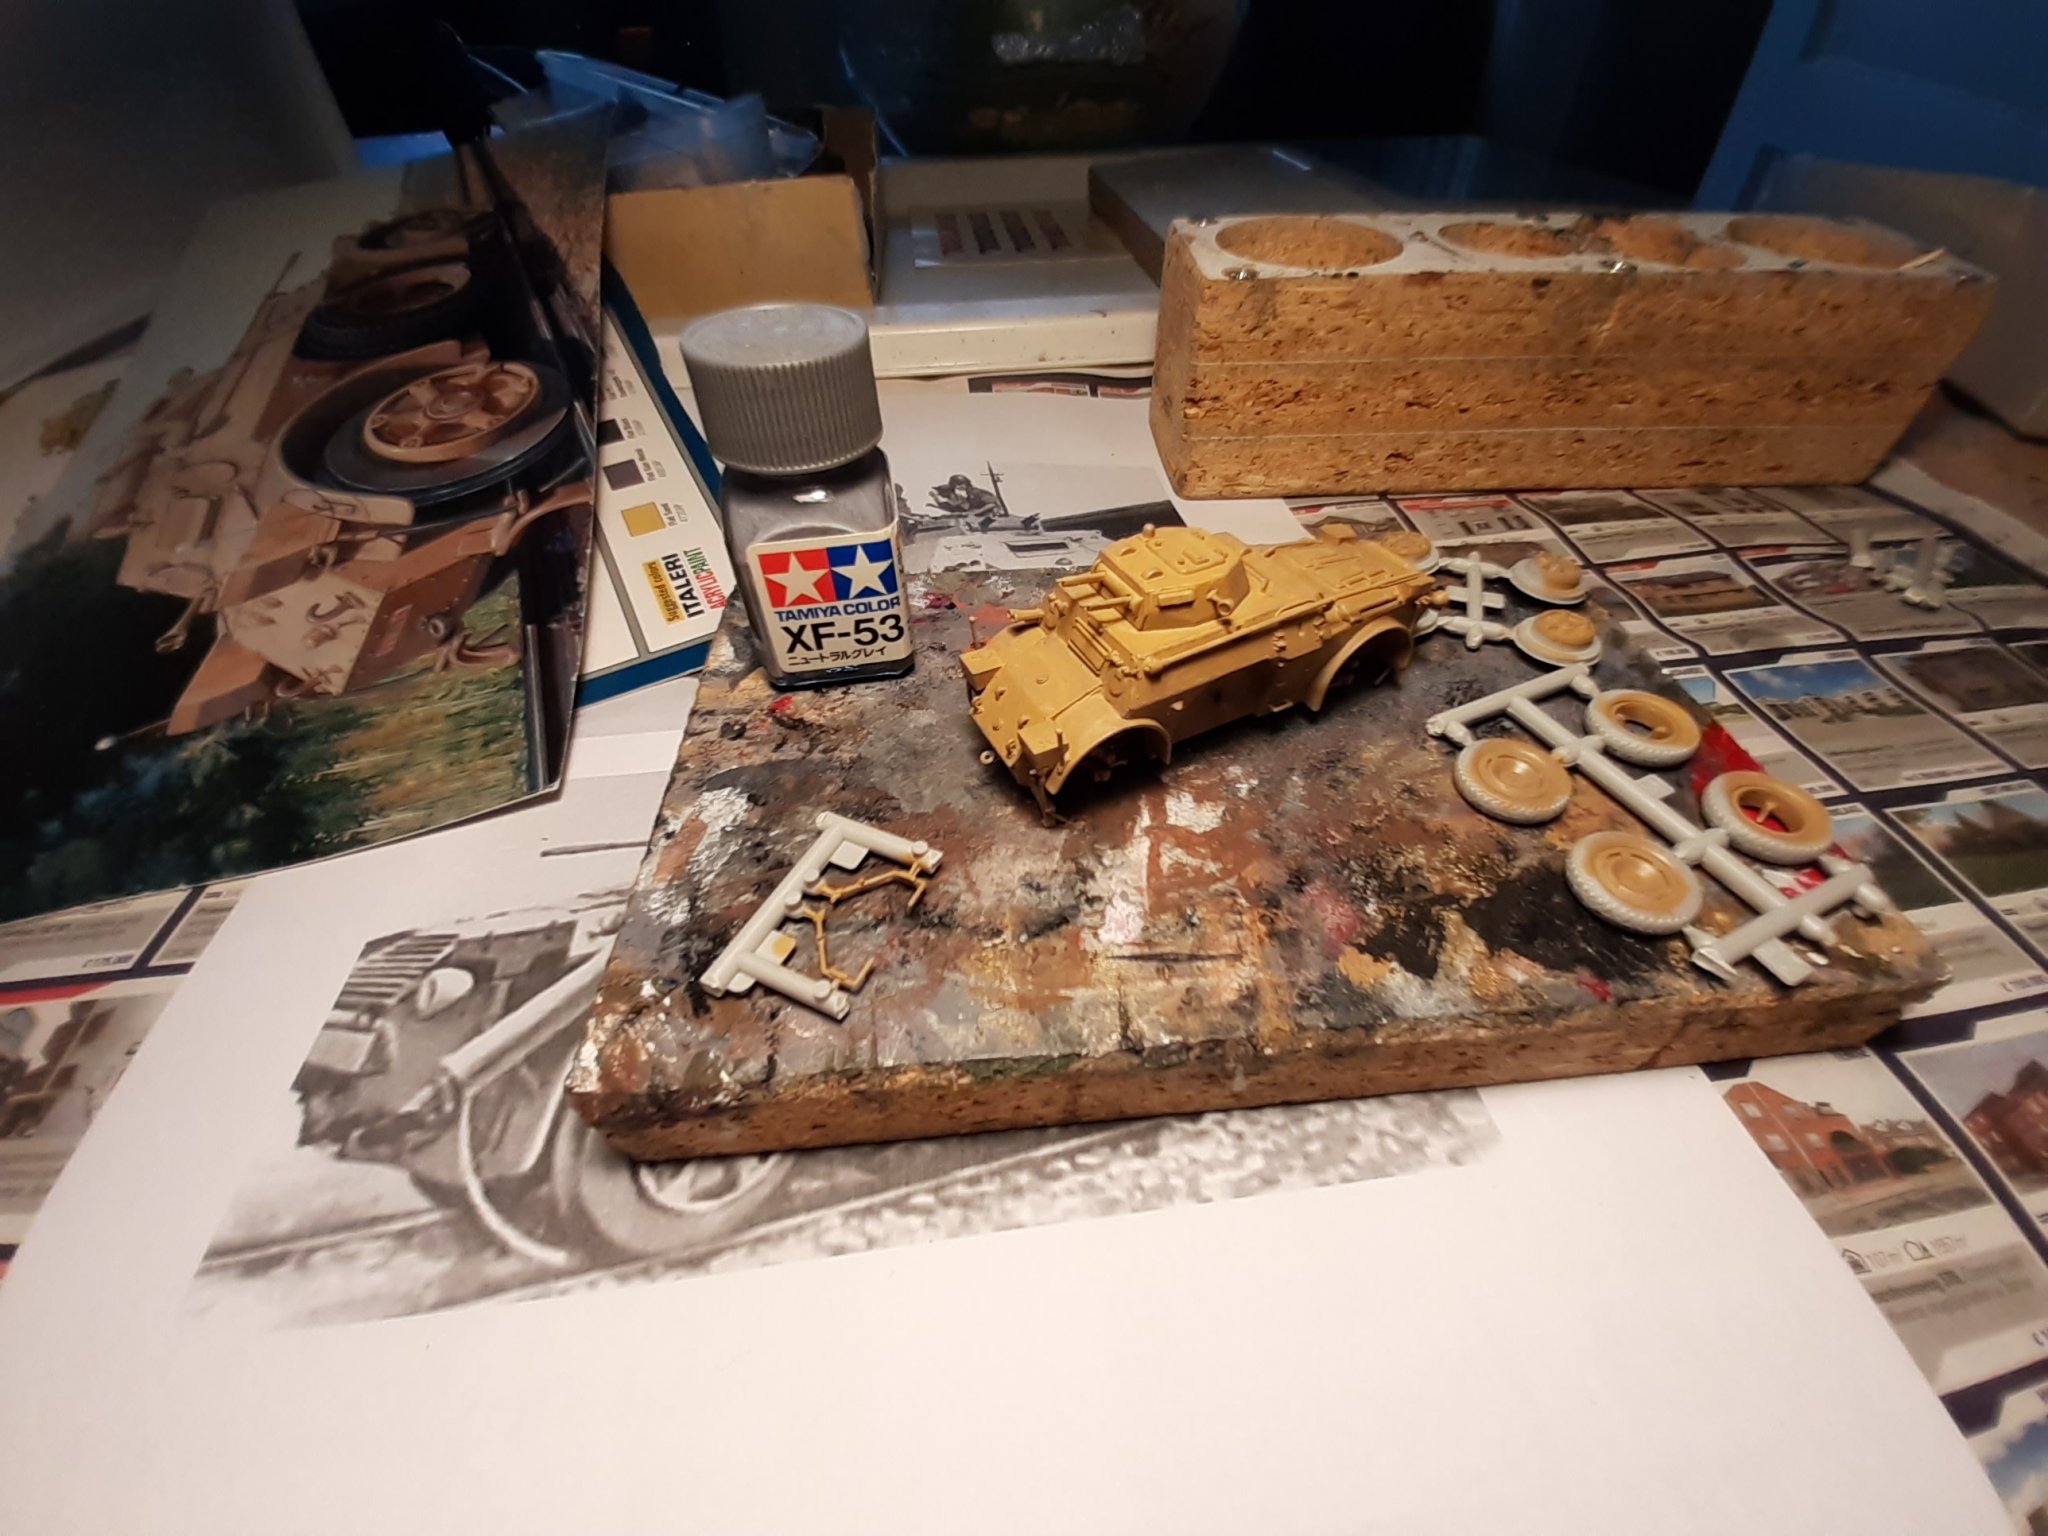
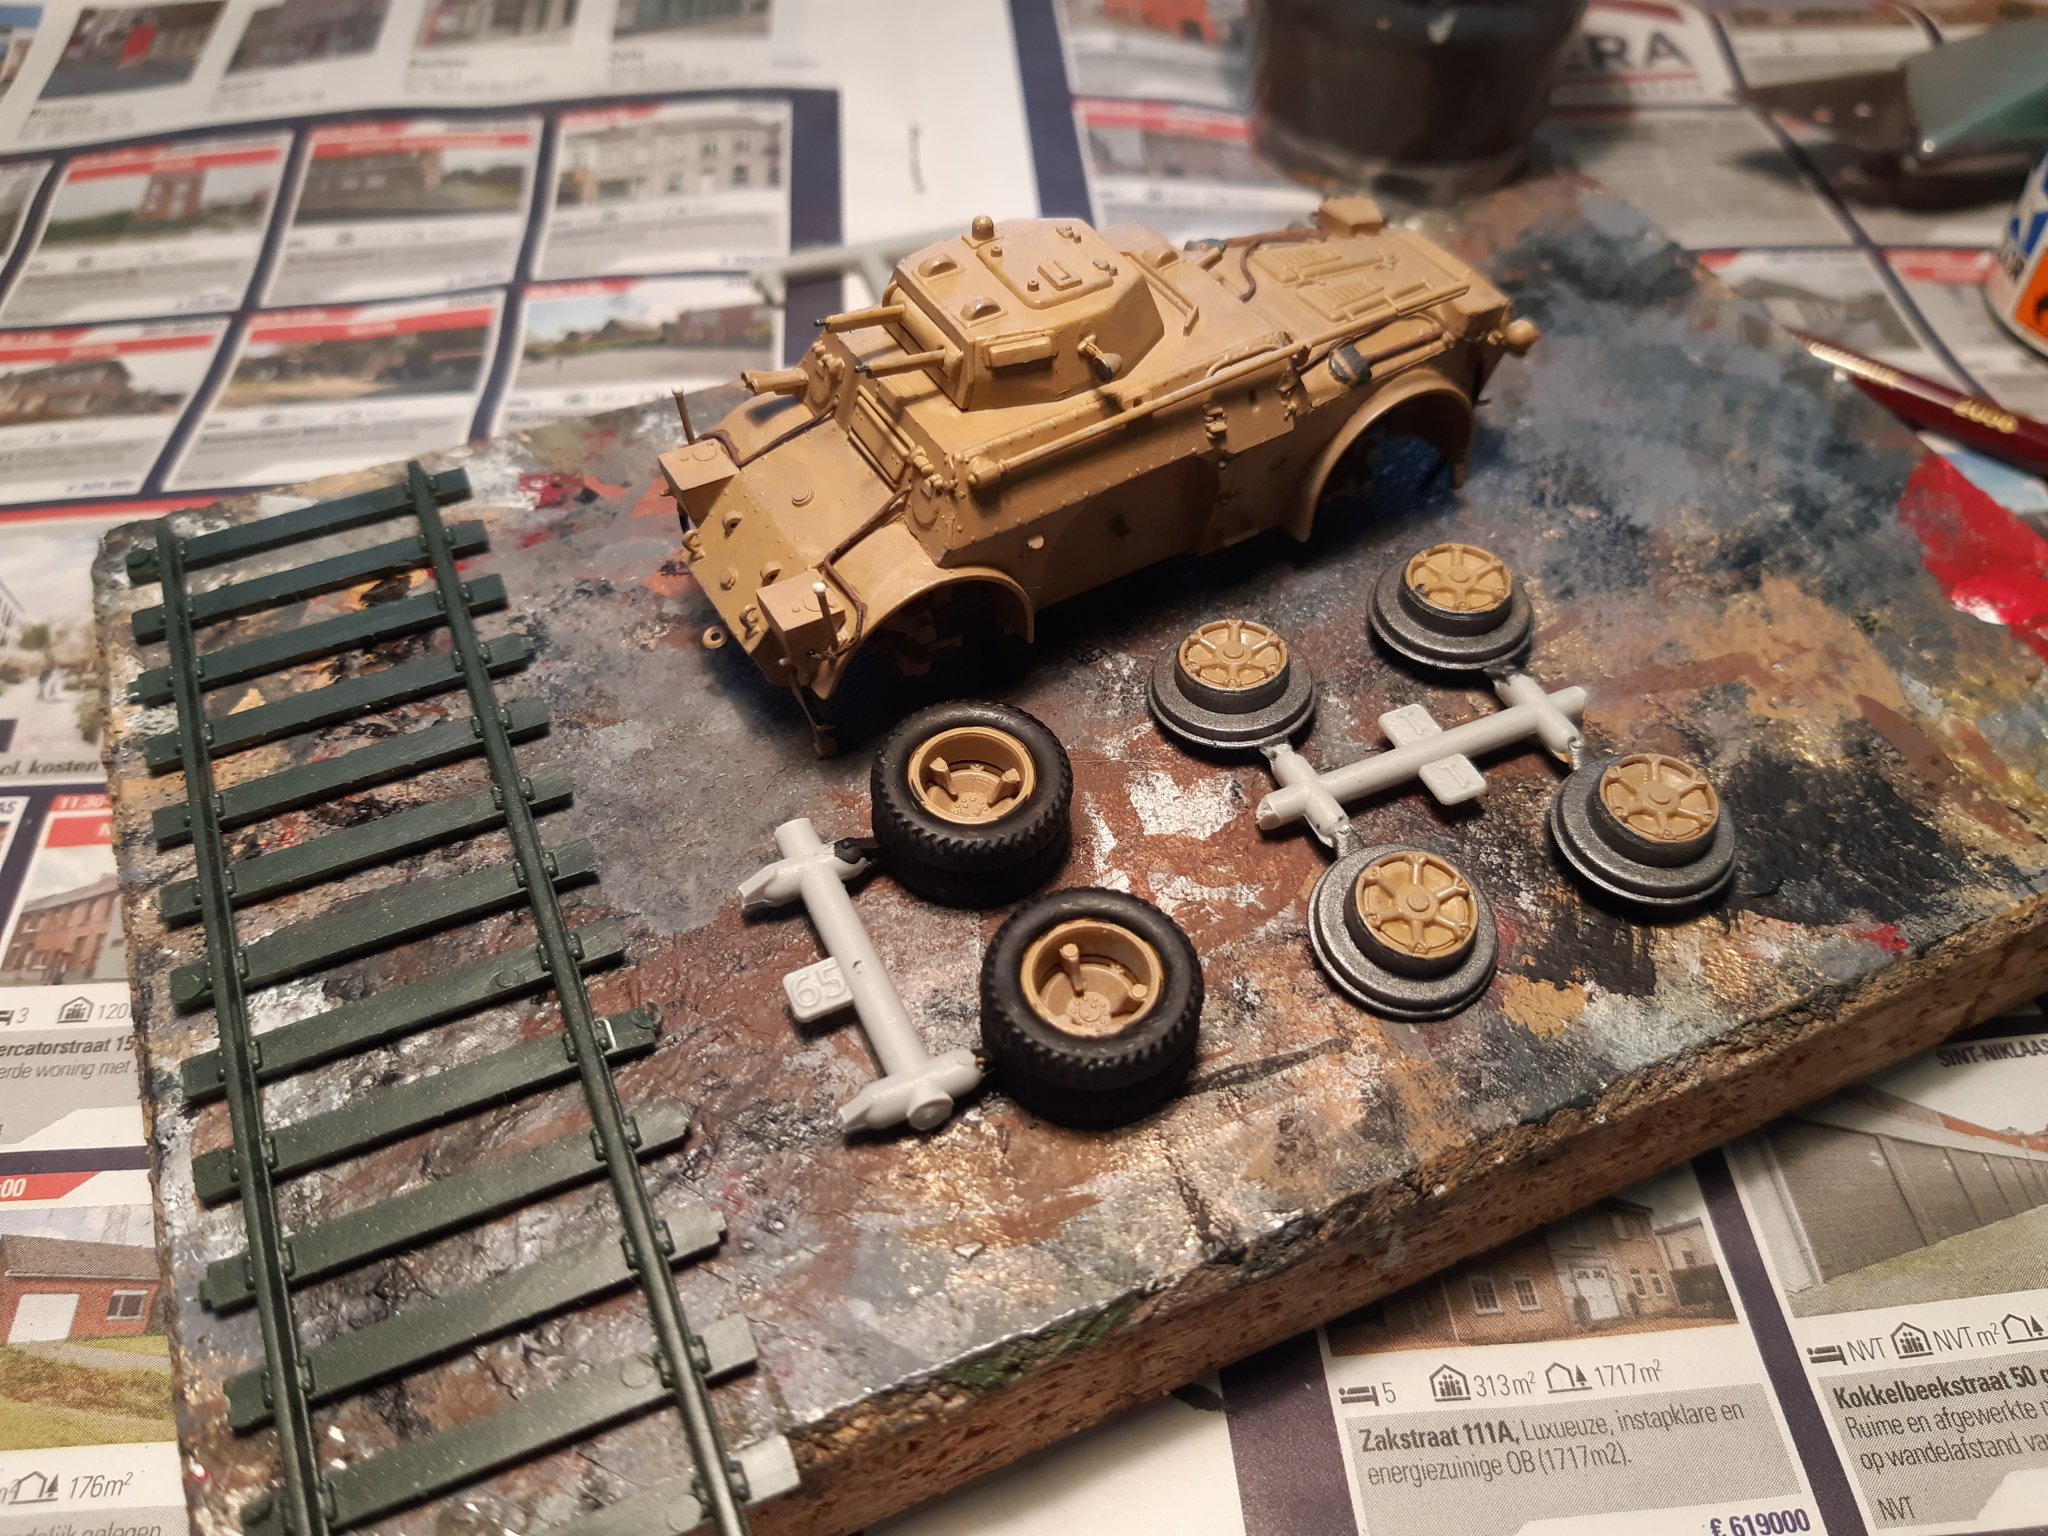
progress
Dry brushing with grey

Added some extra detail.
Cables.
These served to operate the boxes (filled with sand) from inside the vehicle. This sand fell on the rails and provided better grip on the wheels in an emergency.
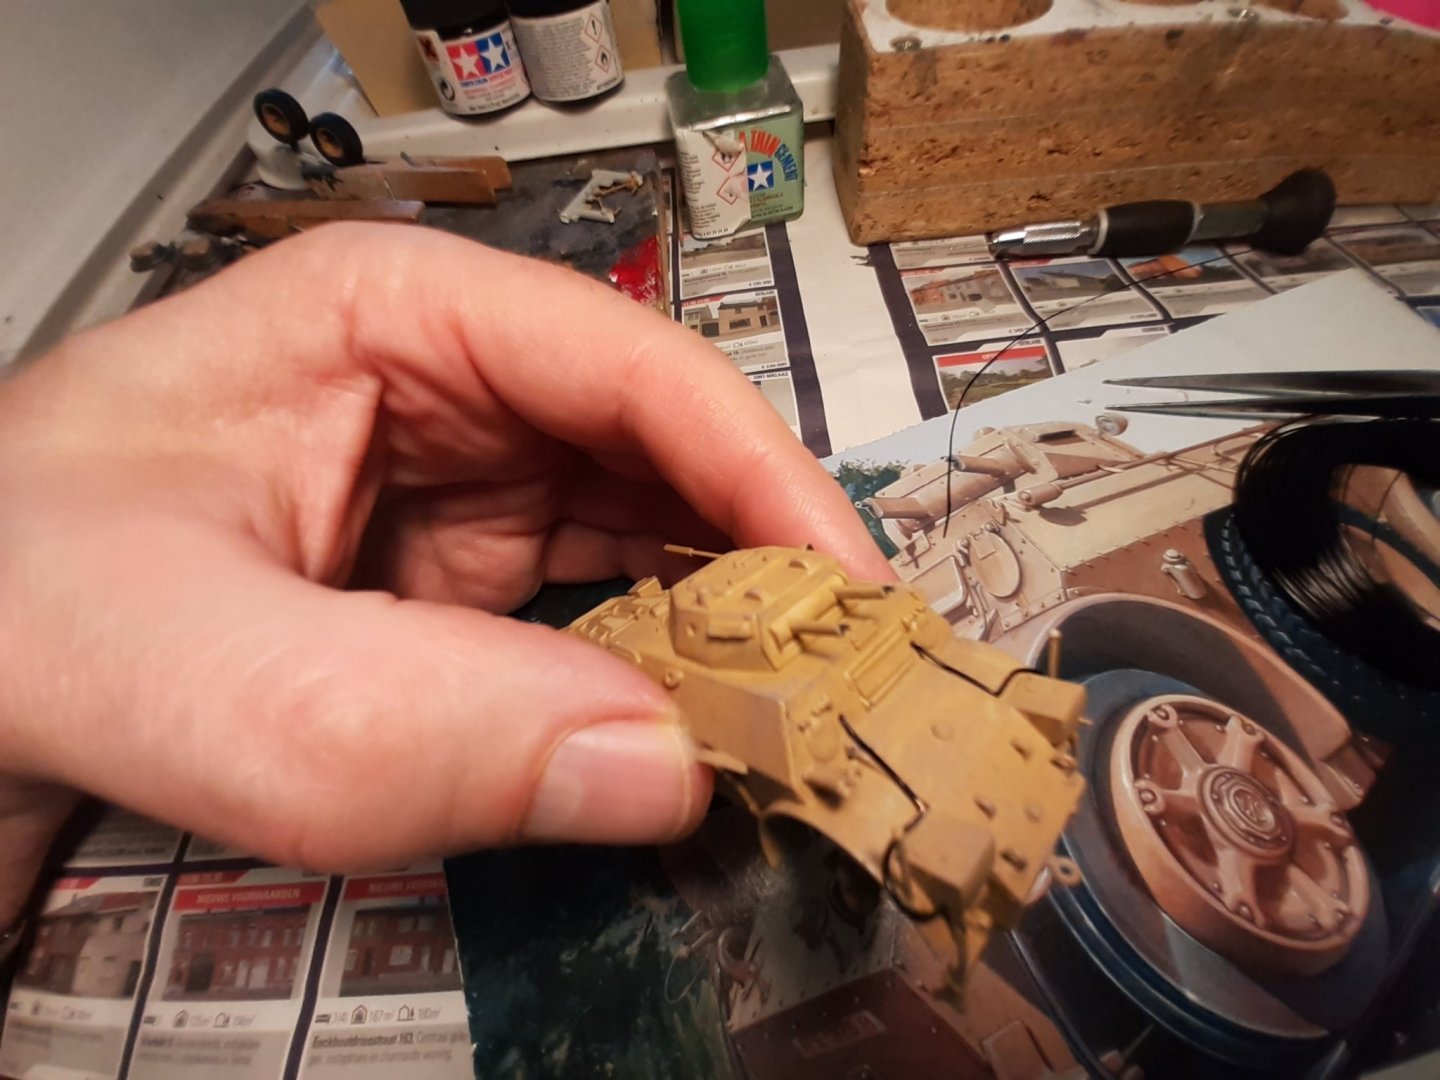

Painted the wheels and other extras.

- Edwardkenway, mtaylor, marktiedens and 5 others
-
8
-
-
-
-
-
-

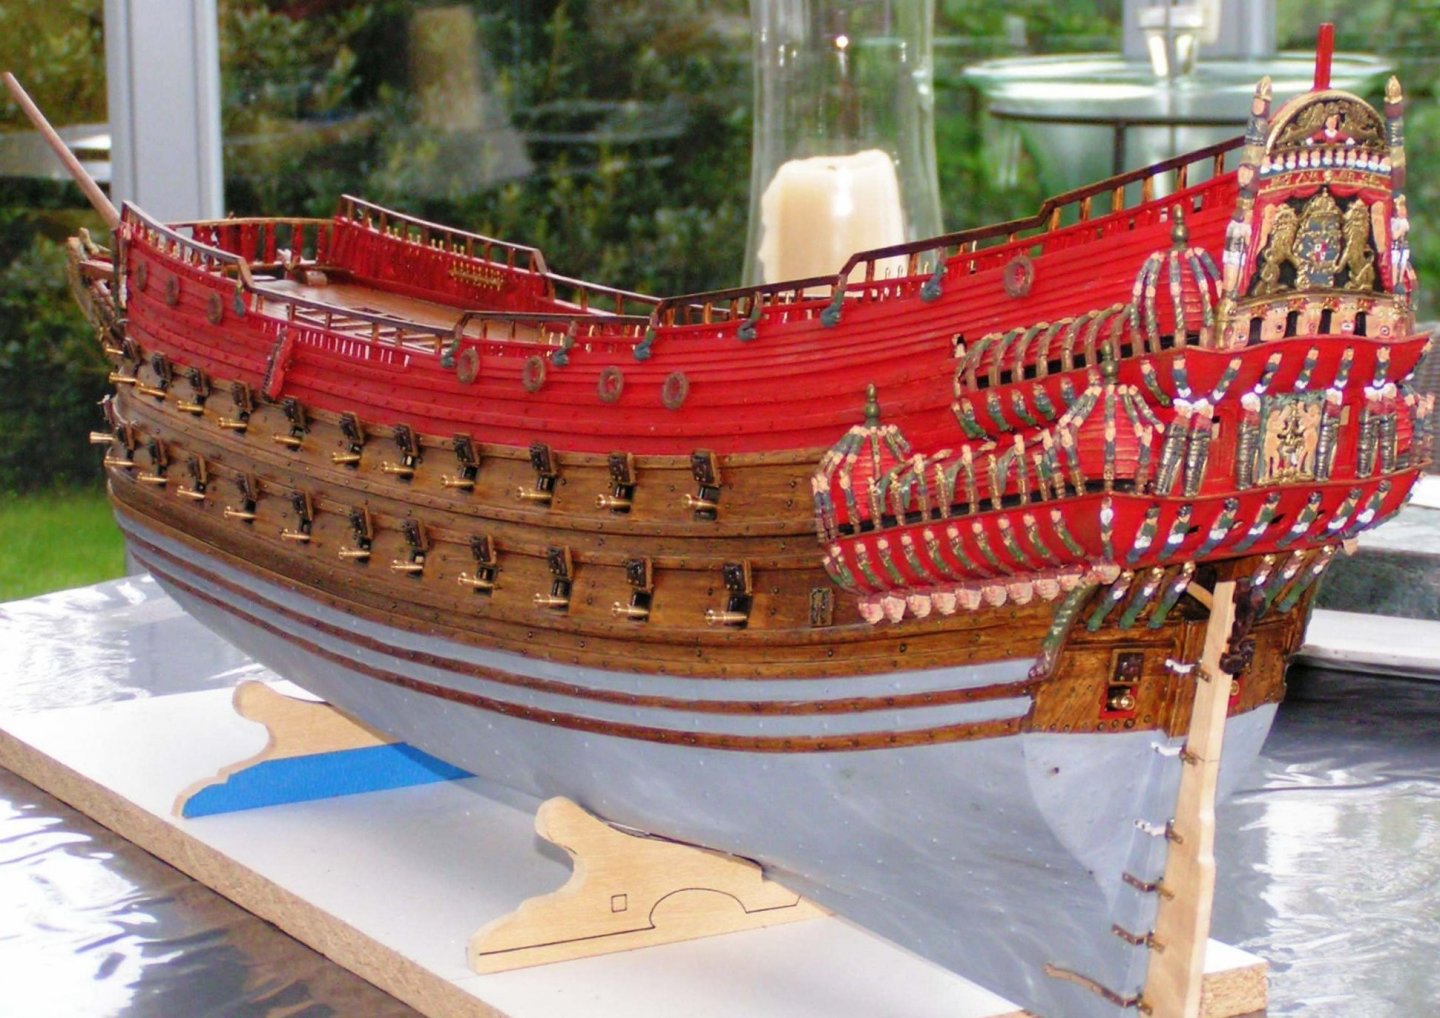
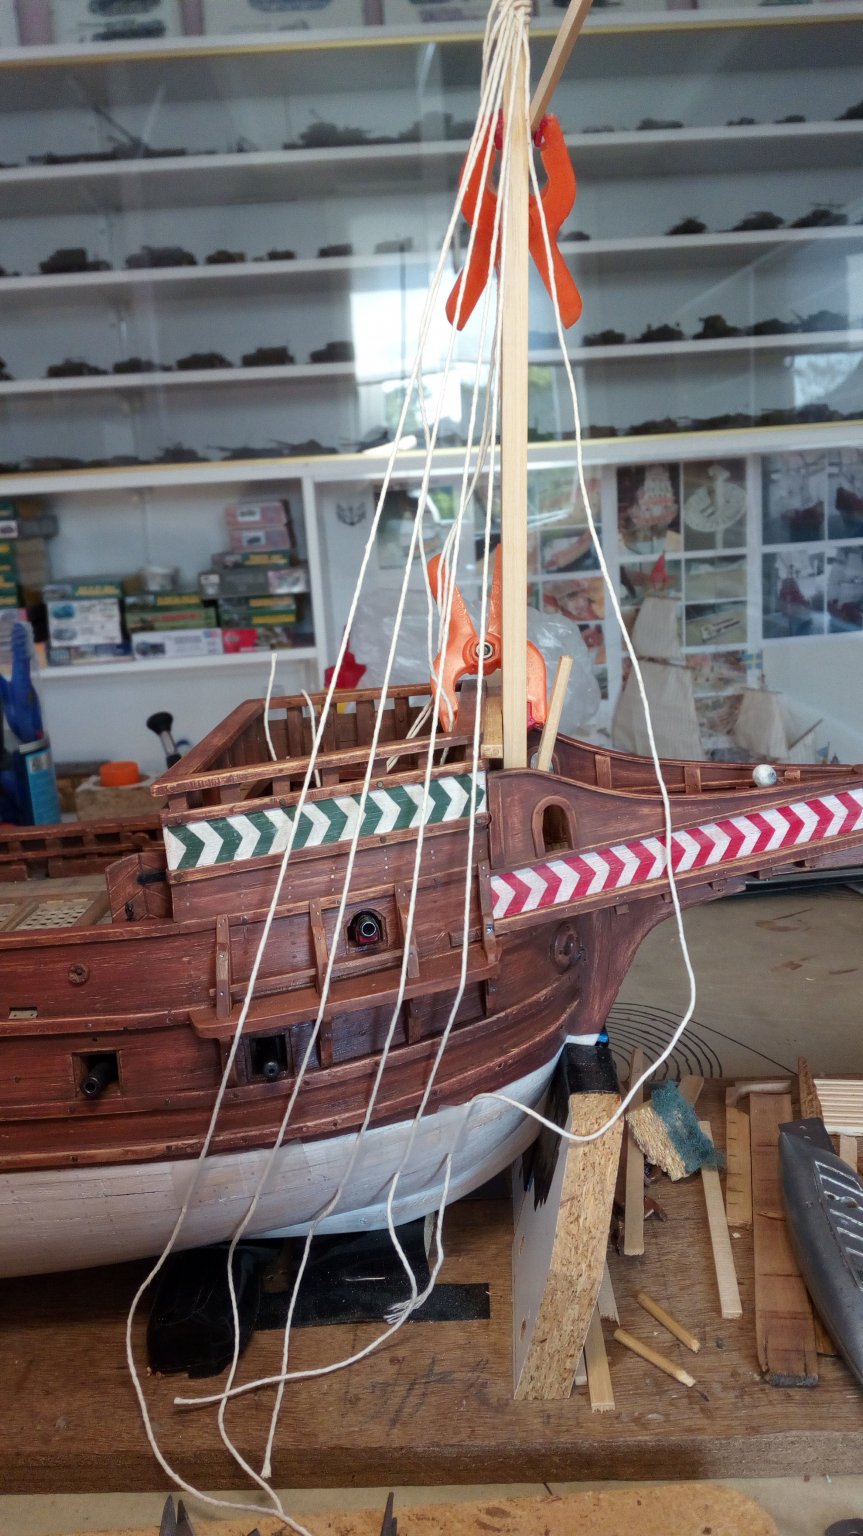
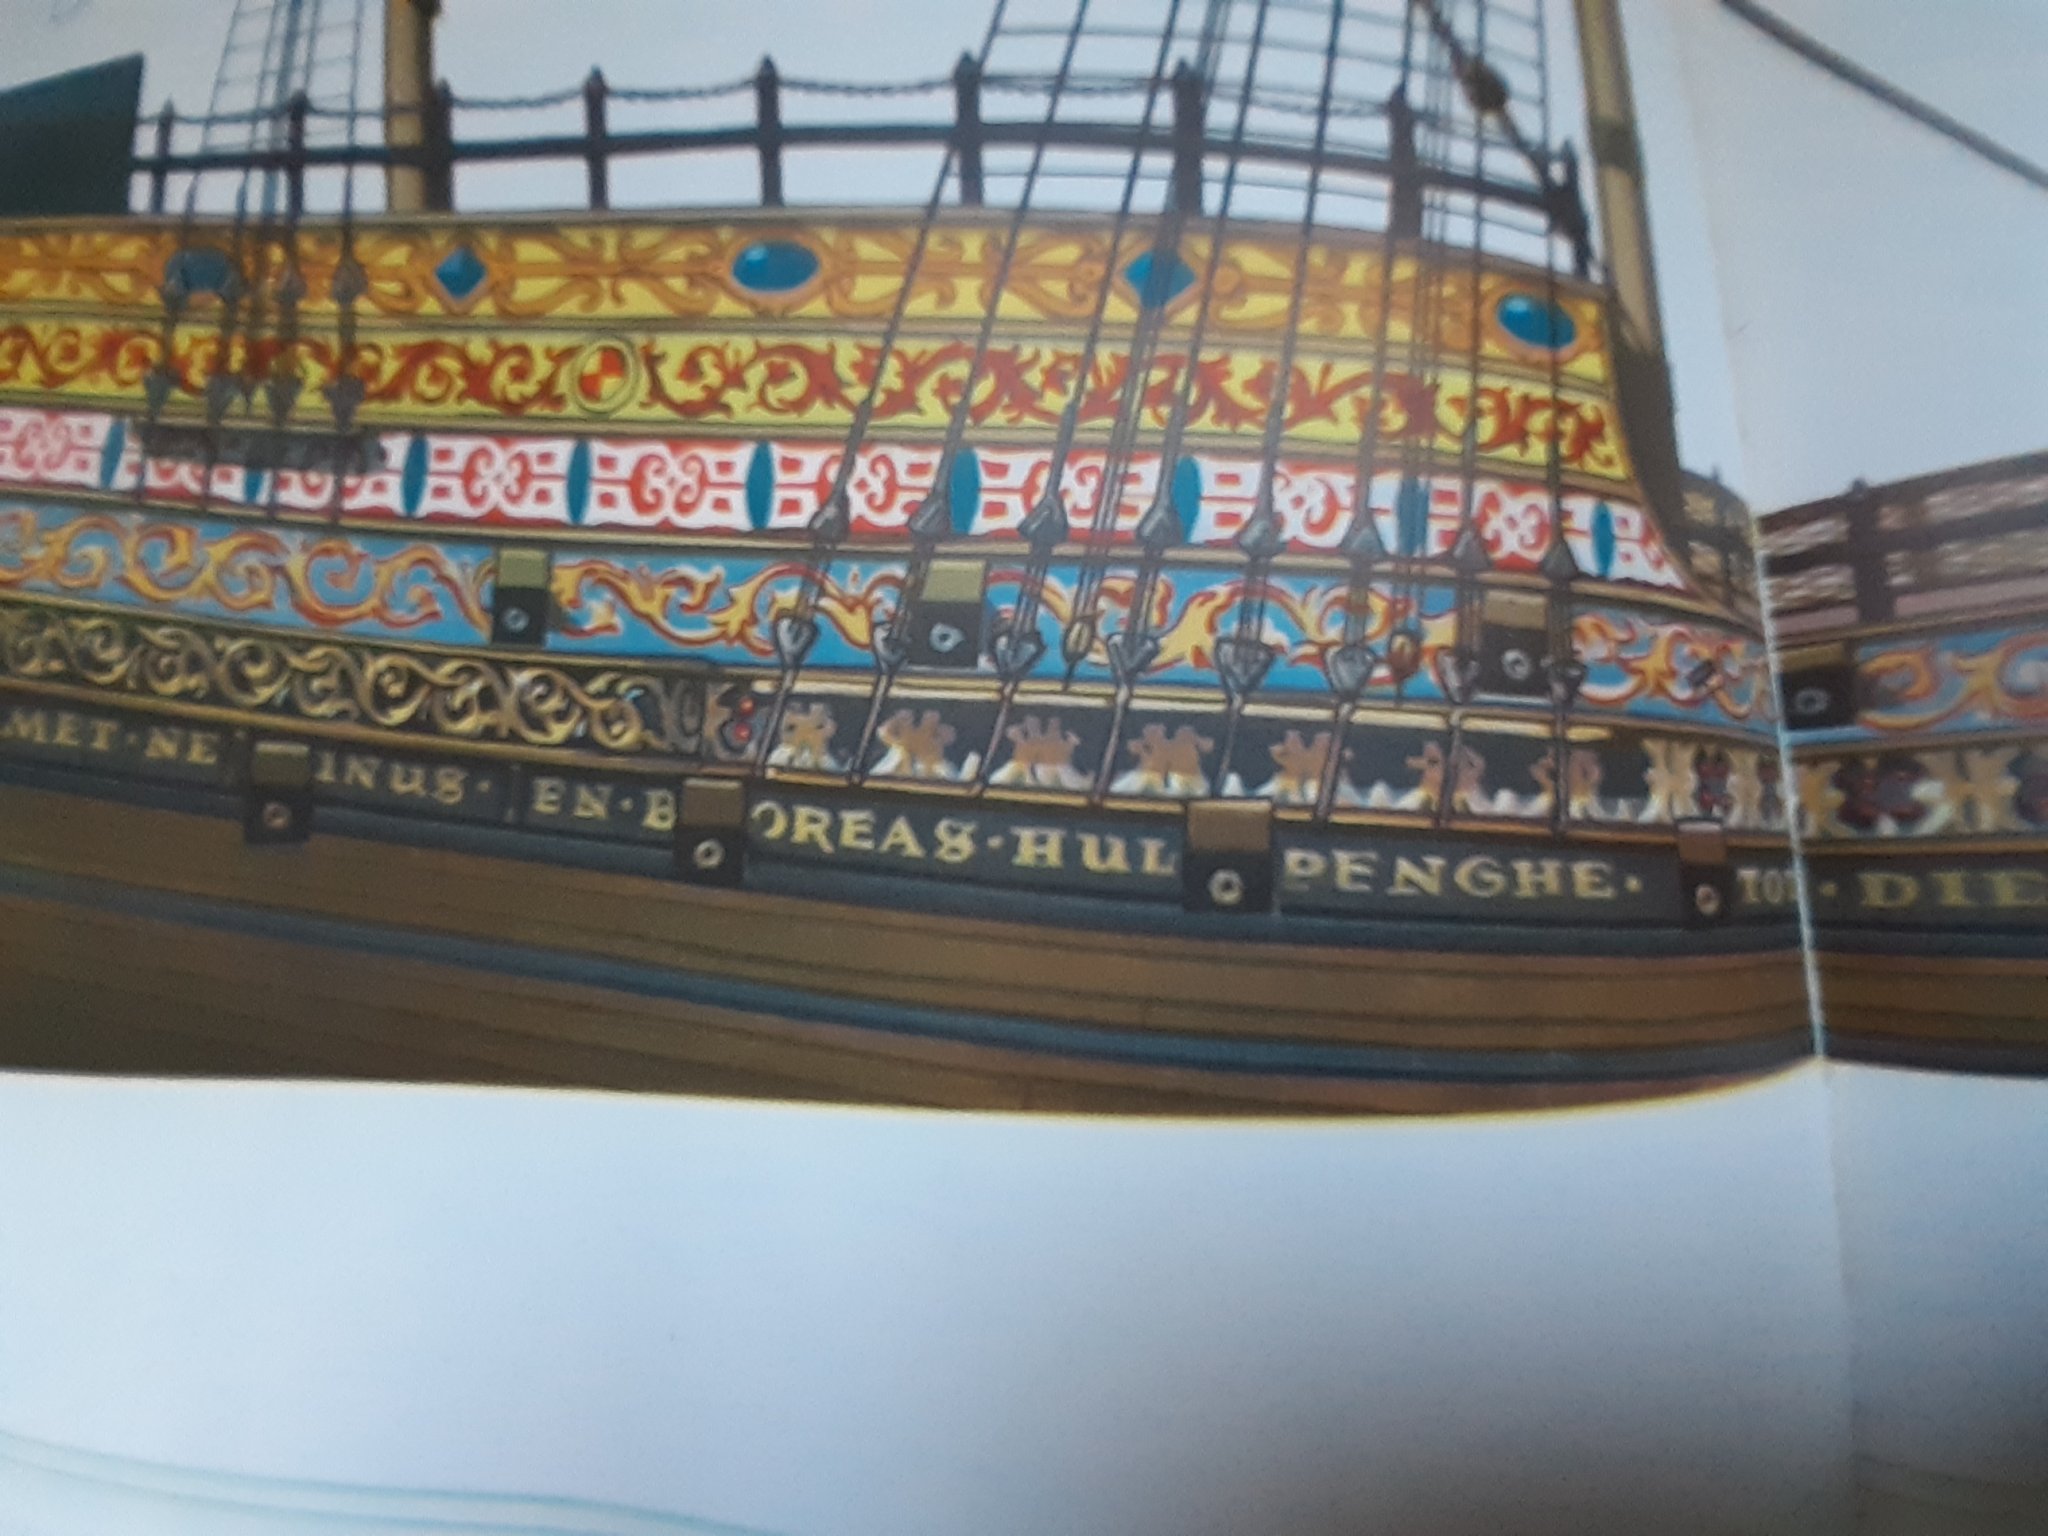
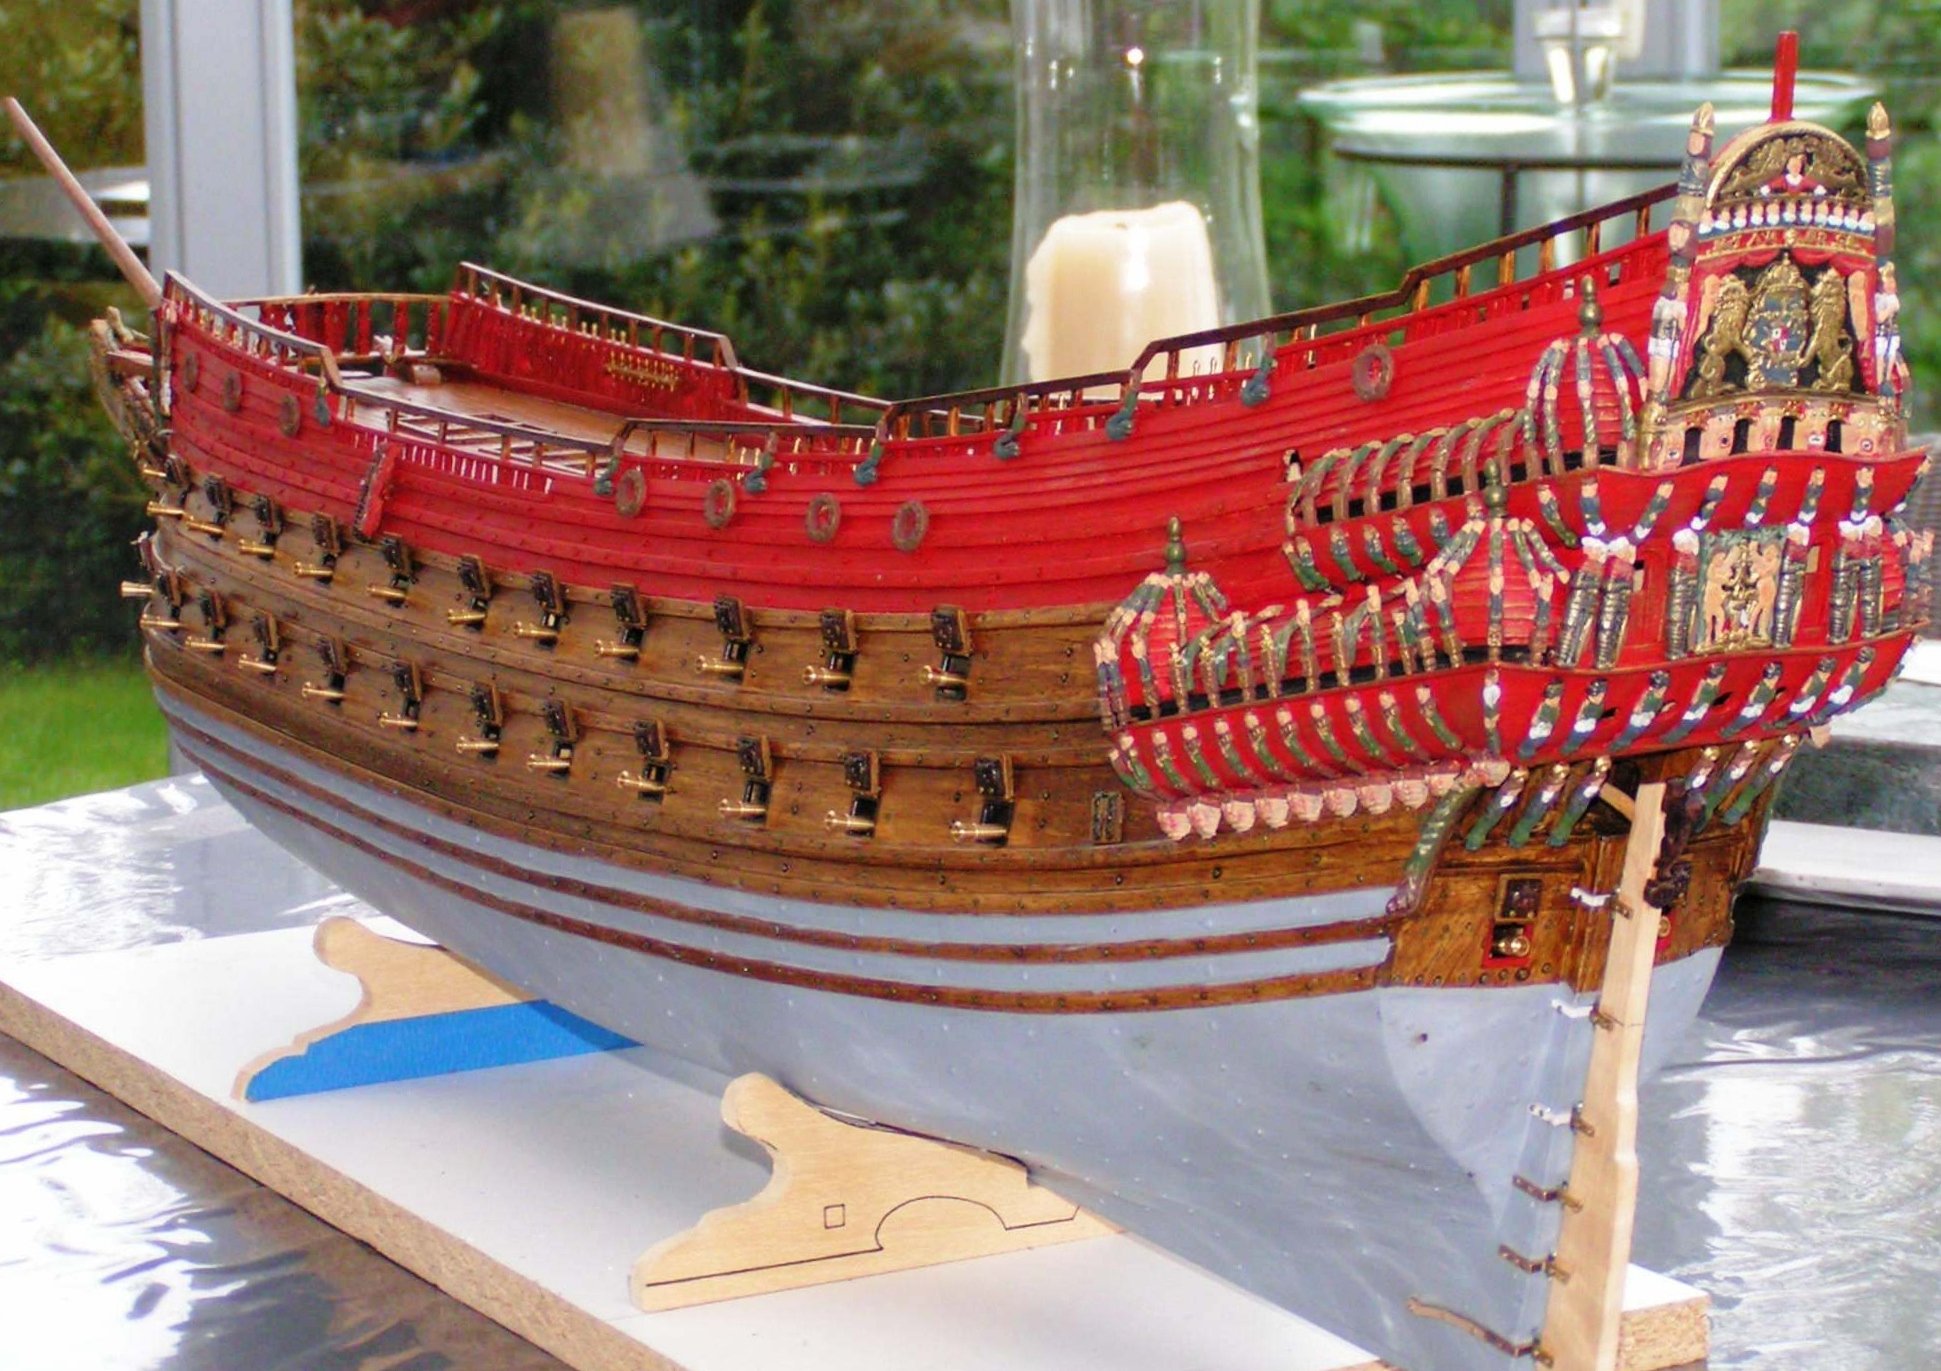
This model looks like a late 16th century galleon.
-
And enjoy the restoration of this model.
Maybe you discover a new hobby, building model boats.
-
7 hours ago, popeye the sailor said:
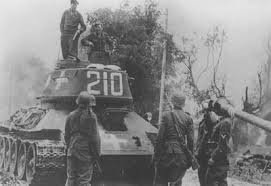
did some of these actually exist?!
And only belief the photos found in real books (not the digital from the "photoshop era" )
A T34 rearmed with a 88mm
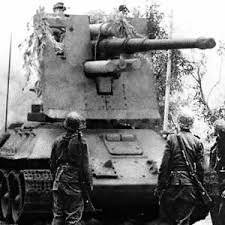
Before the photoshop...
-
-
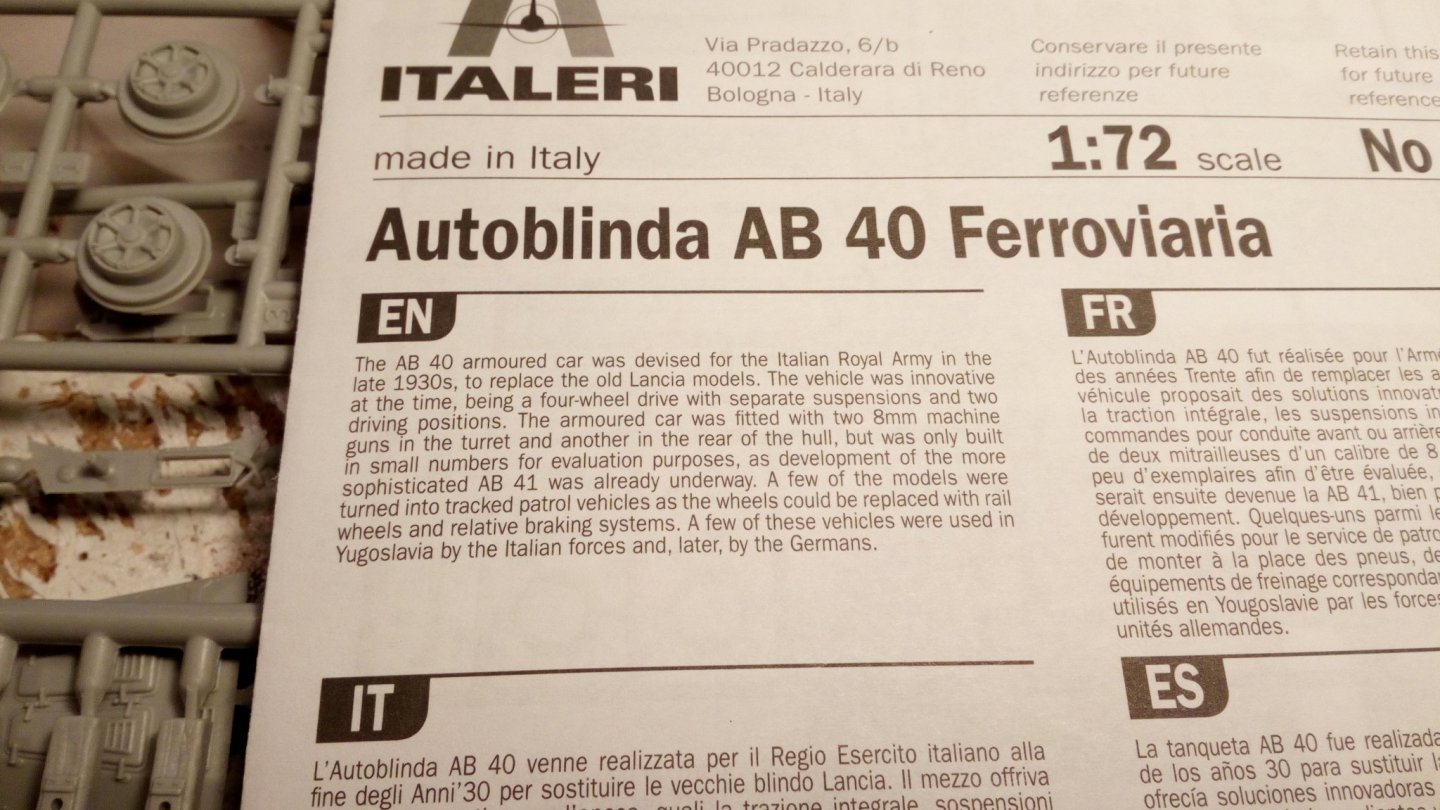
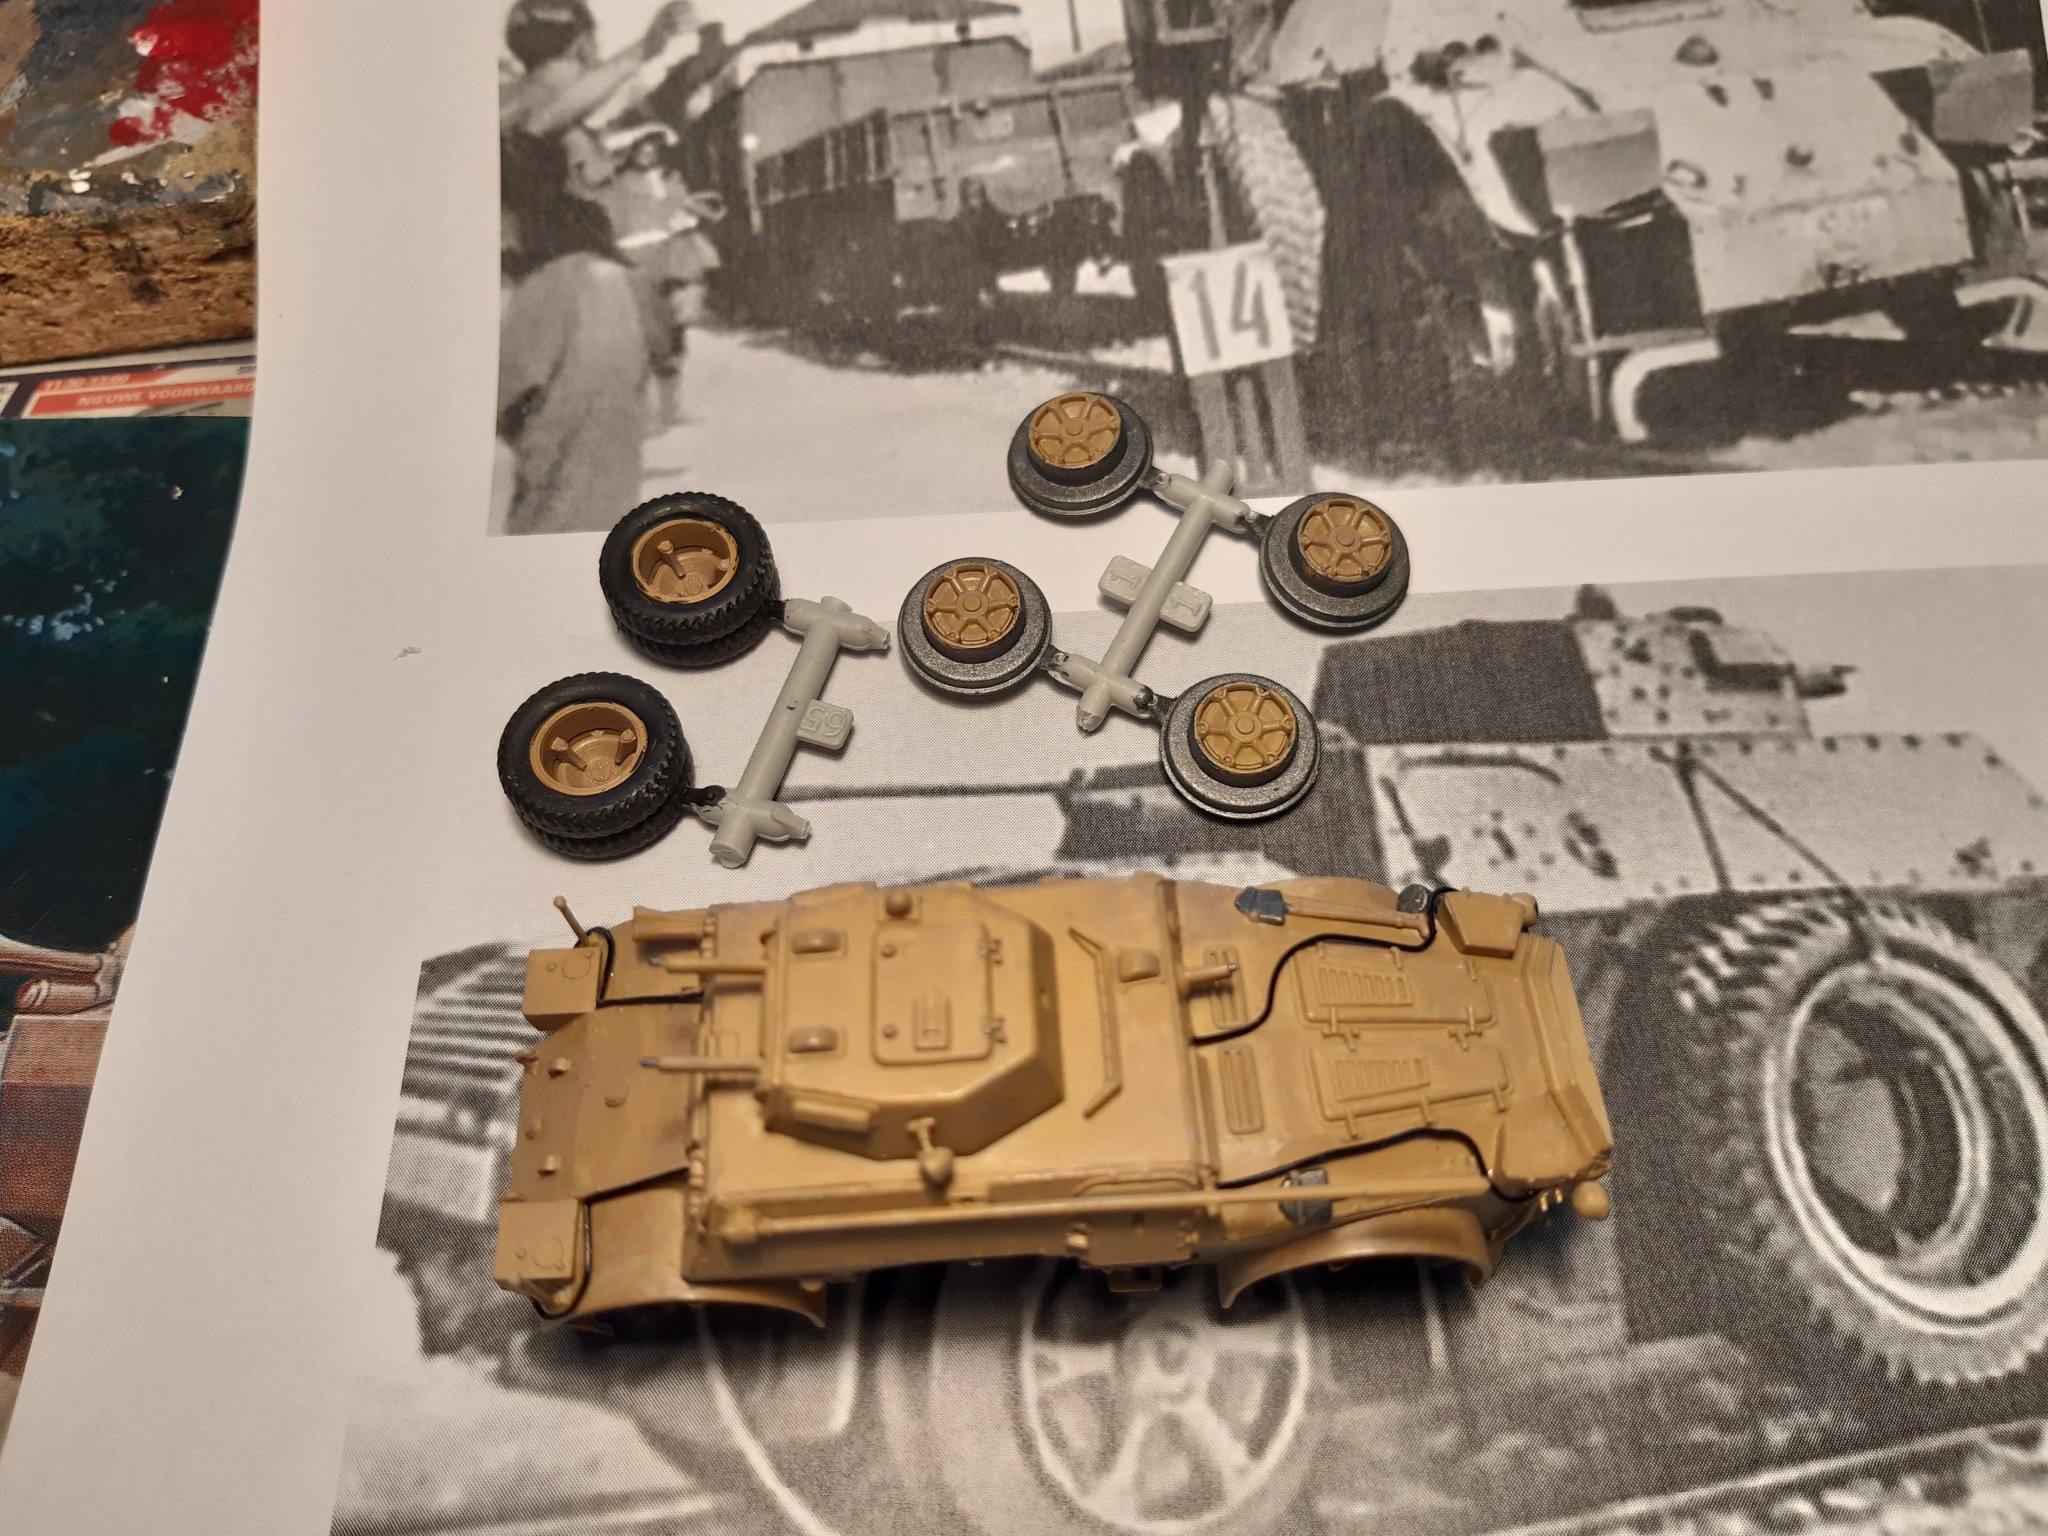
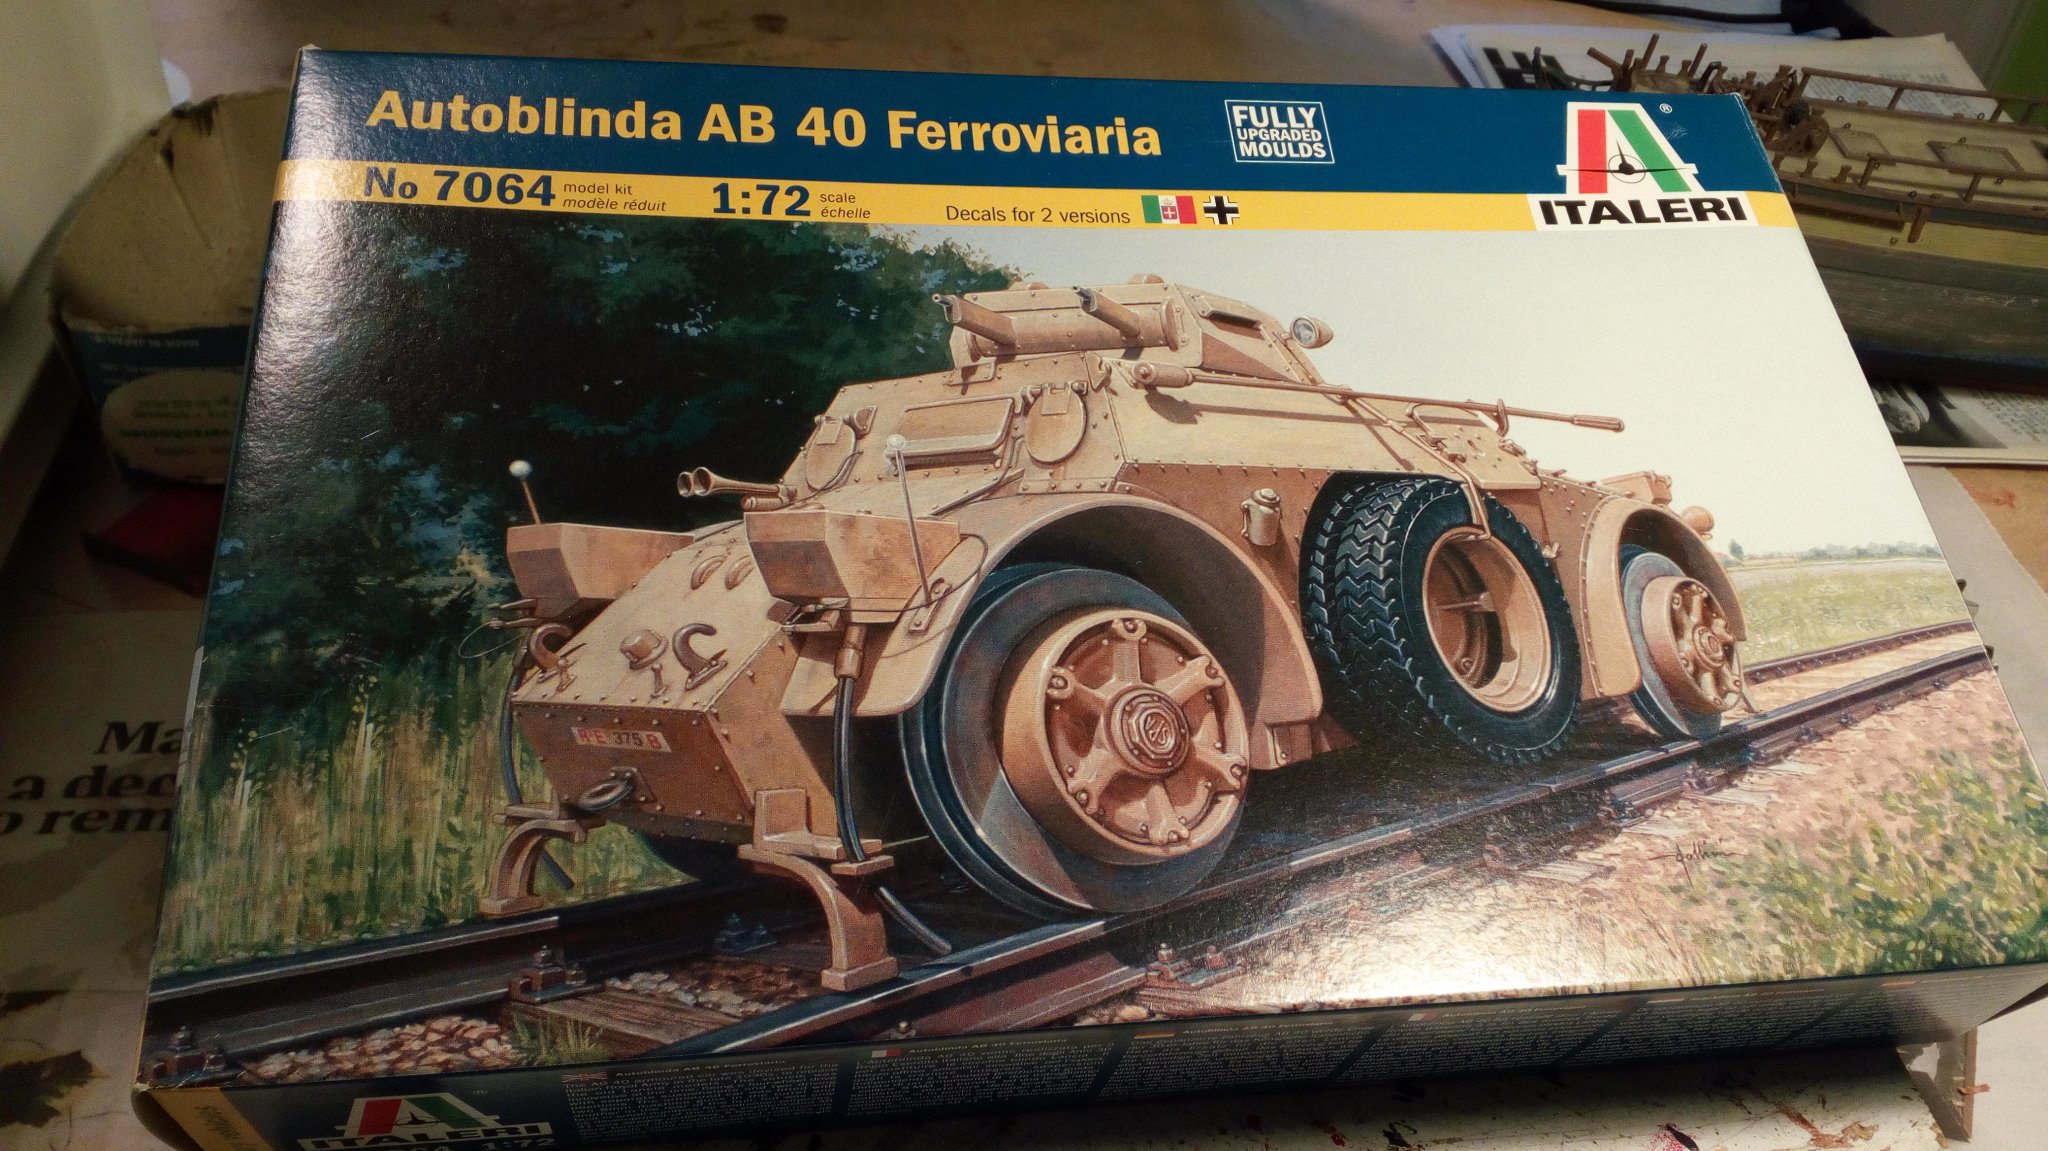
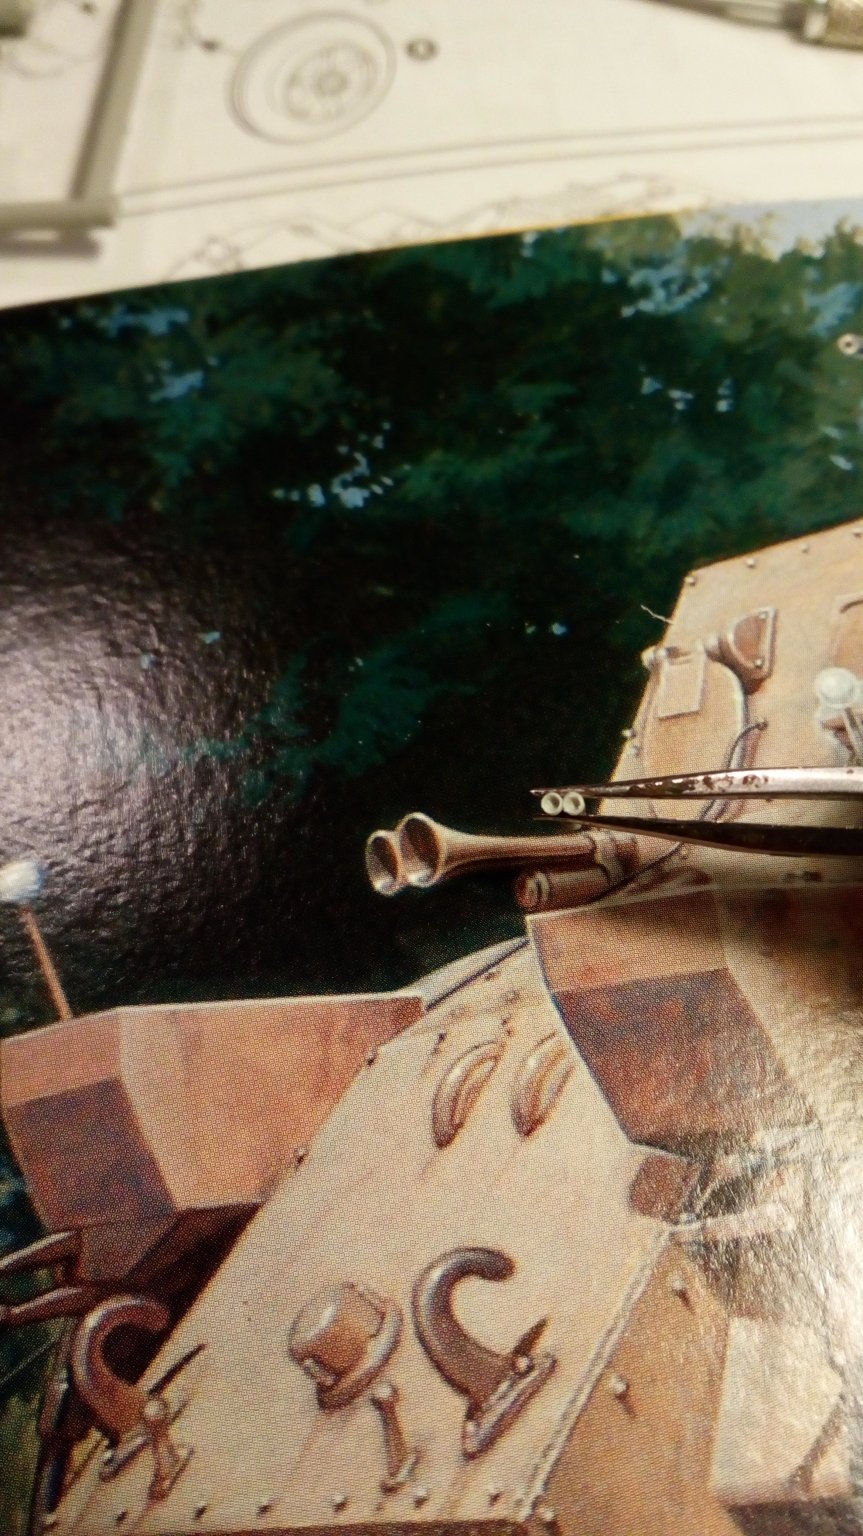
Welcome on the build of an Italian WW2 armoured car.
General info ( wikipedia) https://en.wikipedia.org/wiki/Autoblindo_Fiat-Ansaldo
I started this build a while ago. Then I came to the conclusion that according to wikipedia the AB 40 ferroviaria (fv in the future) would not have existed. Only the improved AB41 would have been converted to the fv.
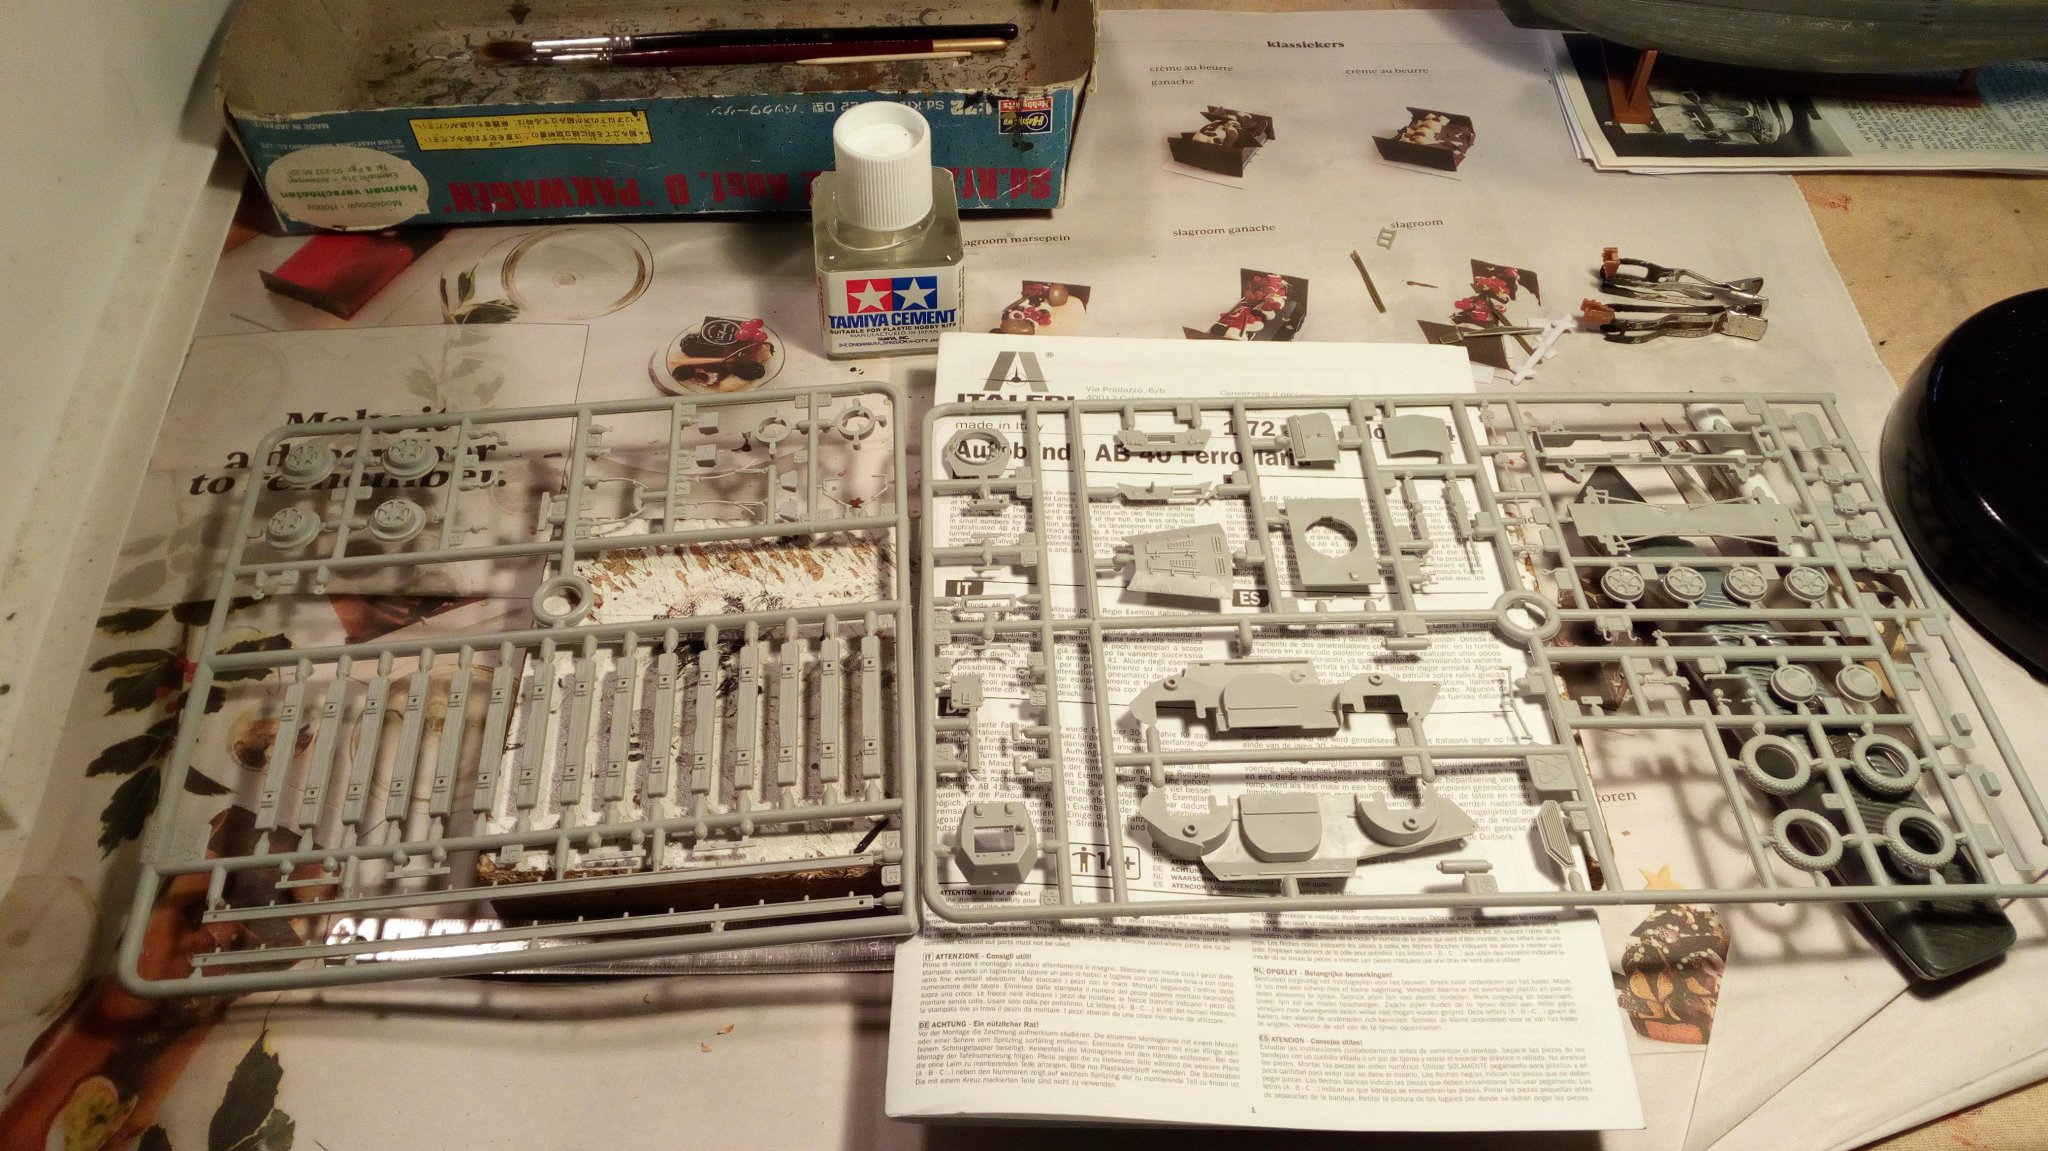
Italeri error ?? No, after a lot of searching, the wrong information turned out to be on Wikipedia. So good work from Italeri !!Box, contents and plan


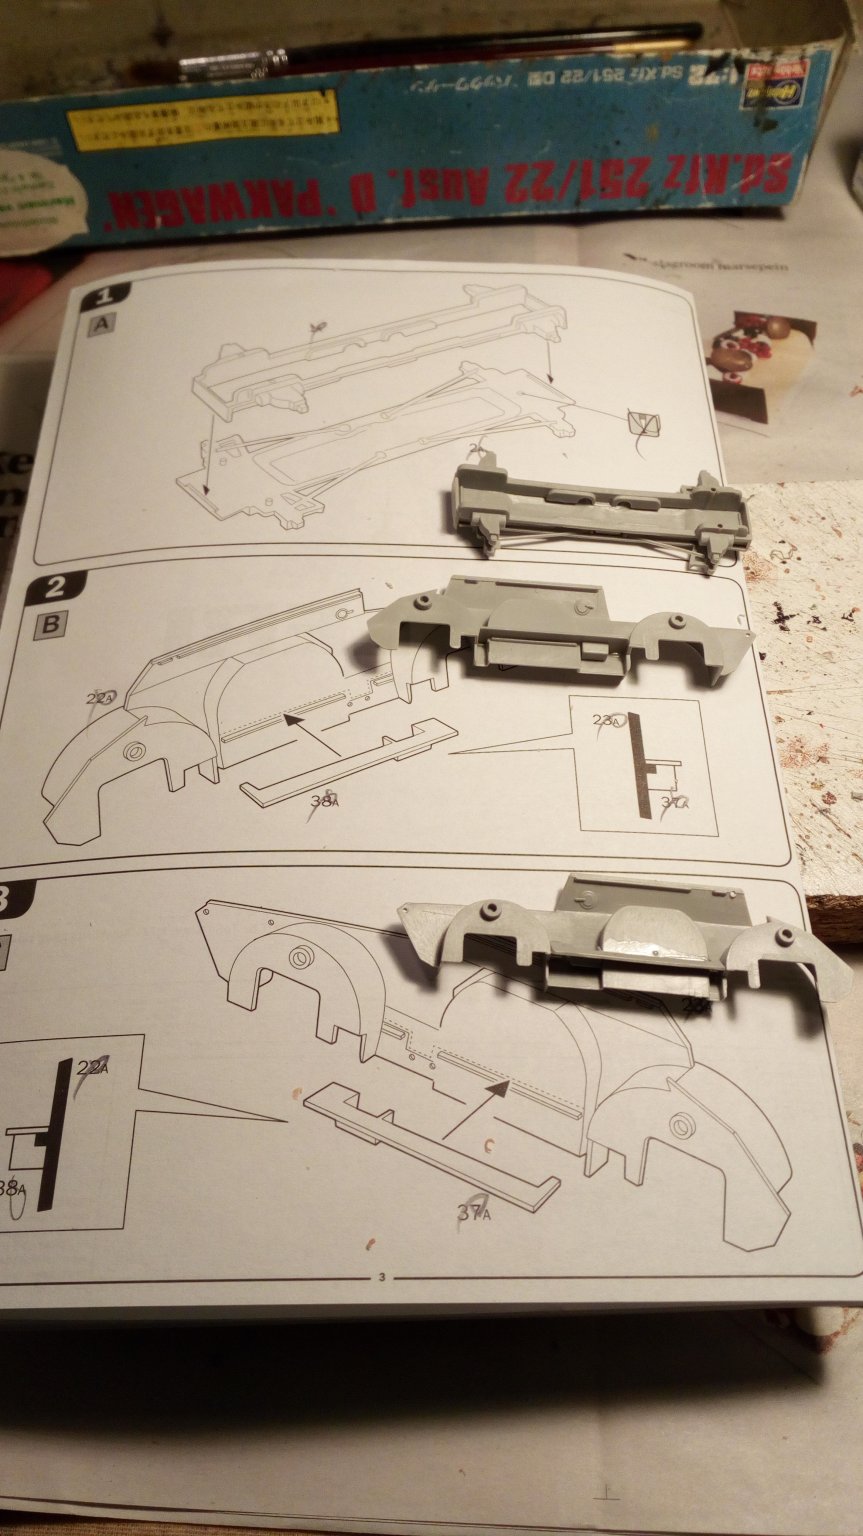
Building went without problems. Everything fits perfectly.

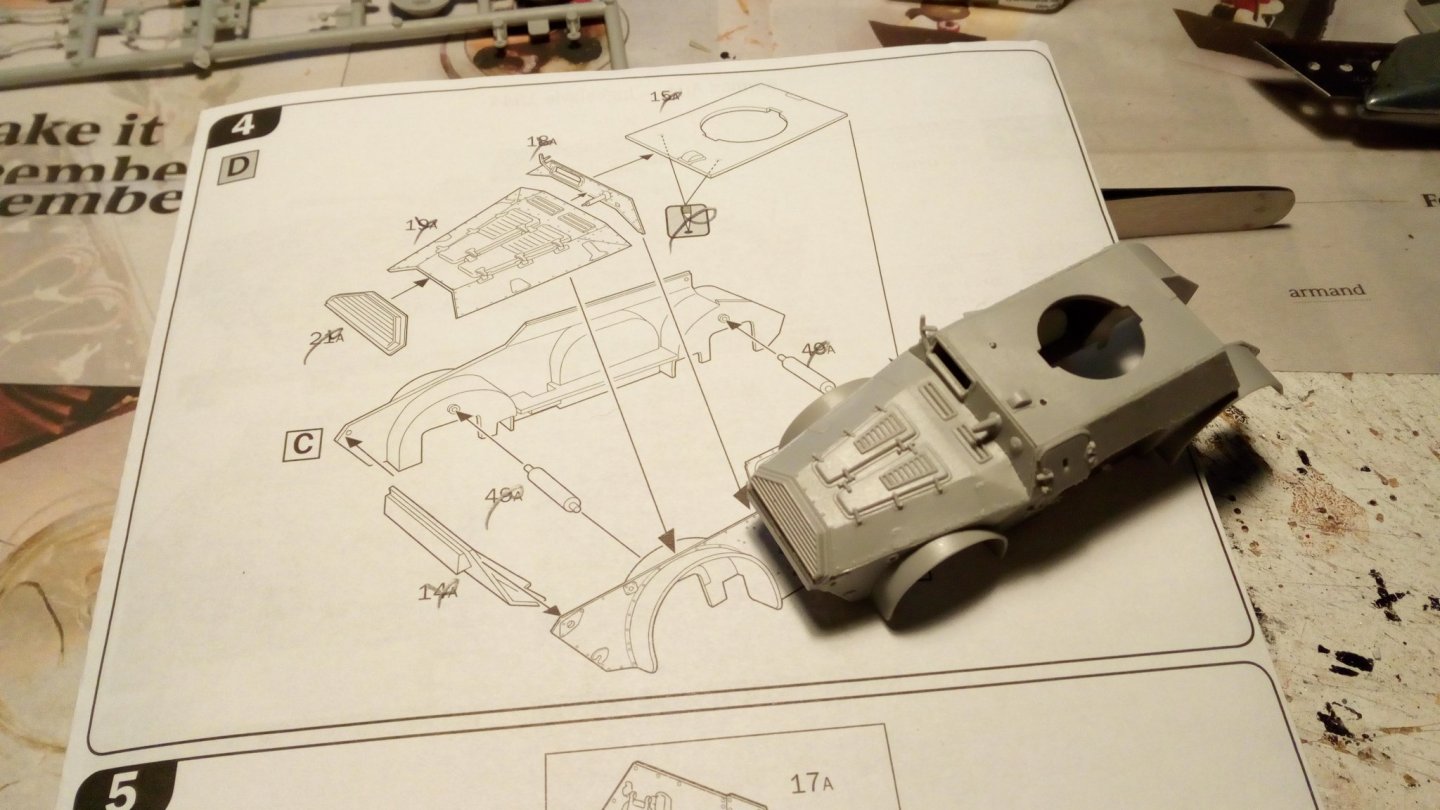
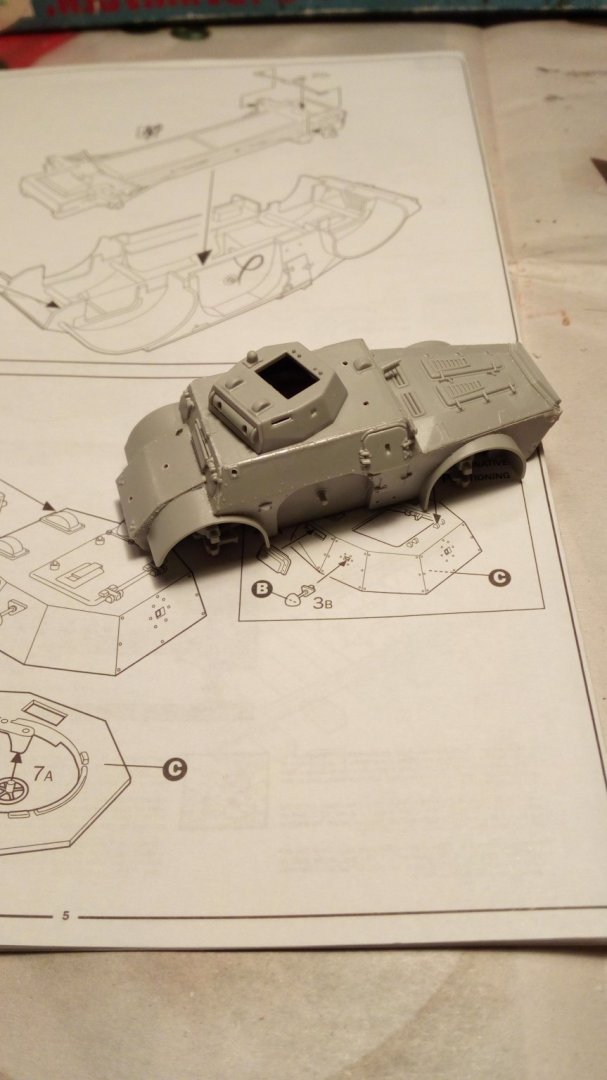
The horn has been drilled out
All this happened a few months ago. Then the build stalled (wikipedia's fault
) Now restarted and the basic color has been applied since today.
Current status on the photographic proof that this vehicle actually existed.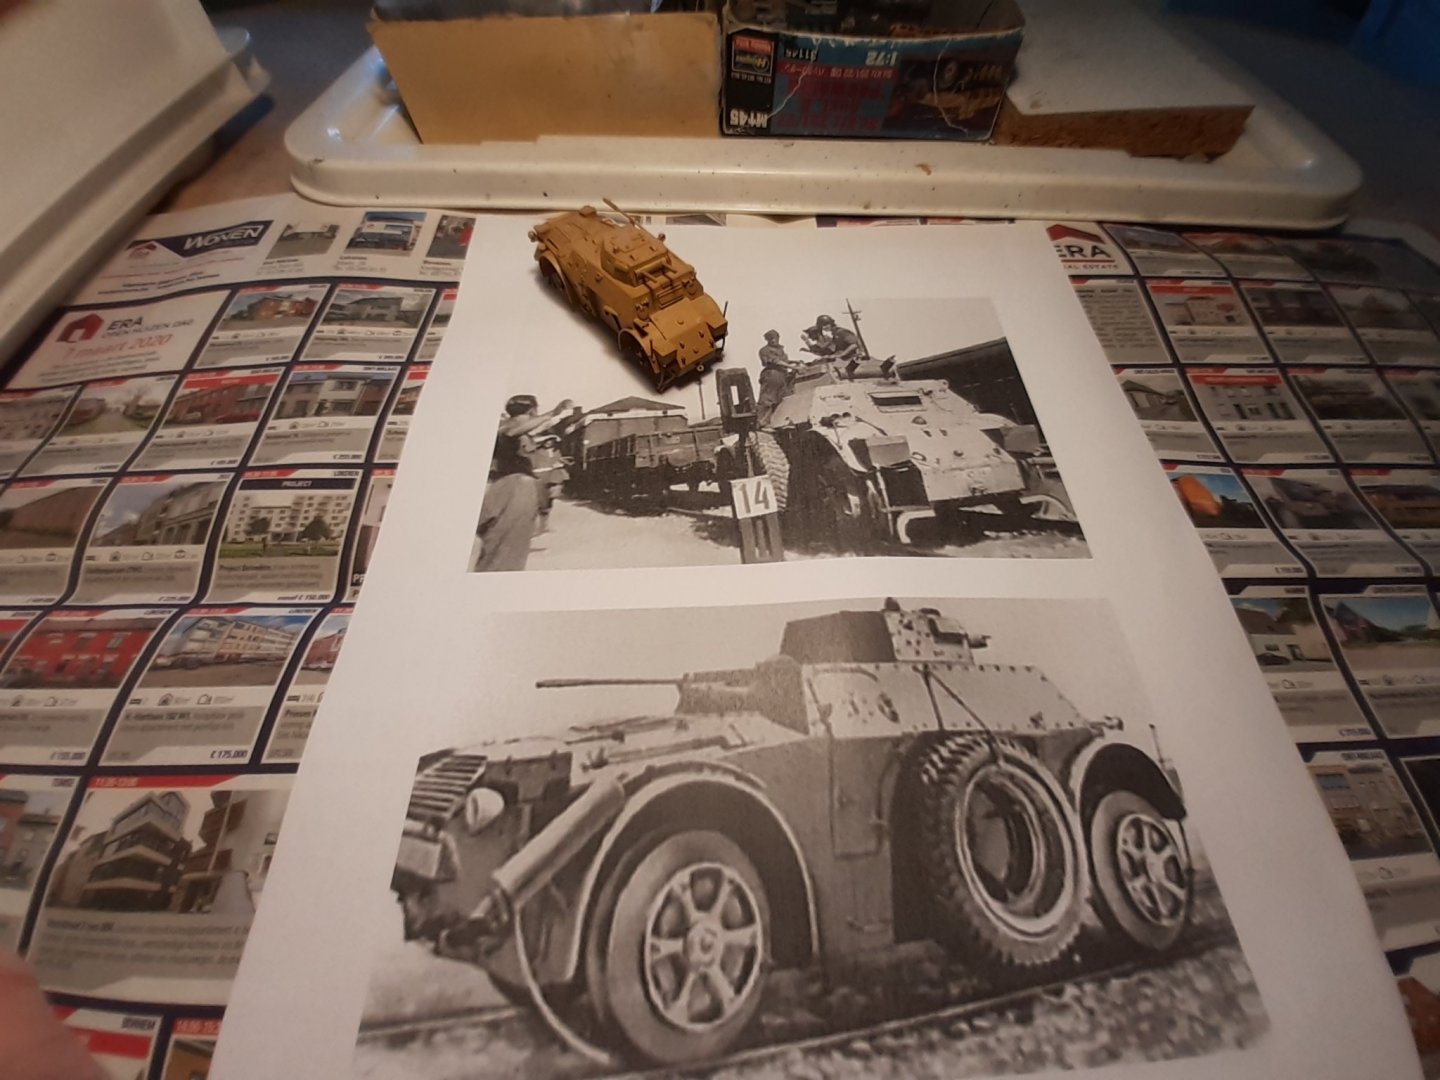
-
-
On 7/7/2020 at 12:41 PM, druxey said:
The channels simply space the shroud out away from the ship's side. The strap or chain only attaches to the ship's side on the channel wale below. Usually there was a groove in the edge of the channel to prevent sideways movement.
19 hours ago, mtaylor said:With the strap/chains in the notch, a small dab of CA or epoxy will hold them in place. Note that some vessels also had a thin wood strip on the edge to keep the strap/chains in place in addition to the notch.
Thanks for the advice.
I think this will be the solution to my problem :
There must indeed be grooves in the channels. So that the schrouds cannot move.And.
The thin wood strip will be applied temporarily. This way the deeadeyes stay in place during installation
This strip will then be removed later when the shrouds are completely ready -
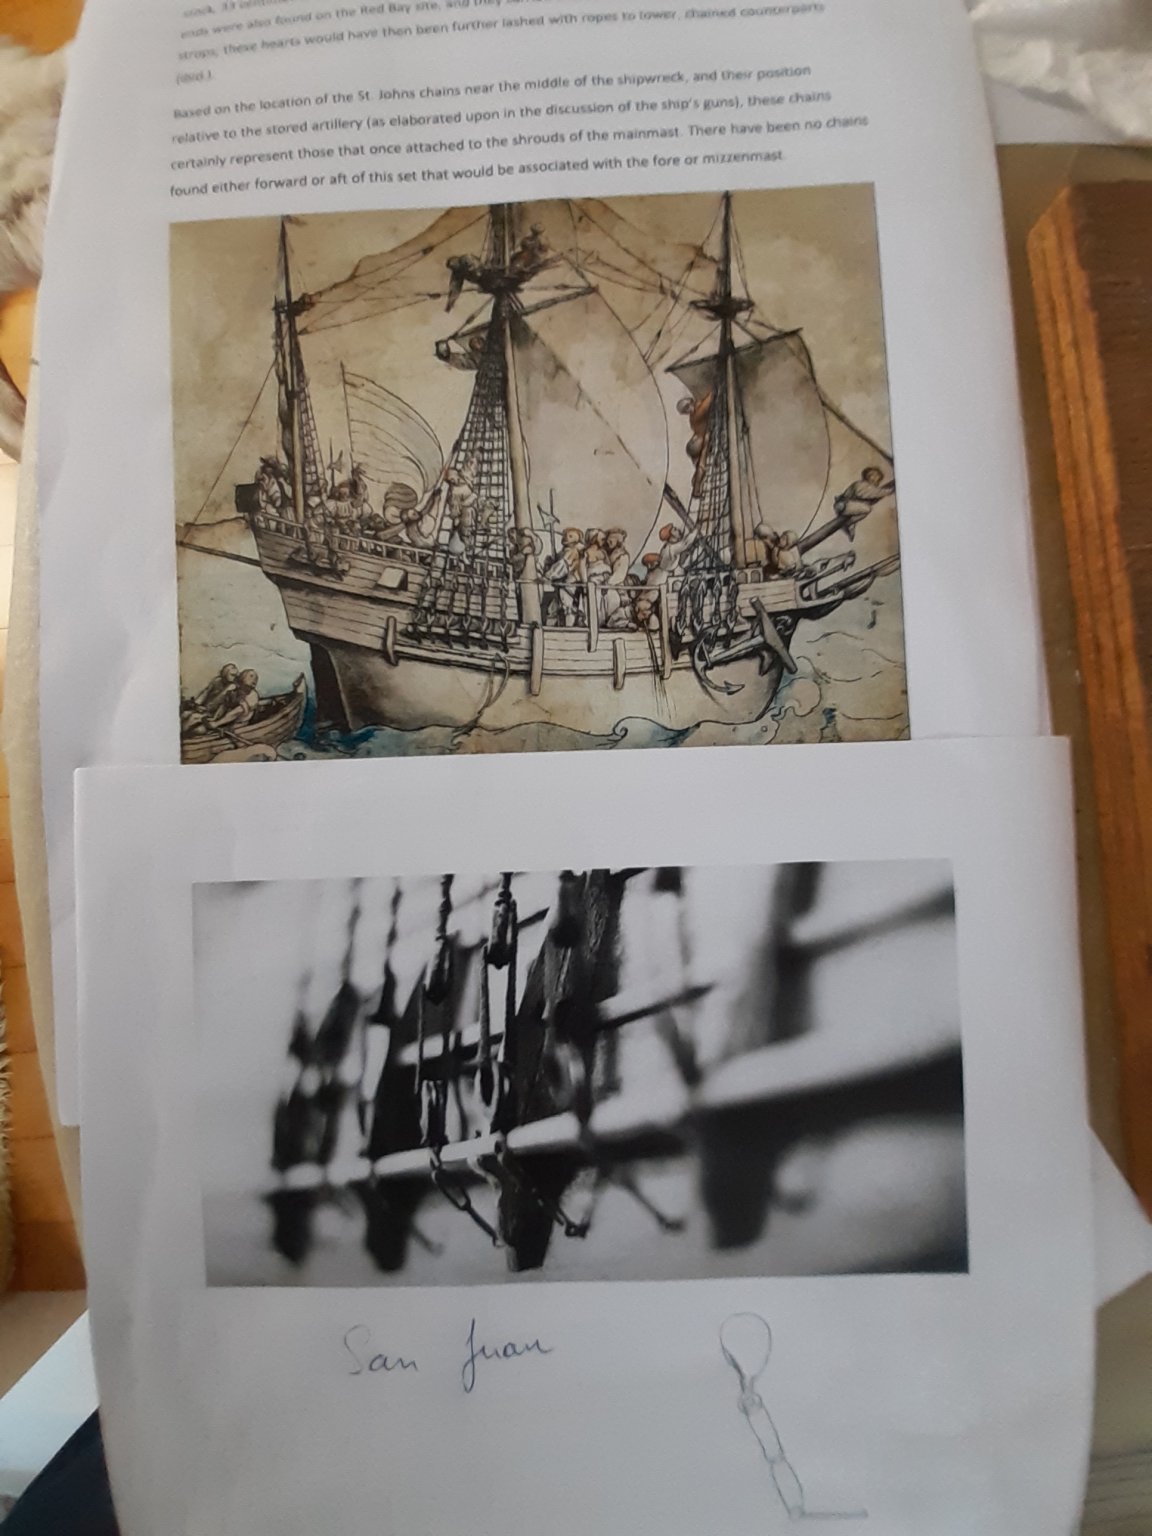
For my Pelican project I have reached the stage where the deadeyes are attached to the channels.
My problem is now how to attach these deadeyes to the channels.Judging by various drawings these are not attached at all (see drawing)
I think the masts will probably have to be placed first and then the chain, the 2 deadeyes and the schroud.
A complicated method. Anyone have any suggestions how I do this best?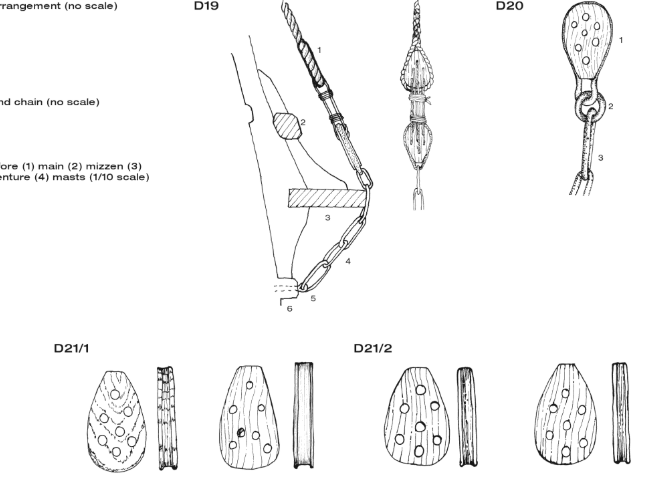
-
Michael,
Thank you for the suggestion
I actually planned to do this.
But, this does not seem to have been in use in the 16th century.
It is without this detail for the time being. But I can still add this.My biggest problem will be, how to attach the deadeyes to the channels.
Judging by various drawings from differend ships these are not attached at all.
The masts will probably have to be placed first and then the chain, deadeye and schroud
Complicated method ....
-
-
Thank you, thank you, thank you 👍
So no more photos with watermark. I have no idea how to do it without the Samsung logo and otherwise, this build will be a Samsung commercial.
And, i upload from the smartphone to the PC using dropbox.
For some reason this was no longer possible. After hours of searching, it turned out that dropbox suddenly no longer had access to the photos on the smartphone.
Why?? another IT mystery for me.
But problem solved.
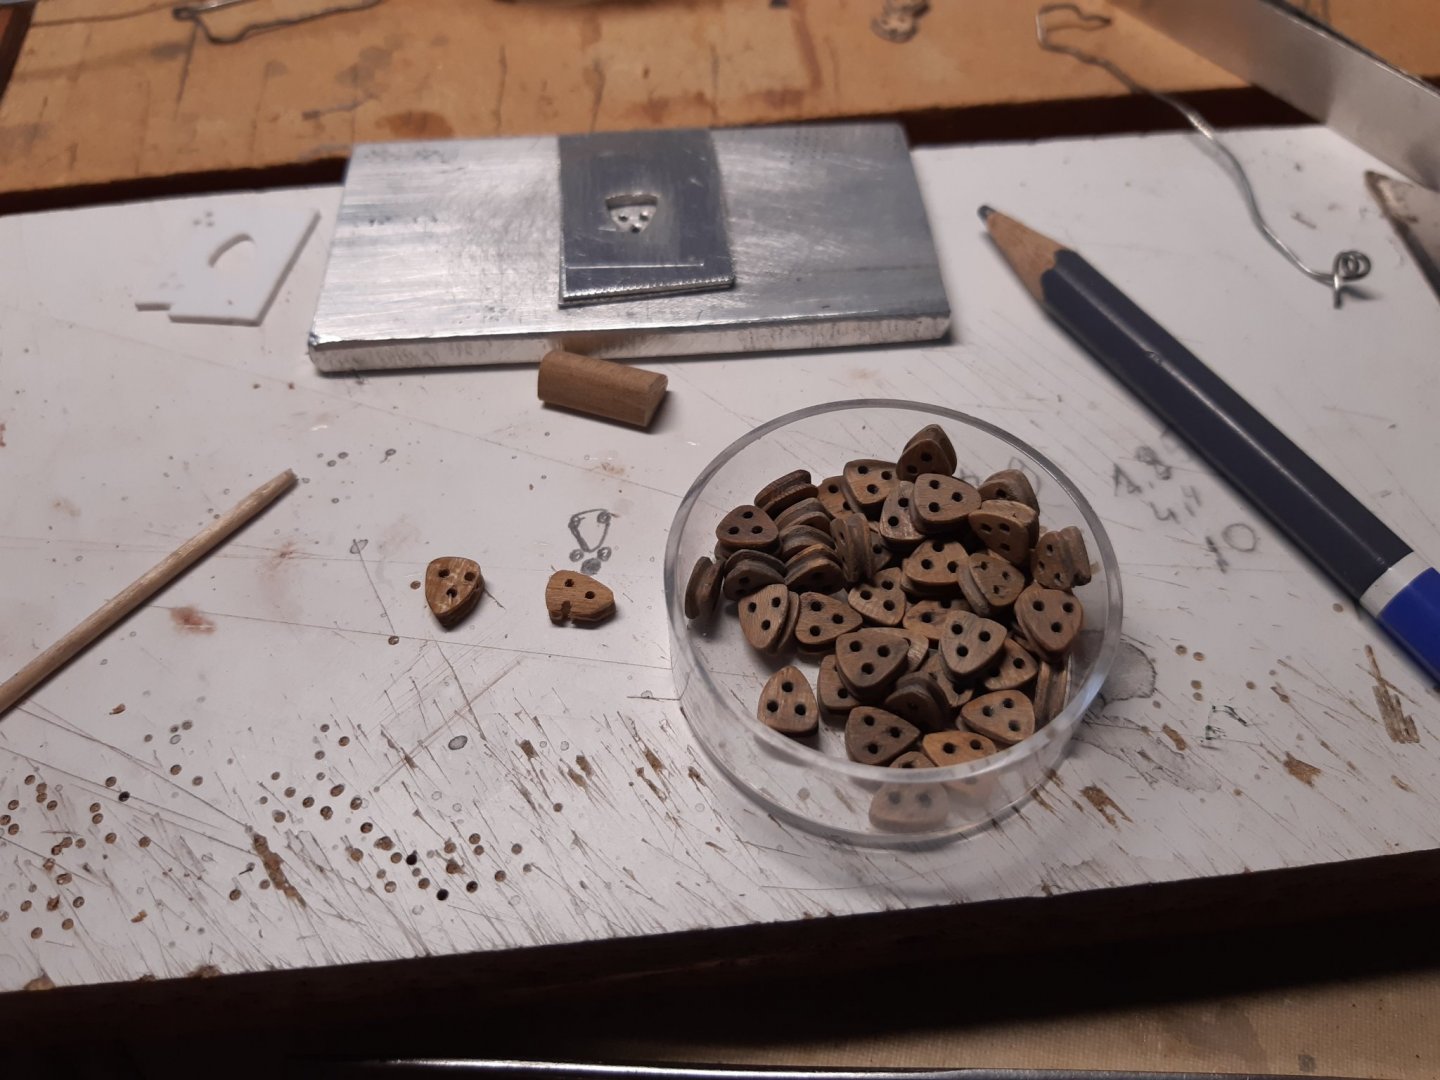
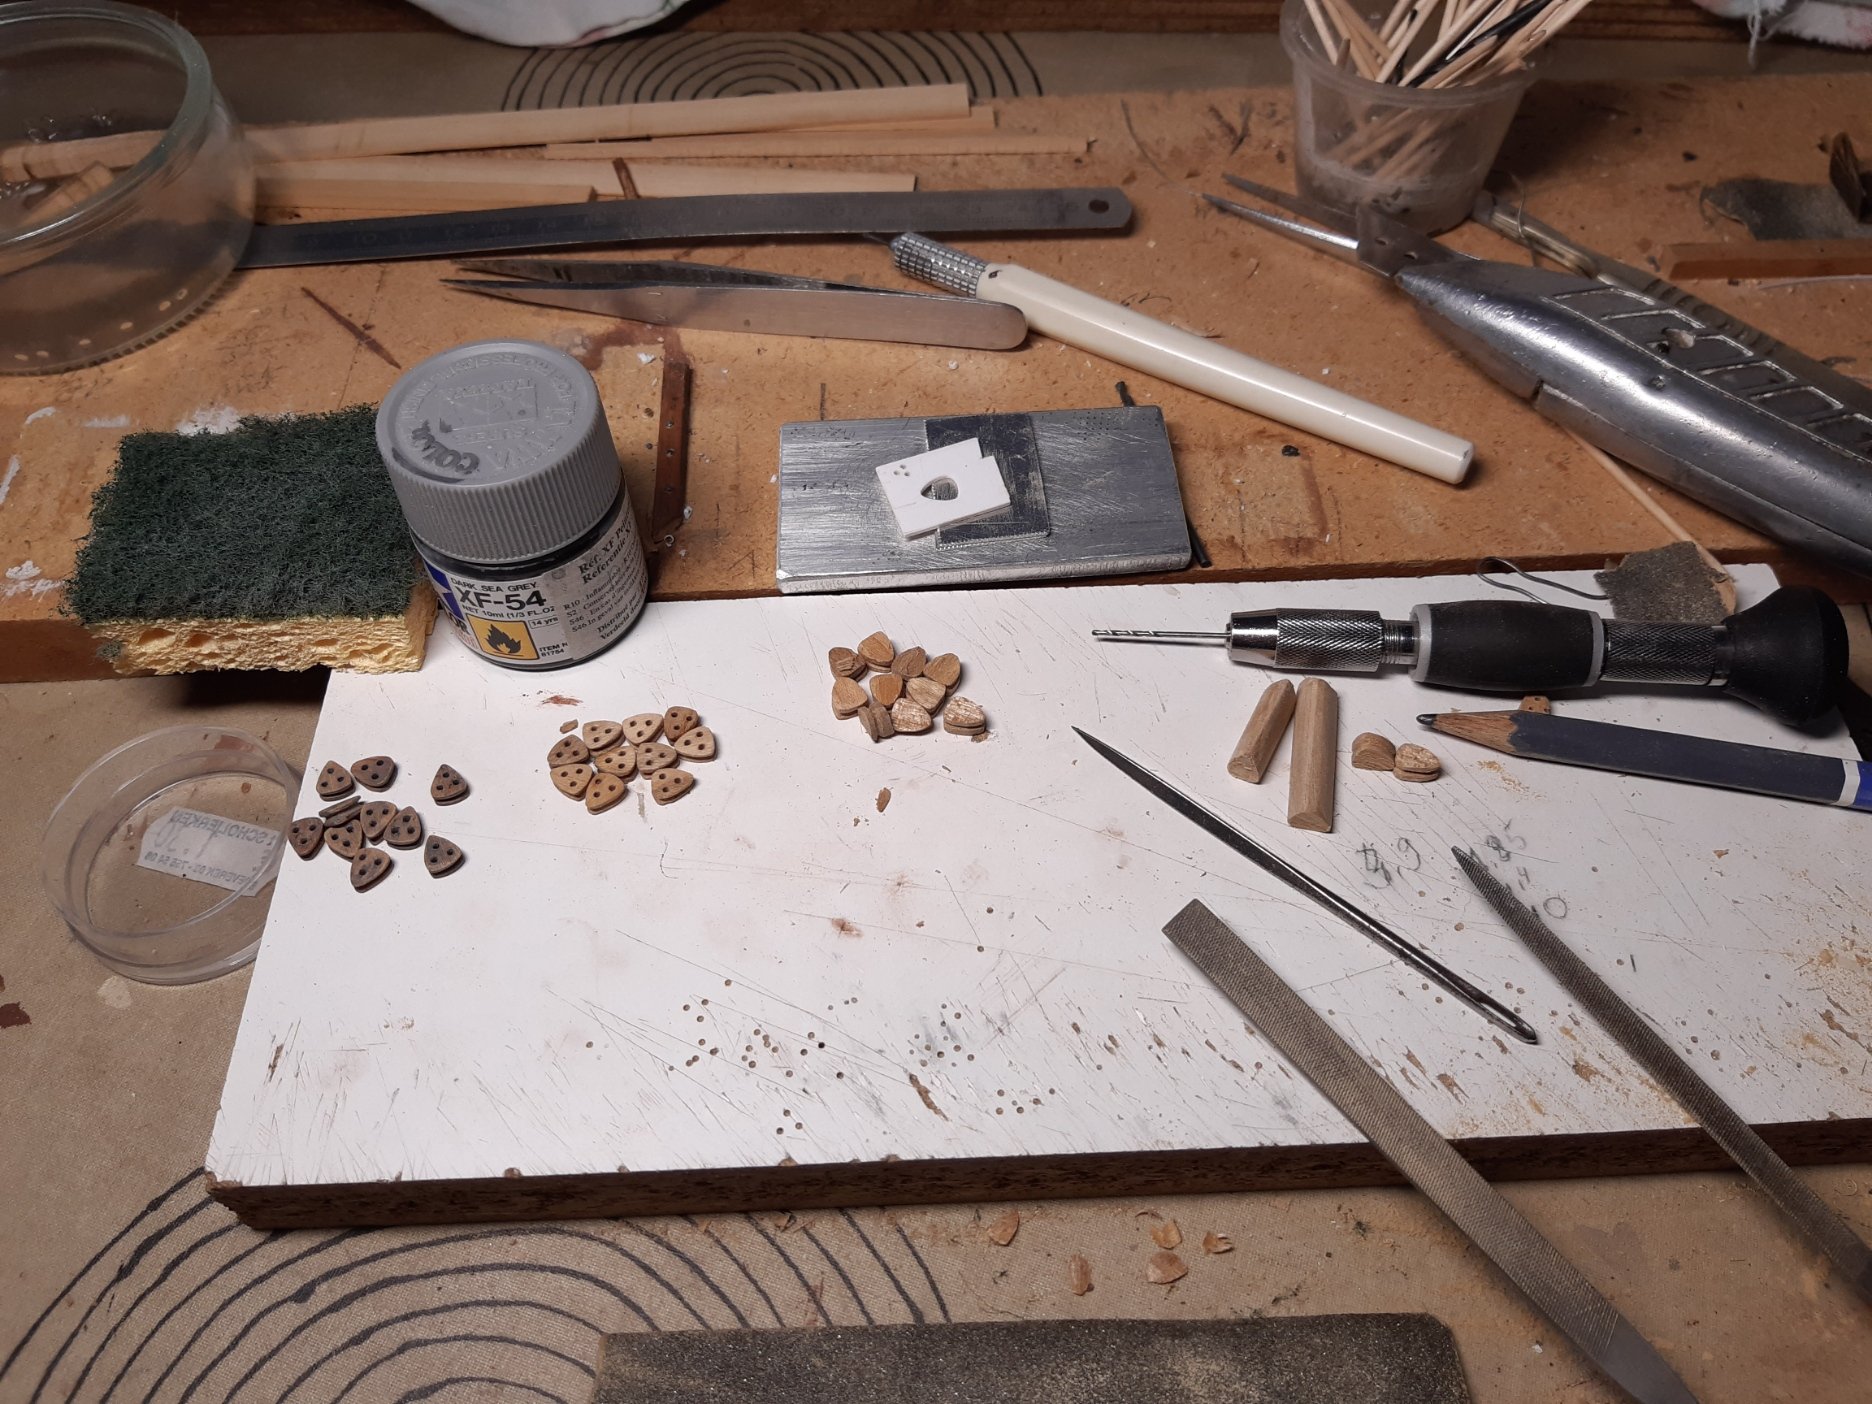
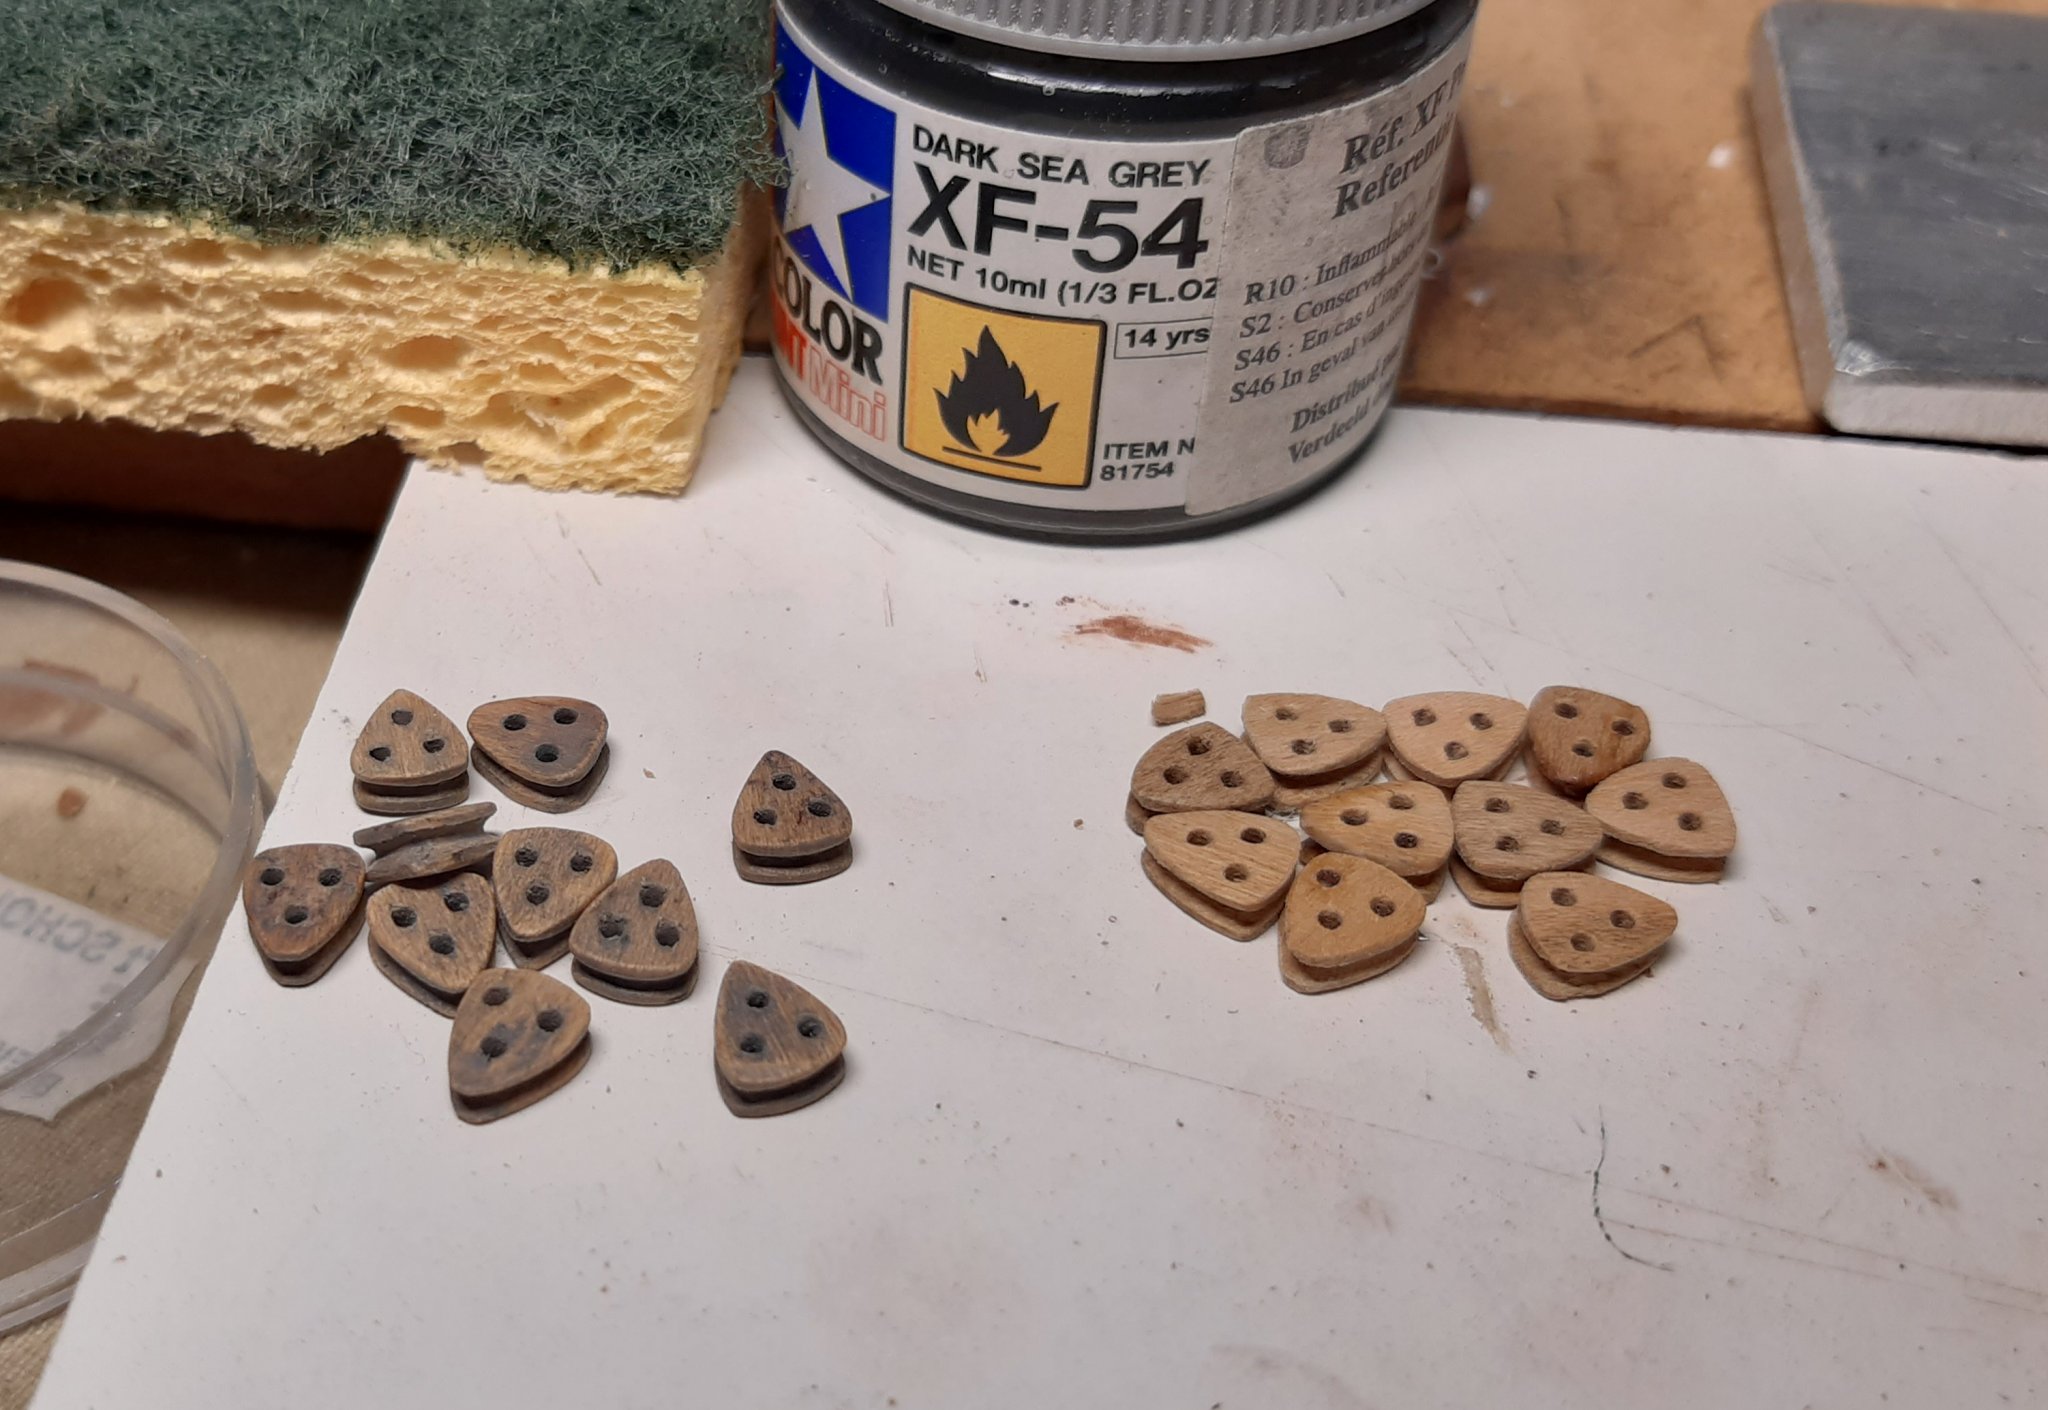
Meanwhile, the deadeyes for the foremast and the mainmast are ready. Made them in batches of 10. I had 6 "splitters" but repared them with CA glue.Collored with thinned Tamiya paint and polished with scotchbrite (48 ready and 2 scrap)


Thanks for comments, likes and following
- rkwz, Barbossa, Bluto 1790 and 10 others
-
13
-
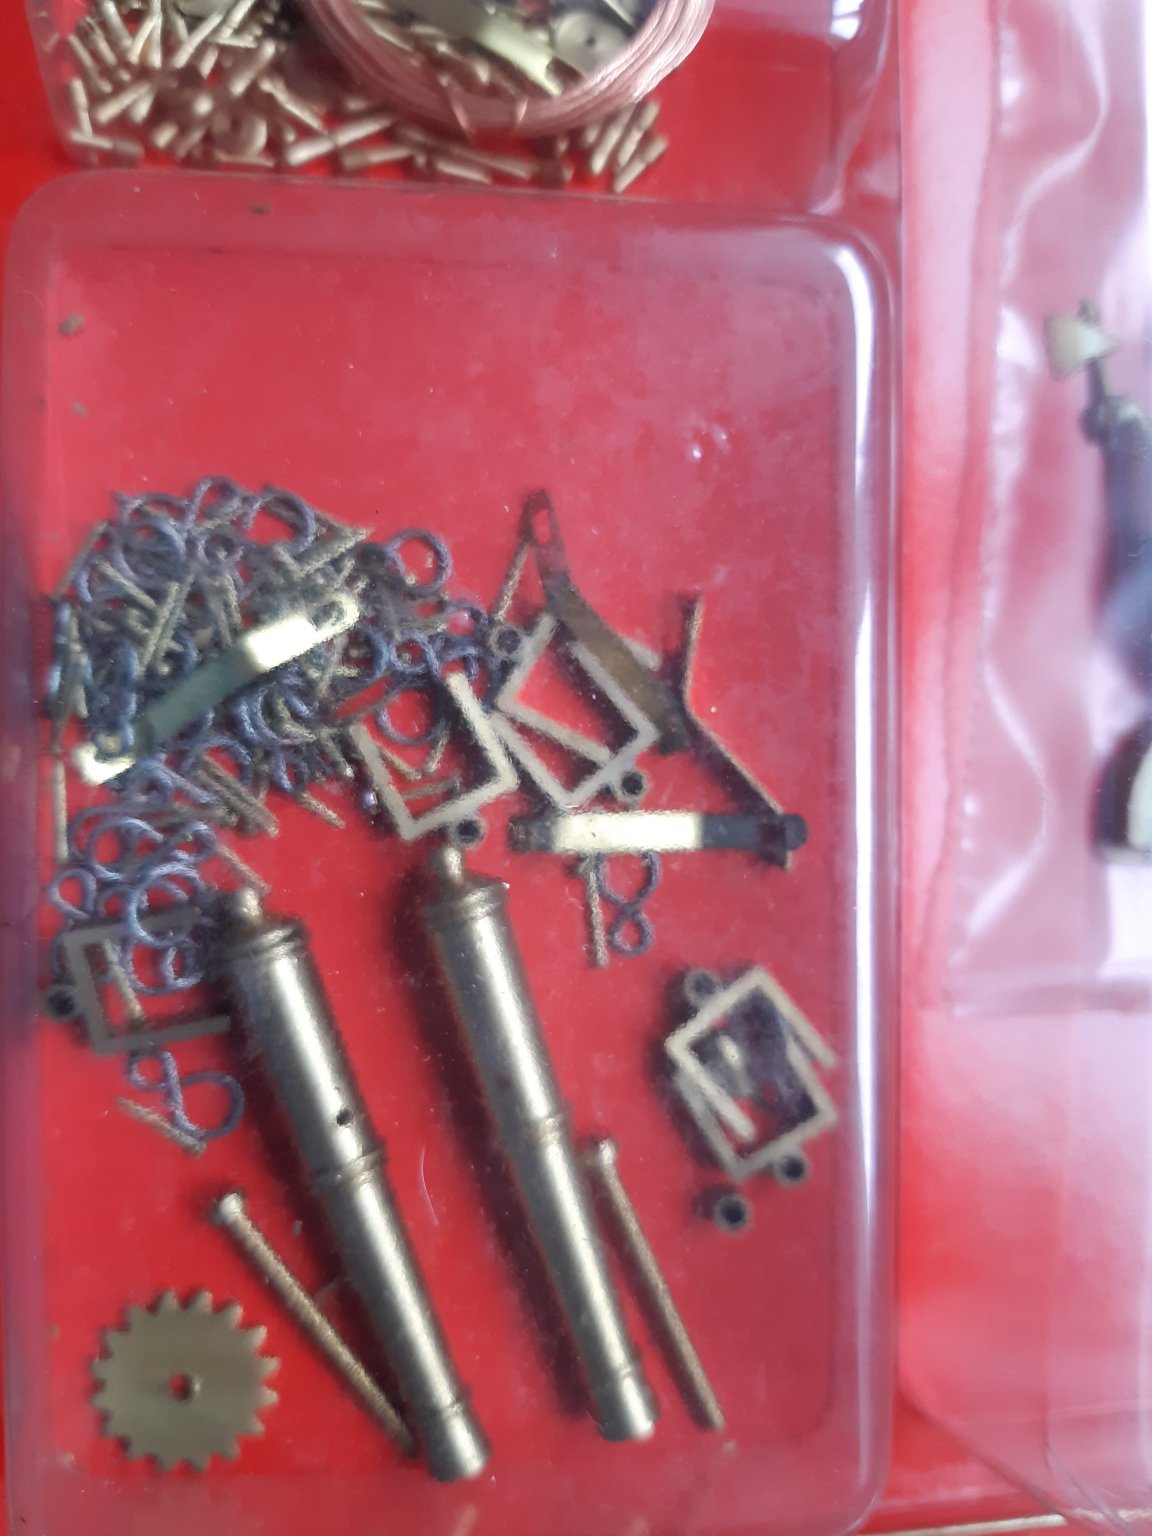
There should be "U profiles" in your kit. These are the hinges of your rudder
Something like this on the picture.
example
- GrandpaPhil and KurtH
-
2
-
-
-
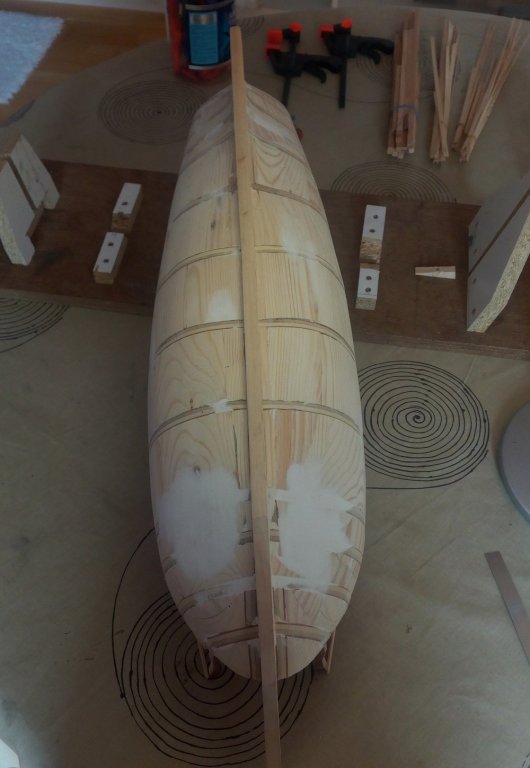
What I learned from my first scratch build.
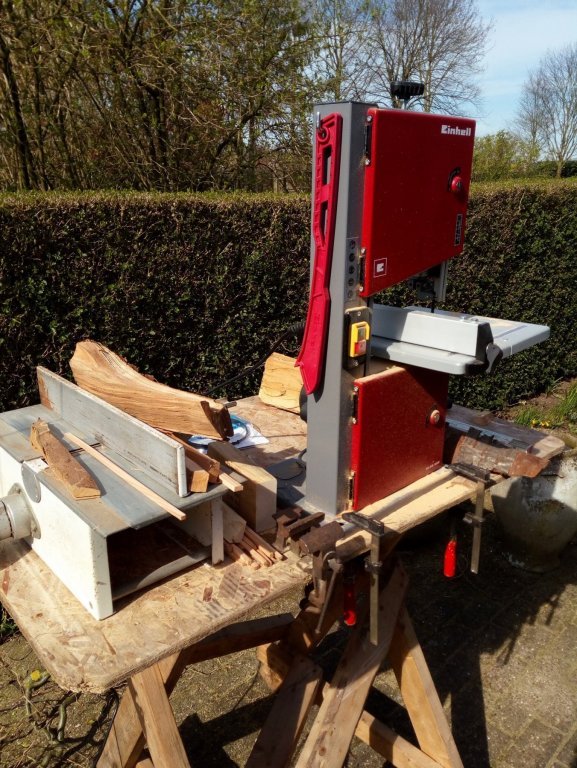
With filler blocks between the frames you can sand away many errors. I used fillerblocks and one layer of planks.Sanding filler blocks and sawing planks yourself creates a lot of dust. Saw and sand outside in the garden.
And the wife will not complainHull with sanded fillerblocks
Dust in the garden ...😉
- Ron Burns, Ondras71, GrandpaPhil and 1 other
-
4


New to MSW, Tom from The Netherlands
in New member Introductions
Posted
Goedemorgen
And