Tigersteve
-
Posts
1,327 -
Joined
-
Last visited
Content Type
Profiles
Forums
Gallery
Events
Everything posted by Tigersteve
-
 The coloring looks good. Don't forget sanding sealer before you copper plate. Steve
- 242 replies
-
- 1
-

-
- syren
- model shipways
- (and 1 more)
-
Best of luck on your project. Great instructions on this one. Thank you also for the kind words. Steve
-
Count me in. Steve
-
Nice! Steve
-
Thanks- but it's not my idea. I think this one's been around for a while. Steve
- 190 replies
-
- 1
-
-
- pinnace
- model shipways
- (and 1 more)
-
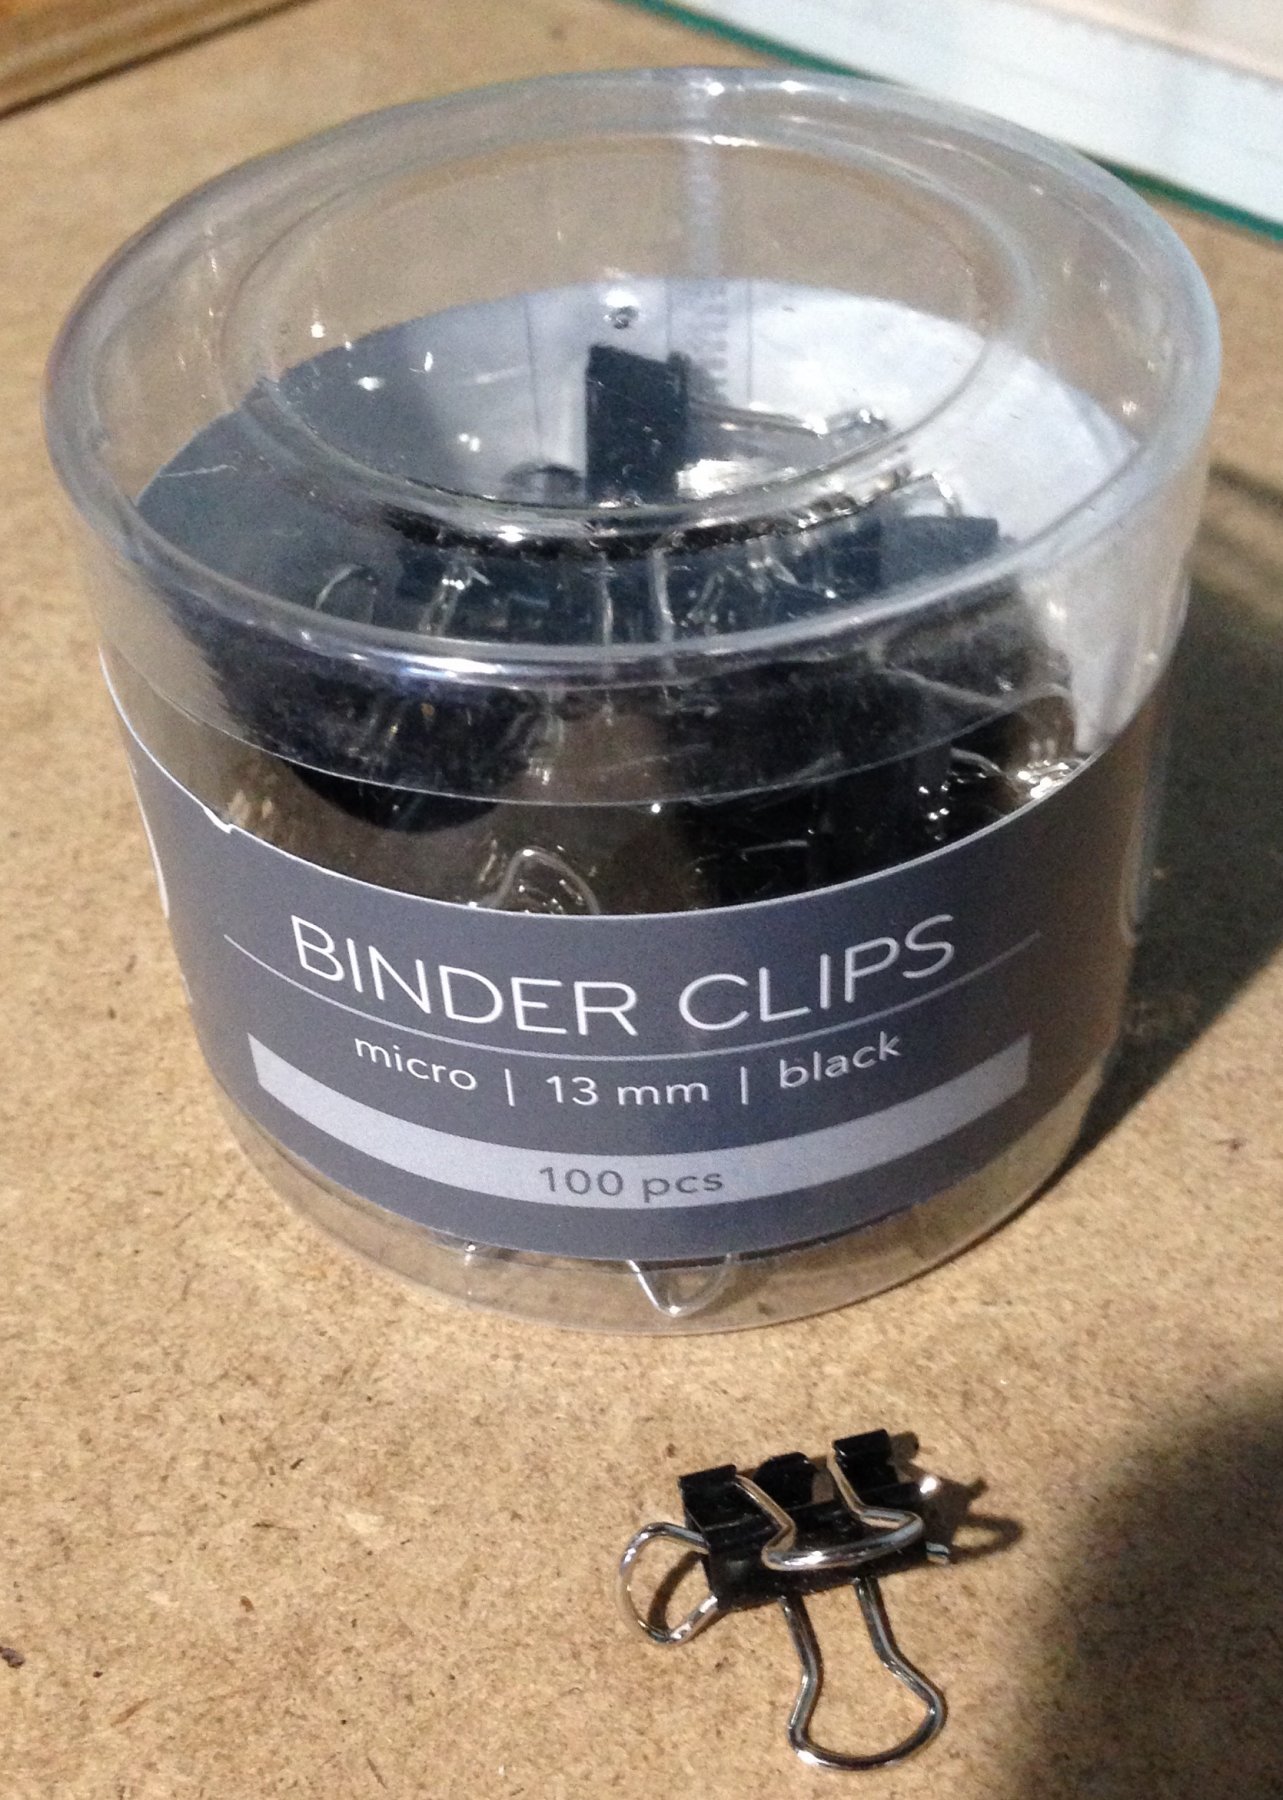
Hi Nils- They're just micro binder clips. You have to disassemble them and use pliers to create these. Steve

- 190 replies
-
- 2
-
-
- pinnace
- model shipways
- (and 1 more)
-
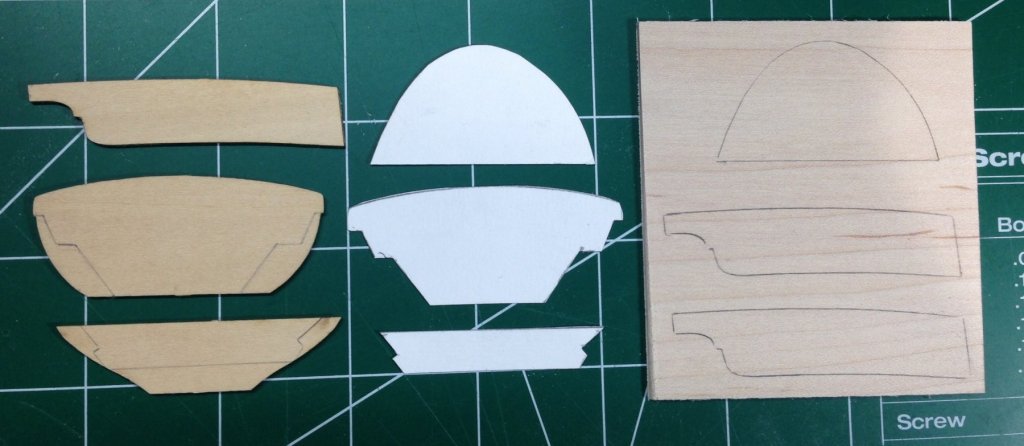
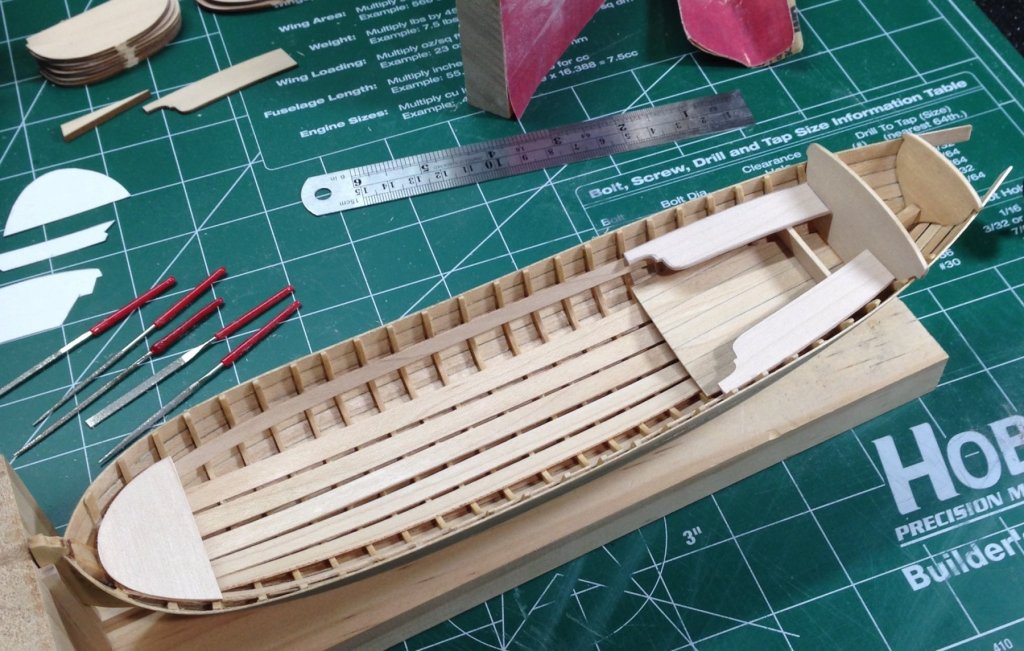
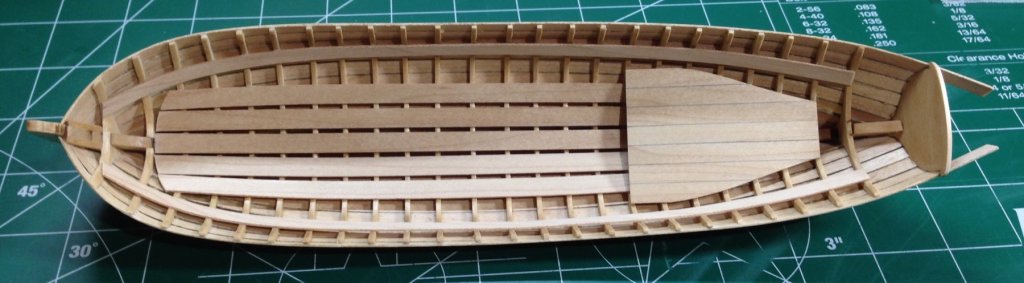
To create the templates for the seat back, support strip, and seats, I traced the laser cut parts. I used the plans to help create the front platform template. The platform and seats will remain unpainted, which is why I cut them from maple. All parts are dry fit and unglued at this point. Next, I will create the paneled support for the seats using the tabs that were removed from the frames earlier in the project. Steve
- 190 replies
-
- 11
-
-
- pinnace
- model shipways
- (and 1 more)
-
Looks good to me! Once you get more onto the deck, you won't notice whatever is bothering you. Steve
-
Erik, Looking forward to the continuation of your Cheerful. Hope all is well. Steve
-
Looking forward to this. I bet you finish before my pinnace is complete. Steve
- 574 replies
-
- 4
-
-
- cheerful
- Syren Ship Model Company
- (and 1 more)
-
Really fantastic work. What color rope is that from Chuck? Light brown? Steve
- 67 replies
-
- 1
-
-
- philadelphia
- model shipways
- (and 1 more)
-
Wow- anyone saying to themselves, "now I'm going to have to make these for this model!" ? This model gets better and better at each turn. Steve
- 3,618 replies
-
- 4
-
-
- young america
- clipper
- (and 1 more)
-
Looking forward to see this one take shape. Steve
- 607 replies
-
- 5
-
-
- winchelsea
- Syren Ship Model Company
- (and 1 more)
-
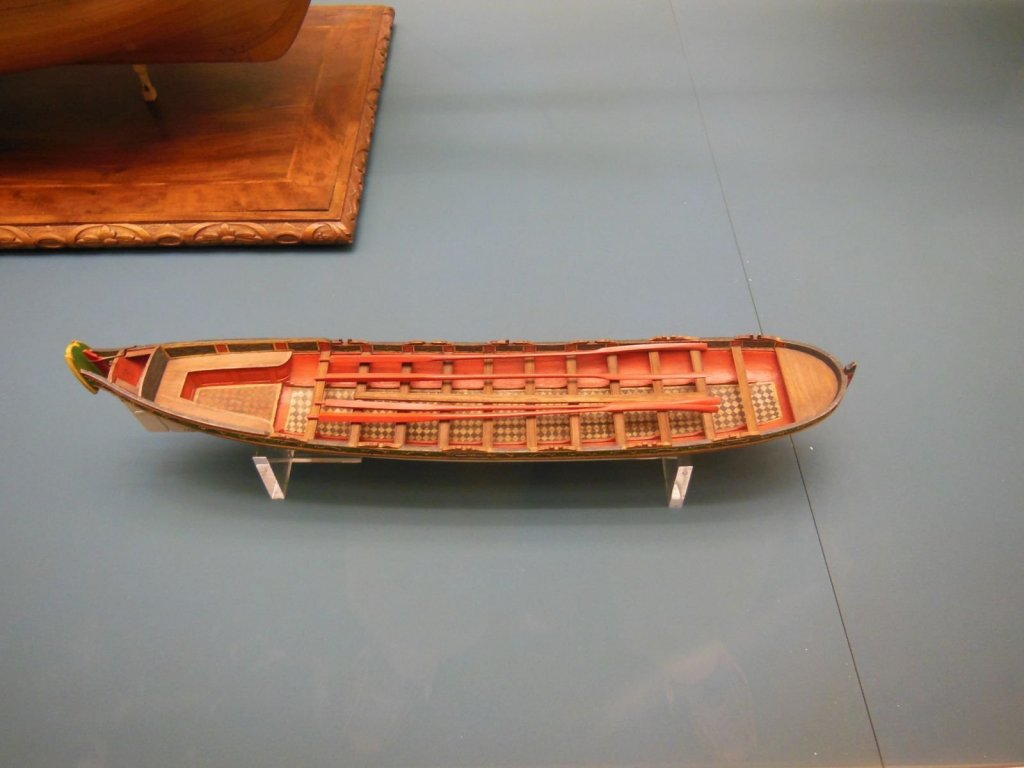
Thanks guys! I have Tamiya flat red from my Longboat project. I was considering changing the colors to orange and green to match this example I showed, but I also want to compliment my Longboat. I plan to modify the red color scheme to show more of the wood. I have some ideas. Stay tuned... Steve
-
Very well done! I enjoyed your technical analysis on these projects and it added to the result. You finished them up quick. They look great together. Steve
- 91 replies
-
- 3
-
-
- 18th century longboat
- model shipways
- (and 1 more)
-
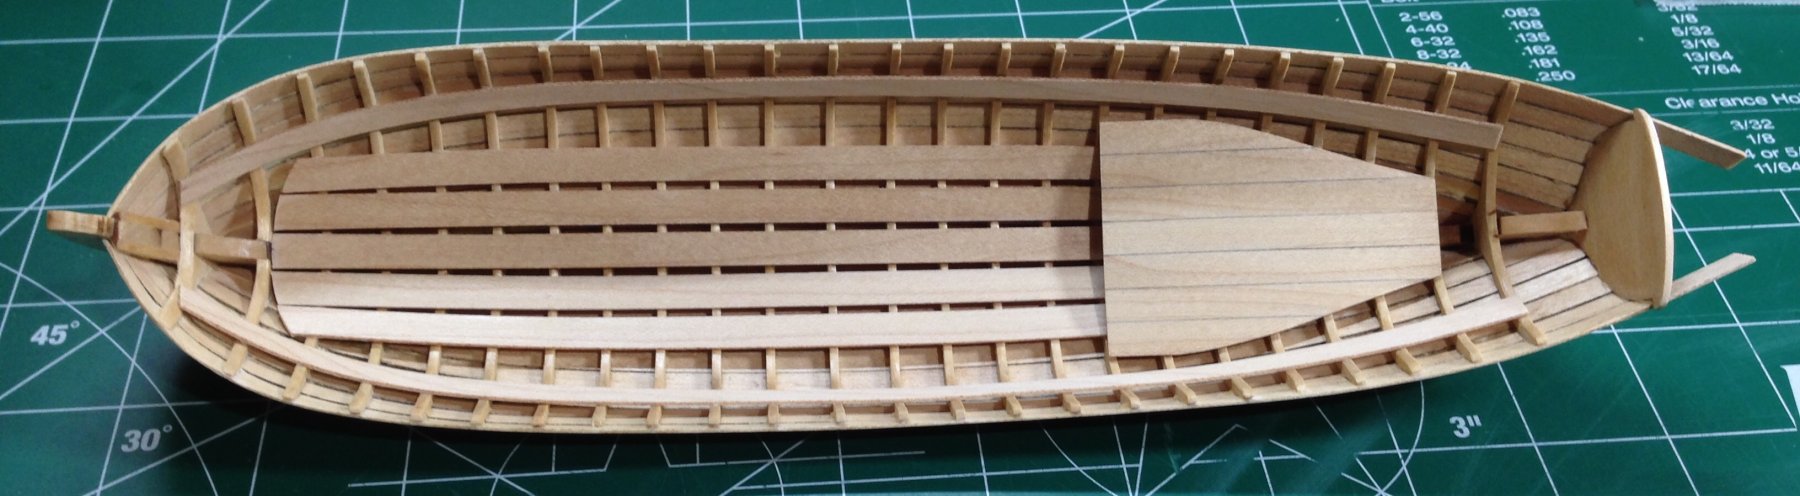
Shaping and installing the risers was a tricky task. I matched the curve of the third strake down from the shear fairly close. More time was spent creating a symmetrical pair. Now I can add some paint and begin some small structural modifications. I'm inspired by the below example provided by Chuck to our fellow member in his build. Shown below. Steve
- 190 replies
-
- 12
-
-
- pinnace
- model shipways
- (and 1 more)
-
I do very little at a time. I think sometimes it helps the quality. This plank bending takes time and is frustrating on these small boats. If you do Chuck's Pinnace kit, you get to do inboard planking too. Steve
-
Sounds about right! You are doing really well. Steve
-
Nice technical analysis. She's looking sharp! Steve
- 91 replies
-
- 4
-
-
- 18th century longboat
- model shipways
- (and 1 more)