

Tim Curtis
-
Posts
231 -
Joined
-
Last visited
Content Type
Profiles
Forums
Gallery
Events
Posts posted by Tim Curtis
-
-
Had another go at this. Improving.
- tkay11, Louie da fly, Ryland Craze and 4 others
-
 7
7
-
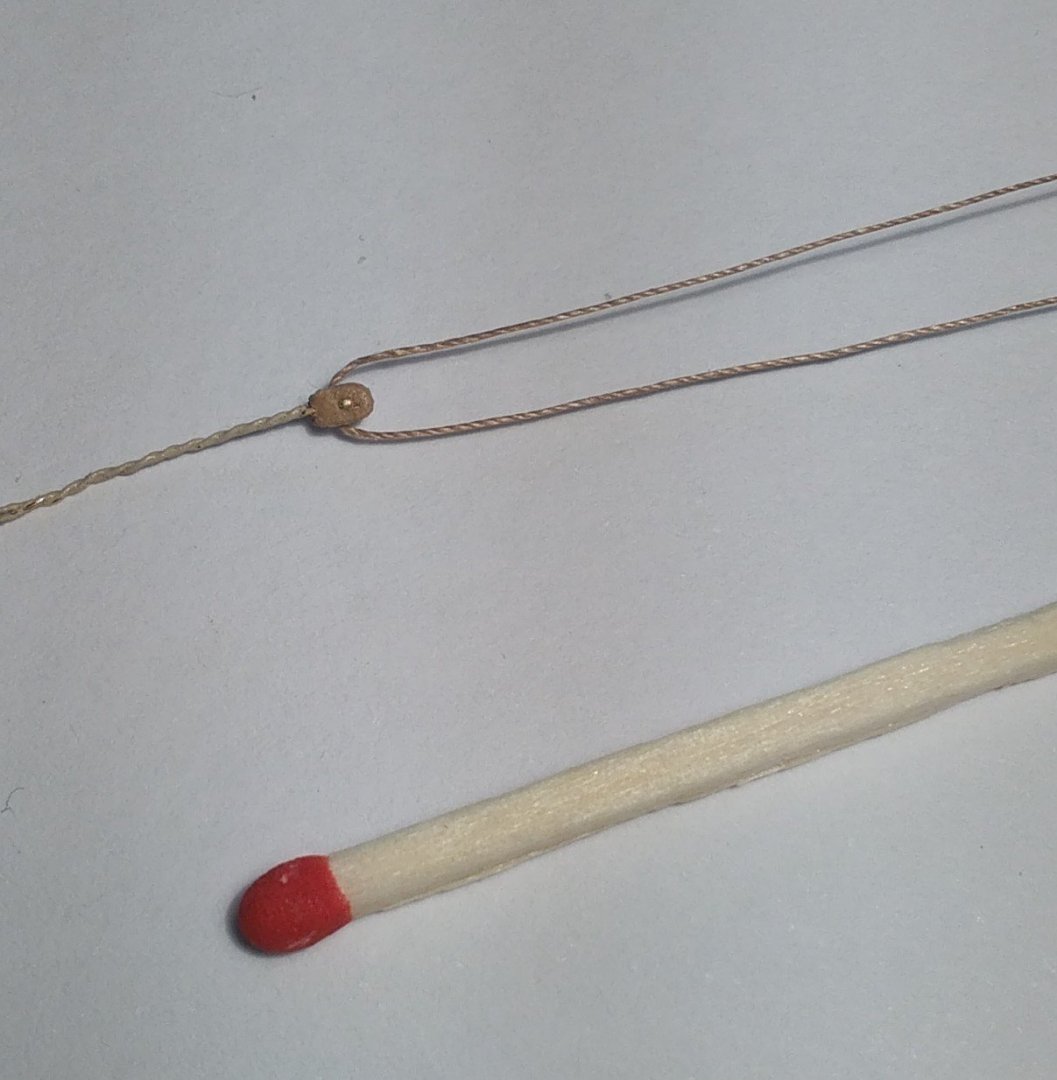
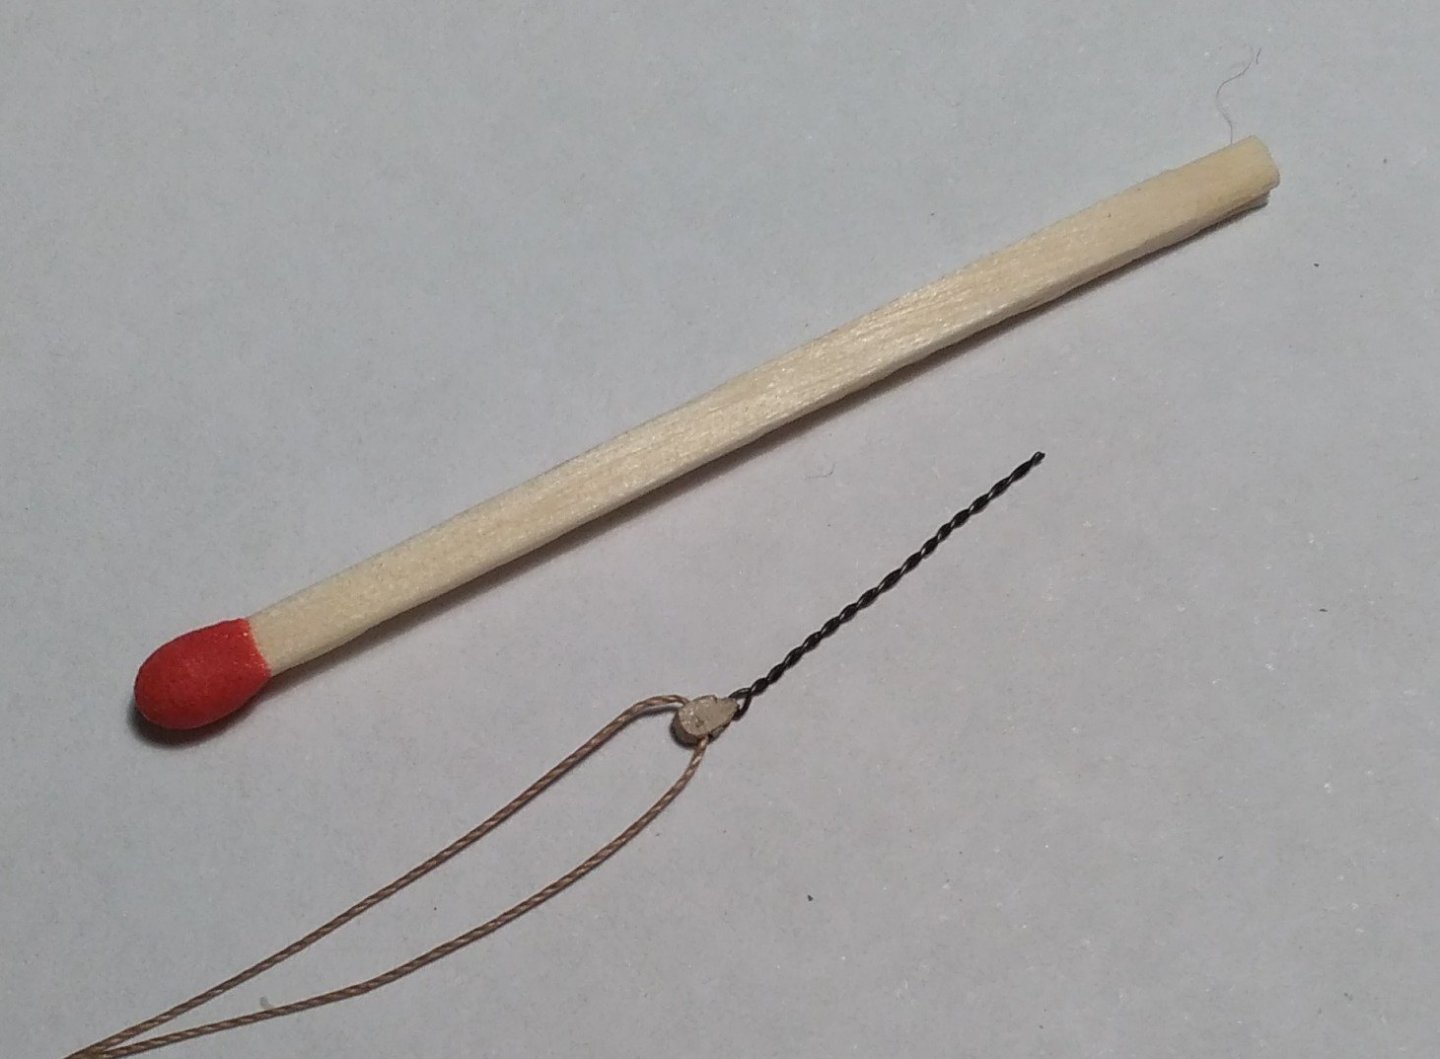
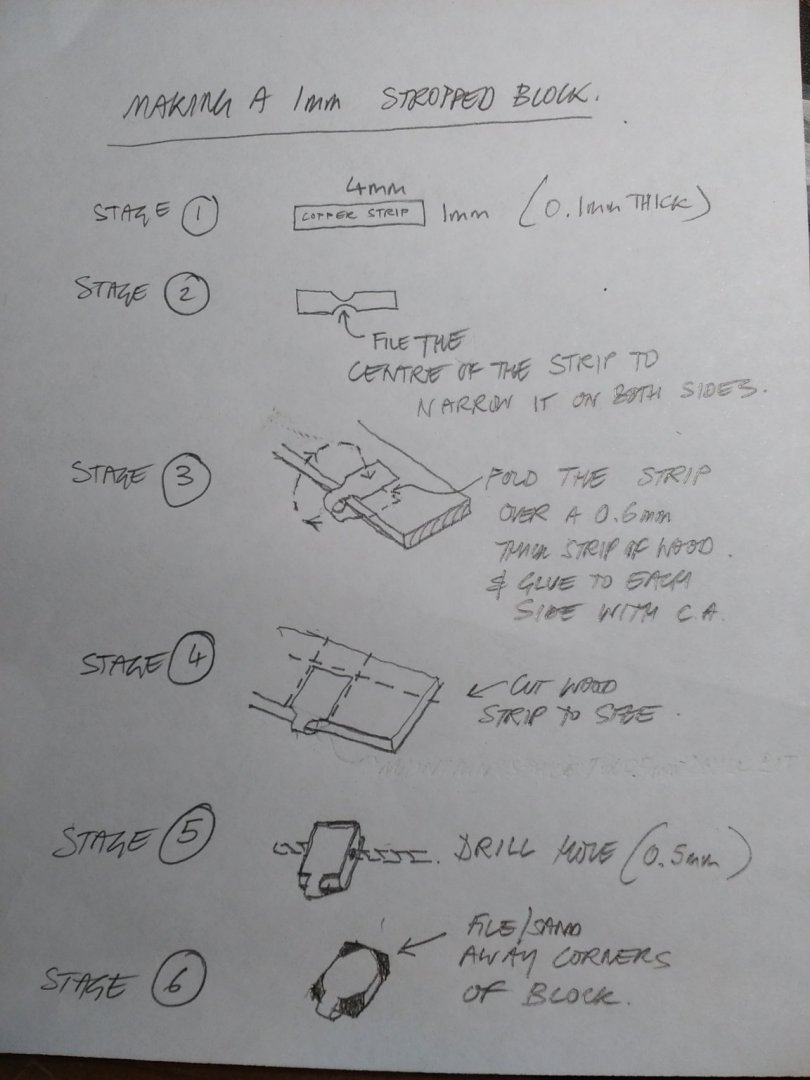
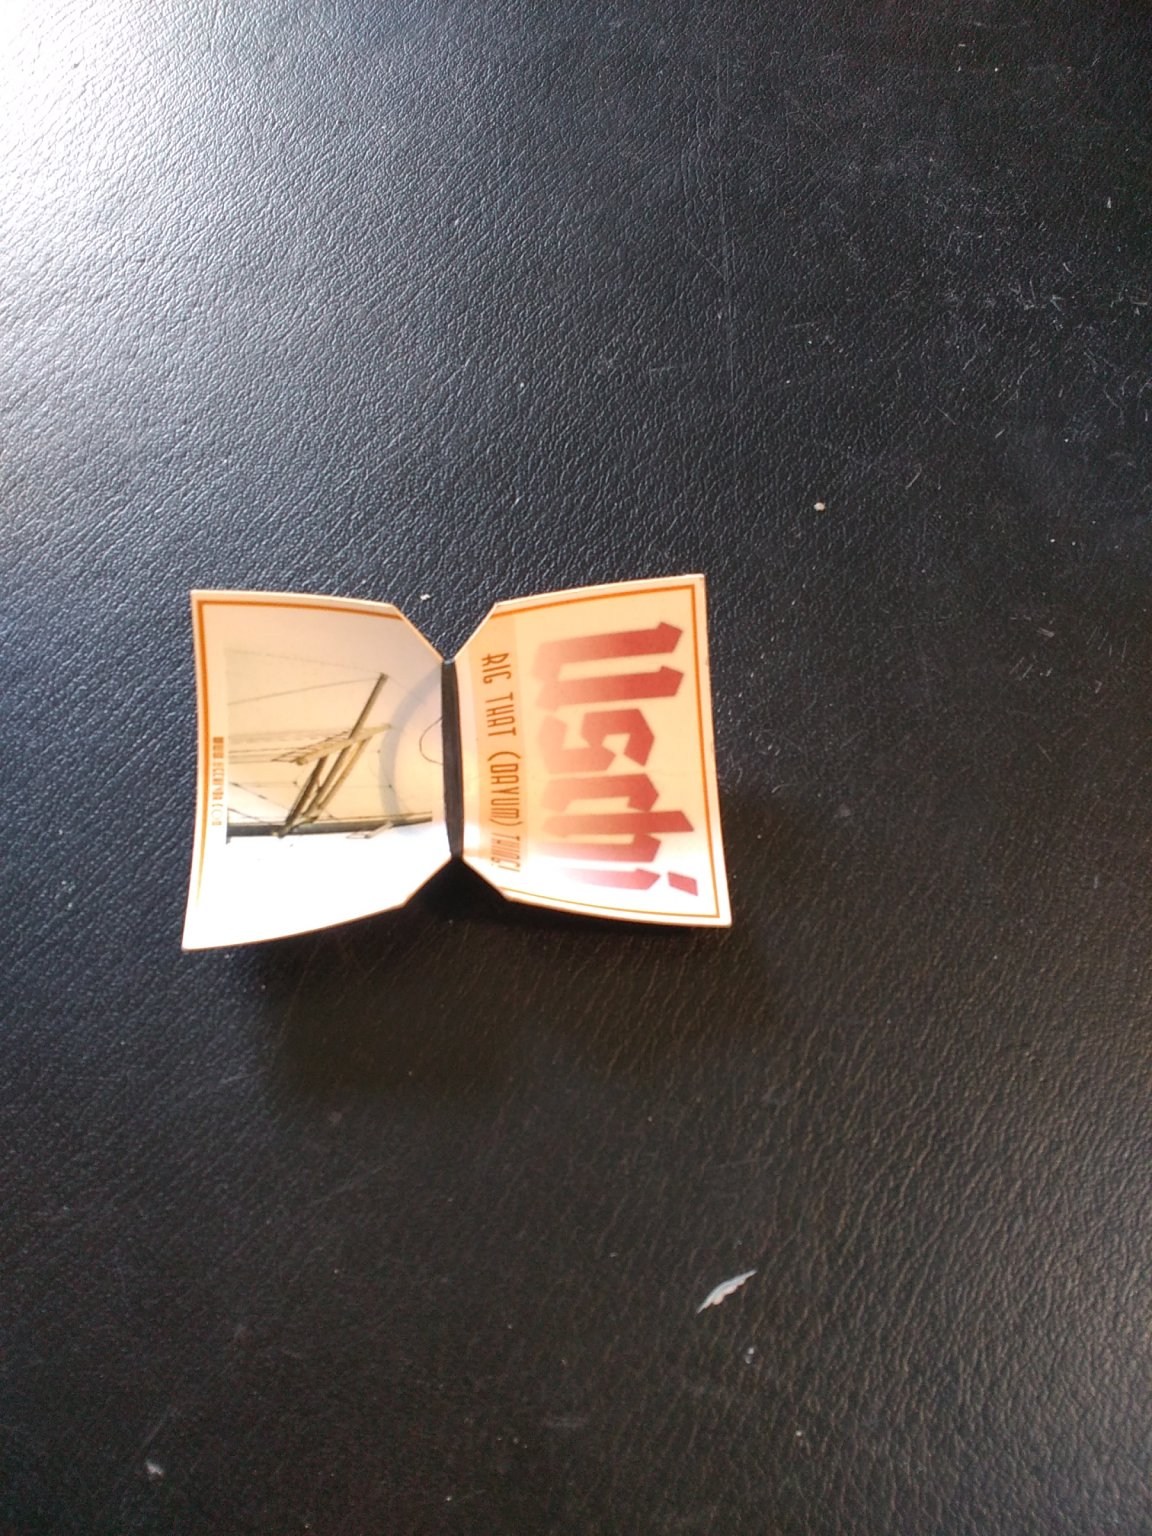
I had another go at this tonight. Here are results.
I basically create a laminate structure with a copper layer on either side of a wood strip.
The copper layer is actually one piece folded so that it is also used to create the strop.
Tried to draw diagram below.
Initial result is ok. But will need improving!
Any thoughts or suggestions welcome!
Tim
-
-
-
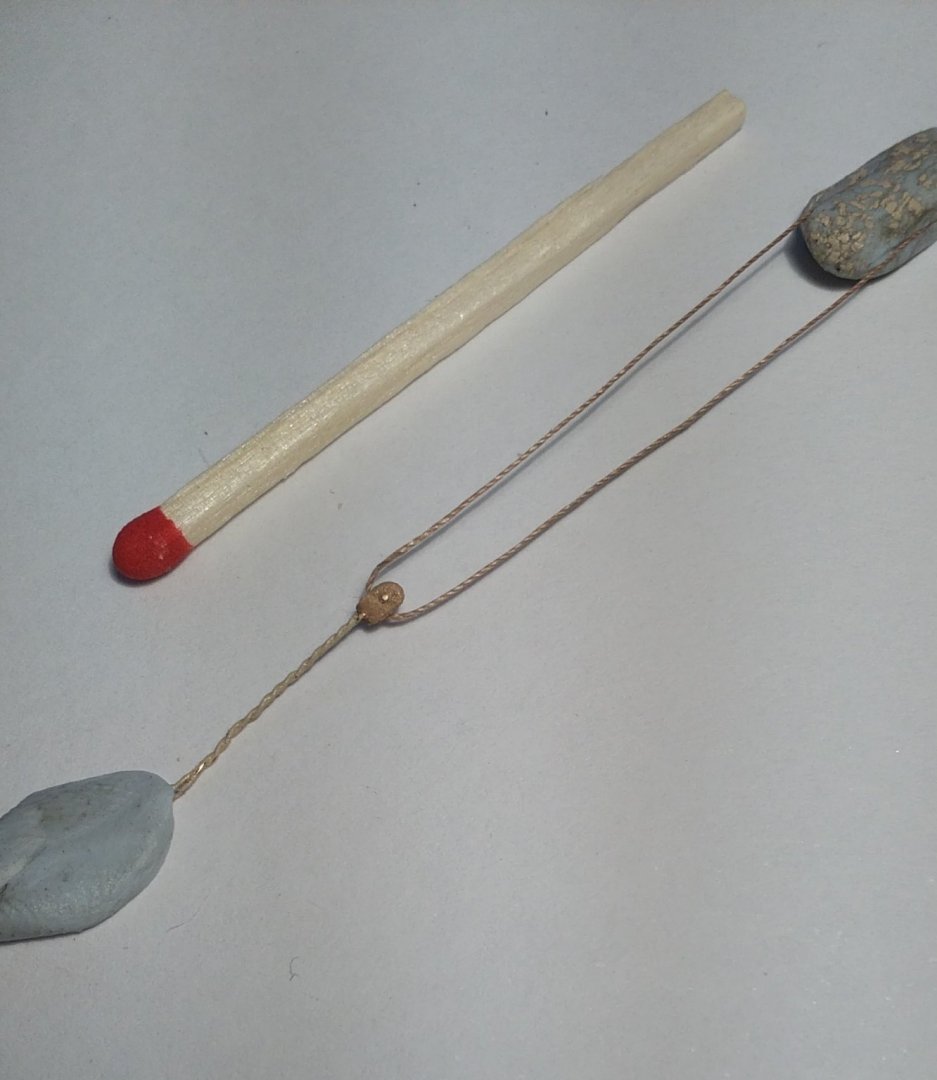
I am planning to start work on a 1:180 model of the yacht Endeavour (1934).
I am going to need to make some very small blocks (around 1mm or possibly even less).
They will need to be iron stropped blocks.
I have tried various techniques to make them with limited success - and found it very time consuming.
Does anyone have any proven techniques to make these?
(Apart from the paper techniques suggested by Philip Reed in his books - which I have already looked at).
Or is it possible to purchase some ready made anywhere?
Thanks in advance
Tim
-
- GrandpaPhil, BenD and robdurant
-
3
-
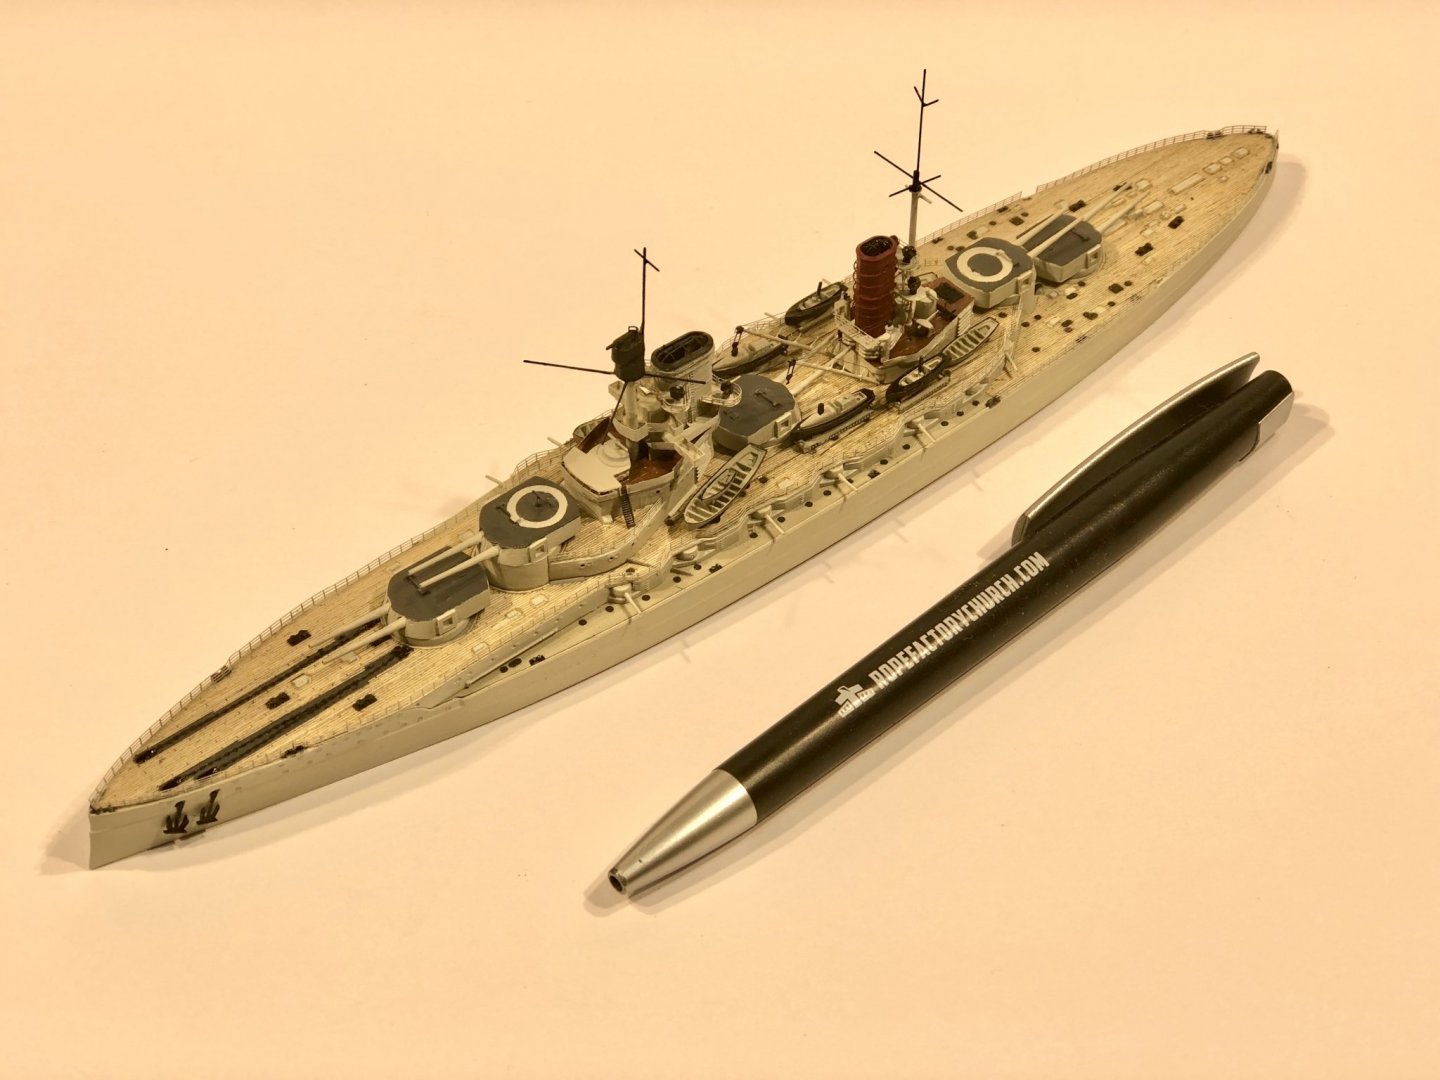
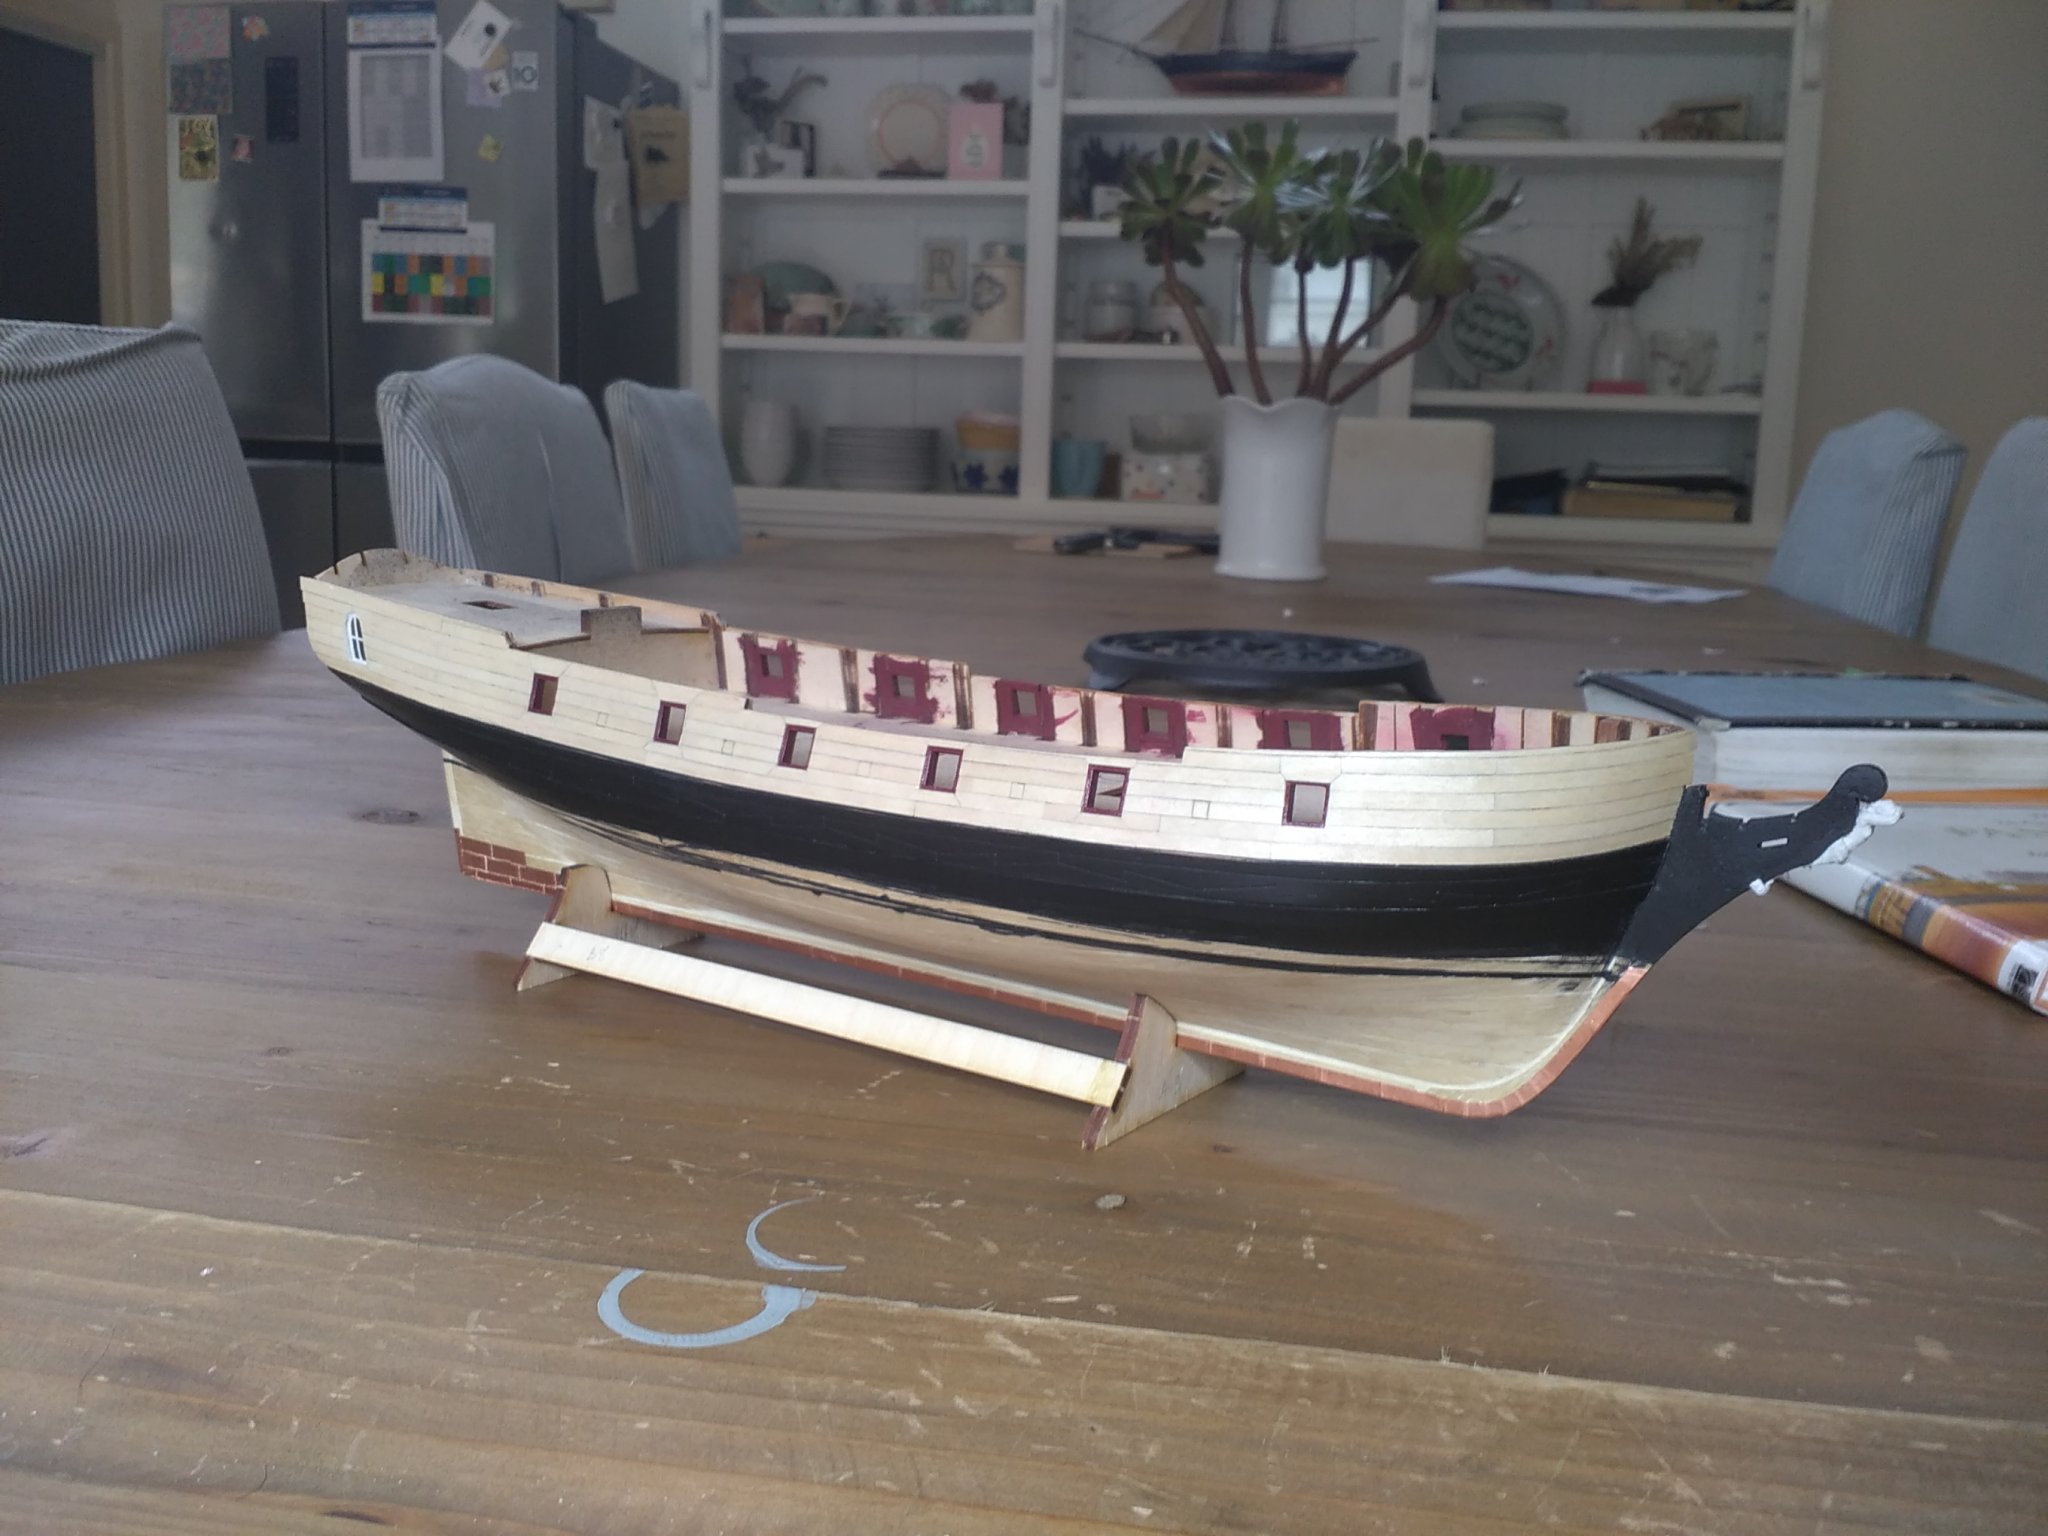
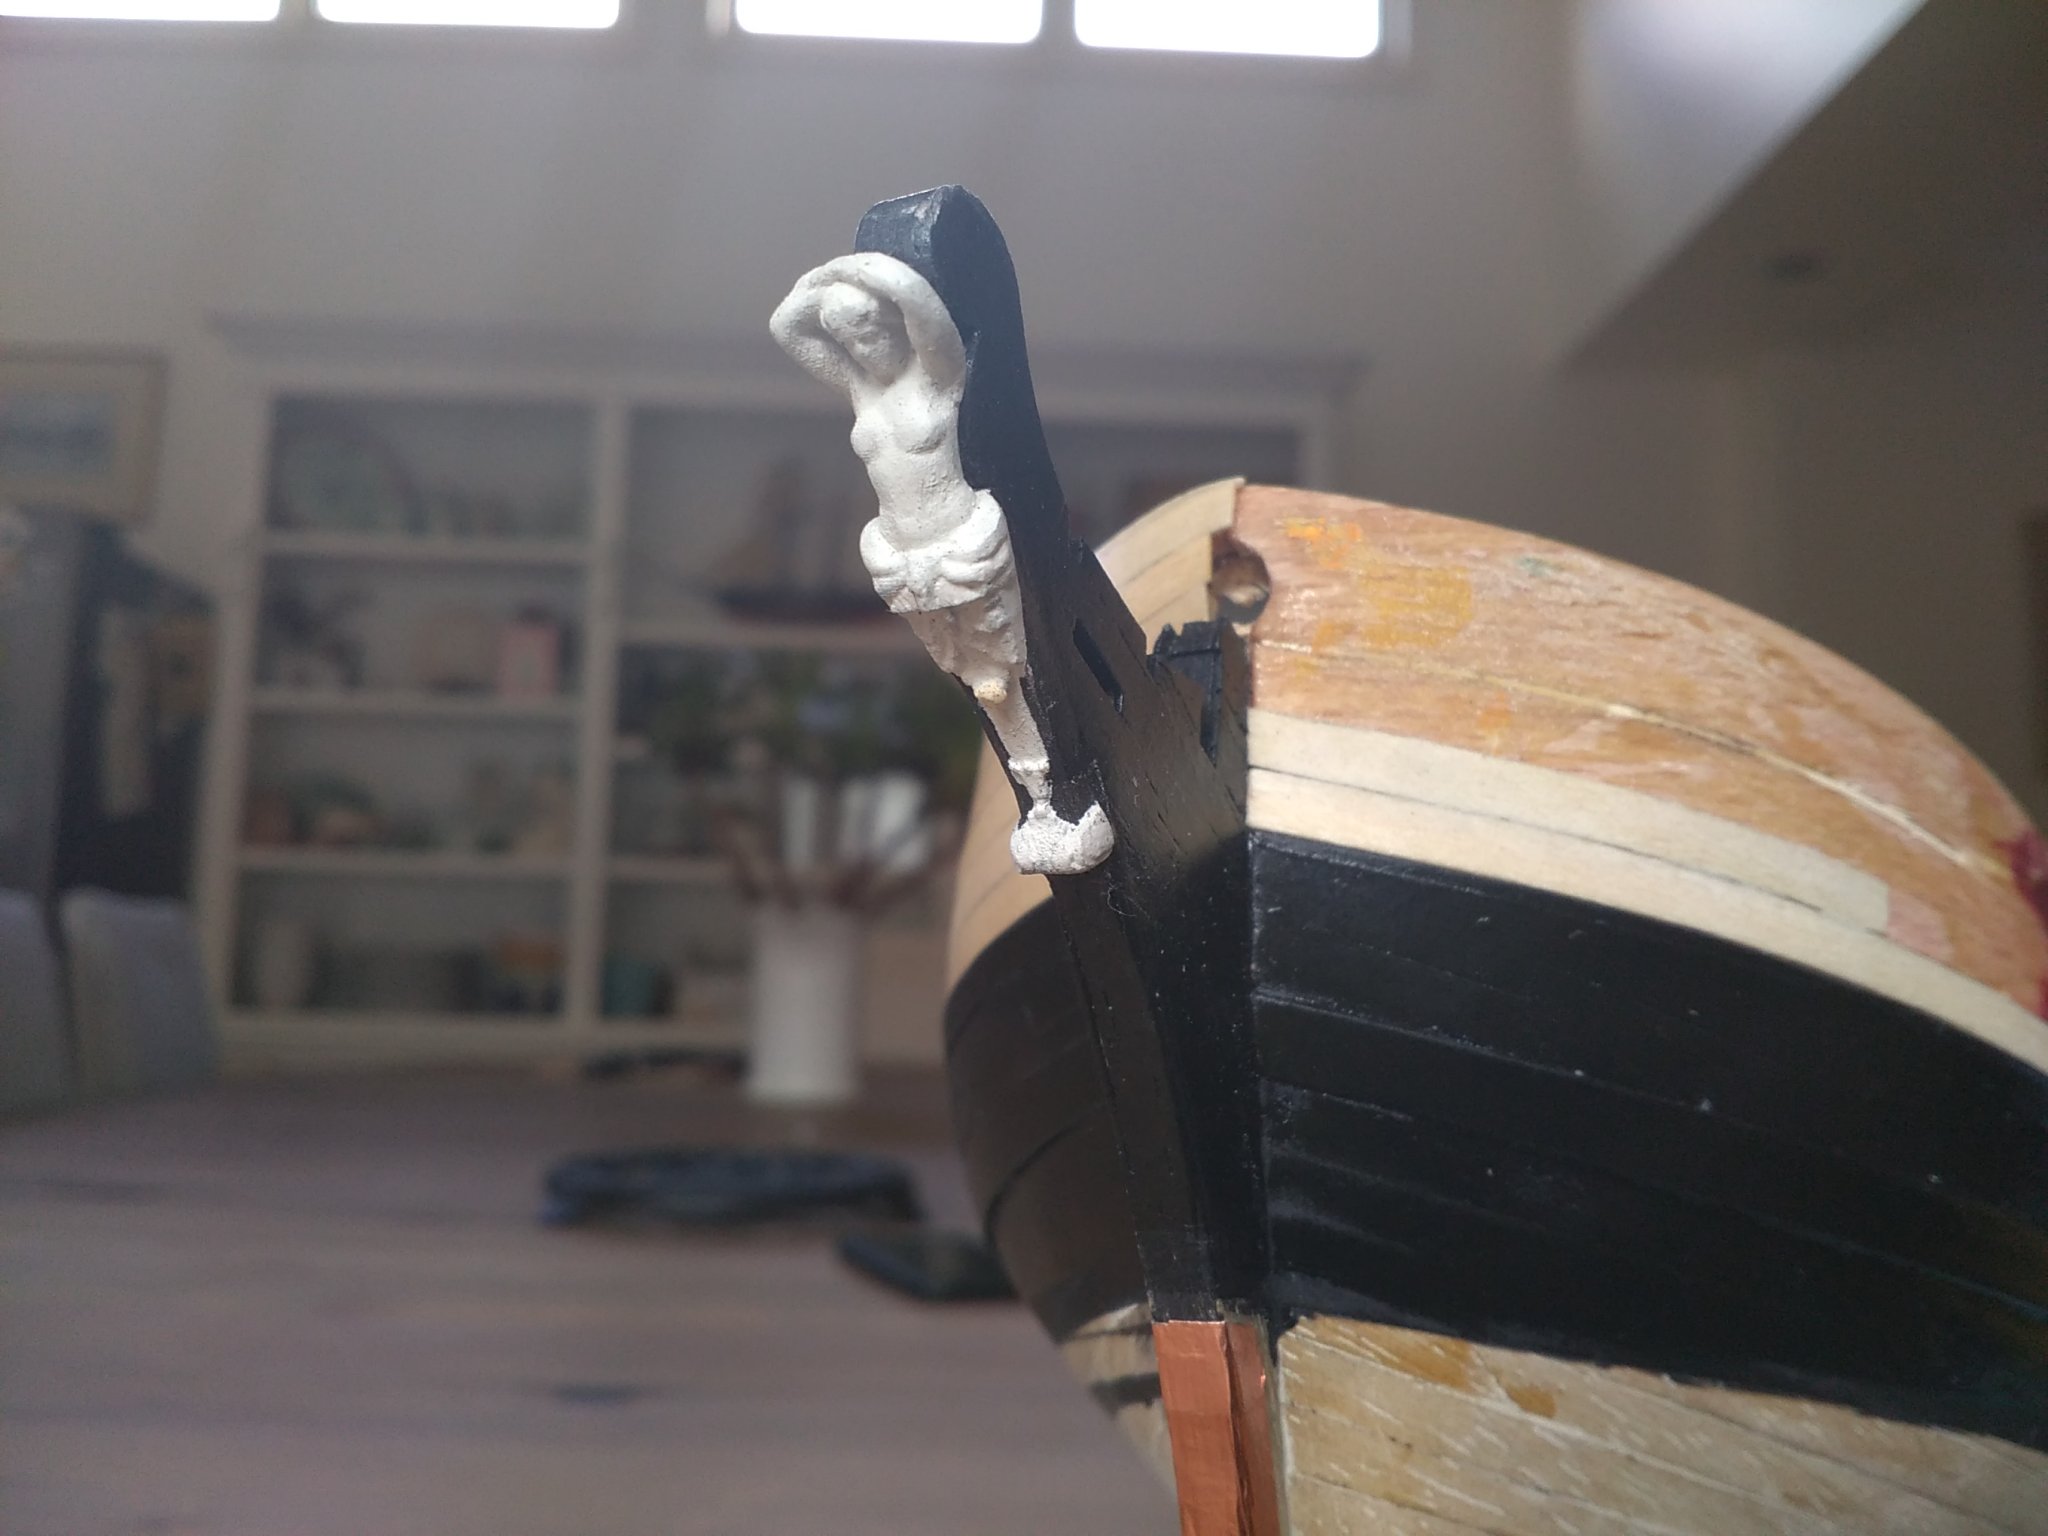
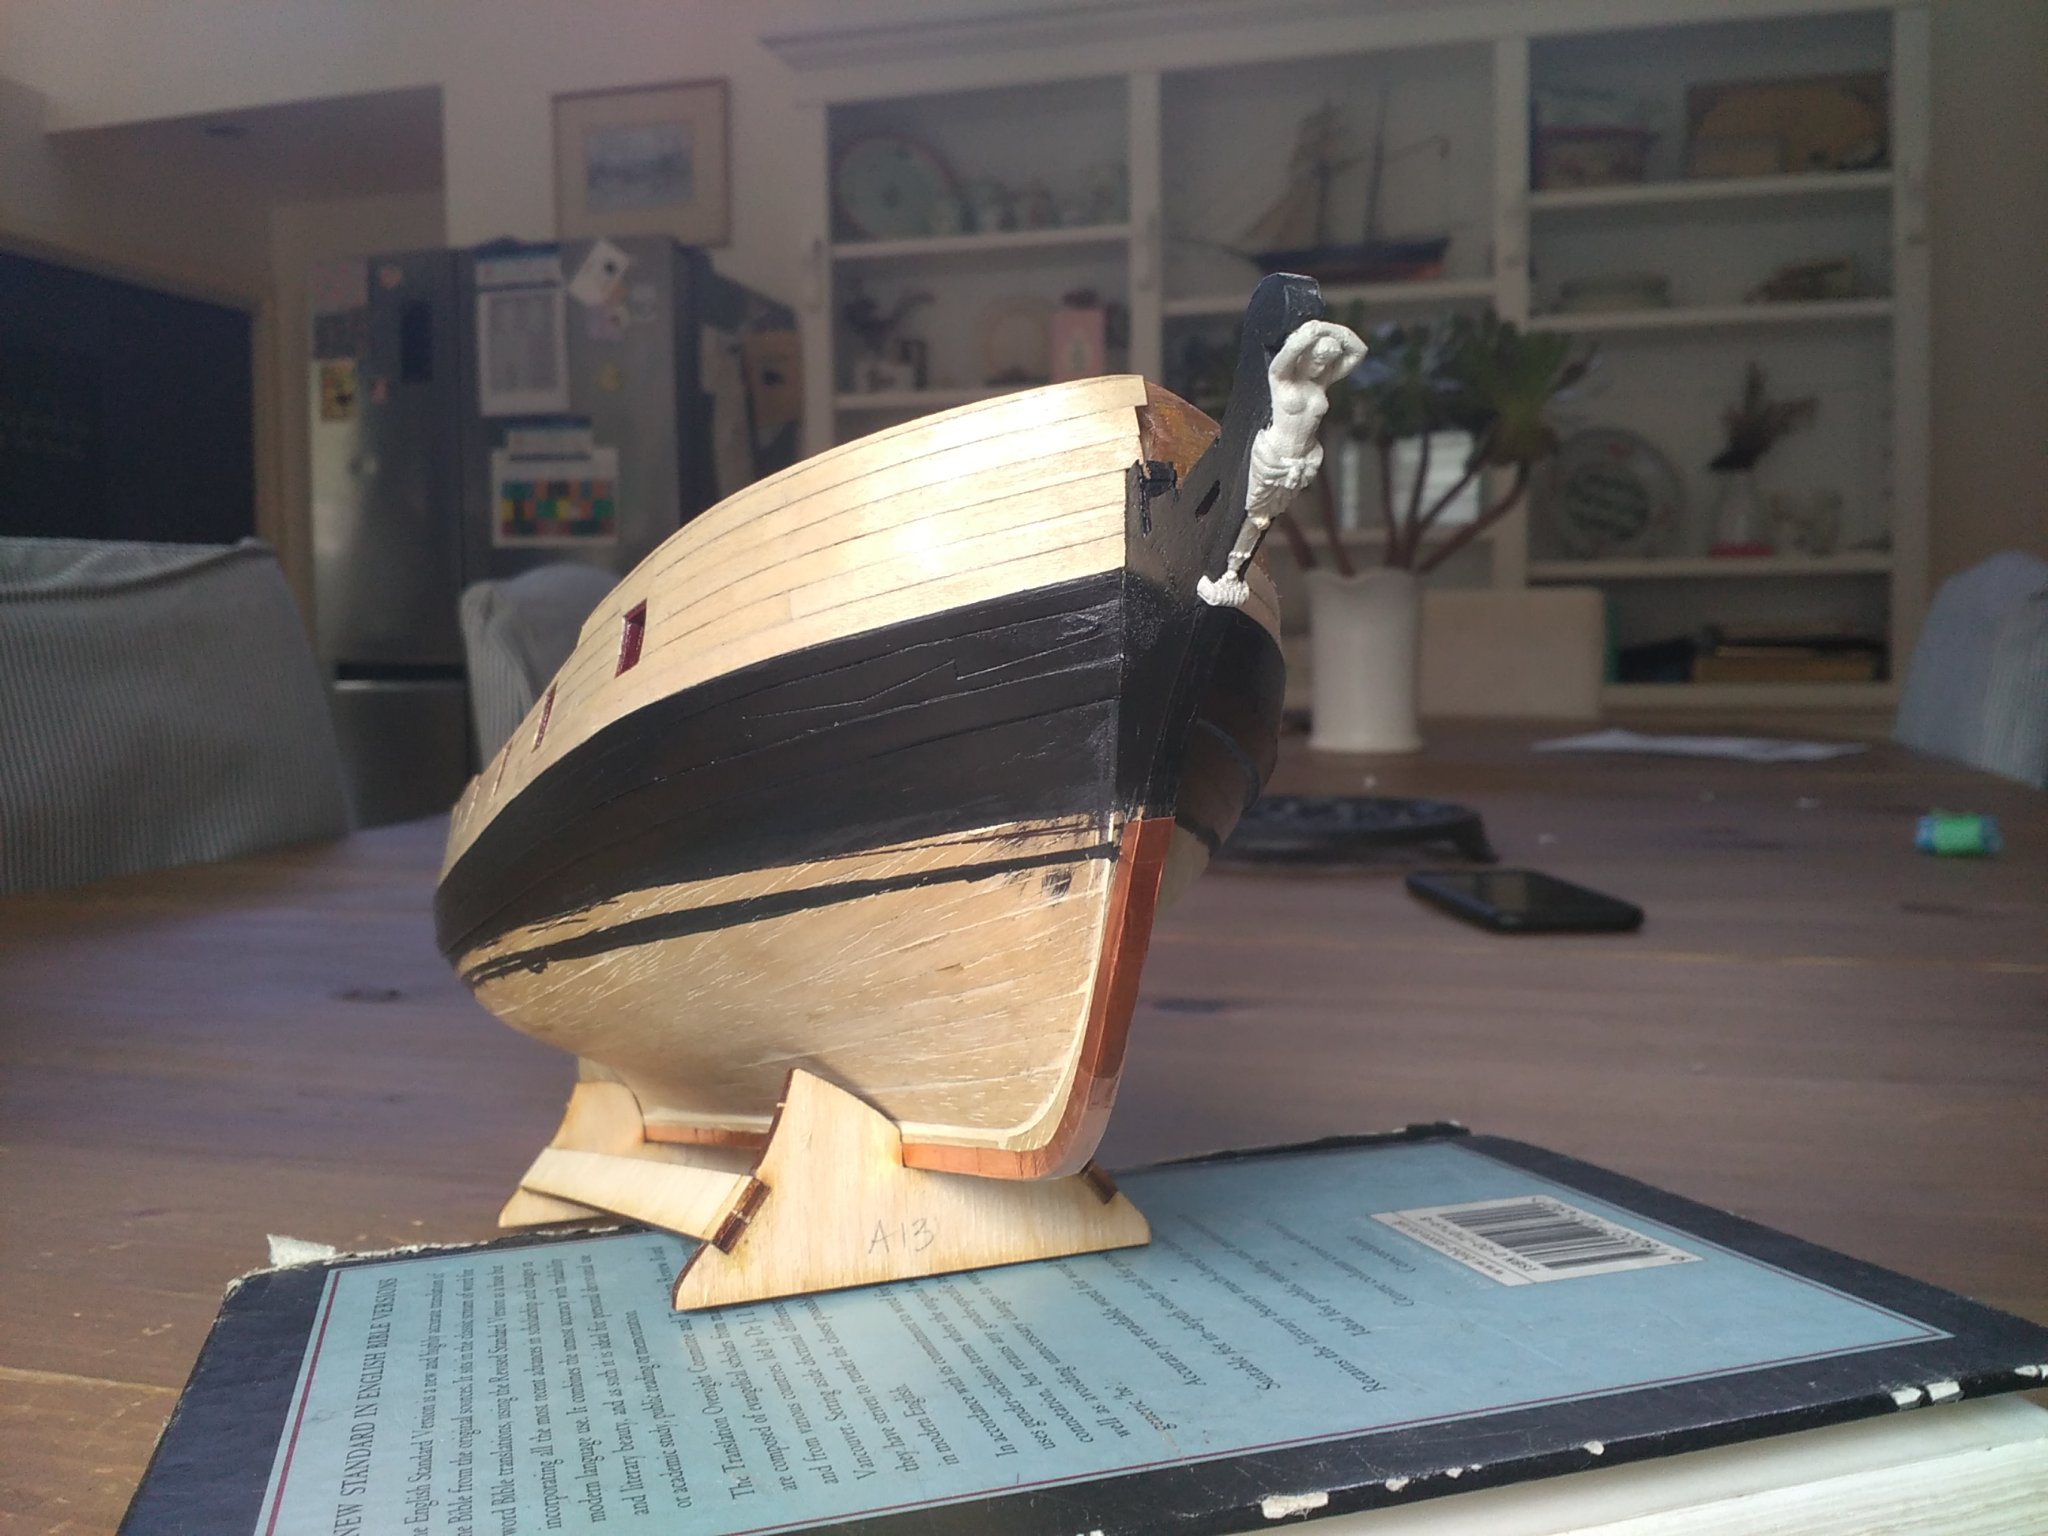
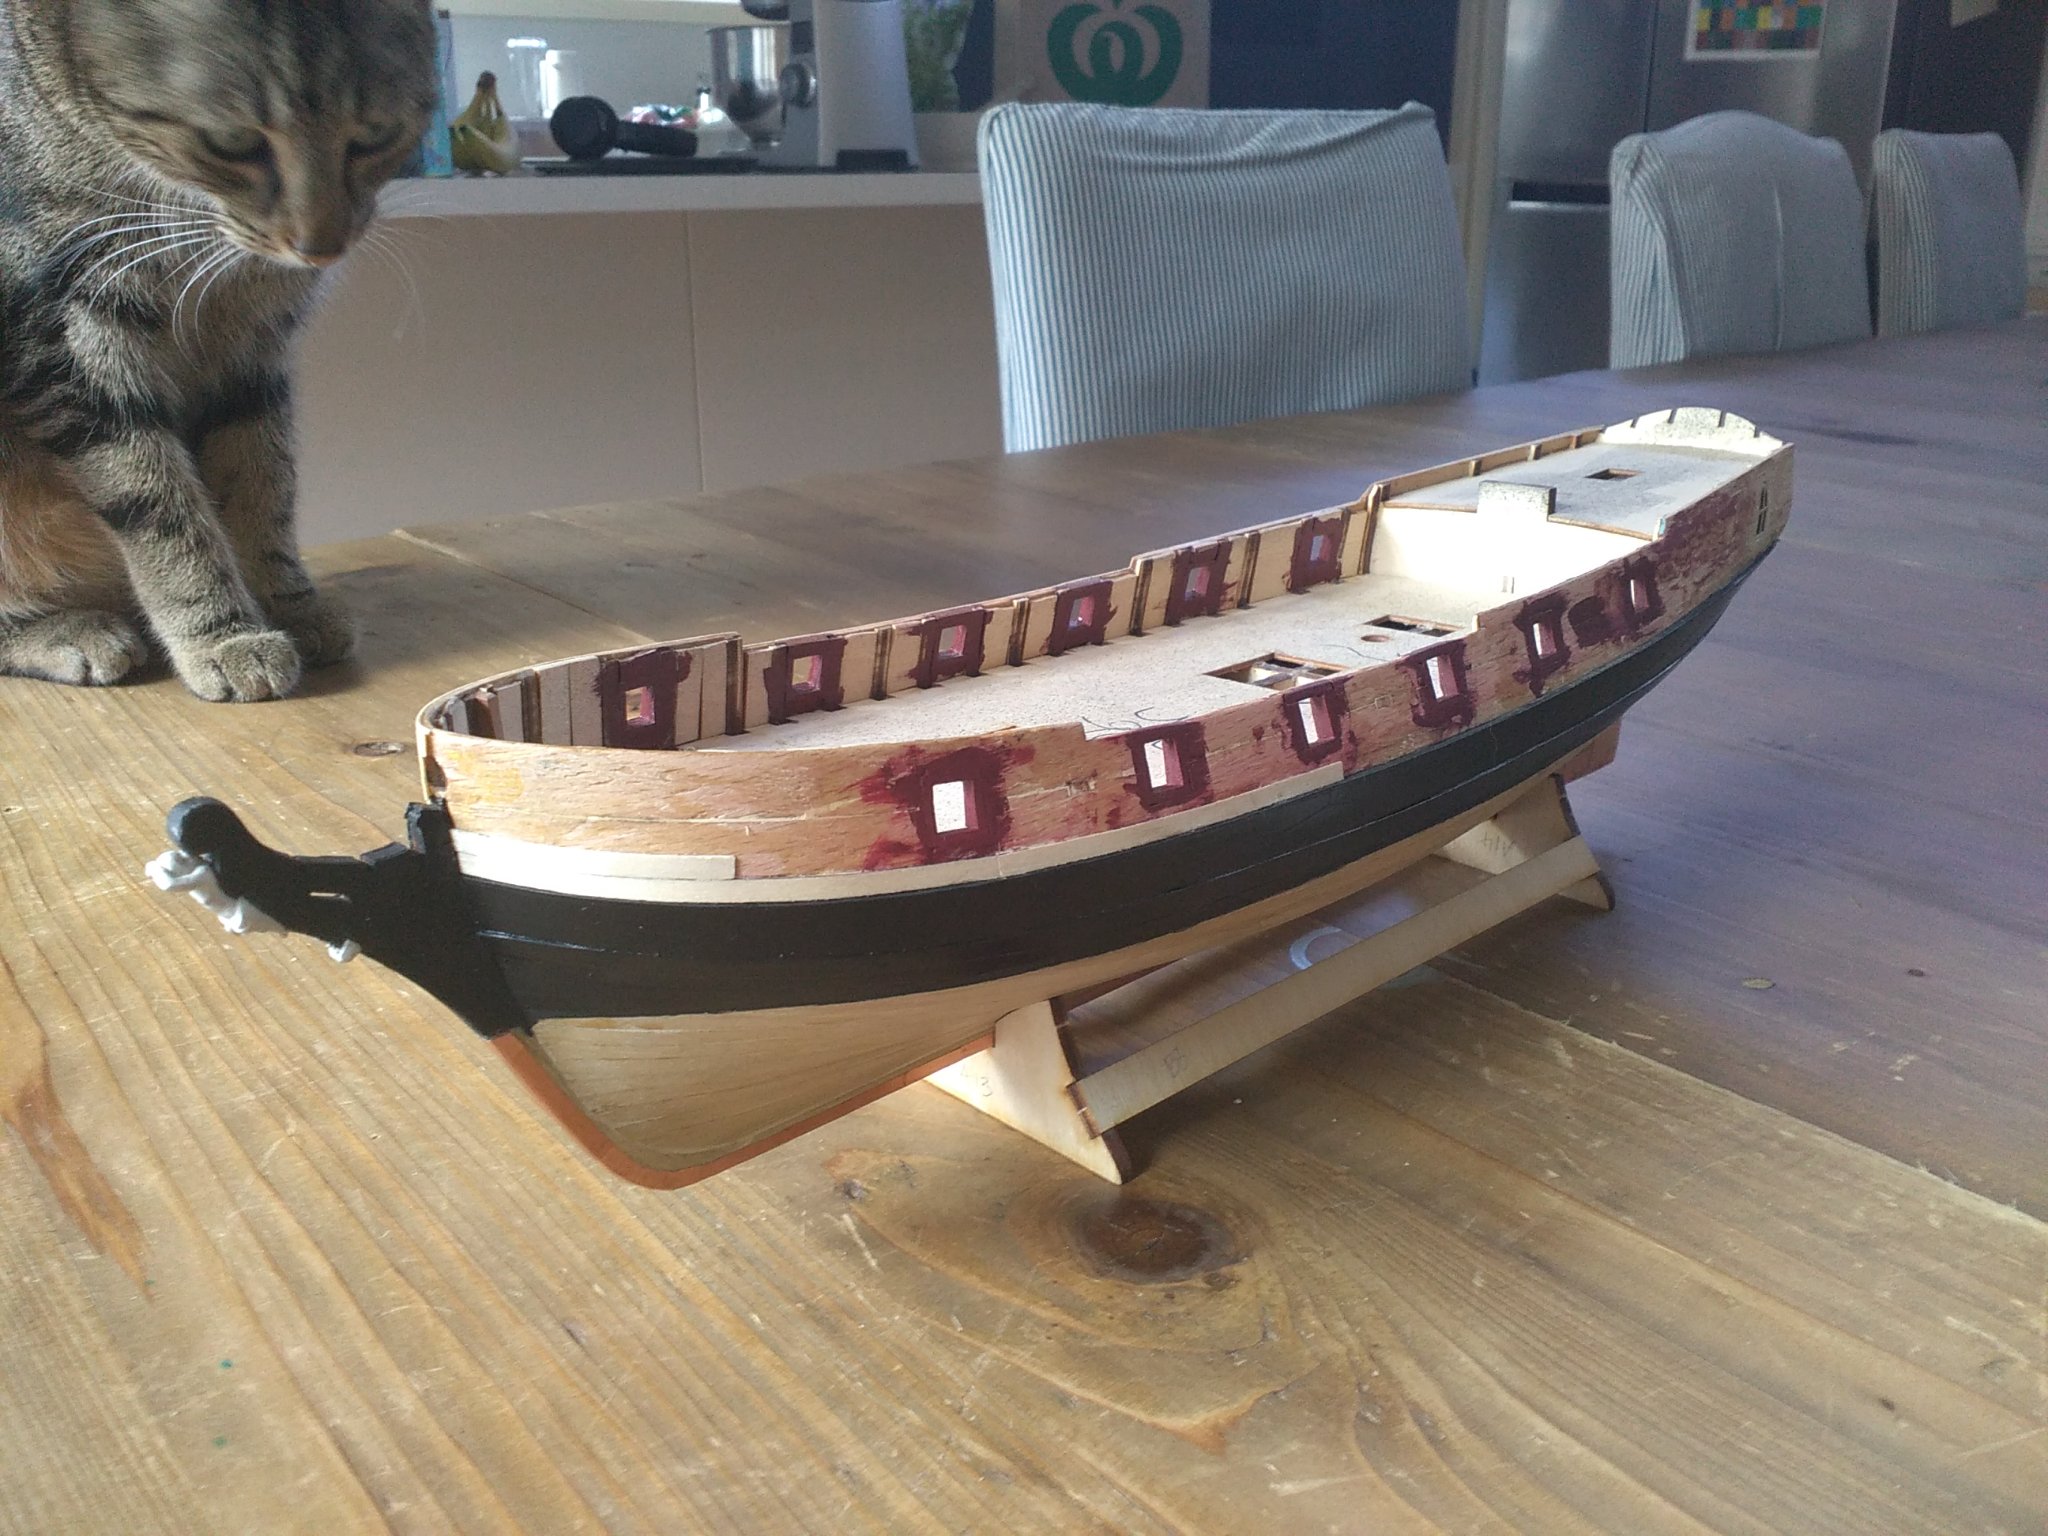
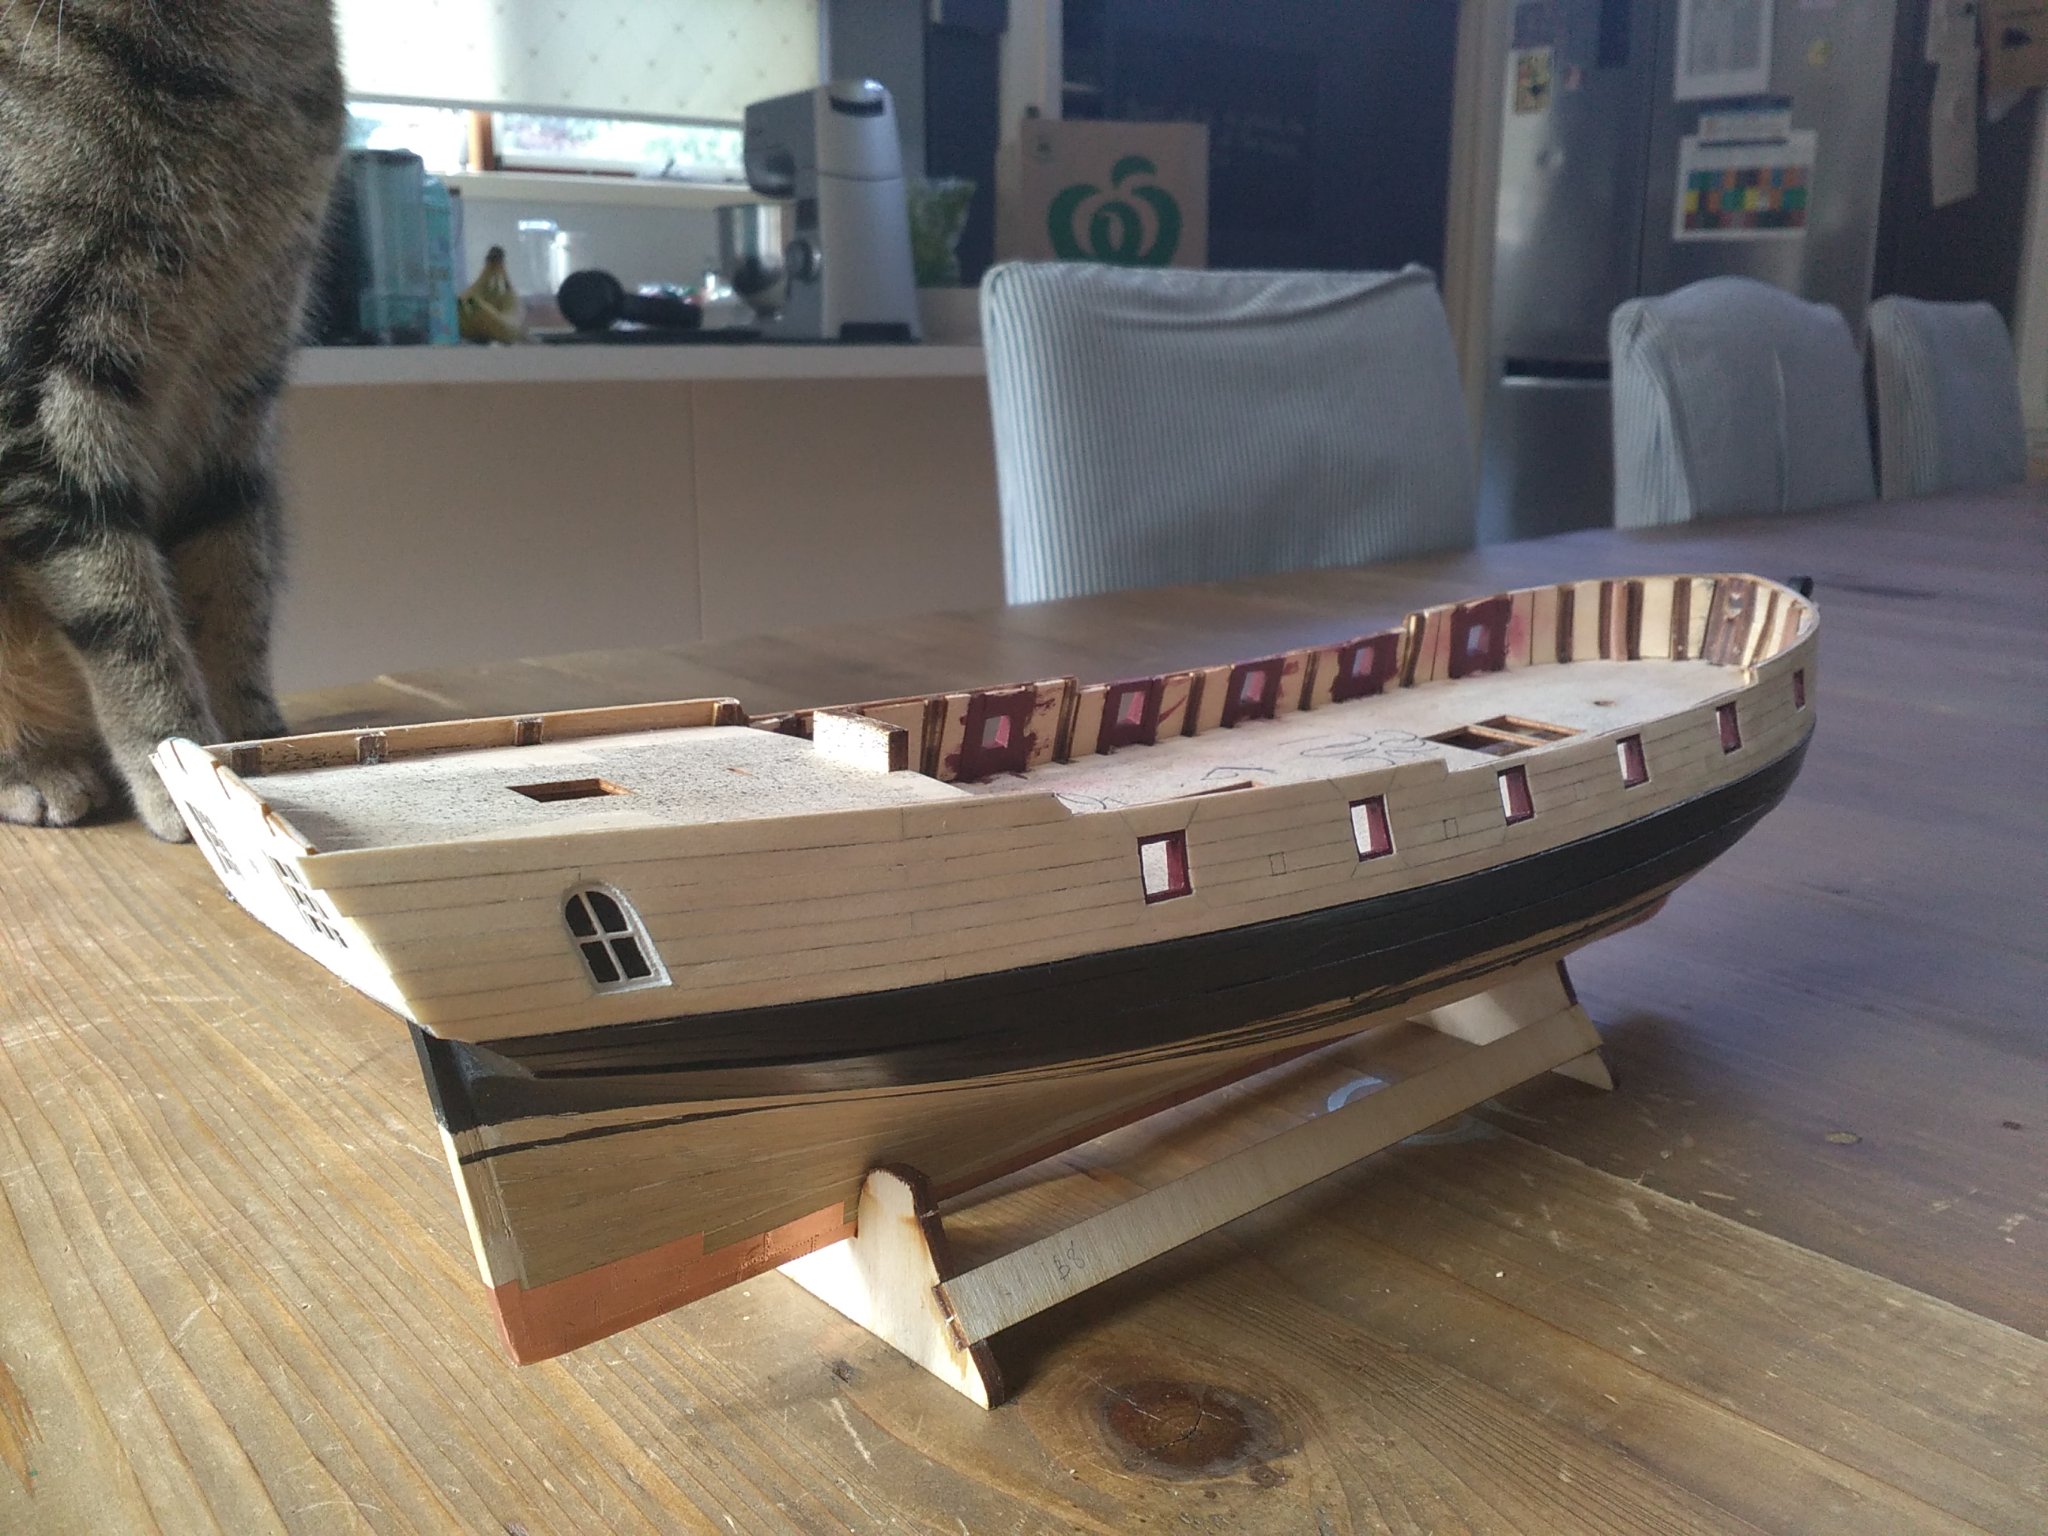
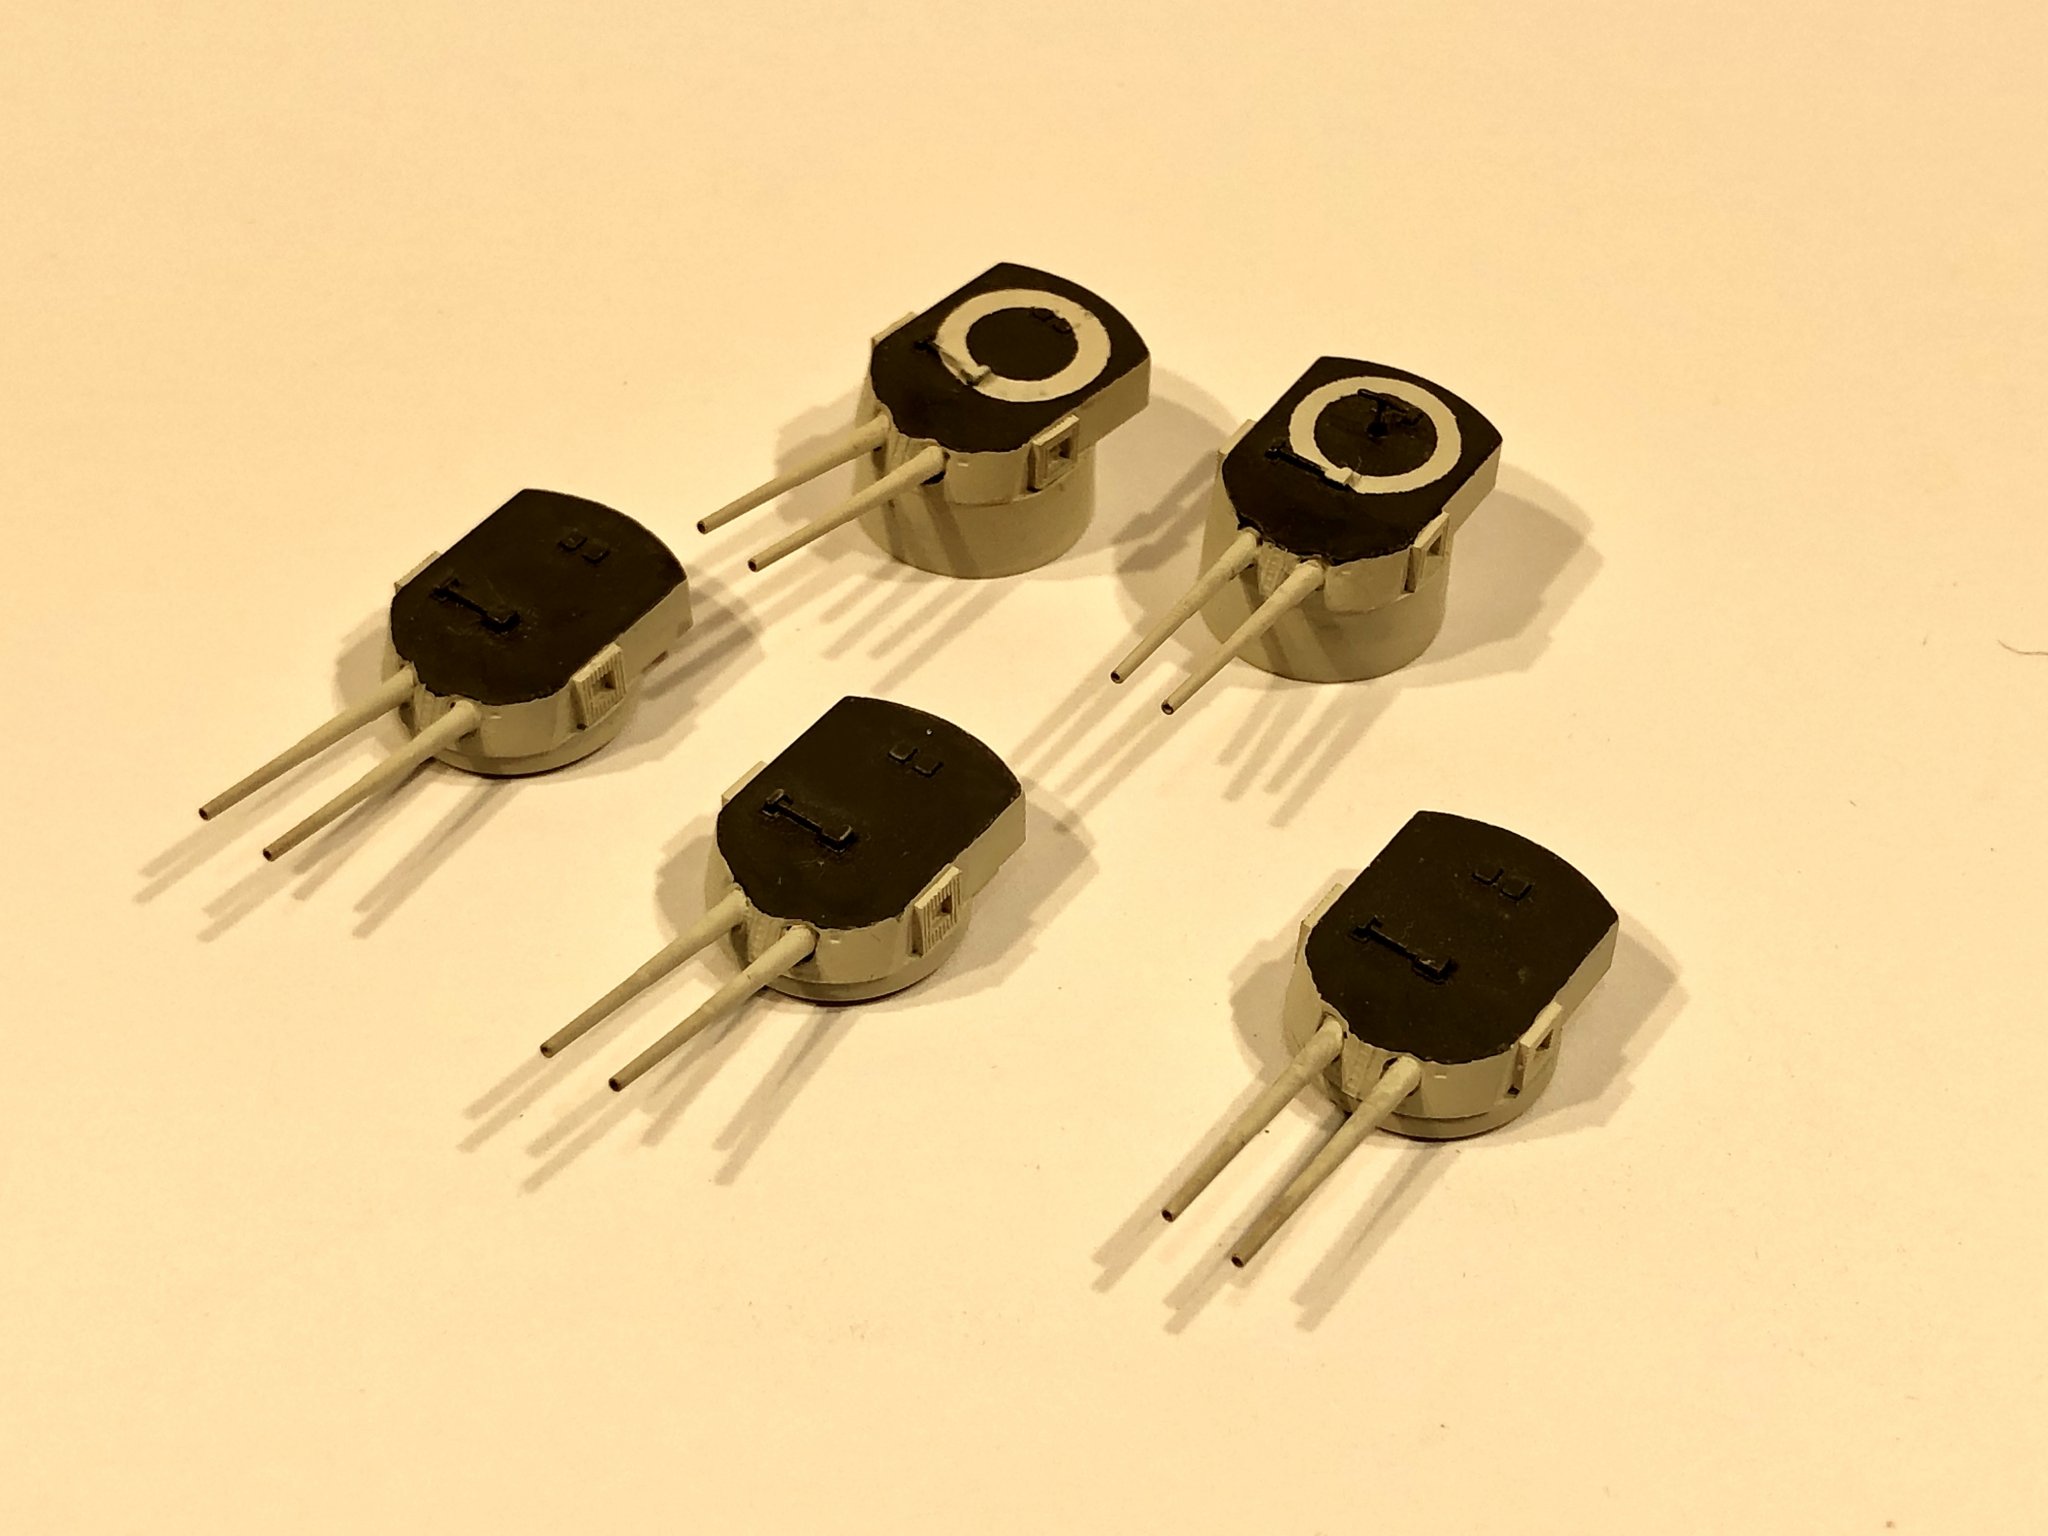
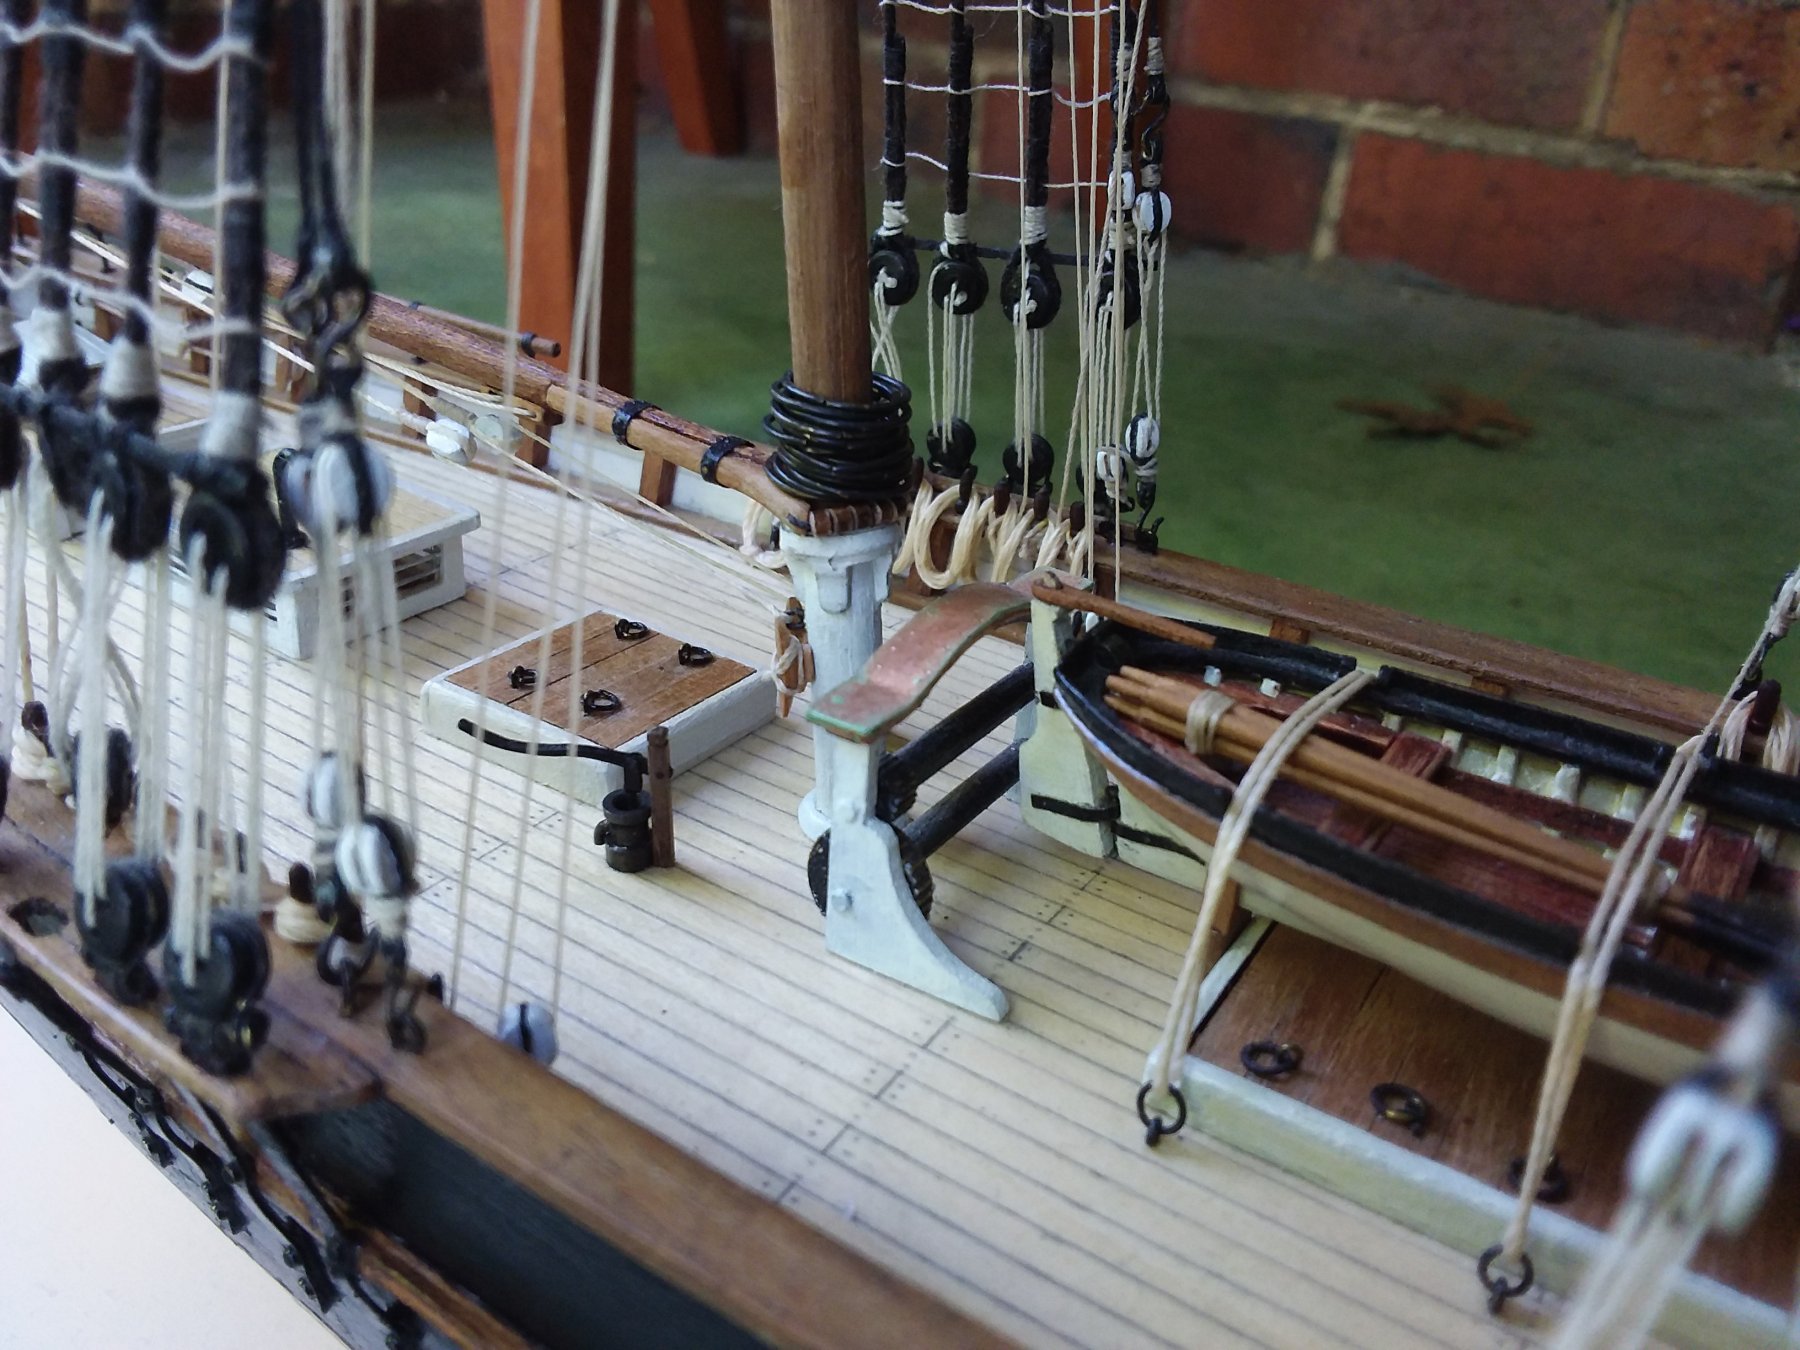
Here is a very belated update.
I have been quietly plodding along with this...while converting my garage into a studio office.
Not much to say. The photos speak for themselves I think.
Just dry fit at the moment.
I am no master at working at this scale, but I thoroughly enjoy its minutiae.


-
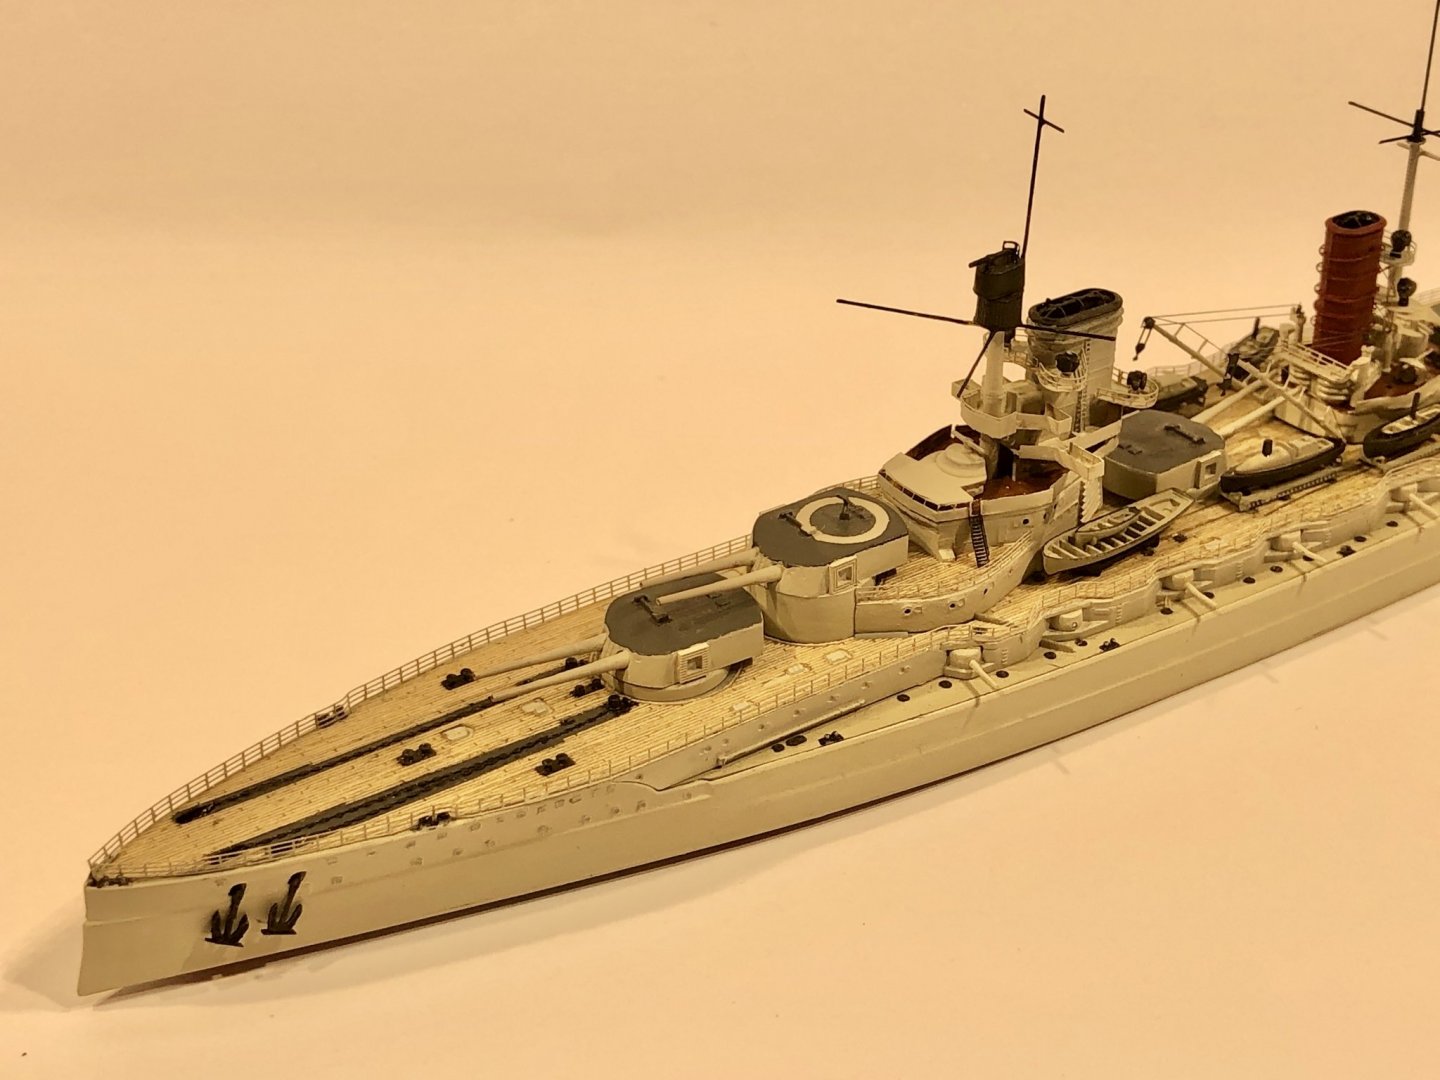
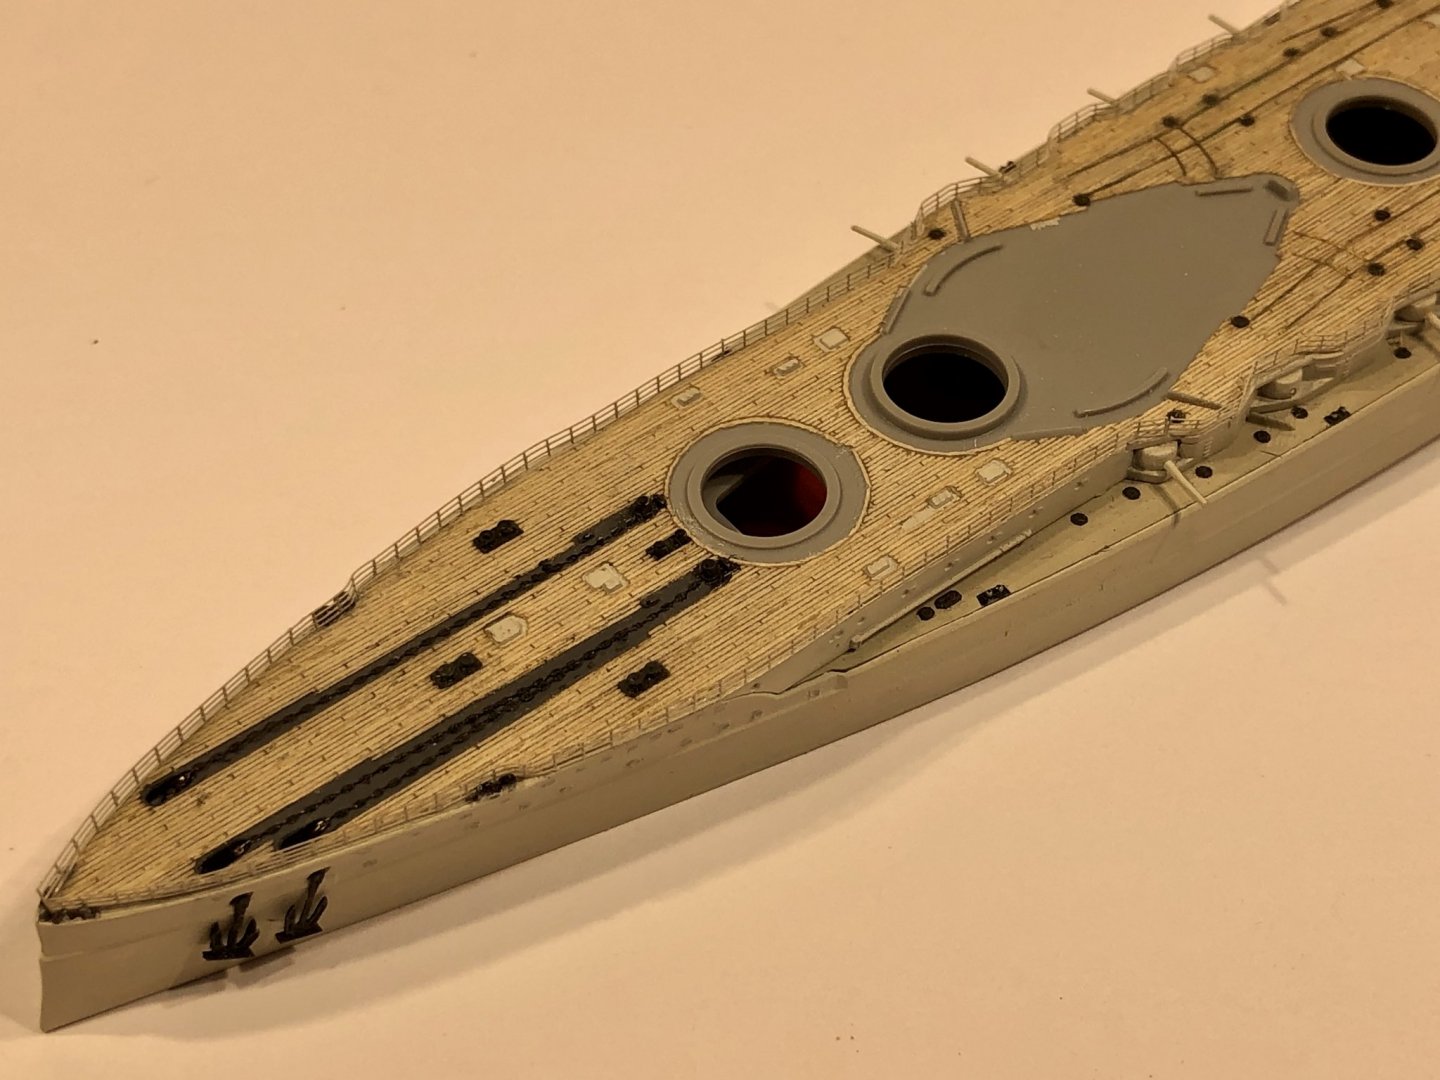
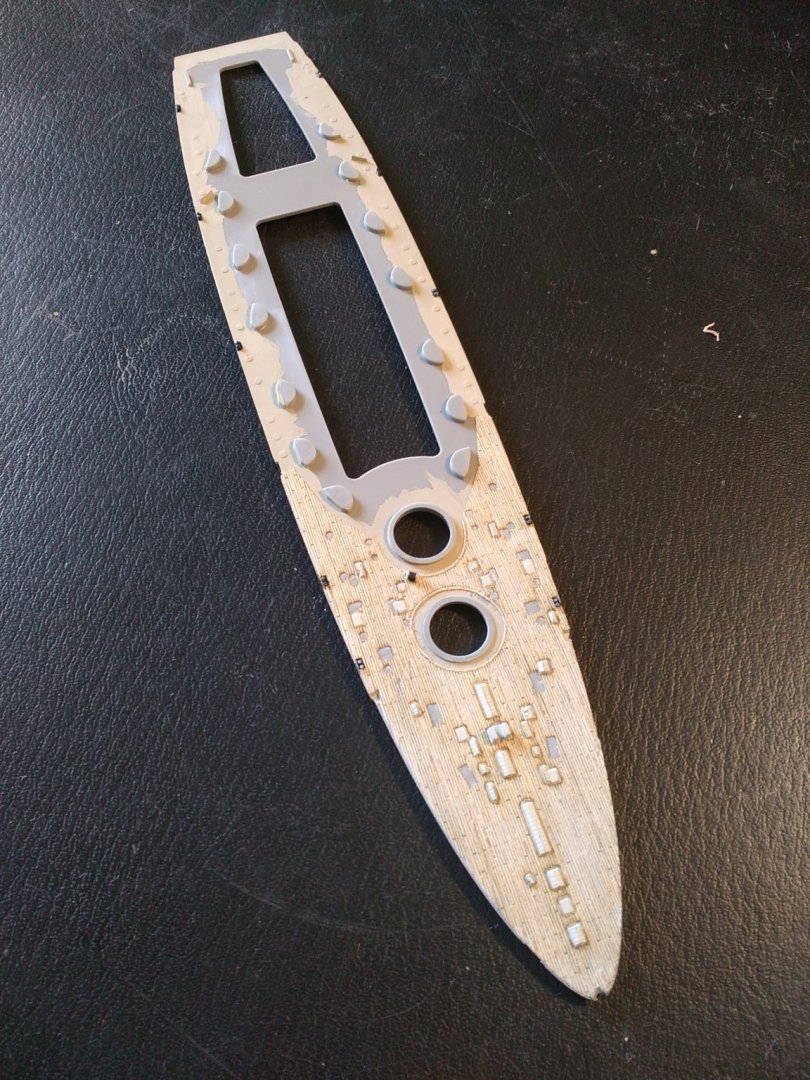
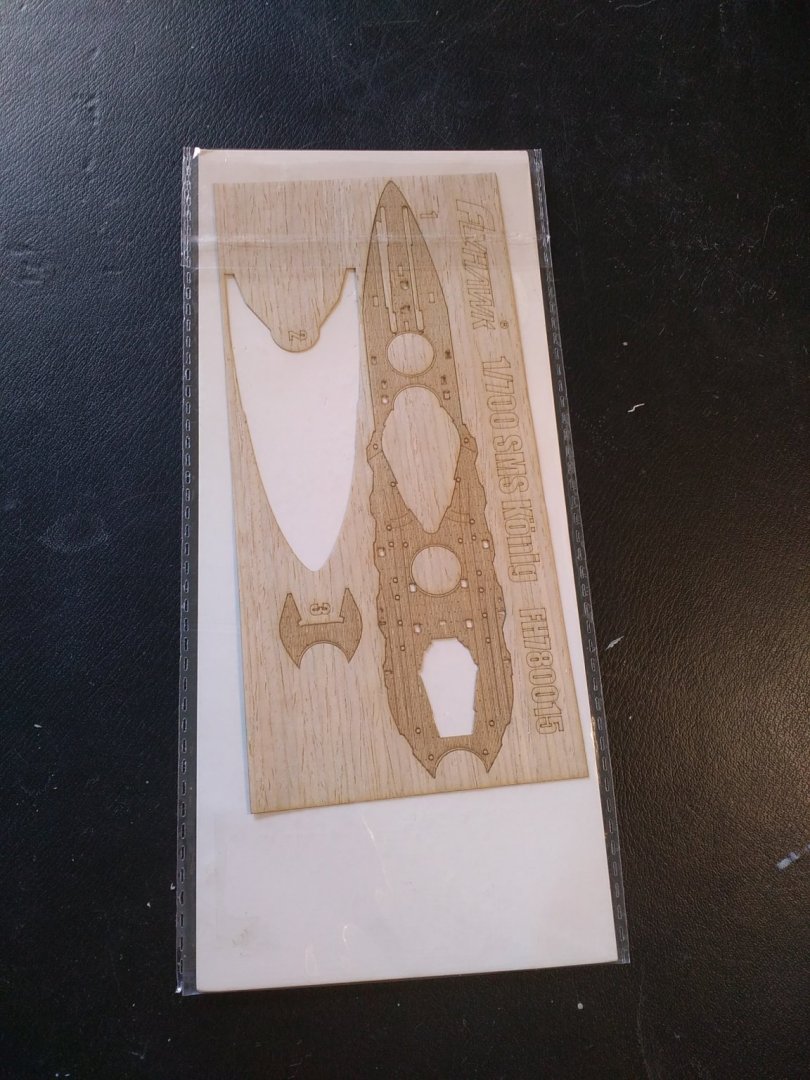
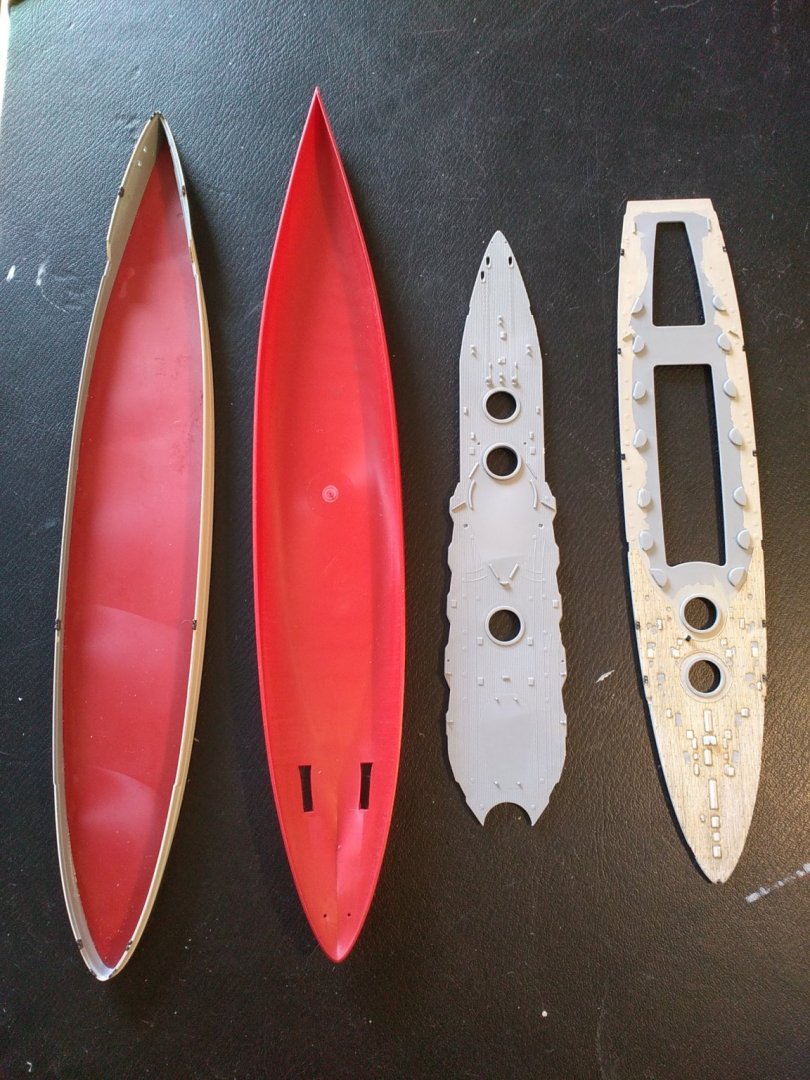
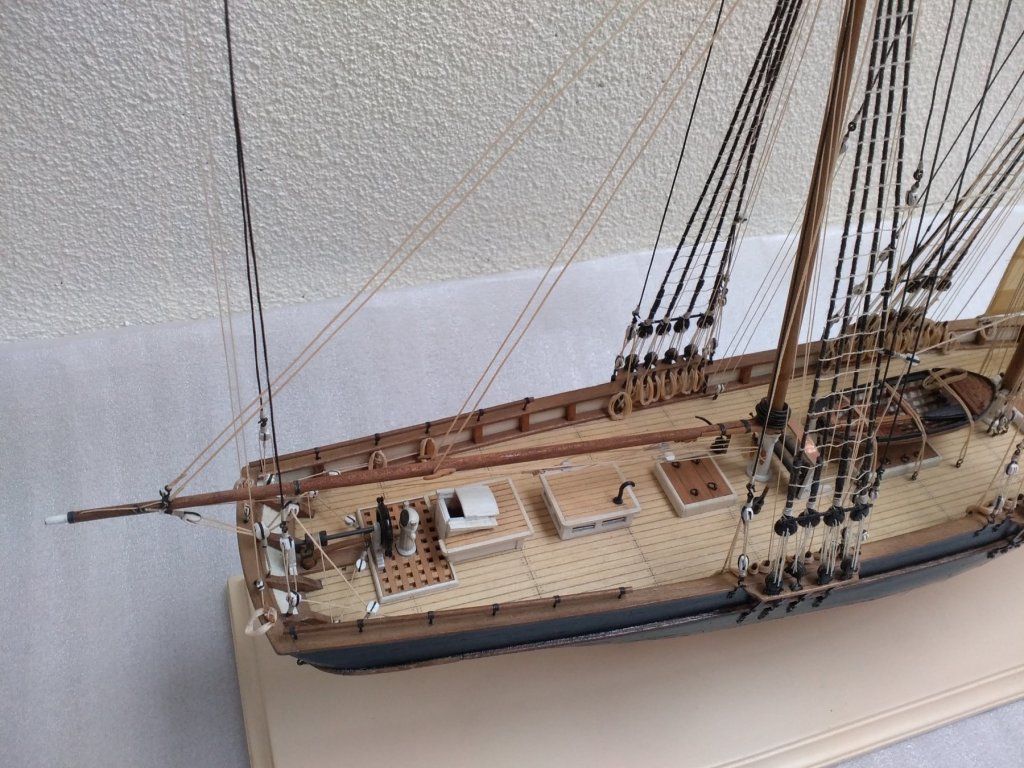
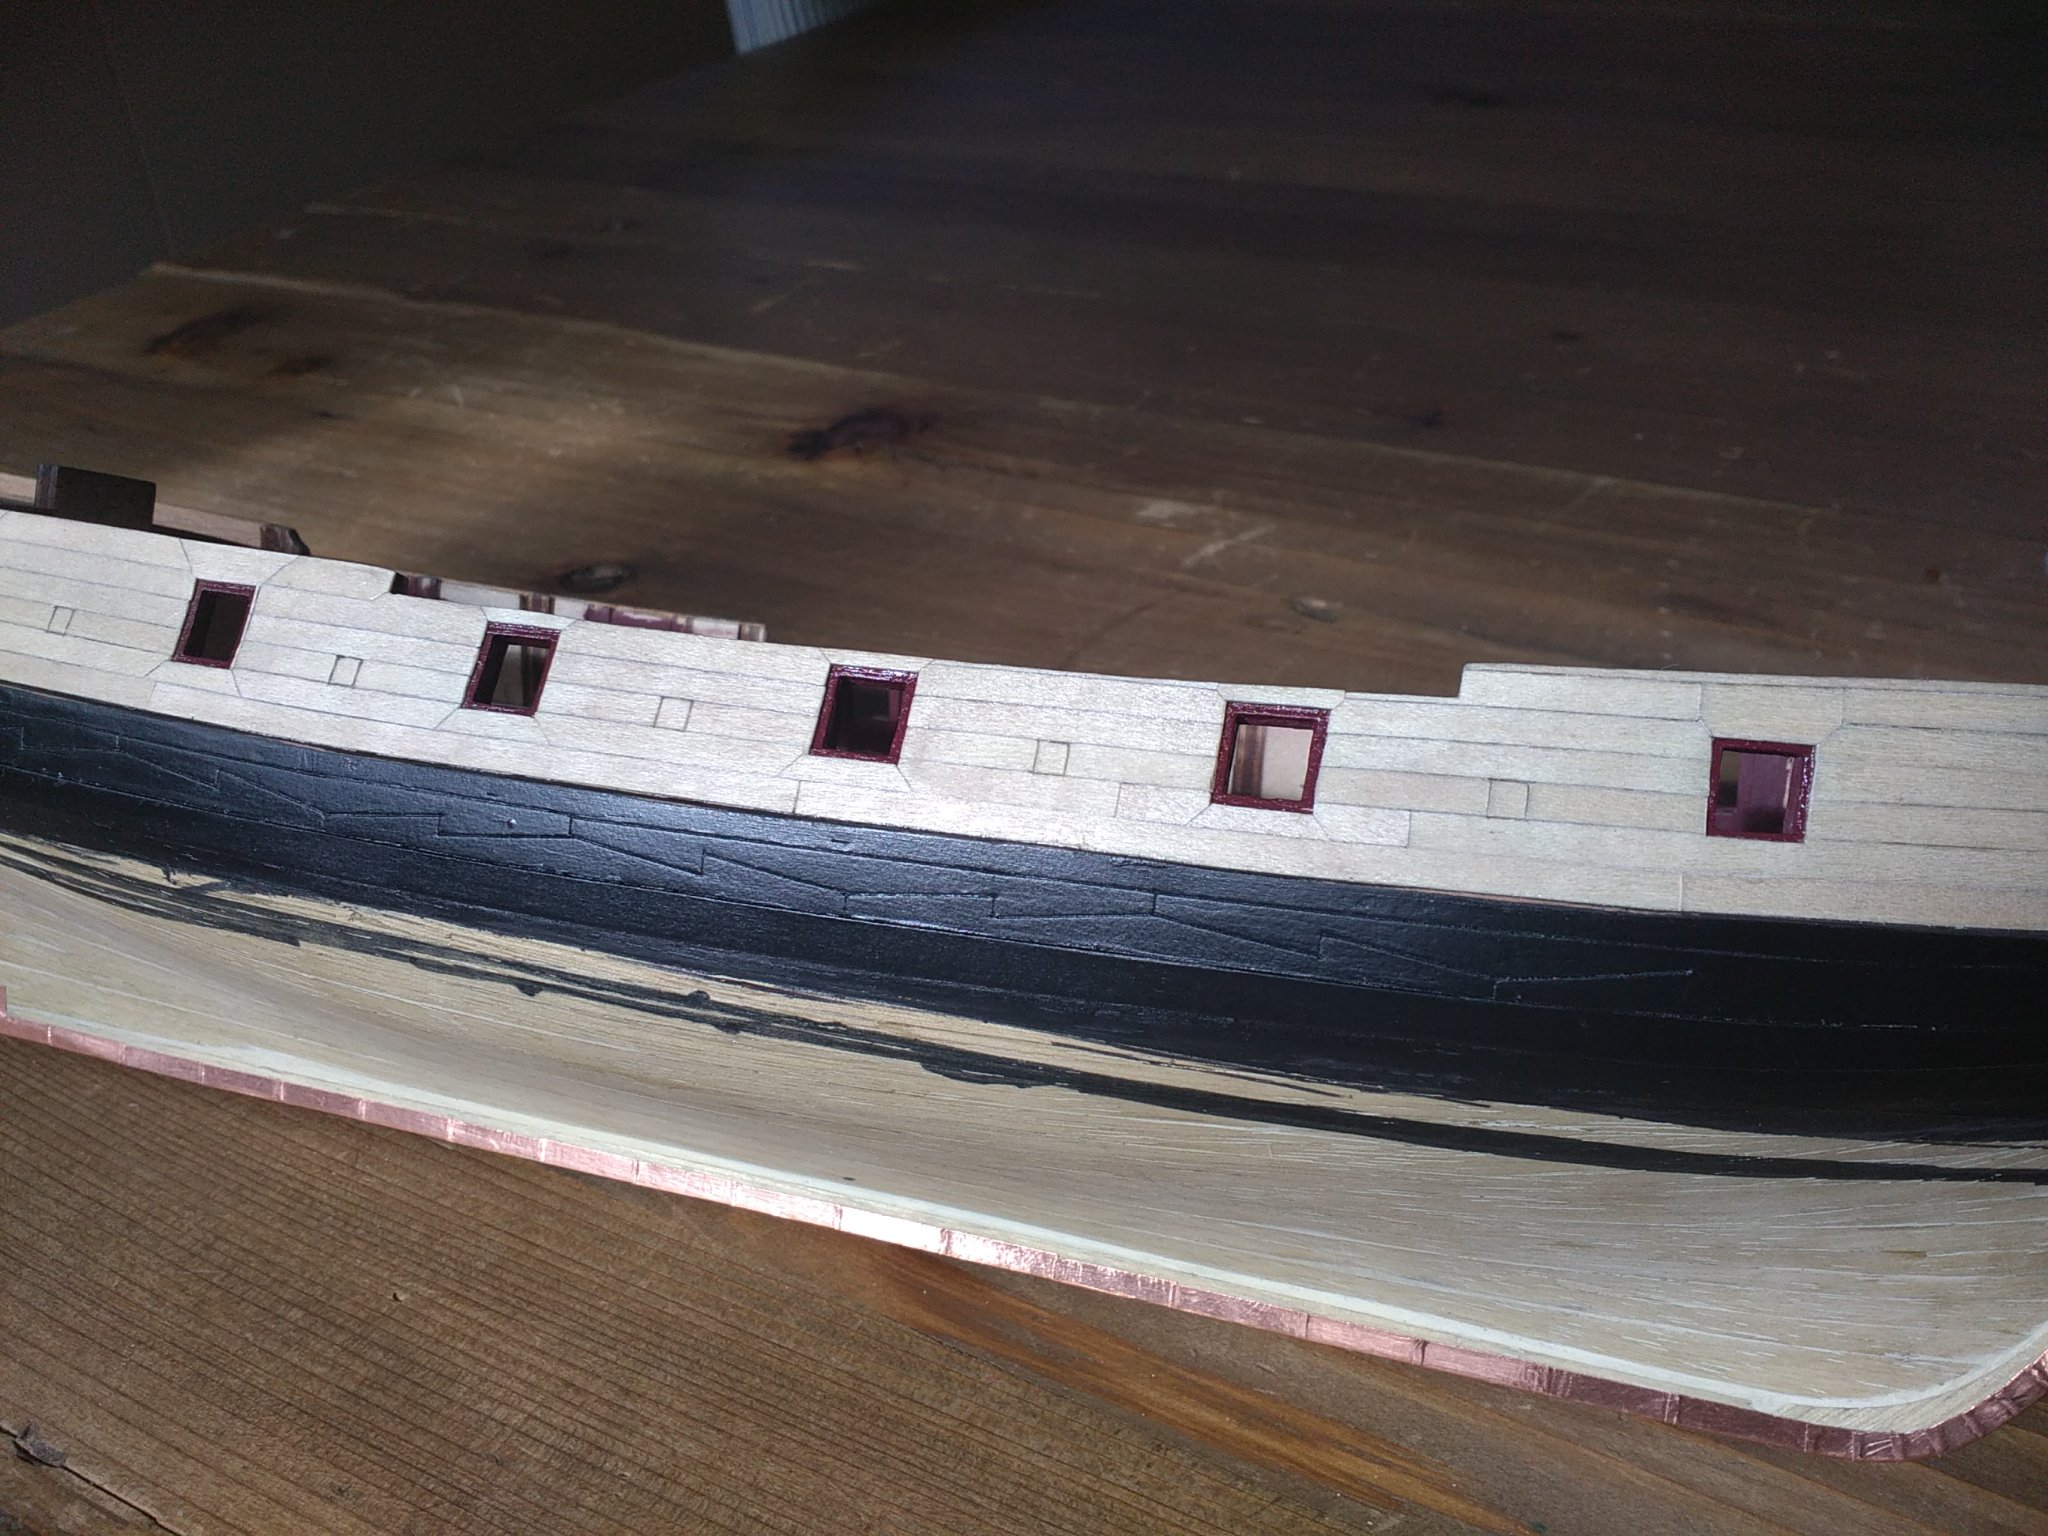
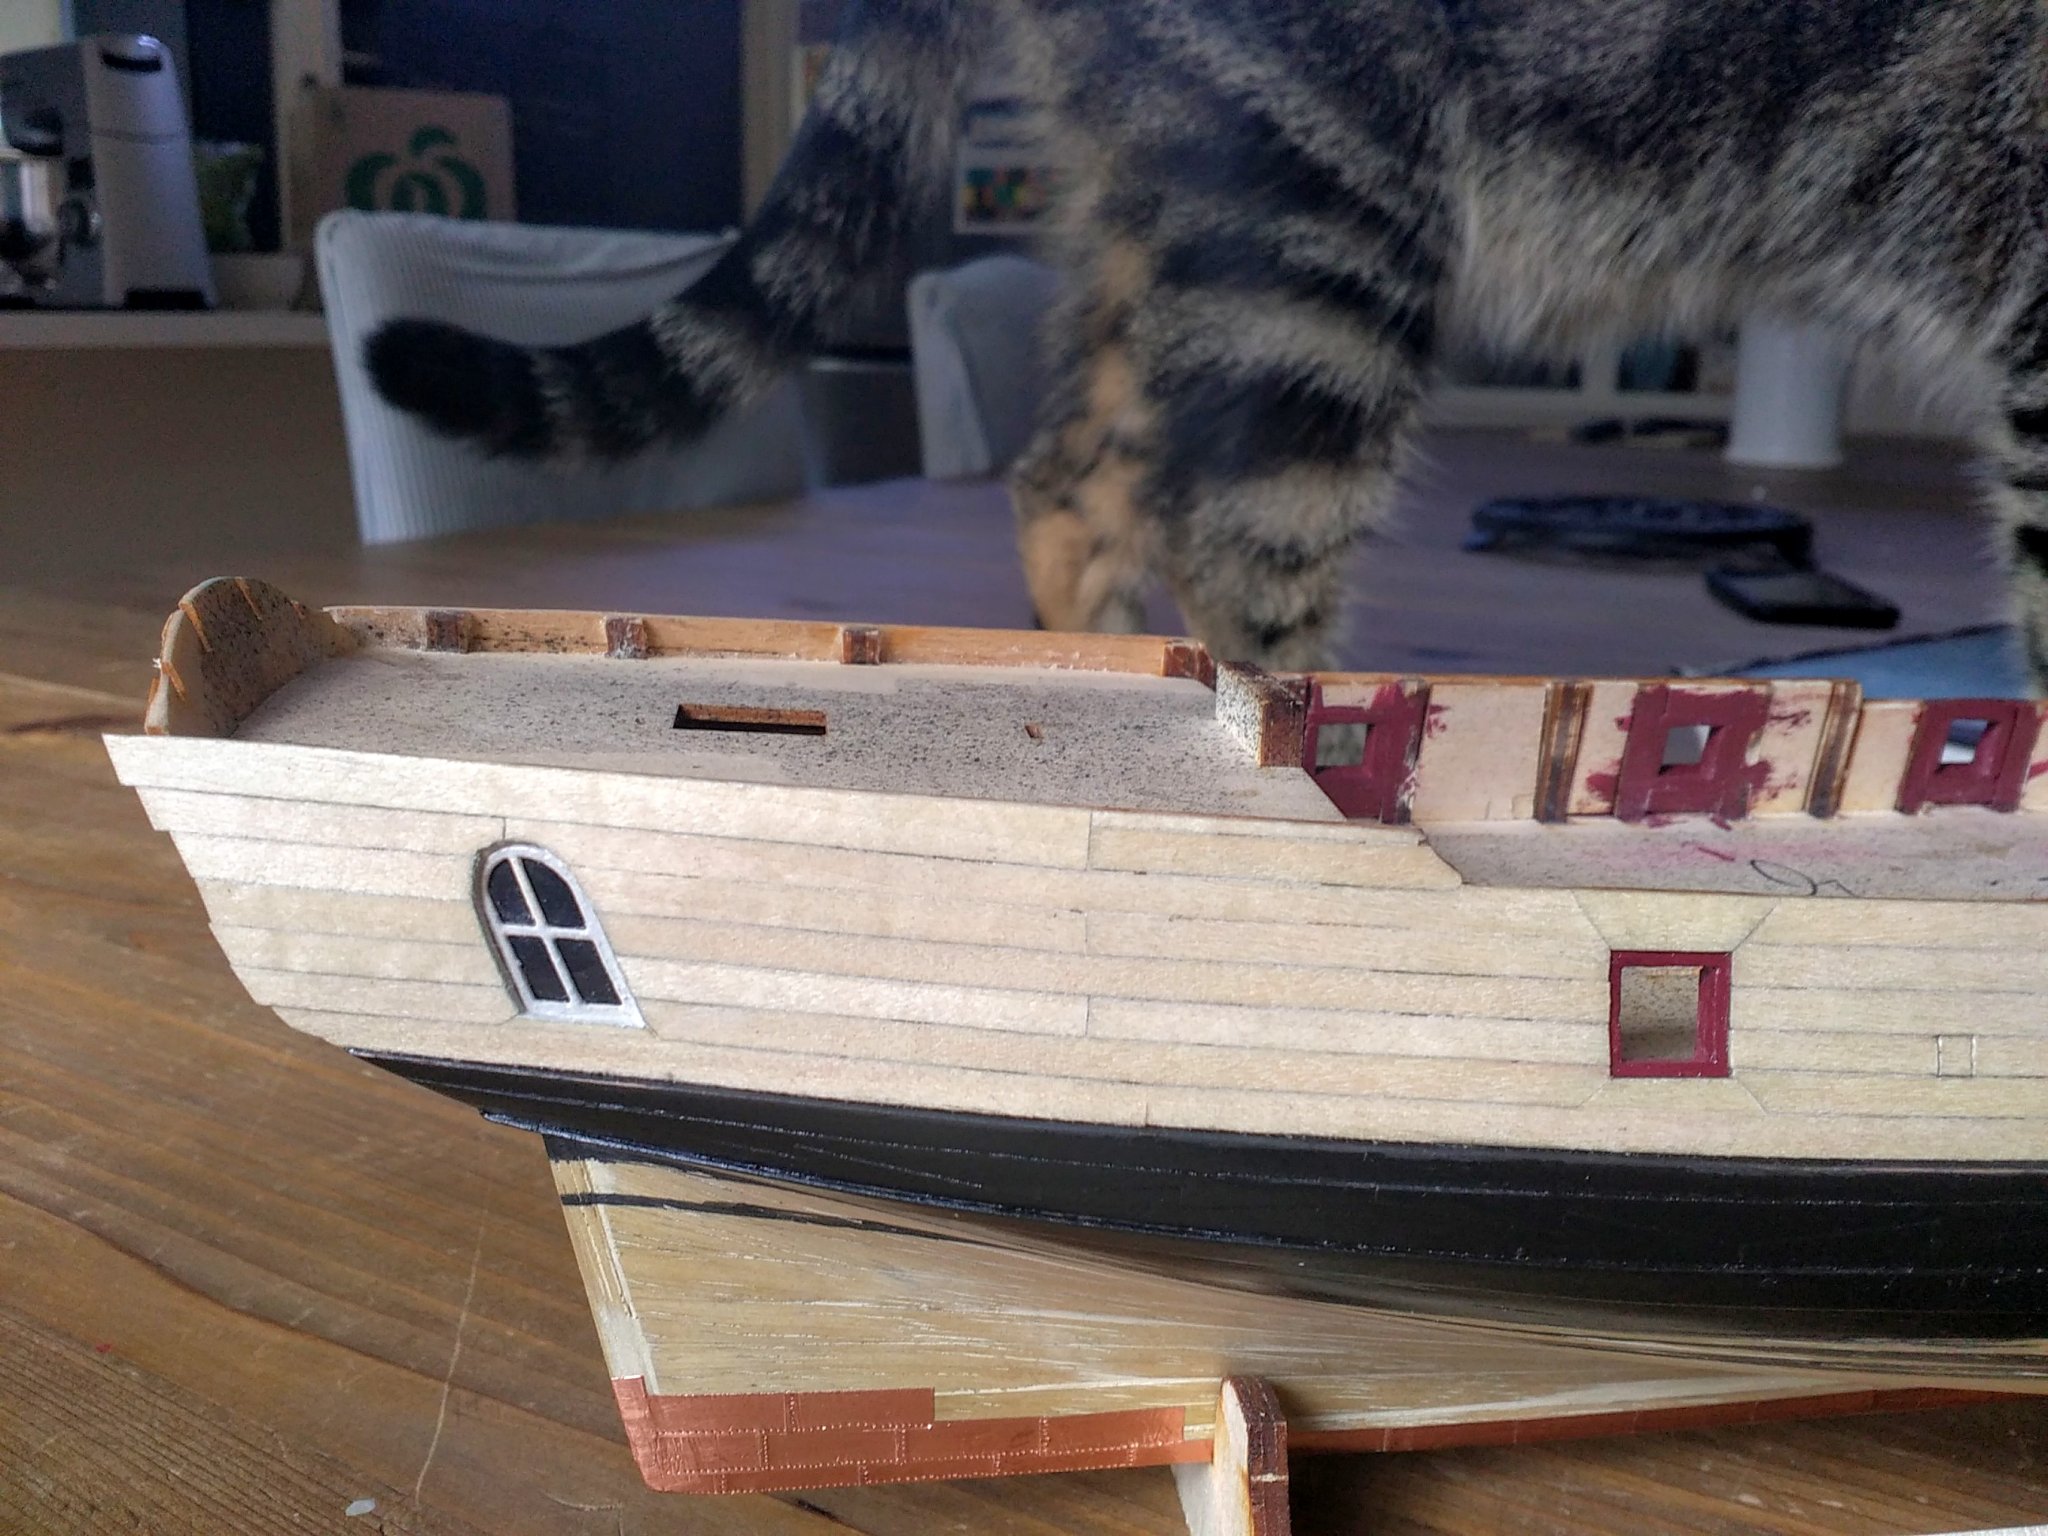
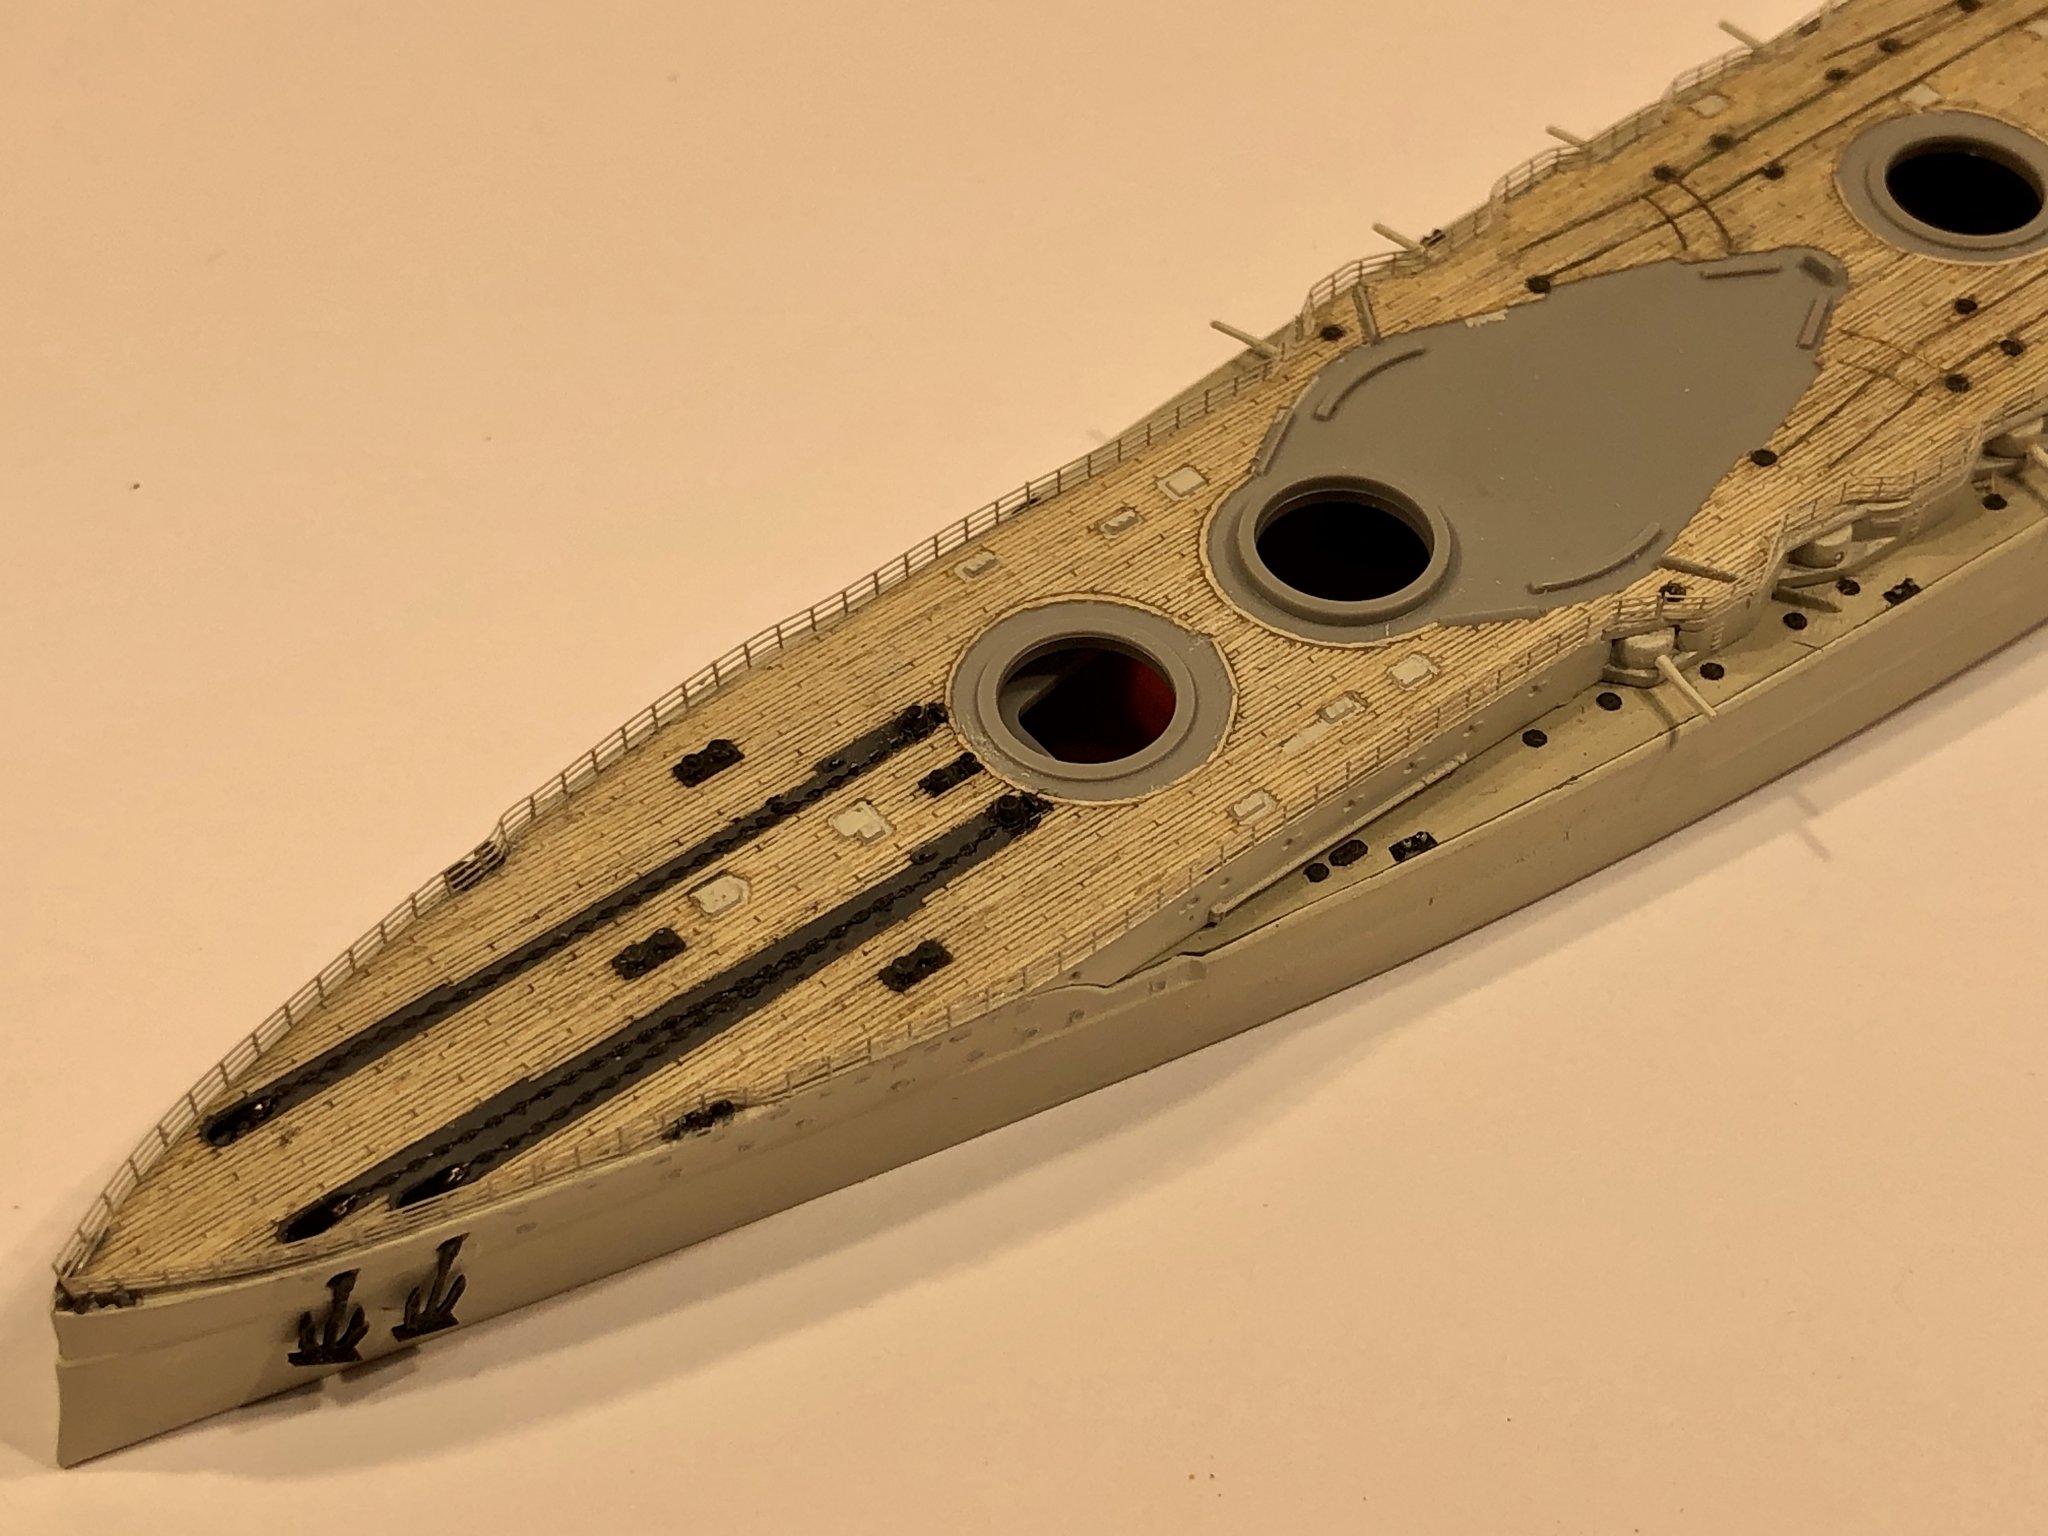
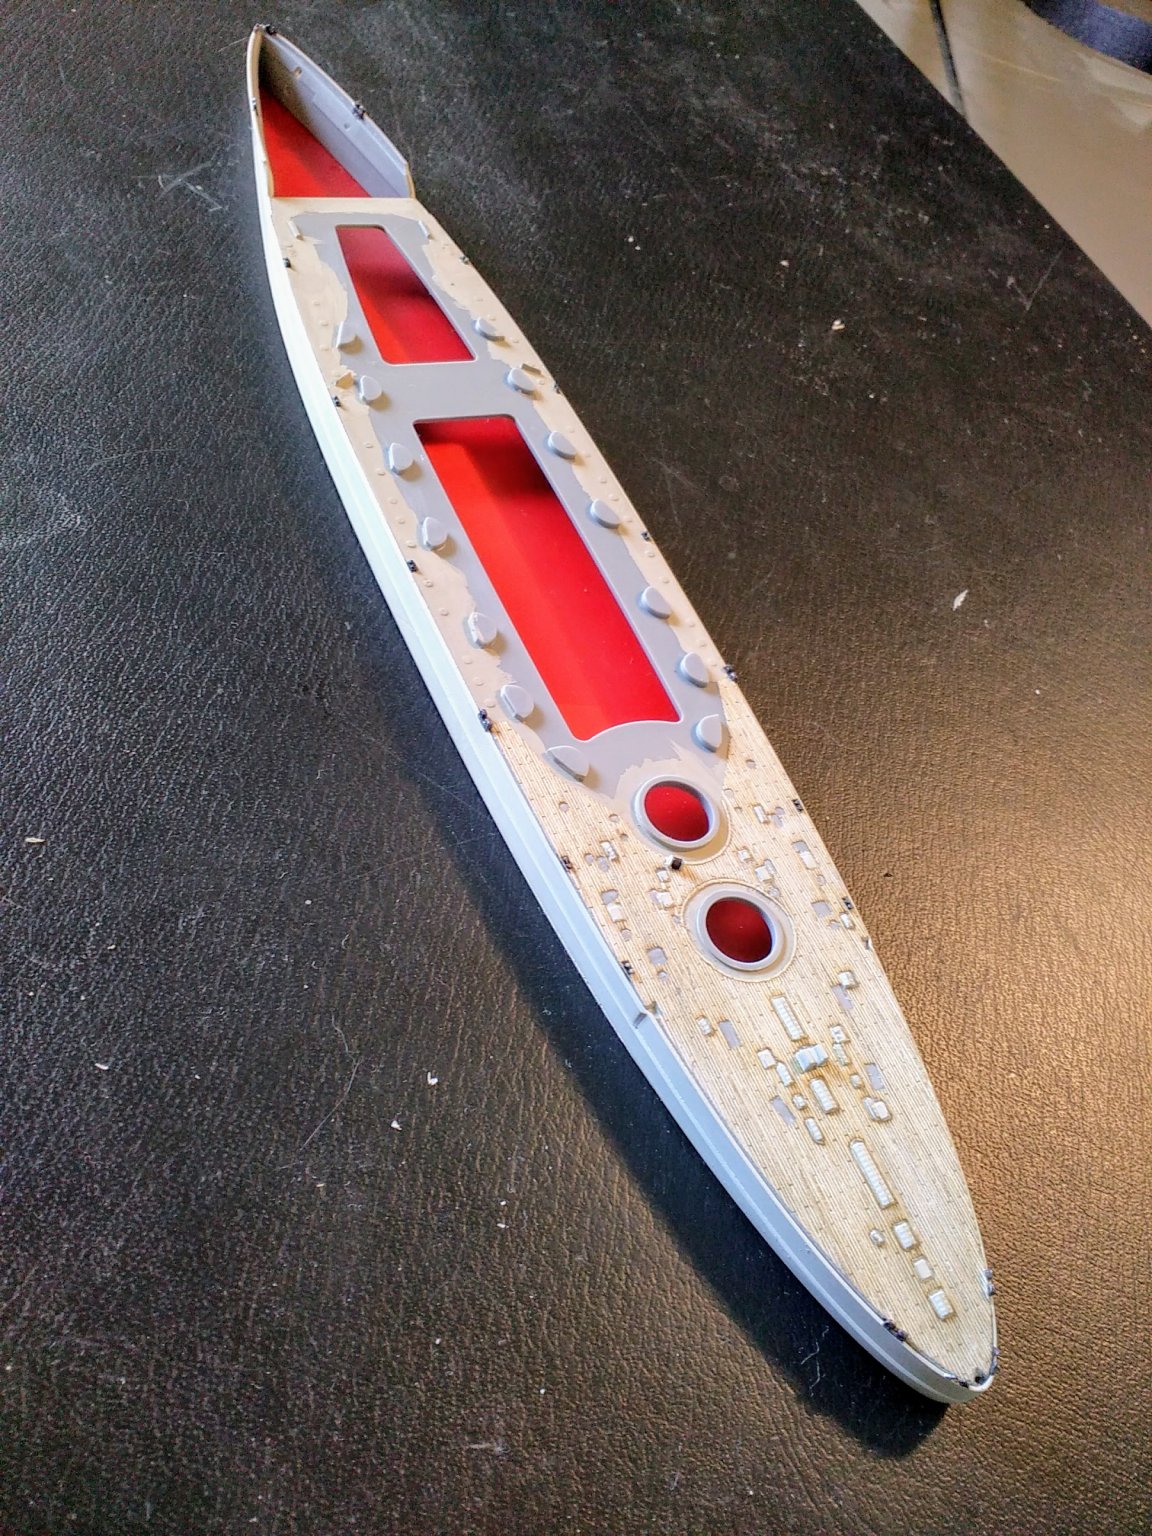
I have started the hull and rear deck area.
Dry fits together well.
What I REALLY like is the laser etched wooden deck.
It is stunningly thin. It took me a while to realise it actually has some backing paper that you peel off and then just stick the thing done.
It's pretty fragile and you need to be careful about getting positioning just right, and also don't get your tweezers stuck to the back.
But in about 5 mins you have this microscopically detailed Ultra thin deck planking in place. I reckon it's about 0.1 to 0.2mm thick.
Result is very pleasing. See below.
What you need to remember is this is 1:700 scale. The whole hull is about 25cm or 10" long.

-
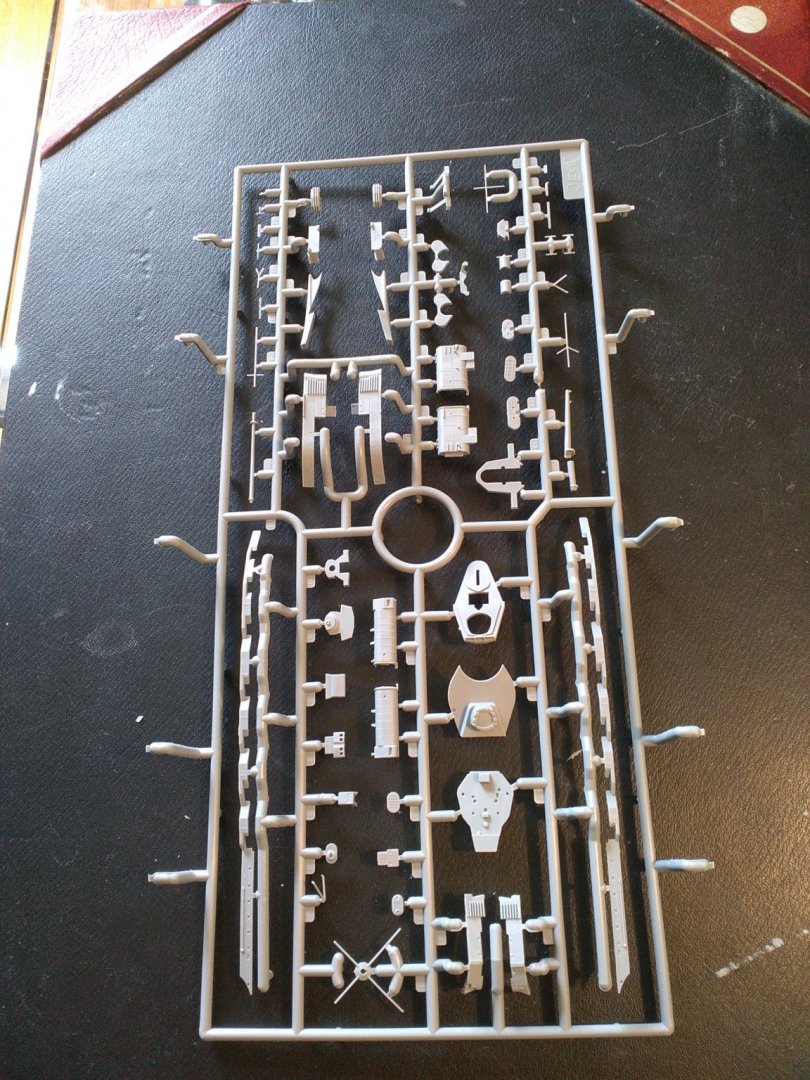
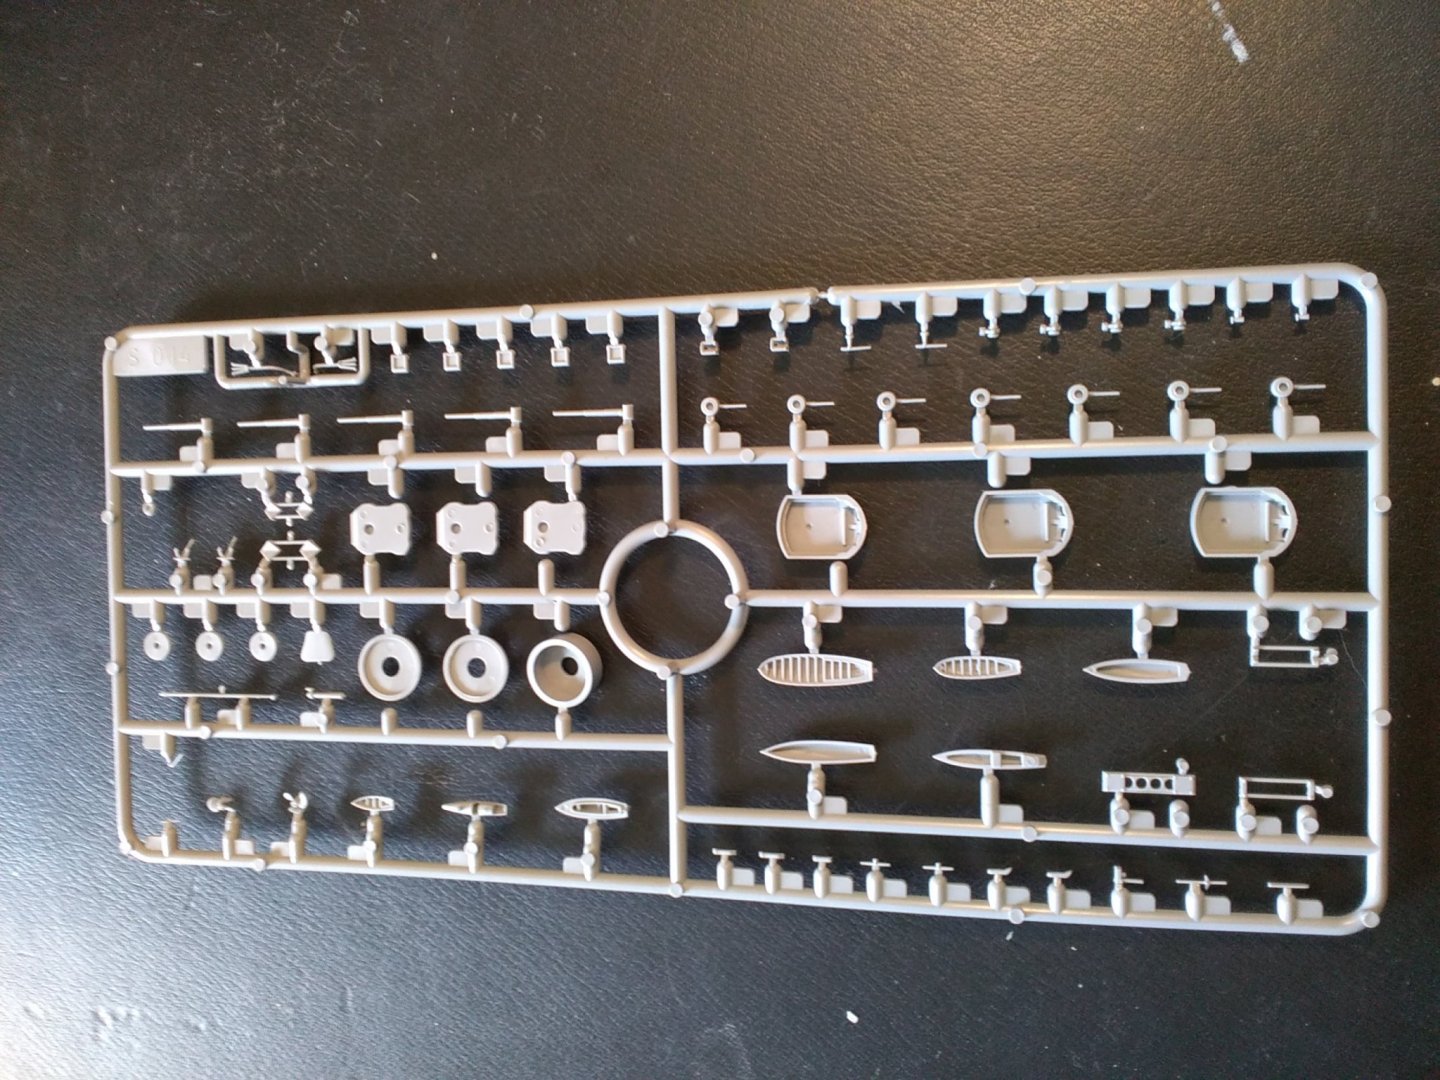
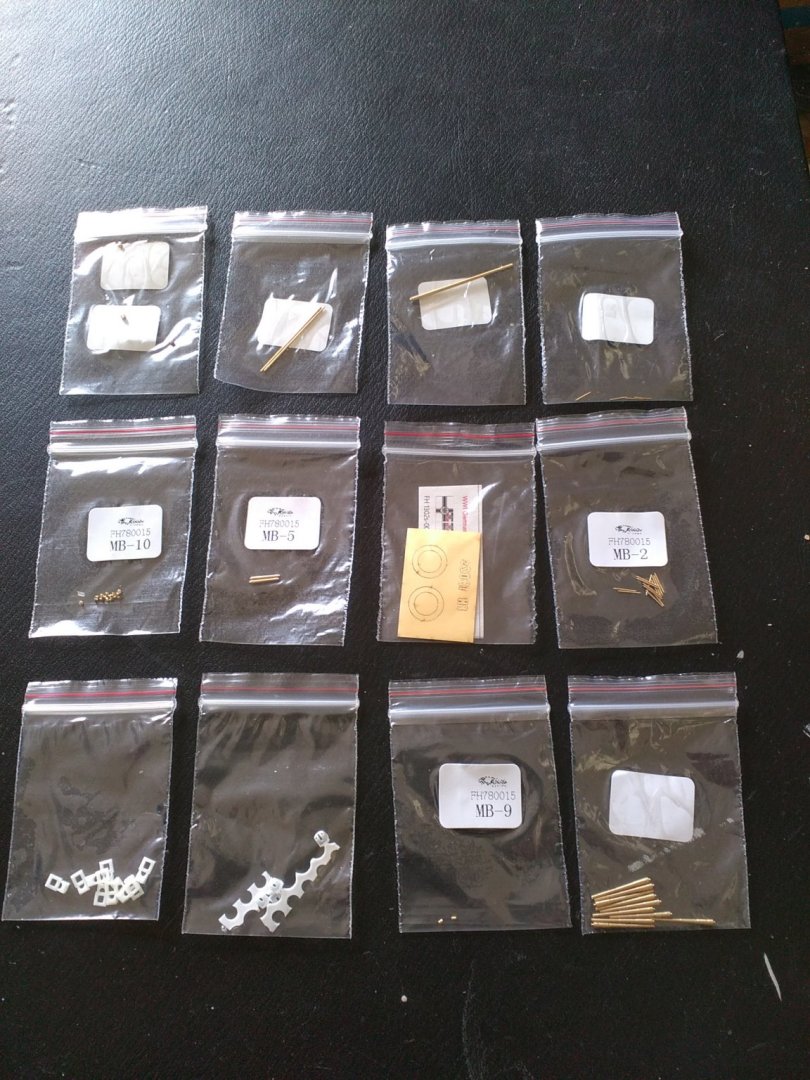
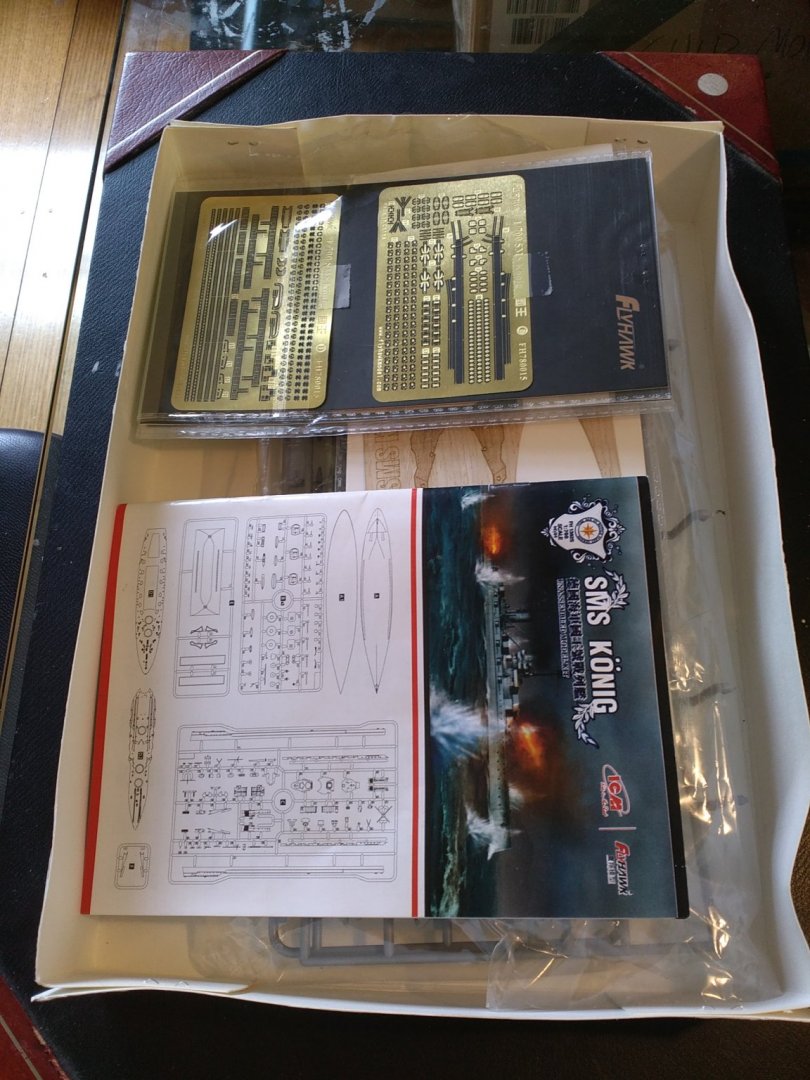
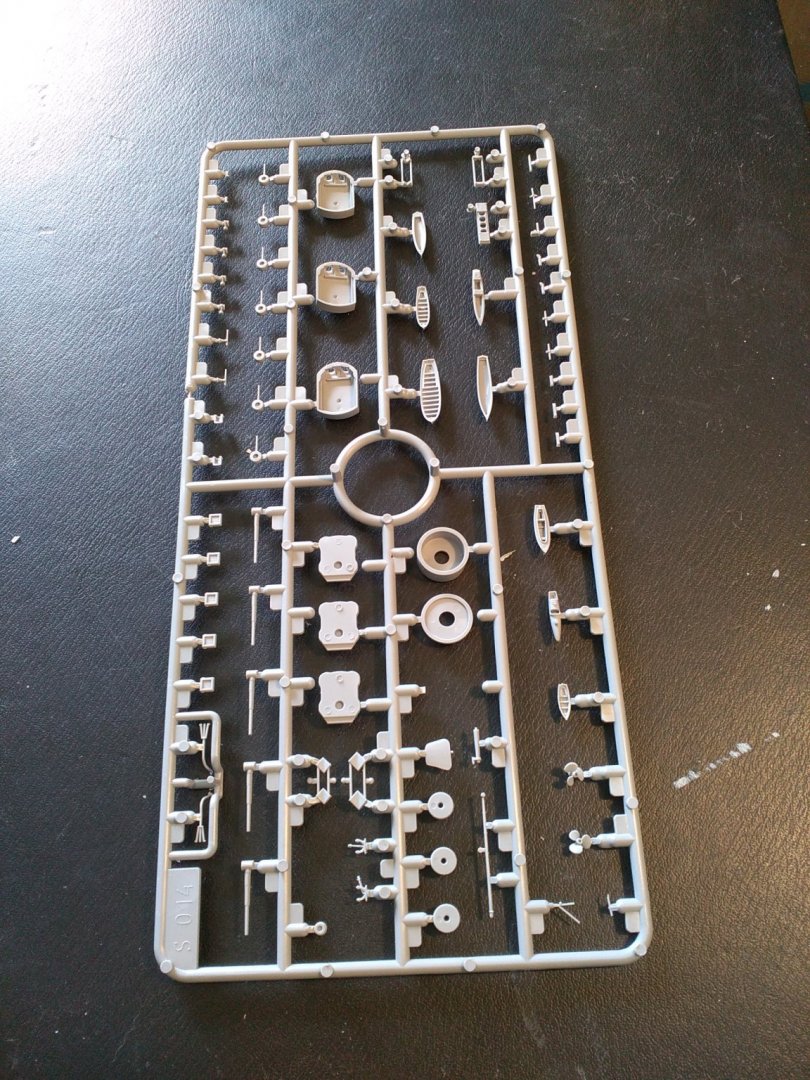
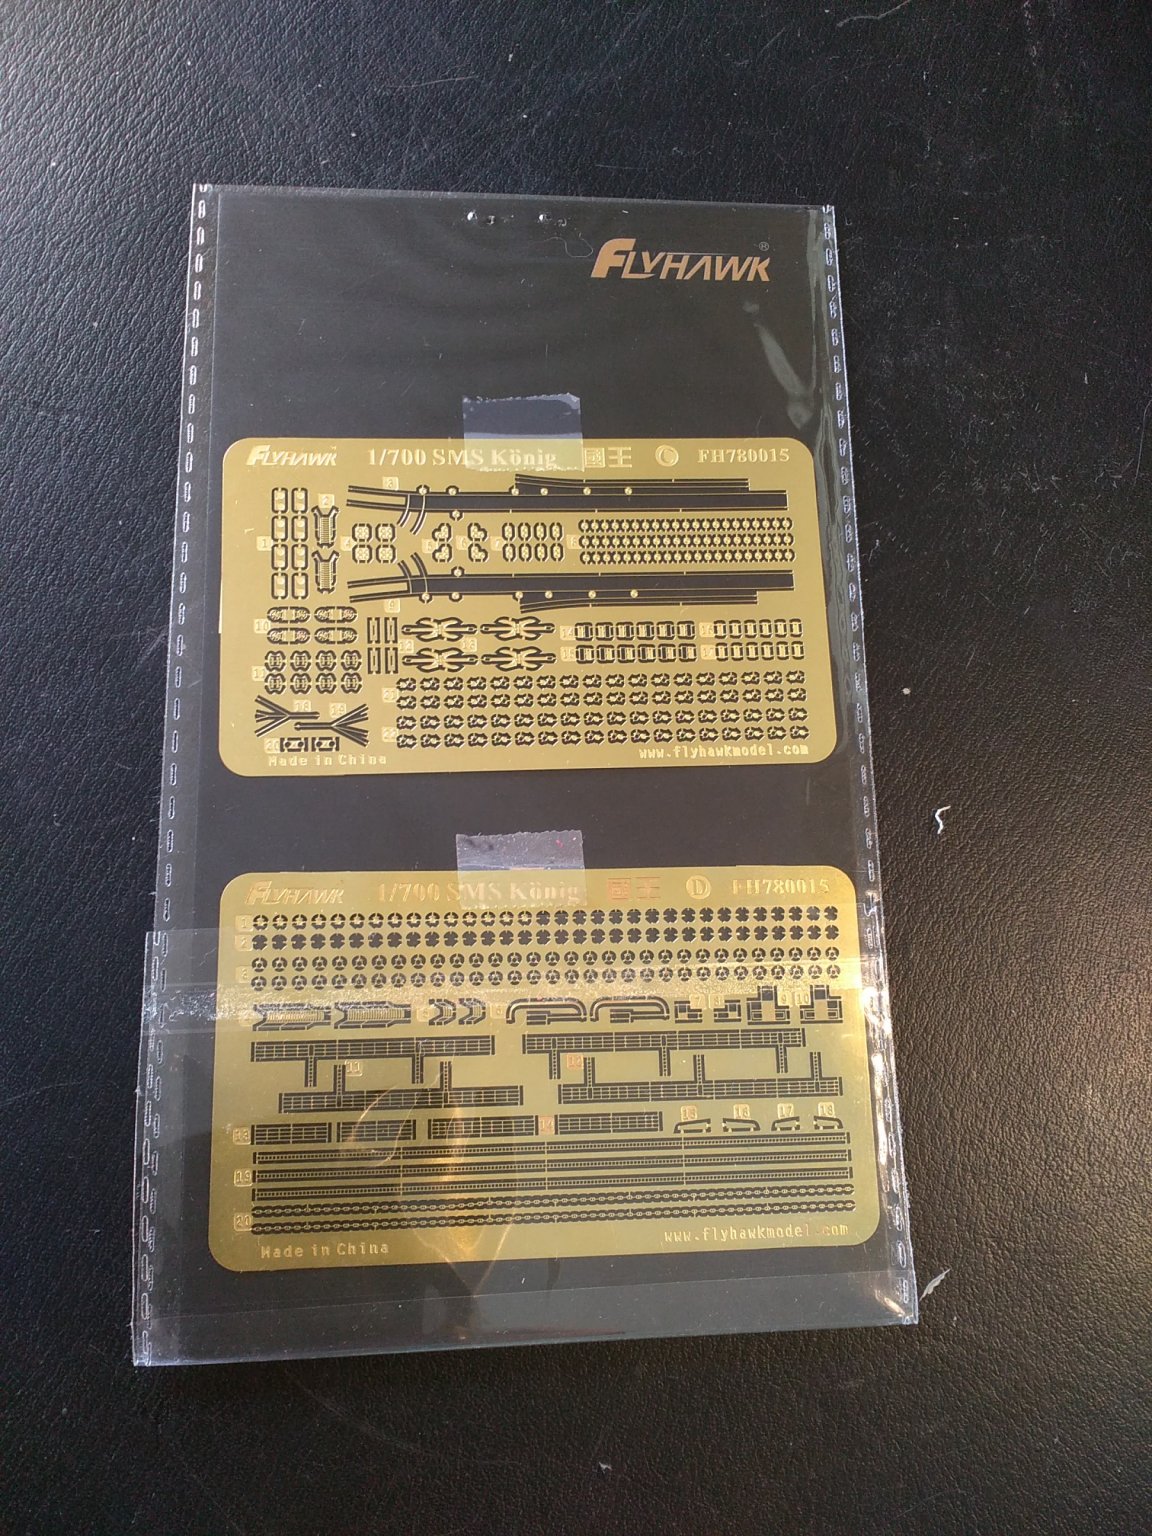
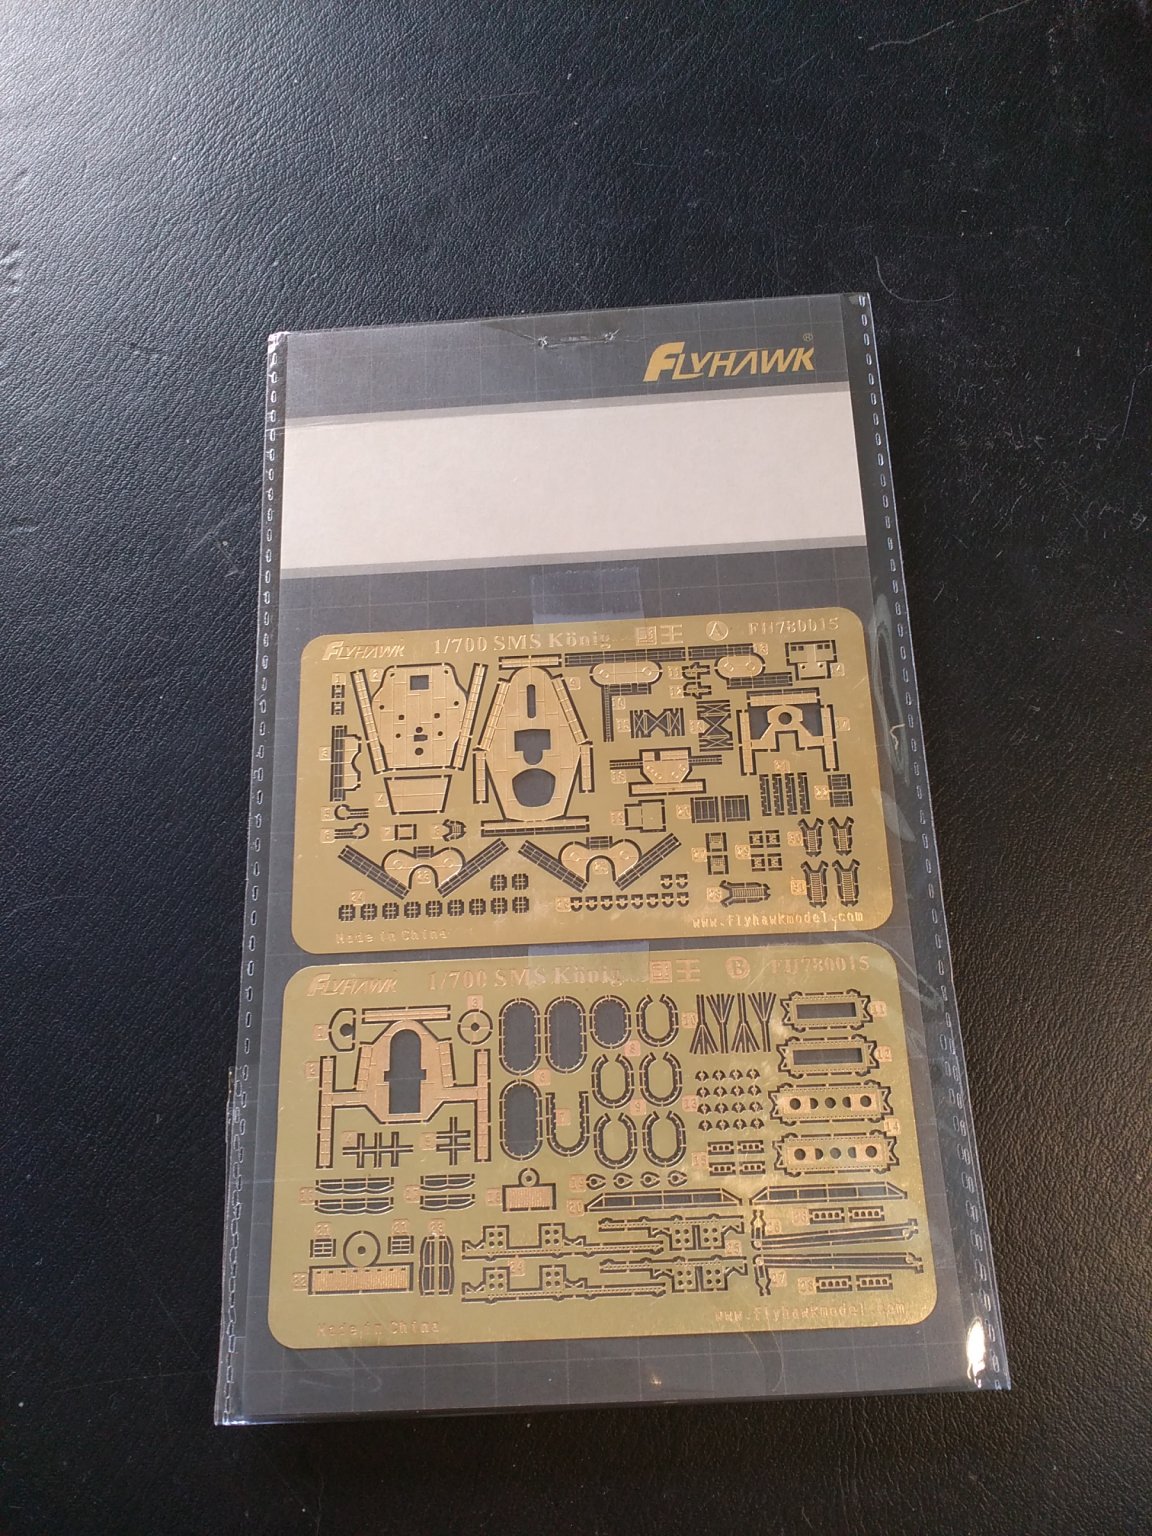
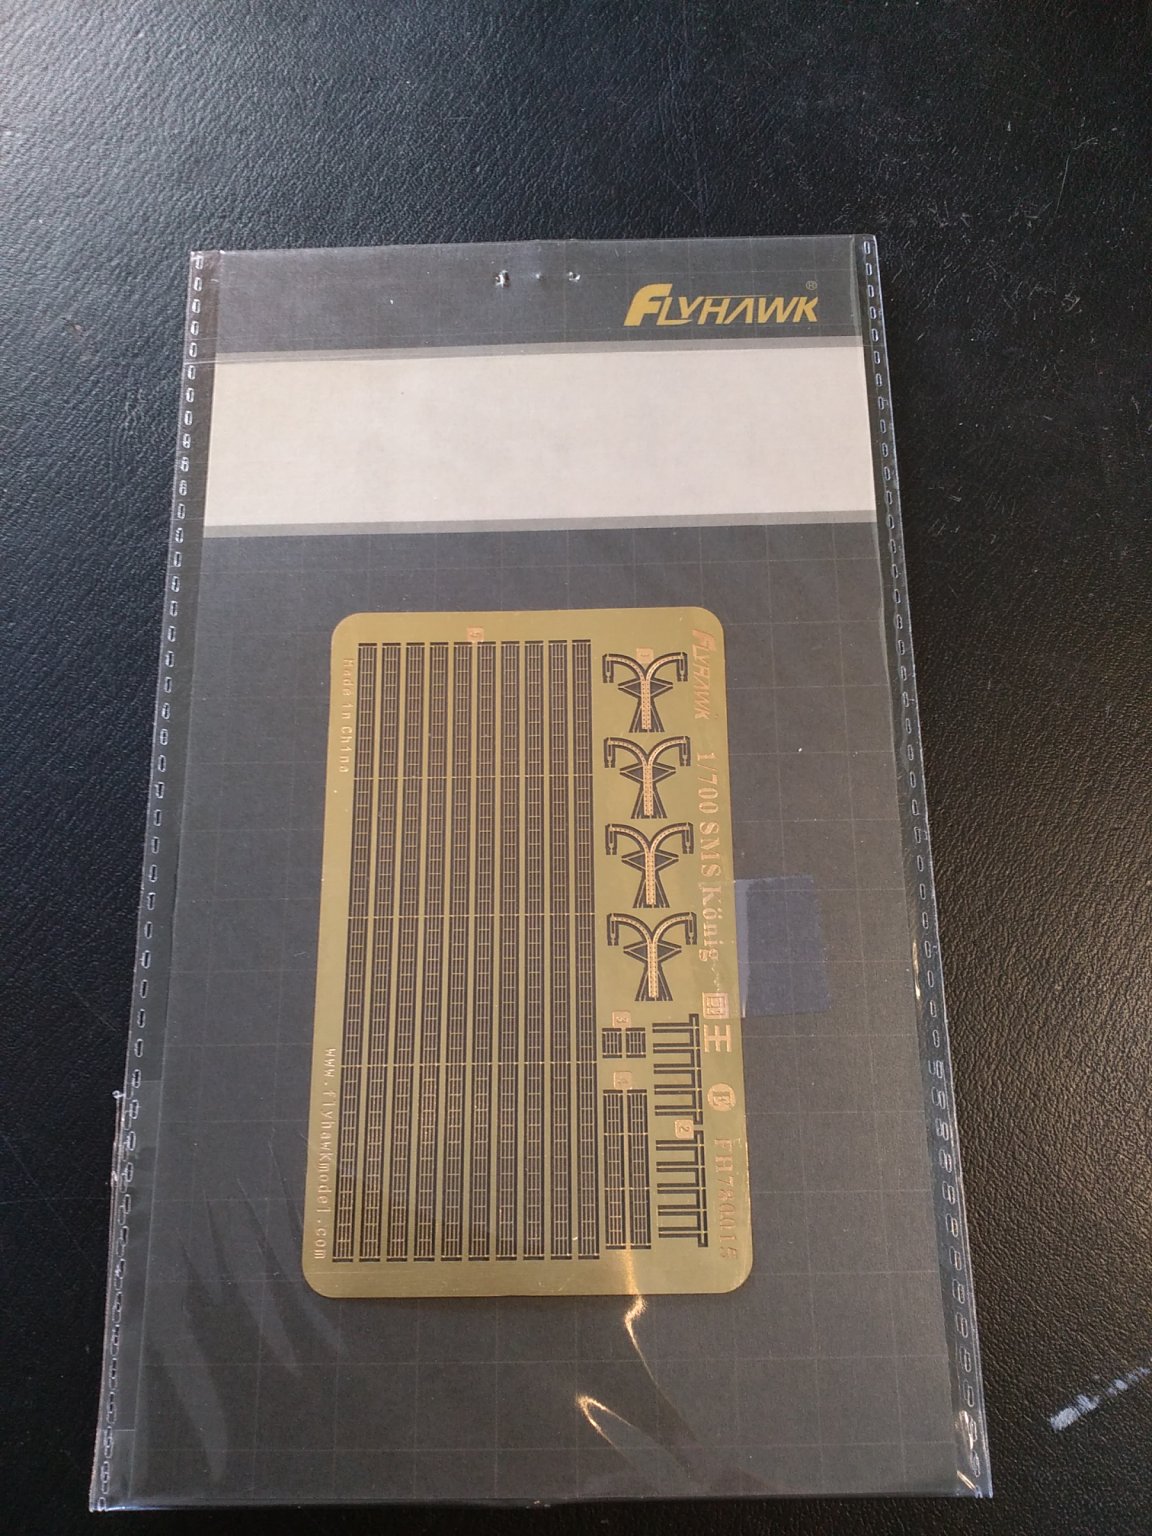
And here are some more photos of the content of the box.


- ccoyle, RGL, GrandpaPhil and 5 others
-
8
-
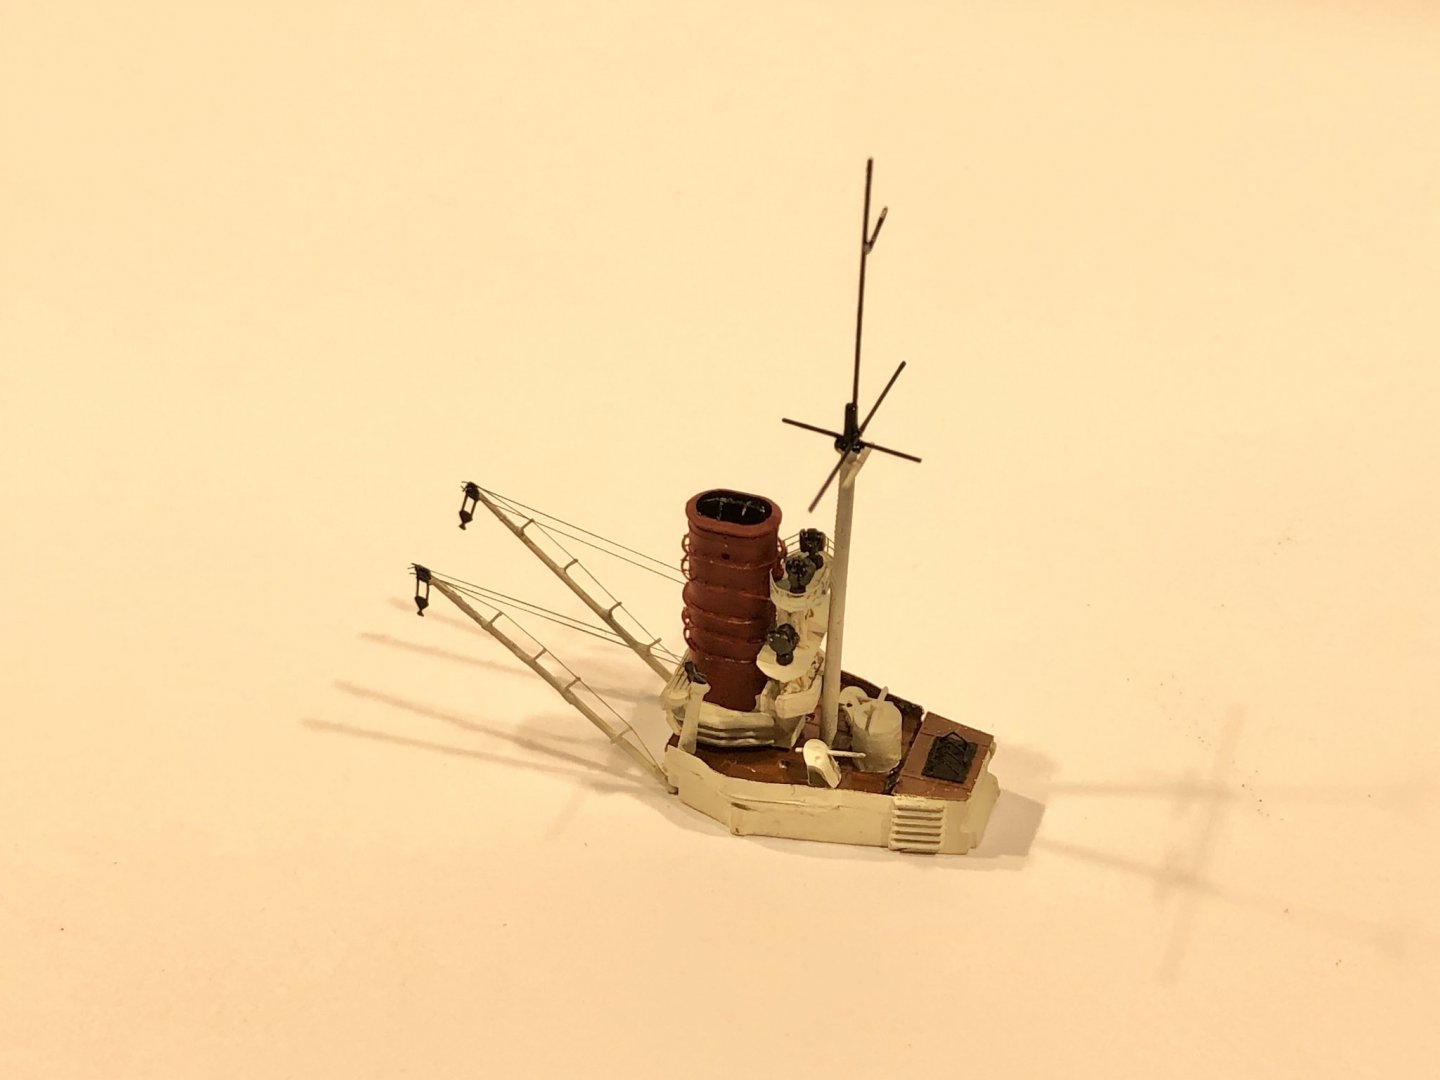
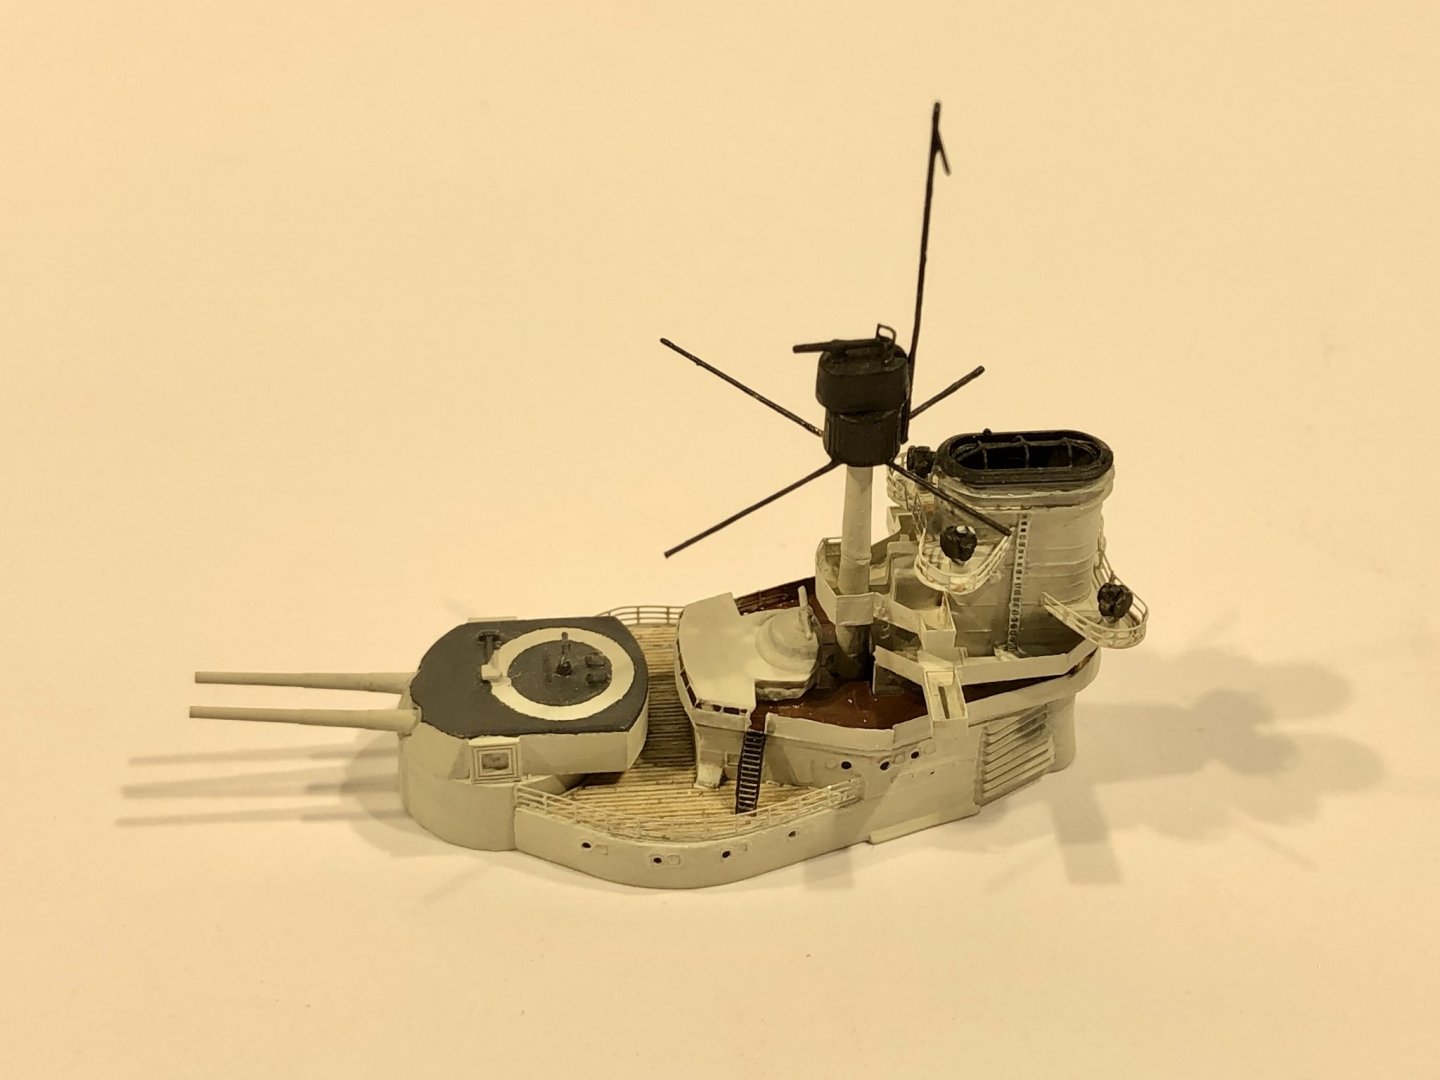
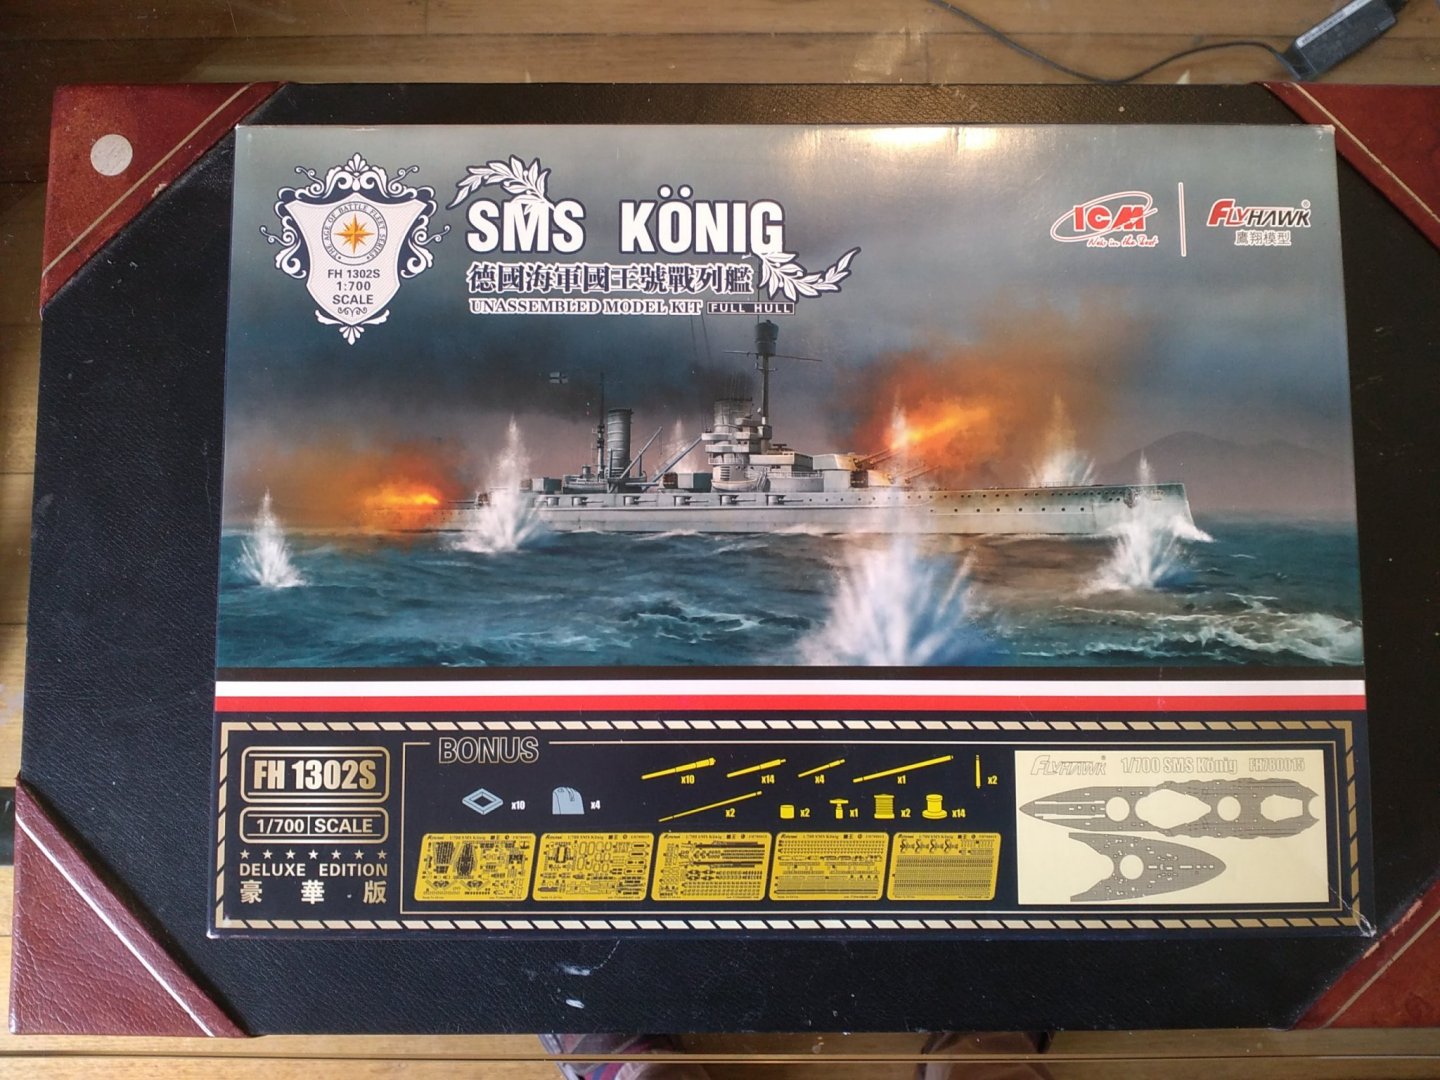
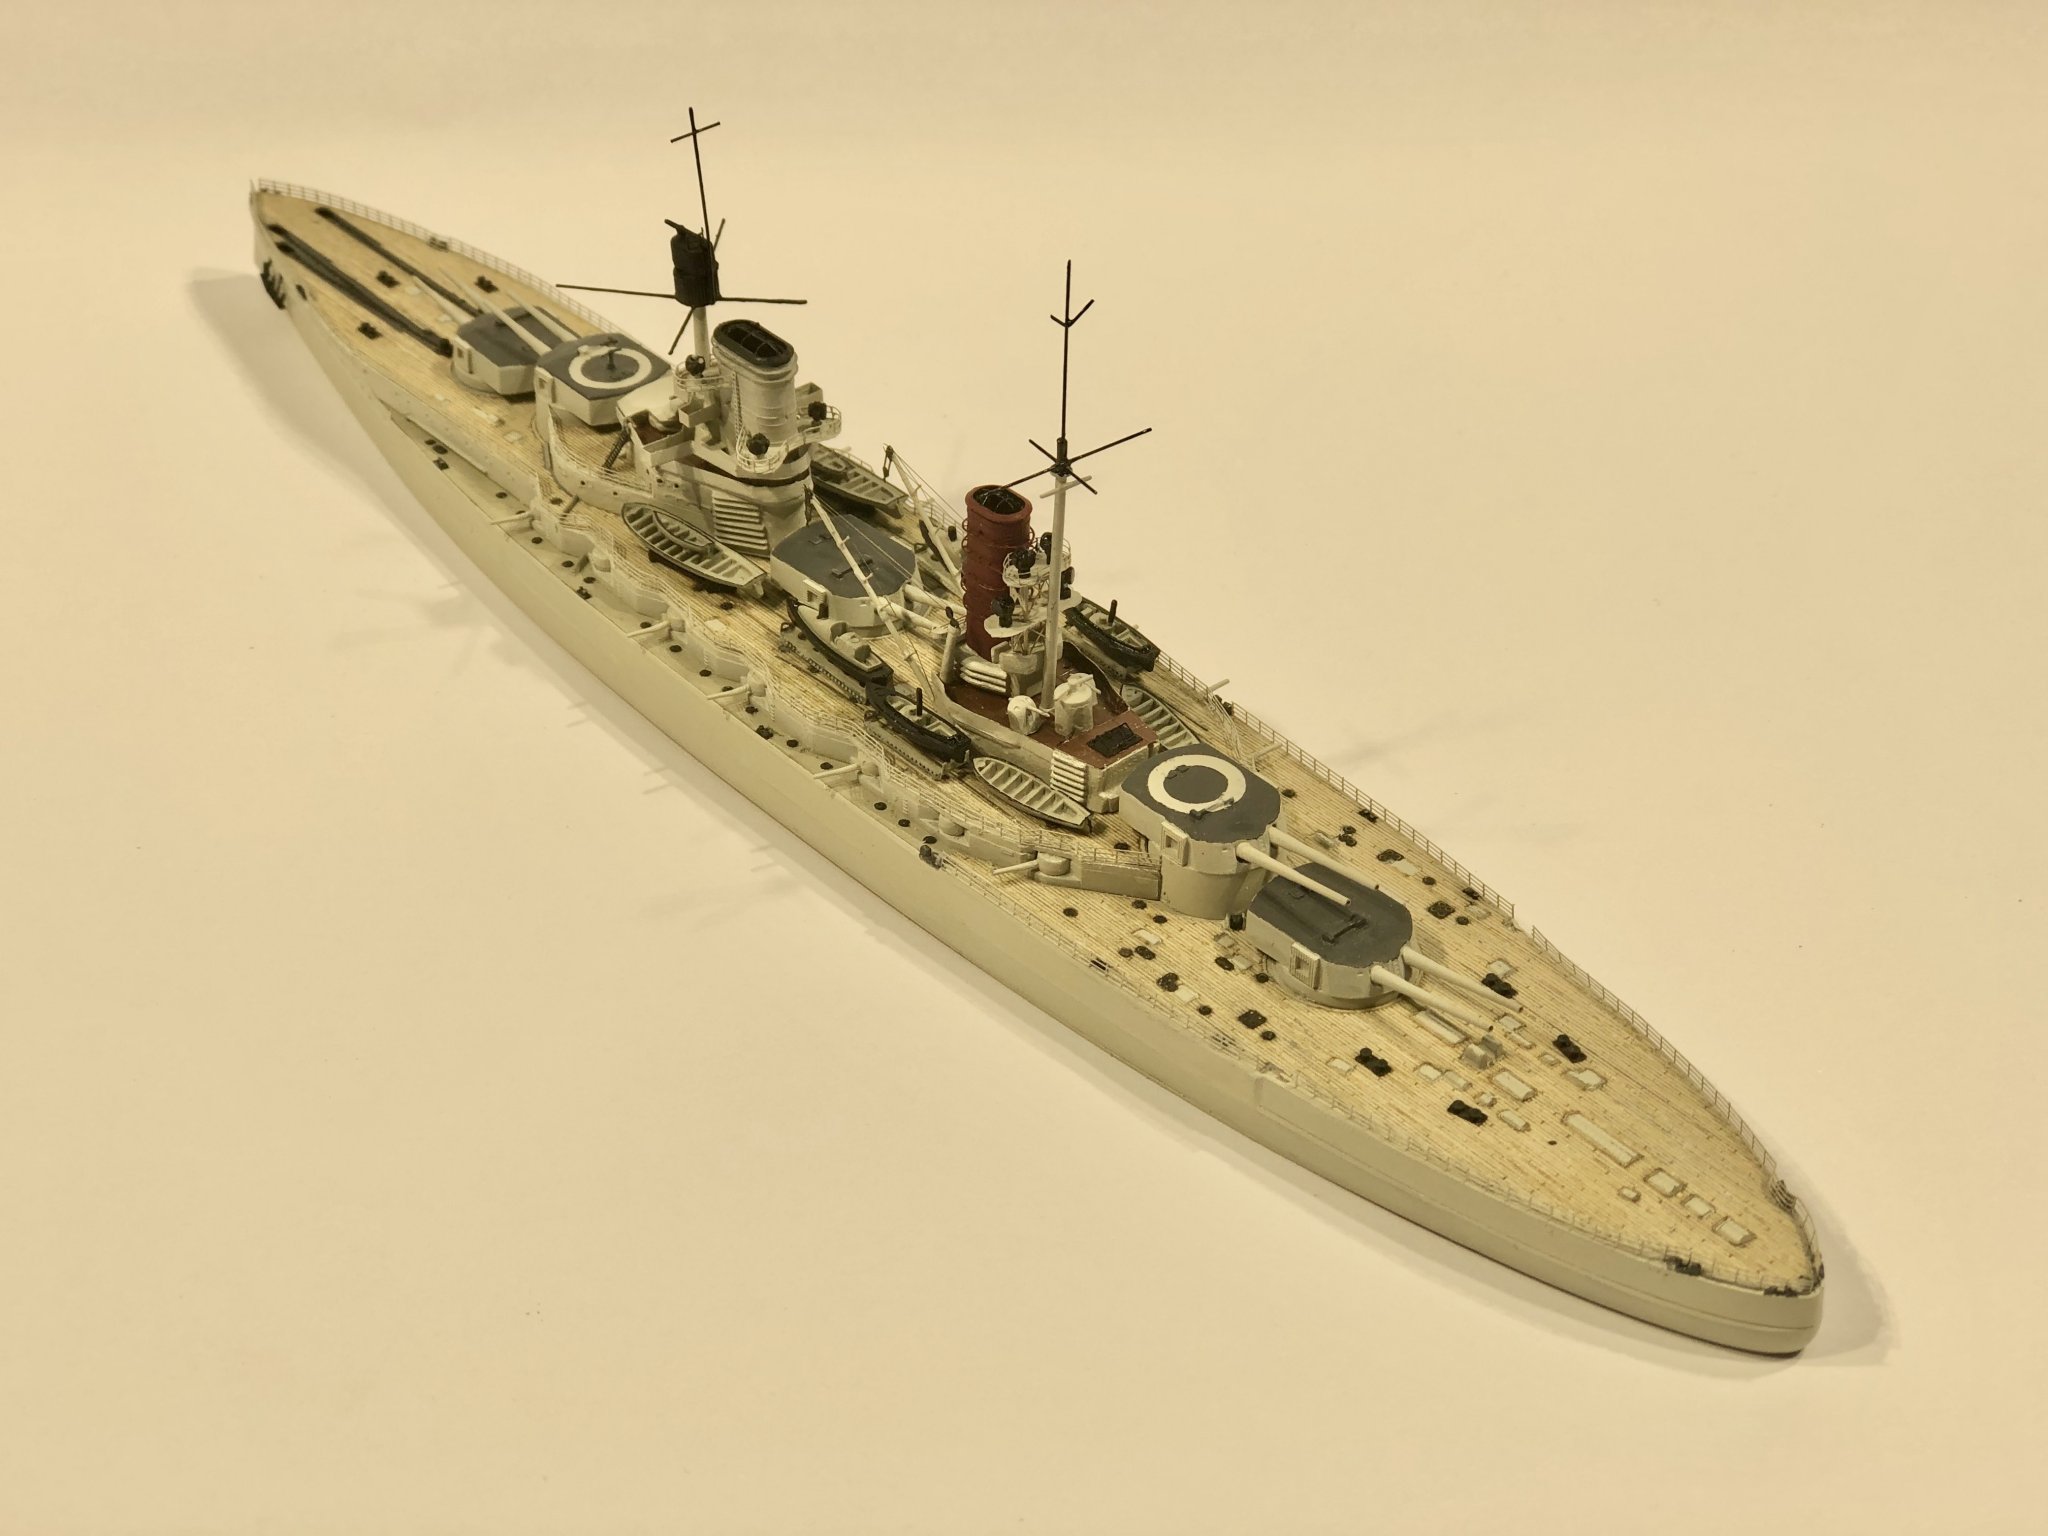
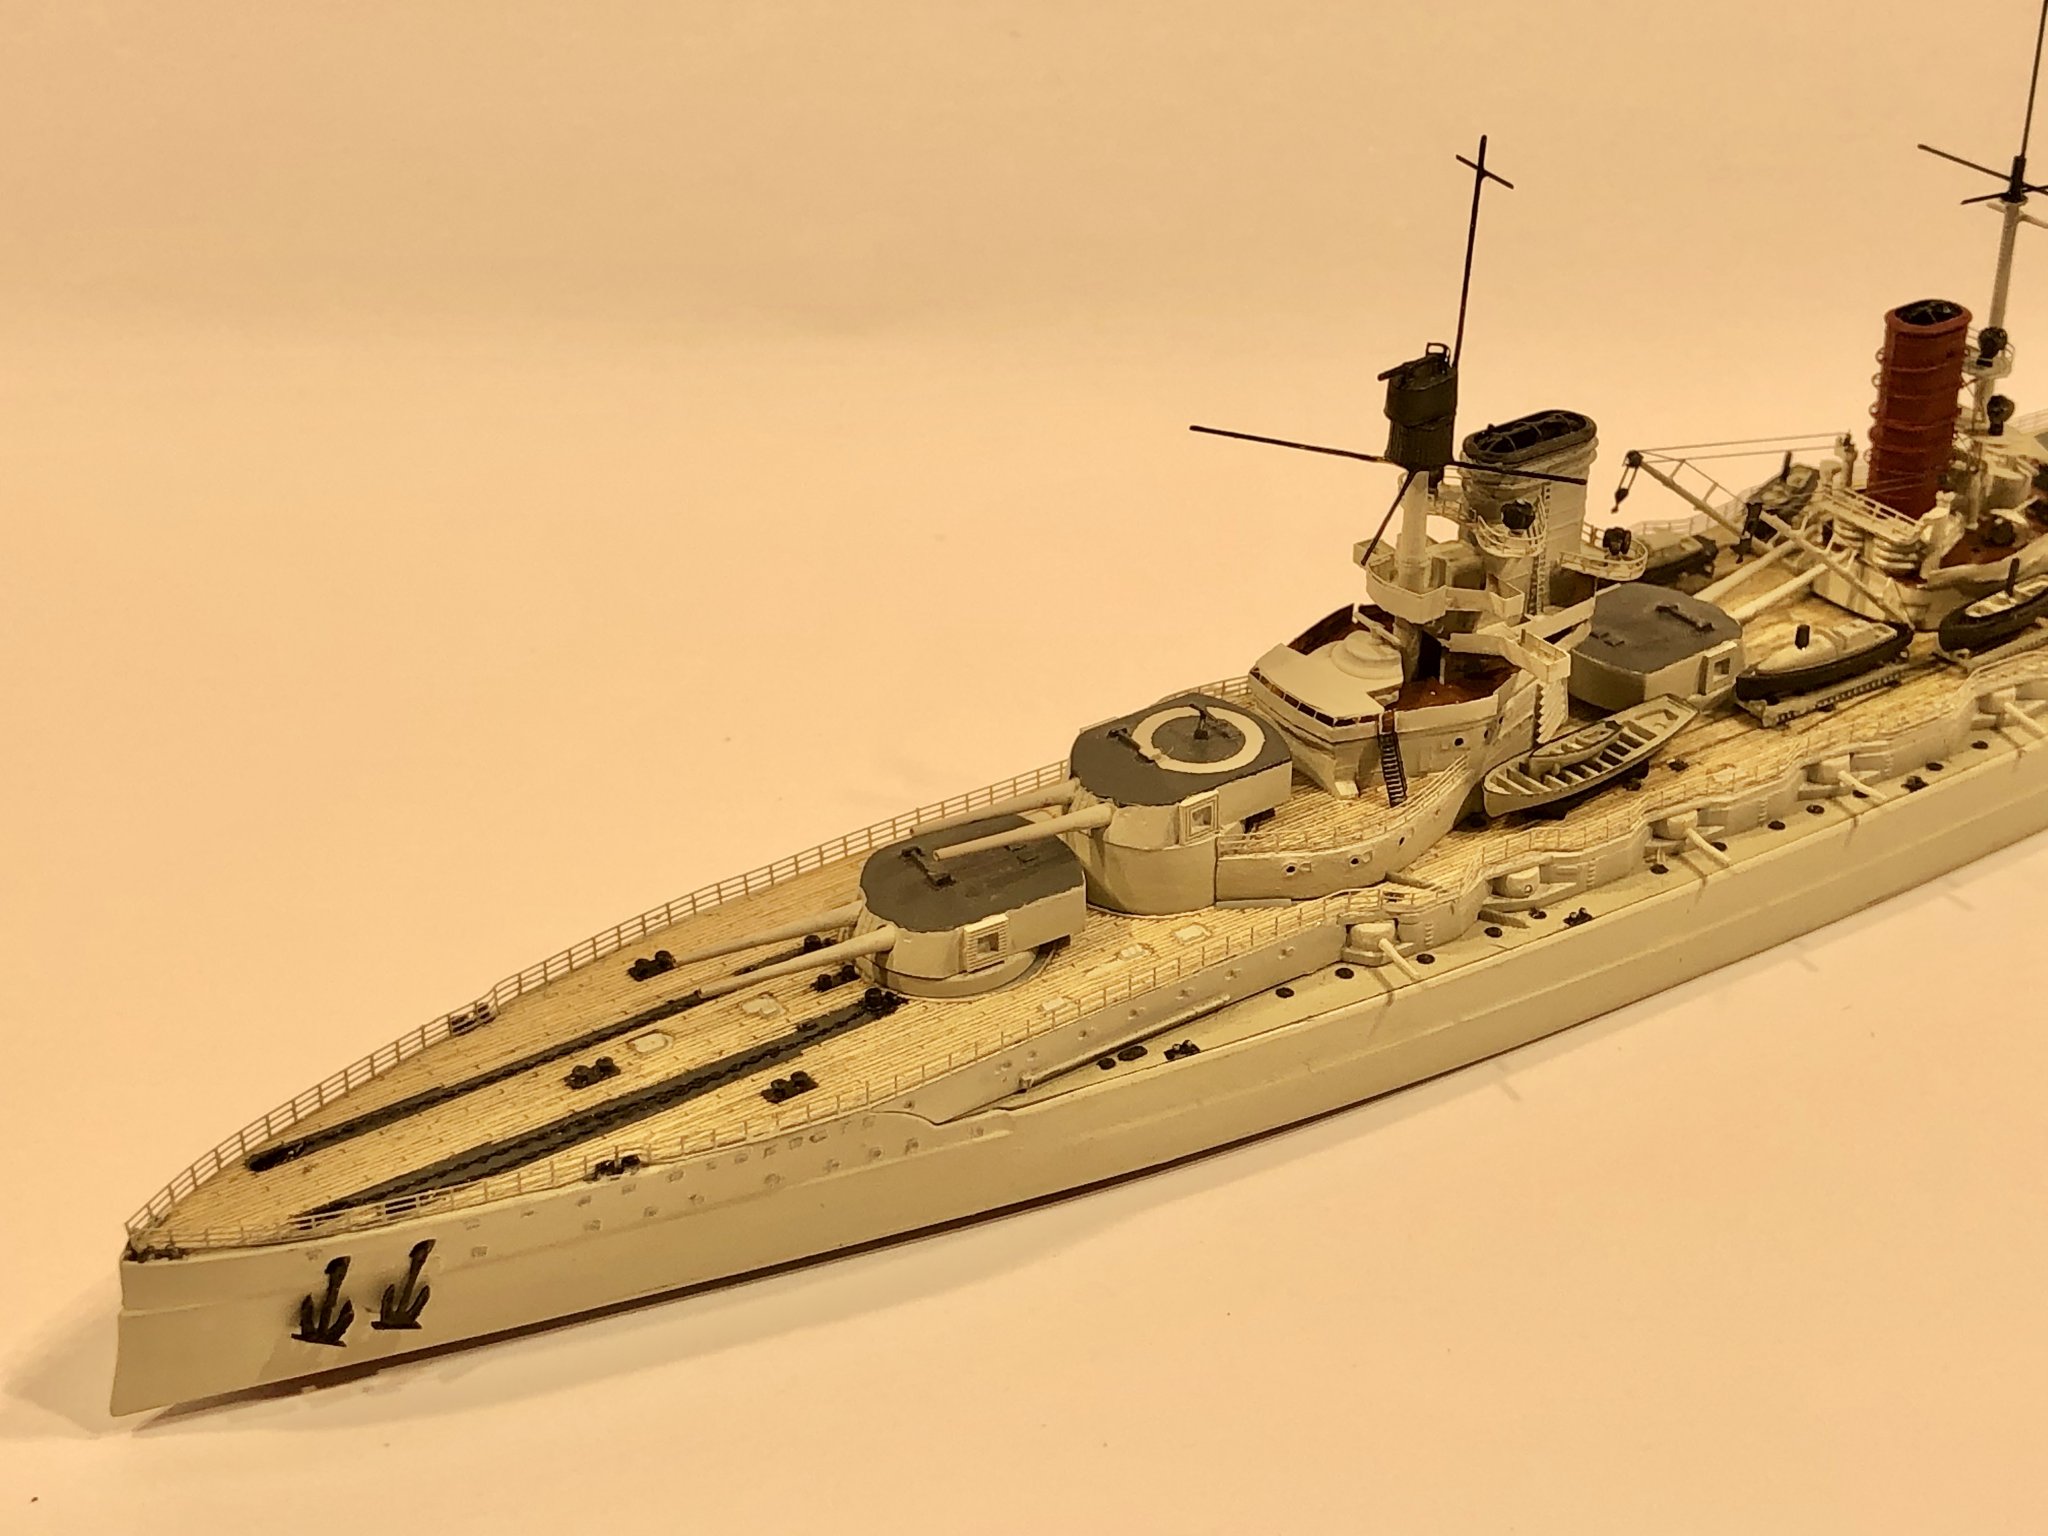
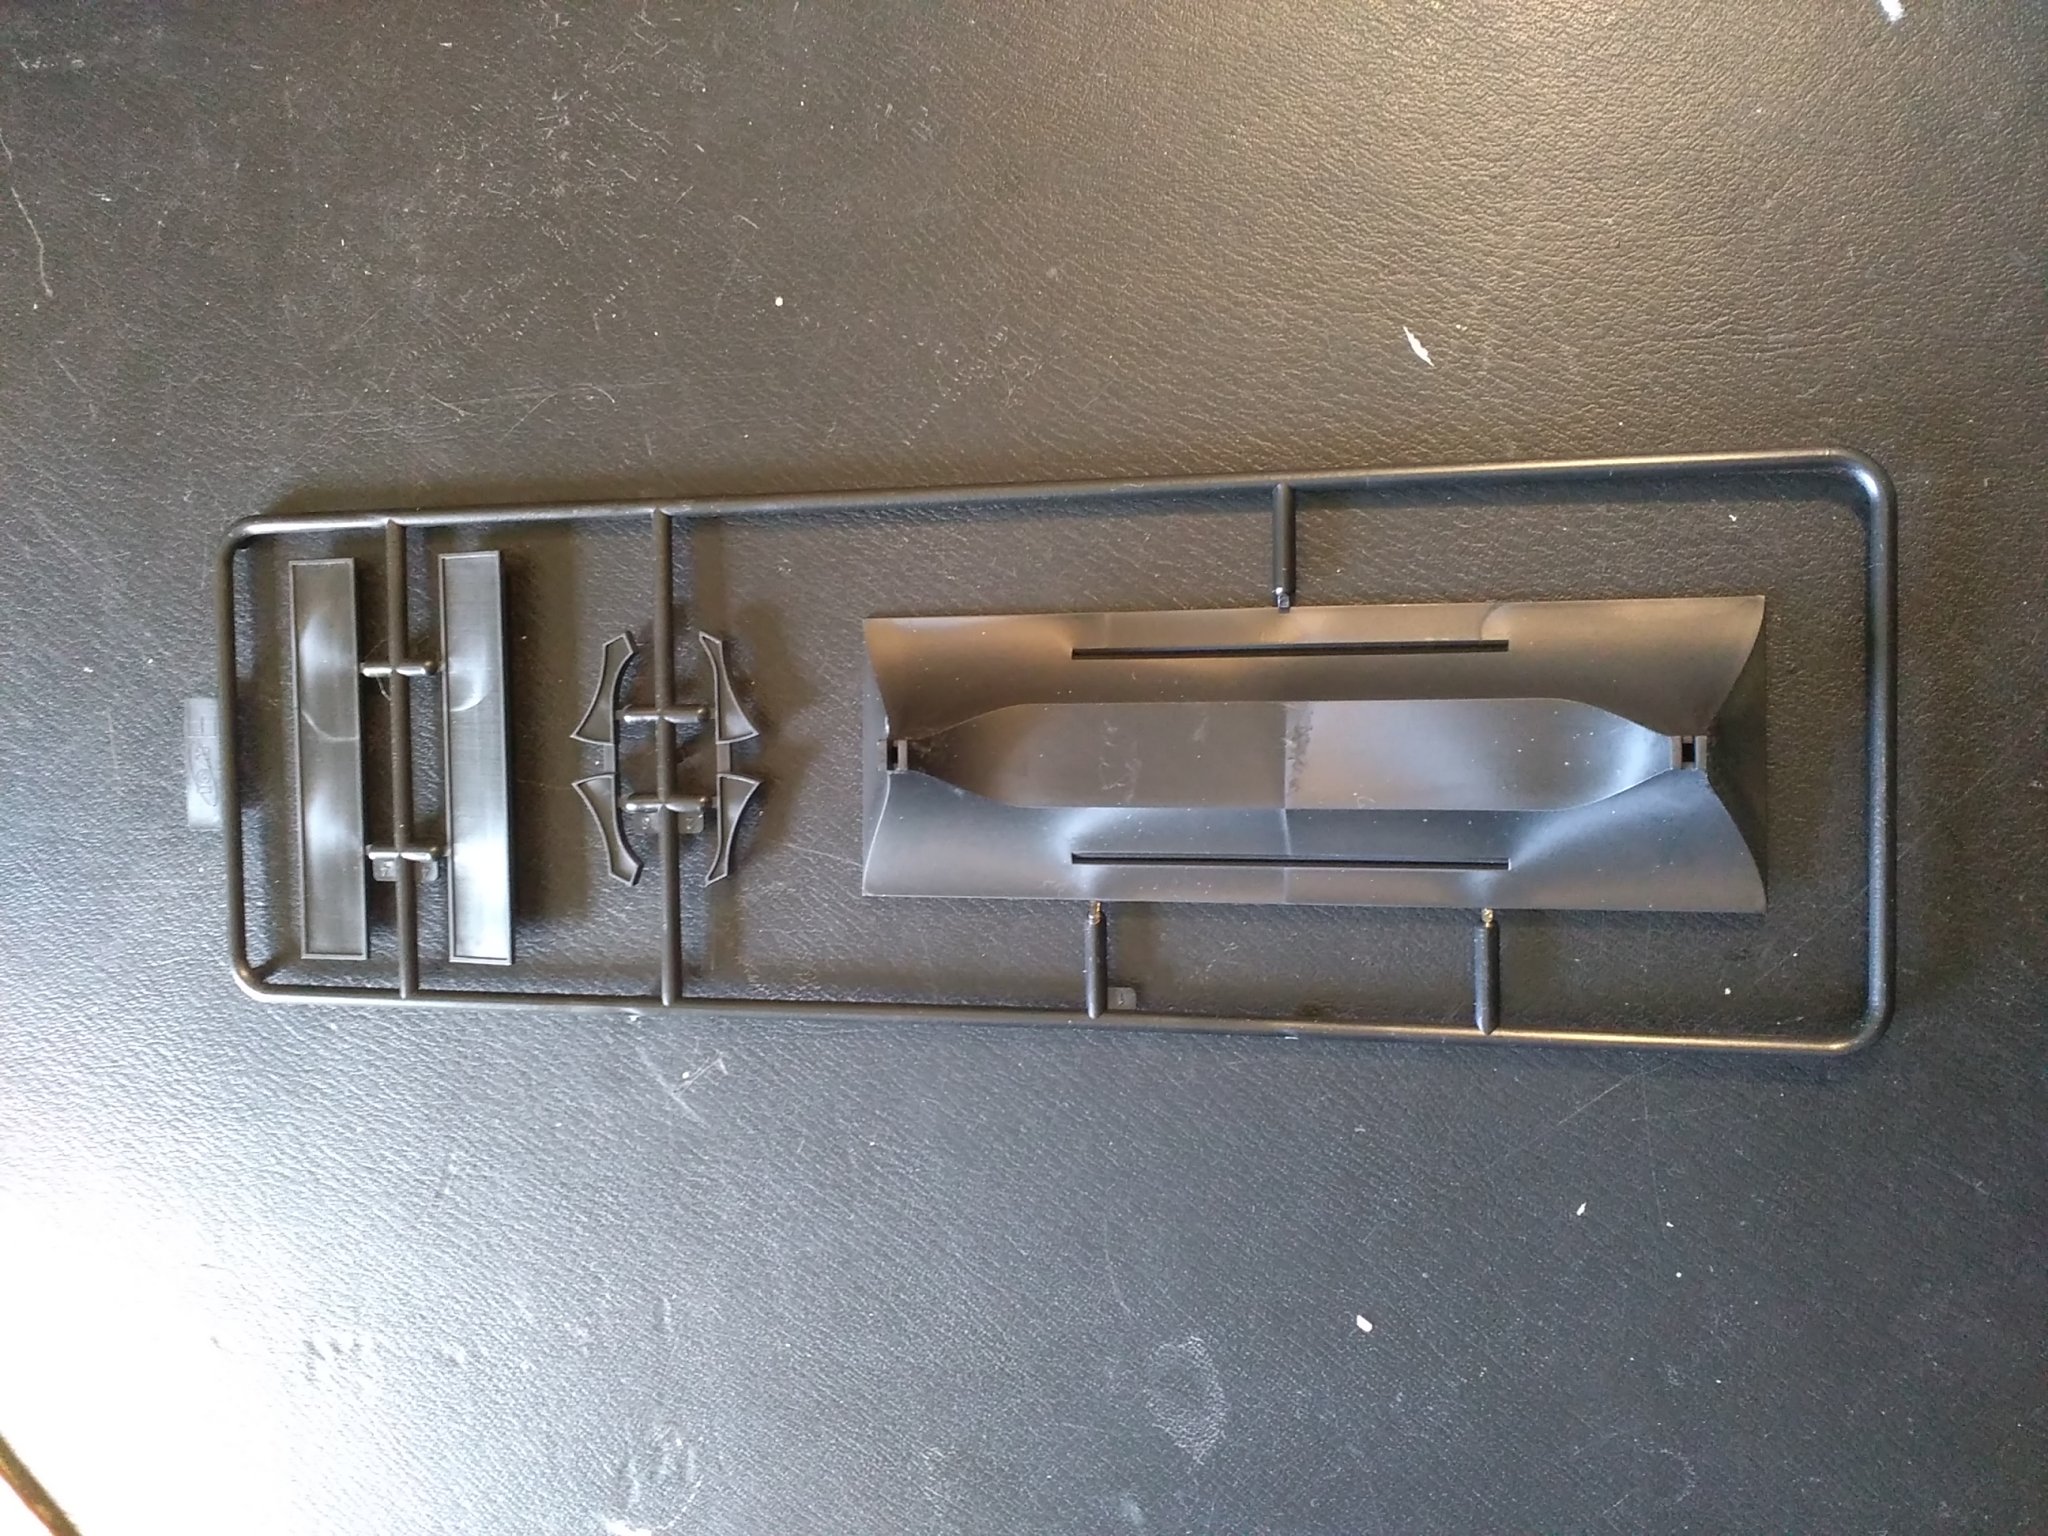
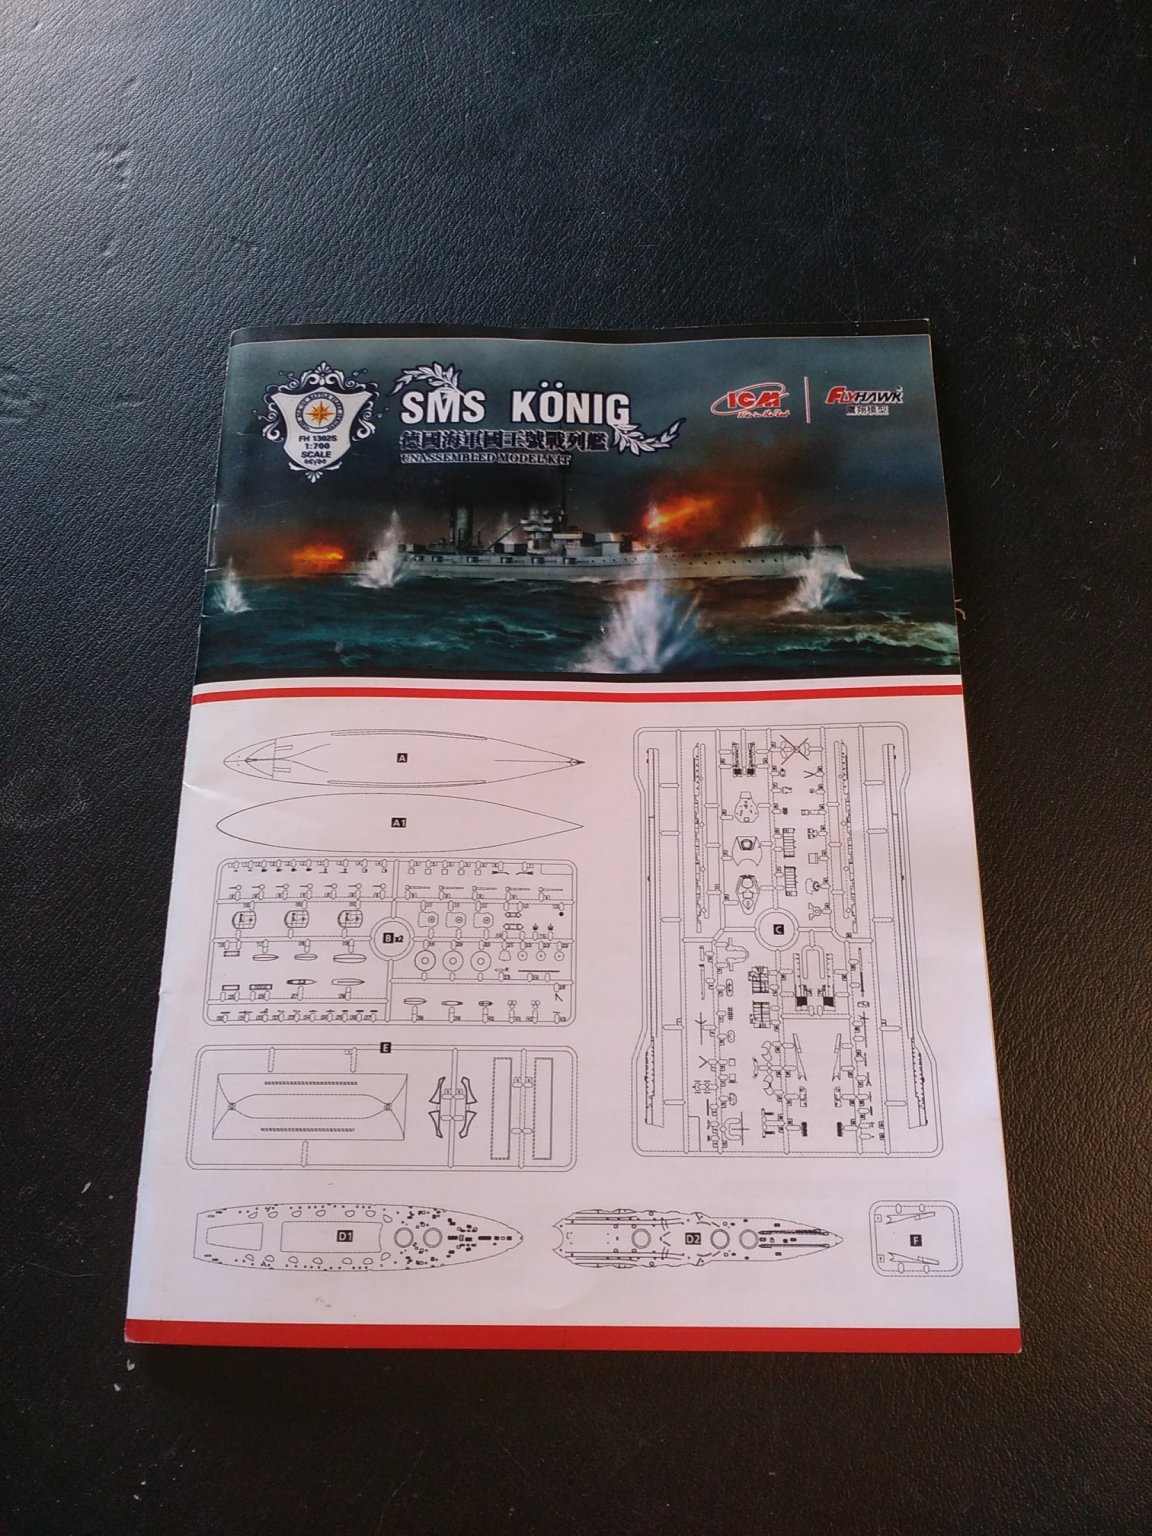
I was not going to do a build log for this kit. But having started it a couple of days ago, I am so impressed by it that I thought I would do a basic log.
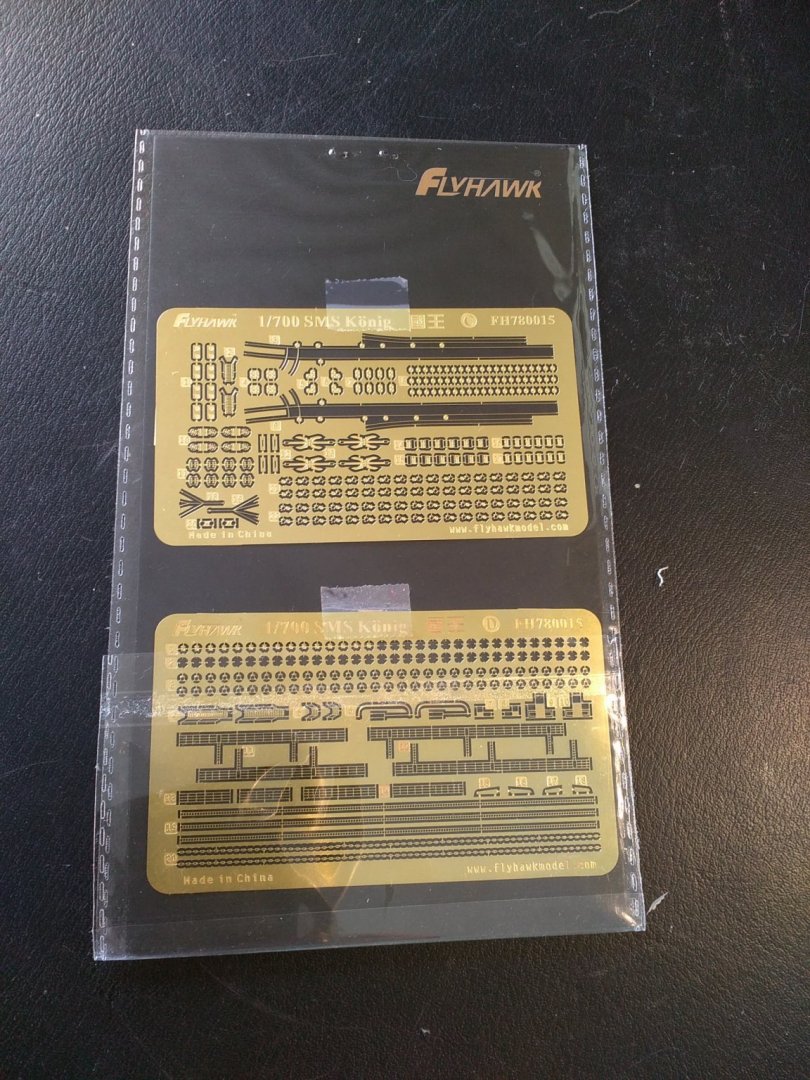
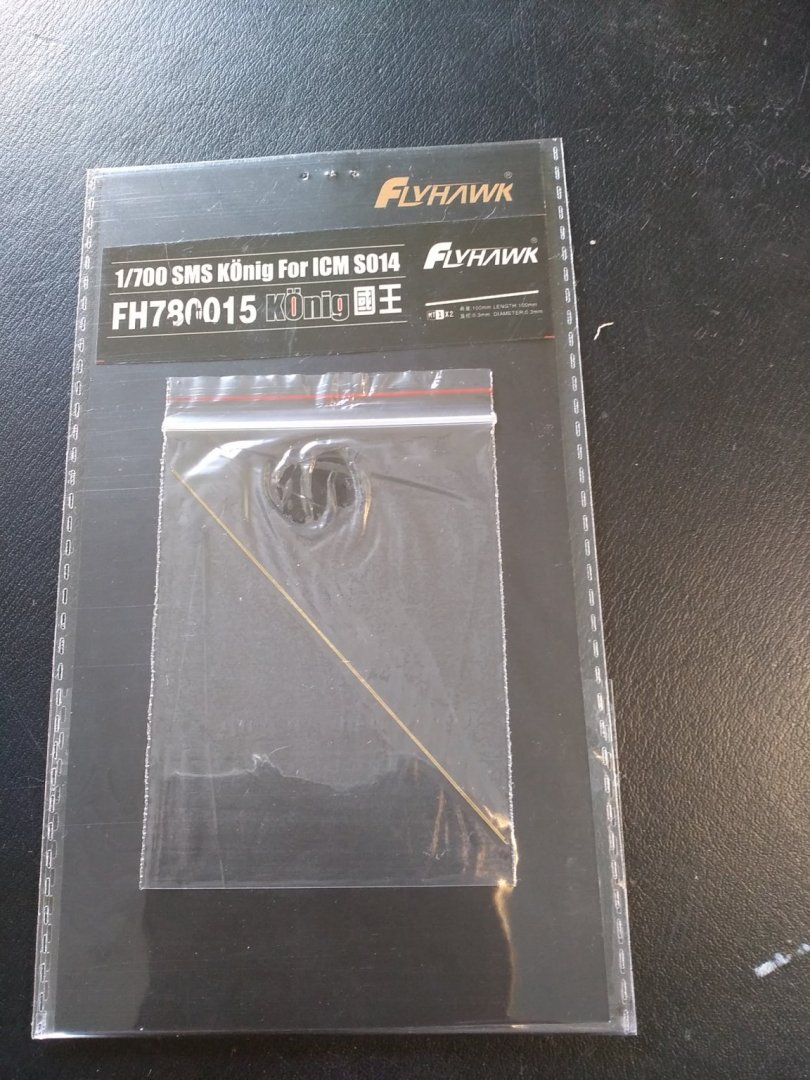
Plastic parts are made by ICM models (a Ukrainian company). Flyhawk has then added 5 PE frets, lots of additional tiny turned brass details, and some Uschi rigging thread. All for under AUD$100 ($68 US).
Below are some detailed photos of the box and what's in it.
I took these after having started the model so there are a few parts of the rear deck and hull that I have painted and glued together.
- Old Collingwood, mtaylor, lmagna and 4 others
-
7
-
-
This is one of my favourite kits...so excited to see a build log of it.
-
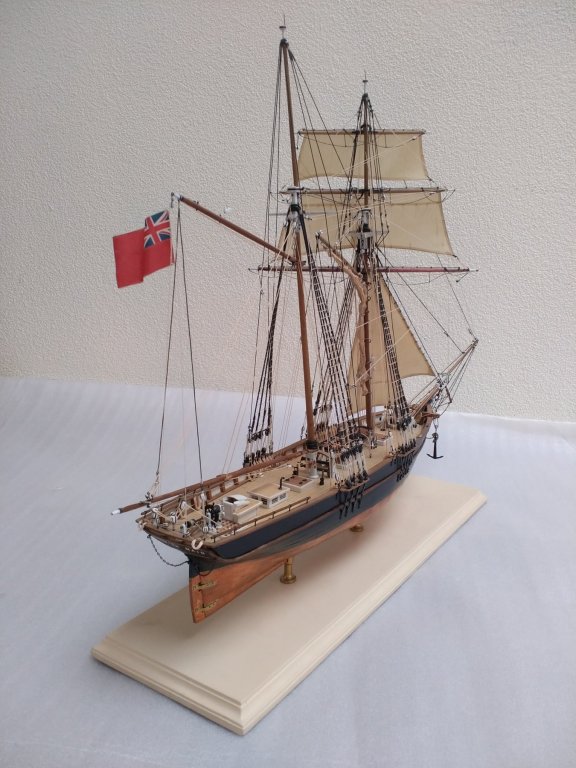
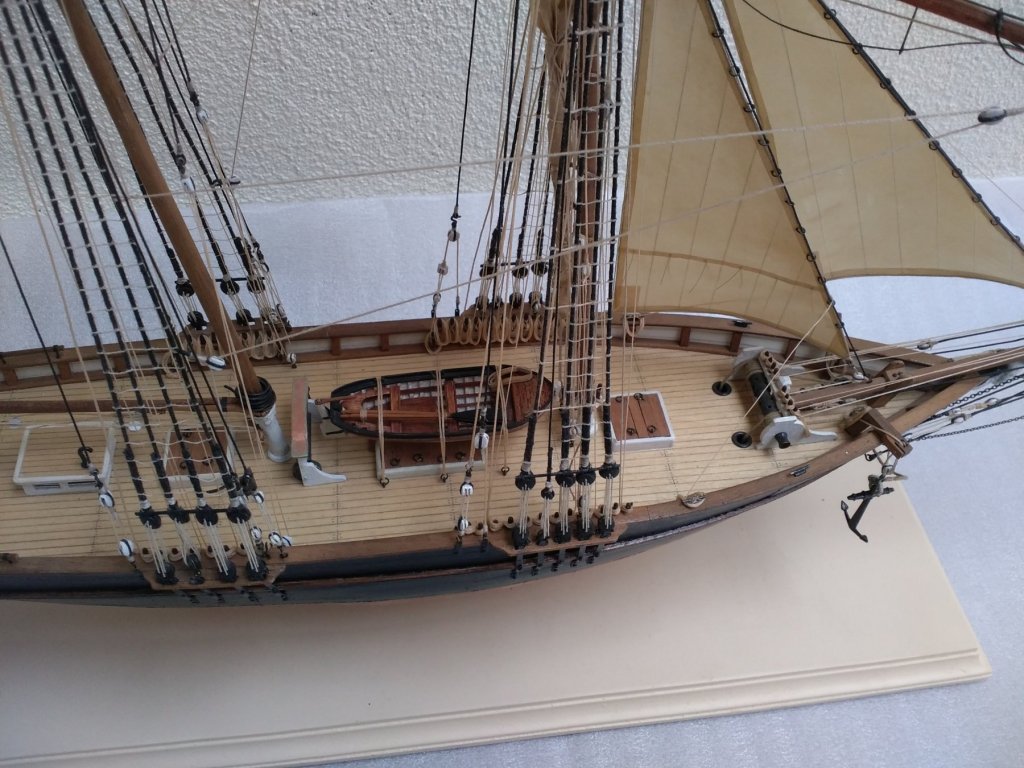
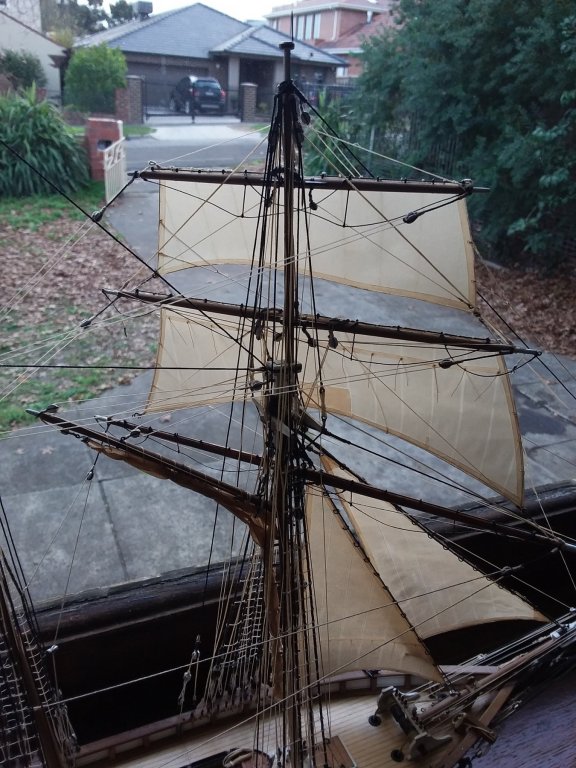
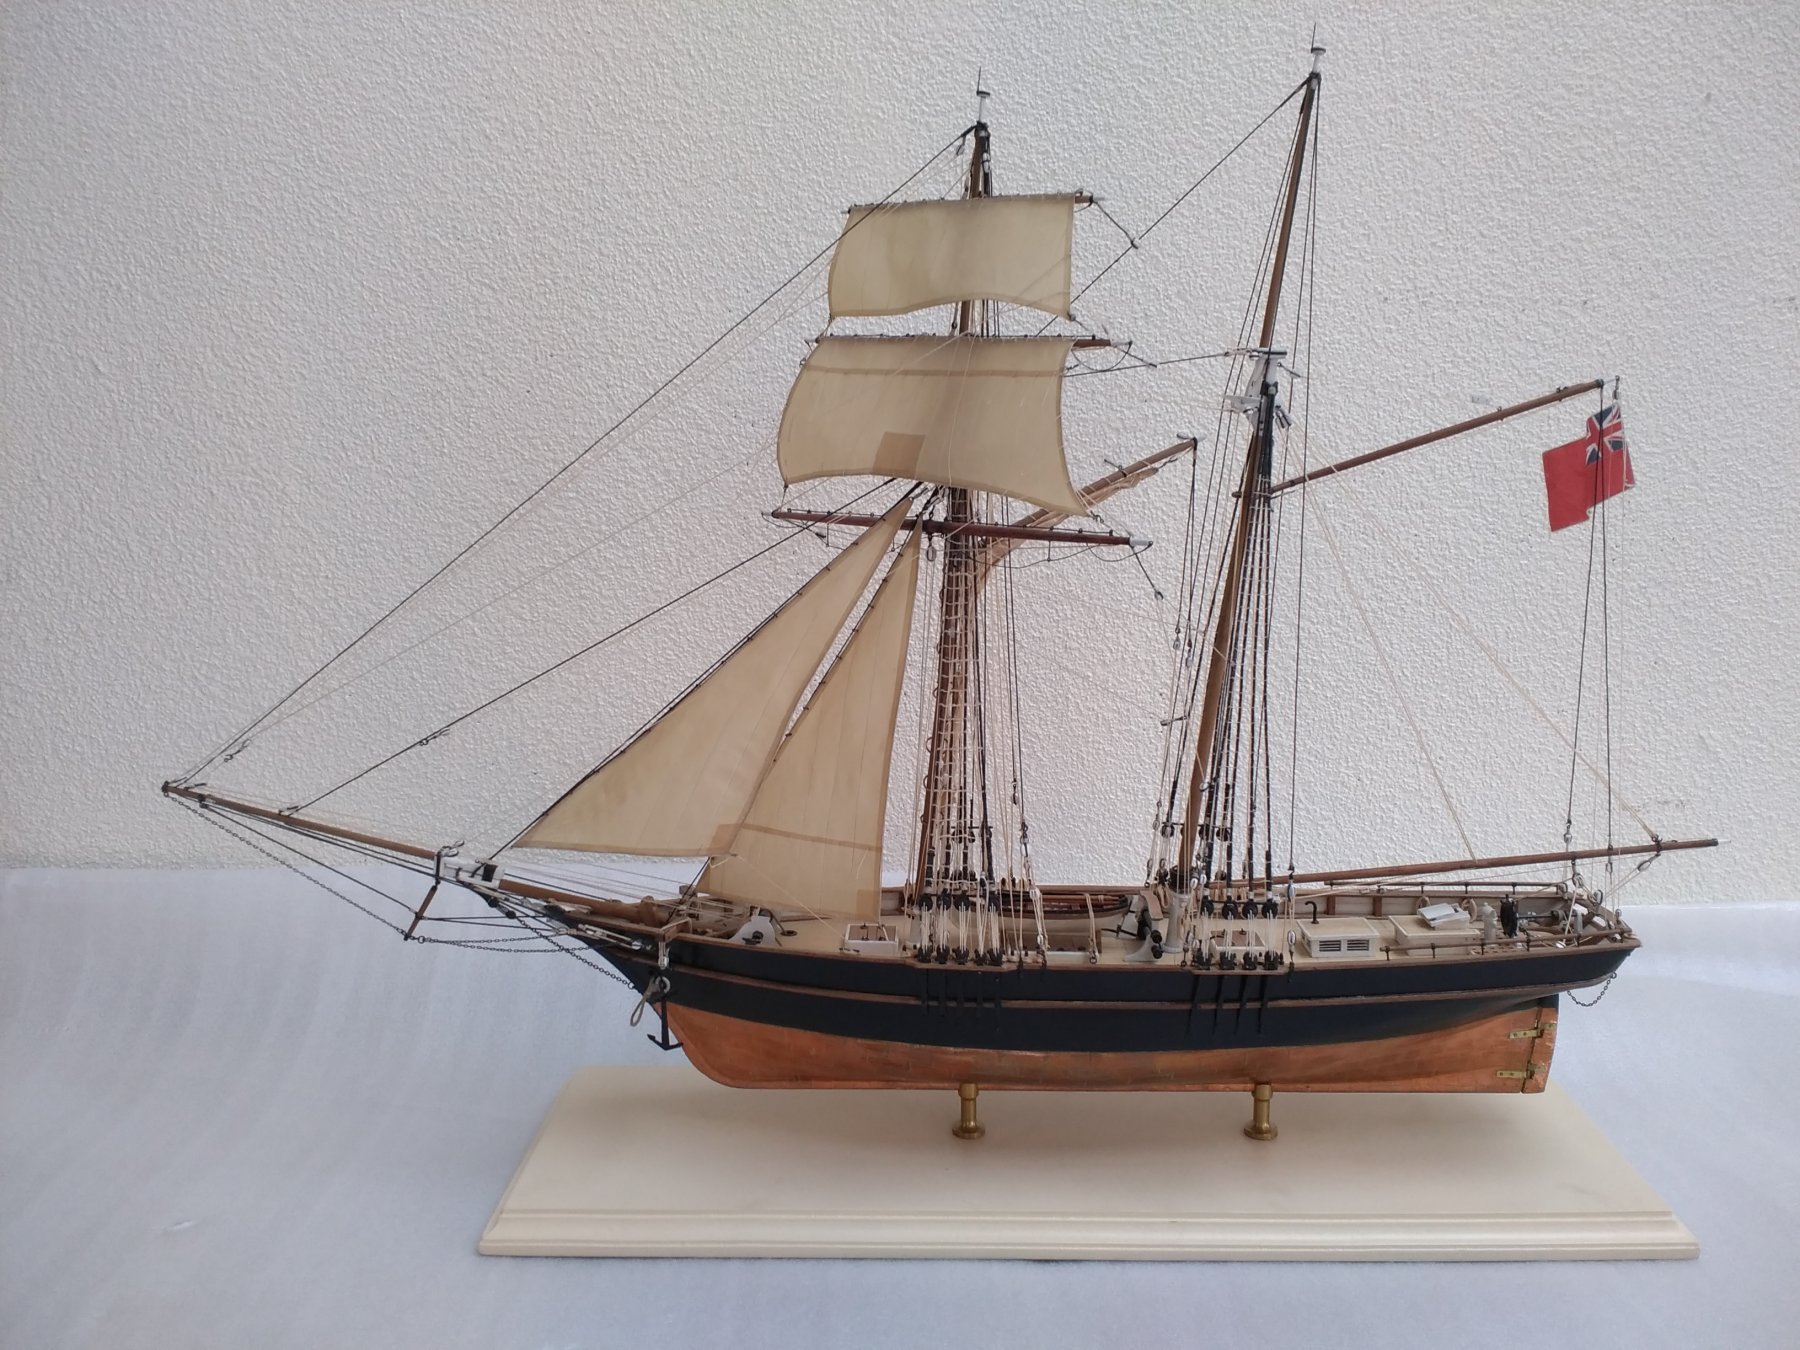
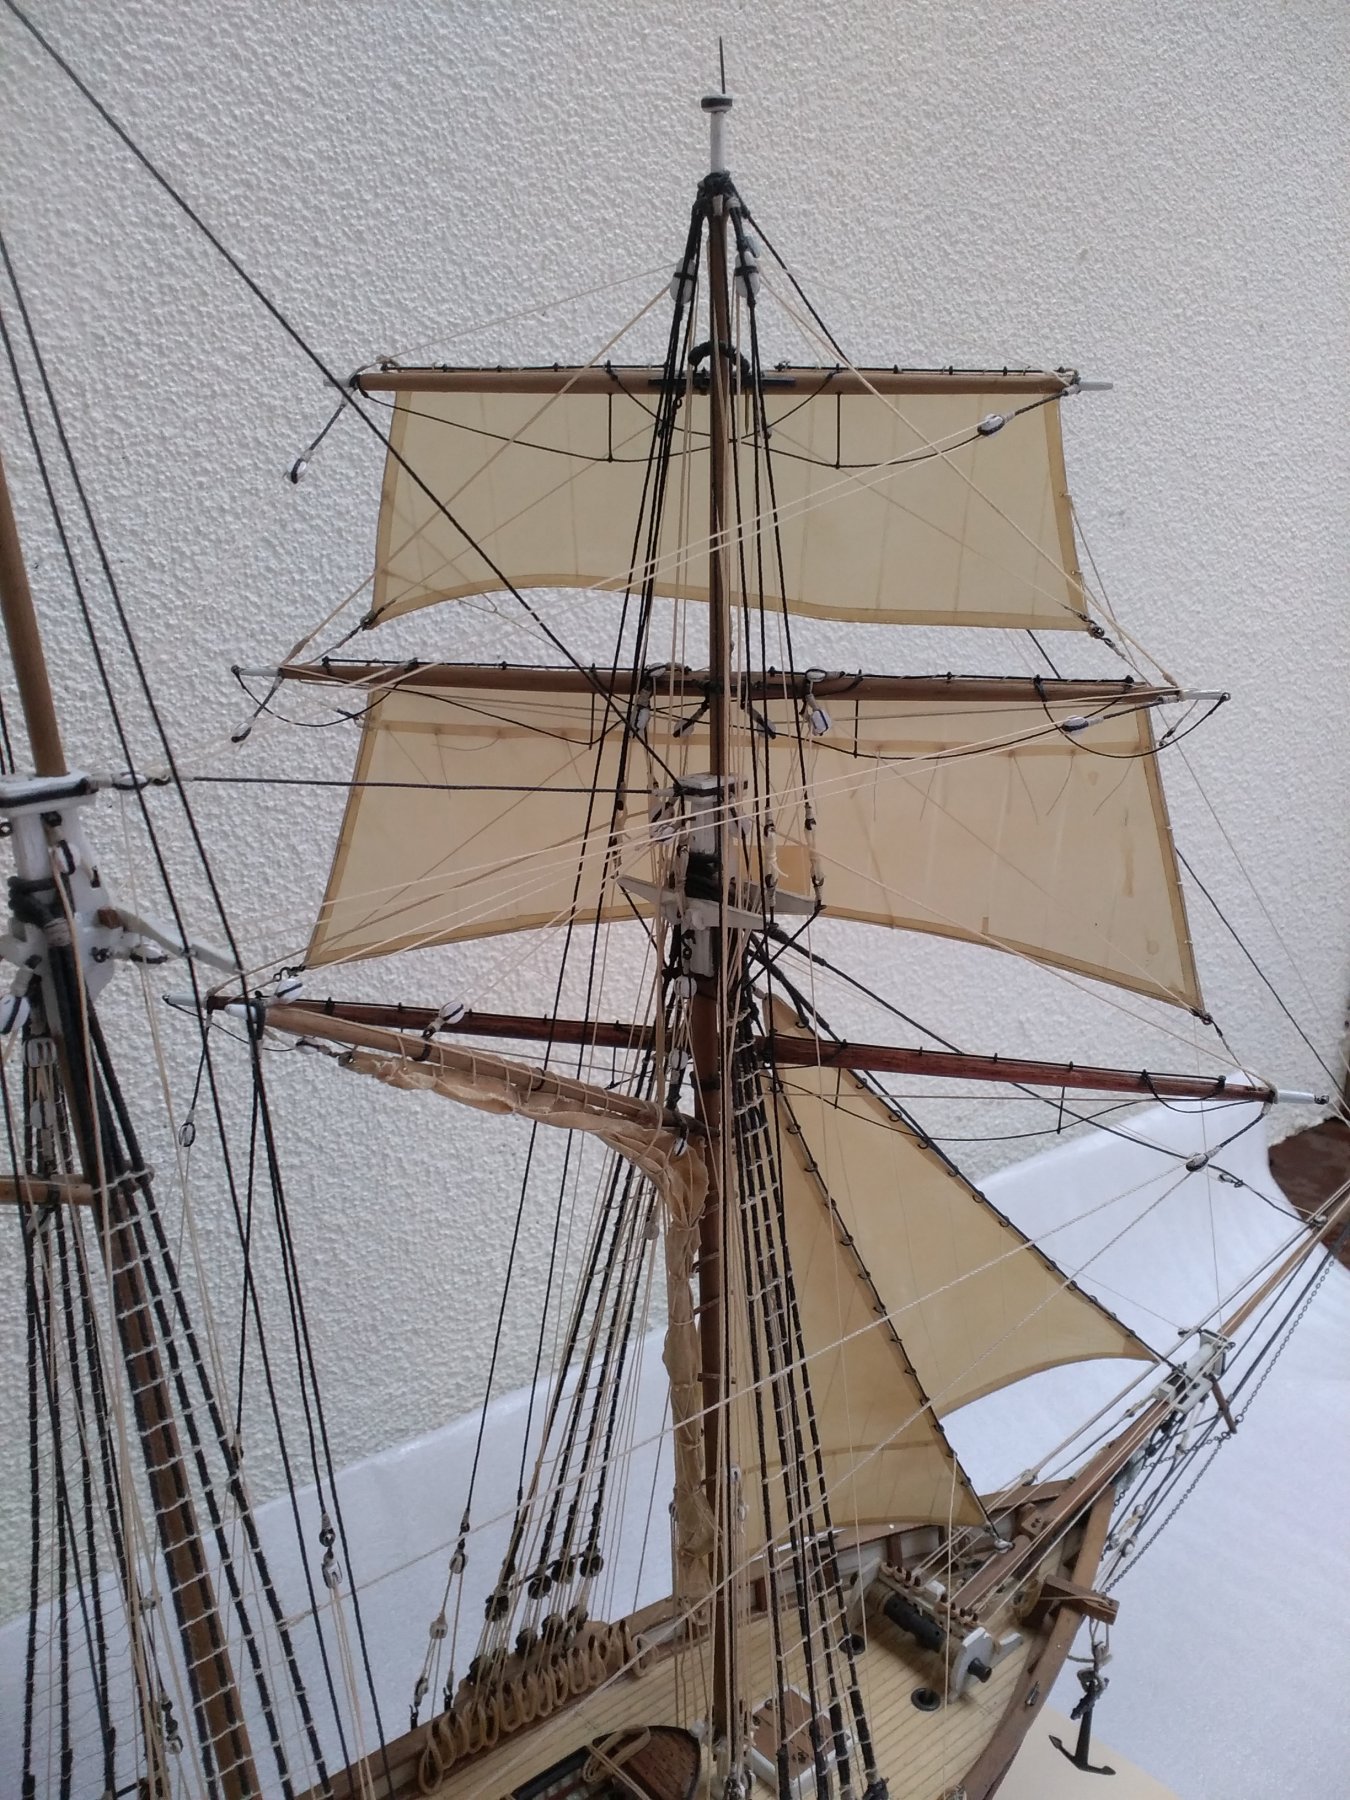
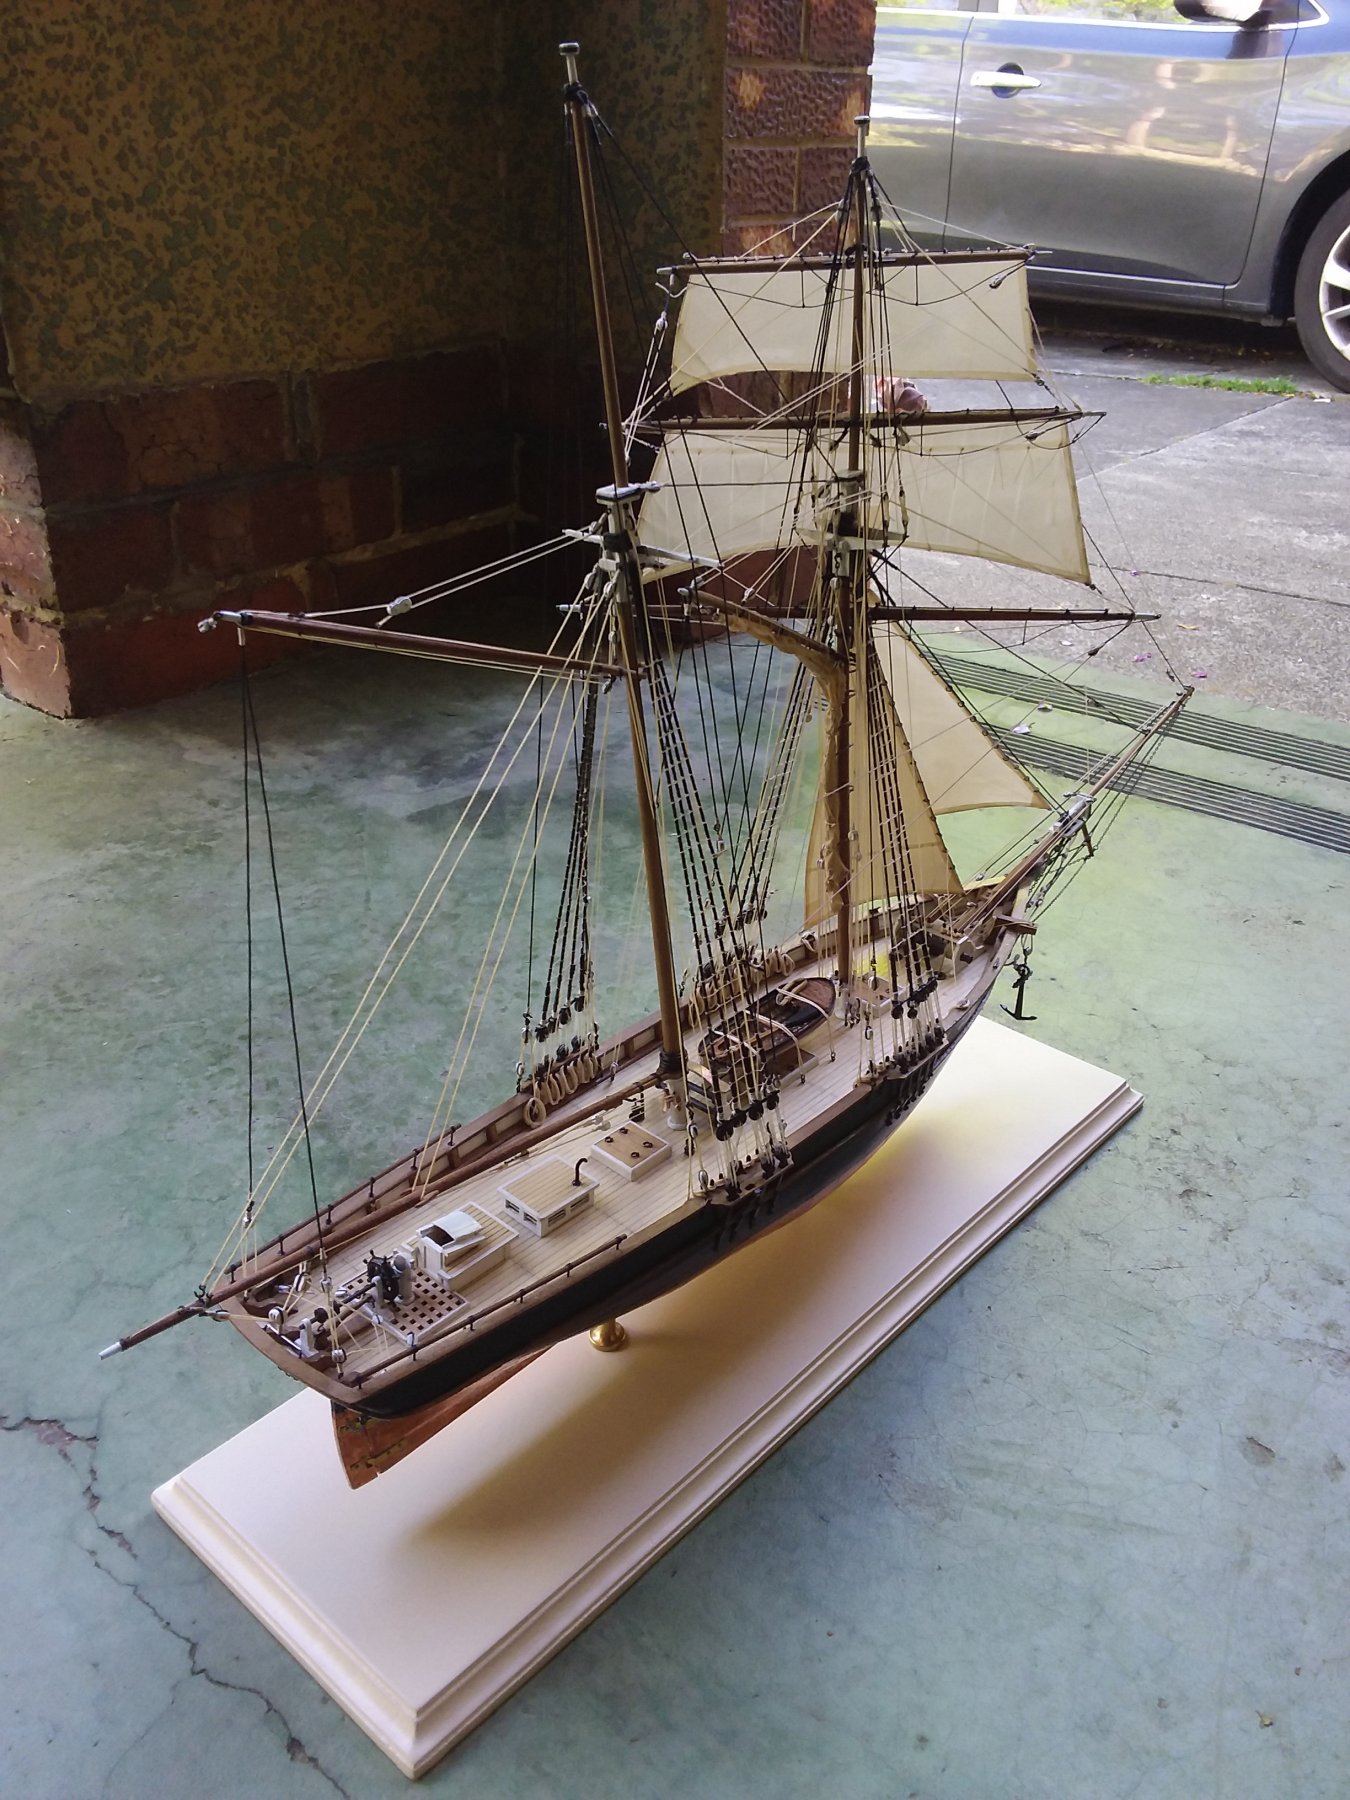
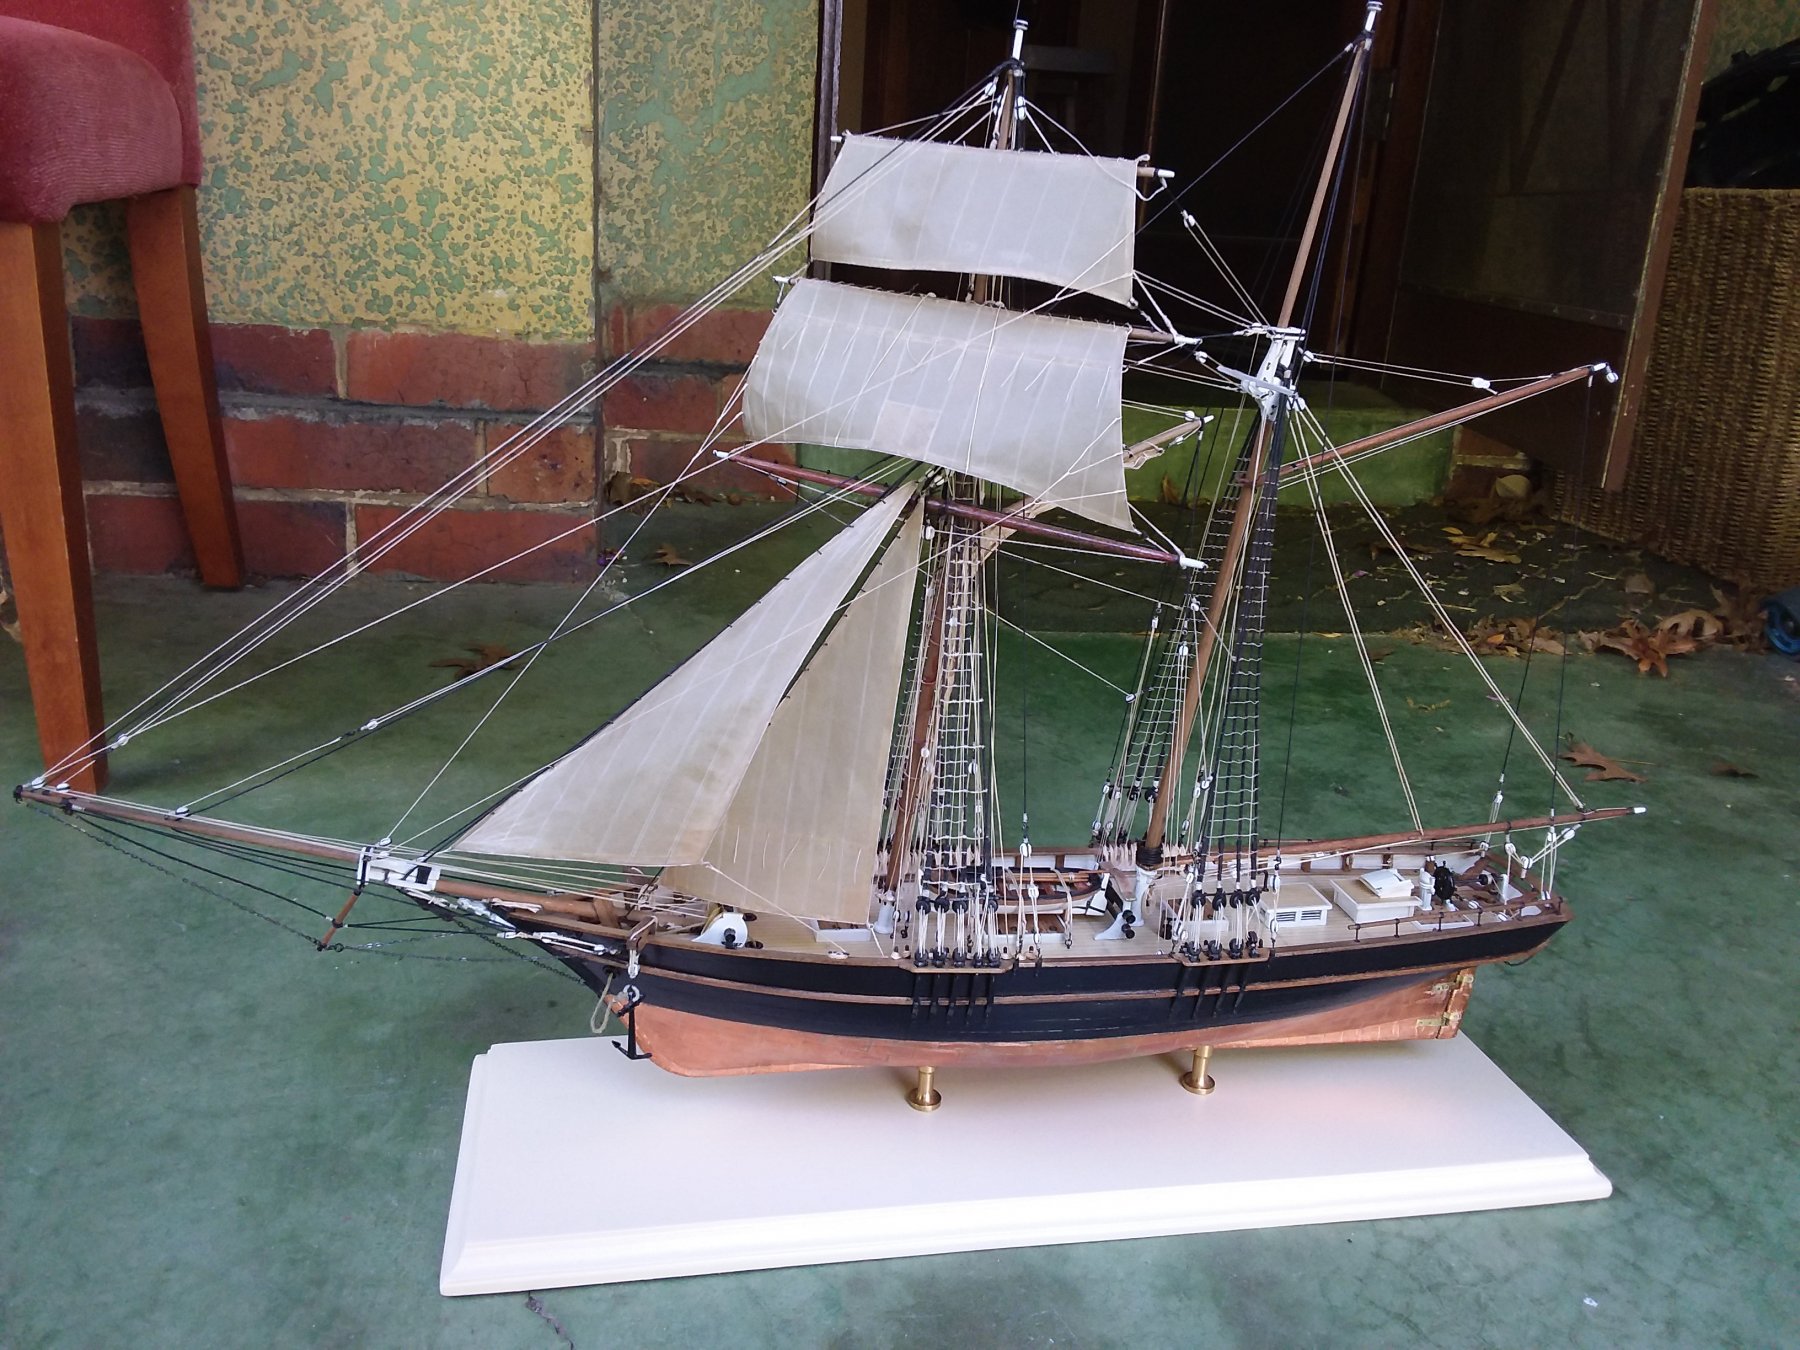
I am going to call this project finished now. It was always my plan to create a "half-rigged" model with sails only on the foremast. This give the model a sense of being a real, dynamic sailing machine....without obscuring all the details of the deck and rigging.
There are a few tiny details to tidy up...but I am already caught up in my next two projects!!
So here are a few final photos.


-
-
Doris,
Once again, I am lost for words. Your work is so far beyond what most of us can achieve. In english I would say you are a National Treasure...they should give your work a museum of its own.
Tim
- FrankWouts, popeye the sailor, EJ_L and 3 others
-
6
-
Michael. Your model is amazing. I think you should just build a full size boat next time. Like the "Integrity" gaff rigged yacht that Will Stirling made in the UK. It feels like the only difference would be size.
Quick question. What does one do with a model that big once it is finished?
I speak as a married man.
Tim
- mtaylor, popeye the sailor, Bedford and 1 other
-
4
-
Excited to see this. One of my dream kits!
Bit out of my price range at the moment.
Will pull up a seat!
Tim
- Bill Morrison, thibaultron and Nirvana
-
3
-
-
By the way, in the midst of discussion about rope weights, I think we forgot to say your model looks absolutely stunning. Love seeing photos of the whole thing.
Your finishes are very very clean. And the limited, consistent palette of colours you have chosen to use, is very pleasing to the eye. It gives your model a classical quality.
I really admire your work.
Tim
-
-
Oh my goodness. Just amazing.
Your skill as a bas-relief sculptor at minute scale is unique.
There cannot be many people in the world who can do what you do.
I watch in awe.
Hope your troubled times don't last too long. I pray for you.
Tim
-
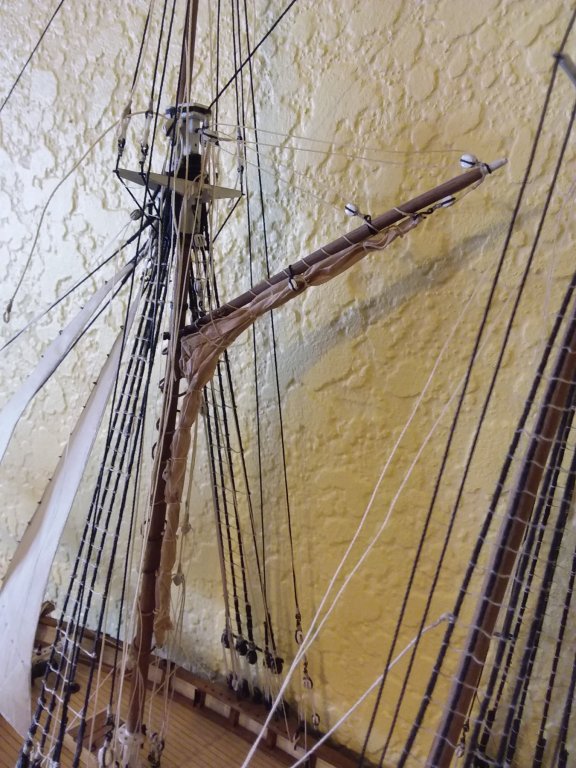
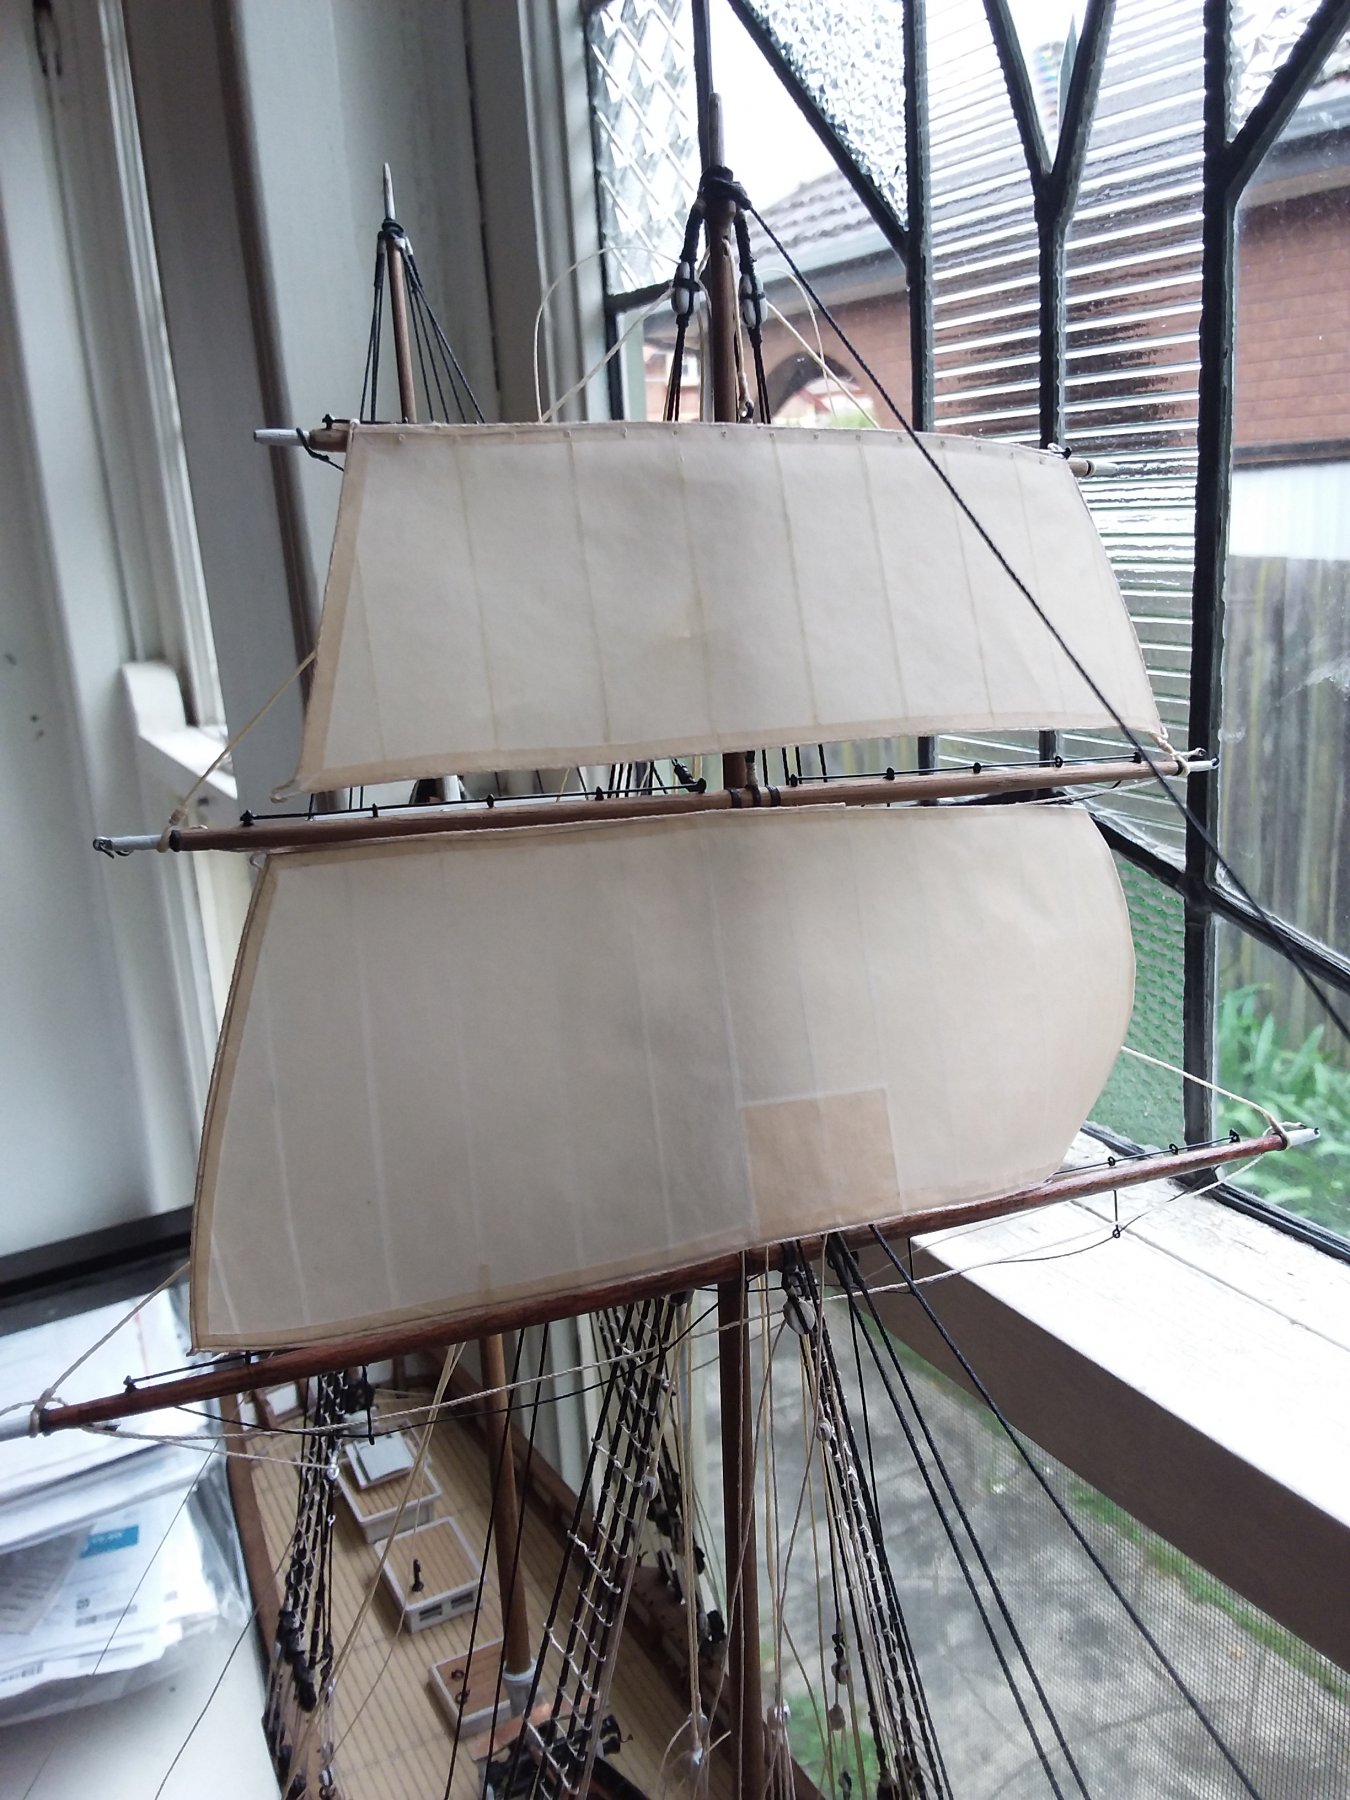
I have used vellum tracing paper with good outcomes. I stain it with tea (earl grey works best as it is not too red) and then dry it pressed inside blotting paper in a big book.
Here is a recent one (dry mounted). It has the slightly translucent quality of sailcloth, but also holds its shape well. I scratch on the seams with the back of a scalpel. Also, I pit some fine steel wire in the edges, where the paper is folded over to help it hold its shape.
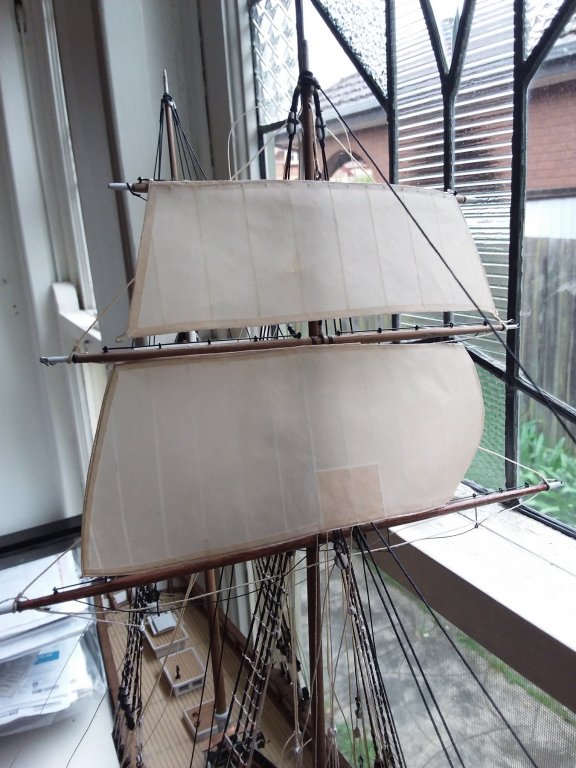
Also works quite well if you wet it, and furl it.
Apologies for photobombing your build log!
-
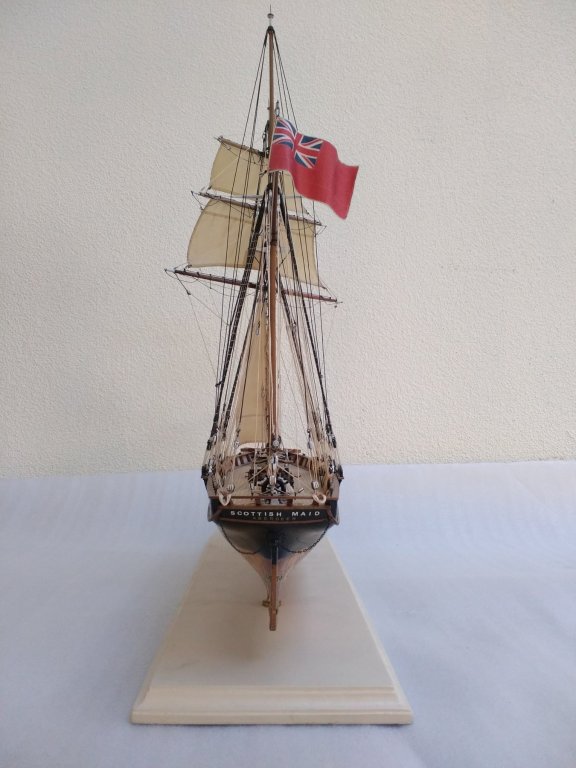
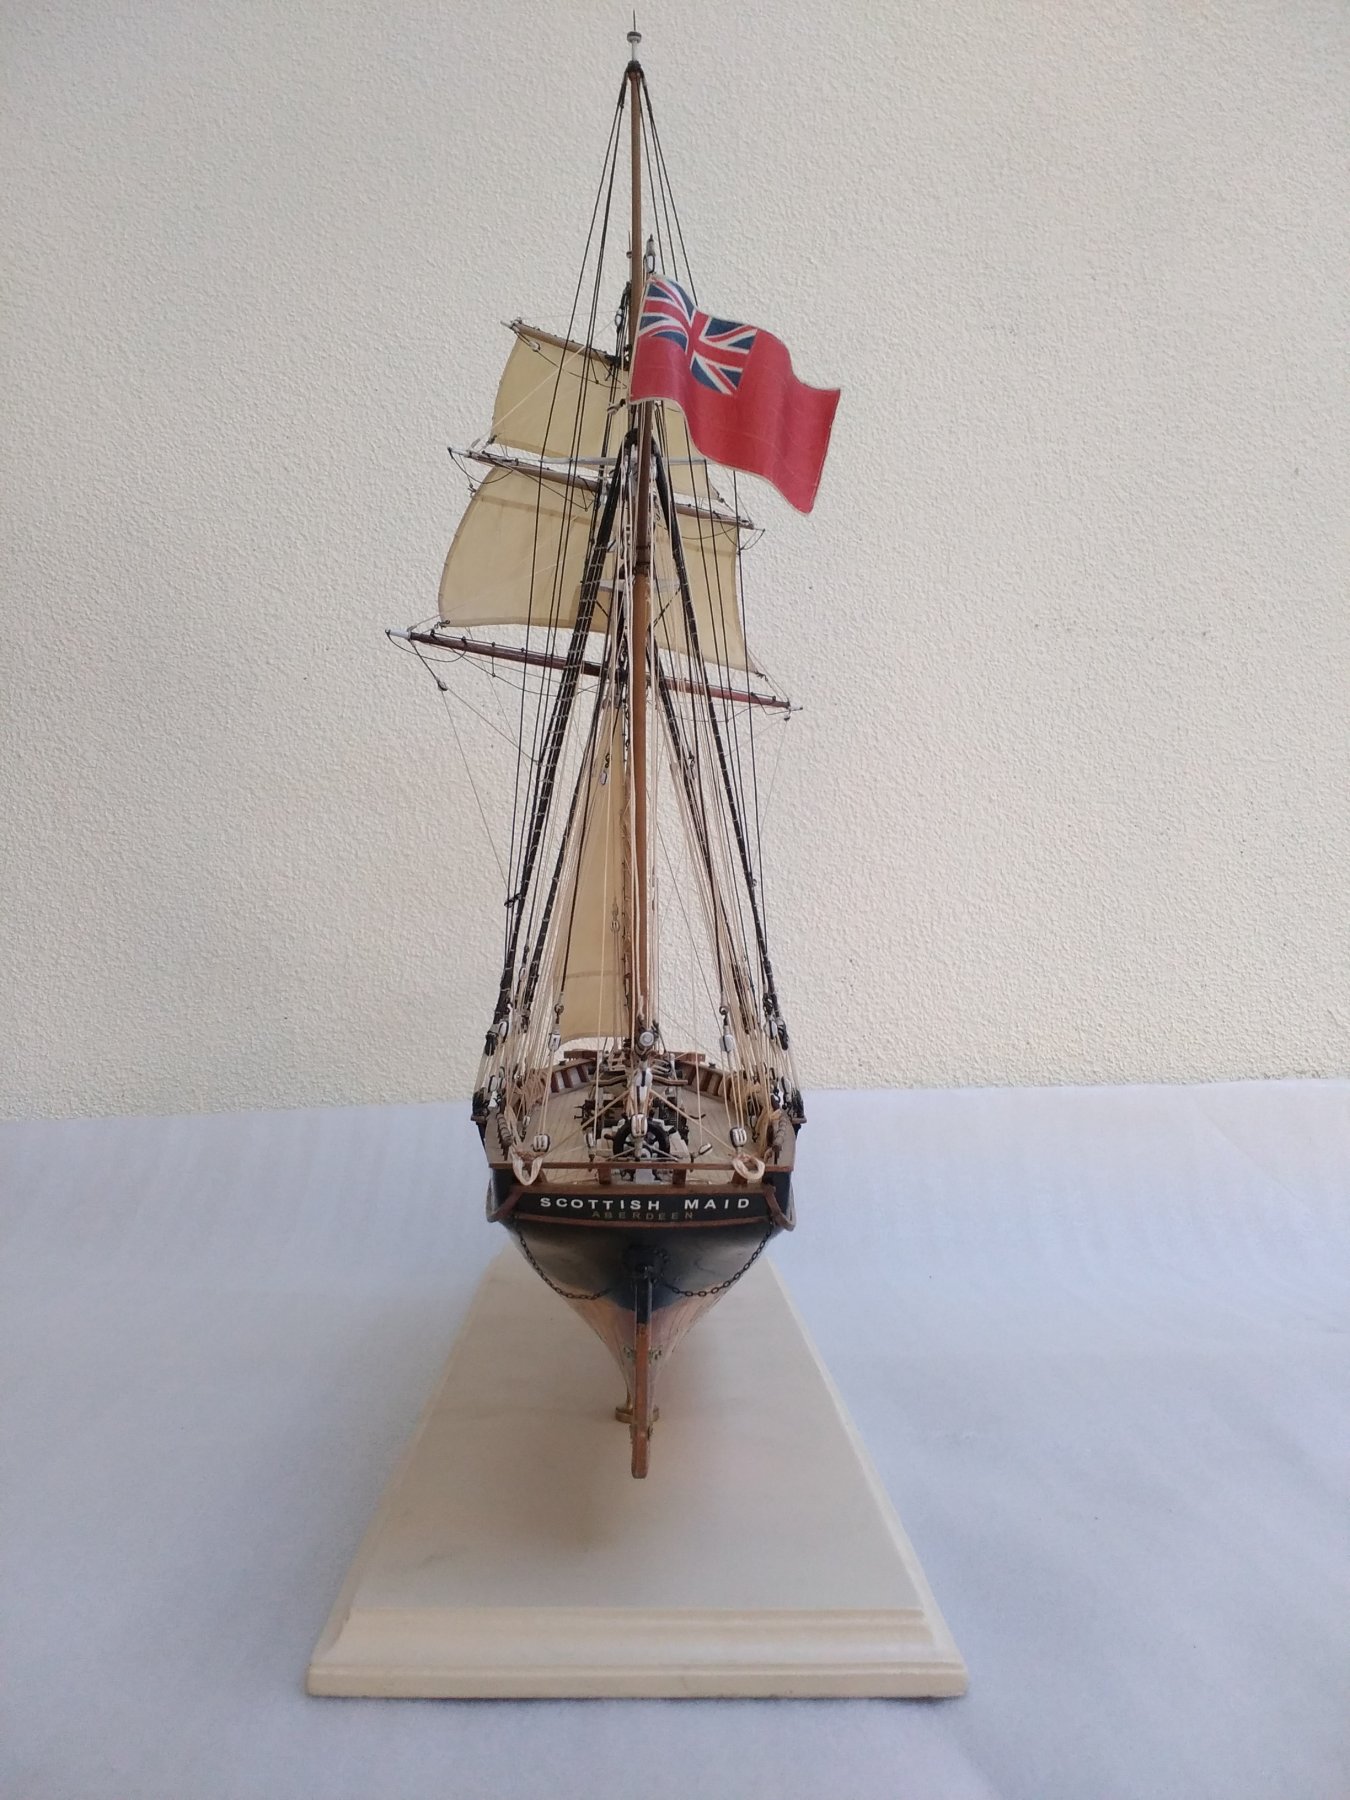
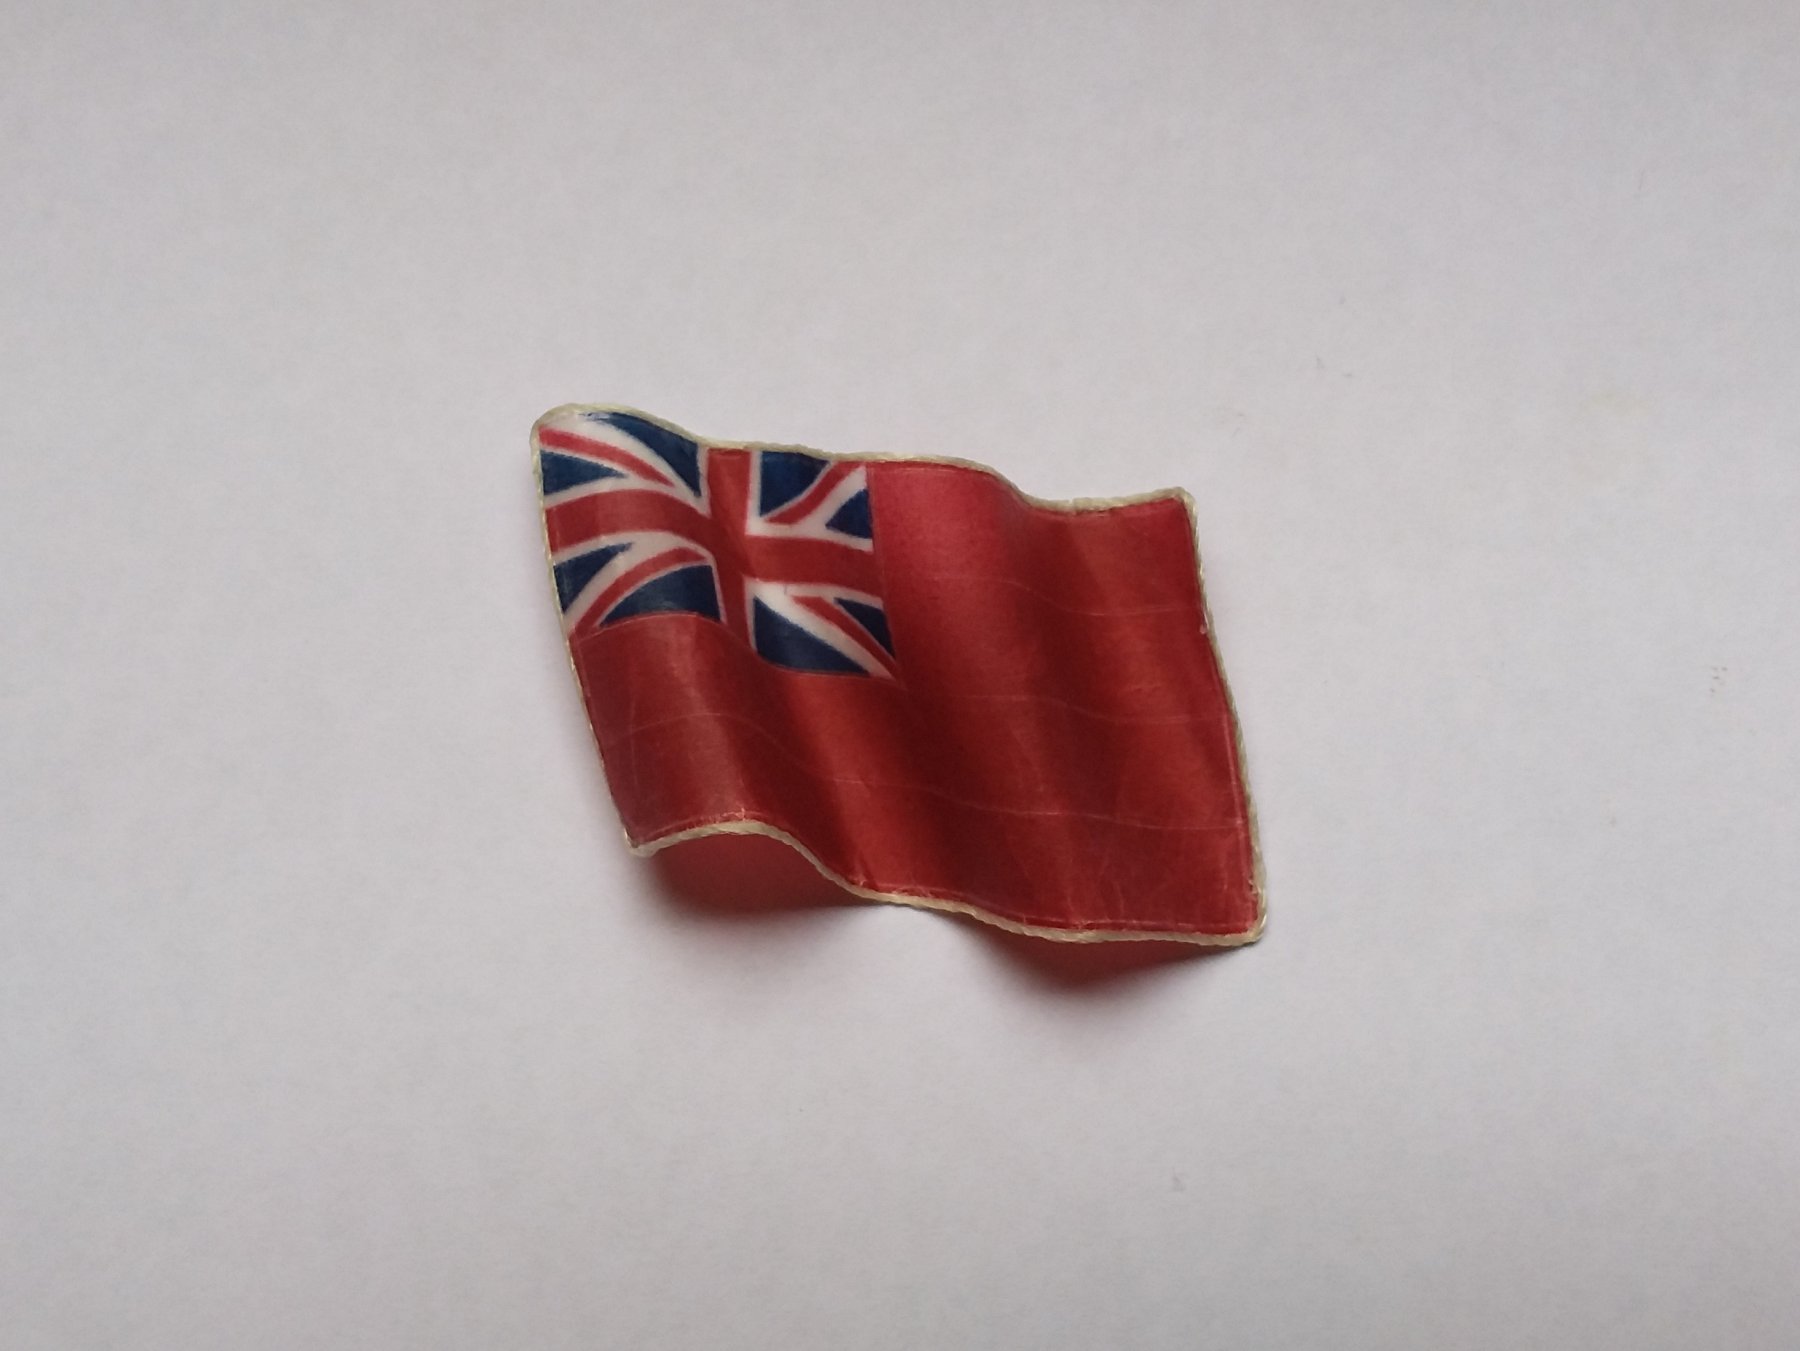
Slowly progressing to finish line.
I created a Red Ensign on 50gsm tracing paper...two sheets laminated together with CA, with ensign printed on each, on my home printer.
Probably a bit large....but I like it that way.
Then added rope trim using 0.5mm thread.
Furls are quite easy to form without any special treatment.
Happy with result. Photos of it temporarily attached to model.


-
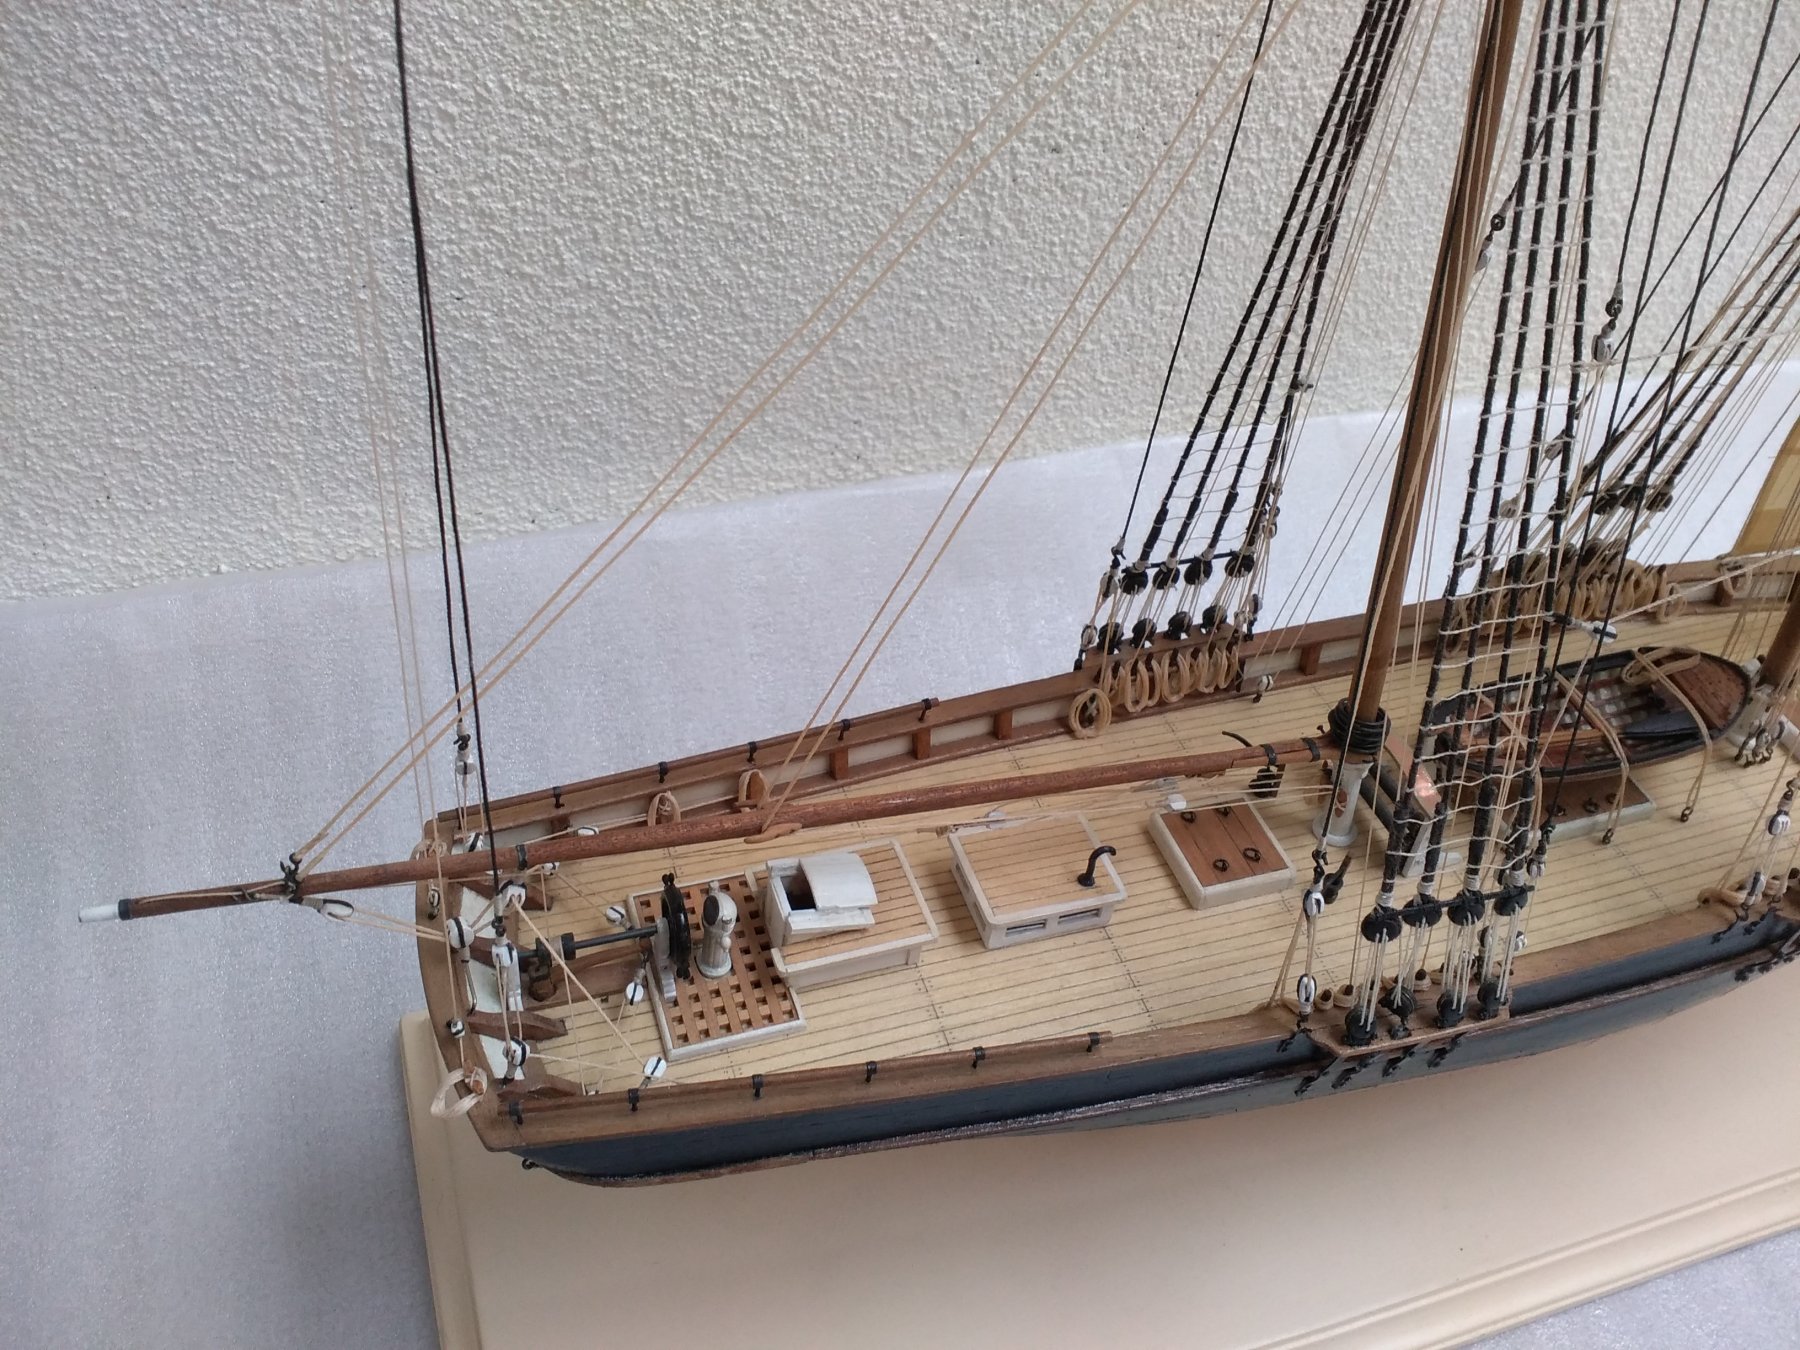
I have completed the pumps, which are now installed.
Also mounted her on a proper base and pedestals.
I am going to leave her half rigged (foremast only) for the moment.
So a few repairs of chainplates and deadeyes to do, and pendant flag to be hung, and then I will be finished....definitely in the final furlong.


How to make (or buy) very small rigging blocks (around 1mm)?
in Masting, rigging and sails
Posted
Let me know how it goes Steven.