popeye the sailor
-
Posts
16,007 -
Joined
-
Last visited
Content Type
Profiles
Forums
Gallery
Events
Everything posted by popeye the sailor
-
 your log continues to impress.......glad to hear you weathered the storm great job on the rigging!
- 1,306 replies
-
- 7
-

-
- syren
- model shipways
- (and 1 more)
-
I have a 'helping hand' to strope my blocks. it's quite useful, but I still need to find a way to anchor it to the table, or a larger base so it doesn't move around as much. I haven't done anything with the yards yet, but I'm in the thought process of making the brackets for them. lots of folks will drill hole in the mast and insert a pin to orient the yard on. you've hit onto an idea with your attempt on the bracket........let the pin protrude in the anchor part of the bracket, for when you locate it onto the mast I do know what you mean though.......everything looks good on paper. ....makes one wonder if they really tried to do what they illustrate. there are many here who have quite a bit of knowledge of brass and metal work in general. I wish I had a tiny bit of what they know you could look in online shops to see if there might be parts for purchase, that would help you out......I tend to do it this way too. you'd be surprised with what you might find. clippers do have unique bracketing systems for their yards.
-
catching up on your project Robert......made some great progress the interior looks good........with the roof on and lighting, should give a nice impression of the furnishings. the hull came out great........well done on the mods and paint. the efforts your putting into this model will show up quite nicely when your finished
-
you could also look at the life color kits...I have three of them. I haven't tried them out, since I don't do much with acrylics. they have one for decks, armor, and figures. great looking progress so far
-
that would be a squadron.......man, they look so good in flight! didn't know you were doing an albatross........such a cool addition great job !
-
...the way the kit tells you to make the railings. you see why I went the route I did....... 6 mm might look a little too high, but you will produce better railings using stanchions....not sure if they make any smaller. your seeing these things........that is good! soon, you will look over a kit and decide earlier, what to change or enhance. you very well could buy another one of these kits......but as an FYI...there are much better kits out there I have one that I'm redoing........the Nordkap. it's an old kit, just like the first one......but it will not be the same model. I plan to make a different ship from it. it's all in the process of the build, how this model will come out.....you can have one that takes little effort, or you can have one that is fraught with problems. from start to finish, the main thing is that you built it. fill in the old railing holes with filler and paint over them, when it's time to install the new railings. it will look good hopefully, I can get off my duff and get mine back on the table....your beginning to get ahead of me
-
if you want to flatten the copper, you could try using a rolling pin.......do 'em in mass quantities just so happens, I found one of those ponce wheels in the cellar of our apartment building..........took me a while to get it back into working shape. glad to see your back at the table
-
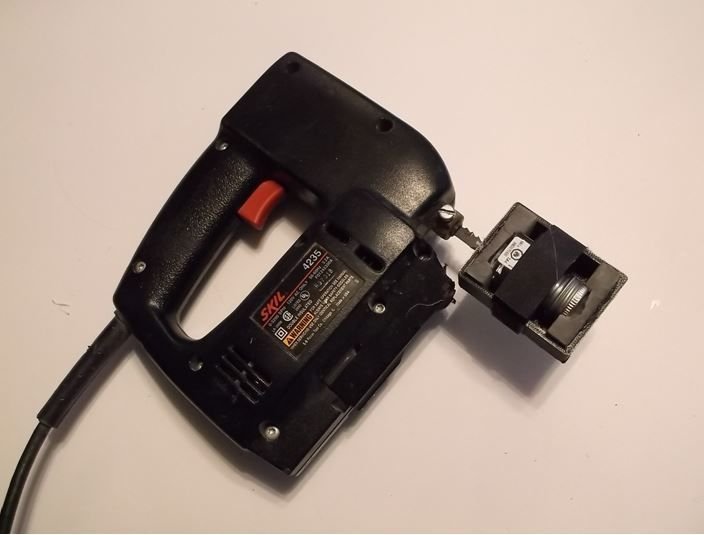
the reciprocating saw looked even funnier.......especially when taking into account how fast the blade moves really not a bad idea though, with how long some of my paints sit around.
-
nice big work area Tom.........plenty of room! sorry to hear that Connie was damaged........though only minor......it could have been a lot worse look'in forward to the continuance ........and the repair
-
checking in on your project........you've made some decent progress! the bridge looks great as well as the guns wow! very nice clean job
- 467 replies
-
- 4
-
-
- mikasa
- wave models
- (and 1 more)
-
I cover over my projects with cut up tee shirts, long sections like a tarp or shroud. once they are masted or to the point where delicate parts are added, it's a bit harder to do.......an over sized box usually does the trick {cut the flaps off, so they don't get in the way}.
-
catching up on your project OC.........she's coming along nicely good info about paint.......while I use enamels, I also wipe the rim and caps. it helps to give a good seal, and keeps the caps from being stuck on.........hate using pliers to open paint bottles. I still have a fair selection of Billing's paint, which by now has become quite old. I'm not sure how long Tom had them before he sent them to me, but I've opened some to find that they've either jelled or separated to a concrete layer on the bottom. a friend of mine took a model boat propeller and made a mixer using a small electric motor.....it worked well for him. I had to break his bubble and show him that they do make them for purchase. Badger has one: micro mark has one: or..........if your the DYI type, you can either use a reciprocating saw, or a jig saw


-
superb bit of progress there Greg........the stanchions look super they look much better than PE....more life like. I've done that before.......given my projects coffee baths.......not only that, I'm sneeze prone {try explaining that one } . some do stain their decks......light stains, coffee's a new one on me. looks like you did a decent job of cleaning her up. she looks great
- 405 replies
-
- 5
-
-
- tamiya
- king george v
- (and 2 more)
-
there are many kits where parts need to be fitted to the model........believe it or not, this is fairly normal. one thing to think about having to do this, is that it's kind of an introduction to scratch building....half the work is done for you. to me, this is what brings out the scratch builder in all of us you'll do fine..........take your time
-
really nice job so far Danny........I see the non ship builds have been separated from the other threads. neat idea
-
the hull came out really nice I've tried it once {didn't use the cloth}..........I should do it more often
- 34 replies
-
- 2
-
-
- kearsarge
- first build
- (and 1 more)
-
it's progress and your learning........effort has it's rewards look at other logs on clipper ships, on how they do the tops and cross trees, and you'll get a better idea on how to proceed. in some instances, the size of the wood in the instructions are out of scale......I tend to go with what I think would be more to scale in regards to this. 1/16 and 1/32 does a lot to fix some of their boo boo's and will allow you to get a bit more detailed. rigging diagrams are also not correct at times.....simplified for the creation of the model. if you look at the different model manufacturers, you'll see that they all have different methods in the construction and materials for their models. I suppose this is OK though, since there are no two modelers that are alike Keep at it my friend........your doing fine! glad your enjoying the hobby. be mindful of the kit you buy......only build the 'good' ones
- 105 replies
-
- 3
-
-
- thermopylae
- sergal
- (and 2 more)
-
catching up on your endeavors Greg........she is one fantastic model there is so much detail, and your paint skill is off the charts! very nice that you were able to do the color layering on the gun barrels.....how did you mask them without getting the paint lines? nice work on the camo as well
- 405 replies
-
- 4
-
-
- tamiya
- king george v
- (and 2 more)
-
looks really nice....the PE detail adds quite a bit to the structure
- 467 replies
-
- 6
-
-
- mikasa
- wave models
- (and 1 more)
-
thanks for the birthday wishes........I had a great day yesterday, in spite of the admiral's back problems resurfacing. I had read that the trumpeter kit wasn't very good.......quite a few inaccuracies. the budget director would never ok spending that kind of money on a plastic kit.......wood maybe I do thank you though for wanting me to upgrade.....but I will continue with this kit......I think it needs me {Charlie Brown....good grief!} I have read though that some of the 1:350 kits are pretty good..........perhaps I'll hunt one up. I love Revell....I grew up with them . I'm 62 Lou........how old does dirt have to be?