
HOLIDAY DONATION DRIVE - SUPPORT MSW - DO YOUR PART TO KEEP THIS GREAT FORUM GOING! (Only 13 donations so far - C'mon guys!)
×


popeye the sailor
-
Posts
16,007 -
Joined
-
Last visited
Content Type
Profiles
Forums
Gallery
Events
Everything posted by popeye the sailor
-
 too late John........I told her. she was more miffed that I used my credit card, than the checking account I wanted an organ grinder and a monkey.....but they were 'O' gauge, and not HO gauge. I should look around and see if I can find some Popeye characters that small that would be a hoot!
 -
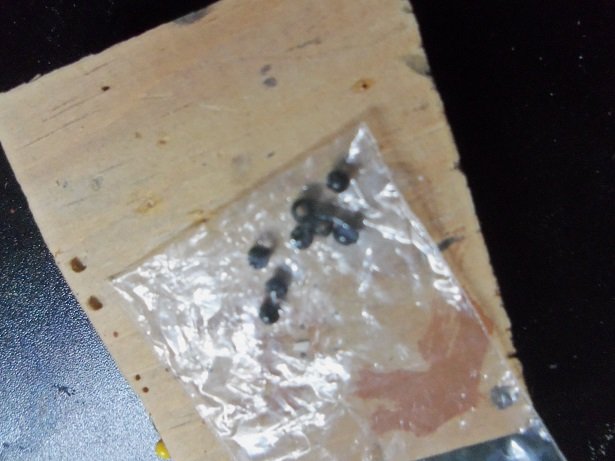
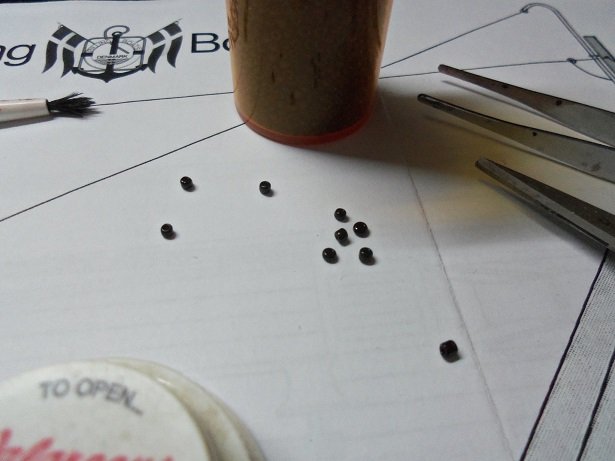
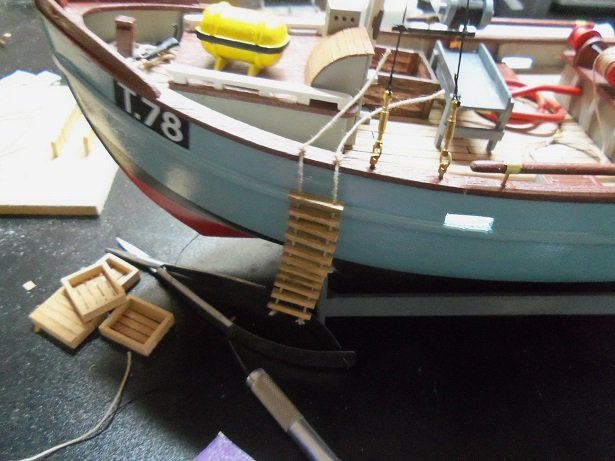
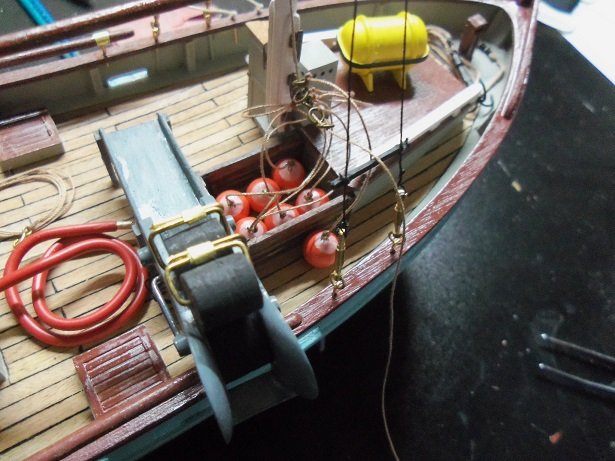
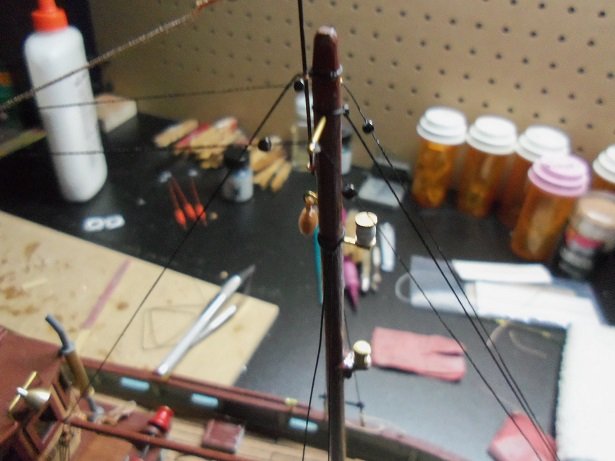
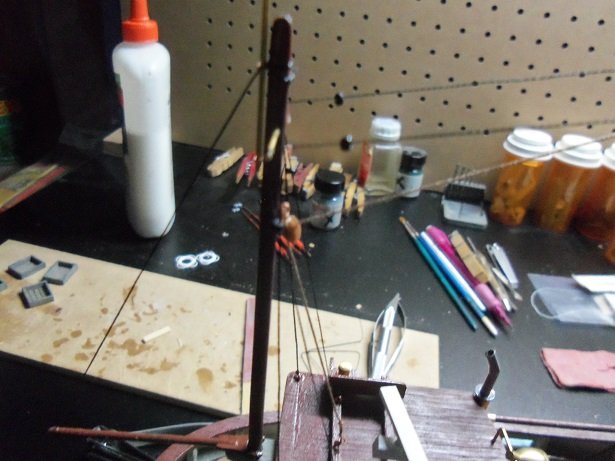
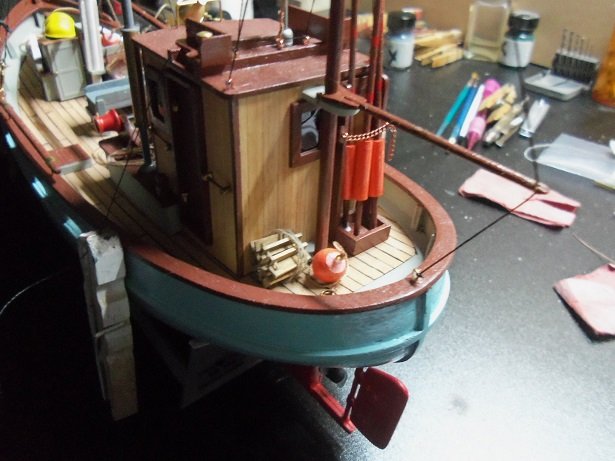
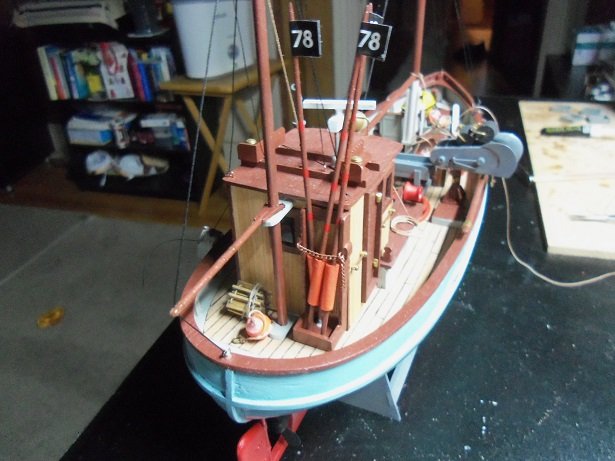
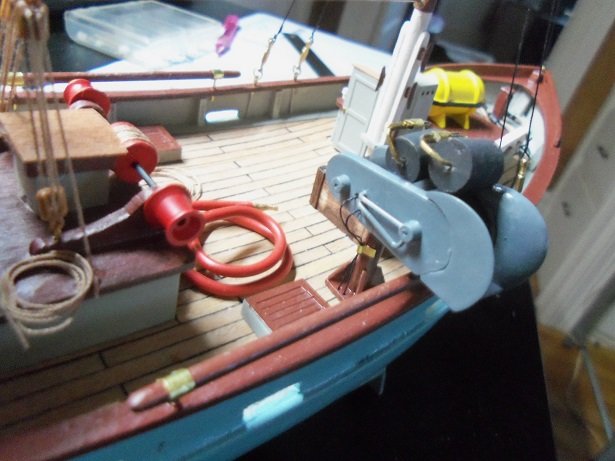
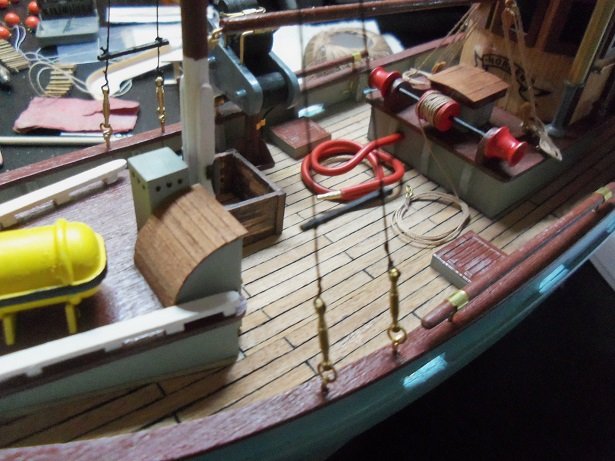
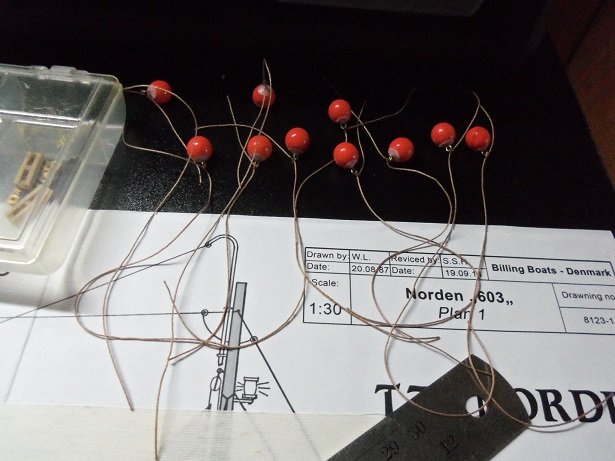
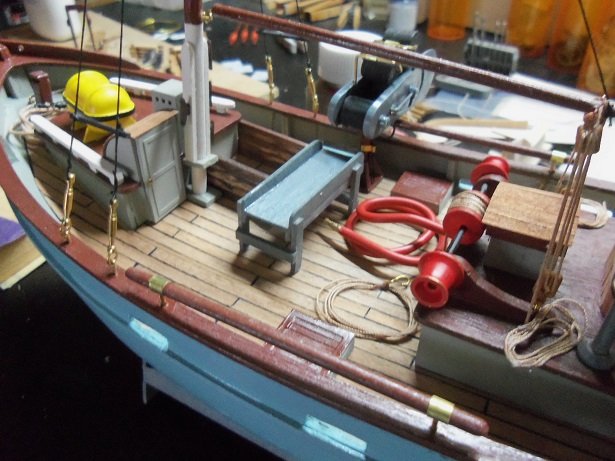
we set the dial for ludicrous speed, and when I hit the table, I made some decent progress the snow removal chore was out of the way.......poor Gibbs couldn't get around too well, the snow was too deep for 'em. I'd say we got over a foot.......started yesterday afternoon and still snowing now {but not as hard}. I started with the......what I think are......the communication lines. billing's supplies these beads that are way too big {to me they are}. I bought a package of black beads a while ago.....I use them as parrel beads. I decided to do this step differently and use these smaller size beads. looking through them, I picked out eight of the better ones. the instructions want you to tie them in series with the lines. I simply threaded the line through the beads and will cement them in place afterwards. the rack was fitted with it's hardware.....an eye bolt, hook, and chain......and cemented in place. to make it a bit more interesting back there, I rolled up one of the ladders, and placed it behind the pilot house too. ya never know when someone will want to get off as these were drying, I began to string the communication lines. it's kinds blurry, but two can be seen on the starboard side line. this started on the roof of the pilot house......one is sitting down there too, waiting to be cemented near the mast attachment point. another ladder was tied to the port side cap rail. it will be rolled up later and stowed. the catch trays are ready for paint, which I did next... after painting them, the sails were cut out. all of the round buoys were fitted with a small ring at the end of it's rope.....best I could do for a lanyard hook. an eyelet was looped on one end of a length of thread, and slip knotted around the mast. this will be tied off on the starboard side spreader bar. the rings will be strung onto the rope before it's tied off. the buoys were cemented in the box. this set up will allow the buoys to be taken from the rope harness and hooked to the net, as it is let out. yea.......we have a nonconformist in the bunch folks........but there are still a few others that still need a place. more were added. meanwhile, the comm lines were fully rigged, and the beads were cemented in place. as can be seen, the trays are painted........they will be strewn about later. the last thing I got to do, before I was informed that I'd be making supper, take out the trash, Gibb's outing, and sand the steps, was load up the buoy rack and secure them with the chain. the last extra round buoy was added back there too. from what I can see.......sails and life preservers are all that are left to do. oh.........and one other thing


- 378 replies
-
- 15
-

-
- t78 norden
- billing boats
- (and 1 more)
-
glad to hear your doing well Kees.......I was wondering how you were coming along. that's a decent size hull you have there. how thick are the walls, and the overall length?
- 193 replies
-
- 4
-
-
- wilhelmina vii
- fishing
- (and 1 more)
-
just thinking how it will look with the finish on.......the wood grain 's gonna be phenomenal!
-
nice work on the bottom.......the stabilizers look real good, and well as the rudders and props. I'm sure the engines look fine as well
-
absolutely! that is one nice looking hull Pat your paint is very good!
- 993 replies
-
- 2
-
-
- gun dispatch vessel
- victoria
- (and 2 more)
-
hello Mario! I've got little experience with plank on frame, but I don't think it will hurt anything, since you'll likely be working inside the hull first. it will even help you to set up the transom framing. I look forward in seeing more. good luck on the knee surgery
-
is it the Sovereign of the sea? looks very well done
-
look a couple of comments earlier again, it seems a matter of taste. in plastic kits, they do them all one color. with wooden ships, color can be detail
-
I do both.......it depends on how I've done the deck. the thing I like about lacquer, is it will give you a harder finish than varnish....less of a chance for dings {unless you get aggressive with something}. a spray will lessen the chance of pushing the sealer into the calking gaps...light coats is best. I also don't use a feeler gauge either. I don't sand the edges of the planking......I just run the pen along the plank and lay it down. with both of the mating edges done, it shows up quite well, and light sanding cleans them up well enough for me. the best advice is to do as you have been doing.....try things out, to see what works best for you. poly Urethane is another sealer that you can try........it comes in different finishes too, and also can be purchased with stain already in it {you may have heard of wipe on poly}. I've never tried doing a model like your building......never did gun ports. I should though........I see so many folks have problems with the pre cut panels, I think to myself, "why not simply plank them instead?" some things are better in theory, than in application. no fear..........you'll never learn if you don't try
-
nice progress so far Piet......the P.E. guns look great when done.
- 378 replies
-
- 5
-
-
- java
- pacific crossroads
- (and 2 more)
-
it looks super! painted up it will look even better
-
Actually Chris.....I feel like I'm going backwards. not much progress so far. the good thing is I pulled the trigger on some figures I got them from: http://www.modeltrainstuff.com/HO-Scale-Microscale-Decals-s/1417.htm I spent $70 bucks.........the admiral's gonna kill me! she OK'd me to order the planking for the Nordkap........and of course, I ordered a couple other thing as well. I never can get away just ordering what I need thanks for all the likes more soon.......if I can get my fanny in the other room today.
-
if I recall correctly Danny, I believe some folks experienced problems with the plastic kits as well, having the decals not lining up well. this particular ship is fairly common to this problem.....how it occurs in the different mediums.
-
they can be found in craft stores......look in the bead dept. I'm sure they can be found at Model Expo, Bluejacket, and many other model ship stores as well.
-
it should pay off.......I did so much bumbling through this one thanks for the good word John... I hope to get more done today
- 378 replies
-
- 4
-
-
- t78 norden
- billing boats
- (and 1 more)
-
there is no picture?!?!?!

-
ya did good Doug.......they are not the easiest to make.
-
it's OK .......I still love you! it looks great. time to rat'em up I think
-
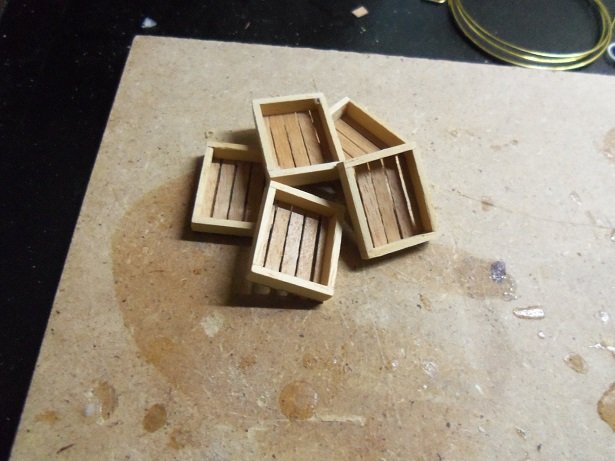
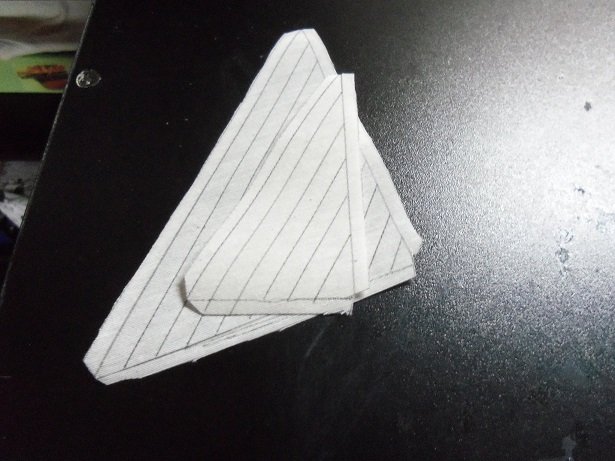
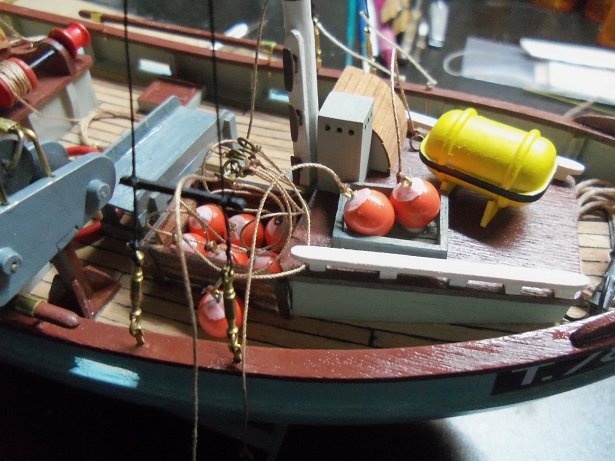
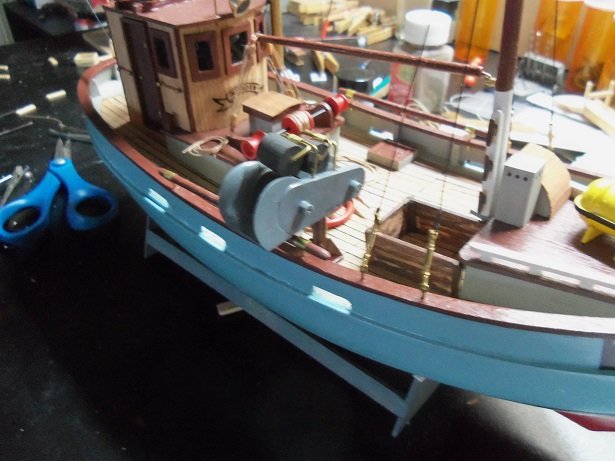
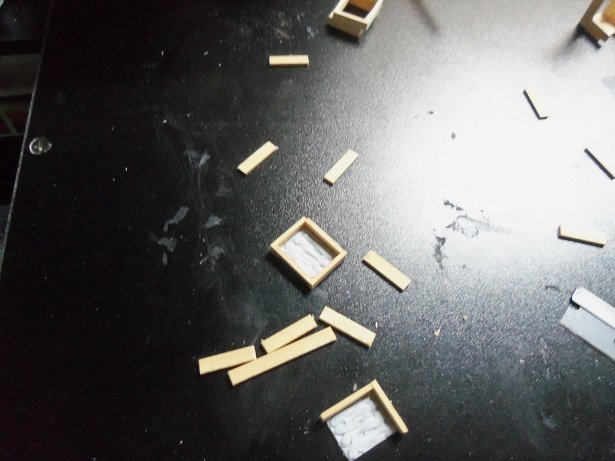
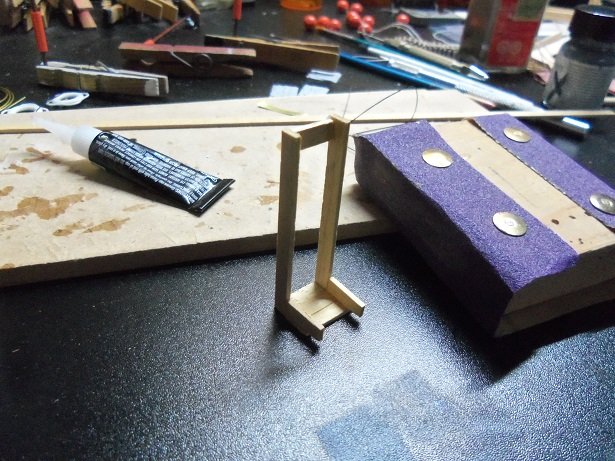
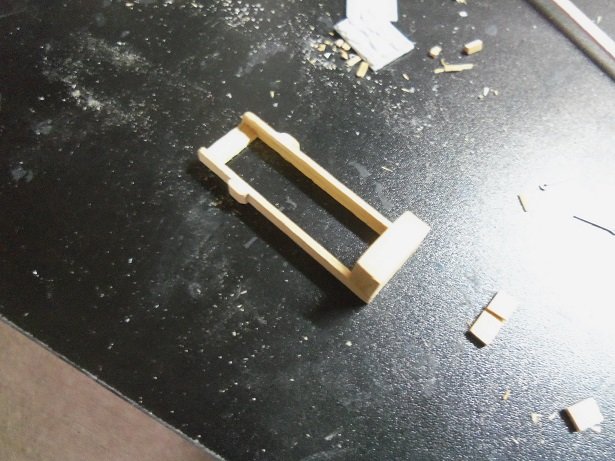
so ........here is the update from the last couple of days. I haven't been able to get to the table as of yet........somewhere between snow and looking up sub models, took up my morning. the update starts with finishing off thew winch and cementing it to the deck. I added the wiring on the side, and ran it down to the base. I then set to work making up the trays for the catch. I was going to make a rack for them, but due to tight quarters, I opted not to. I used the plastic fish inserts to assemble them. sanding them down a bit will decrease the thickness of the sides. I also set to making the rack for the other buoys. for another idea that I have brewing, I added stringers to the shrouds, lashed with thin black thread. after some more assembly, the rack now looks like this....... as for my bulbous, bouncing, baby buoys, they were fit to be tied........or is that the other way around I did decide to add a sort section of table behind the winch........just not enough room to do what I wanted to do. the trays were lined on the bottom with .5 x 3 mm Annegre, leaving slot spaces for drainage. the rack was painted before it gets any hardware. the trays were trimmed after they dried........still need to be sanded and painted. the sails have been traced out......they need to be cut out now. I'm debating to bring out the sewing machine, or just draw the pleats on the other side, and leave it at that. it's only two sails......hmmmmmmm.

- 378 replies
-
- 12
-
-
- t78 norden
- billing boats
- (and 1 more)
-
hello Russ.......thanks for the kind comment. I would have posted my recent update earlier, but I had to snow blow over a foot of snow we got a good one this time......and there is another one we could see on Monday into Tuesday. still more to go......and add thanks for the like
- 378 replies
-
- 4
-
-
- t78 norden
- billing boats
- (and 1 more)
-
I just went through almost 200 pages {out of 1575} in the 'sold' archives @ oldmodelkits.com I figure if anyone had this model at any given time, it would be them. I looked in the 'for sale' listings, but there was nothing......they did list about four pages of sub models. in these 200 pages, I haven't seen the GATO sub, but it could possibly be that the kit I'm referring to, was a GATO class sub, and therefore could be any named sub in this class. I did happen on an old Revell kit. Revell George Washington Polaris class guided missle sub SSBN, in 1:261 scale. kit number #H-437. it was produced in 1975, from the old Renwall 1961 molds, and featured a cut away side for interior viewing. Revell also produced the same sub back in 1961, kit number H425-250. this one had removable panels for viewing and could actually launch the missiles. I went a few more pages, and on page 256, I found a Renwall SSBN 618 Thomas Jefferson Polaris class sub, 1:200 scale. it was produced in the 50's and measured around 2 feet long. it had a clear cut away side for viewing. they also mention that this is a very rare kit. I'll keep an eye out.........I hate that.......know that I've seen a kit like this and can't find it to save my soul. I will tell you one thing though......if you want to see kits you've never seen before, go to this site and look through the sold archives. it will make your jaw drop!
-
I looked around for it, but can't seem to find it I've even seen a build log for it {not here, but I'm gonna look}. this is a very large kit......it's absolutely huge! but Revell / Germany has several, including a U boat such as the one your building. if and when I find it, I'll post it........it's an mother of a model!