


popeye the sailor
-
Posts
16,007 -
Joined
-
Last visited
Content Type
Profiles
Forums
Gallery
Events
Everything posted by popeye the sailor
-
 thanks Mark when the winch is done.........all this can be added to the mid ship. this will also include some rigging thanks for the good word!
 -
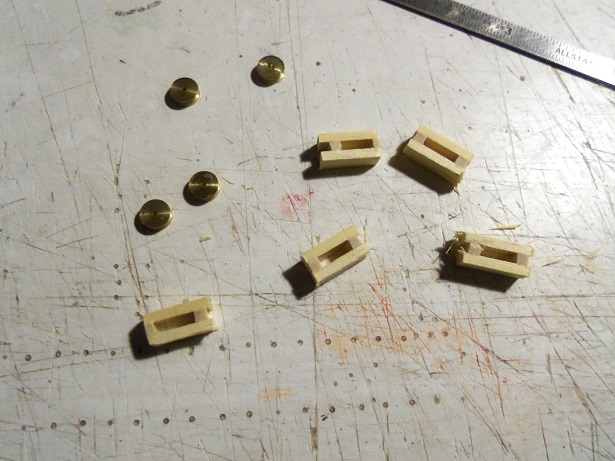
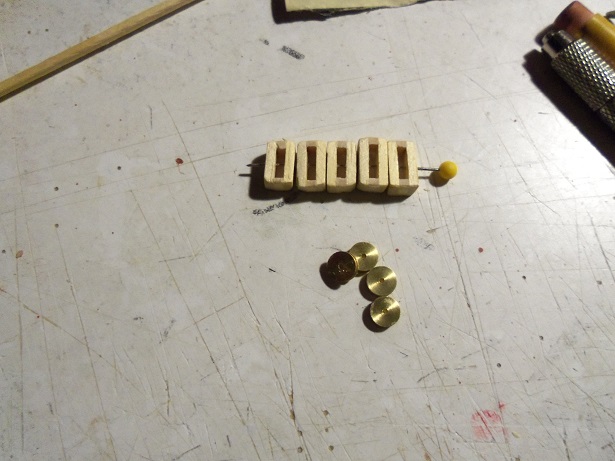
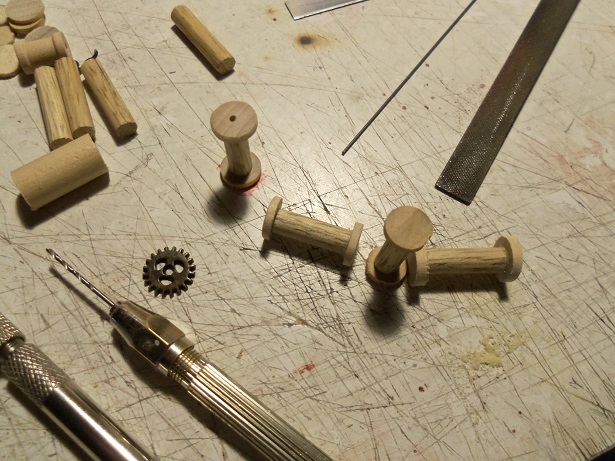
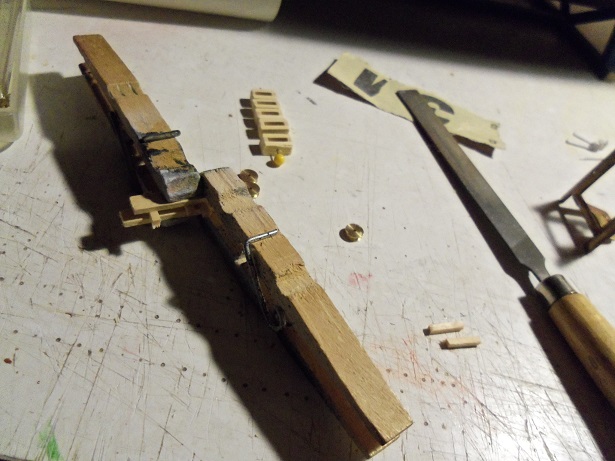
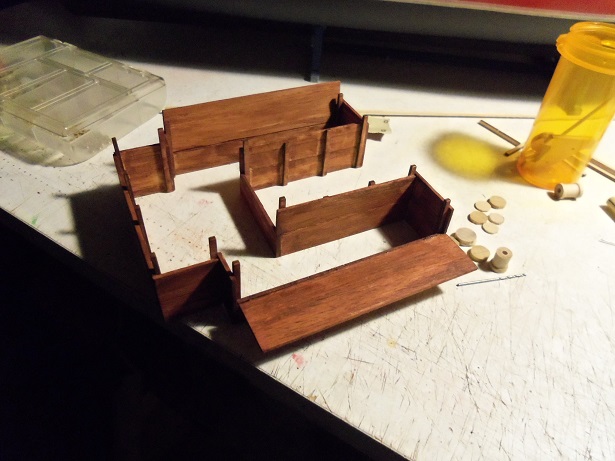
I wasn't to photogenic with the block pulleys........I glued the other side to them.....let it dry, and cut them up. I still need to sand them and finish shaping them. almost ready for paint........the holes are drilled for the pulley pins I took a larger dowel stub, and cut it into slices. these were glued to each end of the short dowels. the dowel is a hard wood........there may be a threat of splitting. it didn't happen .......I used one of the small gears to center the holes. I wasn't going to drill all the way through.........but I did. I made some hooks as well.......fashioned from larger eye bolts.......I decided to make two more block pulleys. I'm not sure if I'll set them up on the bulwarks or the deck.......I still have time to make up my mind. I'm going to use the metal frames after all.........I filed the edges to smooth them out. I hope to have assembled soon, without so much disassembly this time

- 747 replies
-
- 15
-

-
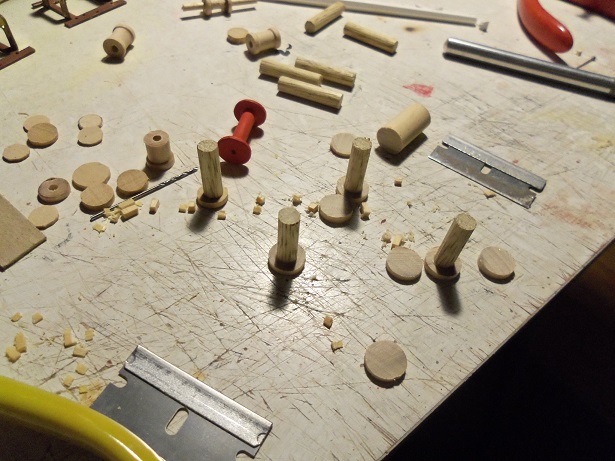
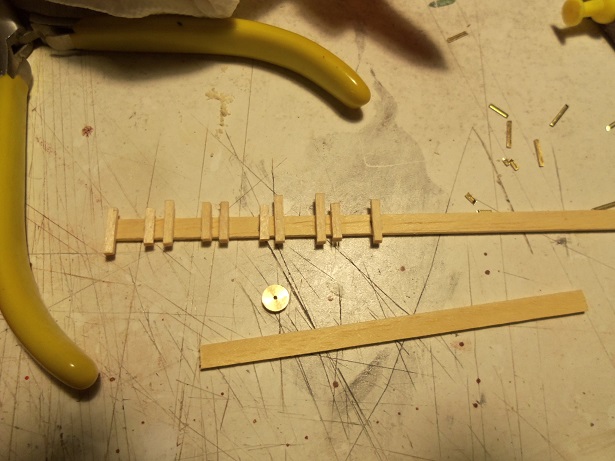
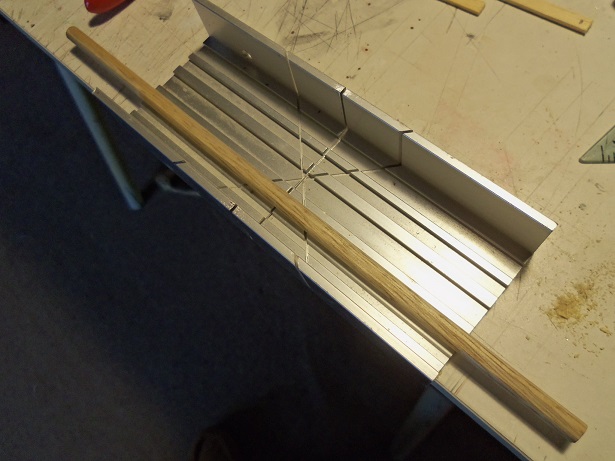
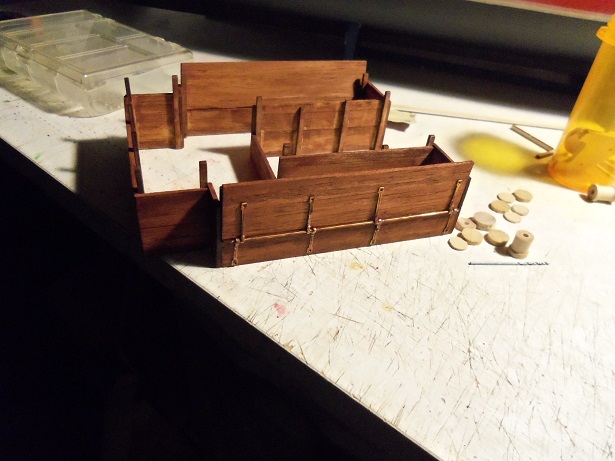
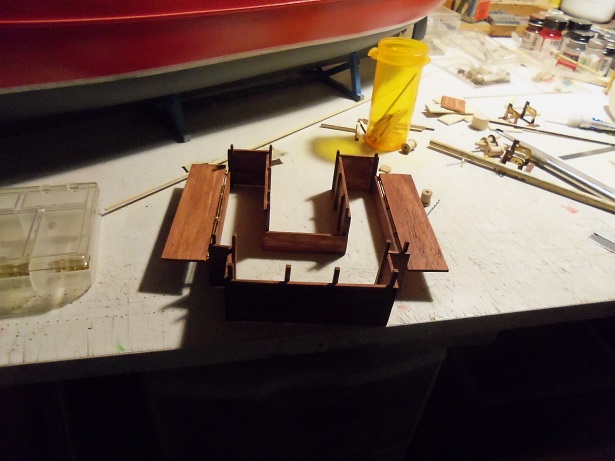
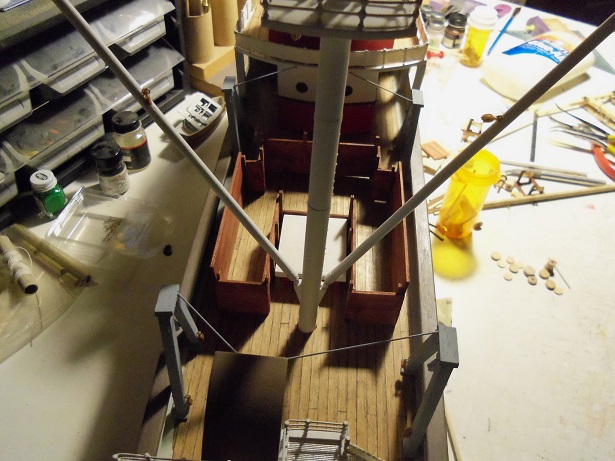
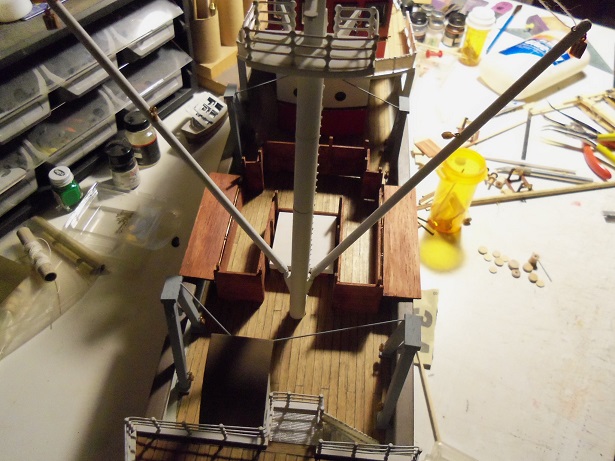
I'm back at work today.........it was inevitable. all good things gotta come to an end........I'll plan another one real soon I started to make some of the parts for the gallows winch.......like the beginnings of these block pulleys. I wanted some larger dowel for the reels.......I hated to use this one.....I have a set of three, which would have made great masting, the grain is awesome. it will be cut up into short lengths. it was also time to get that other ramp on the fish box. I was so miffed........this one went on perfectly ! .........and they both work quite well I took a couple more shots on the deck all that's left are some small additions I think would add to the look

- 747 replies
-
- 13
-
-
thanks Jesse...........I just realized that my son must be basing his brood, to my age. here I am at 60..........and he has 6 kids! although, since he's had the big 'V'......he might be suggesting that I might not live past 60! Quick! get the reversal!!! thanks Tom it felt good to be able to visit......and finally catch up....on all the builds I frequent. so many sweet looking builds out there it's great to share what makes us smile
-
oh! it's art Mike........well worth the wait! great looking turnbuckles.....kit supplied or hand made? I do notice the starboard side doesn't follow the slot in the deck......minor adjustment? it looks superb though........a stunning key point of the model
- 225 replies
-
- 4
-
-
- chaperon
- model shipways
- (and 1 more)
-
it gives them a swivel, by the looks. it will be to your advantage when rigging the shrouds. there's nothing worse than having to bend them to the proper position, and having them break away. saves the ticker from skipping a beat looking sweet Bob
-
I have never used P.B. saw too many folks burned by their reliability. I keep all mine on memory sticks. we all have our days where nothing goes right. chin up.......your doing a great job there are lots of sites and places to buy thread and different size cordage......I hear Chuck has a good selection. he has an add on the forum page.........check out the other adds *** well
- 84 replies
-
- 3
-
-
- hanse kogge
- dusek
- (and 1 more)
-
truly awesome progress Greg........I use the same method of extrusion with filler.......tiny nozzle so neat to have the extra hull......you can try your ideas before you commit them to the original ship I'm just lov'in the extra detail, the etch lends to the hull. such a great build
-
cannons and fitting are great Jesse.........any way you look at them. a grain of sand is a grain of sand, until you put it under a magnifying glass.......then it becomes a rock! your doing a super job!
- 1,306 replies
-
- 8
-
-
- syren
- model shipways
- (and 1 more)
-
she's look'in super Grant.......I've done very little with resin. great to see someone shed light on the process
- 339 replies
-
- 5
-
-
- dumas
- Chris-Craft
- (and 3 more)
-
she look'in super Mike........love what you've done with the pilot house and all the frilly decorations! if I recall the paddle ship, that flappy round thing on the back is going to be a work of art all by itself! the big reveal is gonna be awesome
- 225 replies
-
- 3
-
-
- chaperon
- model shipways
- (and 1 more)
-
very nice bit of progress Andy........those hatches look sweet!
-
bow spirit is looking really nice Tom......interesting take on making the stairs
- 1,354 replies
-
- 1
-
-
- constitution
- model shipways
- (and 1 more)
-
thanks Lawrence.....I'll be happy to see all this in place yepper........we've seen him.......got quite a bit of hair for a 5 1/2 pounder! they were kinda worried because he was breathing fast, but I guess it calmed down....they got to take him home yesterday I got the starboard side dump ramp in place, and now I'm working on the gallows winch. I also made some pulleys for the fore gallows. I should have an update tomorrow.........thanks for the good word
-
I think the tack lines are rigged down there as well. yea......this will be very interesting to see
-
thanks Pat..........no, still more to go. when I got back to this one, I thought to just be simple and get her done. who the heck was I kidding?!?! I still have the stern to finish.......and of course, to dress up the booms. I'm hoping on a finish soon though......I really want to get out from under all these projects... I've got others in this twisted mind of mine thanks for the good word
-
thanks Mark......the chain reaction is this........the winch for the gallows need to go first, due to the pulleys that need to line the bulwarks {or deck....I haven't decided which} then the fish box can be next. the boom winch.....and then the mast, since I still need to clarify the boom rigging. add the little things that make it feel like home.....and that should cover the mid ship thanks Michael........heck....I'm still trying to grasp some of the thing you come up with but, if something I've done lights the bulb........run with it!
-
sounds terrible ...........so sorry to hear! take it easy and heal up. still plenty of things to do in a sitting position.
- 749 replies
-
- 3
-
-
- albertic
- ocean liner
- (and 2 more)
-
thanks Patrick.........and all who hit the like button. there is more to add. I still need to put the other ramp on the starboard side......then I need to get that other winch assembled. I cant do anything permanent until that's done first.........it's turning into one huge chain reaction more to come
-
Cutty Sark by NenadM
popeye the sailor replied to NenadM's topic in - Build logs for subjects built 1851 - 1900
very nice progress Nenad.........holds and canvas covers look great! super job!- 4,152 replies
-
- 6
-
-
- cutty sark
- tehnodidakta
- (and 1 more)
-
makes it look more complete............wonderful work!
- 2,625 replies
-
- 5
-
-
- kaiser wilhelm der grosse
- passenger steamer
- (and 1 more)
-
I'd love one of these.........would make my life a heck of a lot easier. awesome stuff Mark
-
looks very nice Nils.........what will fill the space beside the structure? neat 'n clean!
- 2,625 replies
-
- 6
-
-
- kaiser wilhelm der grosse
- passenger steamer
- (and 1 more)
-
and by now, it's most likely long gone.........sorry to hear that John. hope it's not too much of a bugger to make. it's good to see you back, best wished to your mother in law........hope she better.
- 745 replies
-
- 2
-
-
- francis pritt
- mission ship
- (and 1 more)