HOLIDAY DONATION DRIVE - SUPPORT MSW - DO YOUR PART TO KEEP THIS GREAT FORUM GOING! (Only 20 donations so far - C'mon guys!)
×


popeye the sailor
-
Posts
16,007 -
Joined
-
Last visited
Content Type
Profiles
Forums
Gallery
Events
Everything posted by popeye the sailor
-
 you must reconsider Denis........your build is much more worthy than you realize! all those in favor......hit the like button
- 555 replies
-
- 11
-

-
- sovereign of the seas
- mantua
- (and 1 more)
-
so cool! very nice work Steve!
-
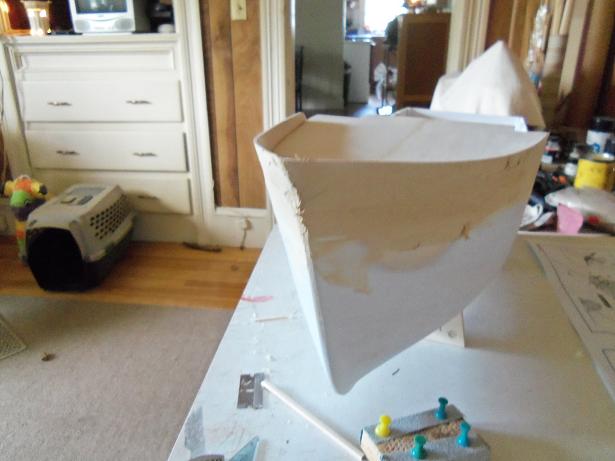
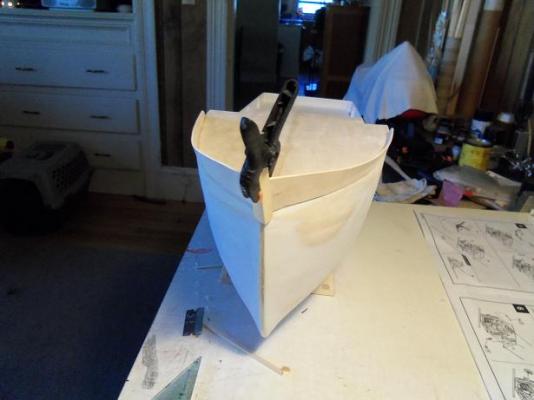
that is the support for the deck extension. there is a lot more where that came from thanks for the likes and comments I got into another aspect yesterday........something I could have done when I made up the fore deck additions, but in thinking of all the added measuring I would have had to do.....I just did it in this manner. the fore deck calls for fenders {I think this is what you call them} around the bow. I didn't get pictures of this as I went along.......just picture the stern being between my knees, and me trying to cement these buggers on there........at the same angle as the bow, and as flush as I could to the edge. this is a rough cut of one of the sides. after shaping it, I made up the other side and commenced to gluing them on. let the battle begin! of course, I won....but the tip of the bow kept wanting to split. to defeat it, a piece of square stock was cemented in the corner of the tip, and used the little jig I made to help out. the angle isn't quite right, but that's OK. filler was applied to help hide the seam of the deck and such. it was sanded at this point, to bring it down and lessen the angle. to fill in the minor defects, it got a second application. then it was sanded again, doing a bit more to lessen the angle at the bow tip. this was a good thing, because it gave me more time to fix that slight bulge on the port side. it's hardly noticeable now....I can live with it any other small adjustments can be done when I finish out the rest of the hull. one thing I want to do, is take the bow tip down some more. I made this over sized a little, so it could be sanded and trimmed....it didn't need as much as I thought it would. I got it to where it is now, and gave it a shot of primer to seal it up. I still need to fill the gaps along the deck line. chop that tip down a little........and I'll be in business!


-
Cutty Sark by NenadM
popeye the sailor replied to NenadM's topic in - Build logs for subjects built 1851 - 1900
rudder looks fine Nenad! you've done a super job! nice way to go into 'telescopic mode' I try to use what my camera offers......but it doesn't work out most of the time- 4,152 replies
-
- 1
-
-
- cutty sark
- tehnodidakta
- (and 1 more)
-
nice work on the deck structures Russ........very well done!
-
.....and to think I looked all over the place, trying to find stuff like this! I have been settling for tulle, when all the while I could have been using the admiral's ..........ohhhh.....your gonna get me in trouble for sure! I really like the crane.....such a superb ship! love it!
-
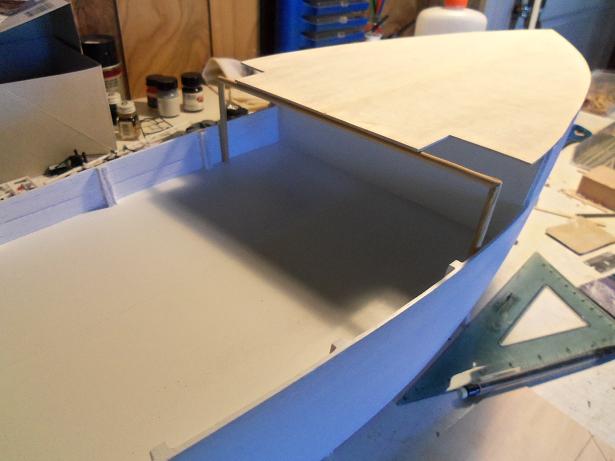
jeeze.......thanks gentlemen! done with the work week......perhaps I can get more done. I do want to get with some of the other builds though....some are like loooooong overdue. this two month hiatus I took really didn't do me any favors in this respect. thanks Kees........I'm following your build...you got a very interesting build going on there! thanks Piet..........I think you know more about ships than you let on........that sub is knock'in my socks off! thanks Omega.......I think it's kinda funny.....in the series, Curly was the one that got replaced.....Shemp, Joe, Etc. unfortunately, the Holiday boats aren't going to get finished this year......still way too much to do. this hull was the most logical to use, since it had a couple of flaws, that needed to be fixed. that's all done now though it's sad to think that the Holiday build has been reduced to a dual build, the direction that this hull is going to take, is going to be just as much fun to do. ever since I first saw this hull design, I had this idea......it was just too good to keep bottled up any longer thanks Bob and Adam I'll try not to leave ya hang'in for too long. there is a lot of dowel work ahead on me.......glad to know that I have enough from the kites. I do have a couple of pictures here that show one little feature. I have to narrow it by 1/8......just a hair too wide. I left it in this position all weekend......when I went to take it out, it had formed itself in the shape. I have to change it though, because the posts are now at a slight angle........I'll fix it this gives the extended deck more of a purpose now. I should have more on it soon

-
have you started another project?
-
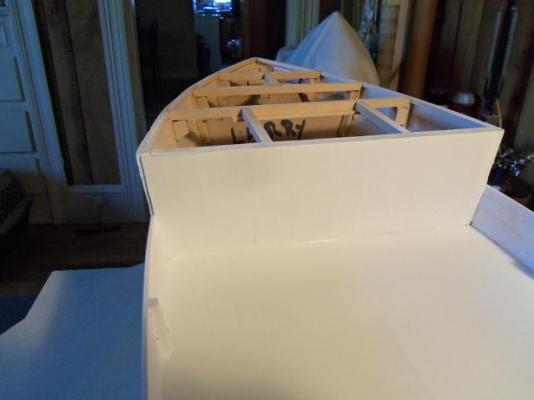
I like that deck framing.......and I see what you mean now about framing in the counter......well done!
-
with these ships.......the hull is only half of the build.......the masting and rigging is the other half so there's something to look forward to Nils.........when your done, you'll have a "completely beautiful build!"
-
Denis........those are some fantastic pictures of your build........she look absolutely stunning! the layering of detail and rigging overlay, really shows depth into the build. you've put quite a bit of yourself into this build! your so close to the end of this build......I'd love {and hate} to be a fly on the wall when you finally say those immortal words "I'm finished!" I'd hate to see a grown man cry.........the "let down" release is going to be quite traumatic!
- 555 replies
-
- 4
-
-
- sovereign of the seas
- mantua
- (and 1 more)
-
I've seen that.........parts that are made {laser cut} from too thick panels........makes the part look too chunky to use. I'm sure you'll come up with a remedy for it looking at this build you've created.......I have no doubt!
-
if that's what you did.......I really don't notice it I see stuff like that a lot........very shiny with the initial application, but as it cures and dries, it might tone down to a more natural, neutral finish. looks very nice....really adds to the super build you've done so far
-
even with all the little hiccups you've encountered......your making real good progress! she's looking great J.P.
-
adding to the accolades Sjors.........superb work, my friend!
- 1,616 replies
-
- 1
-
-
- caldercraft
- agamemnon
- (and 1 more)
-
interesting concept Wayne...looking forward in seeing how this comes out
-
Billing's did that a lot with their older kits.......some folks didn't like it. they do sell wood grain laminate that has an adhesive backing, but I think the hard part would be the calking, since it is so thin.
- 555 replies
-
- 1
-
-
- sovereign of the seas
- mantua
- (and 1 more)
-
looks great Tom.......your work NEEDS to be shown. congratz again, my friend!
-
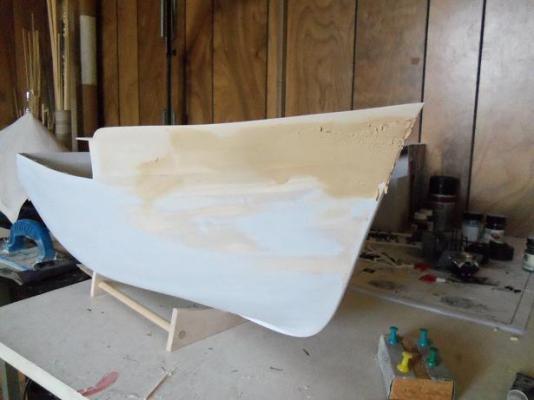
I'm so used to primer drying quickly......to look at it now.......no harm, no foul. this is a white primer......back in the day, I recall when there was just brick red and gray. now-a-days, there just about every color of the spectrum.......no more problems with 'hue ghosting' thanks for the good word Keith thanks John.....it's nice to be at the point where I can now start to add to her.....distinguishing features. thanks for the good word! thanks to all those who hit the like button......this really was easy to do. it went better than I thought. Larry is no more......the name got erased with the fore deck platform. there is still an absence of feature.....nothing to look at and say 'yup, that's what it is'. the shell of the helm is to be made.......that might give a clue. I do know that I have to do something with that bow stem........the flat area on it is really noticeable
-
this is it Michael.......the end of the mods now it's onward and upward thanks for the good word!
-
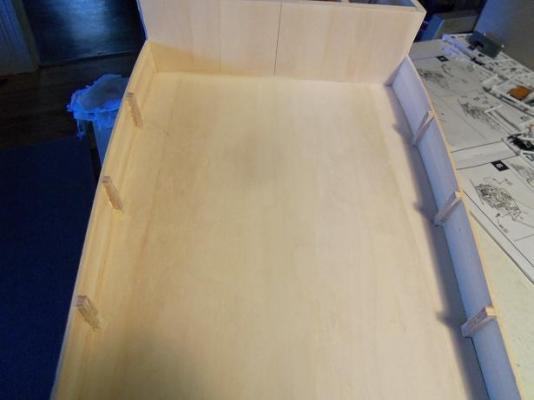
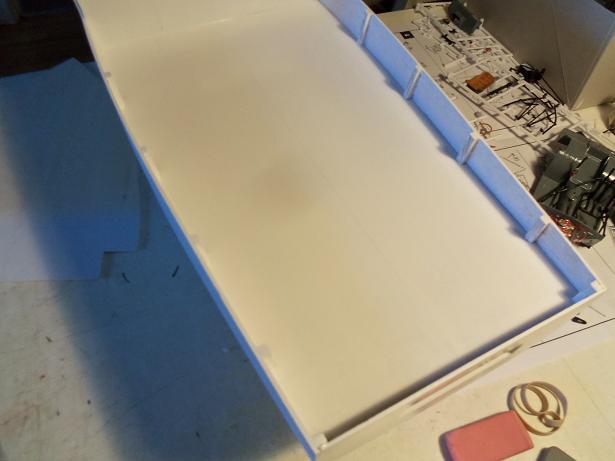
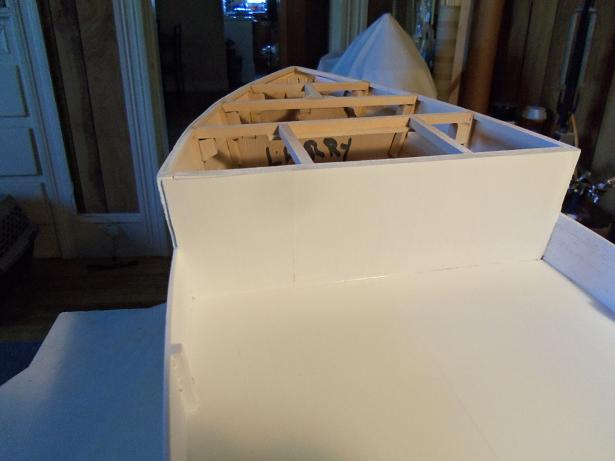
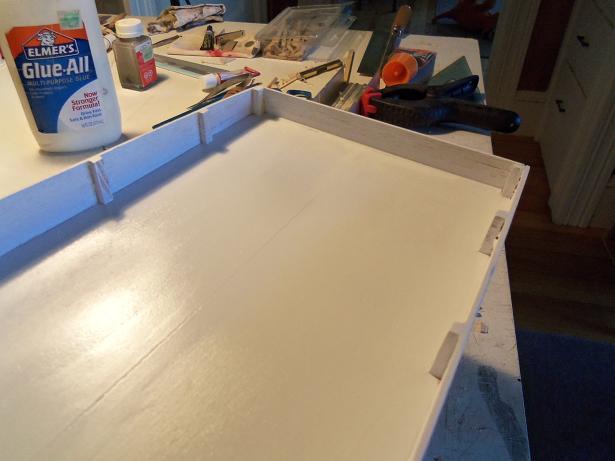
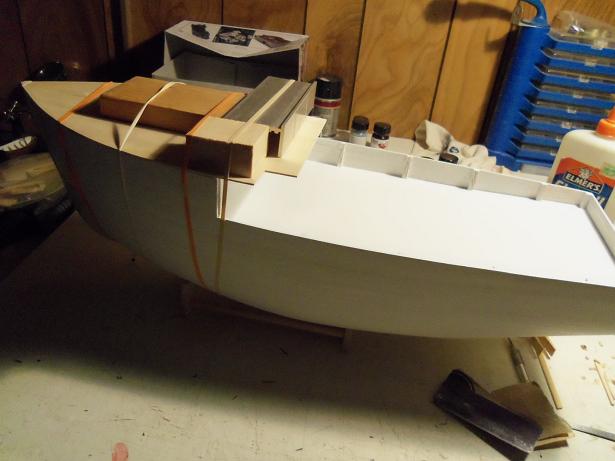
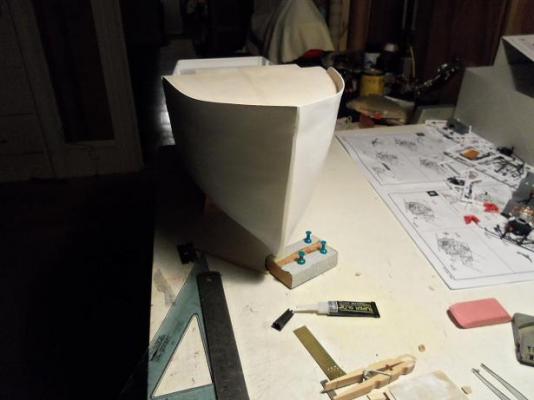
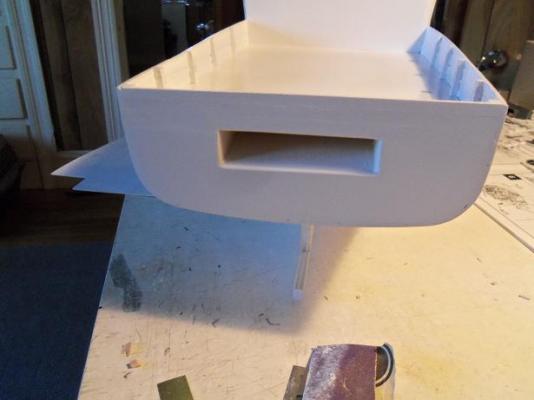
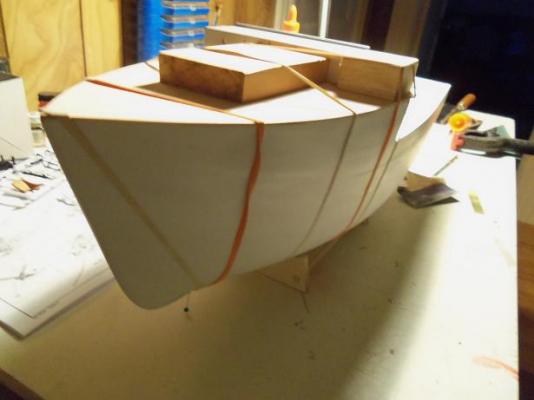
thanks Nils....there 1 more update it will finish off the mods......this is the basic hull I have to work with. thanks for the good word the deck area is coming around quite well, aside from the tiny cracks I have to deal with. but these are just minor things.......I can do them as I go along. If I have to decant some primer to do touch ups....so be it .. time to get the underside of the aperture, and the deck area primered. I kinda got stupid here...... after waiting for the primer to dry {and I thought it was}, I noticed some 'hairs' had risen from the bulkhead. touching it and feeling it was dry, I sanded it......but the deck hadn't dried enough, and I left some nasty nail marks there. I had to wait longer and sand them away.......then touch up {oh....well} when everything had dried.......time to assemble! it stayed like this for most of the day. later in the after noon, the bands were removed. the platform requires a little sanding along the edges.........I left it a tiny bit over. I need to make those two parts for the aperture.......then it can be sanded a a whole. so....this is it......the basic hull


-
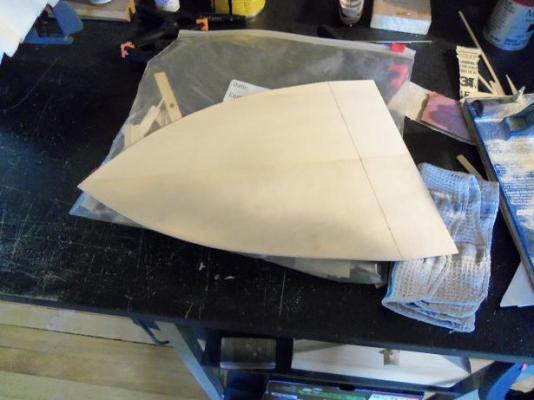
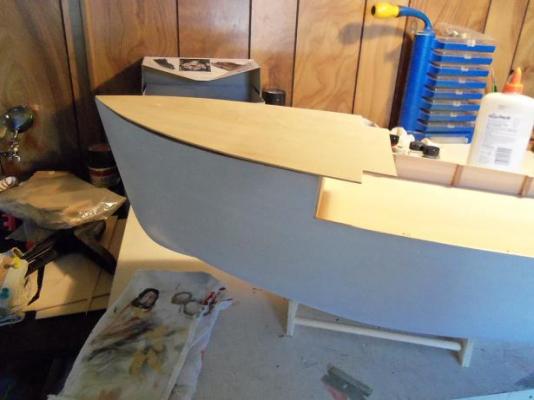
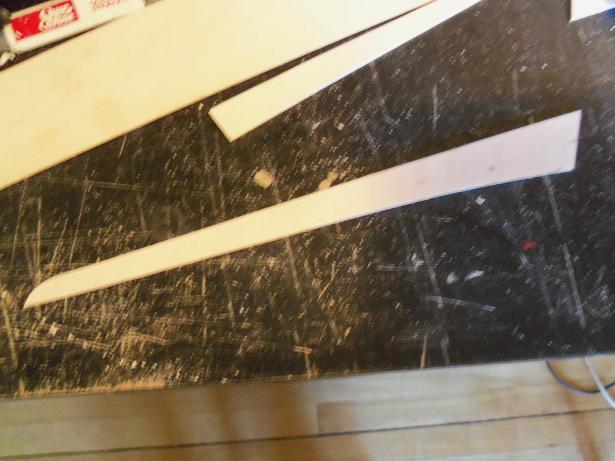
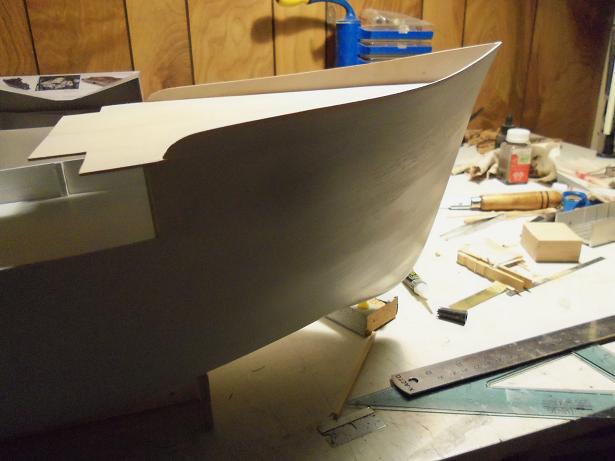
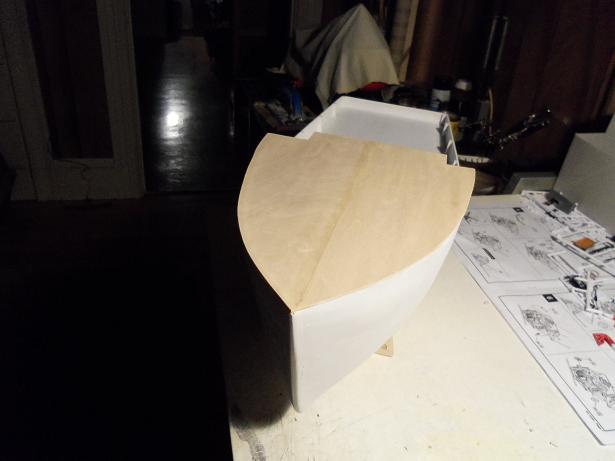
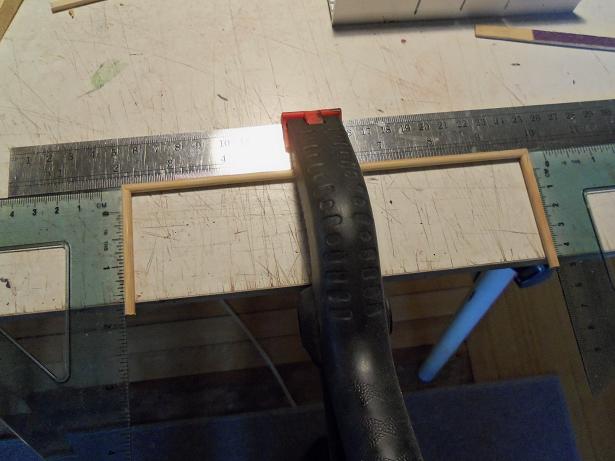
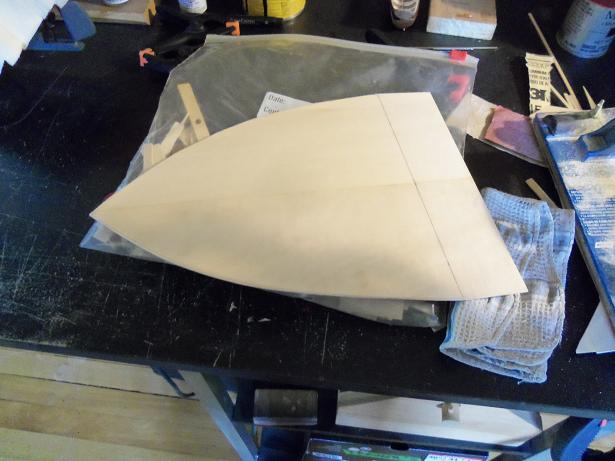
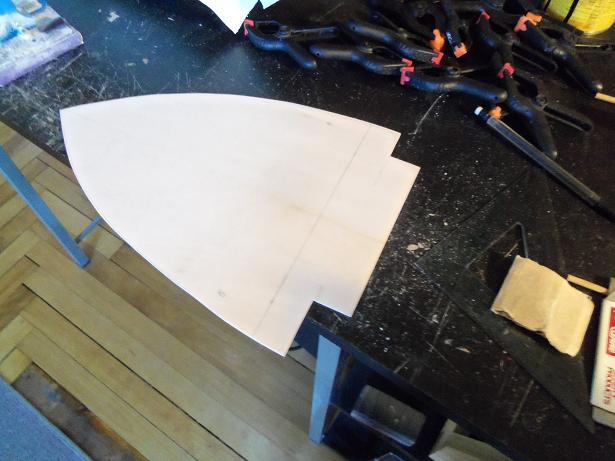
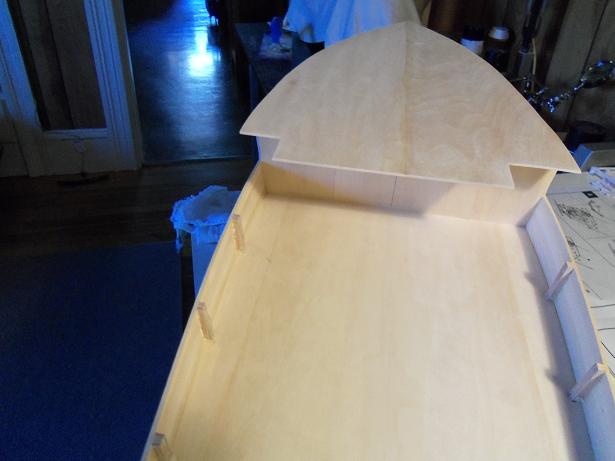
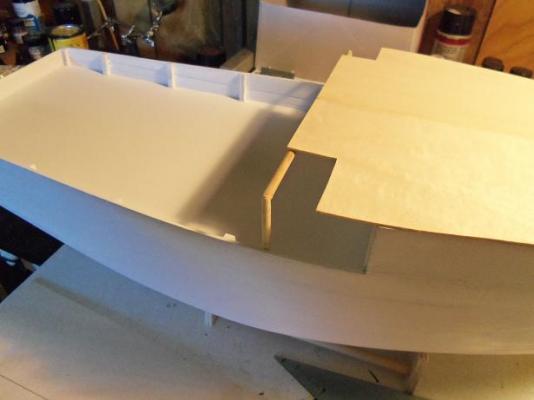
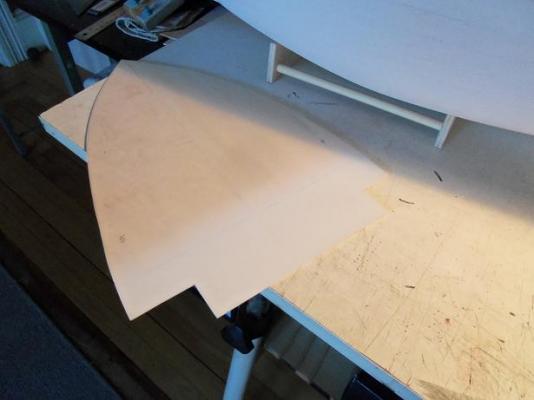
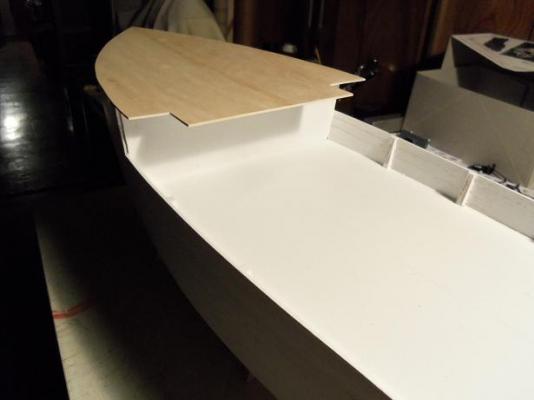
I'm not sure if anyone remembers the saga about the kite string. I believe it is nylon, but not totally sure........but it does work well for rigging. in my search for more, I had bought a few kites to get it. I finally threw away the kites.......but kept all the dowels that made up the frames. I'm not sure of the size, perhaps #4 or #6 {around there somewhere}, and made of bamboo. I thought it was kinda funny, that bamboo seems to be creeping into our medium........but it looks perfect for what I want to use it for the deck platform was cut out......after the aperture was measured and marked. I tossed around the idea of making it a complete piece......the only seam would be down the middle. the gaps along the bulwarks were filled in, as well as on both sides of the bulkhead. looks good now, but after it had dried, there were some small cracks that developed. I'll fill them in later with white glue. there were also some cut-a-ways to be done on the fore deck aperture. not so much on the port side, but a longer one was to be on the starboard side. the panel is shown upside down here. in place on the bow, you can get a sense of what it will look like. I left some of the curve in the fore deck layout.