HOLIDAY DONATION DRIVE - SUPPORT MSW - DO YOUR PART TO KEEP THIS GREAT FORUM GOING! (83 donations so far out of 49,000 members - C'mon guys!)
×


popeye the sailor
-
Posts
16,007 -
Joined
-
Last visited
Content Type
Profiles
Forums
Gallery
Events
Everything posted by popeye the sailor
-
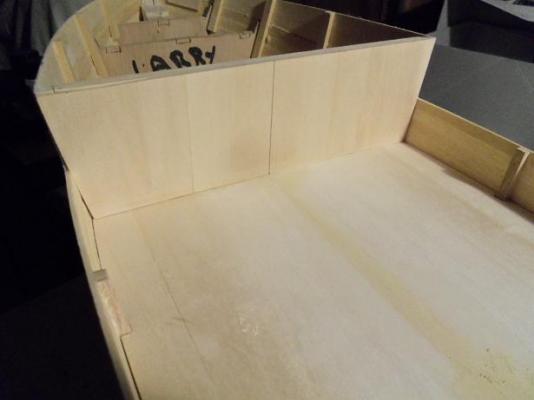
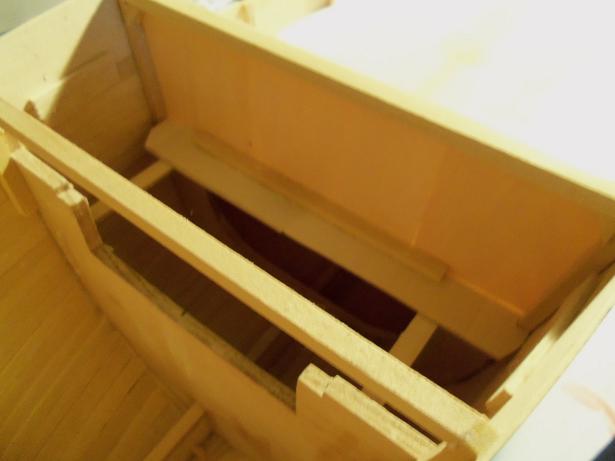
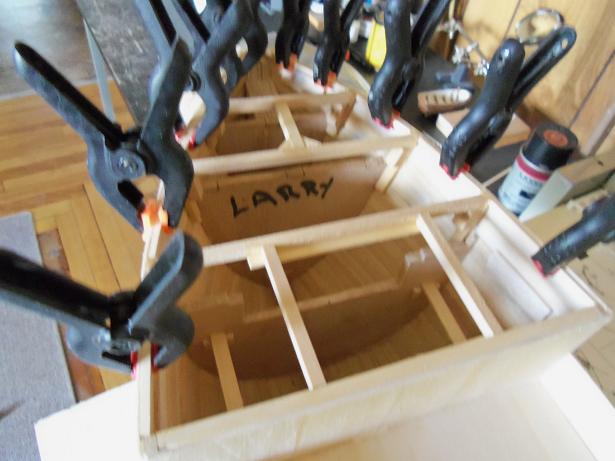
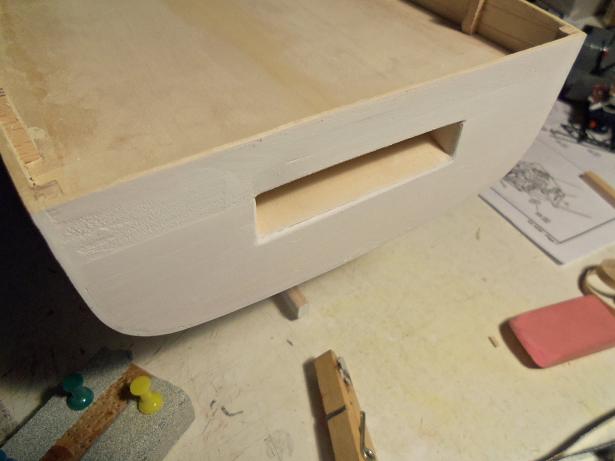
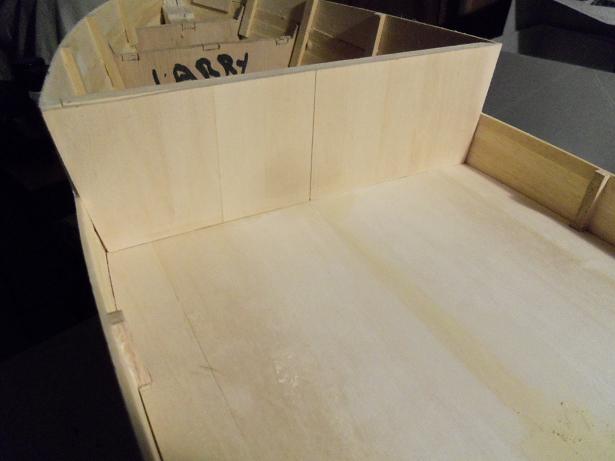
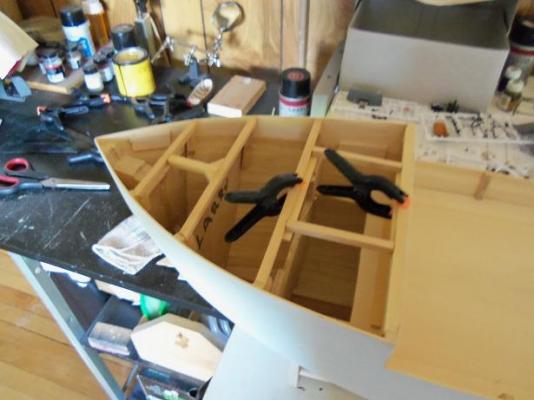
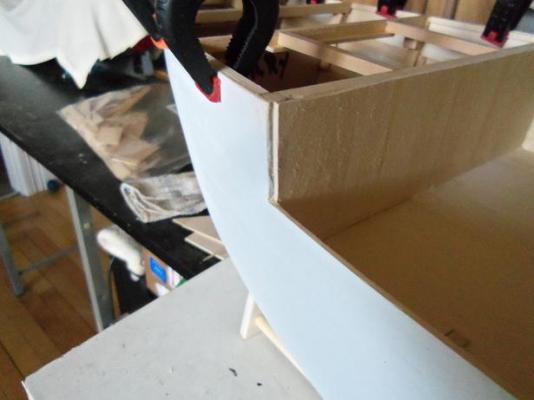
 .......and what has the crazy one been up to...........hmmmmmmm. basically, the necro - part is pretty much done.......everything I did these past couple of days sort of strung together. so, I just kept snapp'in pictures as the evolution took place. the bow is the next area to tackle.......this was done on Tuesday. the large area needed to be framed in. here is how the locator strip looks at the base of the bulkhead. the elongation of the deck panels come in handy here. when I made an adjustment to the height of the starboard bulwark at the stern, I had nicked the top board of the transom. I tried to fix it with hand sanding, and it ended up with a curvature. the top board was removed and a new one was put in to replace it. with that done, more framing was added to the bow. with the beams being at odd angles, I simply used bits of square stock as gussets under them. good way to use up the waste wood. you can see them better in this picture.......here, pieces of square stock was fitted along the sides to act as a locator for the deck platform. where I am to add in the sides for the aperture, the port side needed to be cleaned up. it is done.
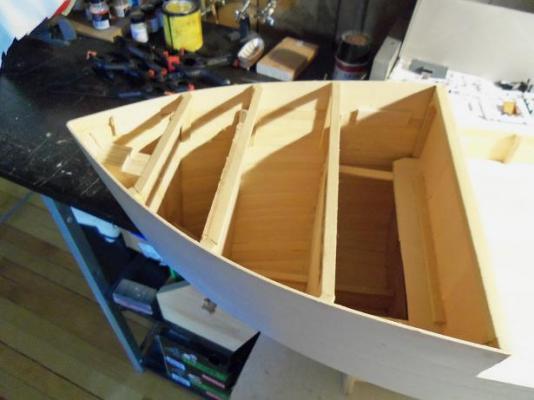


-
well.......think of the Vic.......that is ONE complex ship your working on I think that if I had gone in the direction of sailing ships, I'd even call MYSELF 'looney' for doing so many. your build looks so good........simply because you've devoted you complete concentration on her.......period. my thing is.......my kid in a candy store / bull in a china shop mentality. I see so much......love to apply them to my build, but most of the ideas don't fit {I learned this from the lobster boat build}. so, I created other hulls to try them out on........funny how an experiment can backfire in unexpected ways I enjoy doing these multiple builds though......now if I come up with a crazy idea, I can throw it at a build and see if it sticks. thanks for saying such nice things...your very kind with your Vic almost finished, I would have imagined you'd be stock piling wood and supplies at this time. have you thought about the fittings you'll need......scratch built or ordered? the finish line is in sight...it won't be much longer now thanks for the good word Lawrence.......I should have an update soon.
-
love how you did that Piet..........communication up and running........and looking REAL good!
-
leave it to you, my friend, to raise the bar on the slip as we know them. looking at your idea, I'd bet that anyone could come up with something that would suit their needs. I definitely will look into something like what you have done.......it's just toooooo good not to look into it never quell those thoughts of yours.........your a very innovative person! I'll look forward towards your next build! you should market this one.............."The Motts Slip"
-
beautiful work Adam.......have a great time away! at least we have some cute pictures to look at in the meantime
-
YAWWWWN! com'on J.......I just woke back up yea, gotta get back to her.......cripes! your beating me.....and doing a damn good job of it too !
-
you could wait till later......assemble them off the ship and put them in place when you do the caps. have you done anything with the structures yet? I find that working on something else, works well in jogging the ideas.
-
I have no idea what your talking about Frank..... the planking looks swell! with a good sanding, you should be able to leave it as a single plank {if the plans call for double}. well worth the wait......ya did good Frank!
-
look on the bright side........you have another build to fill your time while waiting for material what's not to like!
-
very nice update J.pett I especially like the wood color you've chosen
-
so good to see your Vasa again, and the progress you've made on her.........really well done!
-
very nice progress J
-
nice progress Bob........I love how the bulwarks came out. the cat heads are coming along nicely as well........looking forward in seeing what you do for the whiskers
-
nice progress on the coppering......you'll be done before you know it! the cradle looks nice too.......that's a very interesting idea
- 1,616 replies
-
- 1
-

-
- caldercraft
- agamemnon
- (and 1 more)
-
nice job on painting the port hinges.......they look super! really compliments the rest of your progress very sweet build Ron!
-
such a cool idea.........an adjustable slip. does this mean that there's another build on the horizon?
-
wow Nils.......those are some sweet pictures of your build..........and some even sweeter progress! she's looking fabulous! you work area is very nice....one of the best 'man caves' I've ever seen. congratz on you 'grandpa' status......it's really great! {although it may make you feel old at times.....I have four}
-
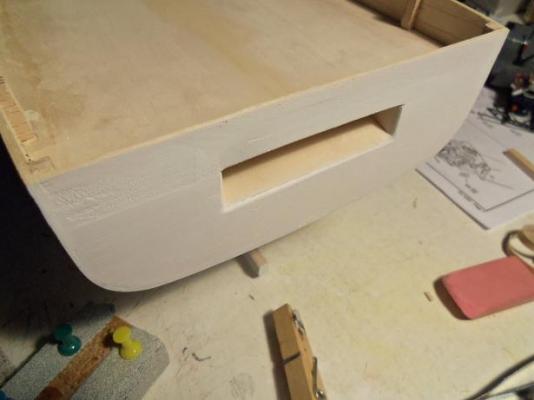
fore deck, my friend.........fore deck! I'm going to try and add the section that over shadows the bulkhead. it's a notched looking aperture, so I need to look at the plans and make sure I cut it right. thanks for the good word Adam
-
railings look great Piet the overall shots are so cool.........really great detail! you've done a superb job!
-
thanks Sjors.......it's coming out better than expected. I have three other hulls, so what I do with this one will be a guide for the others. thanks for the good word
-
progress looks super Danny
-
that's a pretty careful fit John looking at it, I see that it's a bit of a deficit, that the stern stem doesn't butt up to it underneath, so it would have something to rest on. I wonder if it's not within the typical construction specs of these vessels.......if it were, you certainly would have done that. the last picture is interesting........at that angle, it already is.....it just falls short of doing so. very nice work...the hull frame looks sweet!
-
thanks Augie and John........it will look even better when I can go the second round with it especially when I can start using the finer papers. I wished I had the camera when I did this........you would have seen how much filler I put on, and how much was left afterwards. there isn't much.....just where I filled the divots. I'm impatient to get some color on her. thanks for the good word!
-
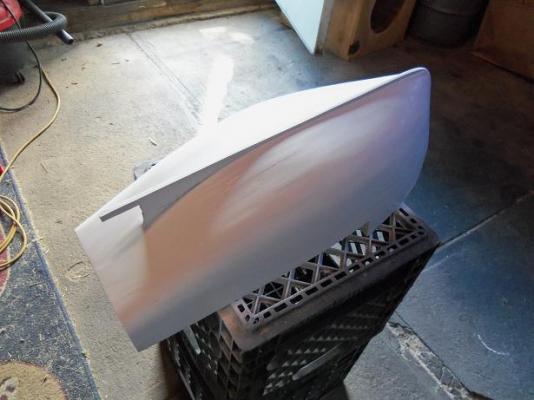
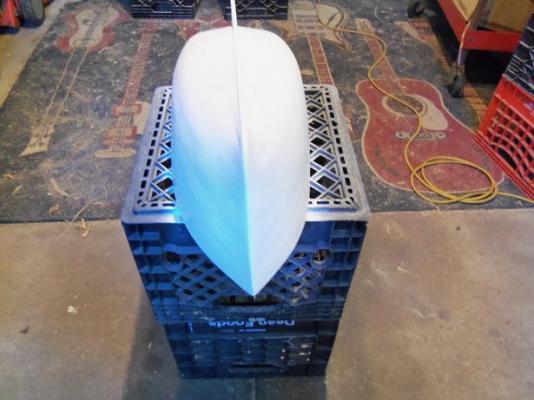
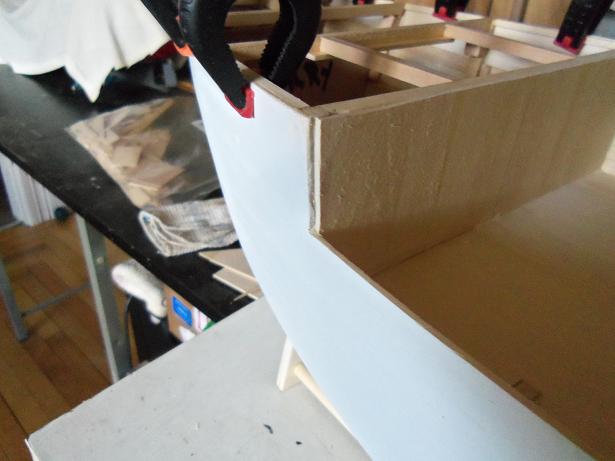
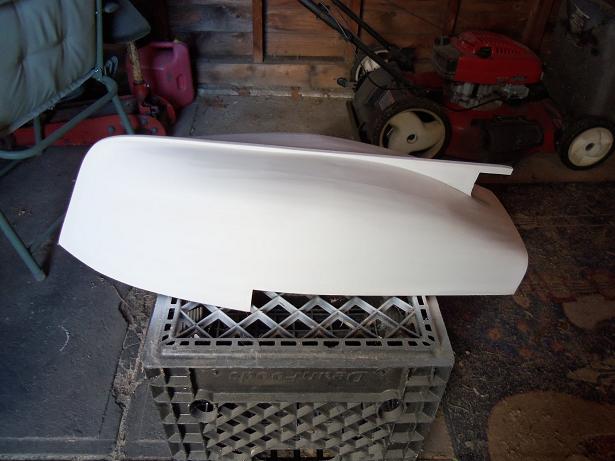
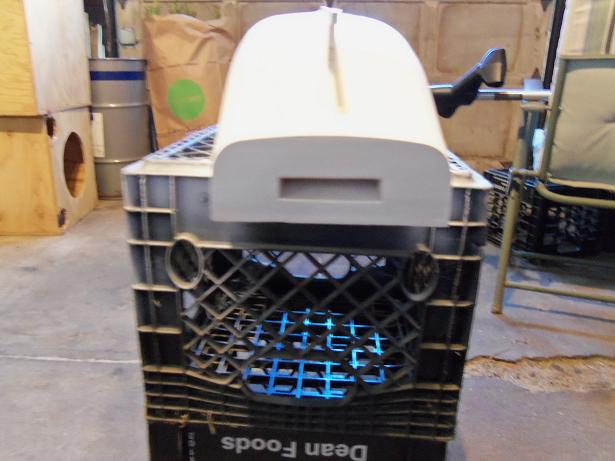
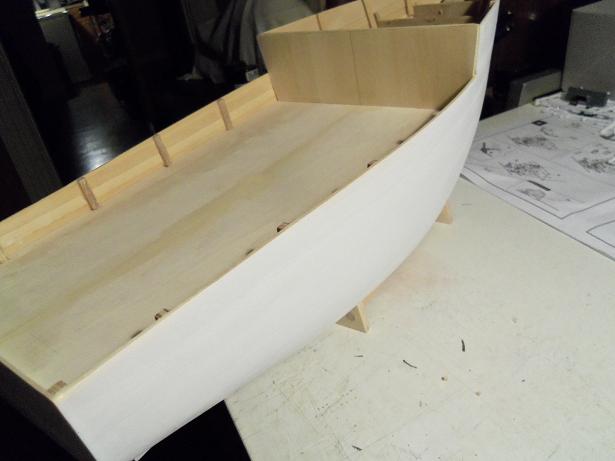
thanks Mobbsie I tried to get back here last night to post the pictures........darn thing went into sleep mode and wouldn't wake up. yea still a few things I need to do towards getting my computer to fit my lifestyle anyway.......here are some pictures of the hull after it got the primer coat. they aren't real good quality......but they show the progress well enough. I still have more to do....... I let it dry quite a bit before I brought her back into the house. while it was out there, I started to work on the fore deck platform. here's an odd thing I noticed. when I sprayed the transom......I was pointing right at it when I sprayed. yet none of it got in the chute. I did not mask the chute at all. I did cement the bulkhead in place.......and the bottom support for it {behind it} now, the deck support beams need to be done at the bow. the fore deck platform can be cut out, and hopefully, I can get to the point of cementing it in place, in the next session. thanks for looking in