HOLIDAY DONATION DRIVE - SUPPORT MSW - DO YOUR PART TO KEEP THIS GREAT FORUM GOING! (Only 51 donations so far out of 49,000 members - C'mon guys!)
×


mtaylor
-
Posts
26,273 -
Joined
-
Last visited
Content Type
Profiles
Forums
Gallery
Events
Everything posted by mtaylor
-
Hello from the Isle of Man (British Isles)
mtaylor replied to Skiffy's topic in New member Introductions
Welcome to MSW, Gary. I hope that you can post about the progress once this project is underway. -
I think for "nesting" they used a cradle (one piece forward and one aft) in the larger boat and the smaller sat on top of it. I'll have to do some digging in my library to find out where I read tha.
-
I see you've gone into mass production mode so the air brush is a great thing. Your fighters are coming together nicely.
-
HO trains and layouts by popeye the sailor
mtaylor replied to popeye the sailor's topic in Non-ship/categorised builds
Denis, That's not unusual that there's a train station and no tracks. The city I grew up in had that with one station no tracks and many of the streets had areas of tracks from the streetcars and even railroads that no longer ran there. They pulled up or just covered the tracks with they repaved the streets. -
Thanks for the explanation. I hope you can sort it out.
- 460 replies
-
- 5
-

-

-
- Finished
- Flower-class
- (and 1 more)
-
Been a long time since I've anything digital at component level...so take this with a grain of salt. Feel free to tell me to go sit in the corner if you wish. "Jitter" as I recall can be caused by several things. One is the charge time on any caps in the circuit or also the choice of processor. There doesn't appear to be any shielding or decoupling methods here. Depending the frequency this operates at you could be picking up a lot of circuit noise. Might be that motor controller is what you need as that's what this circuit is doing. Do you have any "friends" that have a TV repair shop? Or are HAMS? I"m thinking for a o'scope. Lastly, double check (use magnification and check all your solder joins. You could have a solder hair crossing terminations which is something I did more than few times back in the day.
-
That would be our defensive perimeter to keep mom out of our area.
-
Alan, My curiosity is up. How are you leveling this machine? Are you using a bubble level? A measurement from the bench to the deck? Is the bench level? It strikes me as curious that the others aren't having this problem. I would think a bubble level would be used to get it level so there's no variation anywhere else. Then again, I might have missed this part of your set up.
- 460 replies
-
- 4
-
-
- Finished
- Flower-class
- (and 1 more)
-
Maybe we need a poll on who didn't break that part on the false deck? I broke it also.
- 857 replies
-
- 2
-

-
- Sphinx
- Vanguard Models
- (and 1 more)
-
That is one stunning model and matches the real thing. Very impressive work.
- 55 replies
-
- 2
-
-
- auguste piccard
- submarine
- (and 2 more)
-
That's what I've found out. Anyway my copy is being re-homed to Justin. Pity I"m not 30 years younger so I could build all the ones I wanted.
-
Looking very good from here.
-
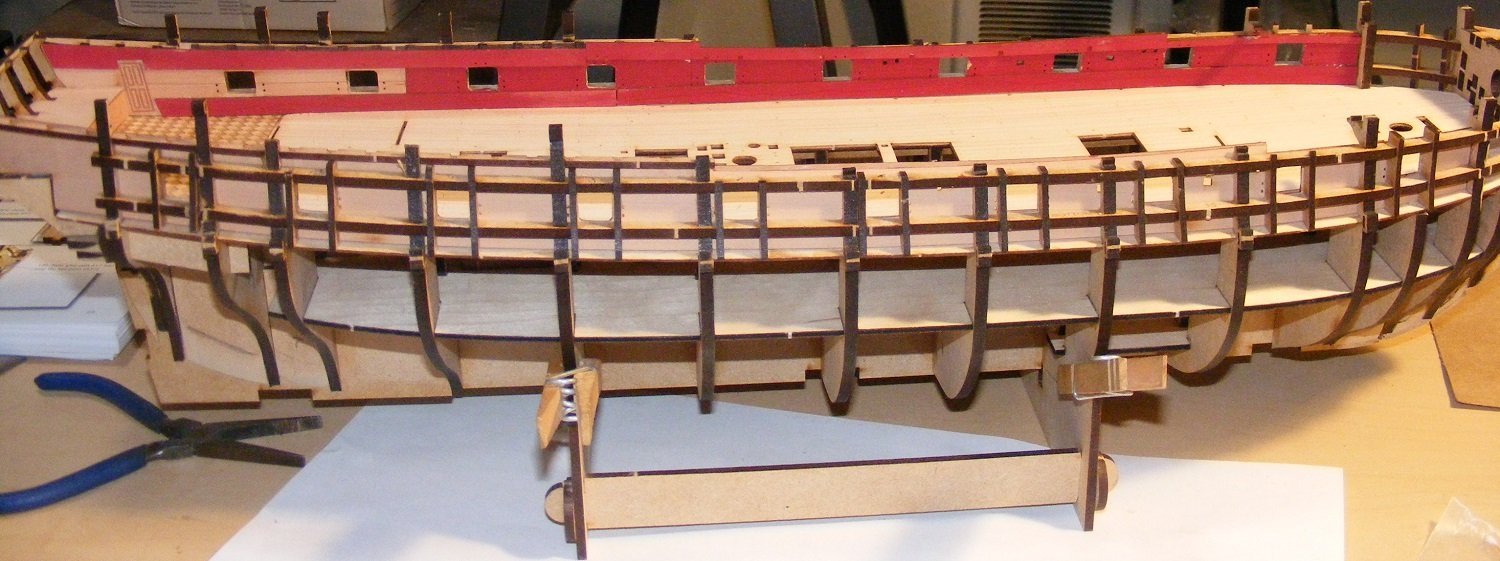
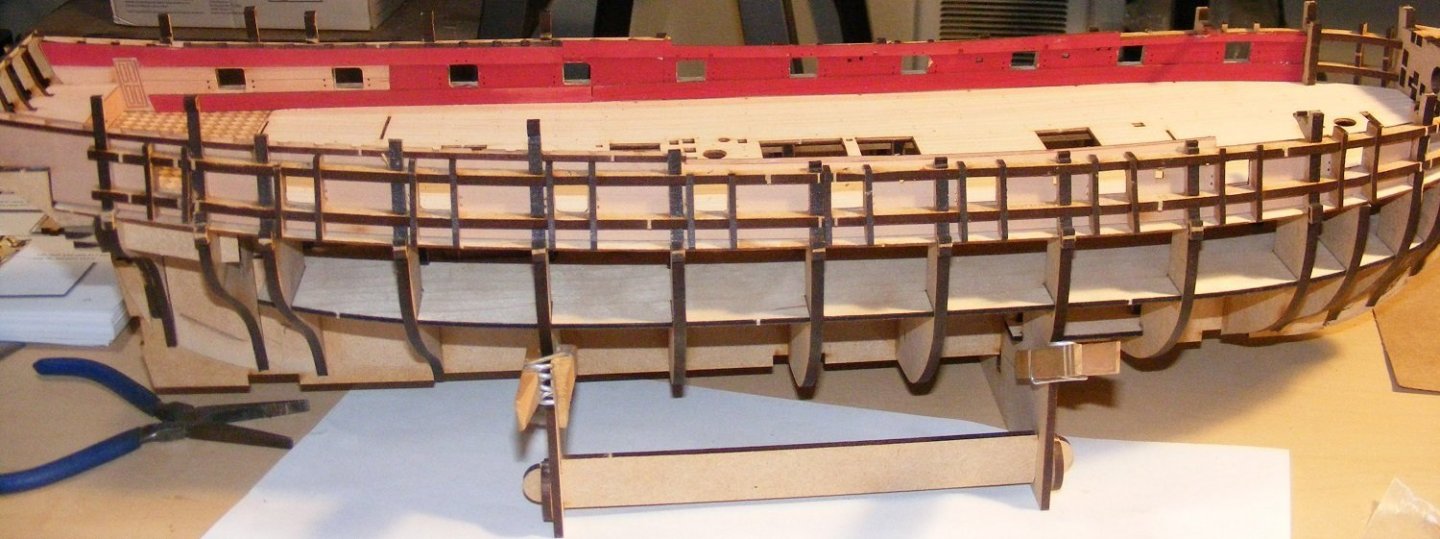
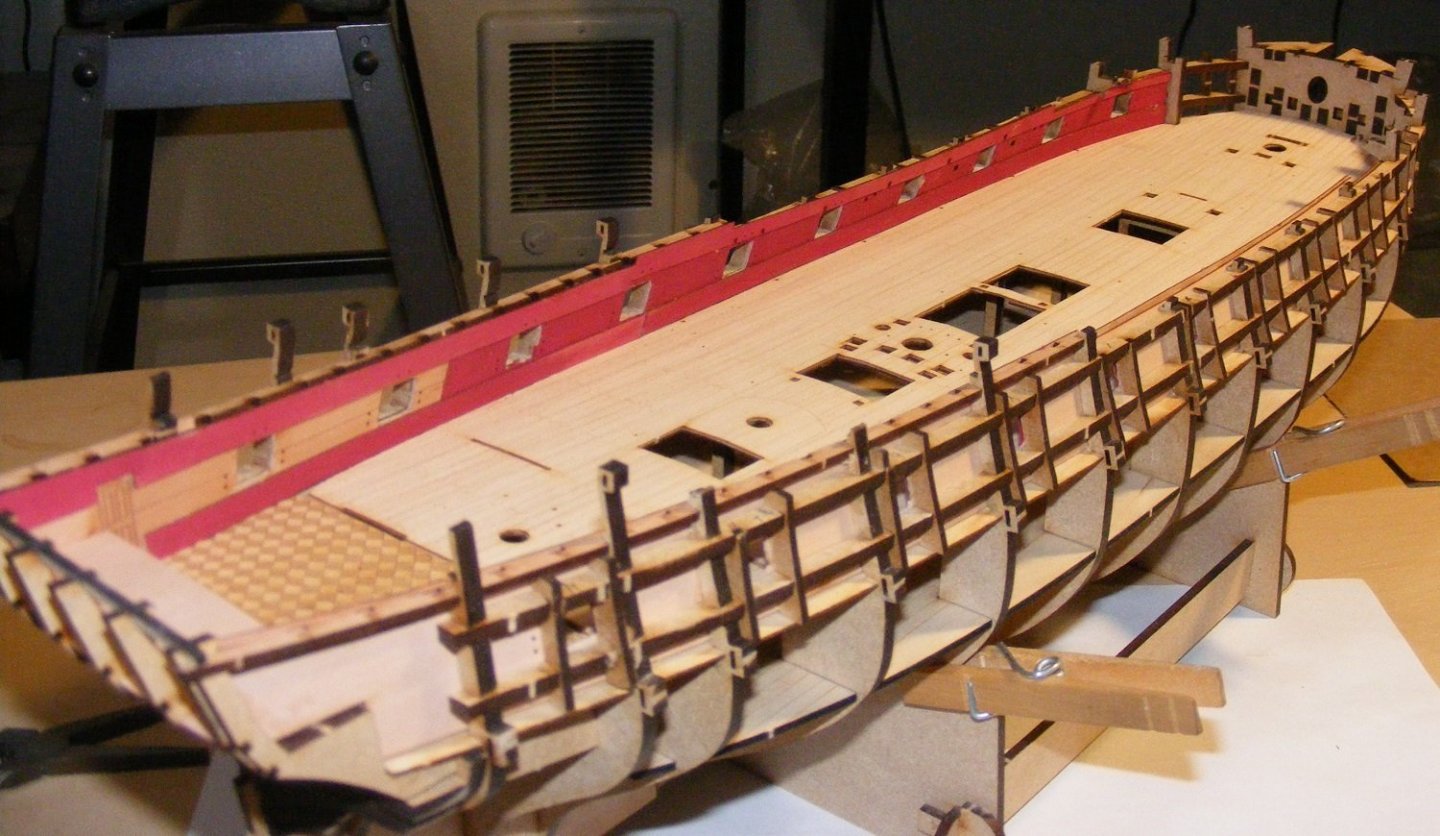
Thanks for the likes and comments. I'm working on it but not gong to rush it. I can break parts with the best of them if I get in a hurry. Just a short one... Jigs have been assembled and put into place. True, there should be 4 at the stern but "oops" happens". I'm using "oops" to replace the colorful metaphors that turned the air blue. I still have the missing pieces, I'll see if I can glue them back into position before picking up and apply sand paper in quantity. I also dug out my shipyard's master shipwright and have him checking things out on the deck. Now to start sanding... and sanding.. and.... you get the idea.

- 505 replies
-
- 17
-
-
- vanguard models
- Sphinx
- (and 1 more)
-
Bill, The use of "blue" for much of the Vasa was an "oops" on the part of the archeology team. They were sampling some wood for colors and someone said it was all over the upper works. Turns out, it was a combination of not doing enough samples and from the wrong place. I remember from the old USENET discussion with the gentleman running the preservation (Hocker if I remember right) when they realized what had changed. He was apologetic to all the builders of the model... some could change the colors including the figures. Same for the figures. There was some gold detected early on and it was assumed that they were all gold. Well.. they weren't.
- 2,696 replies
-
- 4
-
-
- heller
- soleil royal
- (and 9 more)
-
I've just used acetone (soak, stir, soak for maybe a total of 10 minutes) , rinse, vinegar (to add the "tooth" for about 10 minutes), rinse, and then blacken the part. I use straight tap water for the rinsing but have added a final rinse in distilled water as my current water supply is pretty hard.
-
Will there be room for Frenchies?
-
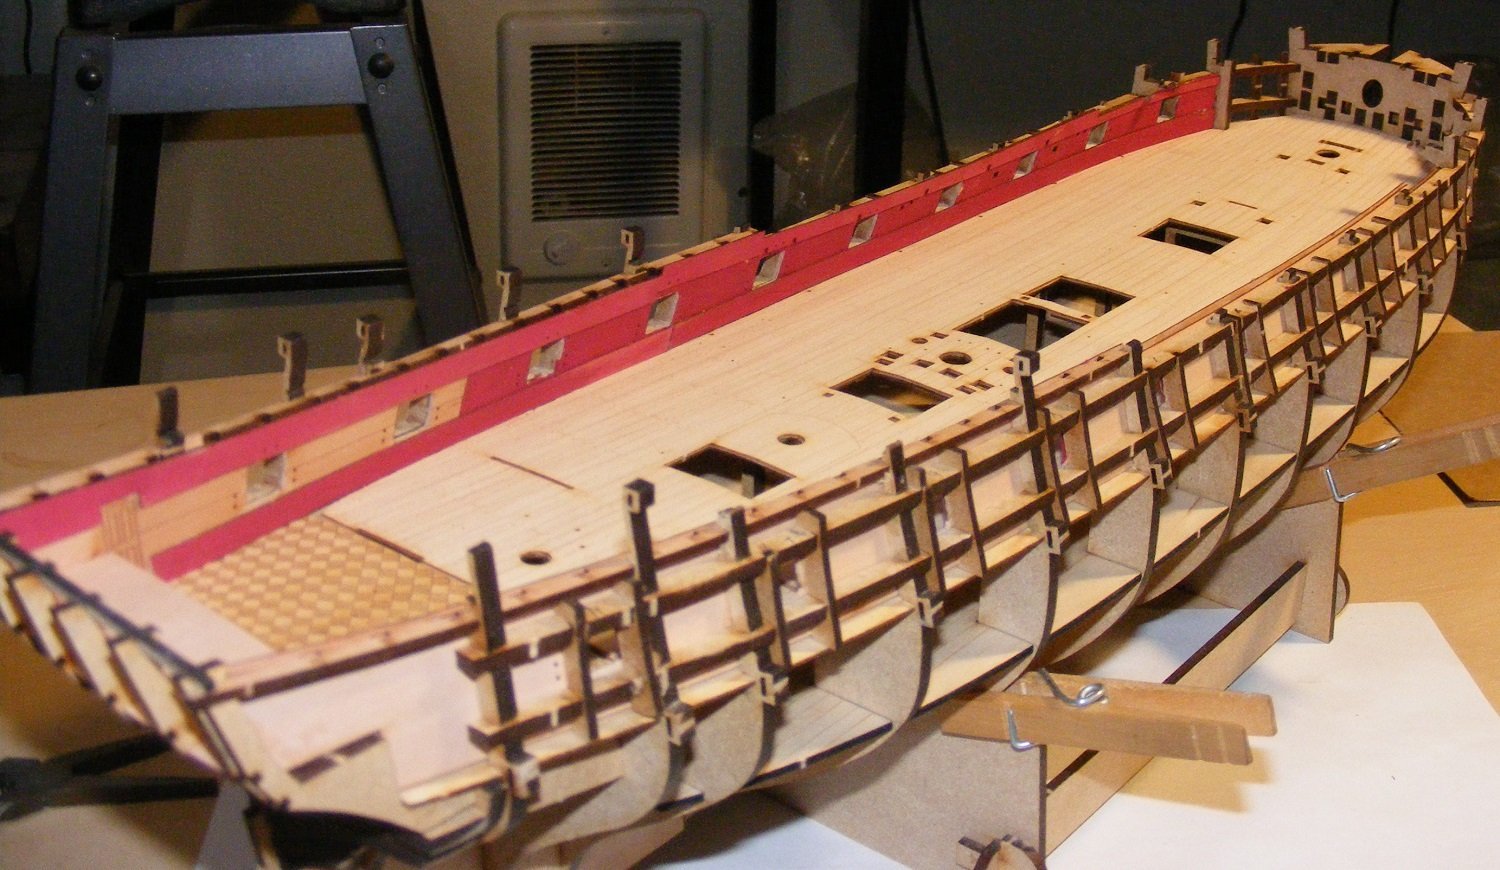
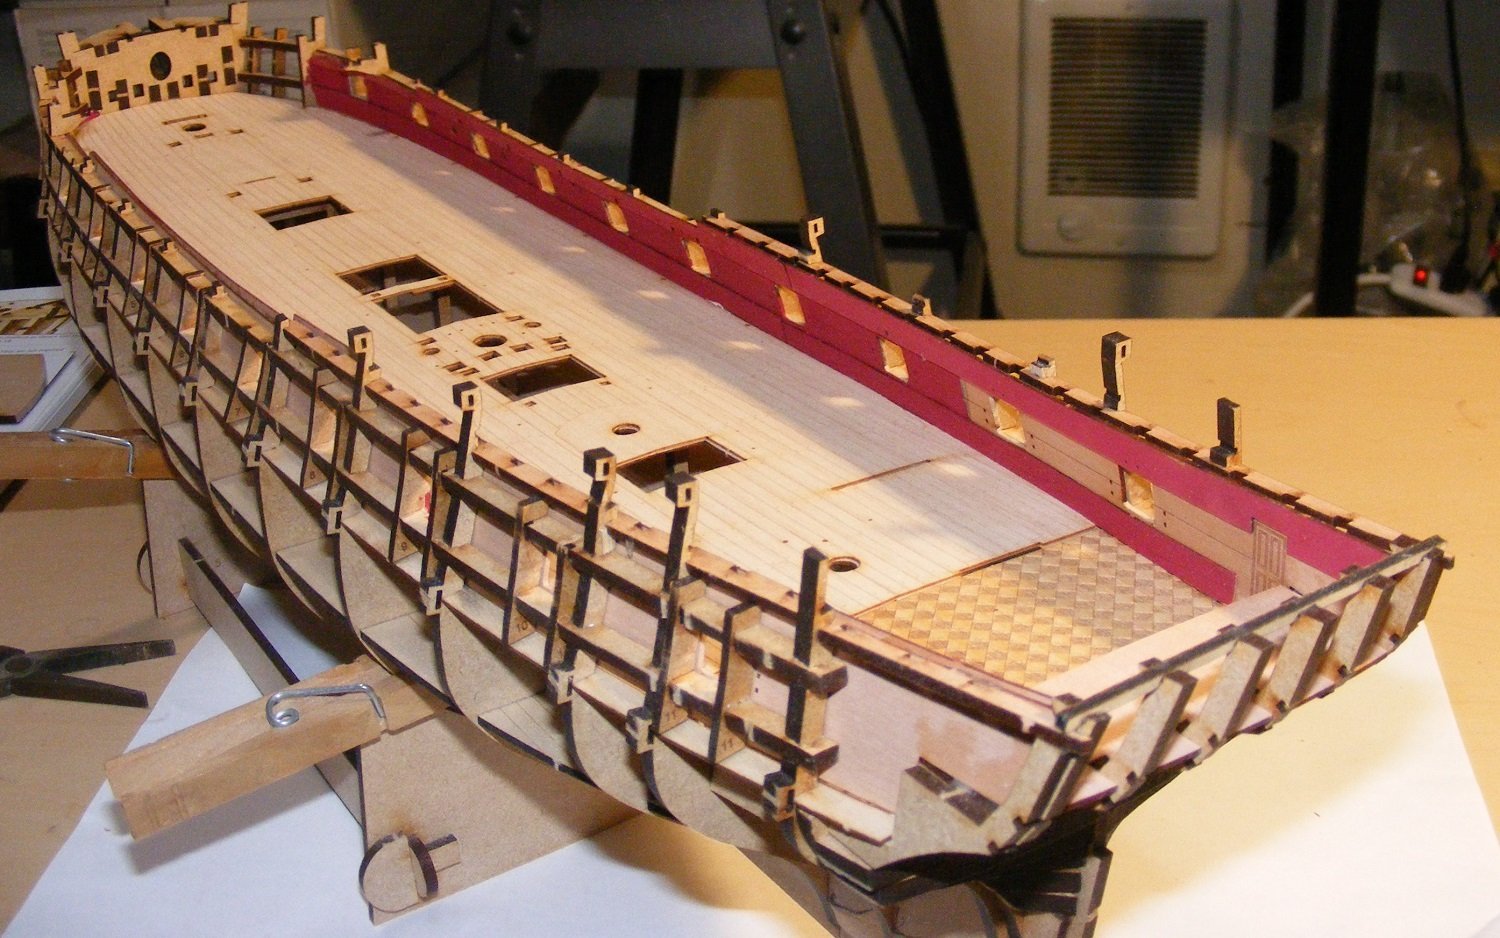
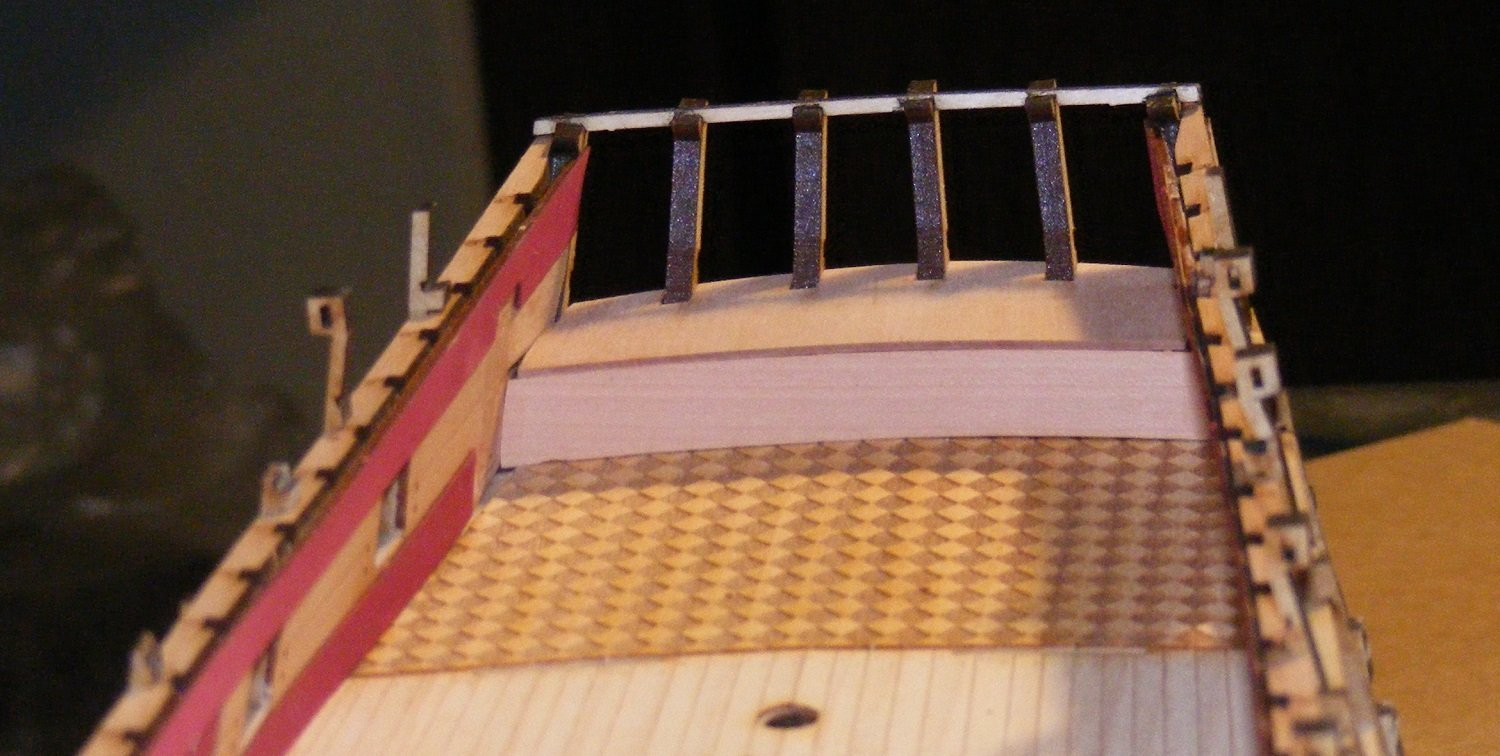
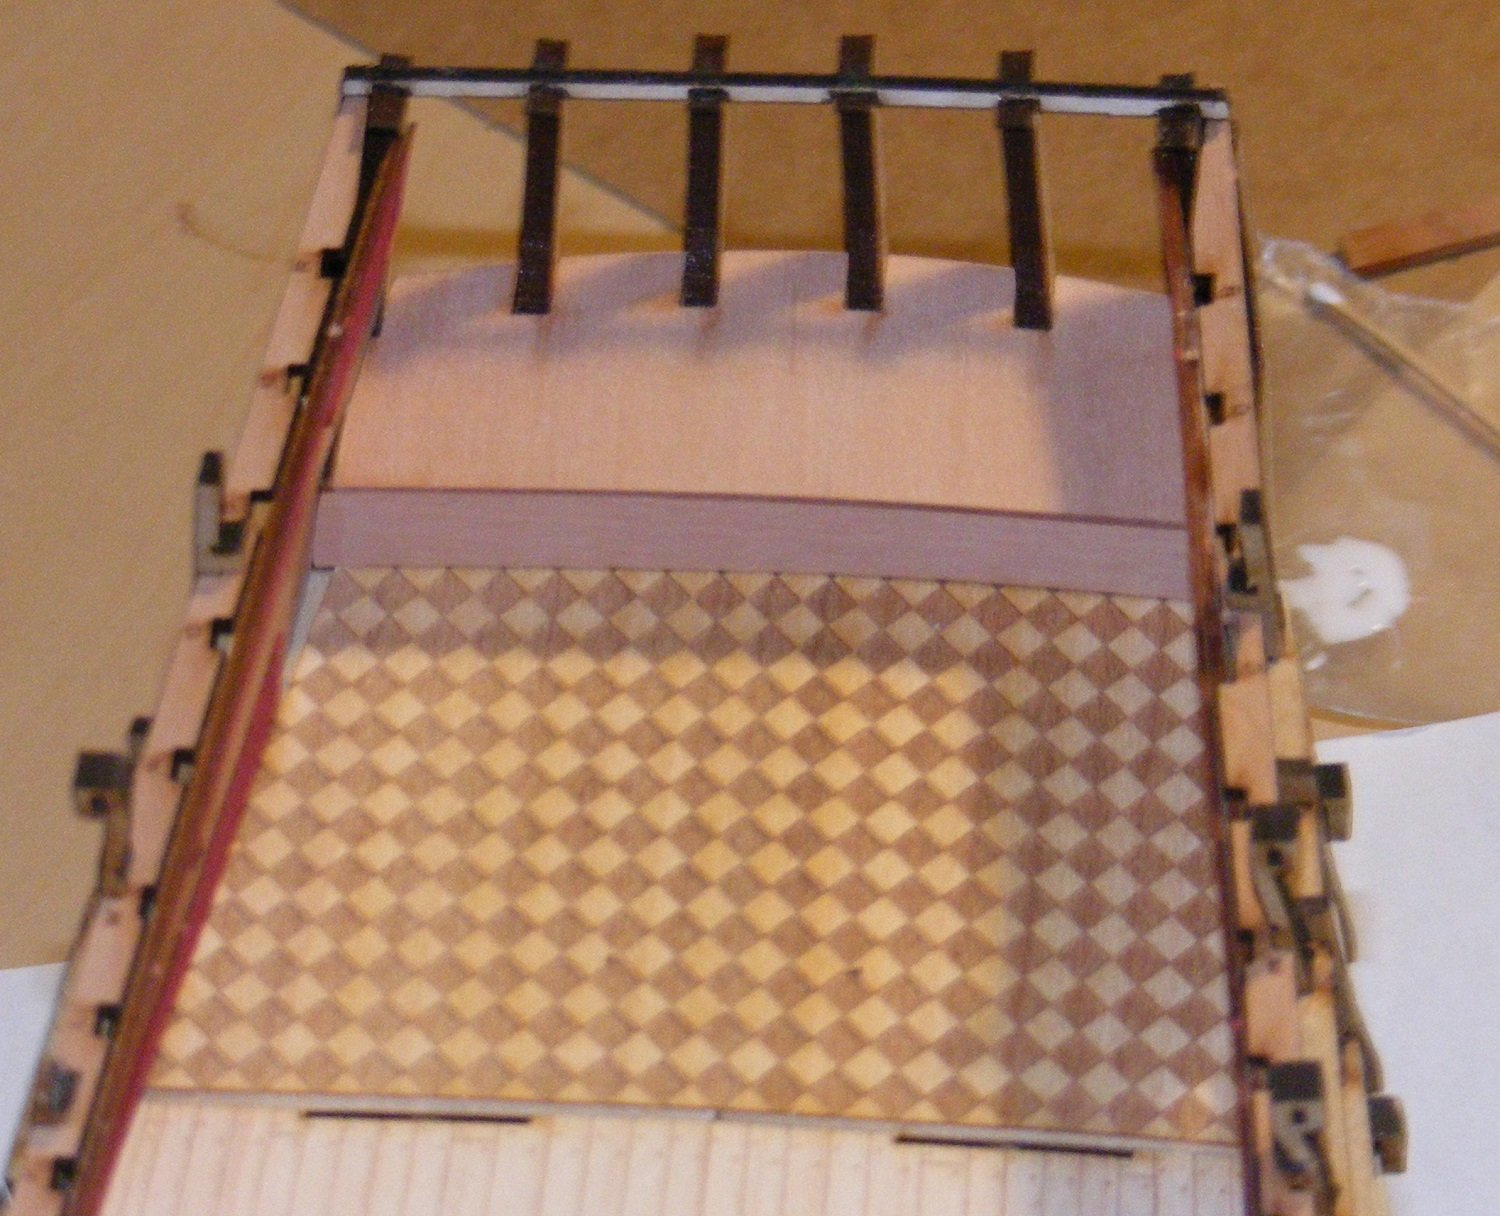
I'm up to instruction 115. Been a bit of touch and go due to a small accident but all is well... Had a paint spill while painting the aft end of the deck clamps and spirketting. Nothing major just some drippage but ended up it was to just to paint them as they'll be pretty much in the dark. Note to self.... stop being a clumsy putz. Here's the current state of things.


- 505 replies
-
- 15
-
-
- vanguard models
- Sphinx
- (and 1 more)
-
soldering brass cannons
mtaylor replied to rich-mar's topic in Metal Work, Soldering and Metal Fittings
I moved this to the area that might get you an answer since it's a soldering problem. -
Michael, that is great news to read. The healing will take some time so don't push it.
-
That is probably the best way to do this project and to learn. Just curious, do you have any power tools like a scroll saw? I've also seen plans on the Net for mounting a hand held scroll saw upside down with the blade coming out on top.
-
The rats look good. She'll be primed and ready for sea pretty soon it looks like.
-
Being in the enlisted ranks, we would have just called him "sir". LOL.
-
Greetings From Beaverton, Oregon
mtaylor replied to datadiscovery's topic in New member Introductions
Welcome to MSW, Pete from southern Oregon. I will encourage you to start a build log as it's a great way to meet other builders and get help. -
I would assume (probably a big mistake as we know what happens when assuming) that there would be stars and other "markers" on those planes so friendlies wouldn't mistake them for the bad guys. Your 3 pic down seems to be Catalinas with markings though not "all black". The 2nd one does have squadron markings with the roundel also.