HOLIDAY DONATION DRIVE - SUPPORT MSW - DO YOUR PART TO KEEP THIS GREAT FORUM GOING! (Only 51 donations so far out of 49,000 members - C'mon guys!)
×


Gahm
-
Posts
1,217 -
Joined
-
Last visited
Content Type
Profiles
Forums
Gallery
Events
Everything posted by Gahm
-
 You are flying through this build! Rigging looks great! Thomas
- 950 replies
-
- 1
-

-
- syren
- model shipways
- (and 1 more)
-
This really is a high precision master piece! Thomas
- 607 replies
-
- 3
-
-
- winchelsea
- Syren Ship Model Company
- (and 1 more)
-
US Brig Syren by knightyo
Gahm replied to knightyo's topic in - Build logs for subjects built 1801 - 1850
Wow, that takes some courage! Thomas -
US Brig Syren by Gahm - Model Shipways
Gahm replied to Gahm's topic in - Kit build logs for subjects built from 1801 - 1850
Hello Will, Your description of the 'rope coiling tool' is pretty much correct. I used a basswood base of roughly round shape and about 1.5 cm diameter. The base has a little hole in the middle, so that a needle could just fit into it. The hole does not go right through but stops somewhere at 3/4 of the base thickness. For that reason the base needs to be a little thicker (about 7mm) to provide enough support for the needle. The needle is cut off at the end - the end needs to be flat. The idea behind this arrangement is that you can fix the end of your rope with the needle in the hole so that the rope cannot escape when you turn the arrangement. Once the coil is finished you just remove the needle and the rope coil comes free. The top layer of the tool is a transparent plastic piece. It needs to be sturdy enough to provide a flat stable surface and transparent for you to see what you are doing and how the coil develops. The felt pad is just to make sure that the whole device turns easily without leaving any scratches on deck. The process goes like this: you put the end of the rope into the hole in the wood base, move the needle with the flat end through the middle hole in the plastic cover and by sticking it into the hole in the wood base (with the rope end in it) you fix the end rope in the hole so that it cannot escape. Now you add some diluted white glue on the wood base and lower the plastic cover. Applying enough pressure with some tweezers (with the right hand) on the plastic cover to keep it sitting flat on the wood base you turn the base slowly with the left hand always watching how the rope coil develops. Once it is big enough you carefully remove the plastic cover and the needle, with some tweezers lift the rope coil, cut off the rope piece which was in the hole and transfer the coil to its final location on the deck. If necessary you may need to flatten out the coil again and stabilize/fix it with diluted white glue to the deck. Hopefully this description is not too confusing . . . Good luck with the coils! Thomas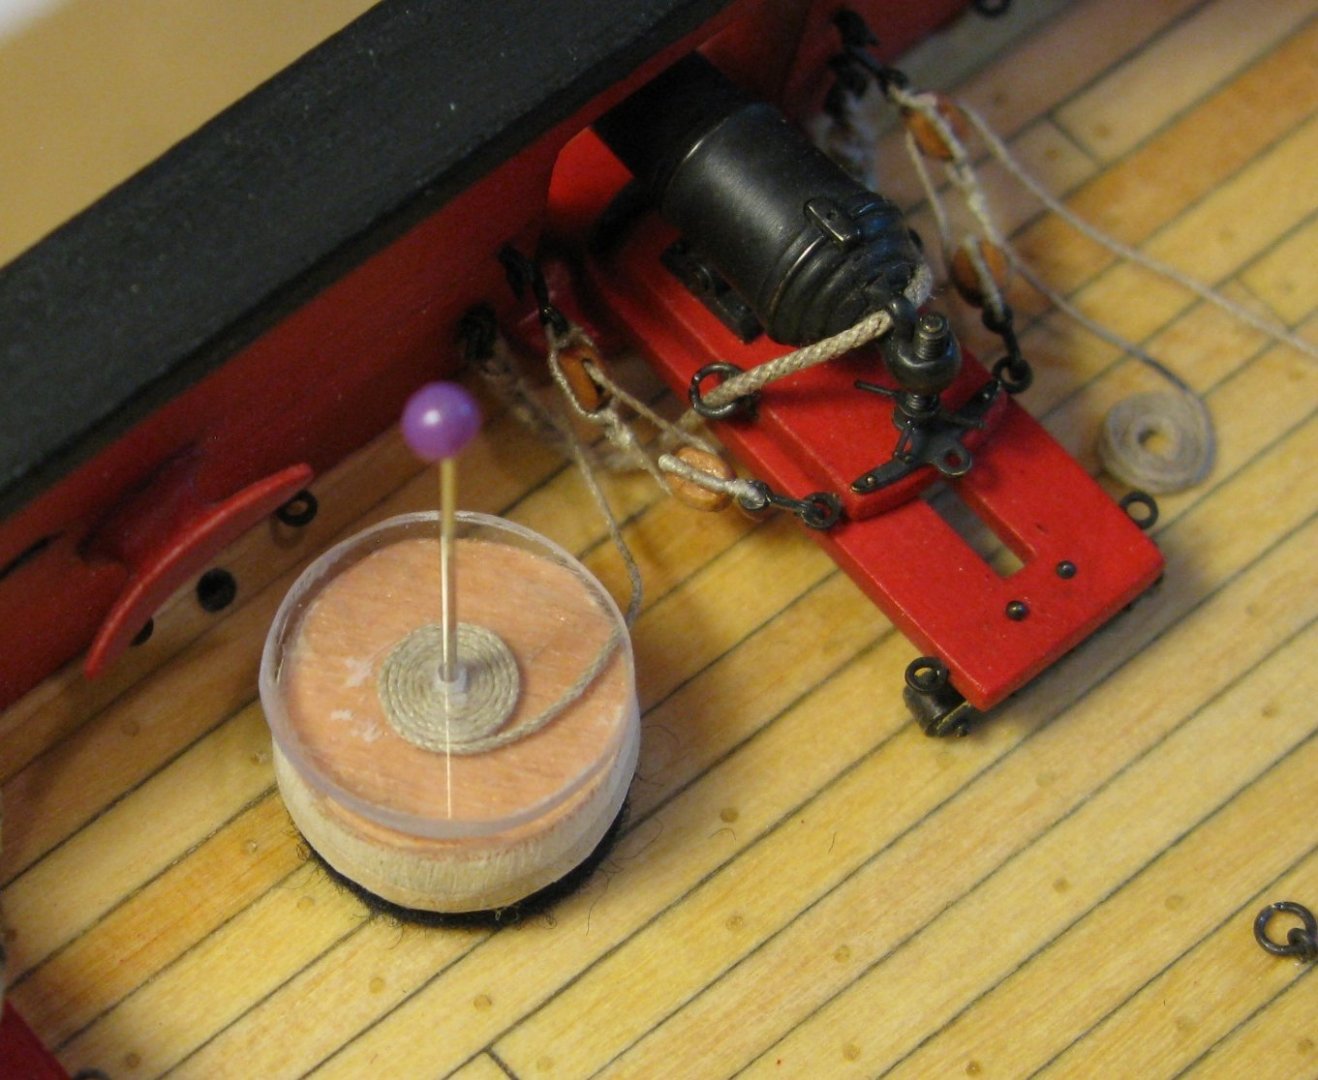
-
Your rigging looks great! Can't wait to get there myself 🙂 Thomas
- 950 replies
-
- 1
-

-
- syren
- model shipways
- (and 1 more)
-
Your level of detail at this scale and your precision of execution is really amazing and inspiring! Thomas
-
I can only agree, you achieve perfection in your build! Thomas
-
This is pure joy to watch your build! Your model is fantastic! Thomas
- 607 replies
-
- 2
-
-
- winchelsea
- Syren Ship Model Company
- (and 1 more)
-
The deck looks great!! Well done! Thomas
-
That looks great! Can't wait to get there myself 🙂 Thomas
- 950 replies
-
- 1
-
-
- syren
- model shipways
- (and 1 more)
-
US Brig Syren by Gahm - Model Shipways
Gahm replied to Gahm's topic in - Kit build logs for subjects built from 1801 - 1850
Thank you very much for your kind comments! They are highly appreciated. And thanks for all the likes! Thomas -
You did a great job on your Granado! Congratulations! She turned out beautifully! Thomas
- 421 replies
-
- 1
-
-
- caldercraft
- granado
- (and 1 more)
-
Great progress! Your serving results look really good! Thomas
- 950 replies
-
- 1
-
-
- syren
- model shipways
- (and 1 more)
-
US Brig Syren by Gahm - Model Shipways
Gahm replied to Gahm's topic in - Kit build logs for subjects built from 1801 - 1850
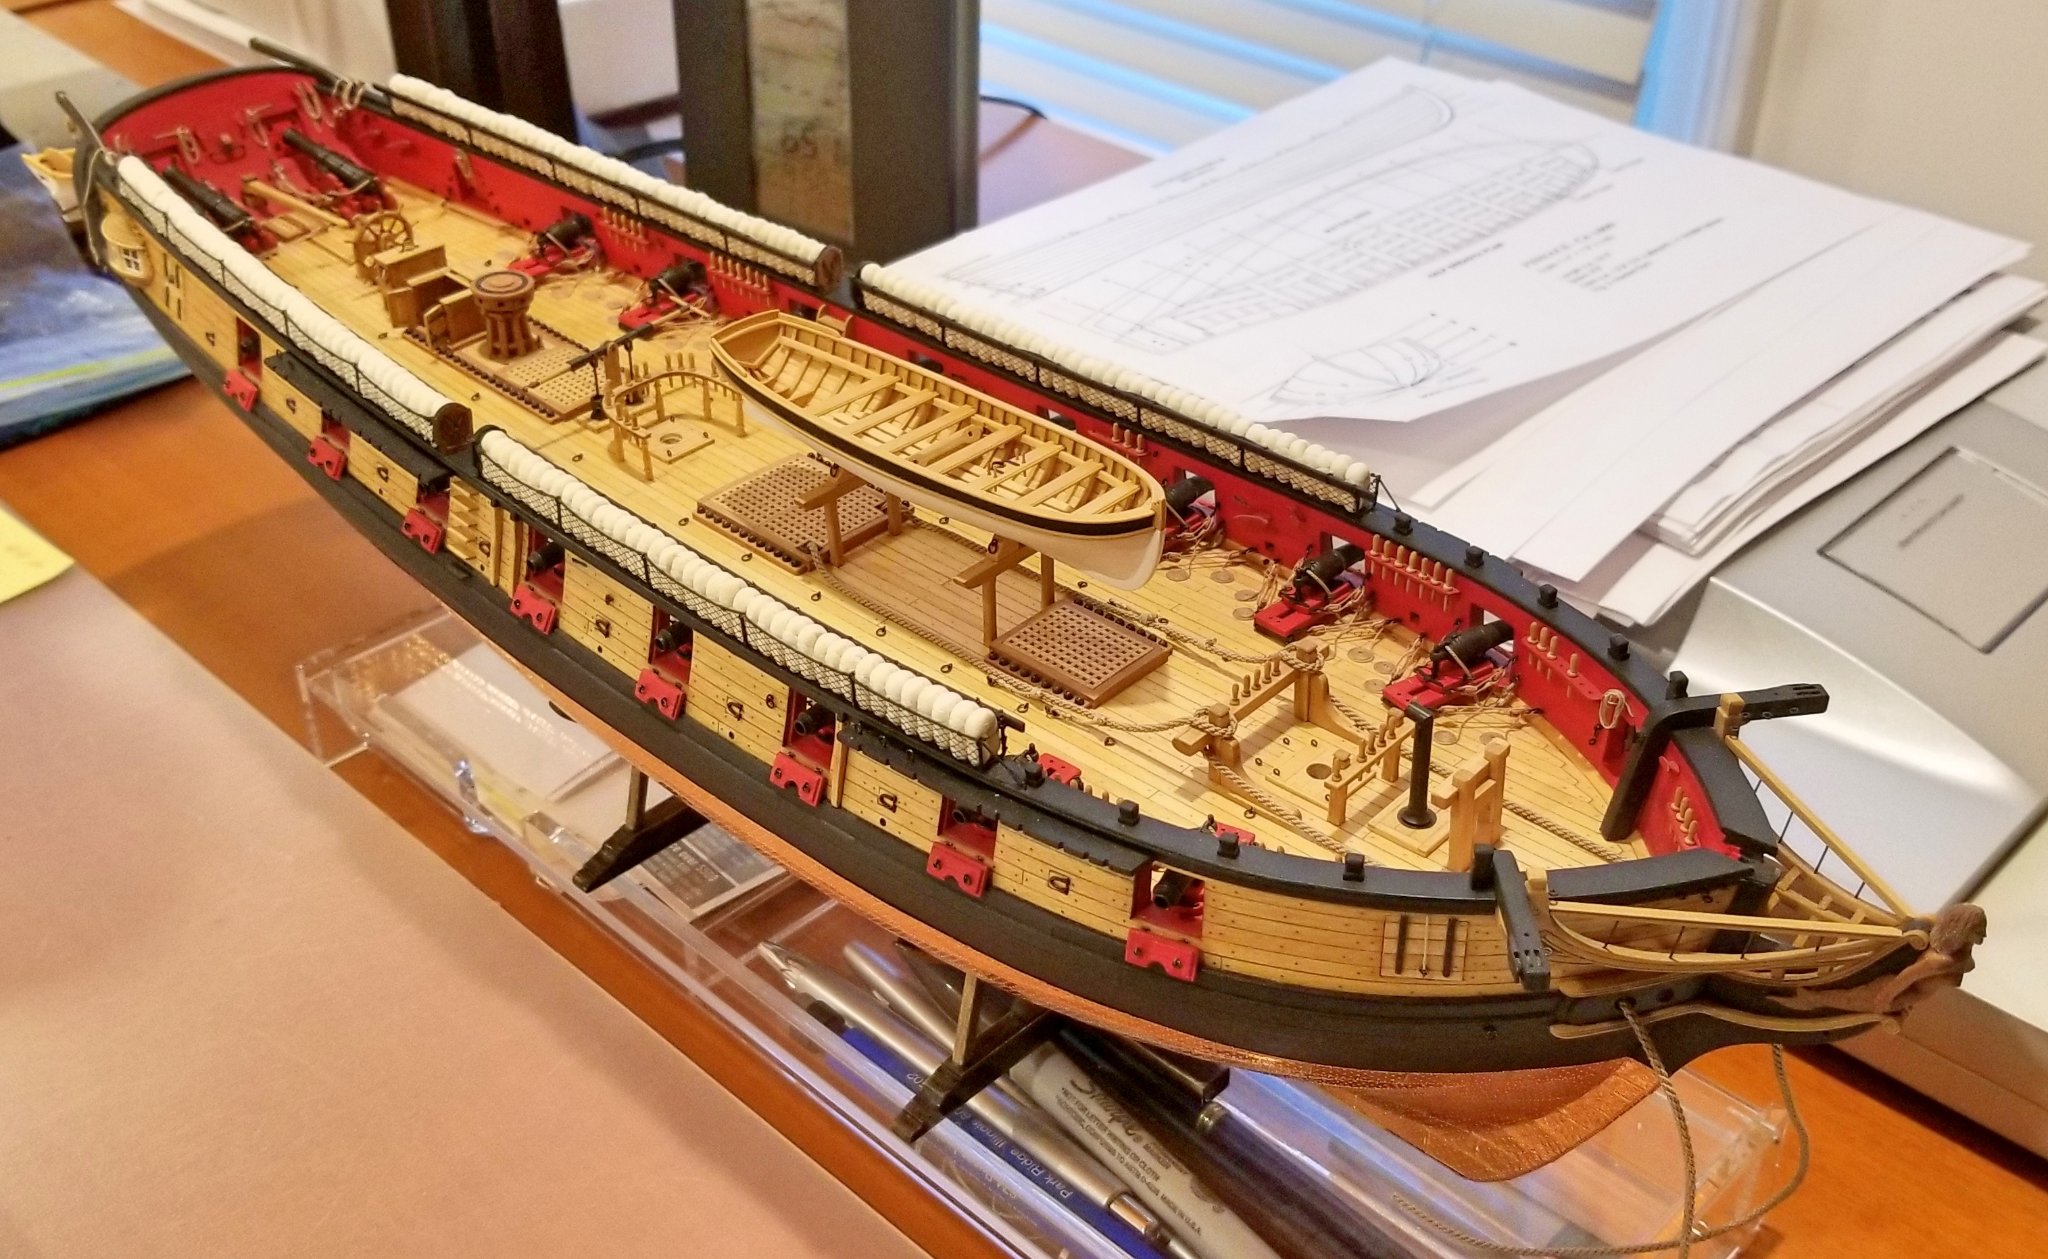
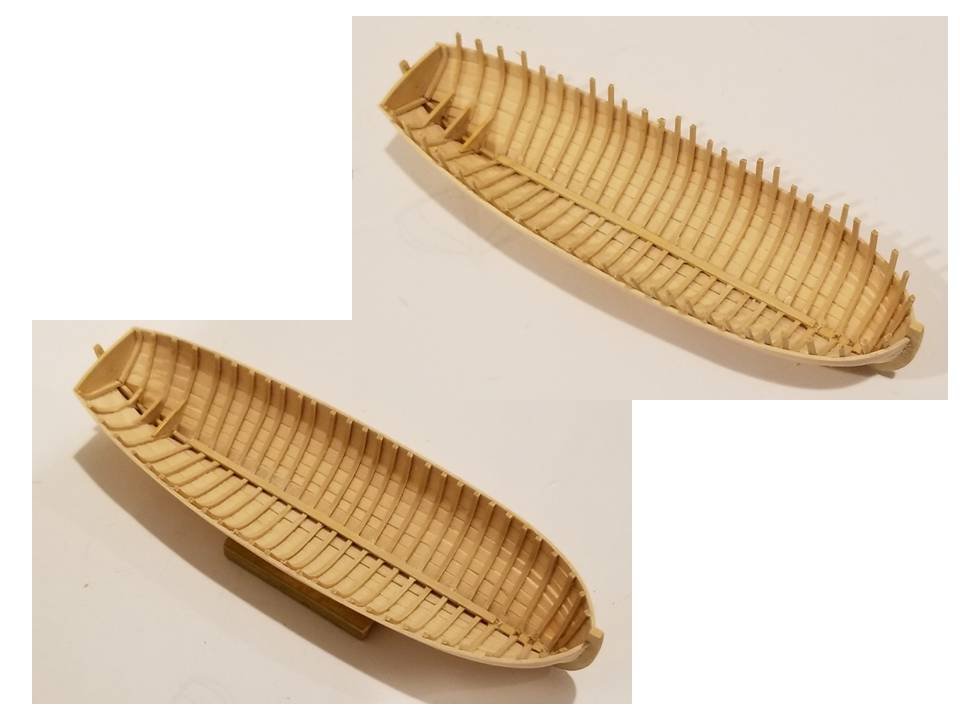
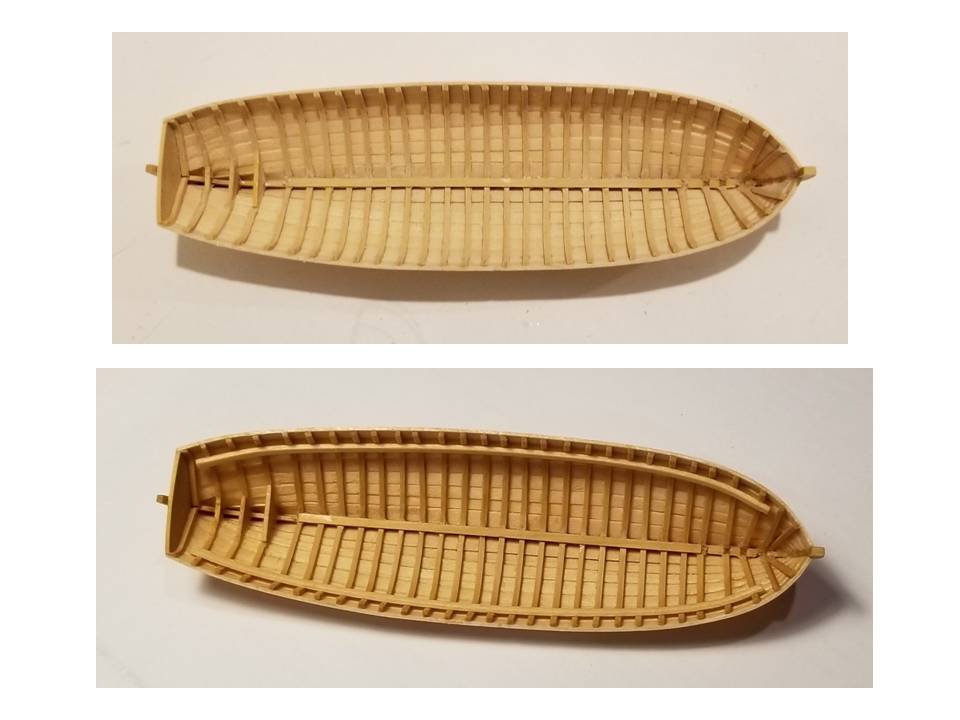
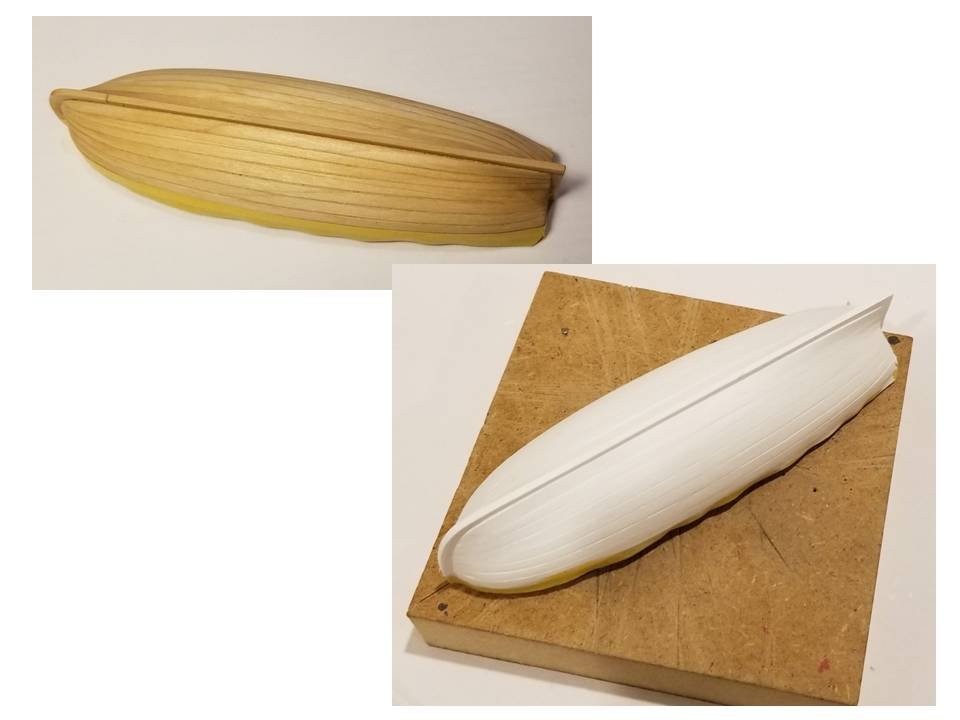
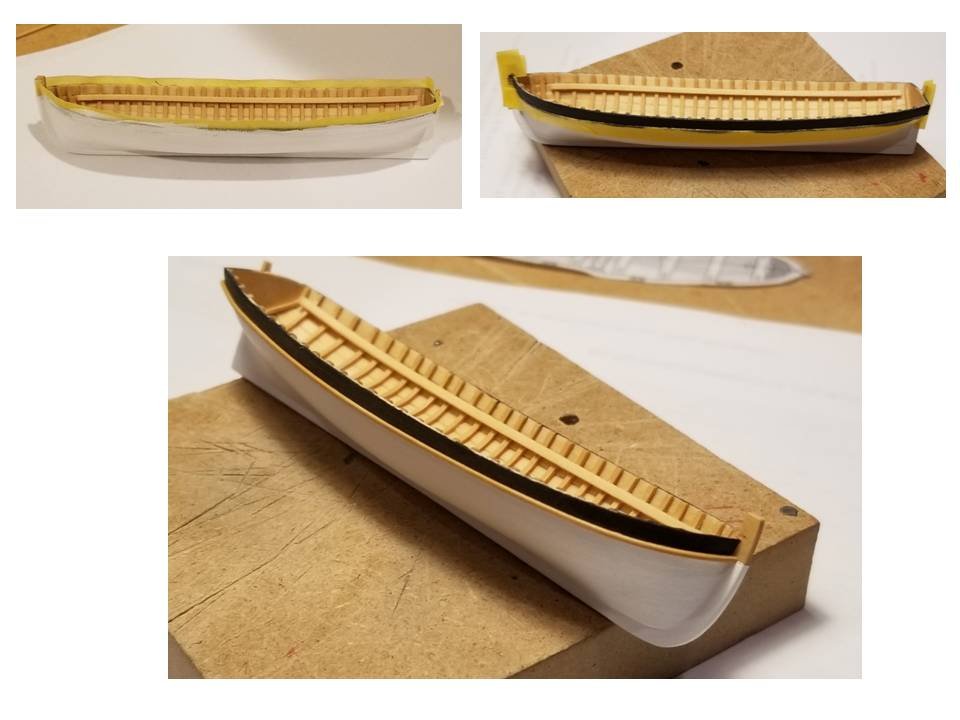
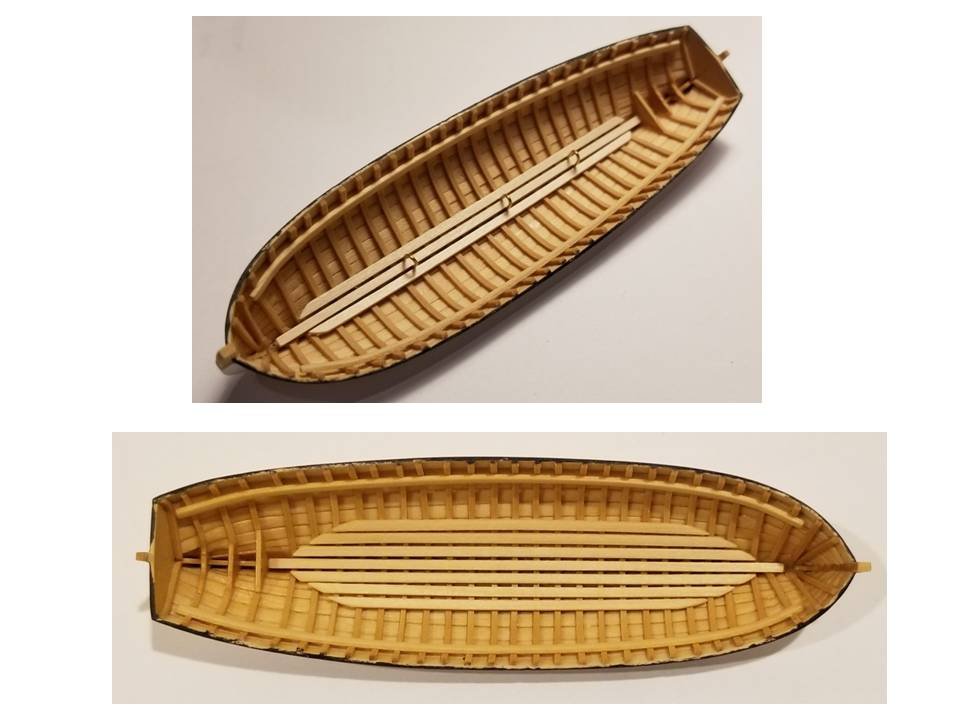
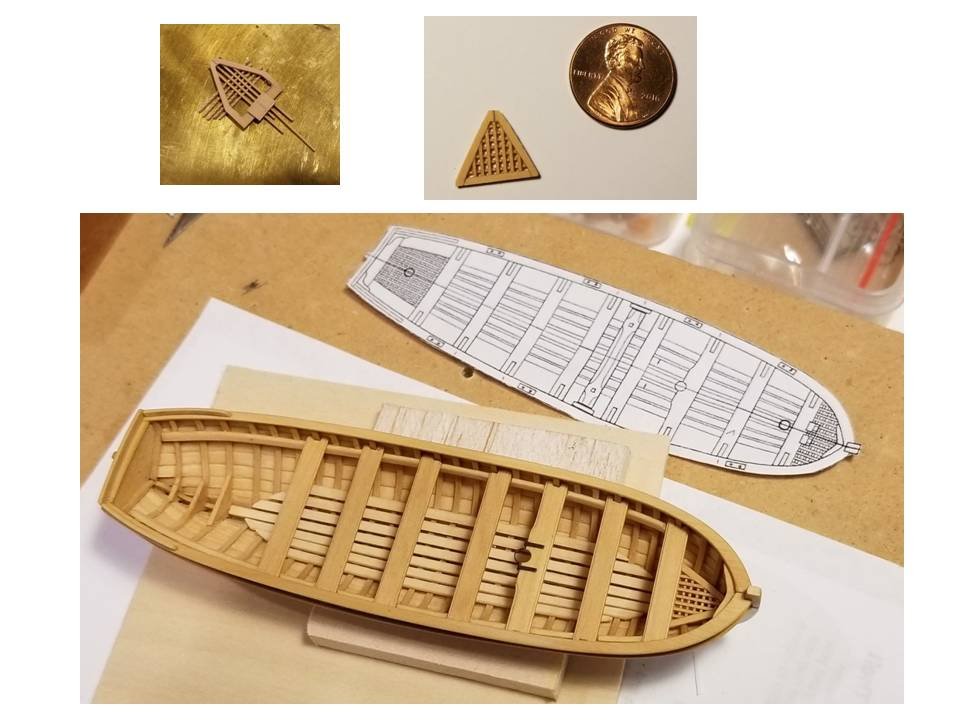
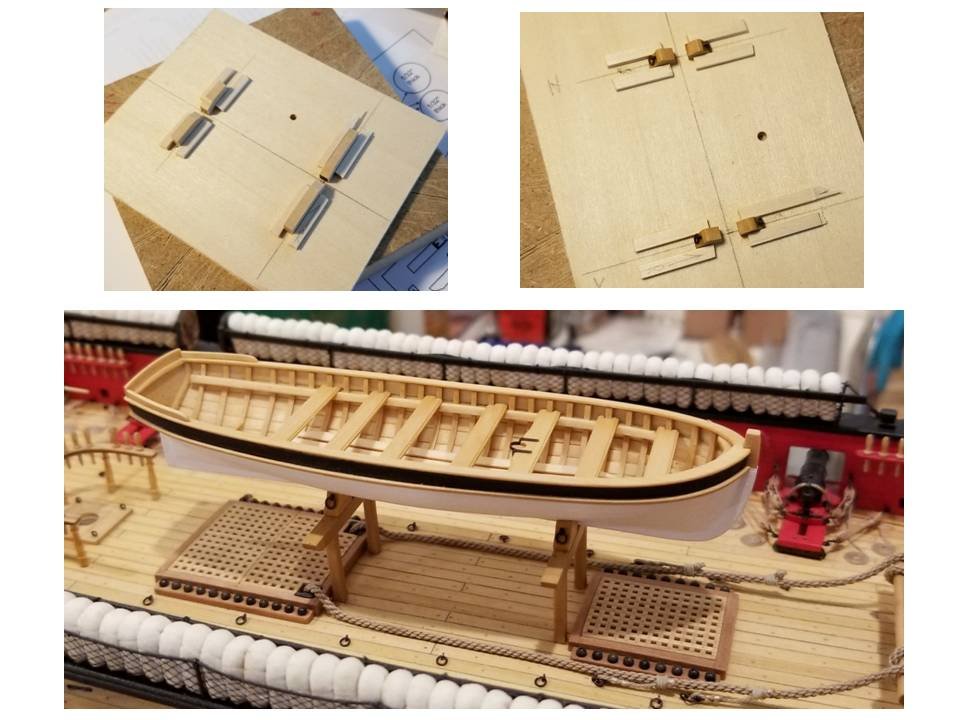
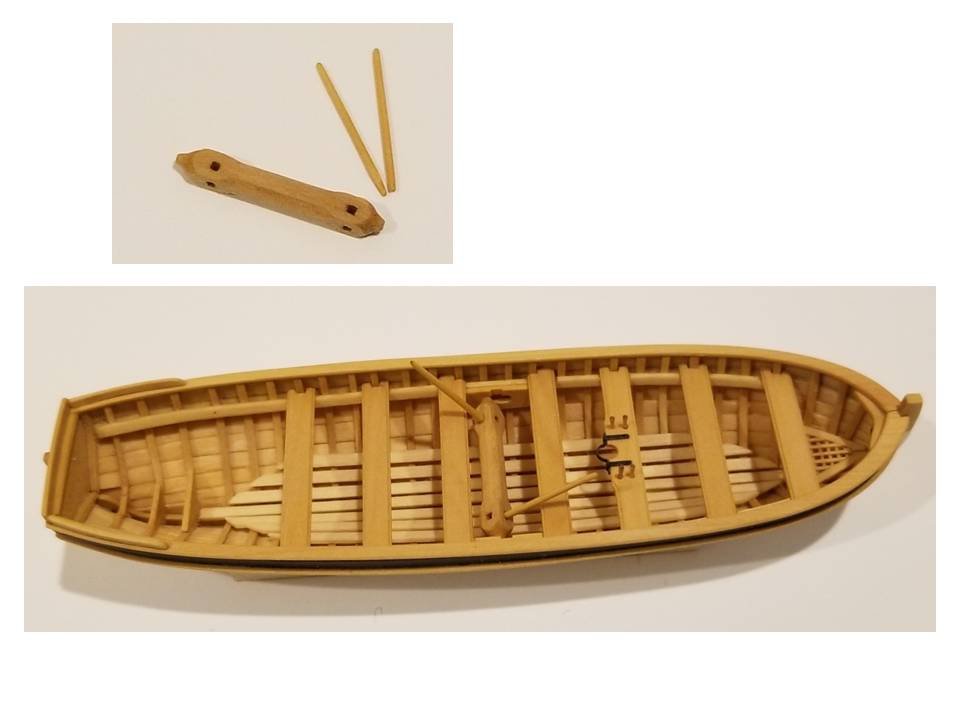
Some progress on the longboat: Planking and clean-up is finished (imgs 1-3), hull is painted (imgs 4-5), floor boards, front grating and thwarts are done (imgs 6-7), chocks are mounted on the gallows bits (img 8), and the windlass is installed (img 9). Img 10 gives an overall impression of the Syren with the (unfinished) longboat in place. Thomas Image 1 Image 2 Image 3 Image 4 Image 5 Image 6 Image 7 Image 8 Image 9 Image 10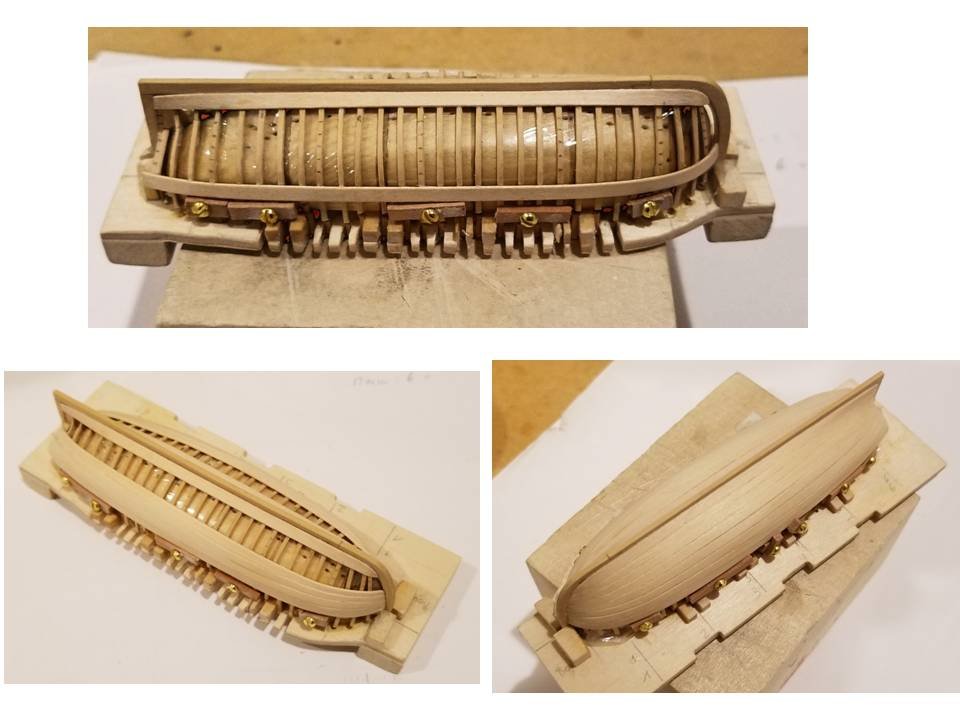

-
Your coppering is really beautiful! Well done! Thomas
-
Congratulations, this is a great milestone! Hull is looking really good! Thomas
- 950 replies
-
- 1
-
-
- syren
- model shipways
- (and 1 more)
-
Wonderful start into the new year. Your work is fantastic! Thomas
- 607 replies
-
- 2
-
-
- winchelsea
- Syren Ship Model Company
- (and 1 more)
-
As your stern davits are a bit further apart one possibility would be to move the left ringbolt used to hang the jolly boat a little bit towards the bow. That will increase the distance between both ringbolts in the jolly boat, which will cause the takle ropes to come down more vertically and your boat is better centered. Of course, none of that is really needed as it already looks fine as it is 👍 Thomas
- 950 replies
-
- 3
-
-
- syren
- model shipways
- (and 1 more)
-
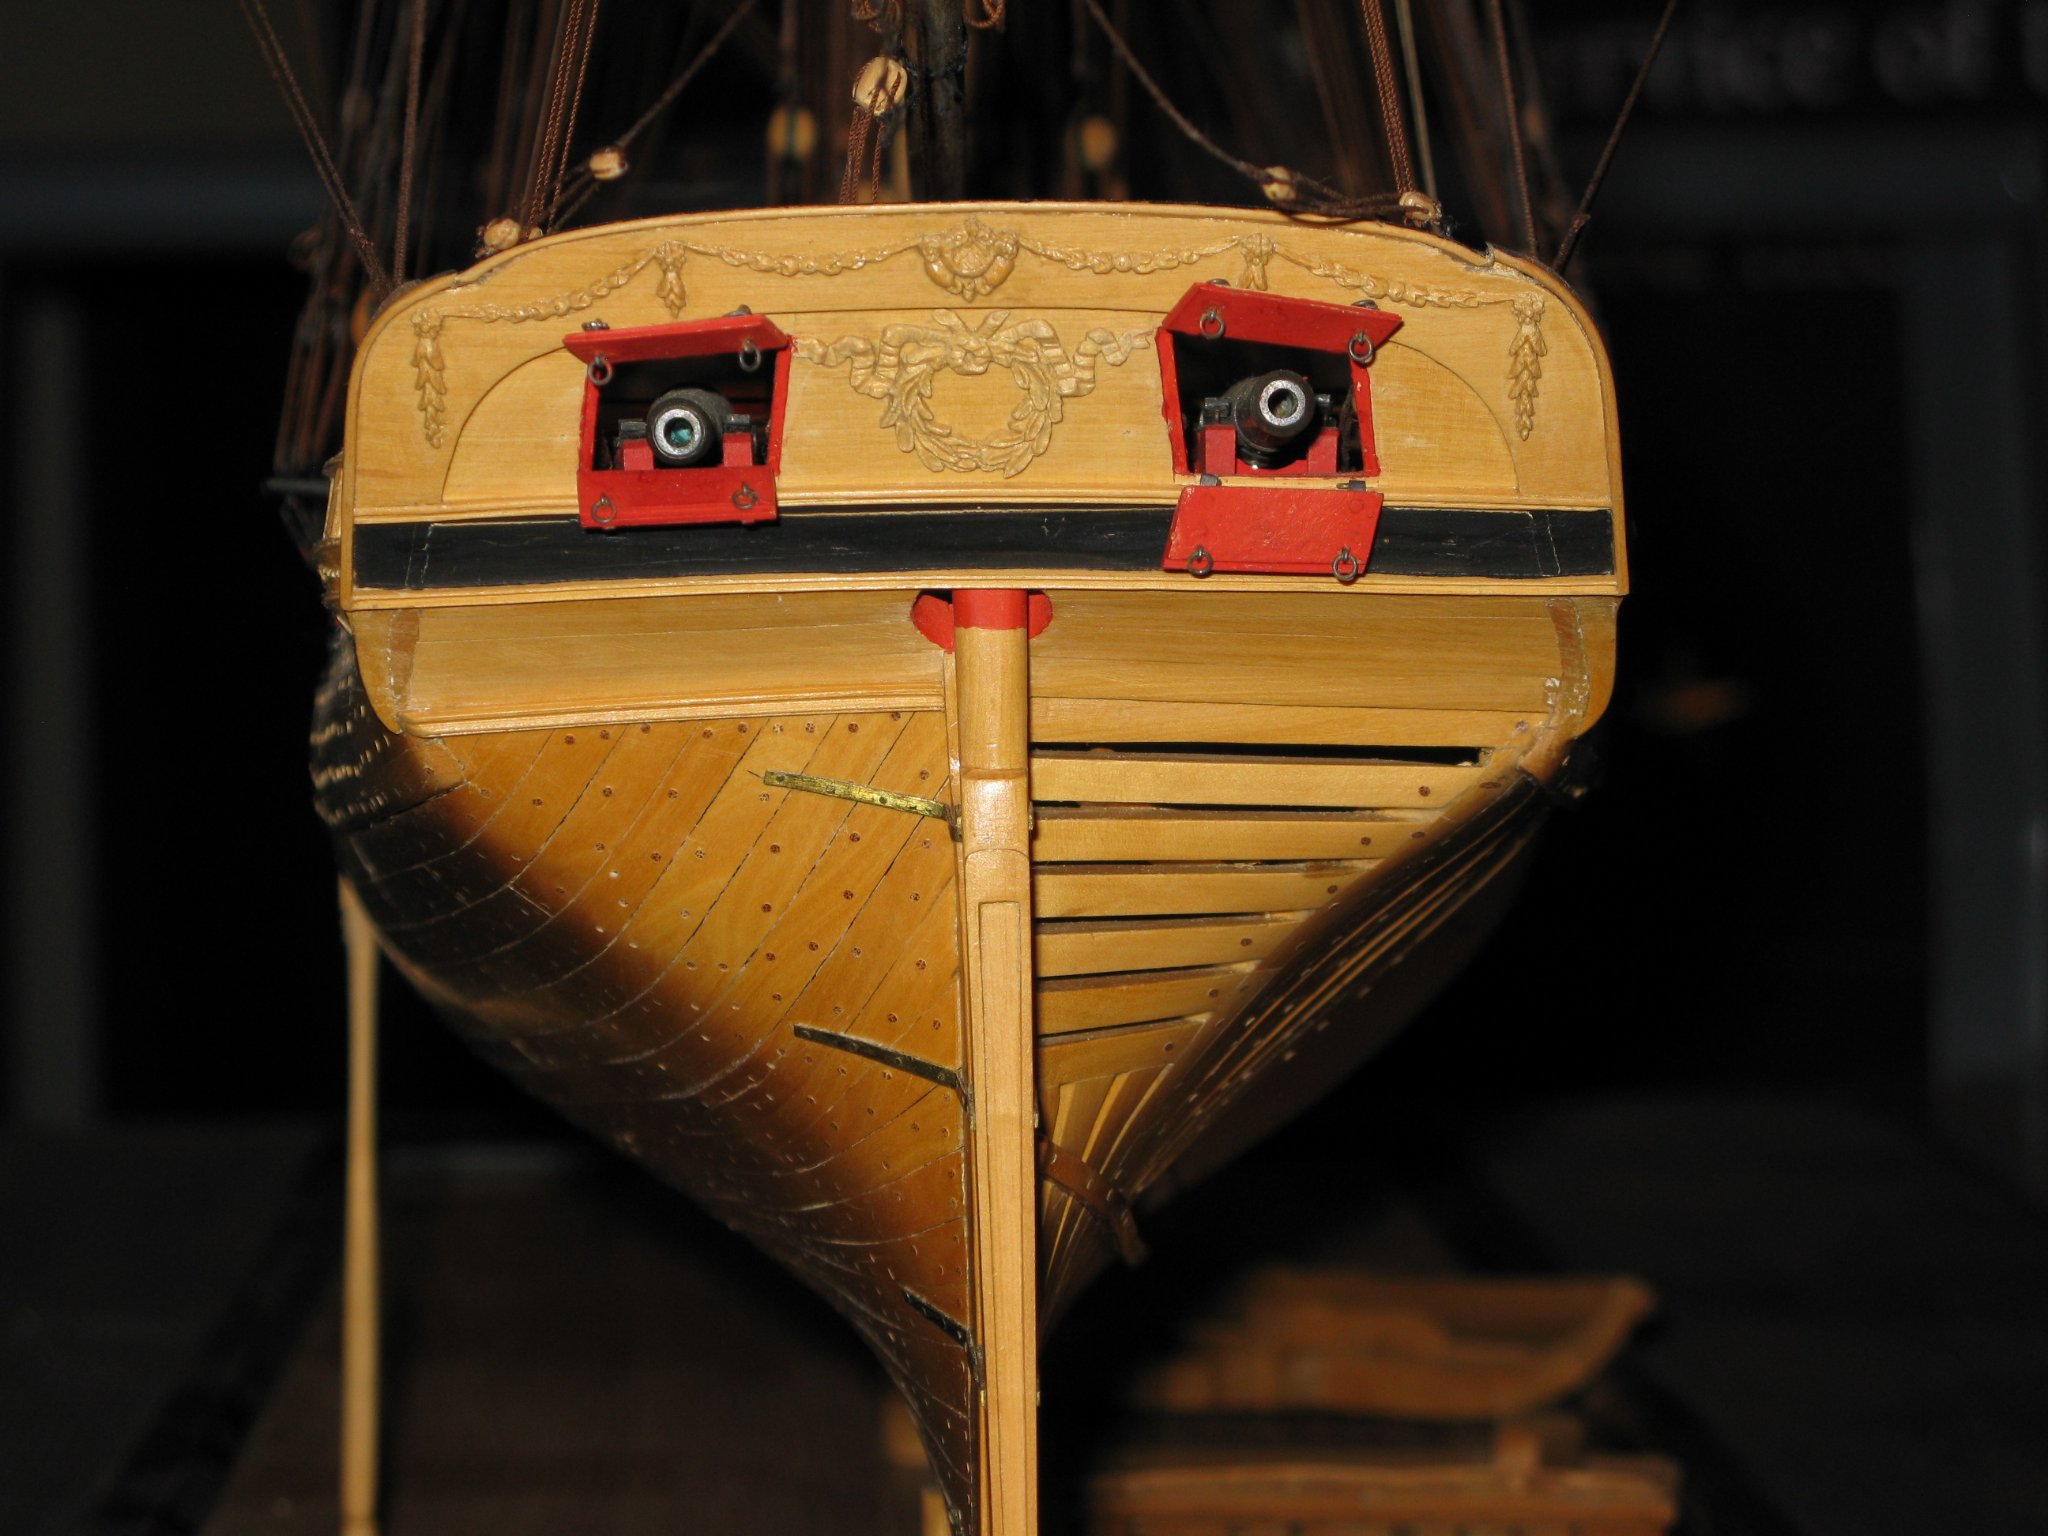
Your stern carvings are very nicely done. Imo I would just work on the dimensions a little bit, otherwise they may be a bit overpowering 🙂. I am adding an image of what I think is one of the best examples for the Syren stern carvings from the model of Rendrich Lightley, which is on exhibition in the naval museum of Annapolis. Of course, you are the artist and it is your model - so ultimately there is only your opinion which is of importance 😉 Thomas

-
I would not worry about the color difference. Keep in mind the deck will be pretty cramped with all kinds of other details such as carronades etc. The little color difference will play no role at all. Thomas
-
Simply awesome! Thomas