JPett
-
Posts
881 -
Joined
-
Last visited
Content Type
Profiles
Forums
Gallery
Events
Everything posted by JPett
-
 Ahoy Ken The book "Planking Techiques for Model Ship Builders" by Donald Dressel goes into this. His focus is to create frames (POF) but he does say that his technique would also work to create bulkheads (POB). It was a very informative read for me and would I am sure be helpful on this endeavor "Or am I creating a load of work for little gain?" This is entirely up to you and what you expect to get from this experience. Just my two cents.
 -
Ahoy Jerry Thank you for the parts PDF. After reviewing it I could see where "decades" might also be used to discribe the amount of time needed for this undertaking. I wish you the best on your journey. My view from the peanut gallery is perfect
-
Ahoy Ferit Were you able to finish the rails by bending alone or did the wood need to also be cut, to get the curves. I am not sure if the word "spiling" would apply. She looks beautiful BTW
-
Ahoy Eric Thank you for taking the time to post your build. Your work here has provided me with much needed information Your ship is beautiful and your efforts very much appreciated
-
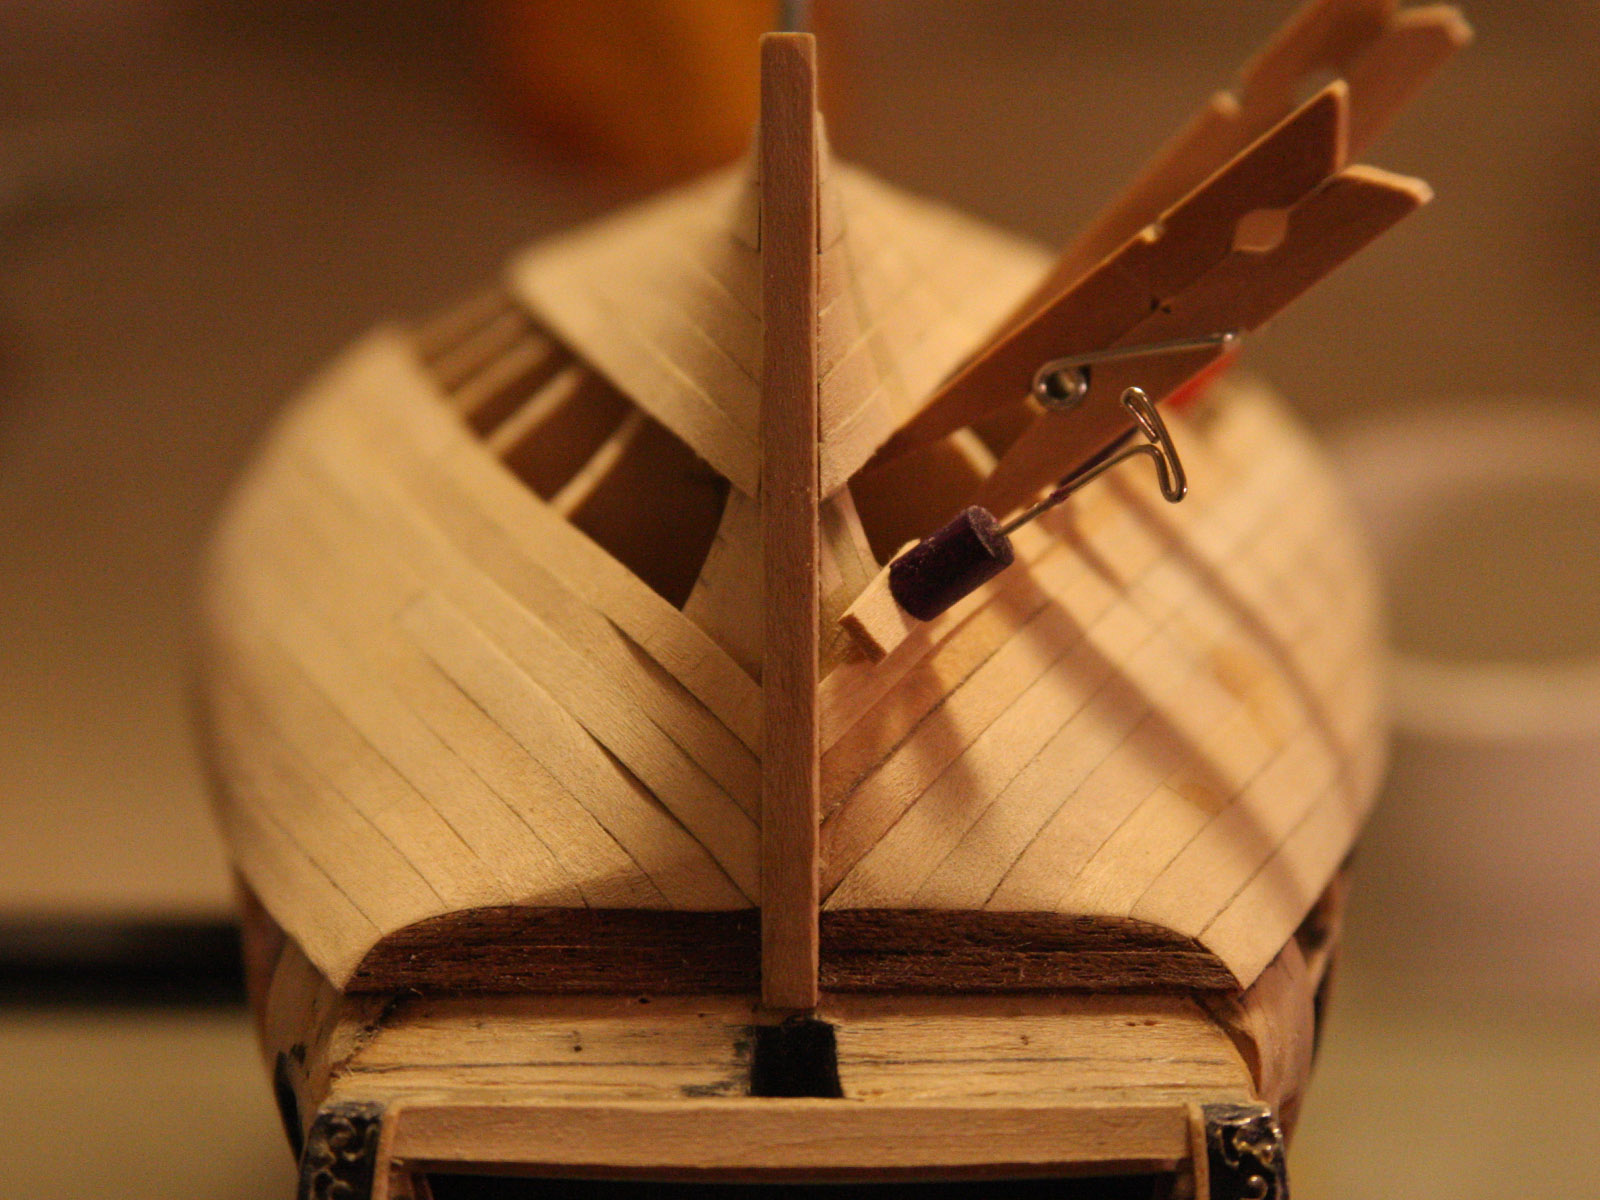
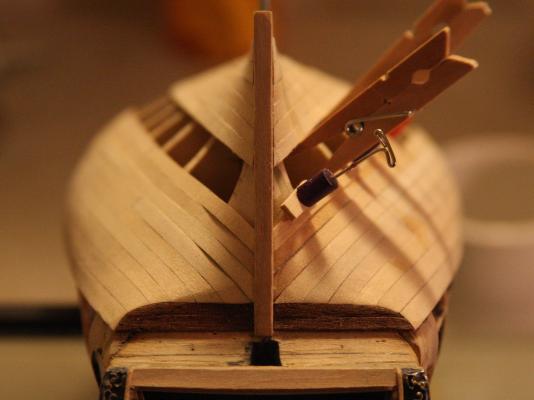
Ahoy Mates Augie: I think age has something to do with it too. Sam: I am a big believer in supporting local businesses so mine is a Love Love. Mario: I have read nightmare stories about staining basswood. I understand the sealer is a must but not a guarantee. My fallback is paint or a second layer of planking. I will know when I get there Martin: Thankfully, up to now I have very little anguish to forget. Because I don’t pressure myself I only remember fun little projects, some more challenging then others. Funny I have a better recollection and fonder memories of the harder ones. As for the sanding of the treenails I plan to do at least three coats of the clear. I hope that I will not sand through this but I need to run tests and things could change. Maybe someone with more experience will chime in. Bob: that makes two of us Back to the build: Well I closed up one side of the stern planking and fitted my first planks. The difference was amazing. Kind of reminded me of when someone gets a tooth knocked out. There is only one missing but it changes the whole look as compared to a complete set. Sorry Augie but there was more staring, actually lots “lol”. I do see that one of my seams has opened up but I have others that are worst (no redo). I am thinking about putting some filler in the seams that I do have and wondering if I should add some pencil dust to the mix. This will darken it, but it will be the color used for the chalking. Suggestions welcome. I did notice on the runabout that seams such as these fill and become considerably less apparent with almost no additional work. I will give my next effort more time to dry, as I believe that is where this problem came from. As for how this was done, I fitted the last two planks and then glued them both in at the same time. It seemed easier then committing to one and then being stuck with the other. I will now be moving to the bow, which will be done in reverse order. Where in the Stern I worked towards the keel with the smallest plank being the last one, I will again work to fit the smallest “easiest” plank last, but this one will be closest to the deck. Then I will fill in the mid section. I am having a hard time “not” sanding out the ruff areas to see what she will really look like. Comments, especially helpful ones are most welcome
-
No worries there Jerry, I will be a regular visitor I have the book now
-
Ahoy Jerry Welcome to MSW Looking forward to your progress. She looks great so far and "Thank you" for taking the time to post your work. For anybody interested I found the manual for this build here http://www.aeromarine-uk.com/Manuals/Victory_Hull.pdf And http://www.aeromarine-uk.com/Manuals/Victory_Rig.pdf
- 900 replies
-
- 3
-

-
- victory
- caldercraft
- (and 1 more)
-
Ahoy Grant Your build and log are but a dream to a hobbist like myself. Thank you for sharing. She is truly a first rate ship
-
Ahoy Michael After seeing some pics of the Pen Duick on the web I see it shares a similar trait as my little 49 Racer. Mine was a double planked hull with the second planking coming together to form a knife-edge along the bow. The Bluenose is a popular build and if I am correct shares this too. I am not sure if yours is single or double planked but this might help either way. I can only offer what I did and as a newbie, so please treat this information as suspect. I tapered the planks as per the marks I placed on the hull (See planking tutorial here) http://modelshipworldforum.com/resources/Framing_and_Planking/Lining%20Off%20your%20hull%20for%20planking.pdf Then I cut the planks long in the bow. The extra planking length used to position rubber bands to “pull” the plank over the bow. I soaked the planks and secured them to the hull using rubber bands, pins, and some very creative clamping to dry. The first side was not cut back until after it had been glued to the hull and then not all the way. Enough only to allow me to “pull” the other side over. I used thick CA to tack them in the bow and PVA for the rest. I also used as little CA as possible because I found I could heat the PVA with an RC heat gun to make minor adjustments (This was very helpful too). The plank that met this one on the other side was prepared the same way. After I glued only the rear half of this plank to the hull I used a very fine saw blade and cut them both(one over the over) at the same time. Then I glued them using PVA, again tacking them with CA. Mine did not come out perfect, as it was my first try. Pics can be seen by using the link in my signature (1949 Racer) Good luck with your build. It is a beautiful ship
-
Ahoy Wayne I will go one step further, The whole thing looks great. I have worked on plastic at that scale. Wood, I can only imagine what it must take to get those results. Great job.
-
Ahoy Andy Beautiful work all around. congratz
-
Ahoy Buck She looks great Your craftsmanship and attention to detail really make the difference. PS: Your build has been very helpful to me, Thank you for taking the time to share it. .
- 515 replies
-
- 1
-
-
- artesania latina
- whaleboat
- (and 1 more)
-
Ahoy Mates Thank you all for stopping by and your comments. Augie : but is it still plagiarism when the source no longer exists “lol” As I did follow your original log it would not surprise me to find that, "that is where I learned it". PS: I was a big fan of “Da plane” and it will always be remembered "fondly". Brian: Trust me, some things will be different on my next build but there are not regrets, it is a steep upward curve but as my favorite mod puts it, “the wood is patient”. Yes, those are the new CP2000’s. I could not afford the bridge so I bought those. The guy was really nice. Sam: You are always welcome here, as long as that jealousy does not lead to any destruction. I had an older brother Fish: That is a paradox. I also misquoted. Because the hull was ten strakes short of completion, the correct answer is 31, which brings my batting average below 500. So much for the draft. Keith: It is hard to put into words the process of planking. There is so much going on and so much more to learn. Ben: I am too You are always welcome here, your log has been a great help to me, Thank you Tom: I am glad to hear that you are continuing your build and will look for your log. Please feel free to stop by here anytime. Back to the build: Sorry no pics, The amount of work completed does not justify them. Closing up this last belt is like a great game of chess. I find myself thinking three to four moves ahead. When I got here, I thought my newly learned abilities would speed me through. Instead, it is taking me much longer to make progress. I find myself just staring at the hull contemplating my next move. As I am nearing the end of this journey, I spent some time at Rockler preparing my next move. I highly recommend these stores. I was able to test different stains on Basswood and converse about finishes with very knowledgeable people. In the end it was decided that I would use my Zinsser Sanding Sealer (have that) with a “General Finishes’ (GF) pecan oil based wood stain thinned with mineral spirits (possibly alcohol) and protected with “GF” wipe on Gel Coat. After which the treenails would be added. The top coat protecting the stain allowing me to sand down the treenails maintaining a natural finish there. The Zinsser Sanding Sealer introducing a slight yellow tone adding some warmth to the pecan stain. Comments are always welcome and appreciated. Especially any pertaining to my finishing idea. I really have no experience finishing wood. I am still trying to finish the runabout, ‘lol’
-
Is it true Augie, will this be your next build "lol"
-
Ahoy Dee Dee I do not use CA glues very much on my ship models but use the accelerator anytime I use thick CA and highly recommend it. In my opinion, it is the only reason to use the thick CA. Set your part, one positioned introduce the accelerator and your parts are bonded. If I am looking for maximum strength, I use epoxy. No reason to rush, PVA glues. I even use it with the thin CA (just not all the time) if I am not getting the bond I want such as when tacking something being glued with PVA where I cannot maintain pressure. The problem is most people do not know how to use it. Only apply the accelerator directly to the CA in extreme circumstances, the reaction is too strong. Apply the accelerator to a Q-tip and then bring it near the glue joint preferably underneath it. Do not make contact the fumes will cure the glue. If you can not get under the joint waft some air directing the fumes towards the joint (don't blow) This is all that is needed.
-
Ahoy Klaus Your build is like a Christmas morning. New and wonderous things appear like magic. Thank you for sharing
-
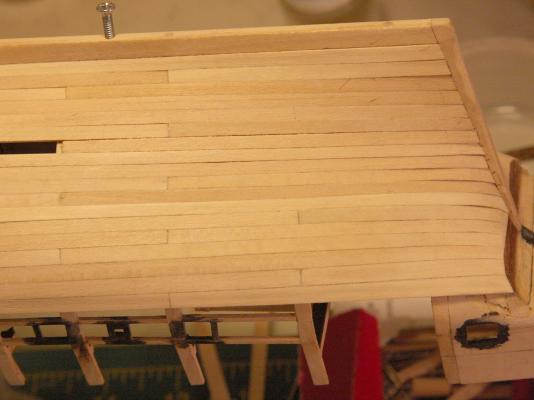
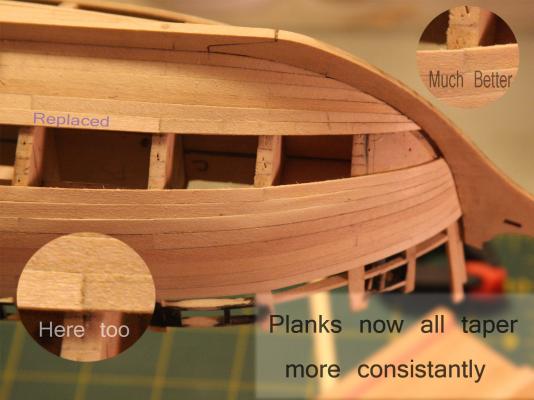
Ahoy Mates Aaron: Thank you very much for that compliment; which I appreciate but am not worthy of. There are too many other builds here on MSW that are far superior and deserving of a compliment such as that. If you learn anything from my log, I hope it is that anybody can do a decent job. Russ: I will take that “B” If they are still using that format. David: I am a chronic lurker in that forum. I find a lot of inspiration in both my build and log there. I am in the back row, my hand never goes up or my jaw down. Keith: It is a mixed bag. I do enjoy planking very much but moving on is starting to develop some appeal. Maintaining the right attitude is key, MSW helps a lot, thanks for stopping by, you are always welcome. Ferit: Welcome aboard. “Vrai bon voit pas d'ennemi, seul l'amour” Your Berlin build is "Excellent" BTW Popeye: Where do you think the all the good potions come from. Back to the build: The repair was completed in the bow and looks much better. Planks now all taper more consistently. So with that in mind, I ripped off and replaced another plank in the bow (2nd plank strake 13). Where some might see this as a quest for perfection I find it easier to “redo” then “regret”. Ripping them off is just so much easier. I am moving very slowly, (“OK” slower then normally) in the stern, as I try to close this area up. This has proven to be a very difficult task for me and as much as I would like to rip off some of these too, I have already dealt with them. It was here I learned that lesson. I also see, “and this would be very important” to anyone following this log that the proper fairing of the both stern and bow filler pieces (which were a struggle for me) is really important. If giving a second chance, I would have spent considerably more time here. For now, I will call my second chance “the Berlin” and move forward. The planks in the stern all need to be cut, sanded, soaked, and then dried on the hull. Then this procedure is repeated with less cutting and more sanding; sometimes two more times. I cannot maintain a consistent plank width in the stern so I am trying to transition the different widths as smoothly as I can. This is something that I feel I will only get better at with experience. Currently I have used up all my planking material. Some planks have taken up to four attempts to fit. In the stern and bow it can be a real heartbreaker too because so much work goes into them. Model Expo supplied me with 57 strips in the kit and there are 18 strakes on each side. That means I used 21 pieces for practice so far. The Ents will be stopping by shortly for a chat about this. I am very happy with the results so far and have ordered some additional wood from ME. Until then I will use the wider pieces I purchased and do some Spiling. I think I am finally beginning to see some light.
-
Ahoy Hexnut NP I use a heat gun and alcohol solution for my editing work. Well there's two alcohol solutions Your carving is wonderful, if I can use that word. After reading about the Tagua nuts in a Woodcraft magazine I tried drying some avocado nuts. Lets just say there wasn't anything worth posting.
-
Ahoy Hexnut Go to your first post "edit" and then use the "Use Full Editor" it will be right there Chuck "schooled" me on this yesterday 'lol'
-
Ahoy Ferit I find much interest in your log having this kit in my closet. Thank you for posting your solutions and work, which BTW is excellent Looking forward to seeing more of your work
-
Ahoy Scott Welcome to MSW I like the Titebond Original Wood Glue http://www.titebond.com/product.aspx?id=d4d28015-603f-4dfc-a7d9-f684acc71207 Drying time is not as fast as CA but I find this beneficial for this hobby Almost no odor and because it is not waterproof mistakes are easily removed using a 50/50 solution of water and 99% isopropyl alcohol and some heat (RC heat gun) Water clean up I rarely use CA.
-
Ahoy David Thanks Be warned "that eye thing is a double edged sword"
-
Right now I am right off 360 just outside Arlington
-
Yes to Home Depot I do not know about Hobby Lobby I think as long as it is "not waterproof" wood glue you will be fine. There are builds here where they use Emler's white glue I do not use very much CA. As a matter of fact, I don't think there is any on the Ratt. On the runabout, I had to use it to tack some planks in the bow. Some guys swear by it however and some instructions recommend it (the runabout being one)
-
Ahoy Tex PVA is wood glue I use titebond. Not the waterproof either. Makes repairs easier and if my ship is a floating it is the least of my problems. I'm on the third floor 'lol"