


Landlubber Mike
-
Posts
4,549 -
Joined
-
Last visited
Content Type
Profiles
Forums
Gallery
Events
Everything posted by Landlubber Mike
-
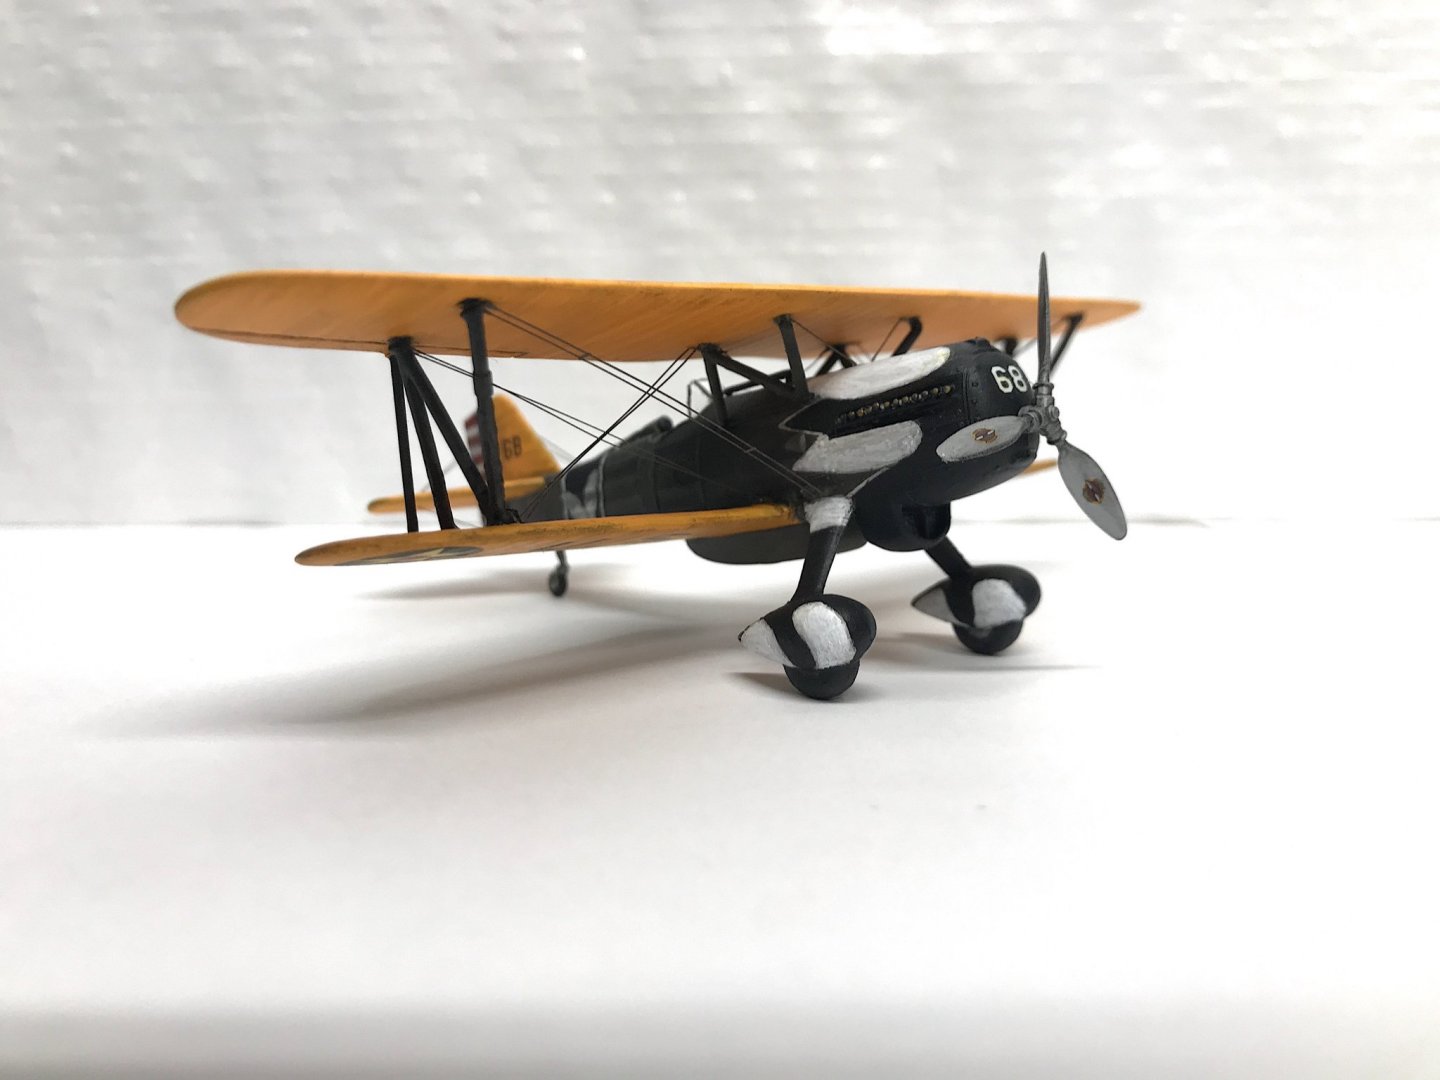
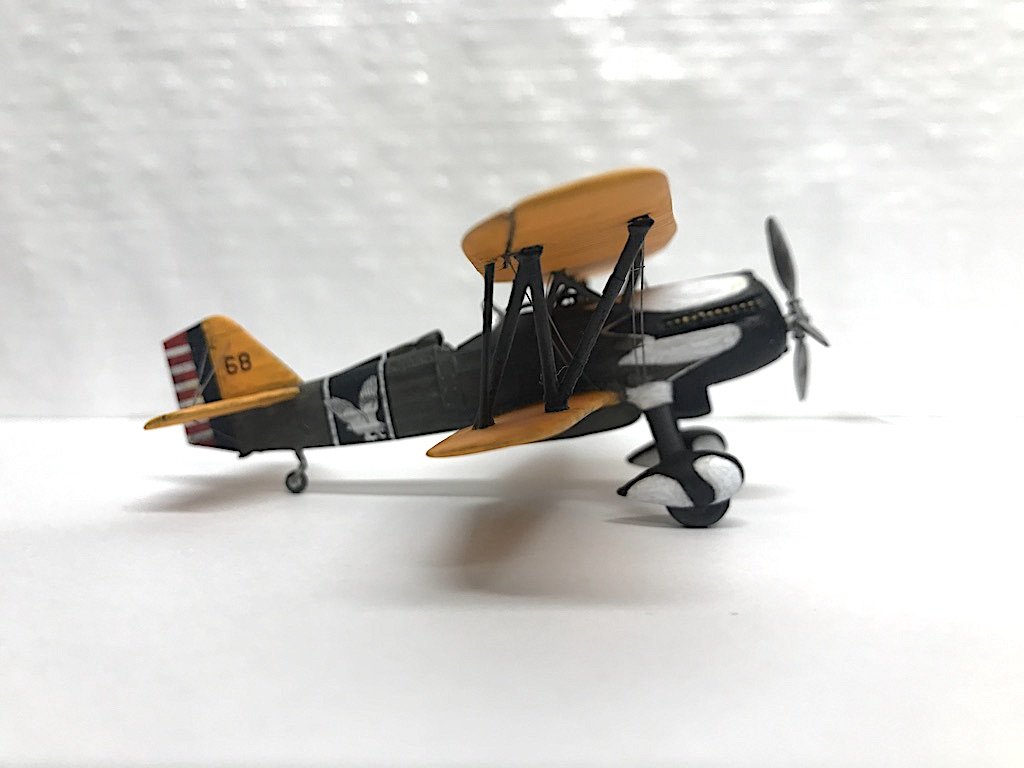
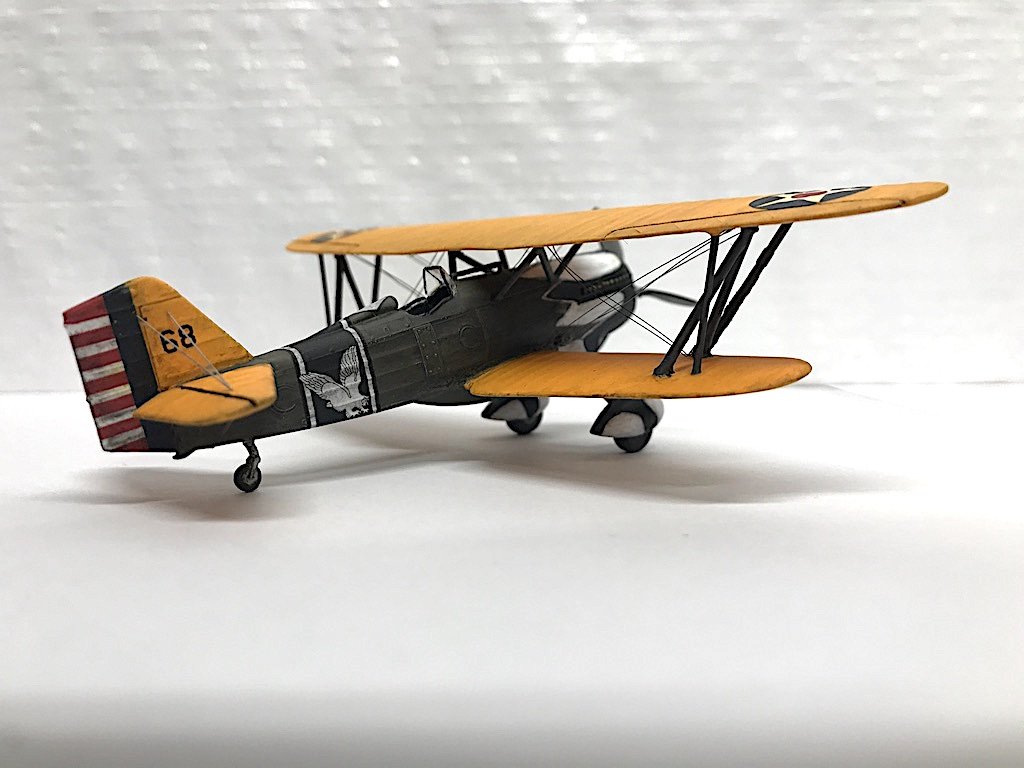
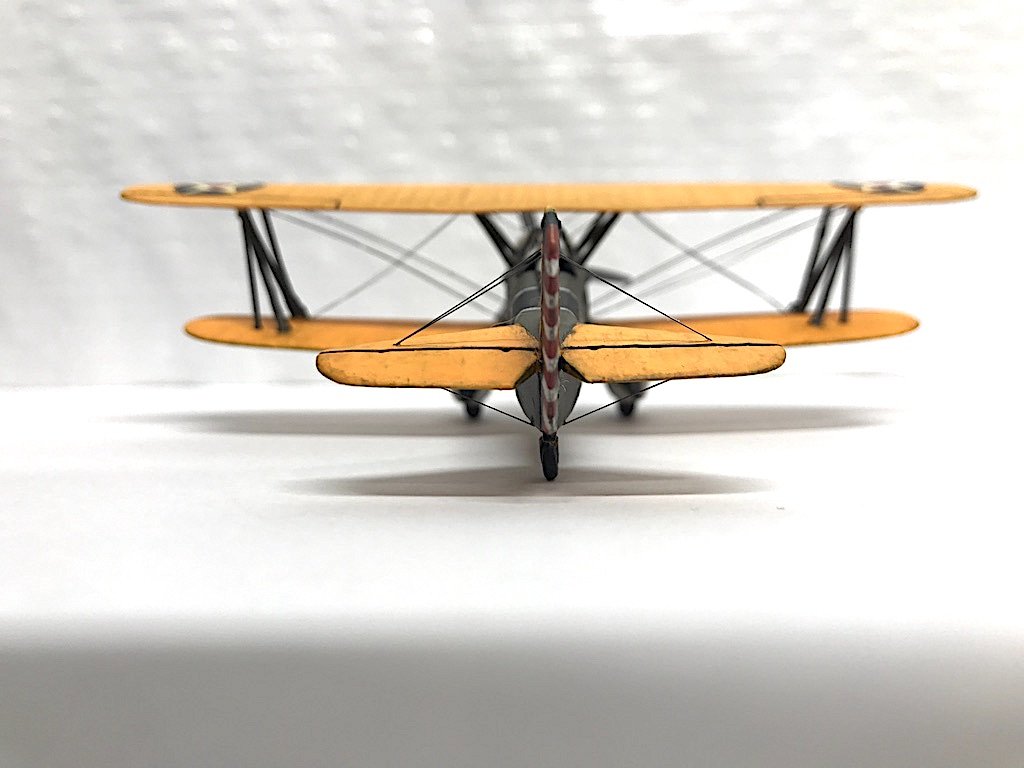
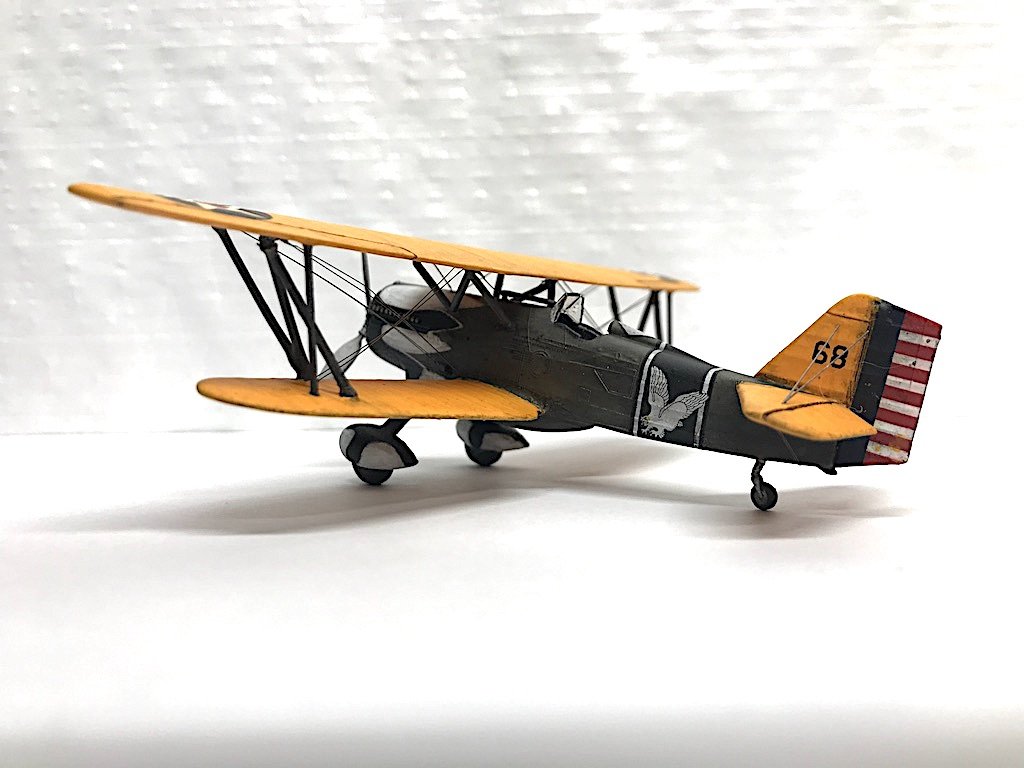
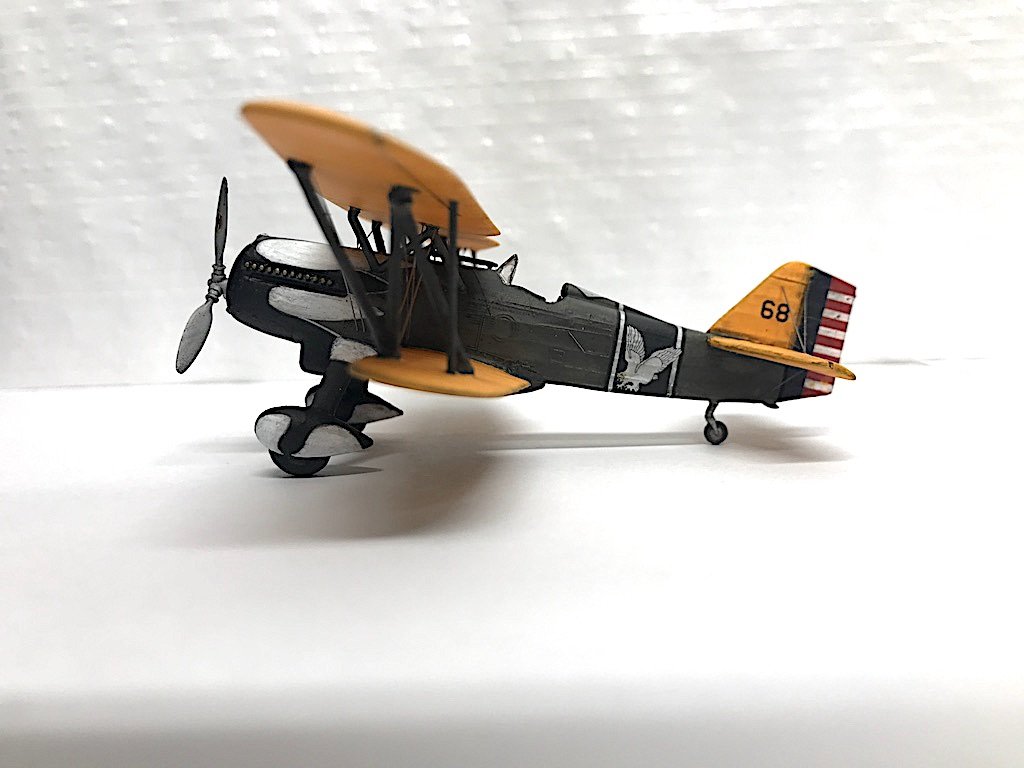
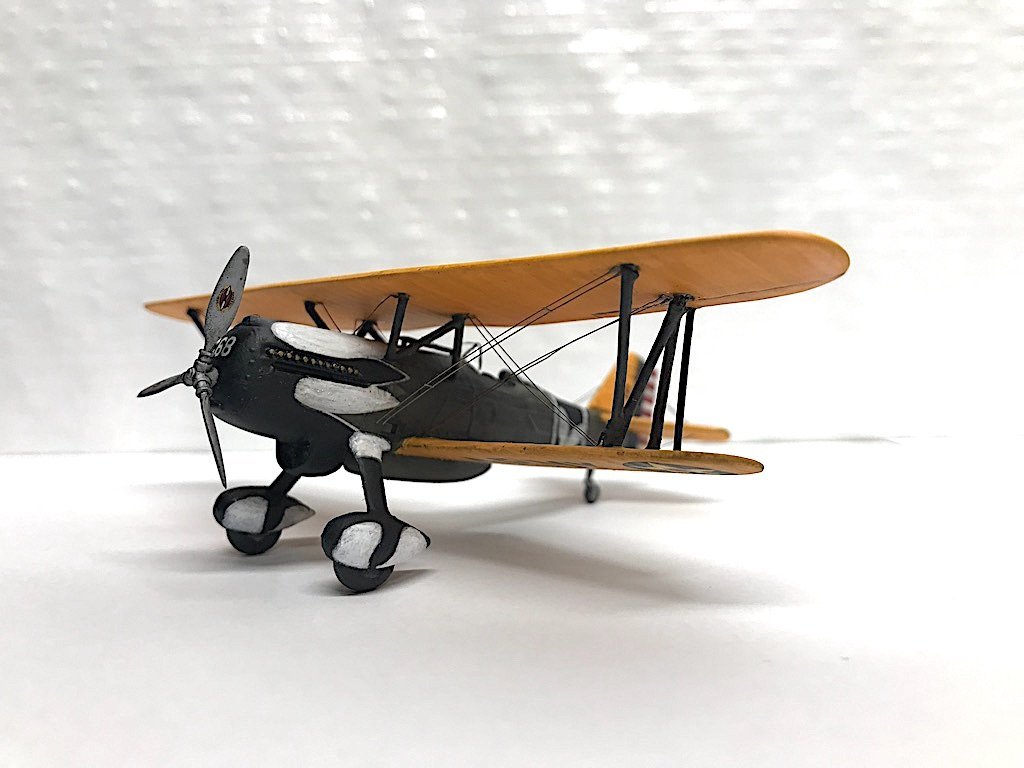
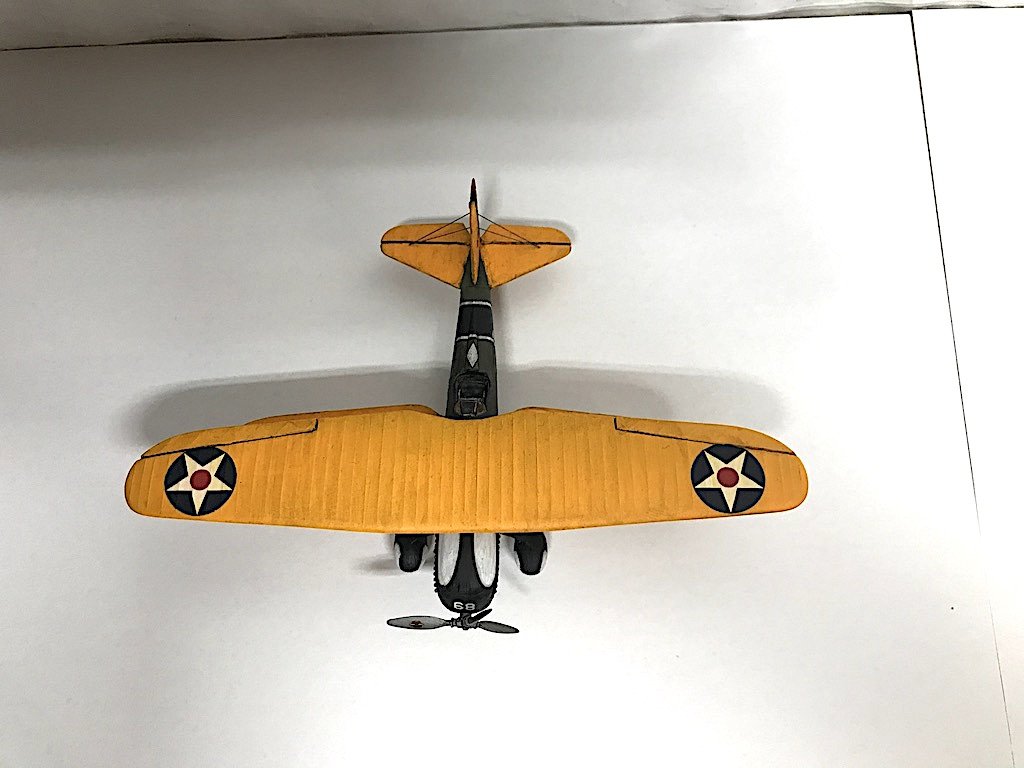
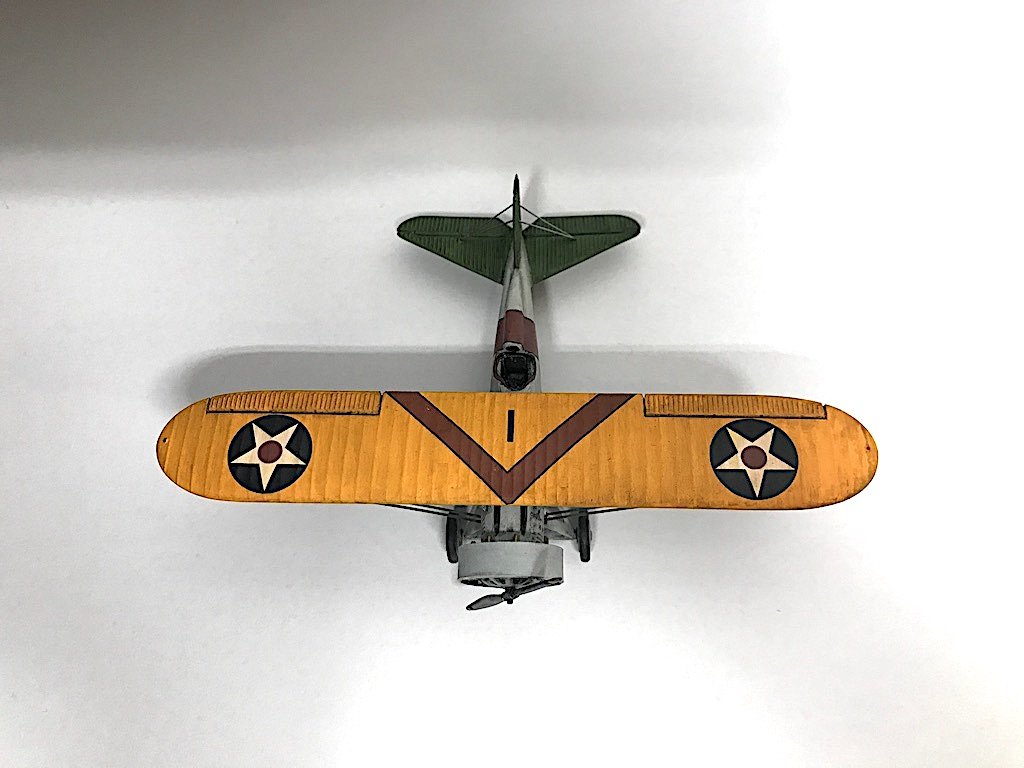
 P-6E So this one was a snake bit build if there ever was one. The plastic did not want to take the Tamiya PS camel yellow at all. I don't know how many coats I ended up using, but I lost a touch of the wing details from all the layers. Then I noticed a funny thing - it does not like acrylic paint either. When i tried to touch up the wings from some errant paint from the bi-wing supports, it dissolved the paint and made what looked like a smudge. Ultimately, I got passed that, but that required adding even more layers of the paint. Eventually I got it assembled and painted. Added the Future gloss coat, and was ready to use washes and add a little weathering. I had used the Vallejo wash on the F4B-4 with no problem. I could leave it on for a good 5-10 minutes, then come back and wipe it off. Well for whatever reason, on this model, the wash dried almost immediately on the yellow wings! Looked absolutely terrible. I almost resigned myself to having to go with a very dirty plane, but remembered how the Tamiya PS paint reacted with acrylic and brushed it on. It pretty much stripped all the weathering off, hooray! Wasn't perfect, but worlds better than where I was earlier. By this time, I had rigged the F4B-4, so I knew what I was getting myself into here. The rigging went on pretty smoothly, and last night, I completed it. Only had to apply the final matt coat which I was going to do today. Well, brilliant me, I had the model sitting on a piece of cardboard. When I lifted the cardboard to put the model away, it slid off the cardboard and onto the kitchen island where I was working. Mind you it only fell about a foot, but the upper wing popped off, two pieces of rigging completely detached and were lost, and the rear landing gear broke off. My brain saw all this happening in super slow motion, and I didn't know if I should scream, cry, put my fist through a wall, or what (I just stayed quiet thankfully because everyone was sleeping). I found the missing rigging pieces, but the landing gear was a good 30 minute search. Finally found it about 10' away in a corner of the kitchen. I couldn't go to bed as I was all amped up, so I just glued it all back together. Only took about an hour - thankfully, most of the rigging was still attached on at least one end, so i just had to glue the other side. What a pain though! Well, here is the final product. All things considered, it's not too bad. I'm not as happy with the white areas, as the Vallejo white I was using didn't go on very smooth (typical of white paint from what I remember decades ago from painting miniatures). A learning experience for sure, and a cool marking scheme with the Snow Owl.
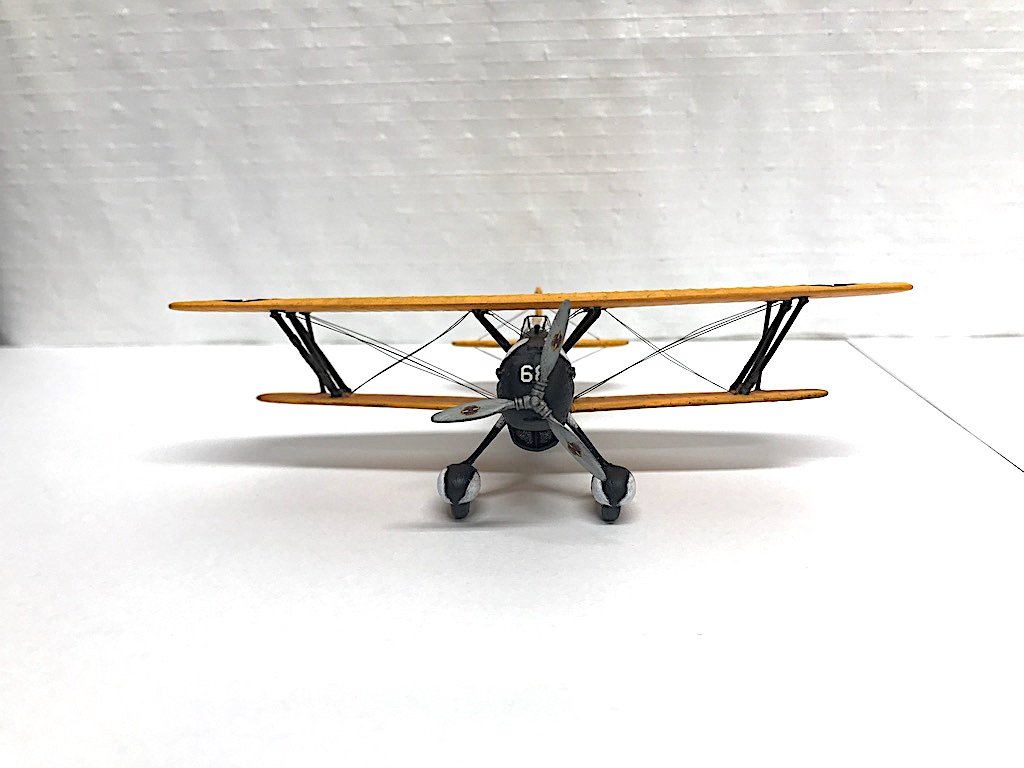
- 27 replies
-
- 18
-

-
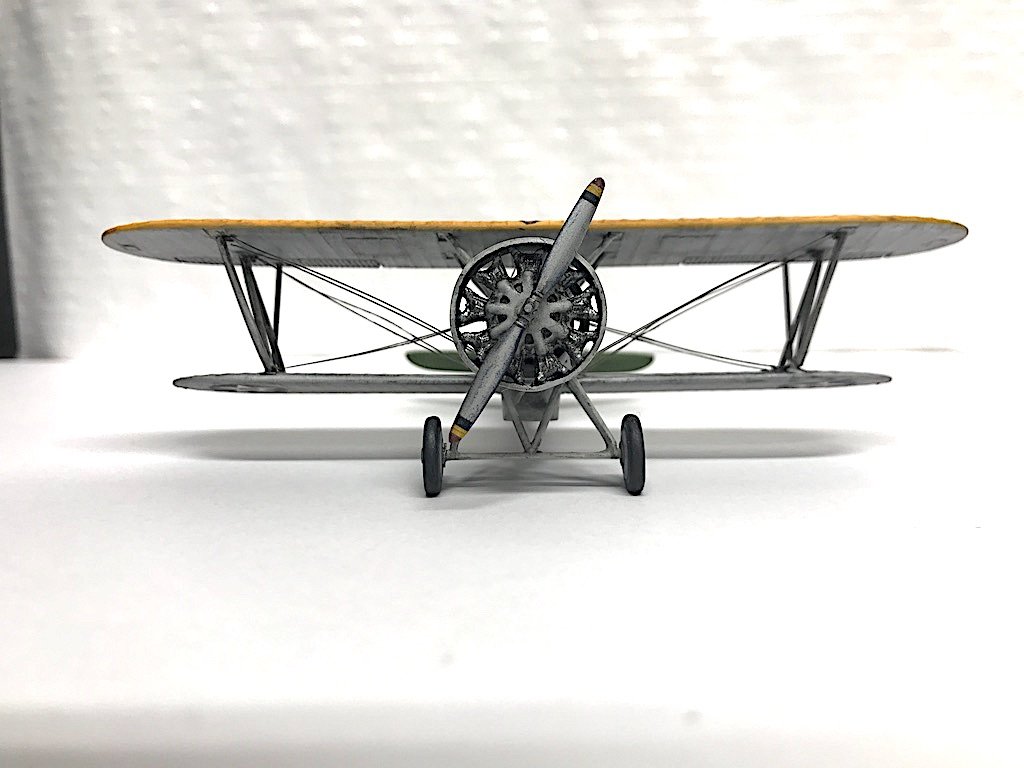
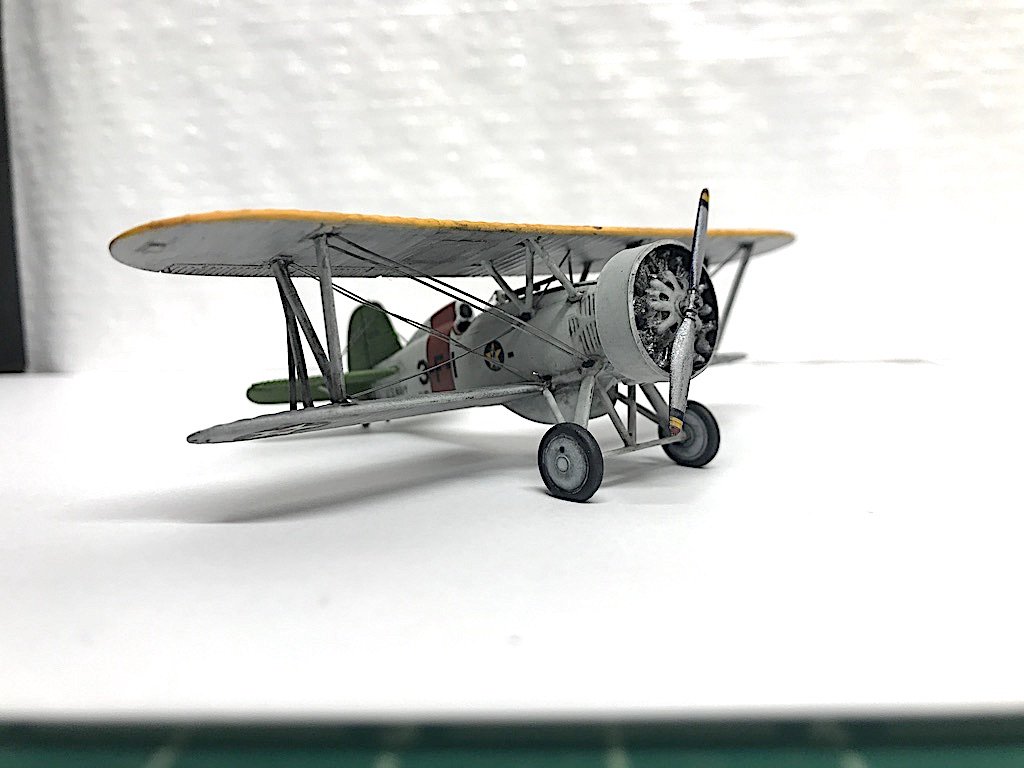
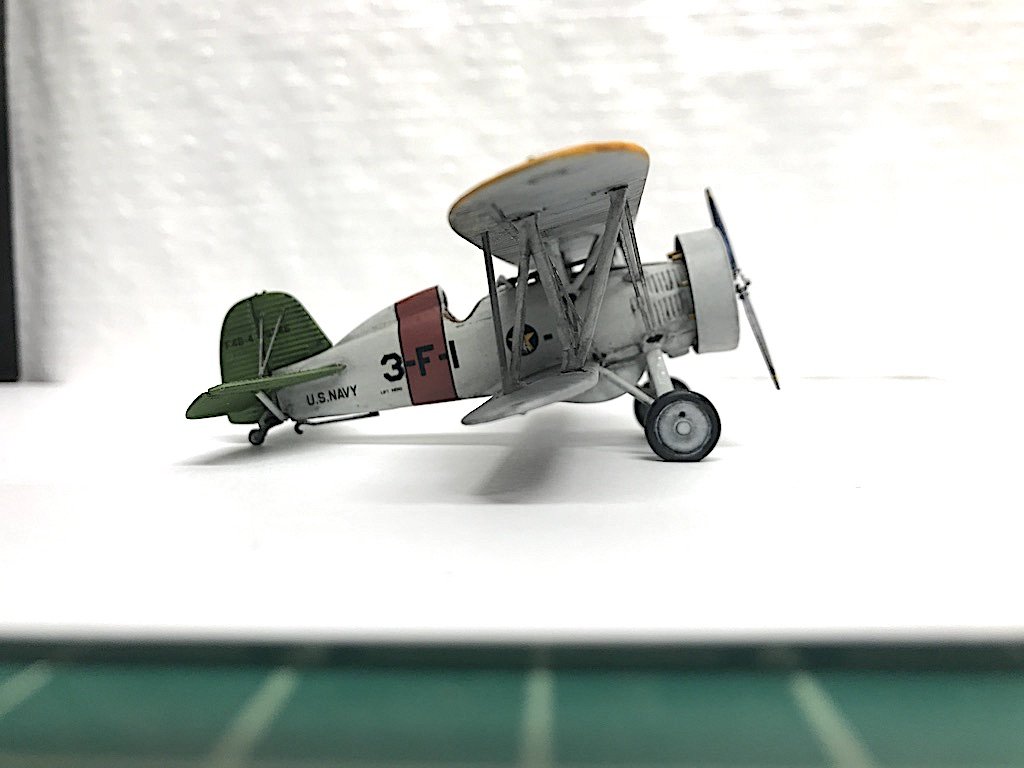
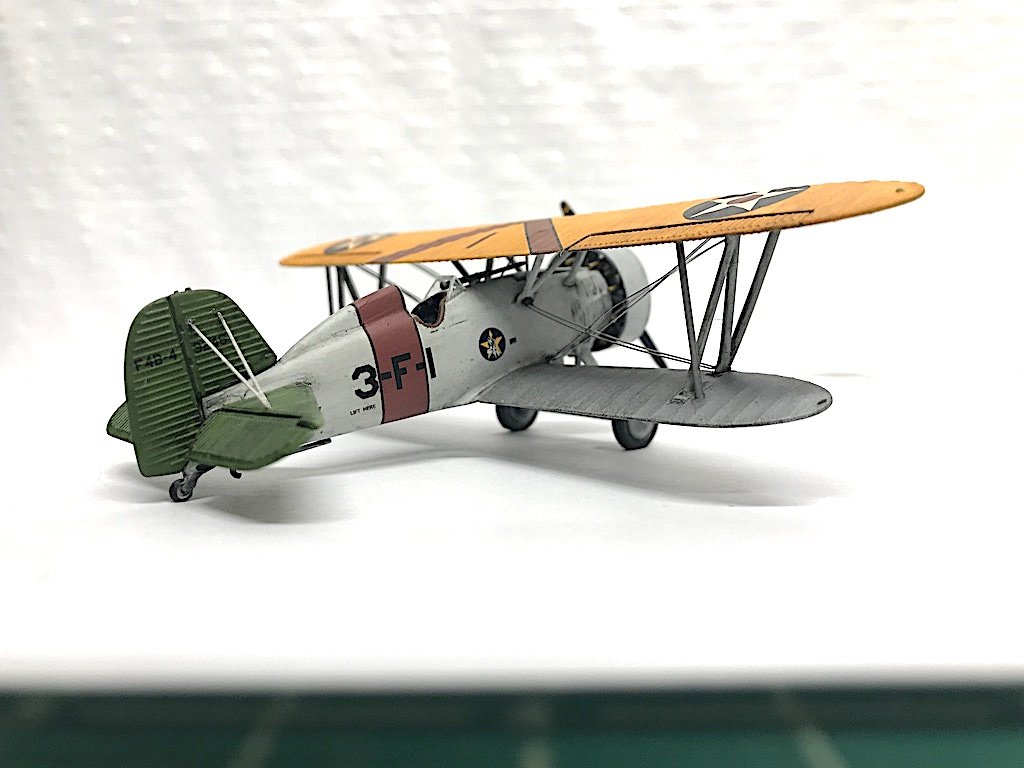
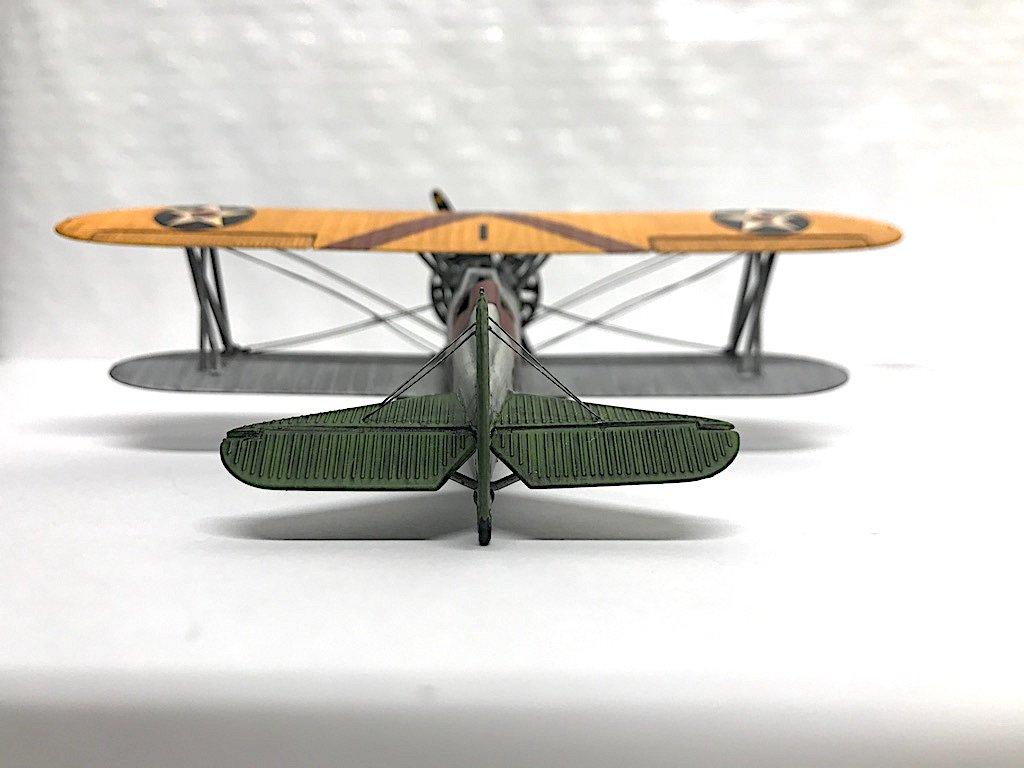
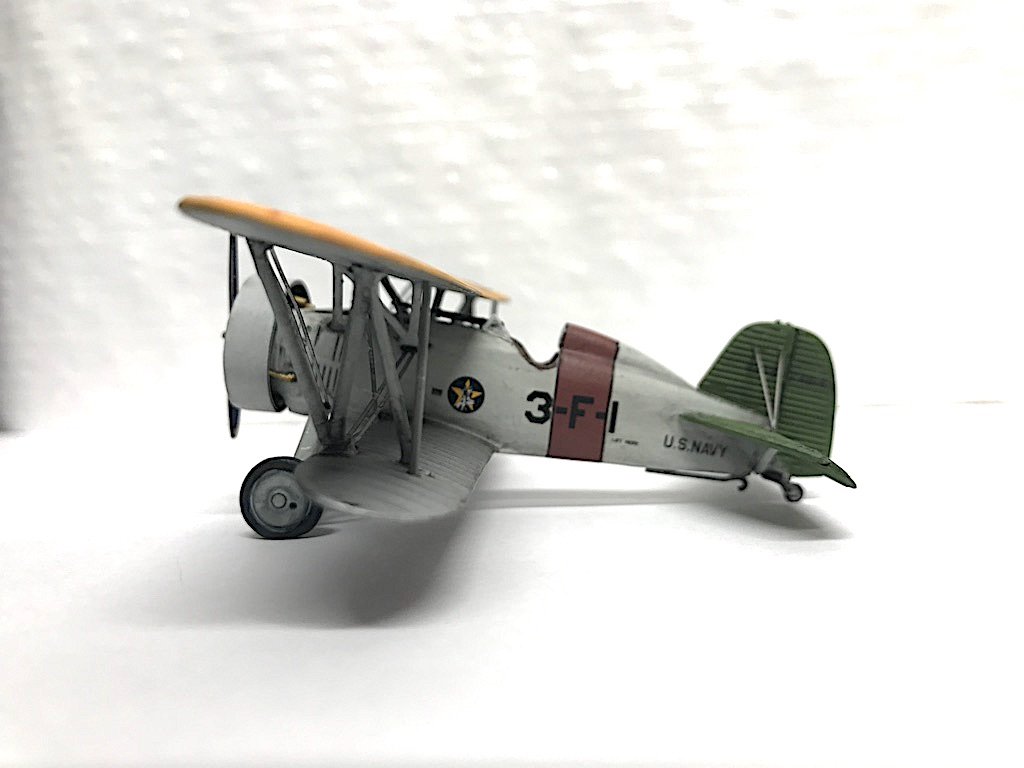
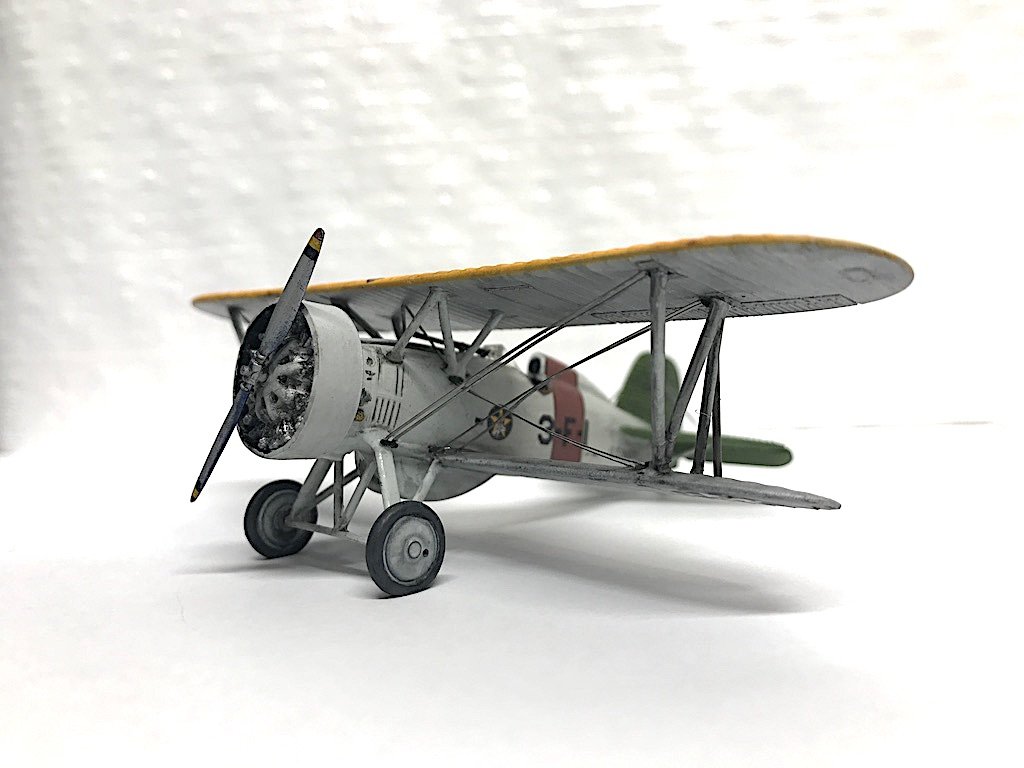
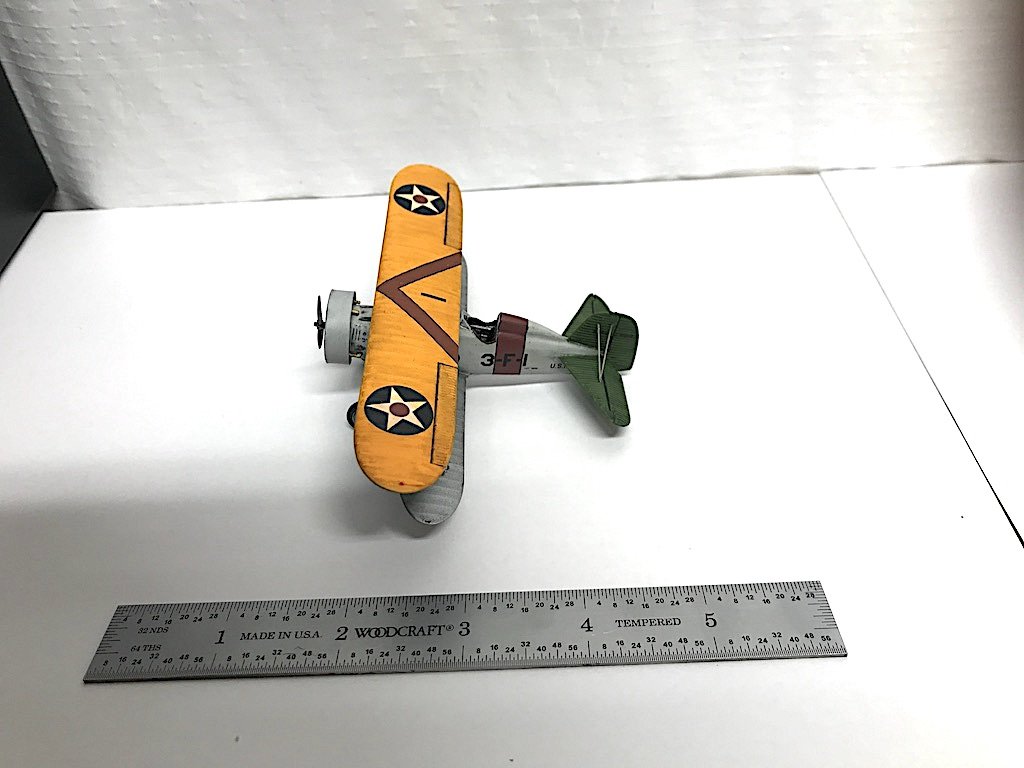
F4B-4 This one didn't come out too bad. I primed with Mr Color, then used mostly Vallejo paints for the rest. For the yellow wing, I used Tamiya camel yellow in a rattle can which aside from a Mr. Color paint, seemed to be the most spot on color for these planes. Dummy me, I accidentally bought the PS line for polycarbonates (generally used in remote control models). Had no idea that there was/would be such a difference. I had to spray a number of coats to get an even coating, but then it worked out fine. Completely different story for the P-6E as described below 🤯 I used Pledge floor polish for the gloss coats, Vallejo washes for the weathering and shading (light and dark grey for the body, yellow and brown washes for the yellow wing), and then Mr. Color Matt rattle can for the final coat. The biggest issue I had was that the engine cowl from the kit was super warped. I tried heating it to get it in decent shape but to no avail. I ended up creating my own using strip styrene that I glued around the engine. It's not exact in that the engine cowls were slightly conical in shape and the edges curved inward, but it's the best I could do and doesn't look too bad at this scale - which, by the way is a bit small for my liking. Also, I'm not sure I loved the aftermarket rigging. You had to bend the tabs, and the lengths seemed to be just slightly off. Also, I had a big issue with the two pairs of rigging that intersect between the wings. If you run the rigging at the attached points as directed (directions were minimal, I had to look at pictures online), the pairs of rigging not only intersect in the X pattern, but they actually run in between each other as well. The PE set gave you pairs of rigging that were attached together at the top and bottom. So, ultimately I just cut through one end of one of the pairs so I could weave it in between the other set. Given that this is PE (stainless steel perhaps), all this bending and cutting resulted in lines that were less straight than I would have hoped for. Was very frustrating!

- 27 replies
-
- 14
-
-
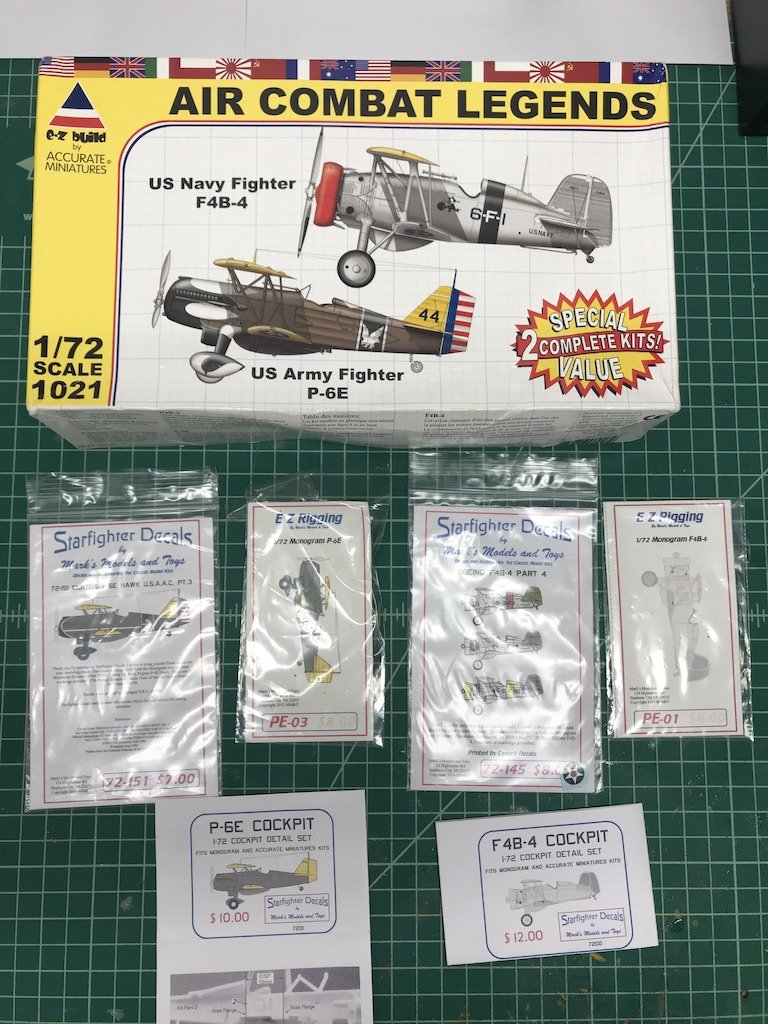
Well I've finally completed my first plastic models since I was a kid. I bought the Accurate Miniatures double box as a reintroduction to the hobby. I figured the kit was fairly inexpensive from eBay (Accurate Miniatures is no longer in business - though they did rebox certain models including these two from Monogram I believe) and had aftermarket upgrade sets, so I figured why not take the plunge. Along with the kit, I used the Starfighter resin cockpit, decals, and PE rigging set upgrades: Well, starting with WWI-II interwar biplanes (and their assorted rigging) at 1/72 probably wasn't the easiest way to get back into plastic modeling, but I learned a ton. These biplanes are fairly small at this scale! Next two posts will show the completed models. I was a bit hesitant to start a build log on here as I was worried the two would turn into a disaster, but I probably should have to at the very least provide you all with some comedic relief My apologies in advance for the poor pictures, I don't have a good lighting set up and am using my iPhone.
- 27 replies
-
- 11
-
-
Nice work John - glad to see you're back
-
The wheels look fantastic - well worth it, nice job! What gauge wire did you use?
-
Military Wrecker - Revell - 1:32 Scale - PLASTIC
Landlubber Mike replied to CDW's topic in Non-ship/categorised builds
That looks like a really fun kit. I'm signed up for this one! Are you going to make it look beaten up? -
That looks really good - can I ask what wood you used?
-
Beautiful build once again Craig! You do really great work.
-
Congrats on your second child! I had three kids during my Badger build, and it ended up taking me 5 years to complete so I know what you mean Nice job on the Philadelphia!
-
Beautiful engine work. Can I ask - why are you modifying the back half of the car? Are you building a different version?
-
Just came across this - very nice start!
-
Very nice start, and very nice stash! I've been picking up Wingnut kits where I can find them. Would love to add a Gotha G.IV and Felixstowe to my stash
-
Nice - I have this kit in the stash. Works into a real beautiful model from some of the amazing work I've seen on the web. I'm sure your restoration will be up there!
-
Wow, those are beautiful! Nice job! Can't say I've even heard of cordless air brushes. How do you attach the air source if cordless? If you have to attach a can to the brush directly, seems like it might be a bit awkward to handle for doing detail work, but maybe it actually works just fine?
-
Revell 1/8 corvette by kpnuts
Landlubber Mike replied to kpnuts's topic in Non-ship/categorised builds
Thank you! It's been interesting learning about the different techniques across various model subjects. Cars, planes, ships, armor all have different techniques, finishes, areas of focus, etc. I don't have an artistic background at all so this has been fascinating. I think some of these techniques can carry over to wooden ship building. I've been "painting with wood" as I think paint generally makes the ship model seem "plastic" - or at least plastic parts next to the bare wood parts - but some of these painting and shading techniques could be used to great effect on wooden builds that are painted. -
Nice work! 1/72 scale is not easy for sure - you're doing a fantastic job!
-
Very nice!! Fantastic job!
-
Fokker Dr.I triplane by cog - multiple - 1:72 - PLASTIC
Landlubber Mike replied to cog's topic in Non-ship/categorised builds
Very nice models! So colorful, wonderful job! Especially at that scale! -
Revell 1/8 corvette by kpnuts
Landlubber Mike replied to kpnuts's topic in Non-ship/categorised builds
Do you do the shading first, and then spray the base color over to blend it? Or do you base coat first, and then add the shading? Sorry, having a little trouble figuring out the best order. Since I already applied the base coat (via rattle can), just trying to figure out if there is a way I can add a little depth at this stage. I might try carefully adding a wash to the edges (I have a bunch of the Vallejo washes that might be ok). -
Revell 1/8 corvette by kpnuts
Landlubber Mike replied to kpnuts's topic in Non-ship/categorised builds
Very nice job! Awesome subject and model! Can I ask, how did you add the shading to the door lines and similar areas? I just put the base coat on my first car model last night and would like to add depth to some areas. Unlike planes though, where the shading doesn’t need sharp lines, seems that it’s a bit trickier for cars (especially if you aren’t planning to weather them). -
Sorry just realized I replied to an earlier post and you already applied the clear. Yeah, I used a rattle can. Was super easy, but the smell wasn’t fun. Opened a window in my basement and vented using my spray booth but things still stunk for a while.
-
Looks amazing OC! Nice job! Yesterday I used Mr Color Matt from a spray can on one of my current builds. Couple of light passes and it dulled the plane nicely. I’m sure Tamiya will do the same and be just as easy 👍
-
B-25 Mitchell "Meet Miss Runyon" by Javlin-HK-1/32
Landlubber Mike replied to Javlin's topic in Non-ship/categorised builds
Really nice work Kevin! -
Revell 1/8 corvette by kpnuts
Landlubber Mike replied to kpnuts's topic in Non-ship/categorised builds
Nice work! Love the dash and the seats look very comfortable. -
Nice work!
