


Landlubber Mike
-
Posts
4,547 -
Joined
-
Last visited
Content Type
Profiles
Forums
Gallery
Events
Everything posted by Landlubber Mike
-
 Very nice! Was just talking to my dad the other day and he was saying he really loved the Chevelle SS396 (he owned a Dodge Challenger in the 70s that I distinctly remember as a kid). After starting car models again, I'm thinking I should treat myself to a 70s muscle car. I think I deserve it after driving a minivan for the past decades to haul around my three kids
- 77 replies
-
- 1
-

-
- point berlin
- diorama
- (and 1 more)
-
You're a lot smarter than I am Tom. I went with the 1/72 planes (bi planes of all things which have their added complication) and a 1/700 WWII destroyer to reintroduce me to plastic modeling. It's been an adventure to say the least. Looking forward to moving up to bigger scales I can tell you that.
- 120 replies
-
- 10
-
-
Good stuff OC - glad you stayed with it, it's looking fantastic. Good luck with the mask removal. Sending good vibes your way.
-
Revell 1/8 corvette by kpnuts
Landlubber Mike replied to kpnuts's topic in Non-ship/categorised builds
Very cool, I'm in! Nice scale - planning to add details? -
This is coming along really nicely Hope you find that plank! Can you steal it from the new kit you purchased and just get all new planking for that one? Oh, nice car in your avatar - what is it?
- 77 replies
-
- 1
-
-
- point berlin
- diorama
- (and 1 more)
-
That helps a lot Mark, very good to know for when I get back to my Pegasus. Many thanks!
-
Wow, very cool diorama! I love it!
-
Looking awesome Tom. You picked a pretty sweet kit to get into airbrushing and PE I was too chicken and went with tiny WWI 1/72 kits 😐
- 120 replies
-
- 10
-
-
Italari 1/12 Mephistopheles by kpnuts
Landlubber Mike replied to kpnuts's topic in Non-ship/categorised builds
Wow fantastic build! You work quick! If and when I ever get to mine, I'm sure it will take me a a year to complete - with results likely no where close to yours! -
Very nicely done Mark! Can I ask on the application of the plates - how to you apply the glue so that it doesn't squeeze out from underneath when the plate is attached? Seems like a tricky exercise of putting enough glue that the ends of the plate are secured, but not too much that excess squeezes out. You've certainly mastered it!
-
B-25 Mitchell "Meet Miss Runyon" by Javlin-HK-1/32
Landlubber Mike replied to Javlin's topic in Non-ship/categorised builds
Nice! Looking forward to that one! -
I do as well - pain to try to sand it so I wipe up as much as possible. It's taught me to be a little more careful with how much glue I add.
-
Wow nice kit!! 1/12 scale will allow you to add lots of details!
-
I'm not there yet - working on it though
-
B-25 Mitchell "Meet Miss Runyon" by Javlin-HK-1/32
Landlubber Mike replied to Javlin's topic in Non-ship/categorised builds
Well he only has another 249 to choose amongst? 🤔 -
Awesome diorama!! Well done! I told myself I can't start looking at armor kits. First it was plastic ships - that led to plastic plane kits - which then led to plastic car kits on the shelf. Must look away now...
-
I should have mentioned that I've painted Vallejo acrylics on top of the Mr. Color lacquer primer and Tamiya lacquer paints no problems. Only problem I've had is when I used that Polycarbonate paint on top of acrylics - that caused the acrylic to turn runny. One thing to note too is that there are varying opinions on how long to let something dry and especially cure before adding a different layer on top. Most seem to suggest waiting at least overnight, if not 24 hours, to be on the safer side.
-
Italari 1/12 Mephistopheles by kpnuts
Landlubber Mike replied to kpnuts's topic in Non-ship/categorised builds
Yes, that's the version I have. Somehow lucked into it on eBay when a seller decided to discount it by 60%. The scale looks perfect for adding lots of cool details. -
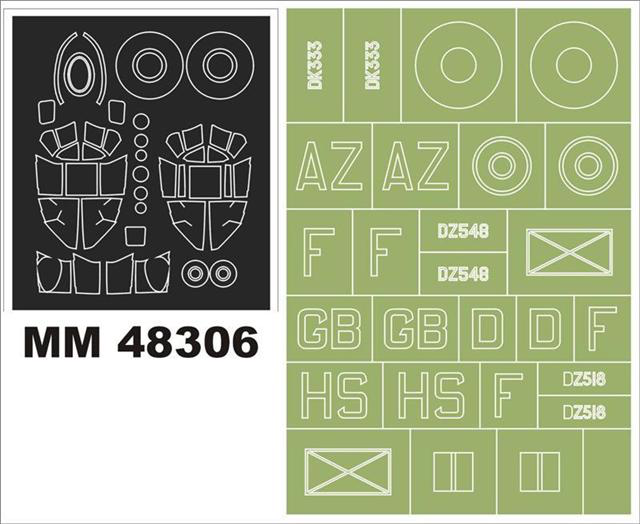
OC, I have to say when I saw the email showing build log updates I follow and saw your posts from yesterday, my heart sank! Glad that you were able to recover though! It's looking like you just took a time machine a few days and are back to where you were. To replace your decals, I bet contacting Revell is a good place to start. Your build log is fantastic and is good free advertising for them. If they aren't able to help, then I bet you can pick up third party decals for the kit. Some you can find here: https://www.scalemates.com/kits/revell-04555-mosquito-b-mkiv--111441 Or, I'm sure you know this, but they sell paint masks that will allow you to paint the markings, rather than use decals. That could be an option? https://www.scalemates.com/kits/montex-mm48306-dh-98-mosquito-b-mkiv--198970 So, I'm by no means an expert on this, but I'm guessing that Egilman is correct on what happened with the hair dryer and curing. As a side hobby I sometimes turn pens, and typically add a CA finish when I use wooden blanks. Sometimes I will get a crazing like that. I've found that happens when I try using an older bottle of CA, but along with humidity, I've had issues pop up with some blanks when I used accelerator (either too much, too late after the CA was applied - i.e., there is a problem with the curing). CA is certainly different than applying a clear coat, but when I saw your pictures, I immediately thought of the same issues I had with adding CA finishes. I hate to dredge up bad memories, but can you spell out the steps you used? It sounds like you applied Tamiya rattle can lacquer primers and paints. Did you seal right after painting? Then you applied the decals with setting solution (microset?), and then tried to gloss coat with a Tamiya lacquer by hand? The reason I ask is that I'm working on two 1/72 planes at the moment. The steps I took were (1) Mr. Color primer (lacquer), (2) for paints, I used mostly Vallejo (acrylic), though I used a Tamiya lacquer spray can for some parts (I made a big mistake in buying the Polycarbonate PS line which is for RC models that use polycarbonate), (3) added a clear coat of Future to seal the paint, (4) added decals using Microset and Microsol, and (5) sealed the decals with another coat of Future so I can begin weathering (I'm going to play with washes, powders, and oil paints I think). Everything has worked pretty well for me. The only issue I had is when I accidentally got a bit of acrylic paint on the section I painted with the Polycarbonate paint. When I went to touch up that area by hand brushing the Polycarbonate paint to cover the acrylic, it ended up turning the acrylic wet and sorta mixed with it so I had to wipe it and now have some small smears (I guess an early start to the weathering process for me). Not sure if the PS paints are lacquer, but I now know that I can't use that PS paint on top of acrylic. Anyway, just thought I'd share as I've read different views on what paints can be used with other paints and when. It's all been very confusing to say the least. I very much prefer the ease of using Vallejo acrylics, but Tamiya's lacquer colors just seem a lot more lively and better for certain types of models. All that being said, hang in there man - you took a step or two back and learned something, but all is not lost. Your Mosquito looks fantastic!
-
Bob, sorry for the setback but even boxing the base you're going to have one of the nicest models I've seen on here. Really amazing work!
-
B-25 Mitchell "Meet Miss Runyon" by Javlin-HK-1/32
Landlubber Mike replied to Javlin's topic in Non-ship/categorised builds
Fantastic Kevin!! What's next on the list -
Italari 1/12 Mephistopheles by kpnuts
Landlubber Mike replied to kpnuts's topic in Non-ship/categorised builds
I'm really excited to watch this - I have it in the stash. From what I've seen, it is an incredible kit. Good luck! The black version is really sweet - there is a work in progress on Model Cars Magazine forums by Maysula in case you're interested.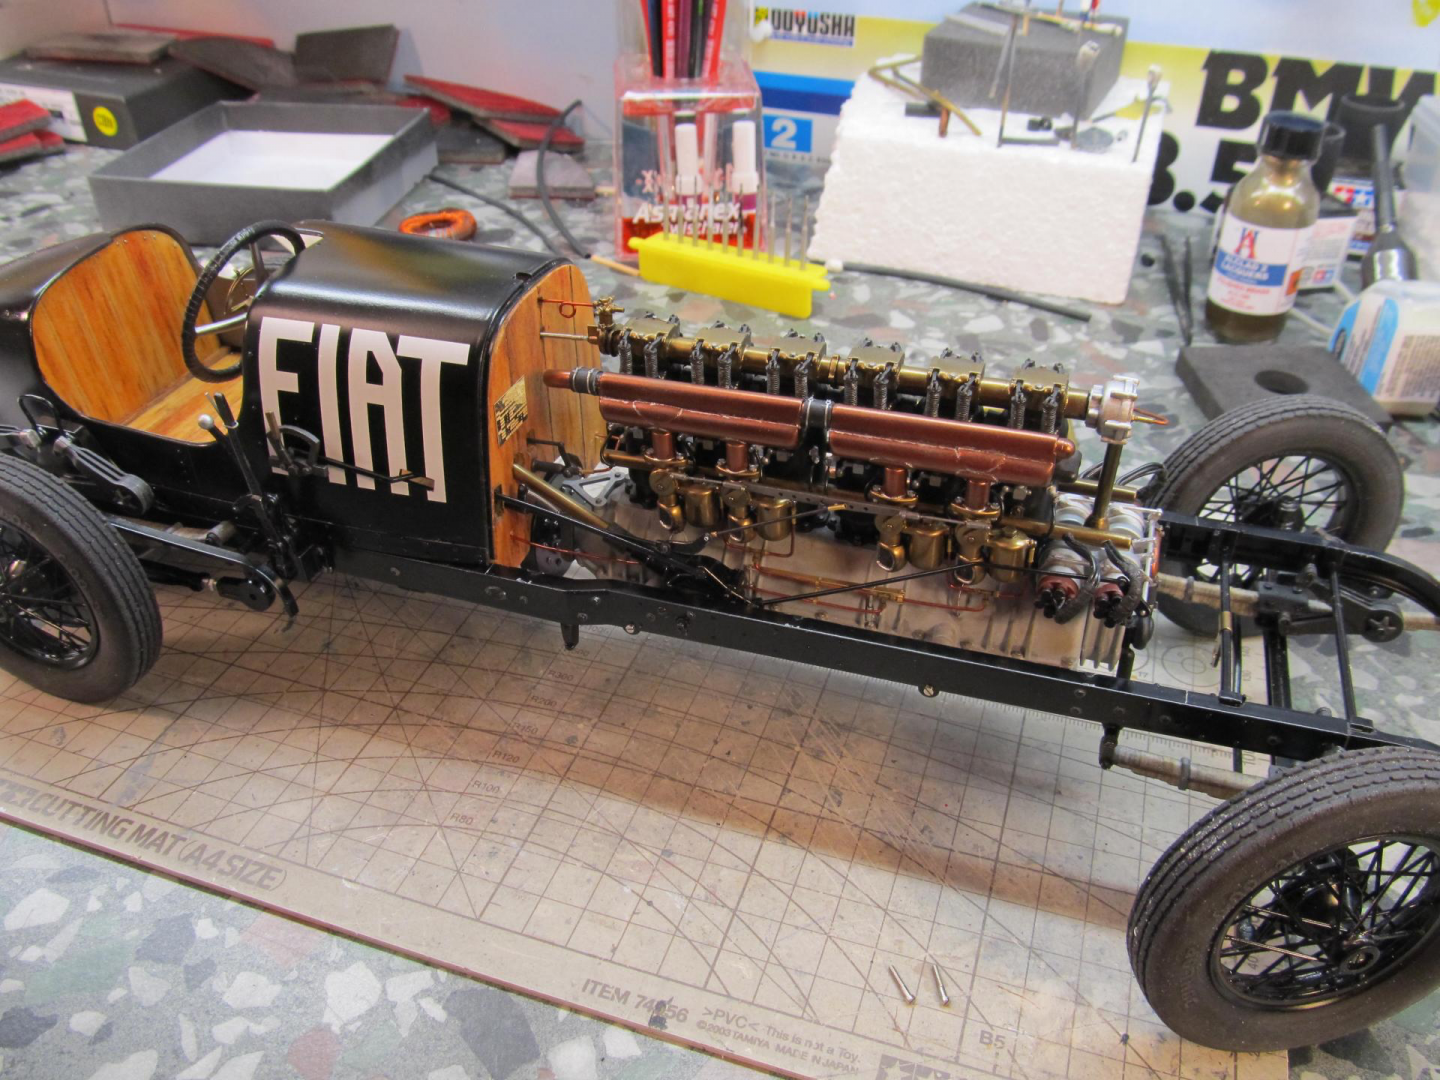
-
Well done! Gorgeous model! That white top looks perfect - color and texture. Can I ask how you did it?
