Louie da fly
-
Posts
7,990 -
Joined
-
Last visited
Content Type
Profiles
Forums
Gallery
Events
Everything posted by Louie da fly
-
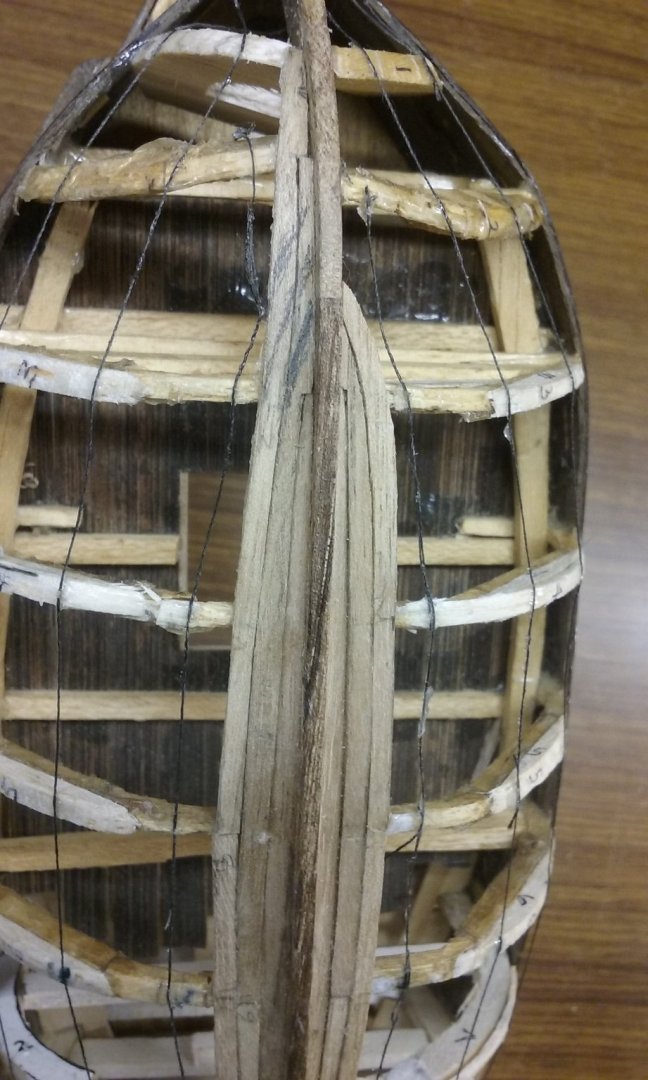
 Usually made out of thin willow branches (or wands), split lengthways in half. Nice and flexible, also used in such things as baskets and wattling (making 'woven" fences - or combined with mud to make "wattle and daub" walls for houses).
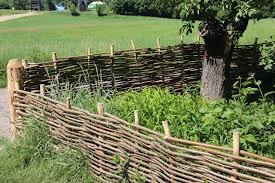

-
I don't know anything about how easy or difficult it is to build, but the Saint Louis (Heller and Airfix both make a kit - there's a discussion on their relative merits at http://cs.finescale.com/fsm/modeling_subjects/f/7/t/98193.aspx) has always appealed to me, perhaps because of those wonderful "turrets" at bow and stern.
-
Welcome to MSW, Bjørn! There is a lot of information available on this site about planking - see https://modelshipworld.com/forum/98-planking-downloads-and-tutorials-and-videos/ - read through these carefully and they should help a lot. And you should definitely start a build log. It's the best way to show the rest of us your progress, but also to get help, encouragement and advice. Instructions are here: Good luck with it, and have fun!
-
Have a look here: and following pages where Siggi explains how he made the figures from brass sheet and copper wire, and clothes from rice paper. Your ship is 2.5 times the scale and this technique might not work for you - but then again maybe it would!
-
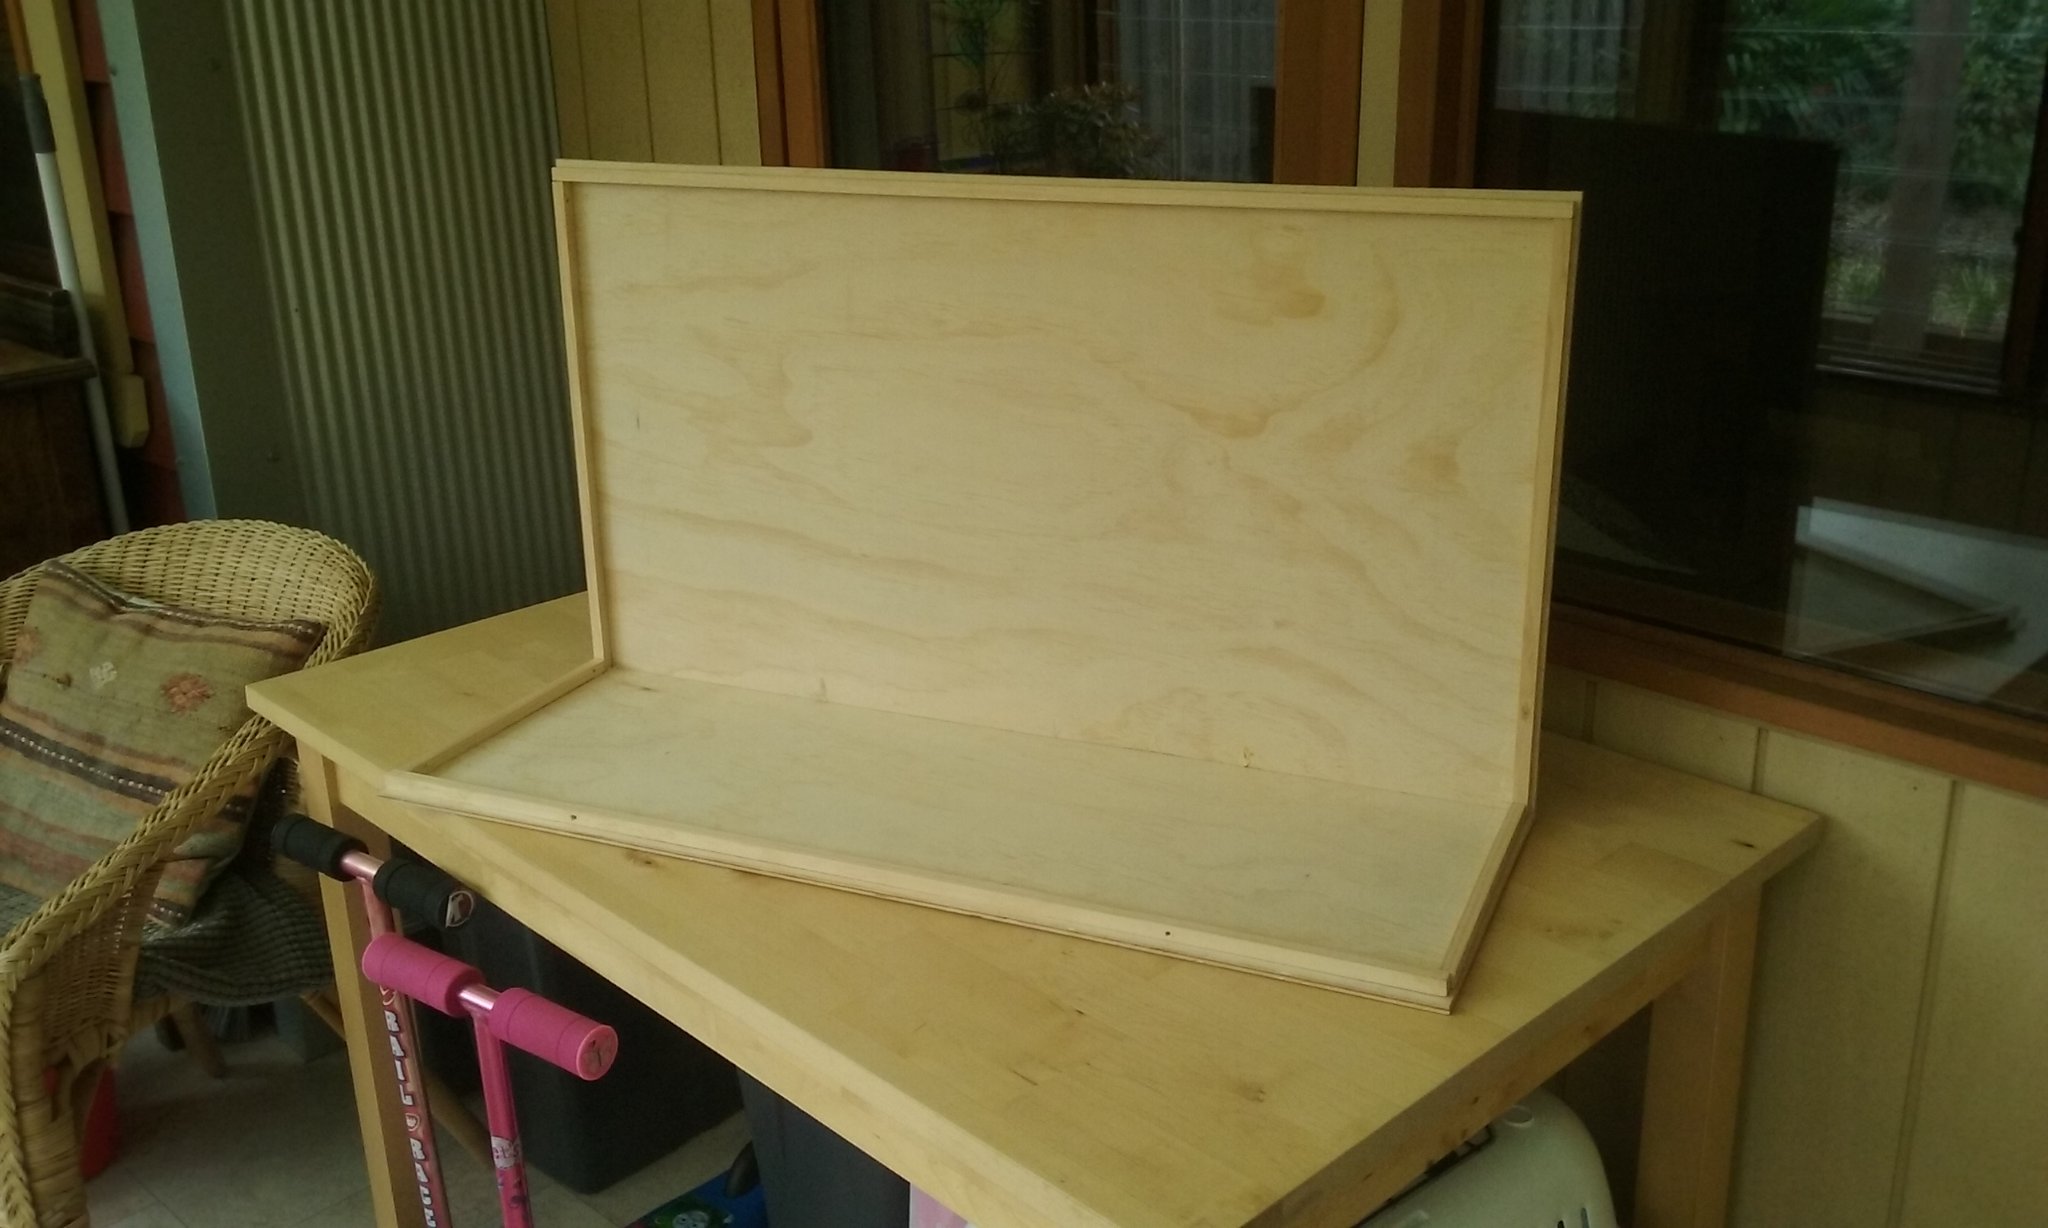
You could try making your own cases - https://modelshipworld.com/topic/10344-10th-11th-century-byzantine-dromon-by-louie-da-fly-150-finished/page/54/ I worked out the overall cost - came to about $100 Australian. The main cost was the polycarbonate. It would have cost more if I'd also put polycarbonate on the back, but I have plans for a background - but that's going to be a big (A1 size) print of a picture which will cost me another $20 from the office supplies place. So $120 overall. I don't know how that compares with the cost of the ones above. If it's a lot cheaper it might be worth considering. Bill, the rake on your mizzen is better, but it still looks a bit extreme to me. Does the manufacturer supply any views of the finished kit from side-on? I expect not, otherwise you'd have mentioned it. Even your bonaventure (means "good adventure", or perhaps "good journey" in French) mizzen looks like it has a pretty extreme rake. However that may be the way the manufacturer intended it. But I'd be going with a rake on the mizzen that's about halfway between the angle of the main mast and that of the bonaventure.
-
Beautiful work, Silverman! Not only the barrels (which are superb - I especially like the hoops made from (millet?) broom bristles), but also that amazing winch. It really makes the vessel come alive! Are you planning to put any people on board?
-
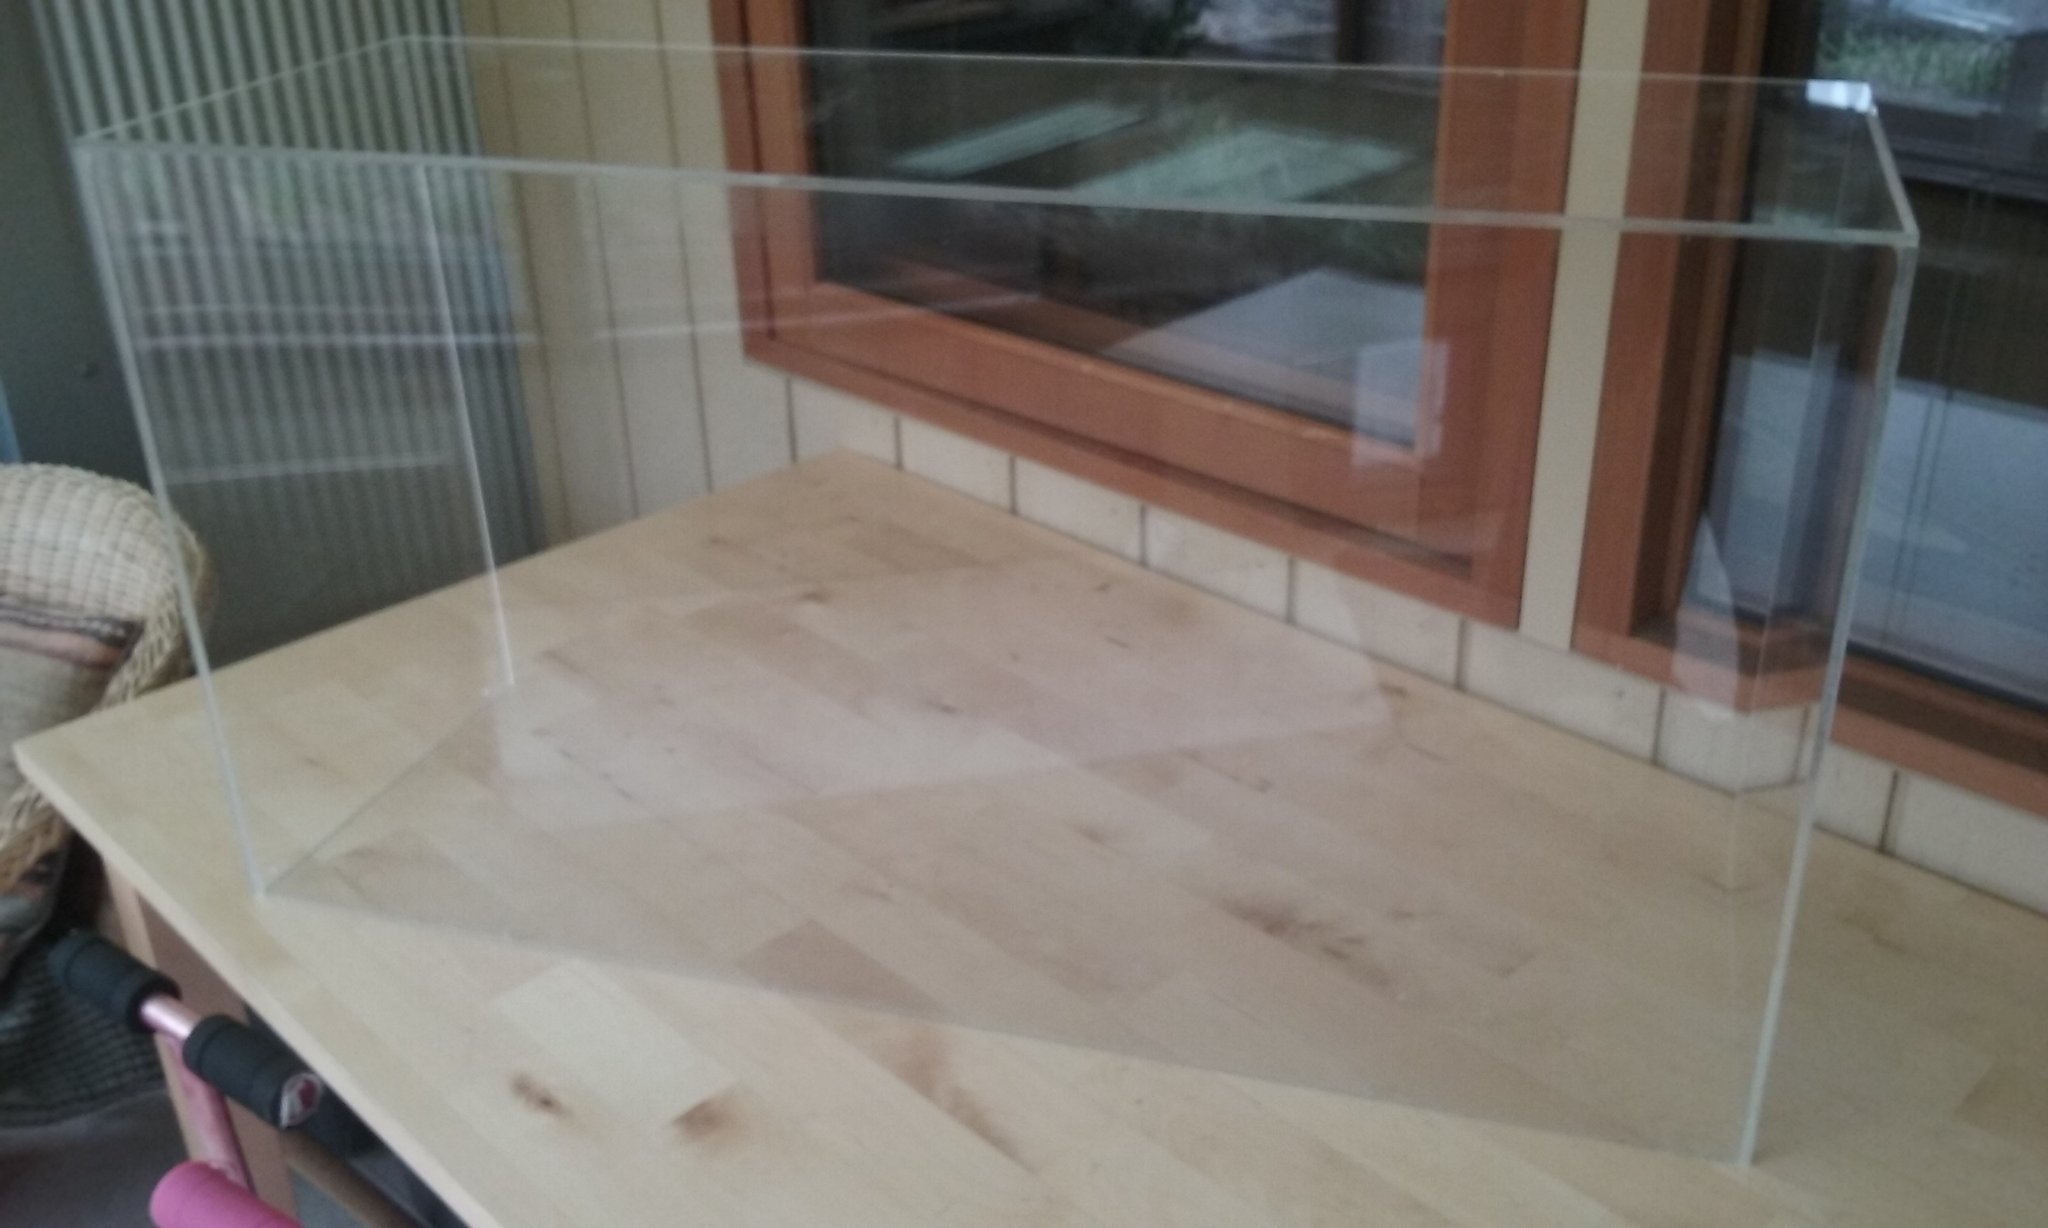
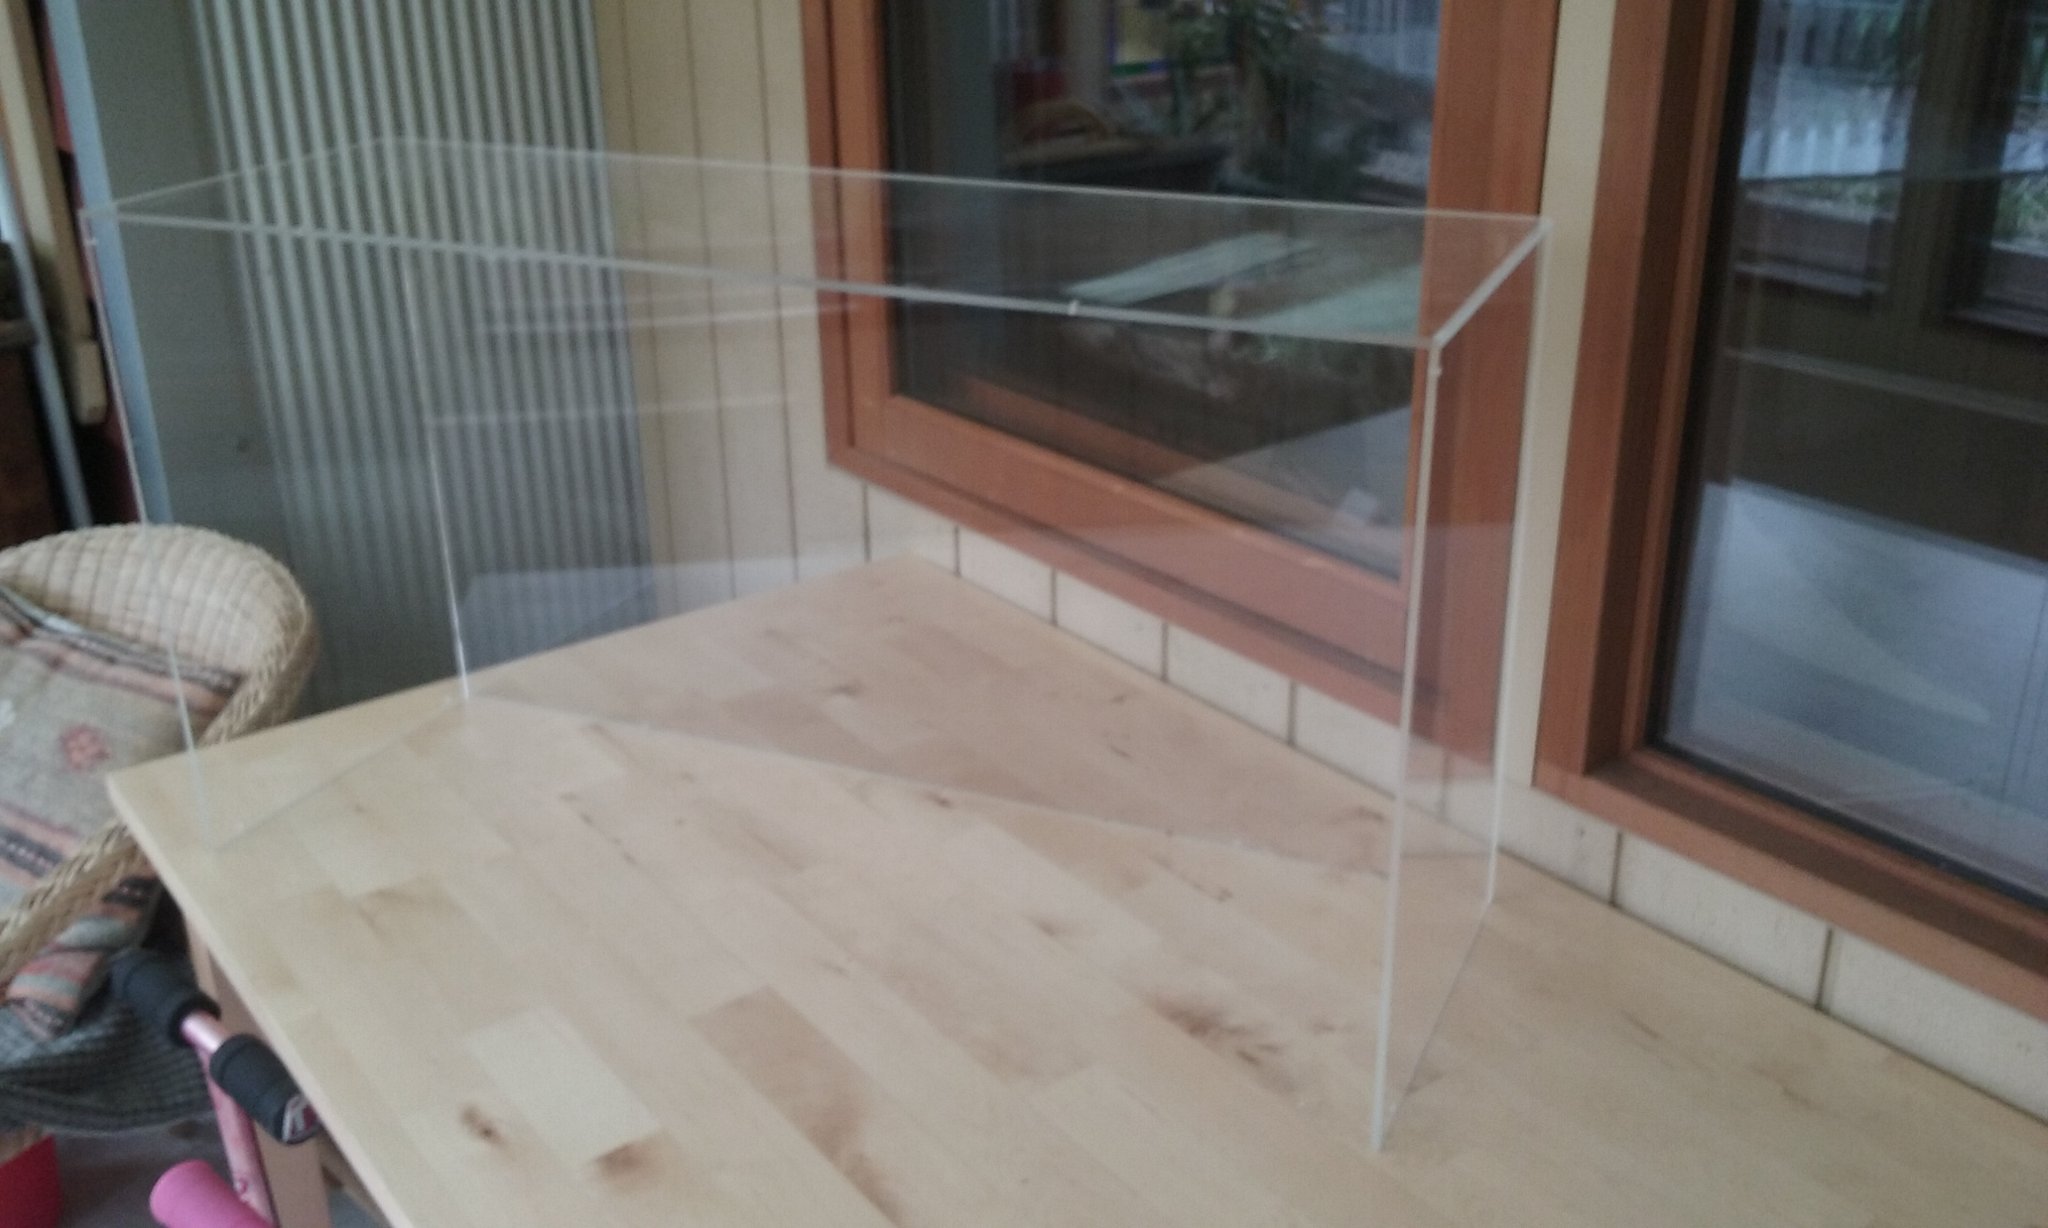
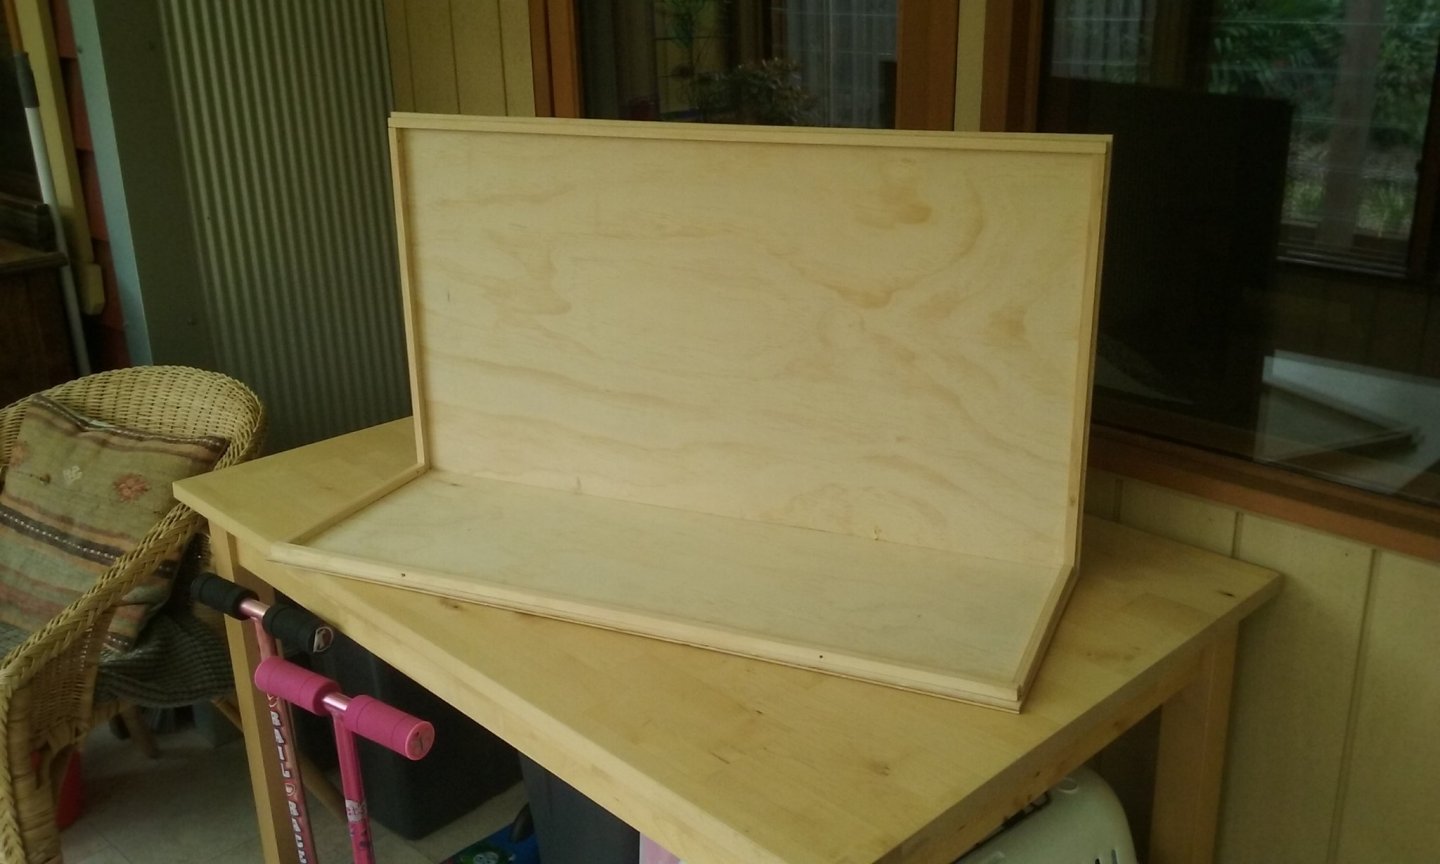
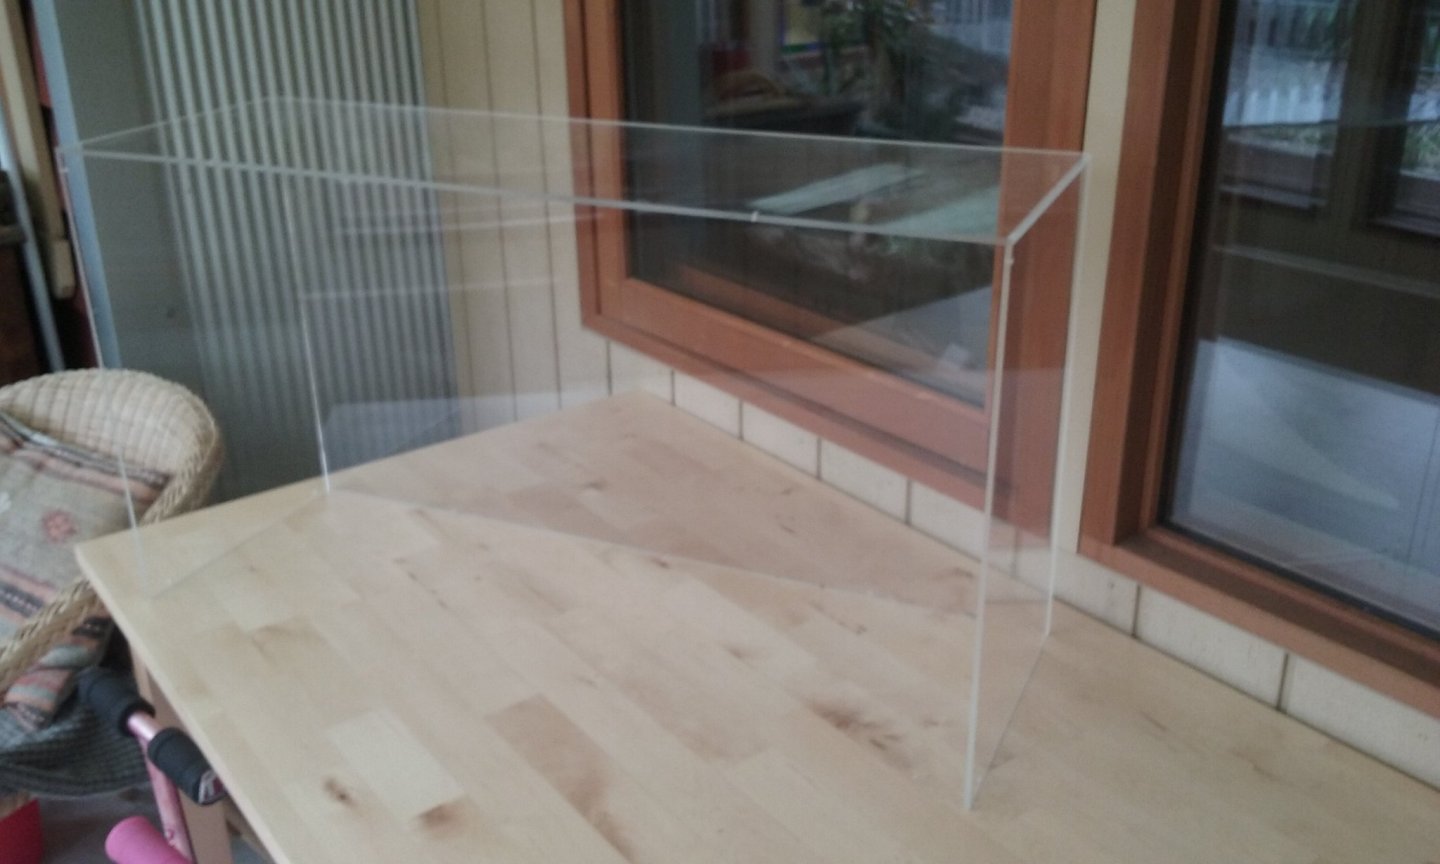
I'm working on making the case for the dromon. A plywood body, with the "glass" made of [Edit] polycarbonate acrylic [/Edit]. Front view Back view (from "inside") The [Edit] polycarbonate acrylic [/Edit] is a separate structure which will be screwed to the body once the model is inside. I used "metal" screws because of their fine threads. Because the [Edit] polycarbonate acrylic [/Edit] is so fragile I had to be very careful about making the holes - first I drilled small pilot holes through both body and [Edit] polycarbonate acrylic [/Edit] - then larger ones - almost as wide as the outside of the screw threads. I rubbed each screw against a bar of soap (to provide lubrication), and slowly and carefully turned the screw, which acted as a die-cutter, making a female thread in the hole in the [Edit] polycarbonate acrylic [/Edit]. The guy who supplied and cut the [Edit] polycarbonate acrylic [/Edit] to size showed me how to do the gluing between the pieces - didn't reckon my inexperience, so there are a few places where the glue has interfered with the pure clarity of the surface. But not too bad for a first time. I'll be staining the plywood so it doesn't just look like cheap pine. And I have some ideas for the background panel. But don't expect anything to happen for a while. I have other things that have to be done first.


-
Photos! We need photos! But I'd agree with earlier posters - start a build log. And put the photos in that. A build log is a great way to get feedback from other members, and help and advice. This is how to start yours:
-
Those sails look really good. I can see the glue would hold them in the curved shape as though the wind is blowing on them once it dried, but how did you get them to take the shape?
-
Golden Hind 1577 by goemon - 1:150
Louie da fly replied to goemon's topic in - Build logs for subjects built 1501 - 1750
You're doing a very good job on this, Goemon. It's becoming a very attractive (and beautifully detailed) model. -
Looking good, Clare. Sorry to hear the carpet monster has struck again!
- 175 replies
-
- 5
-

-
- hanse kogge
- shipyard
- (and 1 more)
-
Probably the best bed linen is stuff that is old and worn thin - just before it's ready to be thrown out, but not so thin it's ready to rip apart when you look at it. Then it's closer to the thickness (to scale) of the original.
-
Beautiful work on the planking, Bigpetr. That view from the bow is just amazing - what an exquisite shape! I like what you're doing with the triangles. If you can get it to work without the paint "bleeding", I think scoring the lines is probably the better way to go. Regarding the colour scheme, I like to top one with the single black stripe better than the bottom one with two. But that's just me.
-
1 mm should probably be ok. My planks are about that thick and I only have trouble at the stern where the plank has to twist from almost horizontal to almost vertical in a very short length- which you probably won't have on your model.
- 179 replies
-
- 2
-
-
- longship
- Helga Holm
- (and 1 more)
-
Hi Norseman, haven't seen any progress photos for awhile. Are you still working on this?
-
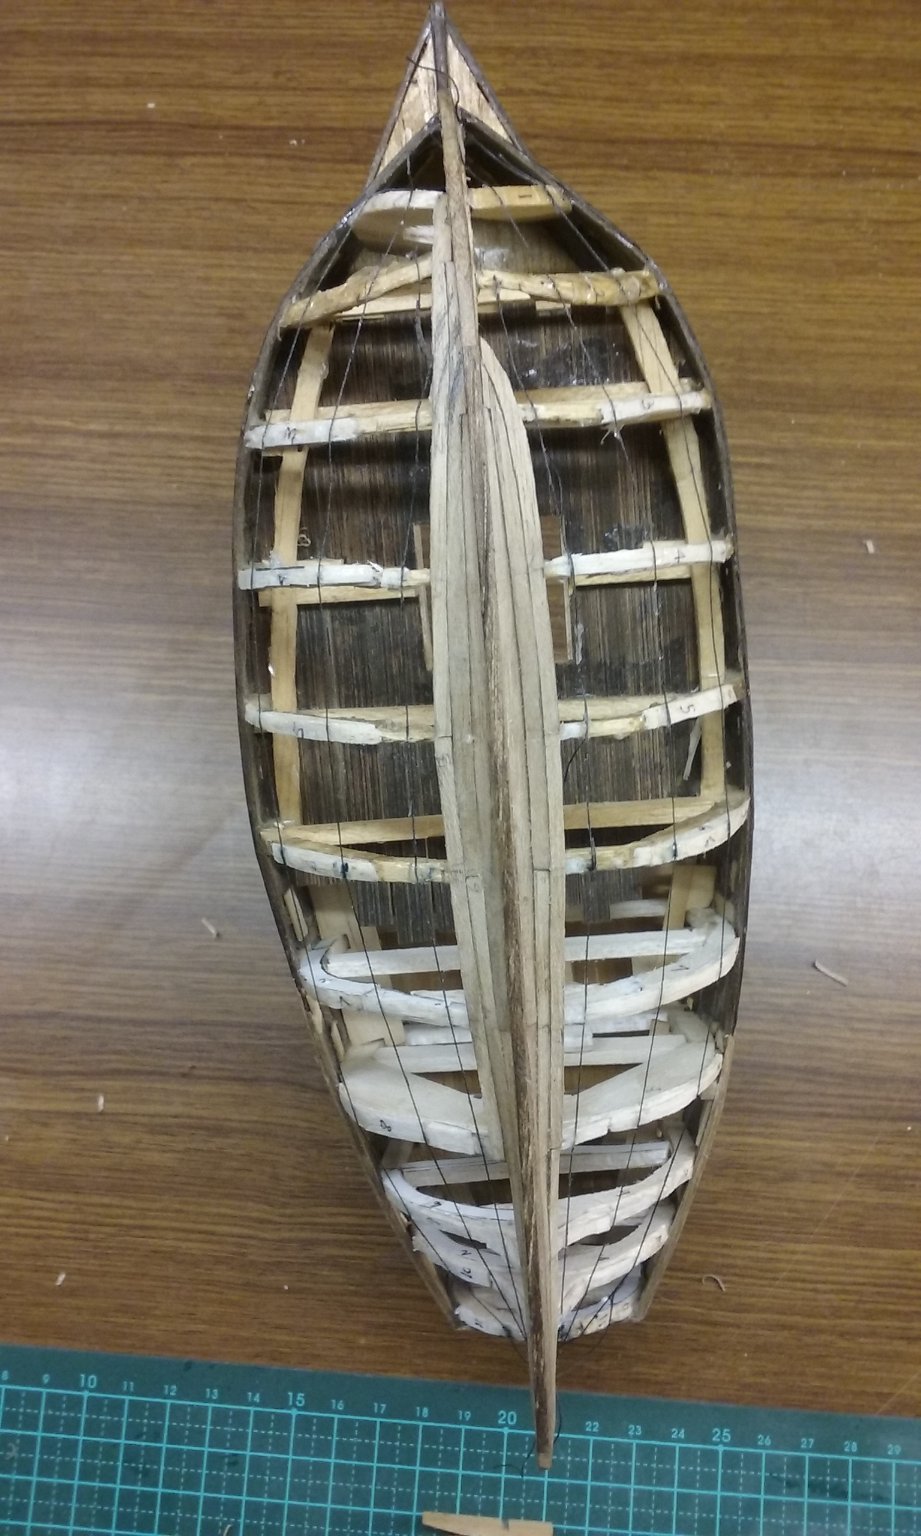
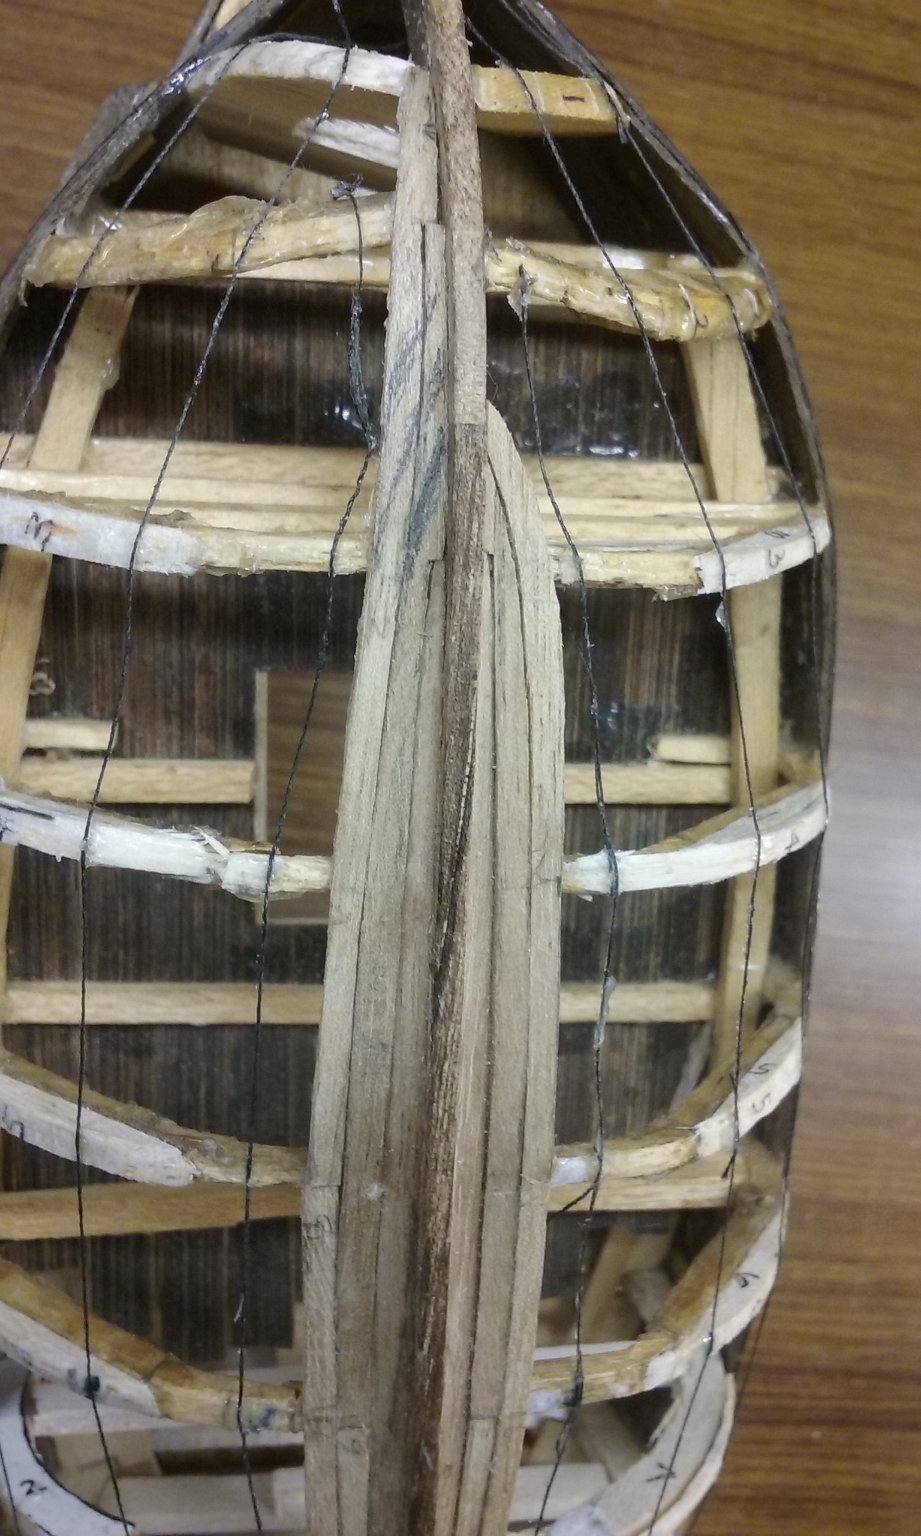
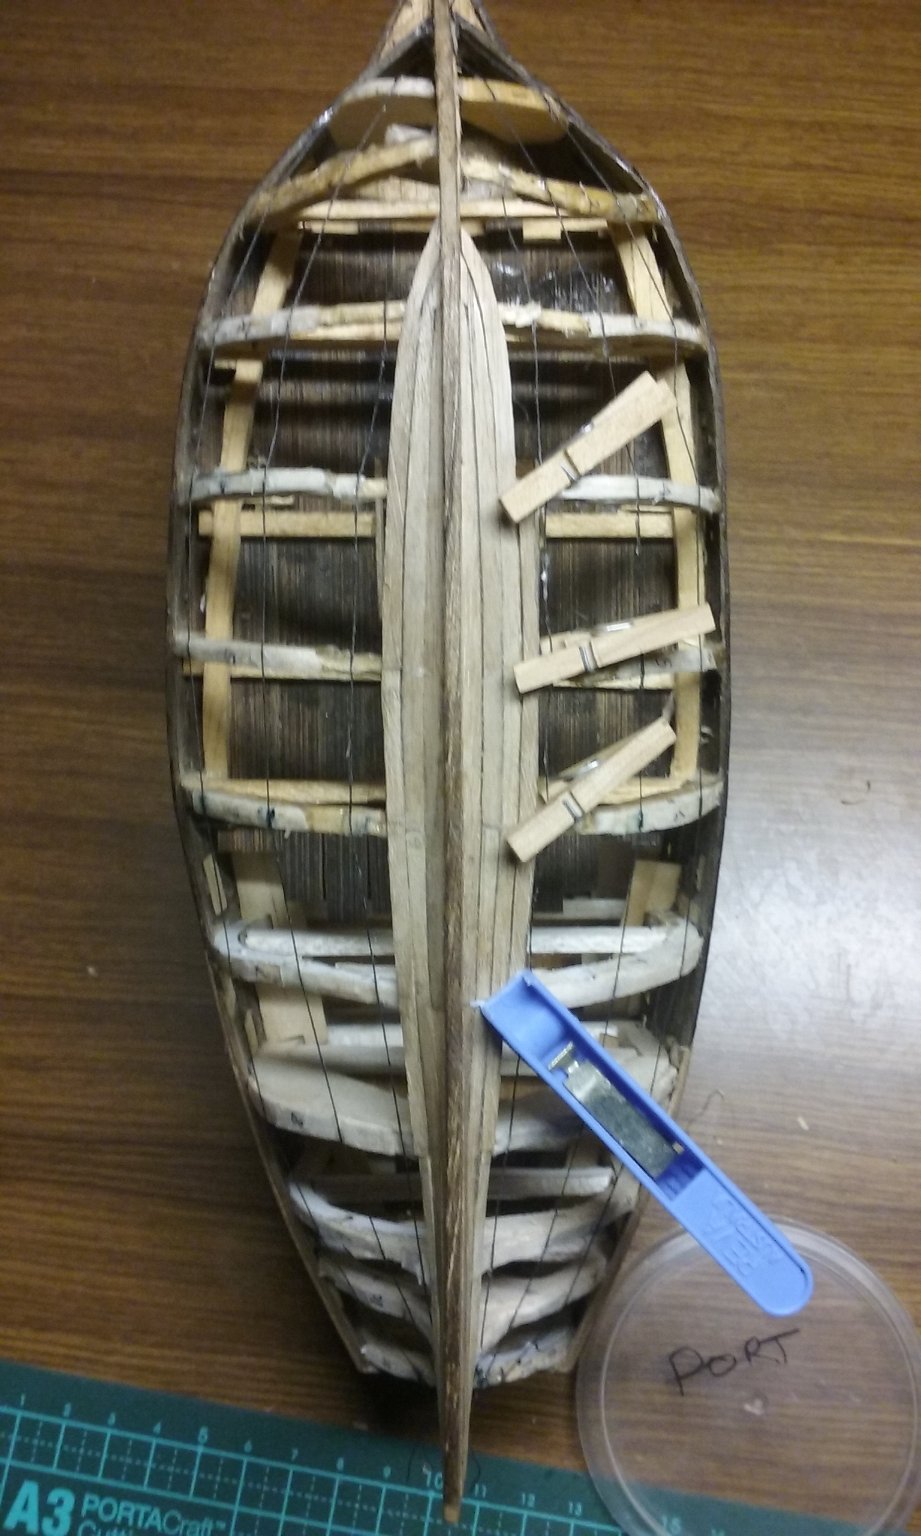
Well, I've fixed the wrong track I'd got onto. I removed the outer plank on the port side (because it couldn't be fixed) and cut back the next one to the shape I'd pencilled in. Then made the replacement for the plank I'd removed and put it in place: Then repeated the process on the starboard side: And now that's sorted, I can get on with adding extra planks.


- 740 replies
-
- 10
-
-
- Tudor
- restoration
- (and 4 more)
-
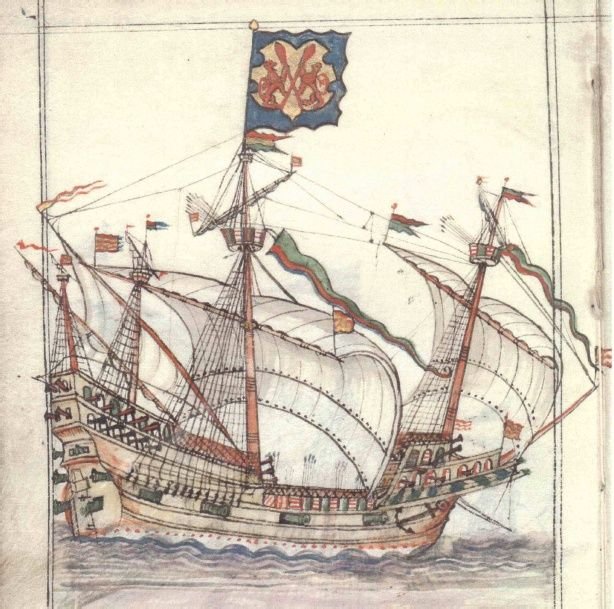
Beautiful work, Rodolfo! By the way I see this picture is from the book "Le navi di Colombo" - Heinrich Winter - Ed. MURSIA, but does the book tell what is the original source?
-
But . . . beware of the day, if your snark be a Boojum! For then - you will softly and suddenly vanish away, and never be met with again . . .
- 186 replies
-
- 1
-
-
- keelless
- reverse clinker
- (and 4 more)
-
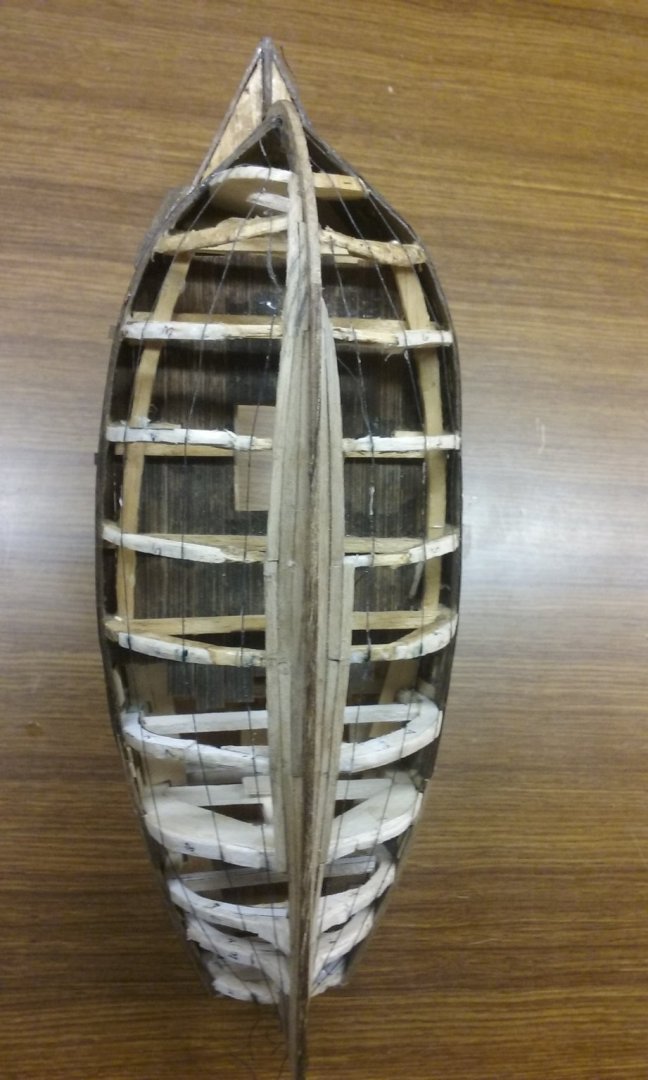
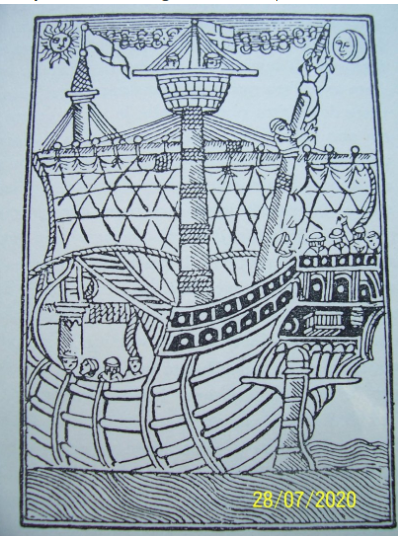
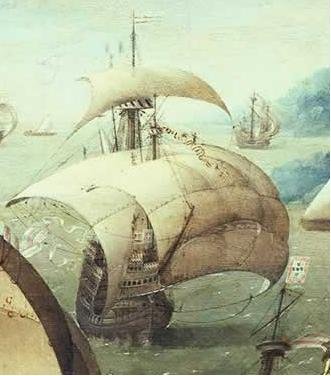
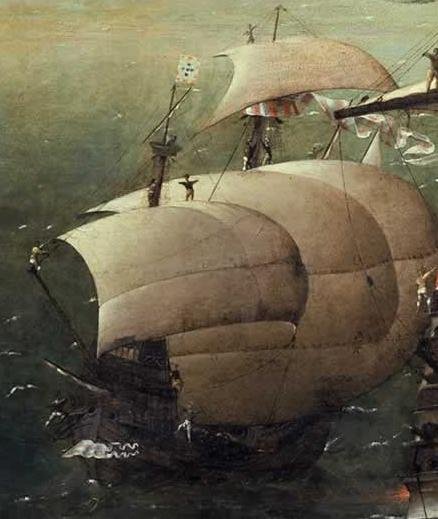
I hadn't realised the model dated back so far! You're doing a very good job with her. I'm enjoying watching your progress. One of your photos shows the ship seen from directly ahead - is there supposed to be a part filling in that strange gap at the front of the forecastle, or is that the way the model has it? The reason I'm asking is the pictures I have indicate a sharp point at the front of the forecastle, with a panel across further back and higher up (if that makes sense) where the shape of the forecastle dictates it. Here's my interpretation of this in my Great Harry and here's a detail (the first 2 pics from from the painting above) showing the evidence for it You might also like to consider silkspan for the sails - it's used as fabric covering for model aircraft and is very fine. I haven't tried it myself, but quite a few people have reported good results.

-
You've done a beautiful job with this, Rodolfo. It's so much better than what the model recommends.
-
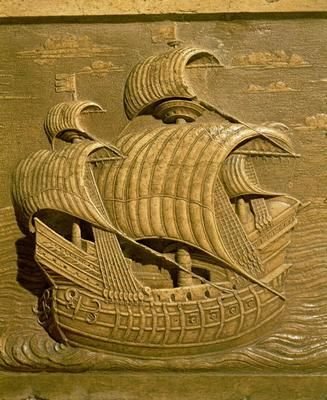
Yes, if you look at contemporary pictures of galleons, generally the foremast is raked forward and the mizzen(s) is raked aft (though on this example though bonaventure mizzen is raked aft the mizzen seems to be raked forward for some reason) . So the model is correct.
- 165 replies
-
- 3
-
-
- english galleon
- revell
- (and 2 more)
-
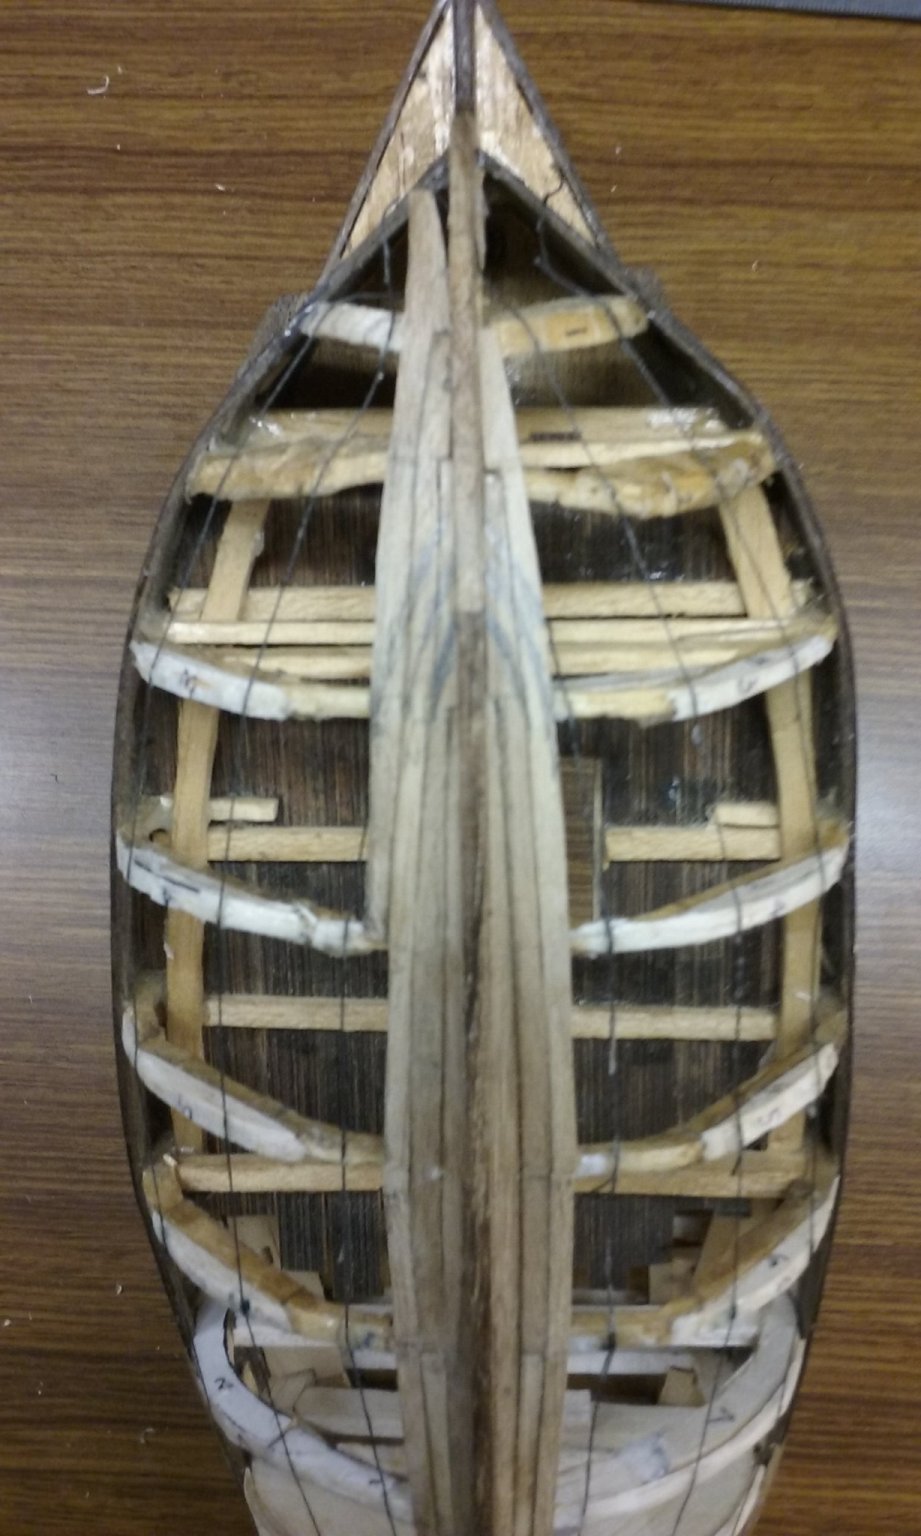
Actually, I've realised that at the bow I've been on completely the wrong track. I've drawn in pencil where the planks should be going at the bow. If I kept going the way I was I'd end up with a horrible mish-mash - similar to the bow planking you find on those model kits that just give you parallel sided planks and don't care that it's not the way it was done. I think I owe it to myself and also to the people who've posted tutorials, and even more to those who've given me valuable advice personally, to pull the wrong bits off and get it right. I probably still have to tweak the pencil lines a bit, but now I think I'm (finally) on the right track. Planking has never been my strong point, but if I'm patient and painstaking, I think I'll improve in this area to the point I actually know what I'm doing.

- 740 replies
-
- 9
-
-
- Tudor
- restoration
- (and 4 more)