


GuntherMT
-
Posts
2,213 -
Joined
-
Last visited
Content Type
Profiles
Forums
Gallery
Events
Posts posted by GuntherMT
-
-
Photo's from earlier.
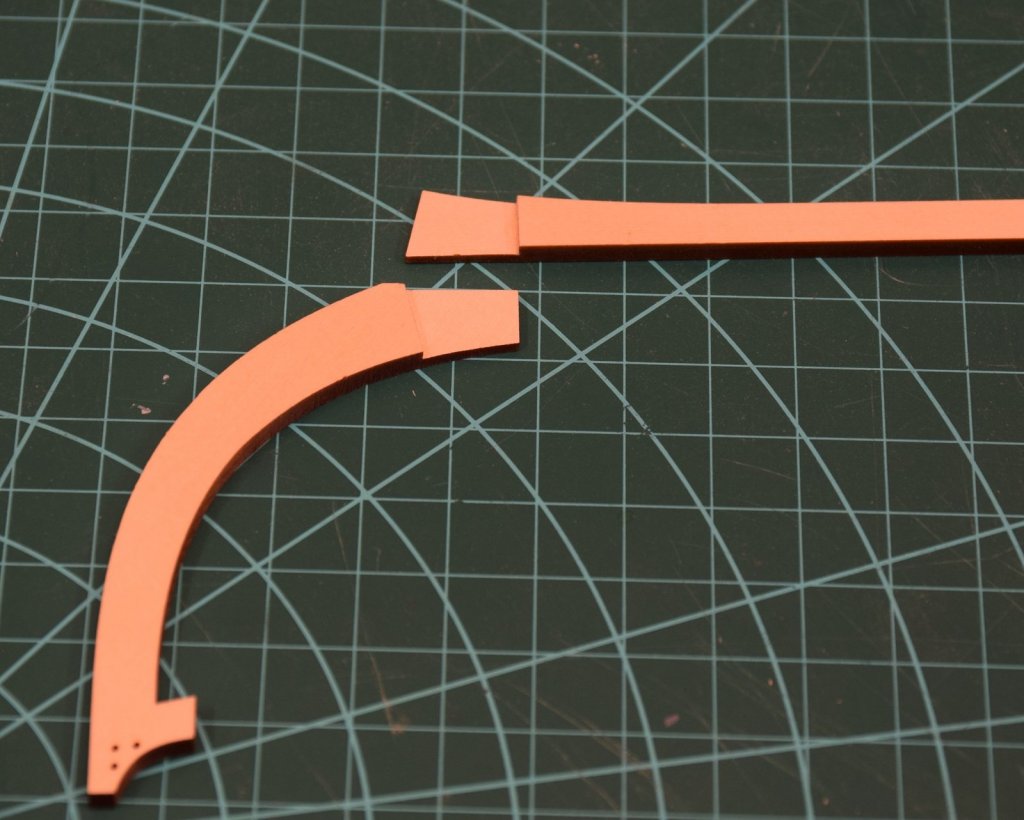
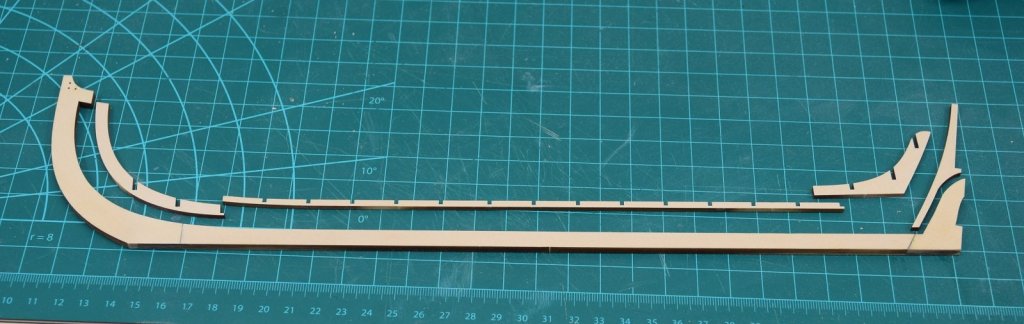
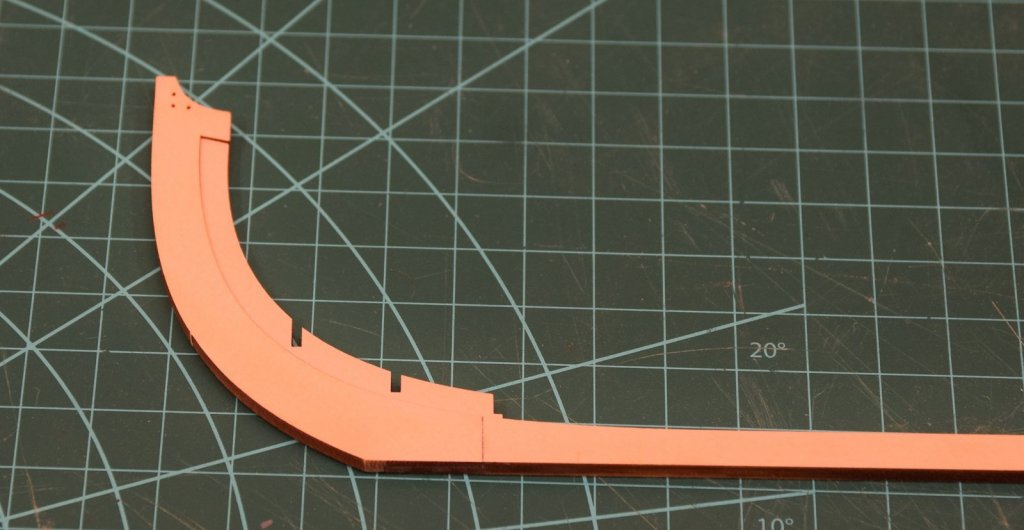
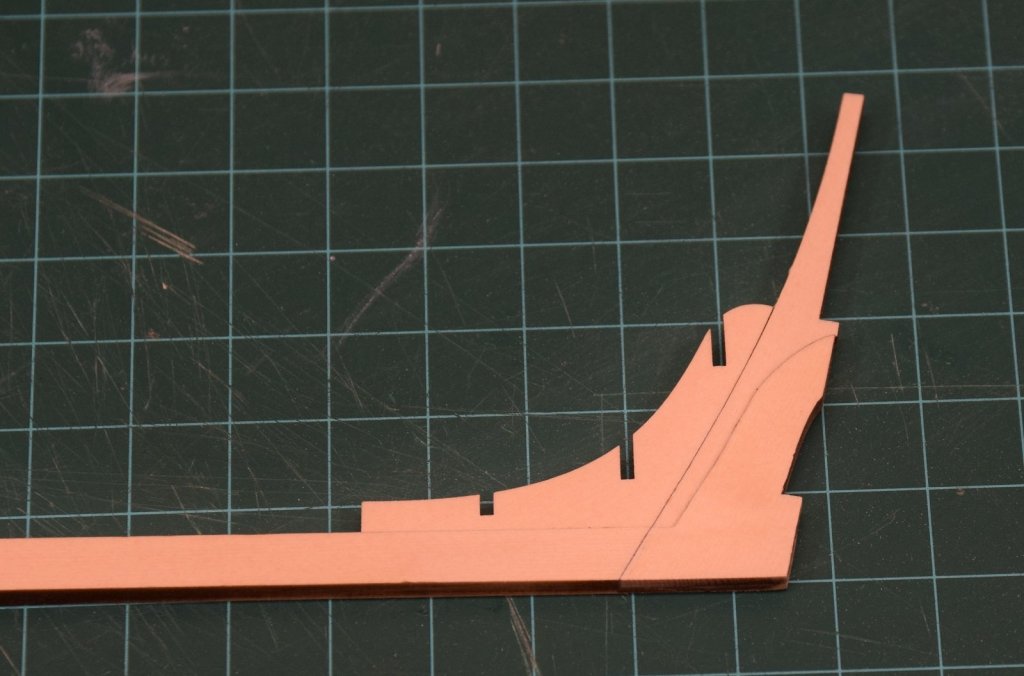
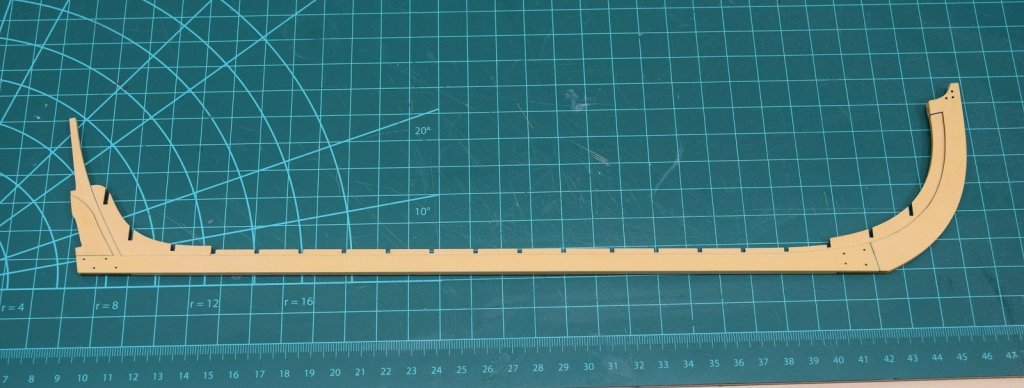
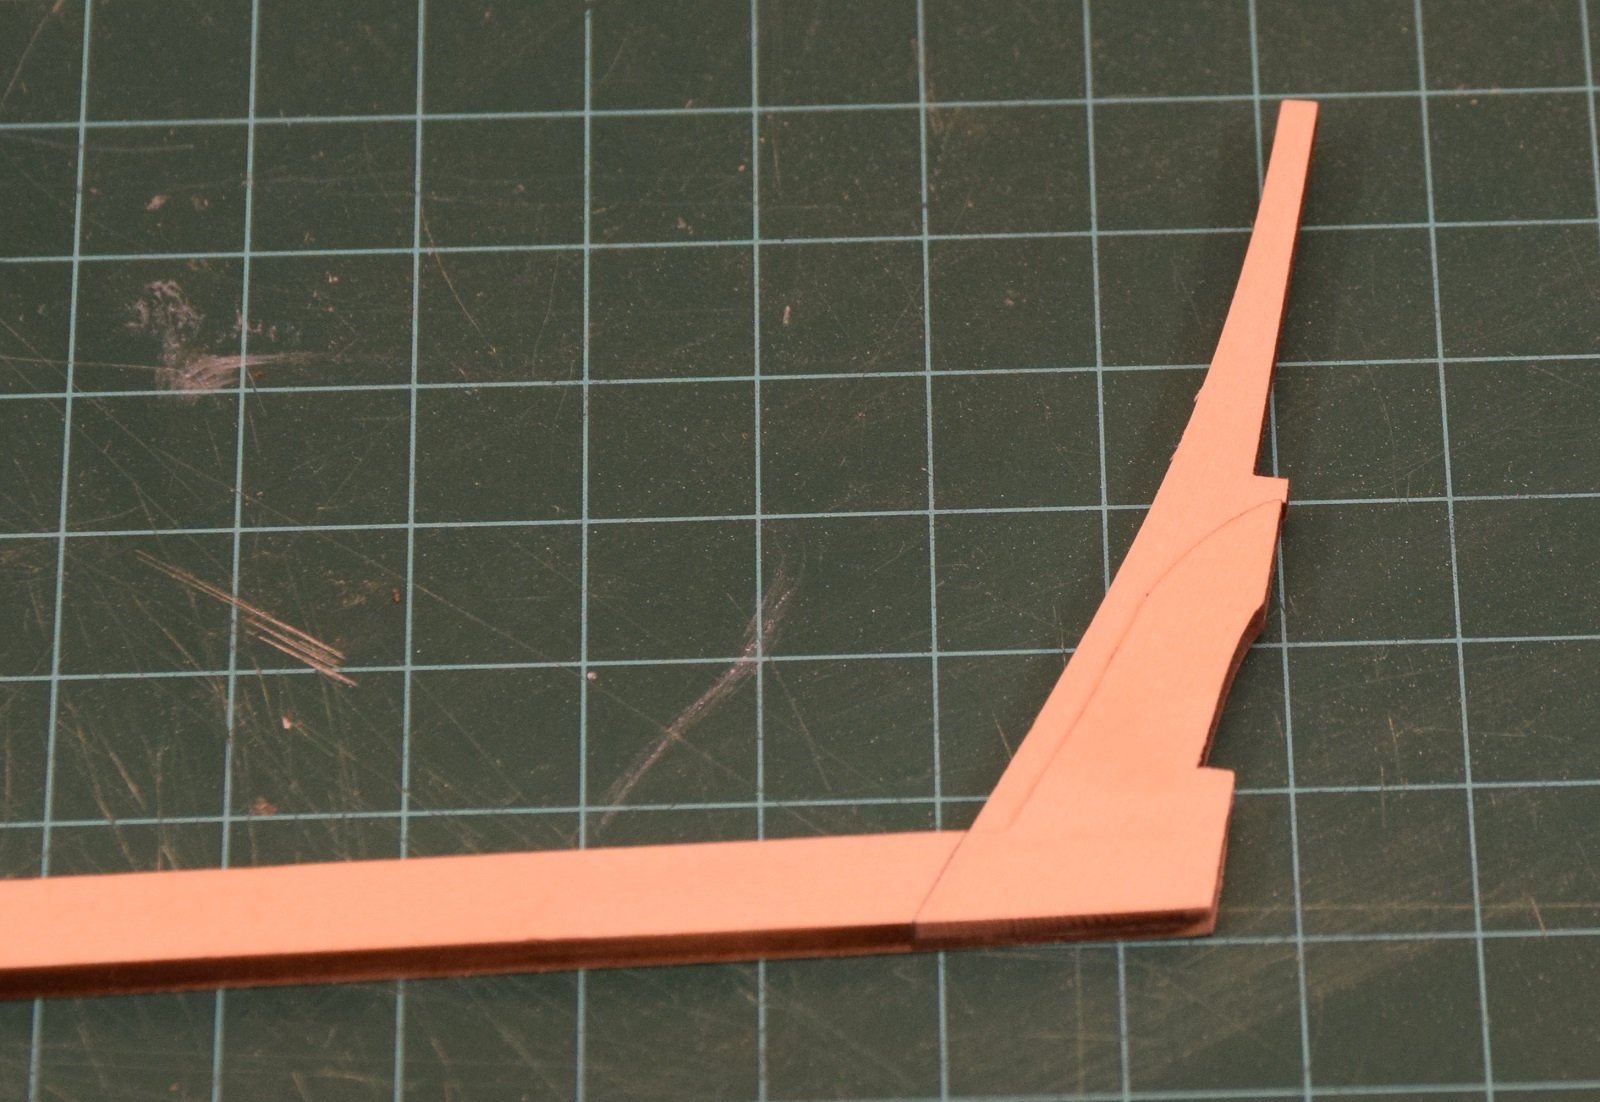
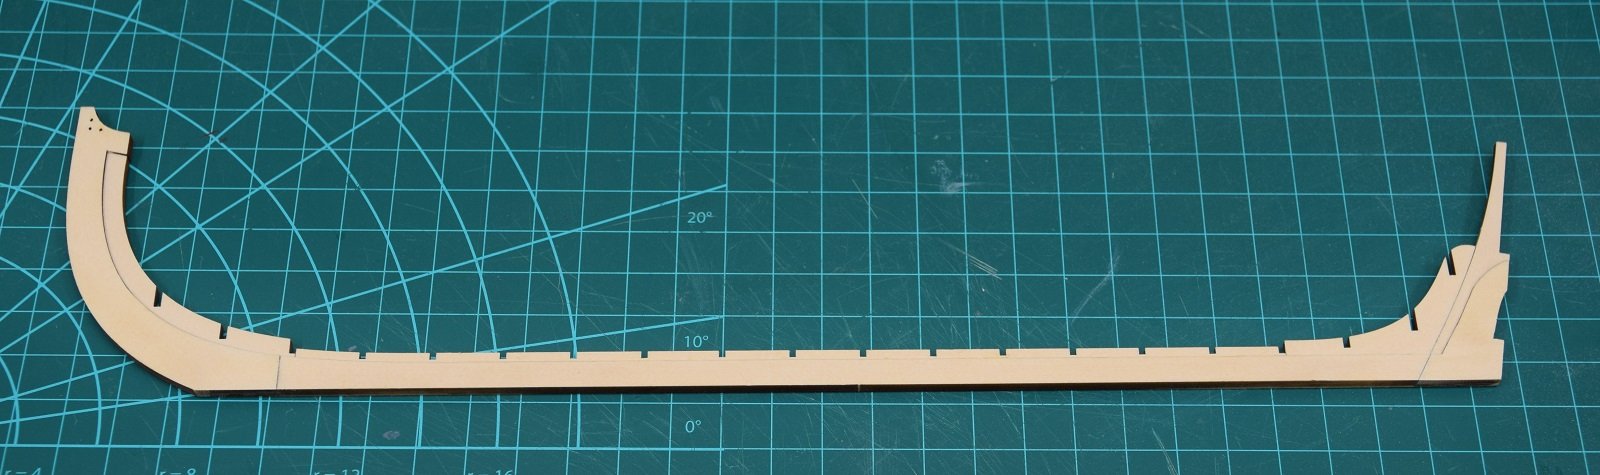
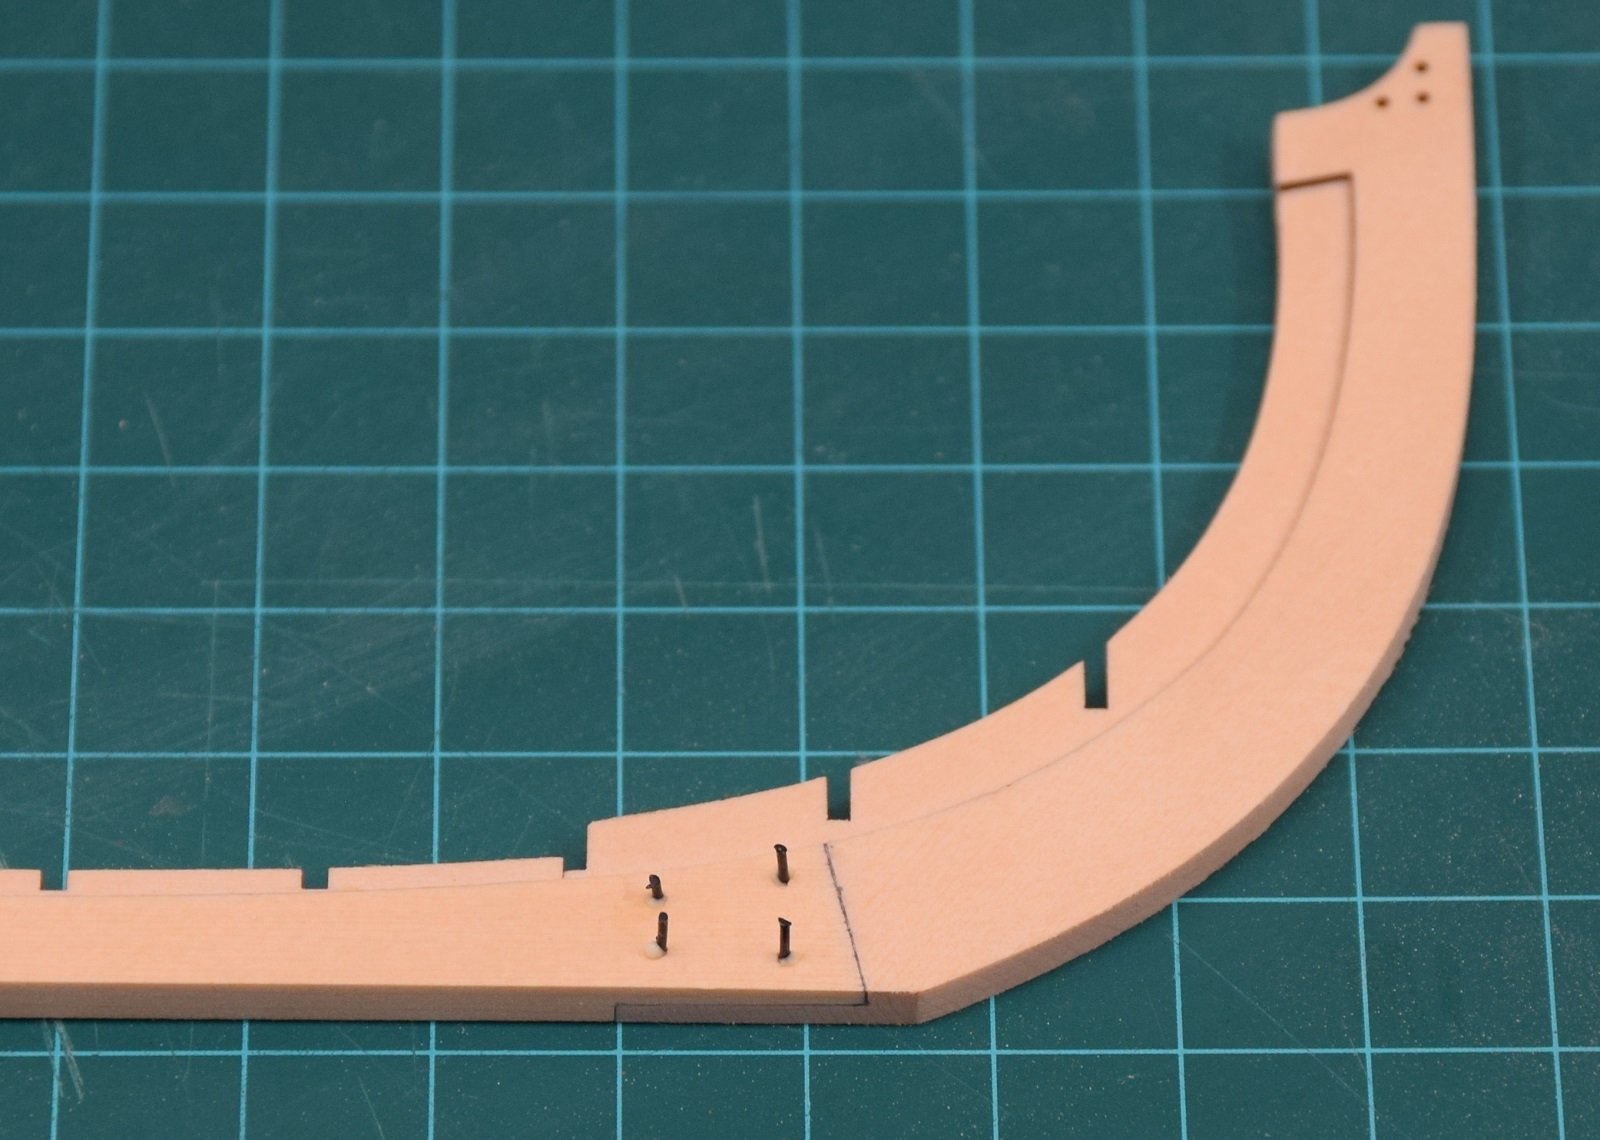
Once the lap joints were secure, I moved on to attaching the 4 other parts of the keel, which are centered on the now finished section. I followed the instructions and added the bow piece first, then the two stern pieces, and then finished with the long center piece. This kit is going to completely wreck my desire to do any 'mainstream' wood kits, as every single piece so far has fit perfectly without any adjustment at all.

Cleaned up all the excess glue before it could dry, and then moved on to removing the laser char from the edges. Decided to give everything a coat of wipe-on poly per the instructions, when I discovered that my can of wipe-on poly is now a brick of solid poly. Oops! Time for a run to the store.
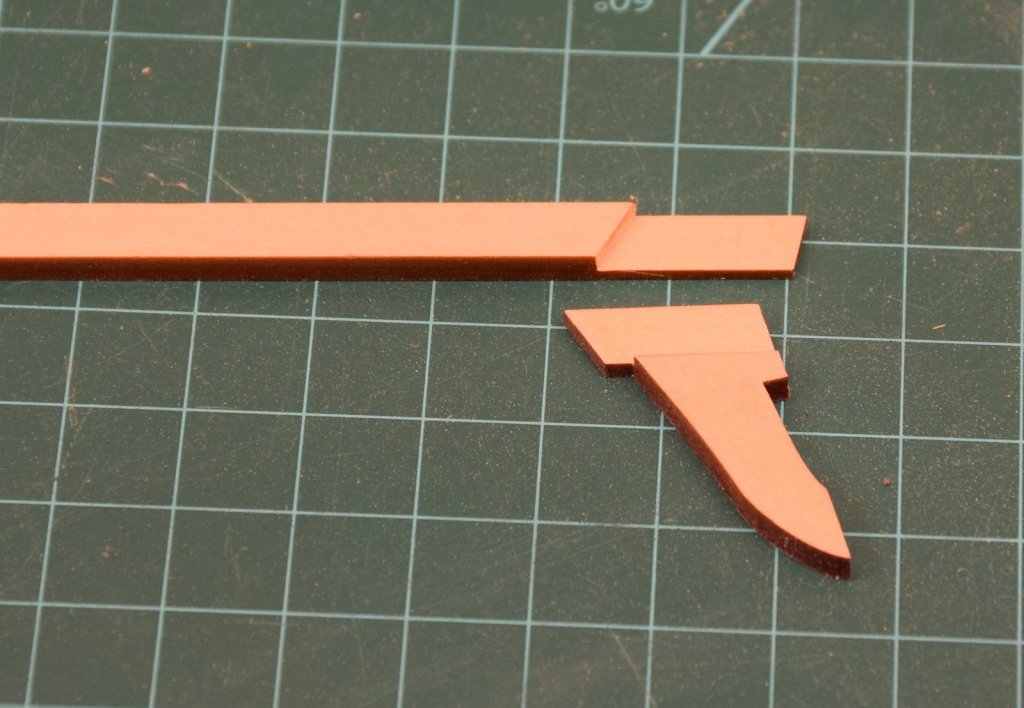
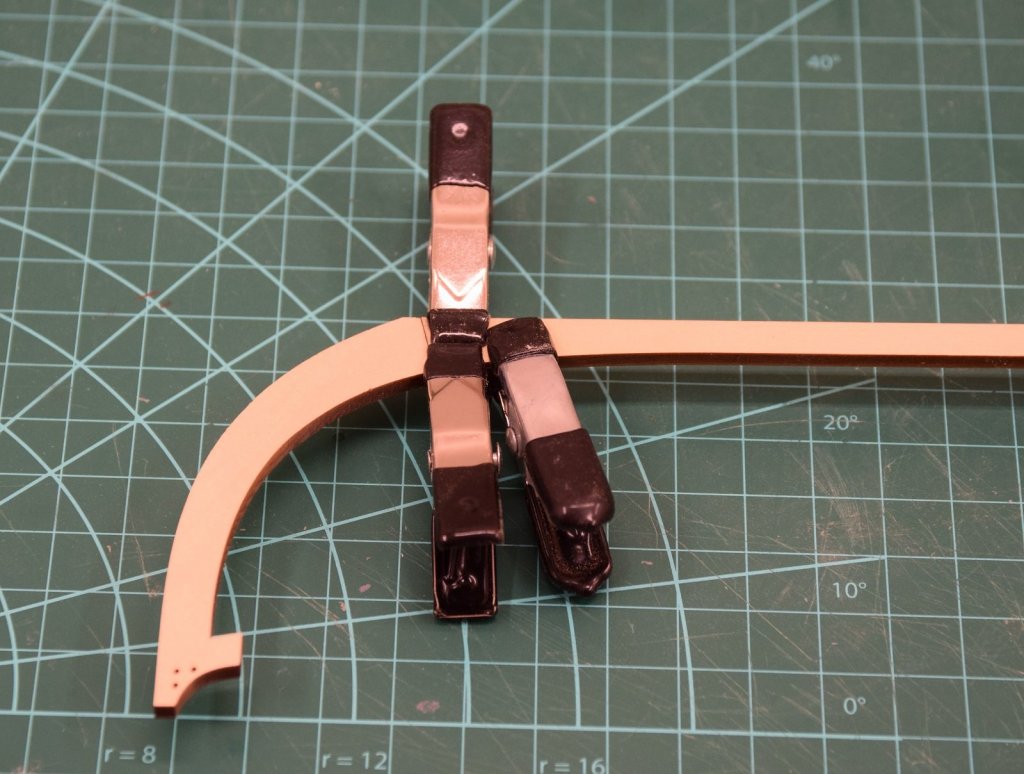
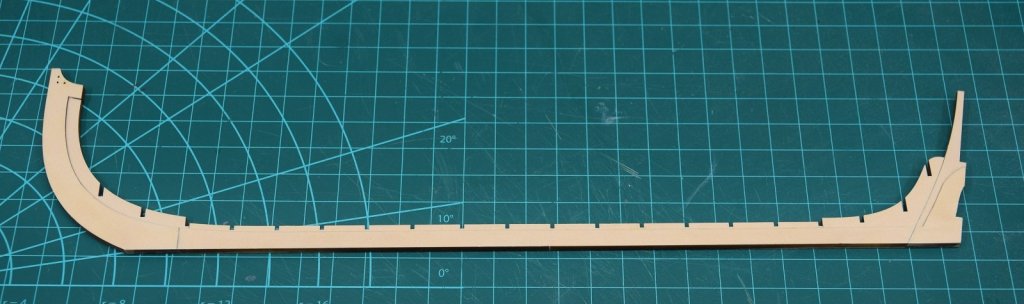
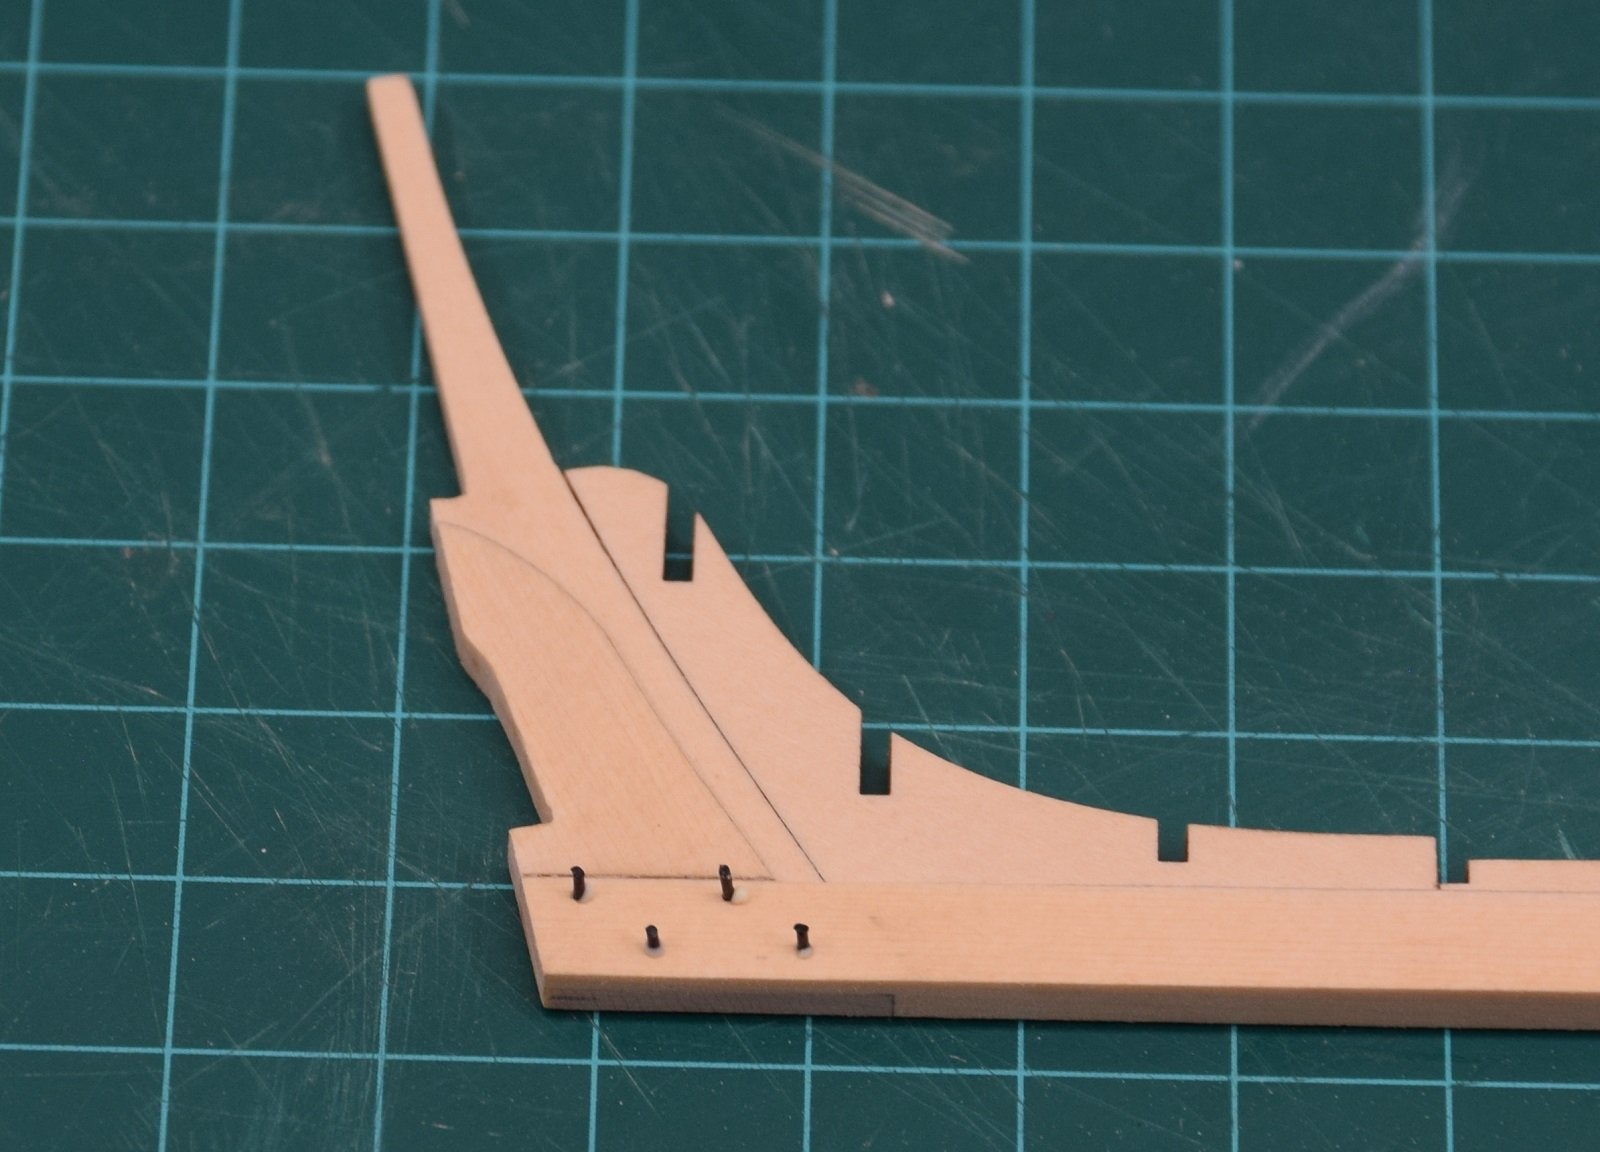
Returned from the store and decided to go ahead and do the nails before the poly because I didn't want to wait for it to dry. I used some tracing paper to trace the pattern for the nails from the plans, and then used a pin to mark the locations on the keel parts on both sides. I then test fit the mono-filament line in several different size holes, and ended up using a .028" drill for the holes, which is a nice tight fit. Drilled out all the holes and then inserted mono-filament line into the holes after dipping the end in my wood glue and clipped it off to dry.
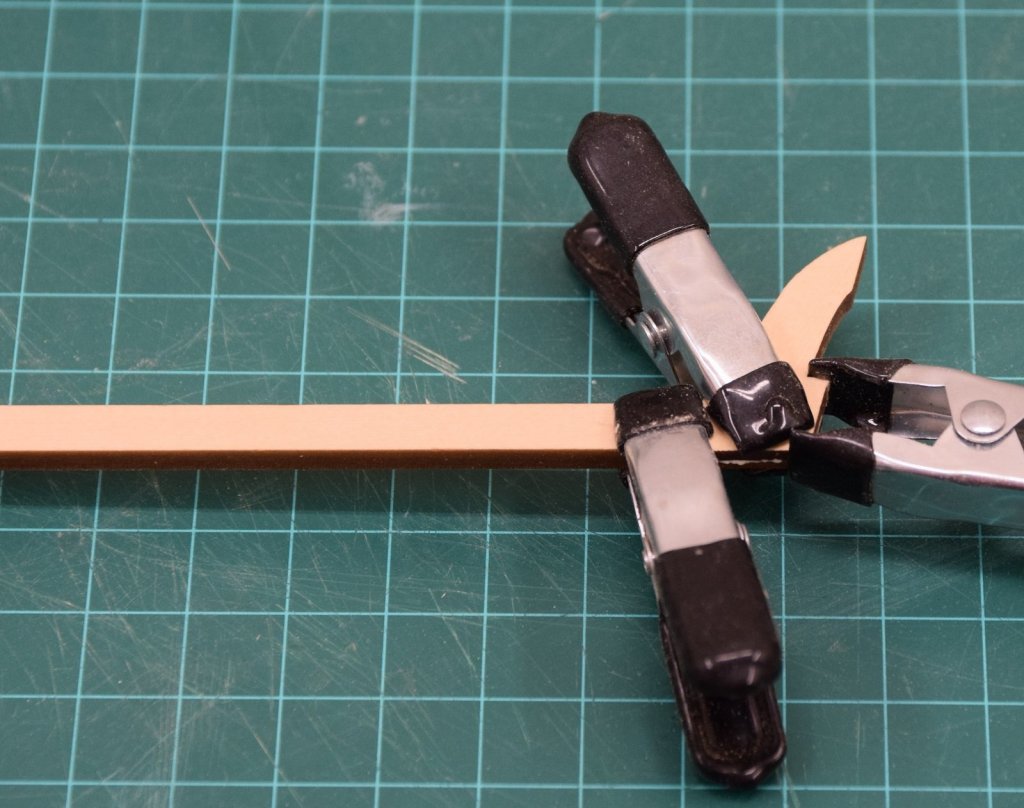
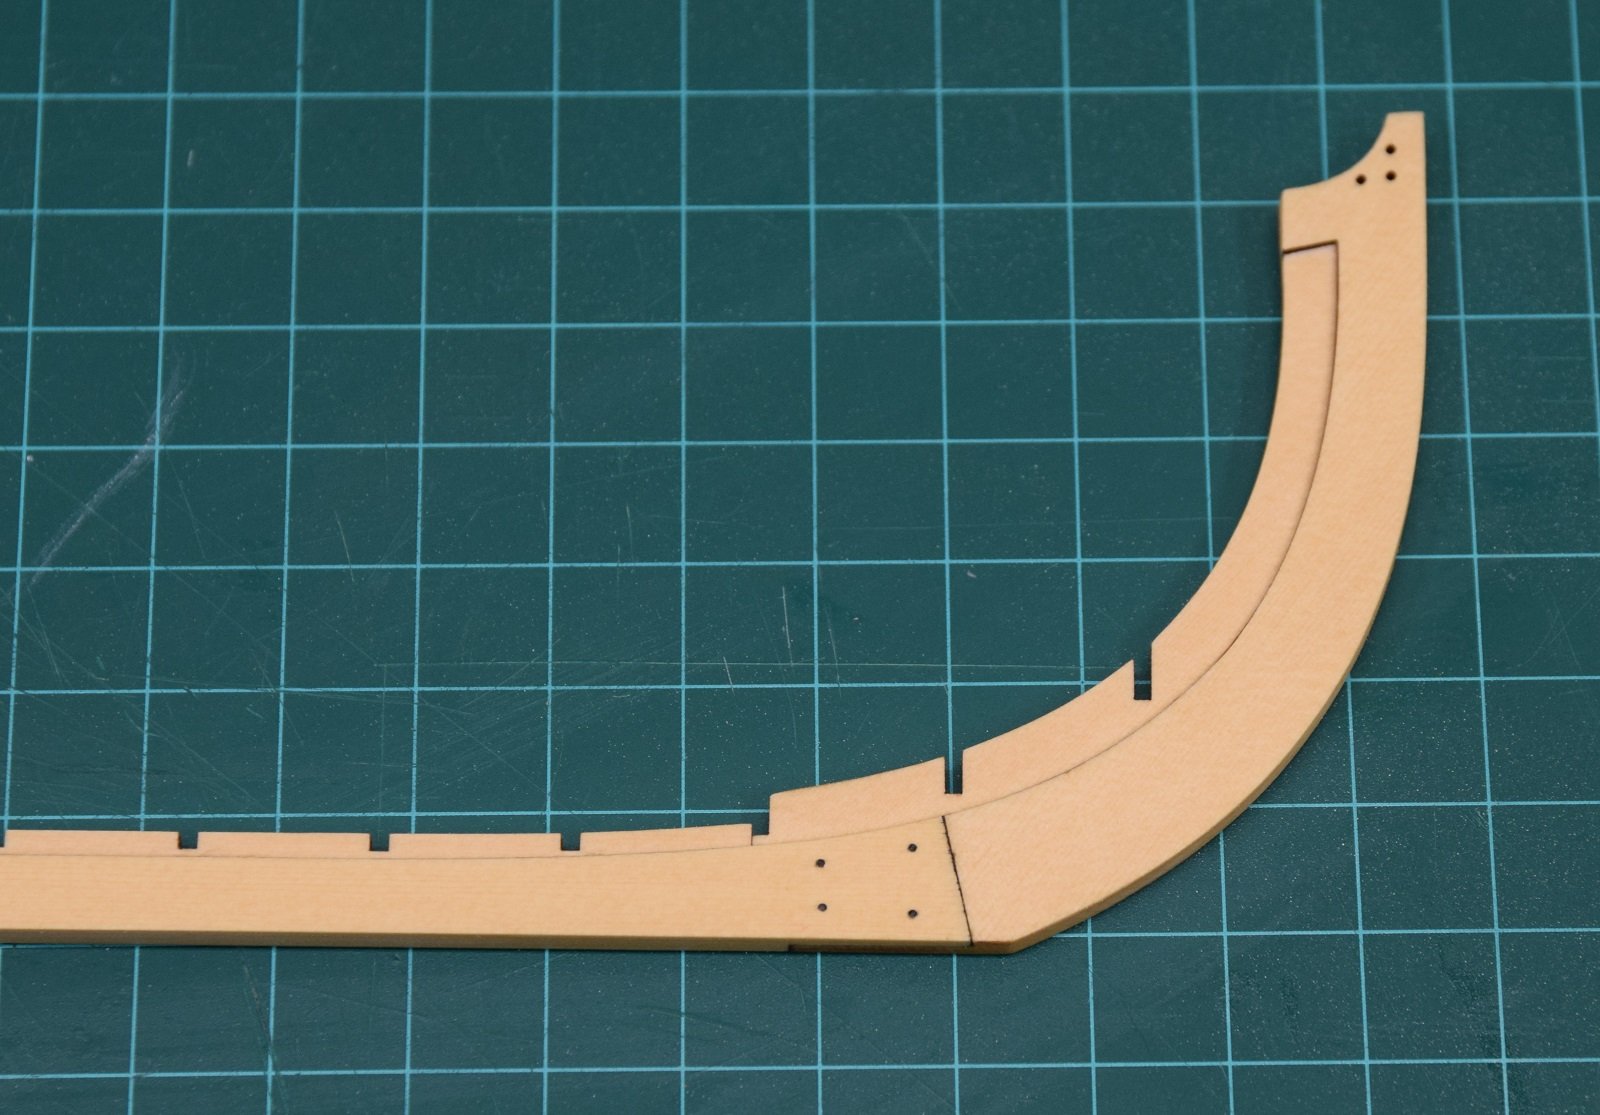
I used edge-cutters to cut the line very close to the wood, and then finished with a straight razor, being careful not to cut into the wood. Gave everything a final pass with 220 grit sandpaper, and then cleaned everything and applied the first coat of wipe-on poly.


- Rustyj, gjdale, Chuck Seiler and 7 others
-
 10
10
-
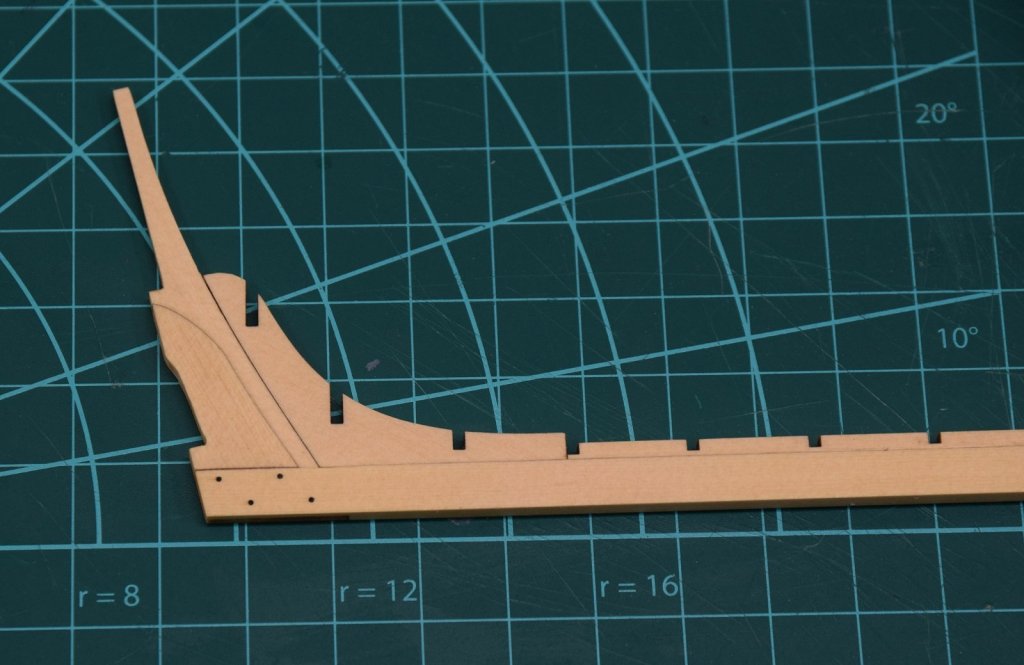
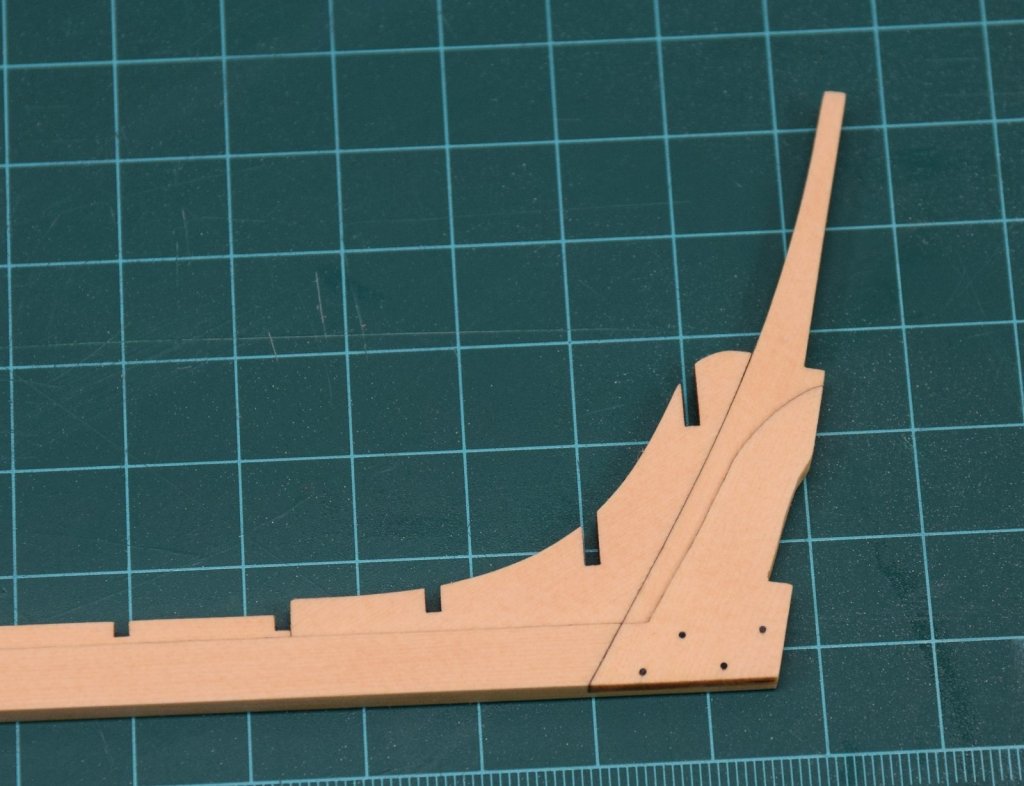
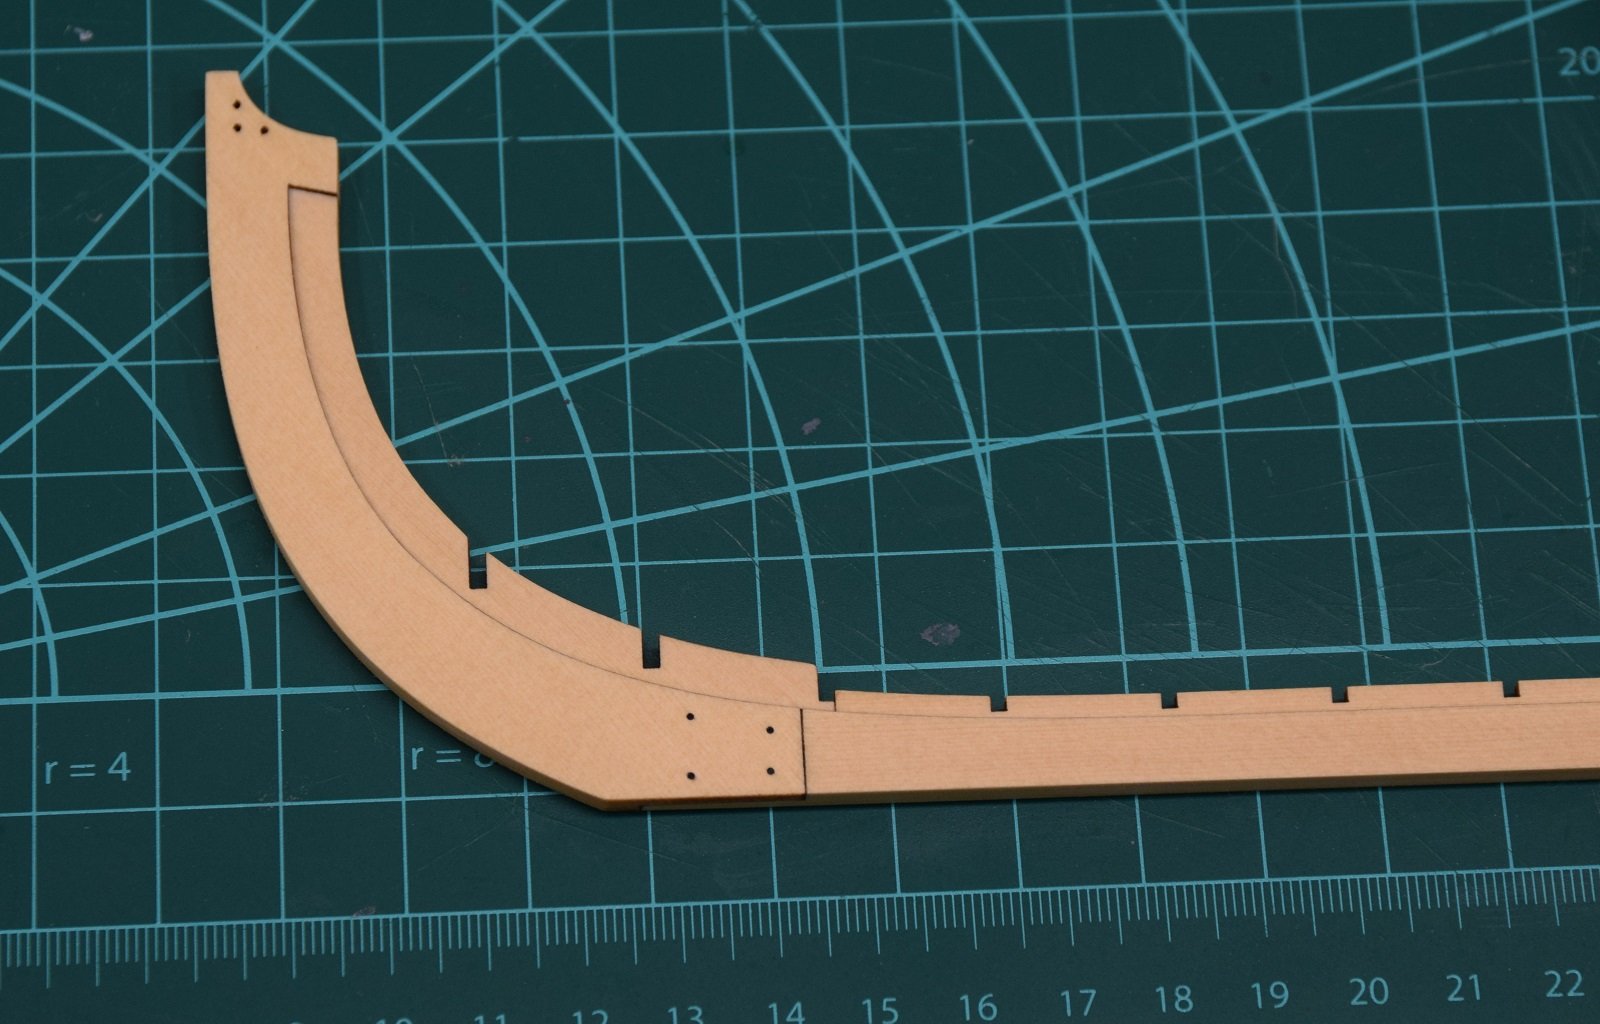
Re-assessed the keel this morning with a hopefully fresh brain, and decided that I could salvage it even though it wouldn't be "right" (one half of the lap-joint would be thicker than the other). The only way this would be seen would be from the bottom of the keel, so I decided to go for it and see what happens.
I put the keel piece that I had cut too deeply into the mill and took that entire side down to match the lowest point, and then milled the stem piece much shallower to match it. I then completed the bow lap joints and fit them together. I'm not 100% happy with the joints, but they work and I don't think anyone but me will notice the imperfections, or the 'out of balance' lap joint in the stern (since it's pretty unlikely even in a high level model show that the judges would pick up the boat and inspect the keel from the bottom).
I have them glued up and drying now, and will hopefully add the other 4 pieces to the keel and get the nails done this afternoon, and then I'll post some pictures.
- Ryland Craze, Rustyj, JeffT and 3 others
-
6
-
The rust is certainly showing. Started on the keel and on the very first lap joint I got too deep on one edge and wrecked it (cutting it beyond half way). I've ordered some 5/32" yellow cedar to use to replace the keel parts and will try again, so my 'start' will be a bit delayed because of my own stupidity. Oh well!
I will use the rest of the keel parts to continue working on knocking the rust off, and hopefully will only need to re-cut and replace the one piece.
-
1 hour ago, Jim Rogers said:
I decided on the Scarf joint so I broke out my chisels and had at it.
Great start, but that's not a scarf joint. 😁
-
-
Nice looking job on the trenails. I cheated and figured that they wouldn't be exactly perfect in the real world, so I used tape like you did, but stuck a drill-bit in a dremel tool and just started drilling holes. Lots of time saved, but not nearly as sharply lined up as yours.
-
Hello all. It's been a painfully long time since I've spent any time in the modelling shop, and I decided I needed to get back to it, but I was having difficulty finding the motivation to get back to work on the Cheerful or the Picket Boat. In an attempt to solve my motivational problems, I decided to commit myself to participation in this group build.
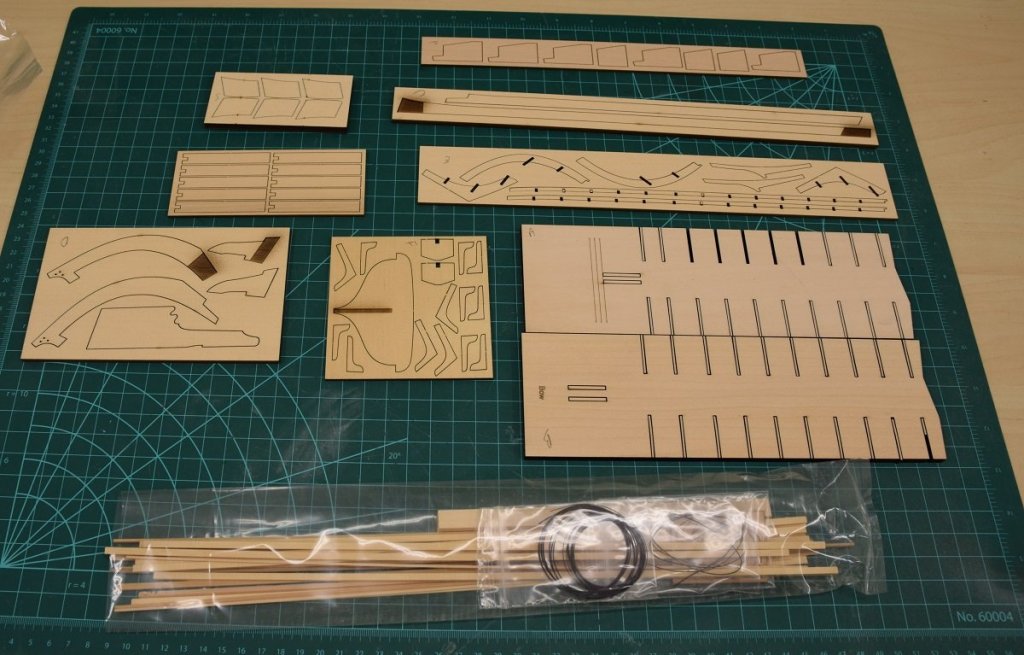
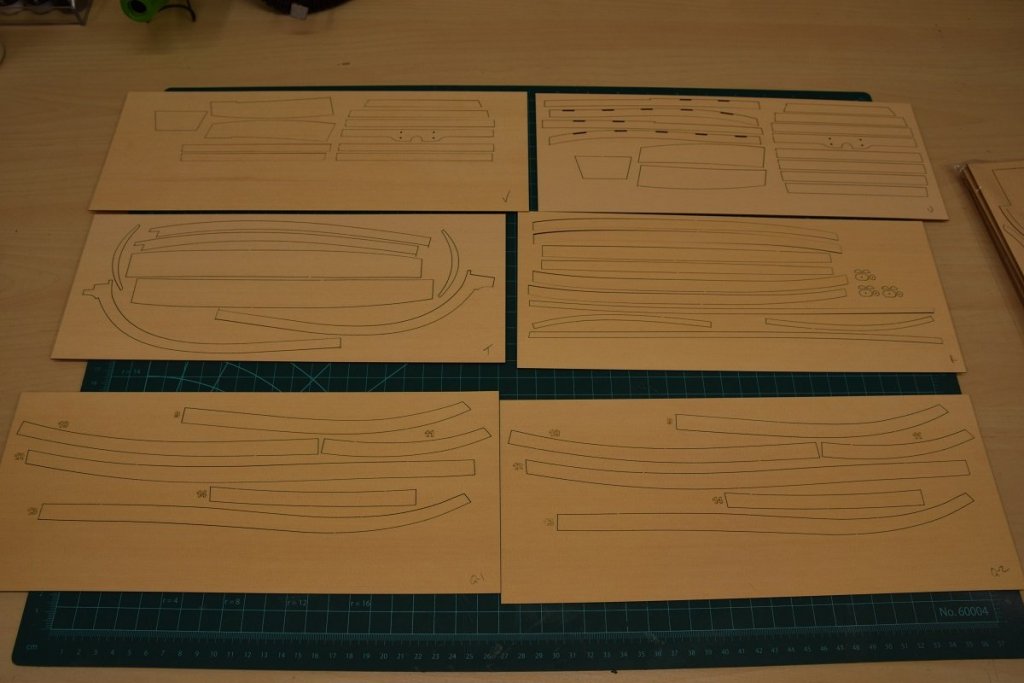
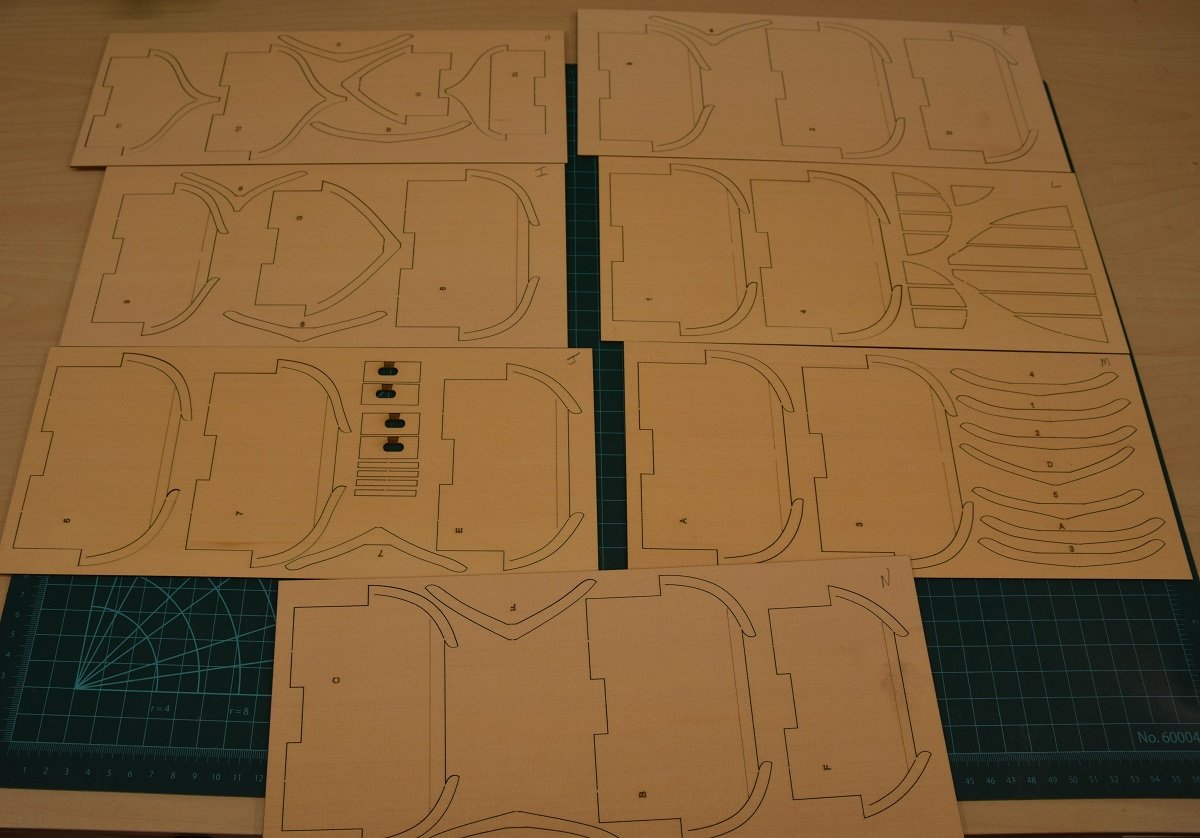
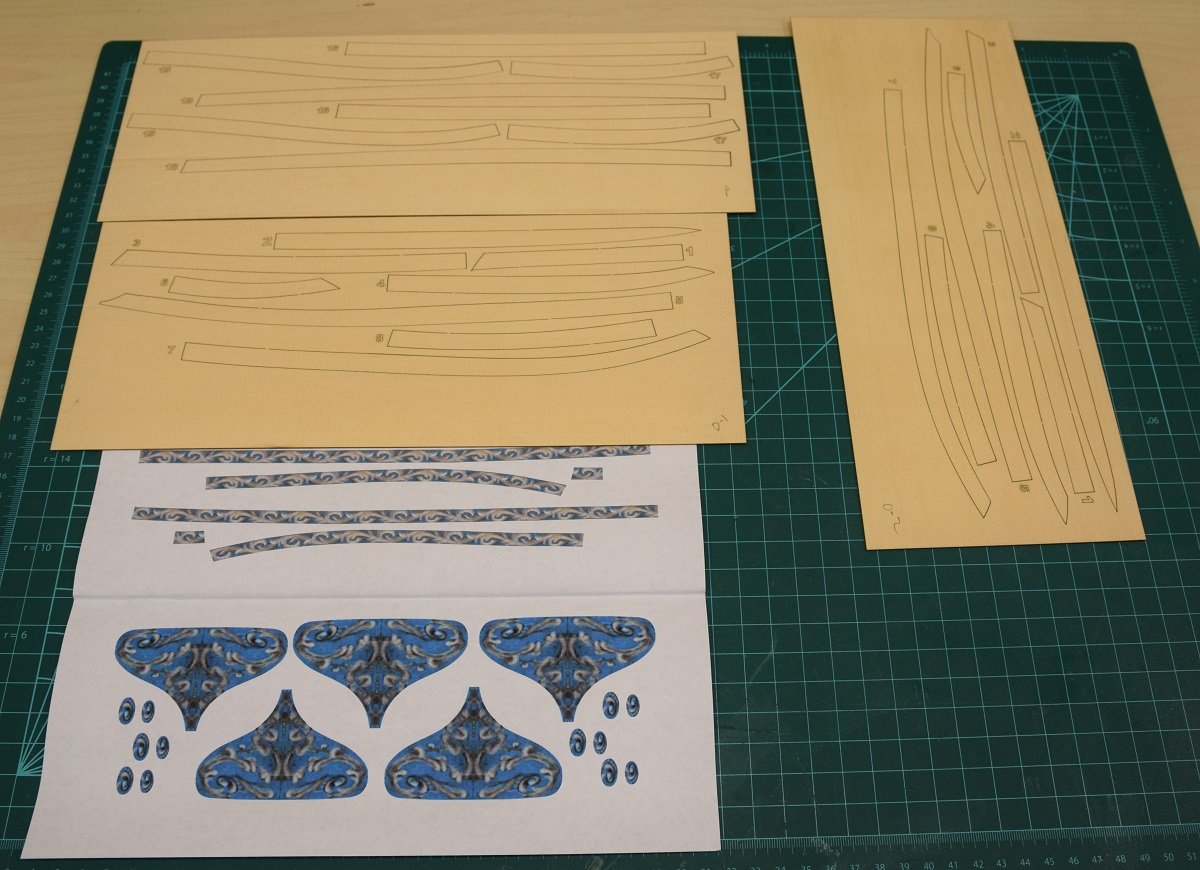
The kit arrived today, and there are a surprisingly large number of parts for an overgrown rowboat. The laser cutting is super crisp with very little burn-through and very small connections. Quality of this kit appears to be superb as I expected.
No idea how much progress I'll be making for the next month as I have a lot of stuff going on in my life and I'll be out of the country twice between now and New Year's, but I hope to get started on this later this week.


-
-
Well, since I am still out of the country it looks like I'll be relegated to the third batch on this build. Bummer for me!
Edit:. I lied! Took a while, but finally got the payment portal to process the payment from my phone, so got in on this wave!
- Chuck, Chuck Seiler, Rustyj and 1 other
-
4
-
-
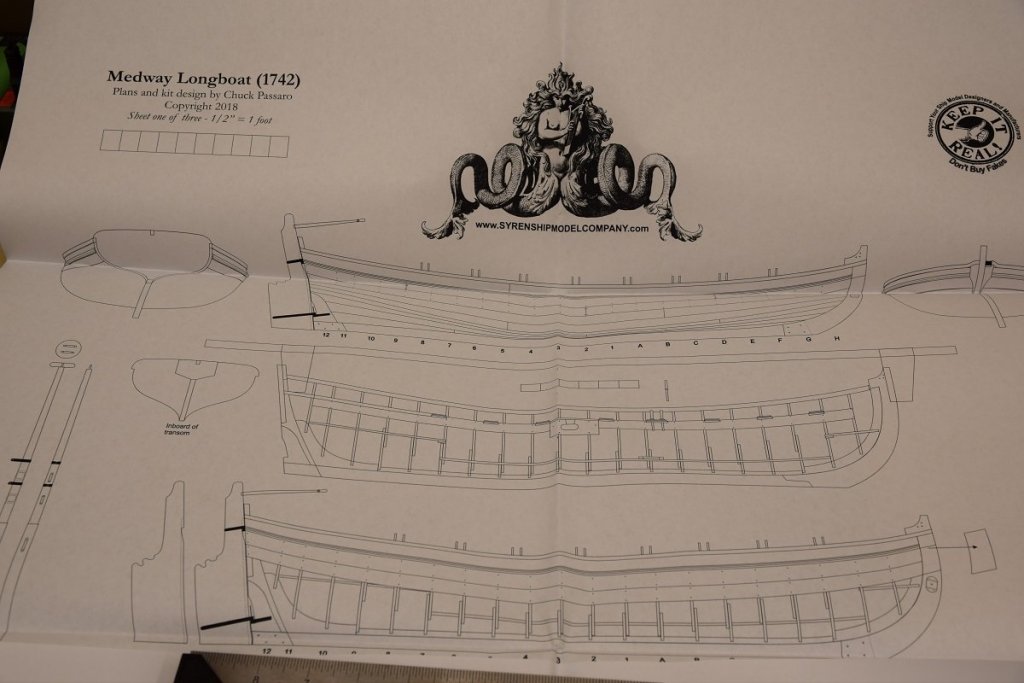
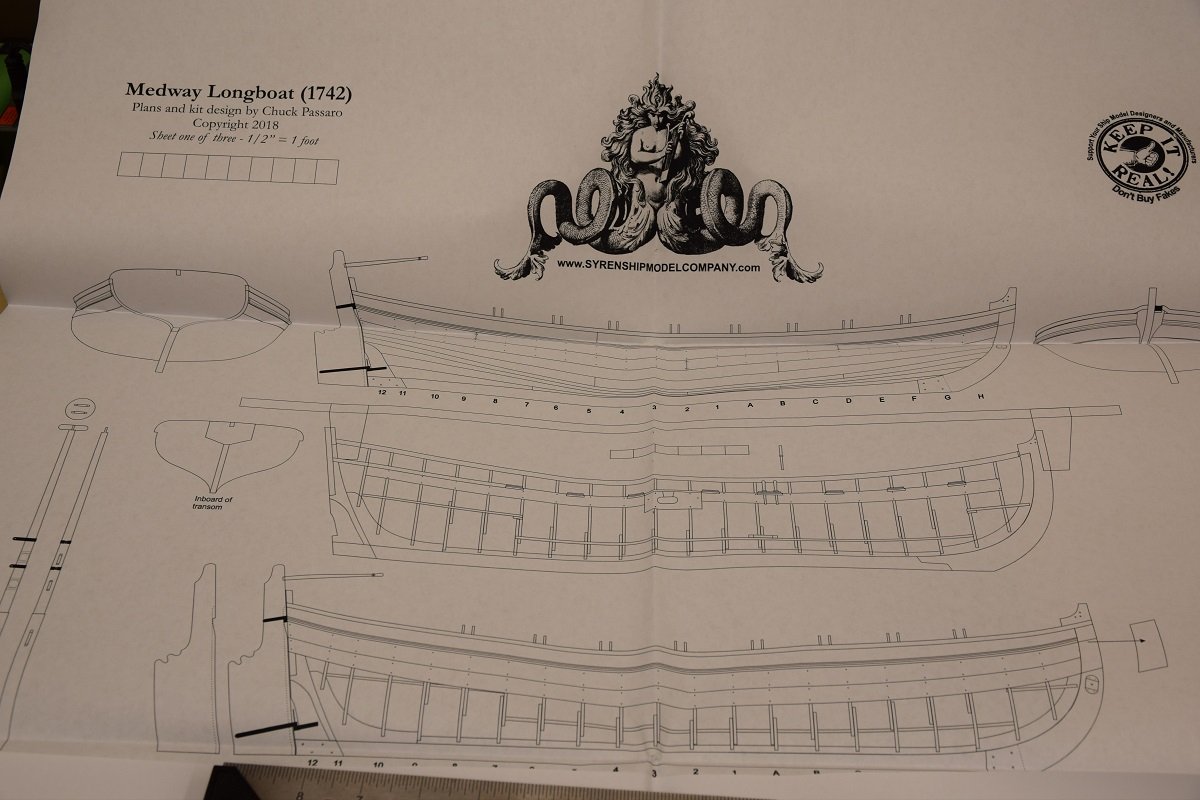
Definitely looking forward to getting in on this, so this is my build log for the Medway Longboat kit.
Next post... whenever things start! I will however be out of the country for a couple of weeks starting a week from today, so I may not get in on the first batch.
- JpR62, Ryland Craze, Rustyj and 1 other
-
4
-
Looks good. That's how I did it also, just wood glue. The trick is getting each plank shaped and bent properly to fit in it's spot while dry fitting so that the glue isn't holding the shape, simply bonding it in place.
Good work!
- BETAQDAVE, Duanelaker and CaptainSteve
-
3
-
1 hour ago, Chuck said:
Maybe, probably..... But that would be a bit "kitchen sink" for my tastes any way. No need to add every little doo-dad just because it would have been there. I think it would be very distracting and isnt warranted. But you guys can always add it in. I dont think its worth the risk of splitting that thin cap rail. It would be pretty tough to fix at this point.
Fair enough, I was just curious how it would have been done on the real thing.
Thanks! -
Chuck, would the roller at the bow not have an axle showing through at least one side? I have no idea how it was actually mounted, but given the location seems like a straight axle running all the way through the bow from side to side would be the most obvious way.
- EJ_L, mtaylor, thibaultron and 2 others
-
5
-
-
I'm not sure any of my planks on the hull were 'standard' size. I just used the tic strip method and cut the planks to whatever size was needed for each tic mark. Not a single plank was just left at the exact size, although some of them probably had a small part of them at that size, but they would be tapered to match the marks based on the planking fan.
So my personal opinion is that you make the planks fit the hull using the tic marks, you don't try to figure out how to use 'standard' sized planks.
- DocBlake, CaptainSteve and BETAQDAVE
-
3
-
I used the same guns, but make sure you do some test fitting as they sit slightly higher than the kit guns, so I needed to make some tweaks to make them fit in the gunports properly.
I changed them in two ways as needed. I made the slots where the trunions sit slightly deeper, and I sanded the bottom of the trucks flat, which I found not to be noticeable when they are finally fixed to the deck as long as you don't overdo it.
After making the adjustments, the qoins had to be carefully adjusted before fixing in place to get the barrels to be not pointed down.
Looking great Jean-Paul.
- CaptainSteve, lmagna, BETAQDAVE and 1 other
-
4
-
Great work Frank... but man you are just way too organized for me. 😂
- John Allen, thibaultron, Mahuna and 5 others
-
8
-
Very nice job on the netting.
Interesting note on beeswax that I got from the IPMS National Convention seminar - wipe a line with beeswax and then use a hair-dryer or hot air gun, and it melts the wax into the line making it disappear! Something to consider in the future, and I have not tried this.
-
Looking great Chuck, but I have a question from last page when you were removing the frame centers. In one of the photographs it appears to me that there is visible CA glue spillage/seepage next to some of the frames on the inside of the planking. I then do not see it in the photograph where all the centers are removed.
If that truly is CA on the wood, how do you clean it up so well? My experience with CA on wood has been that it's nearly impossible for me to make the spot left on the wood disappear, but it appears that you have mastered that!Thanks!
-
-
For drilling a small hole in a small piece like that, you are probably much better off with a high speed drill than hand drilling it.
I'd use a very sharp bit in a dremel tool turning at high speed and it would probably drill through fairly clean as long as you used very light pressure.
Turning it very slowly lets the bit grab the wood and split it instead of just shaving off a tiny bit with each rotation.
I'm way too far away for a trip just for this, but if you do want to drive out here you are welcome to do it on my mill.
-
Fantastic work Albert, and that magnificent display is just the capper on it, probably the best display board I've seen.
I'm really going to miss seeing your updates here, as it's been marvelous even if I haven't chipped in with a lot of comments. Thank you for sharing this journey with us all!
- aviaamator, RichardG, PeteB and 3 others
-
6
-
Great job, and I love the name plates. Going to have to remember this method!
- John Allen, mtaylor, Canute and 4 others
-
7


Medway Longboat - Keel, Frames and build board discussion
in General discussions/How to join
Posted
I glued them one at a time also, did not pre-assemble them. Worked perfectly.