


KeithAug
-
Posts
3,384 -
Joined
-
Last visited
Content Type
Profiles
Forums
Gallery
Events
Posts posted by KeithAug
-
-
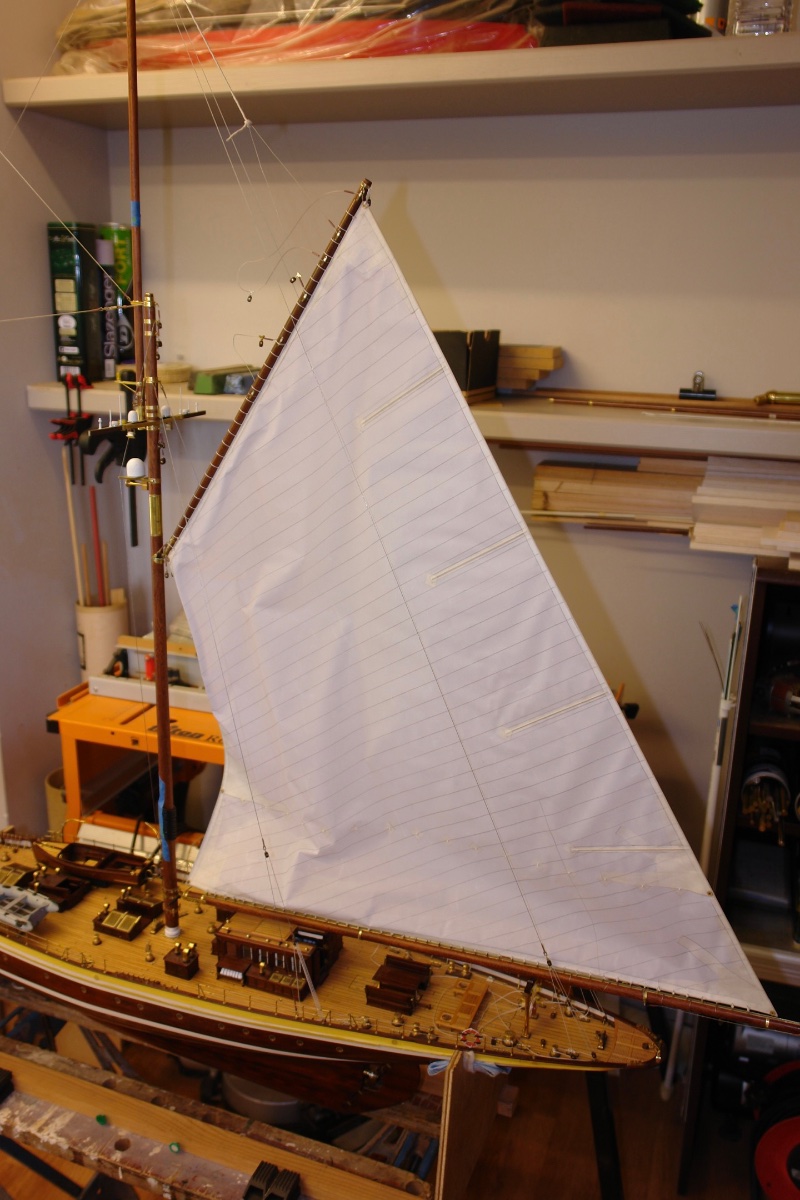
Onwards and upwards -------- it is time to start hoisting the mainsail.
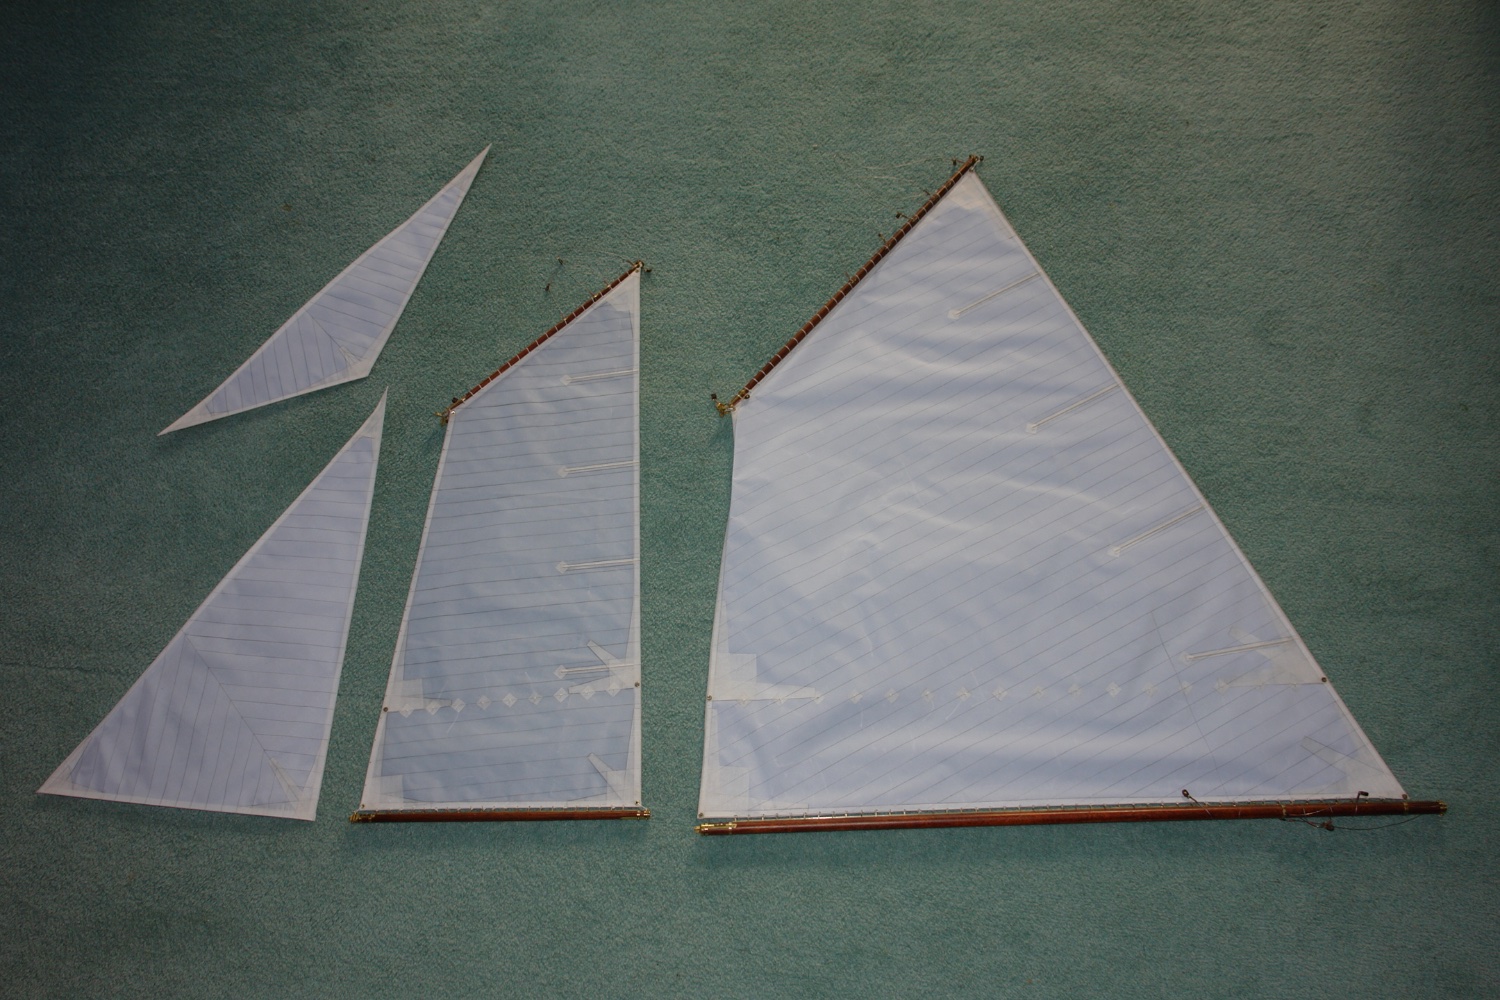
I have 5 sails prepared with only the two topsails to do. Here are 4 of them, I'm not sure why I didn't photo the 5, I blame the onset of senility.

Because of the size of the mainsail it took a bit of working out how to support it while I did the rigging. What I really needed was that elusive 3rd arm. You would thunk that by now evolution would have sorted the problem.
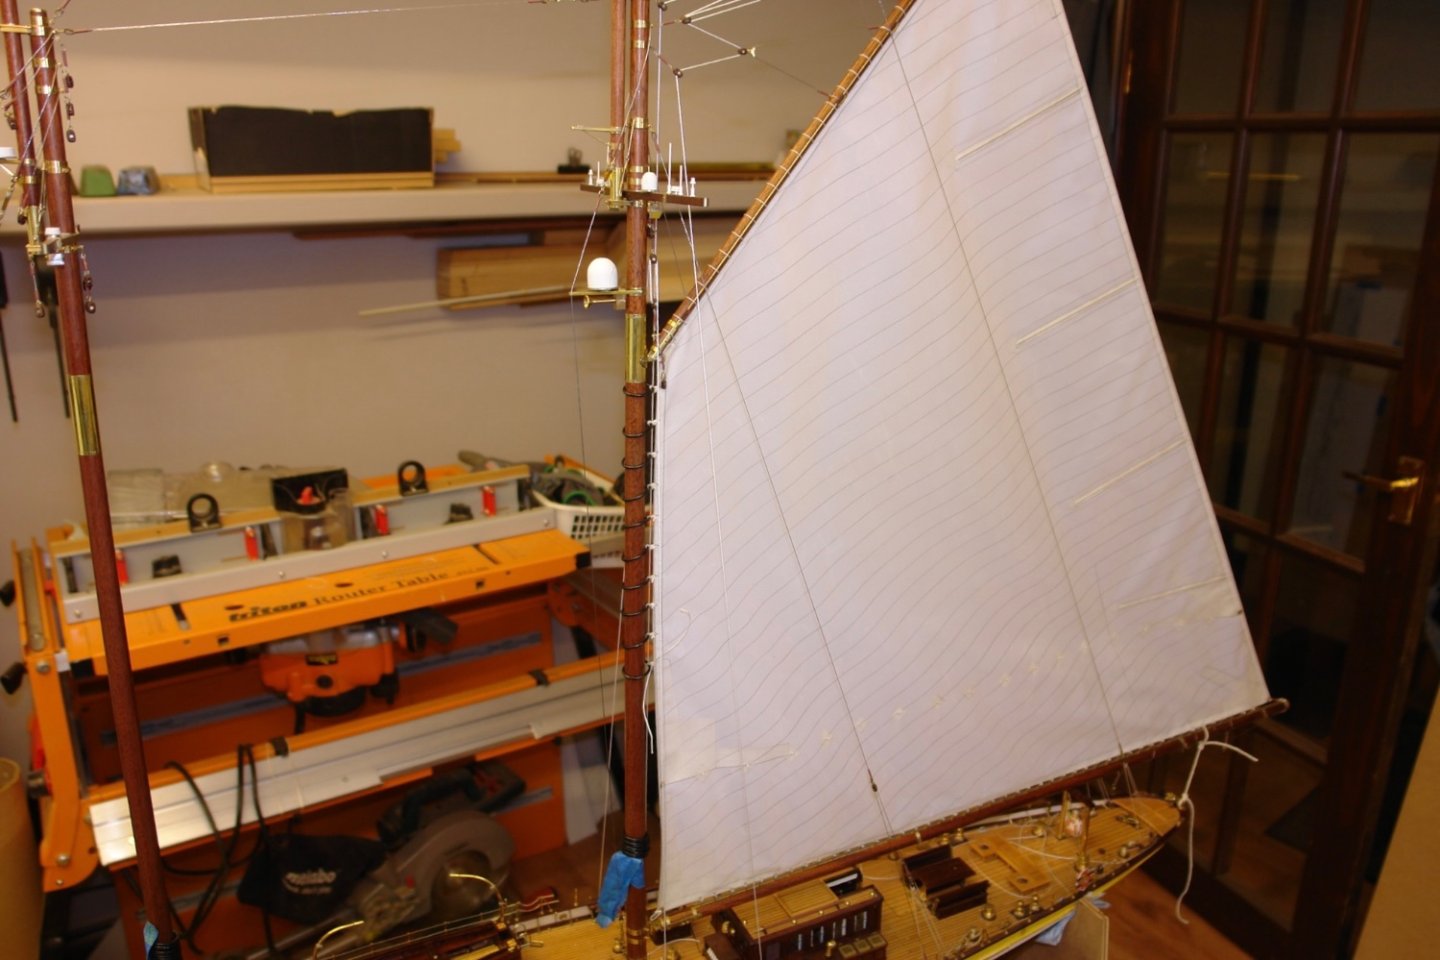
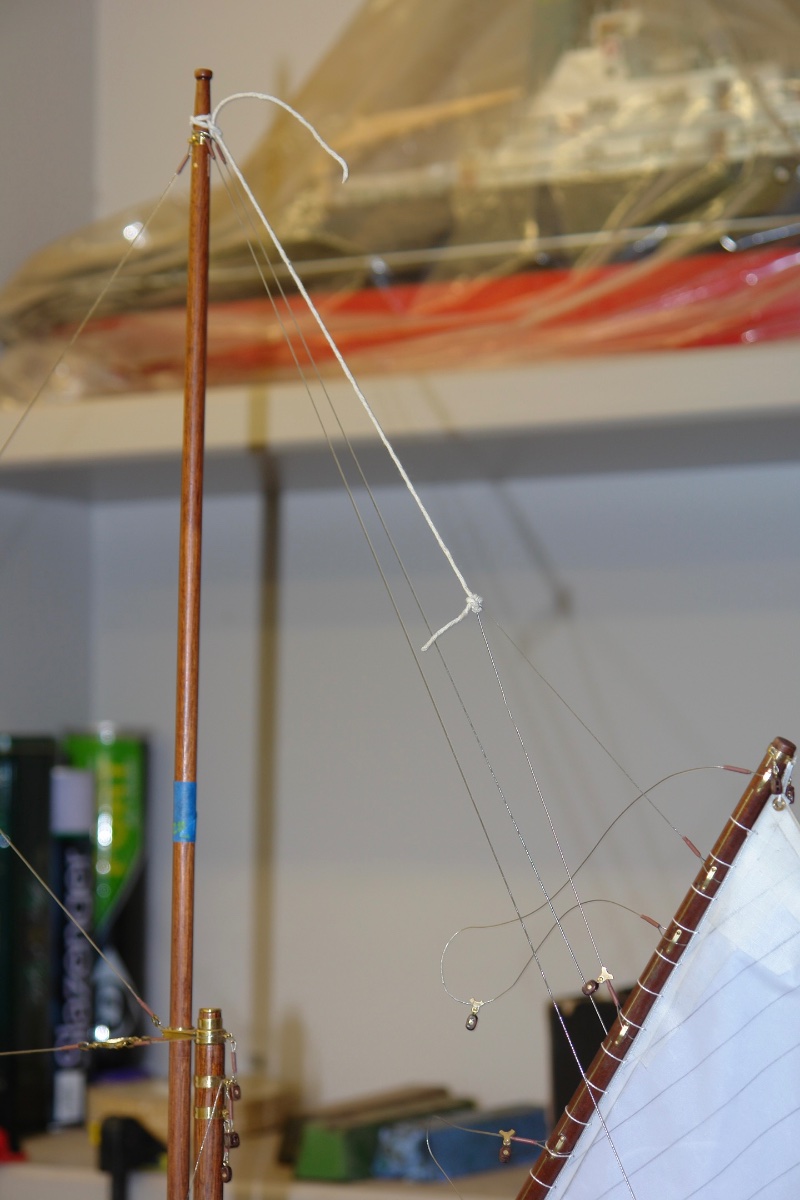
Here is the start of the hoisting process.
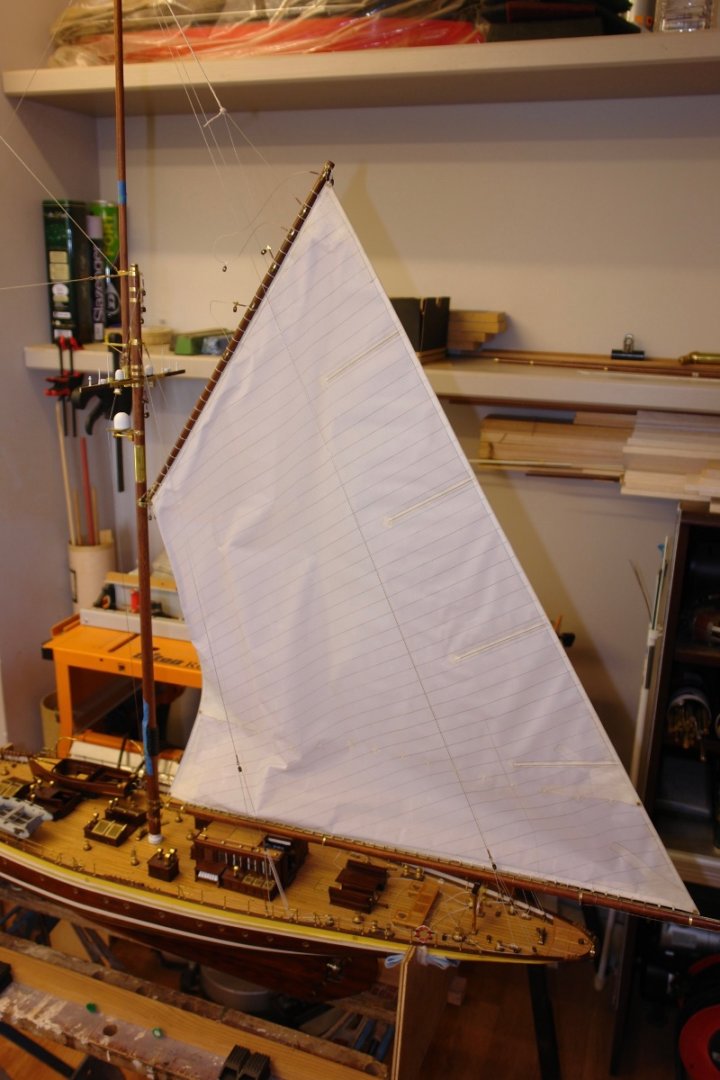
One of the gaff bridles is attached temporarily to the mast head with a bit of string.

With this improvised support the throat halyard was rigged.


The next step was to rig the peak halyard.
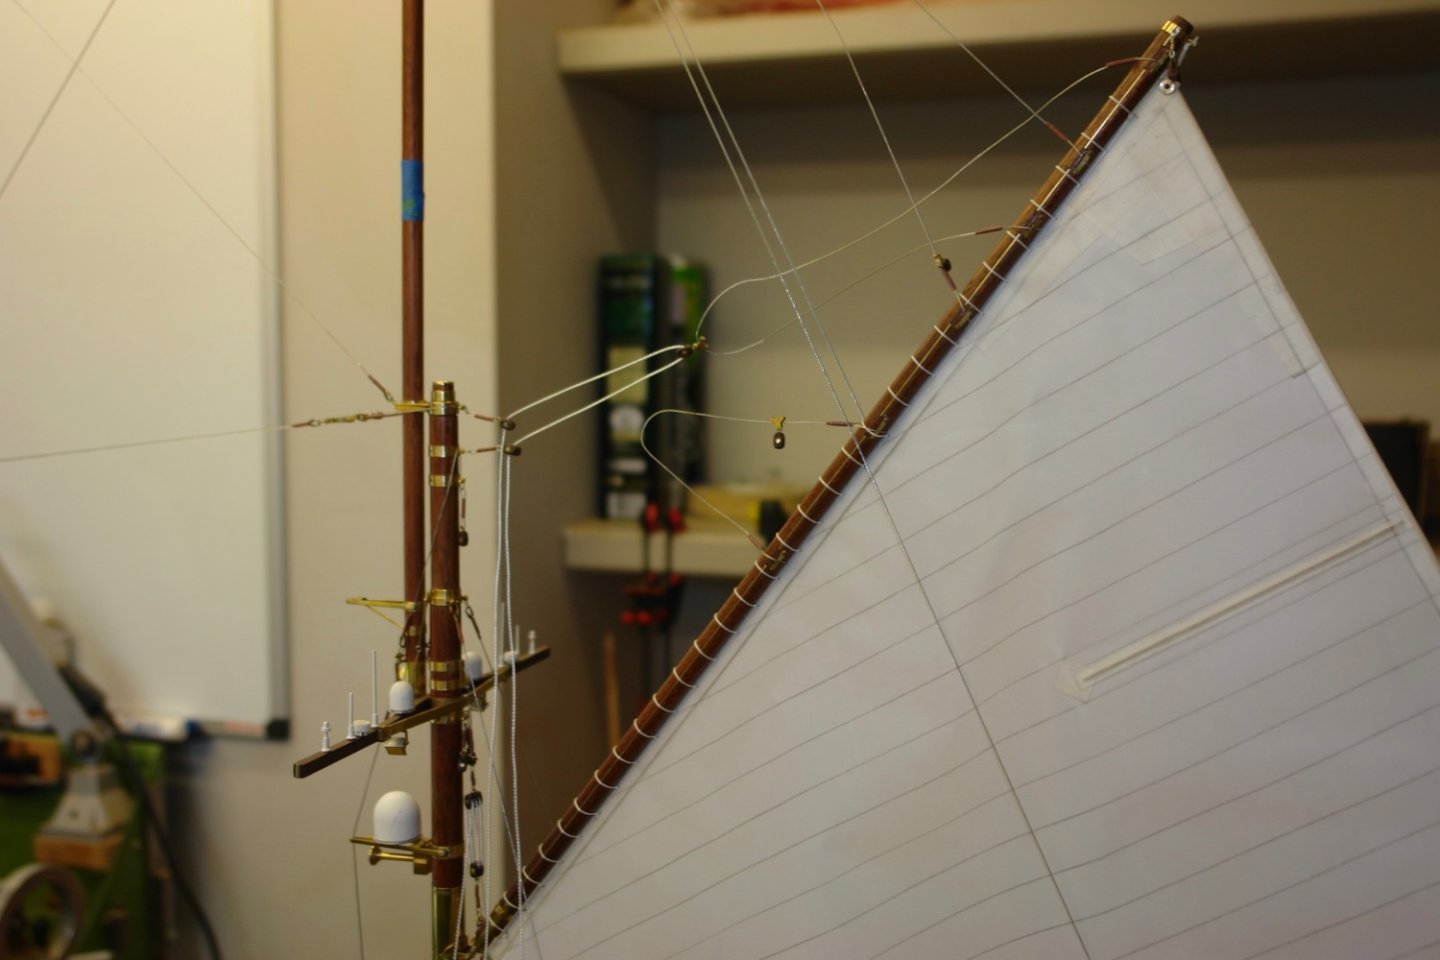
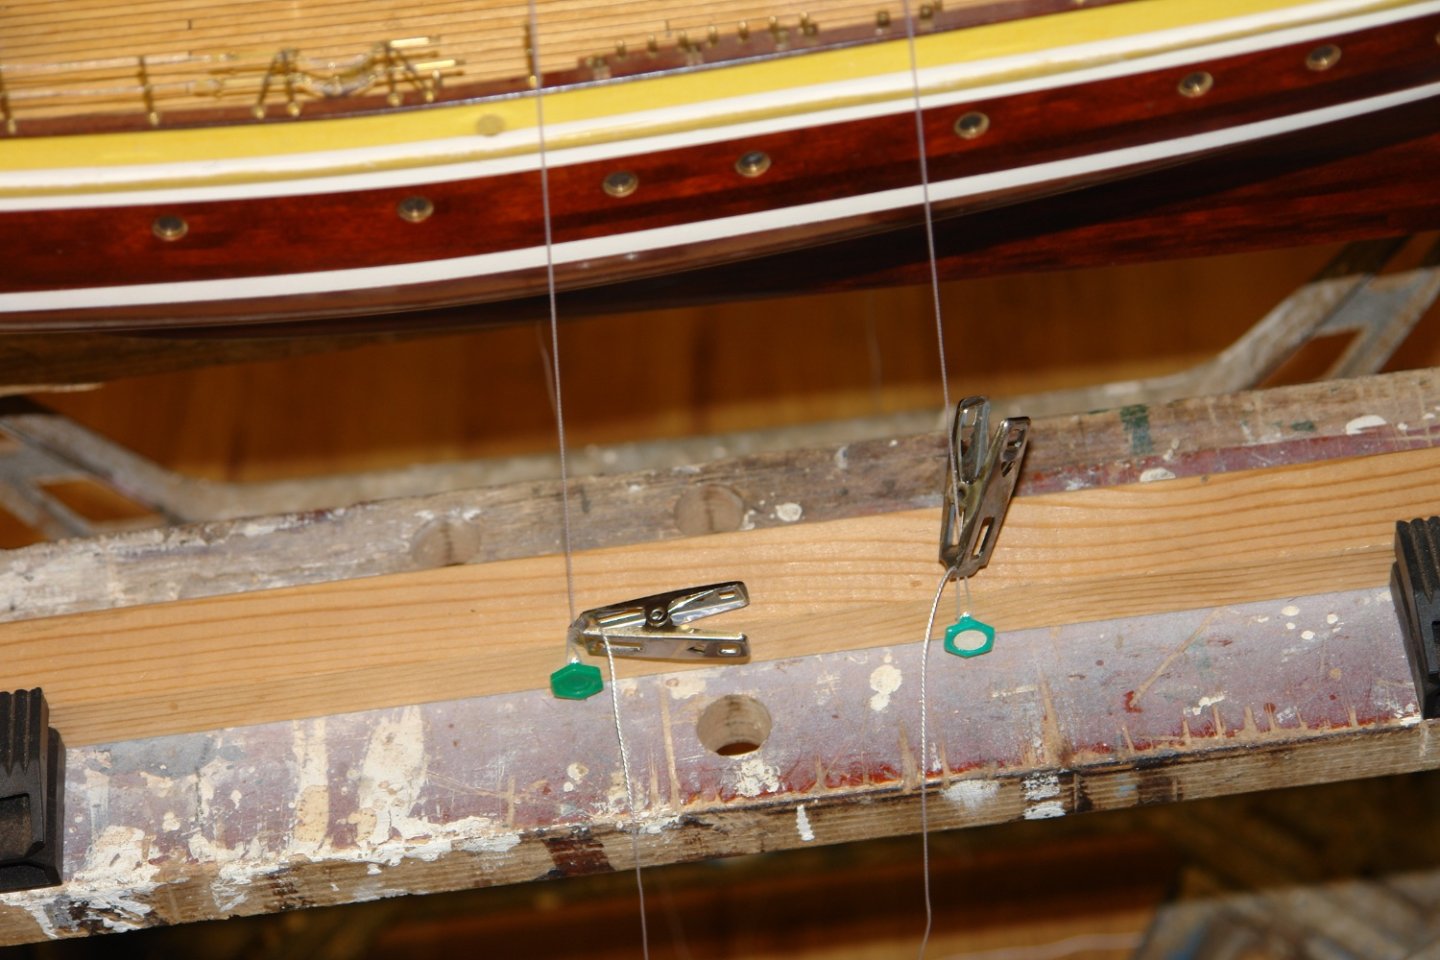
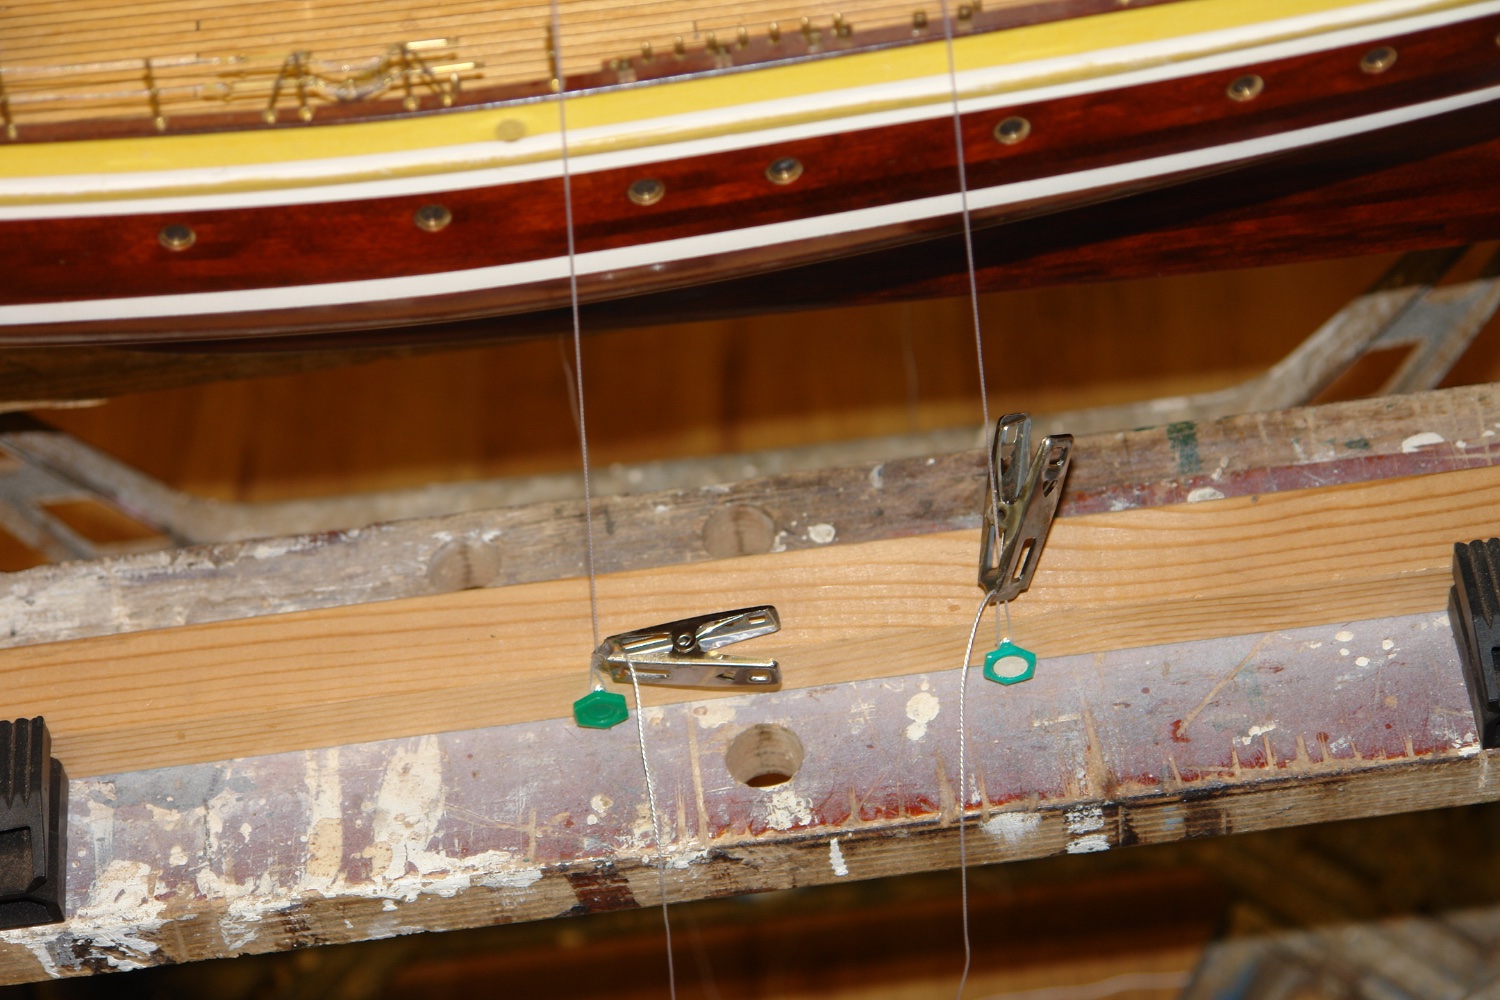
The building frame proved very useful for temporarily holding the halyard tails.
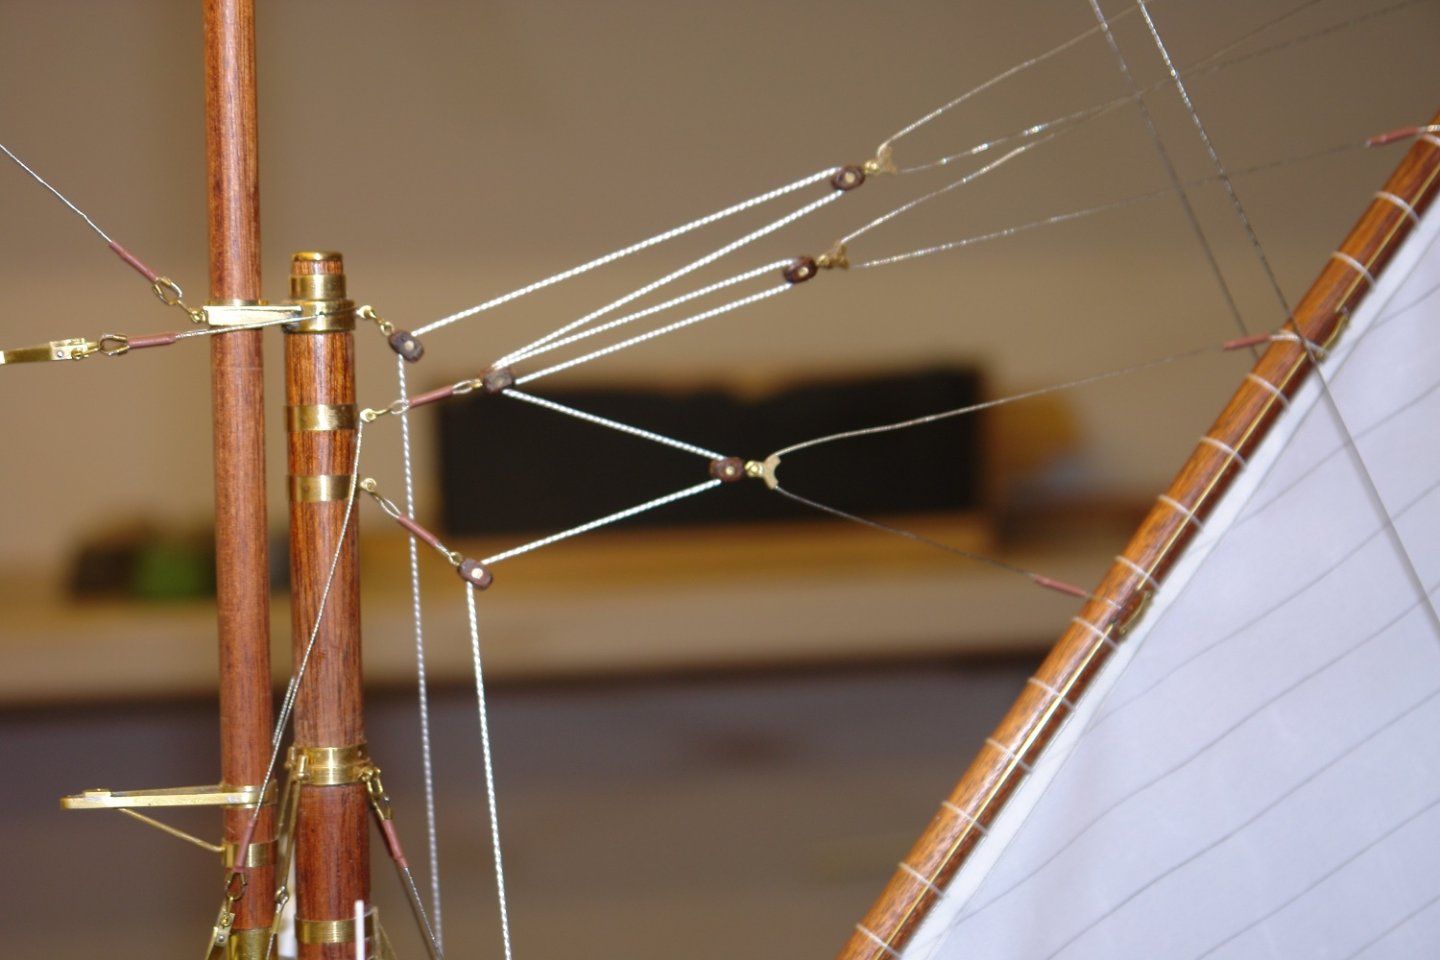
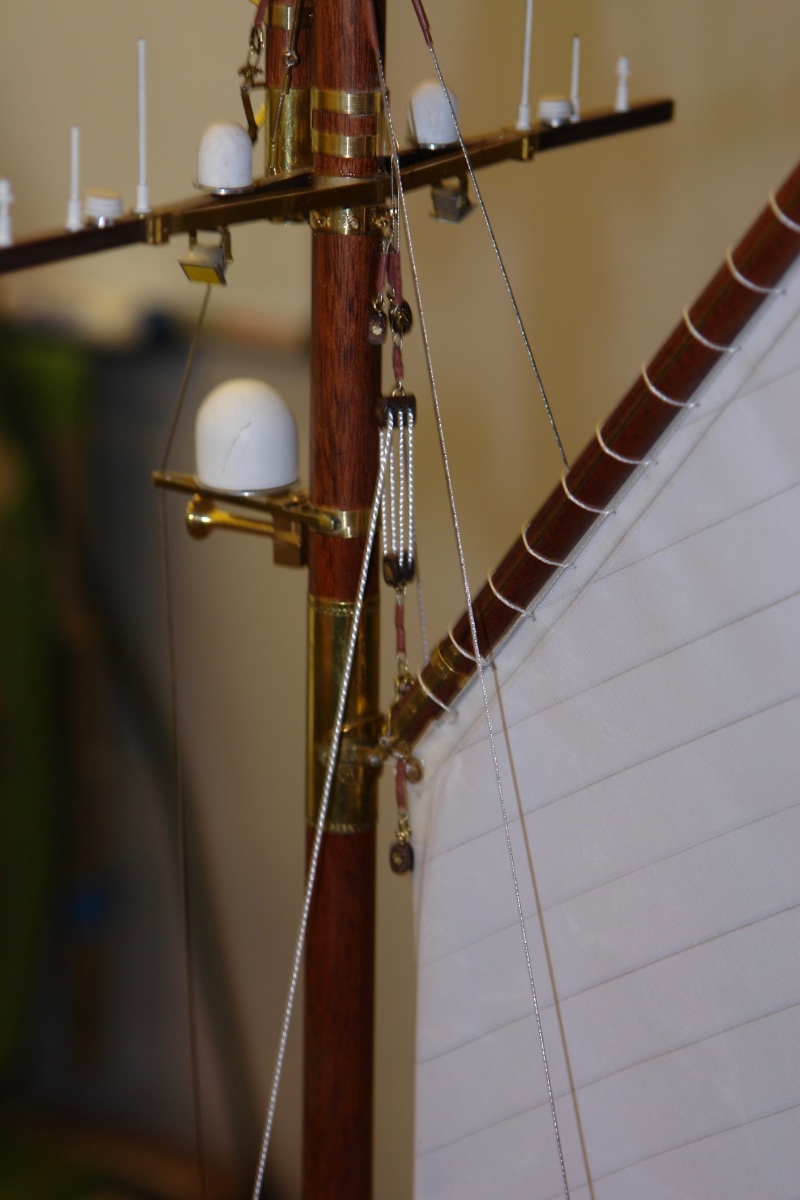
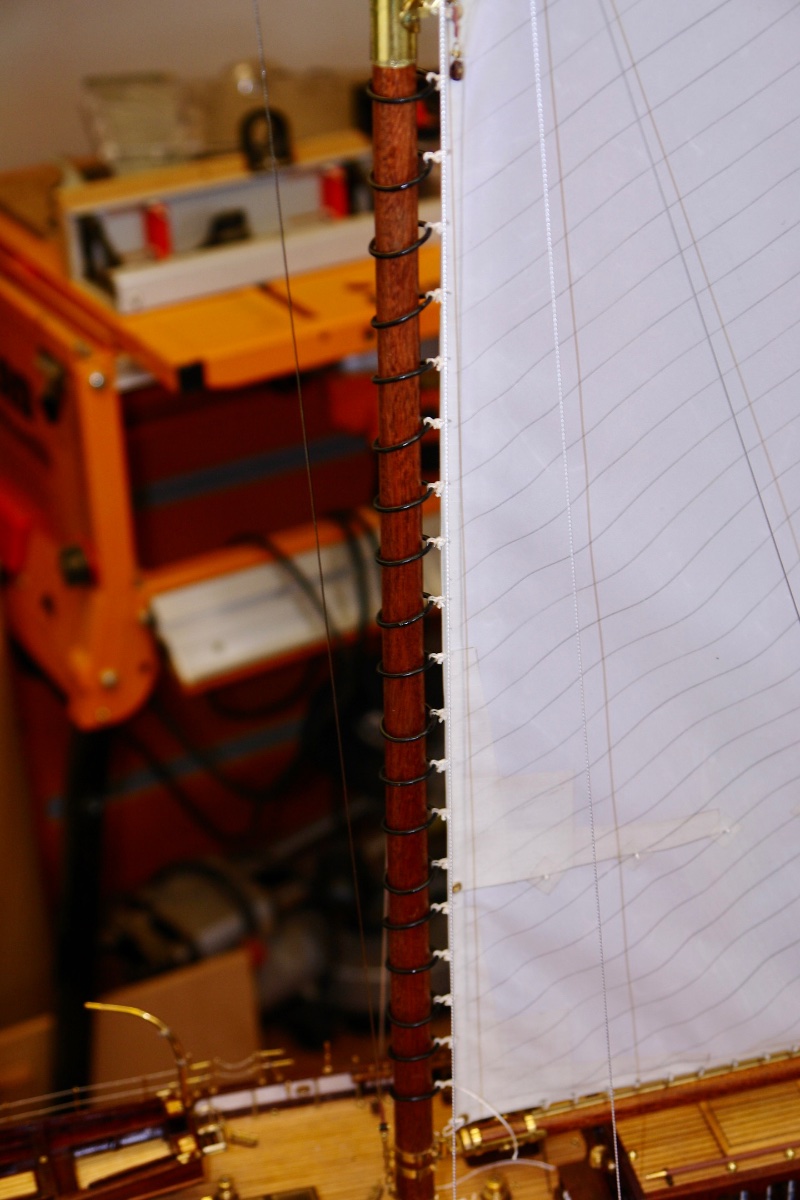
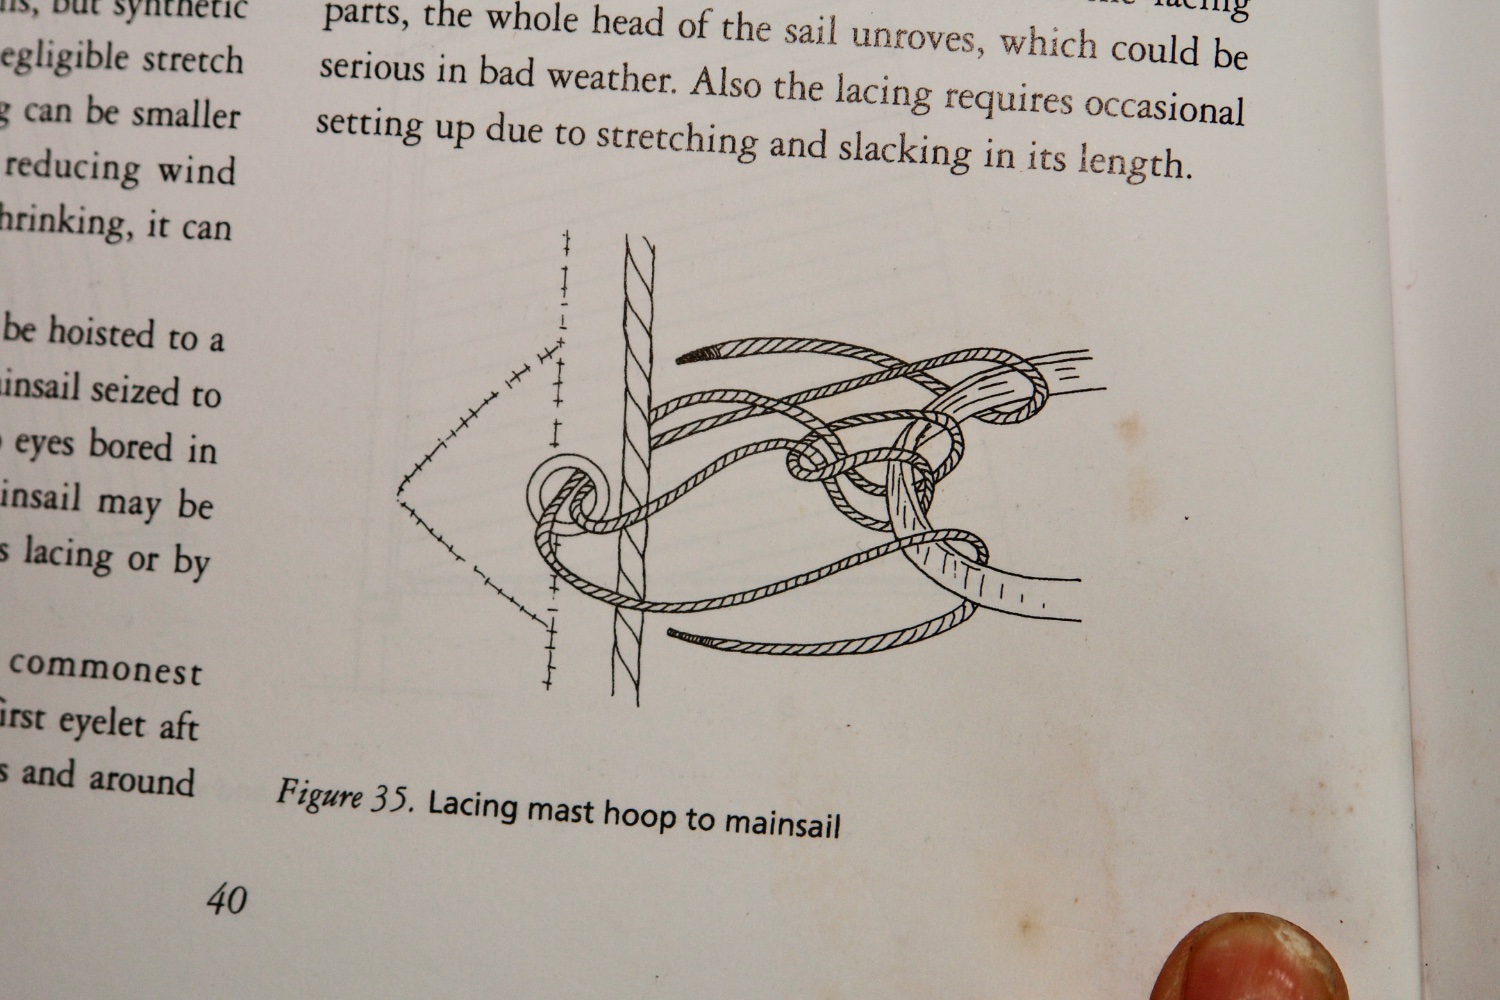
Next I went on to rigging the mast hoops using the "Leacher" method. I improvised the knotting of the free ends. My decision to delay the installation of the main and fore mast shrouds proved to be very beneficial for access.
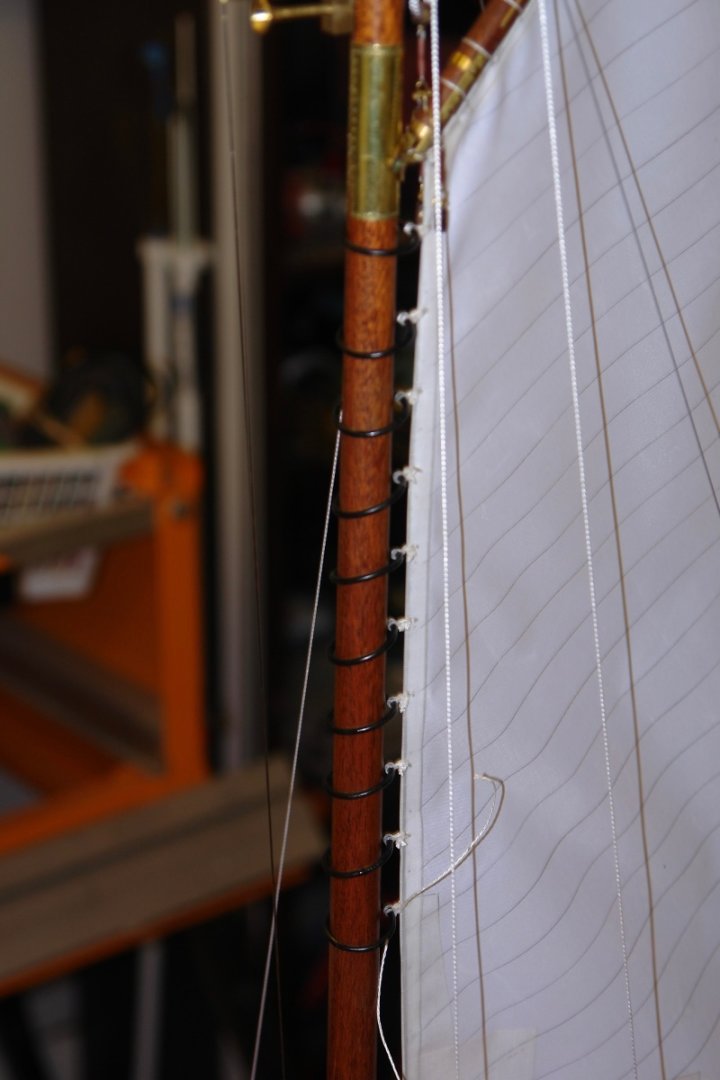
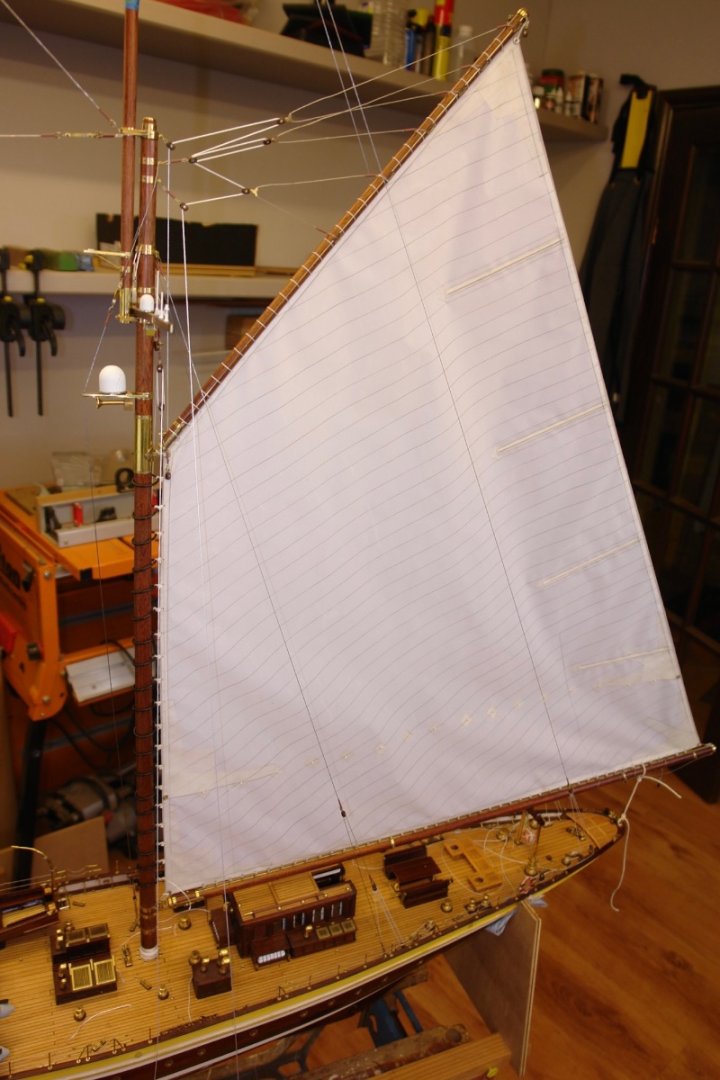
It took a while but eventually all the hoops were attached.
My knotting of the ends isn't very apparent so hopefully no one will notice my creativity!

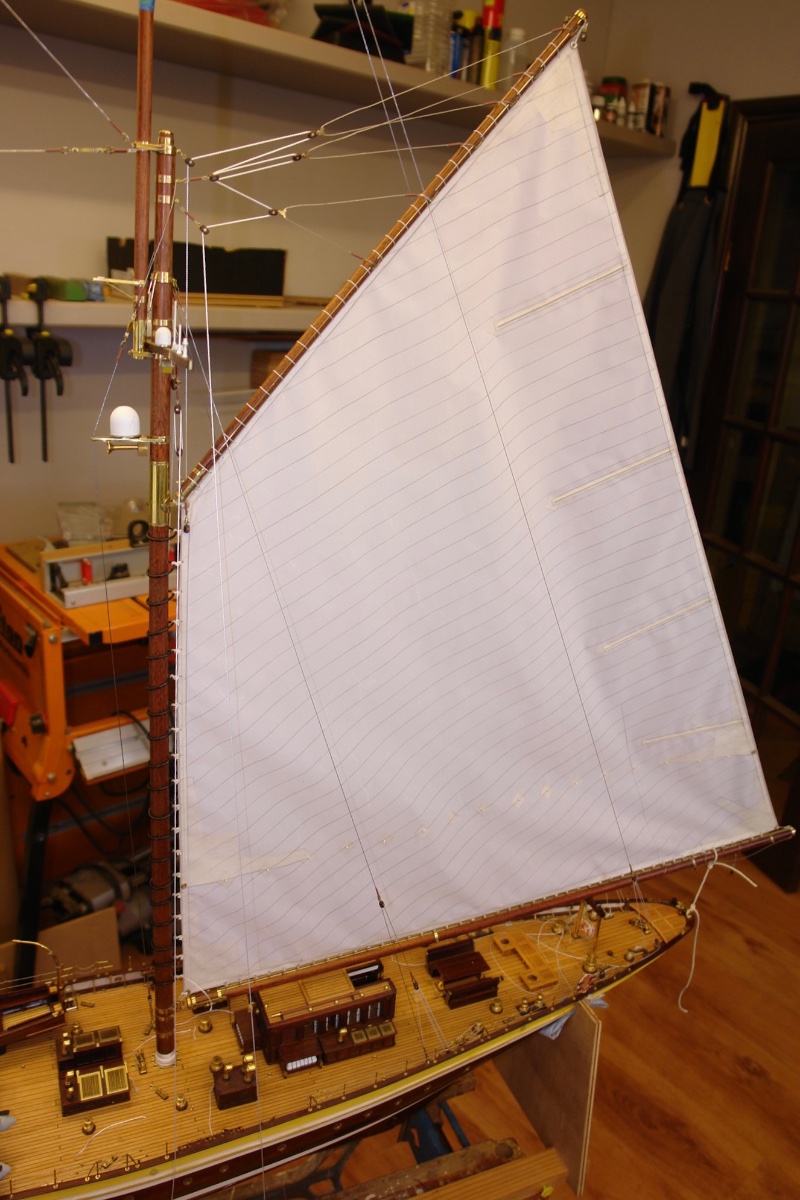
Then I took a few shots to celebrate.


-
Dan, I marvel at your image interpretation skills.
- Keith Black, mtaylor and Canute
-
 3
3
-
-
-
Hi Michael
Sorry but I missed the post about your hand problem. I hope you got the surgery and are now on the mend?
- mtaylor, Keith Black and FriedClams
-
3
-
3 minutes ago, mbp521 said:
Did you fabricate the eyelets as well?
Thank you Brian - the answer is I bought them.
- mbp521, Retired guy, mtaylor and 3 others
-
6
-
Thank you Eberhard and Keith.
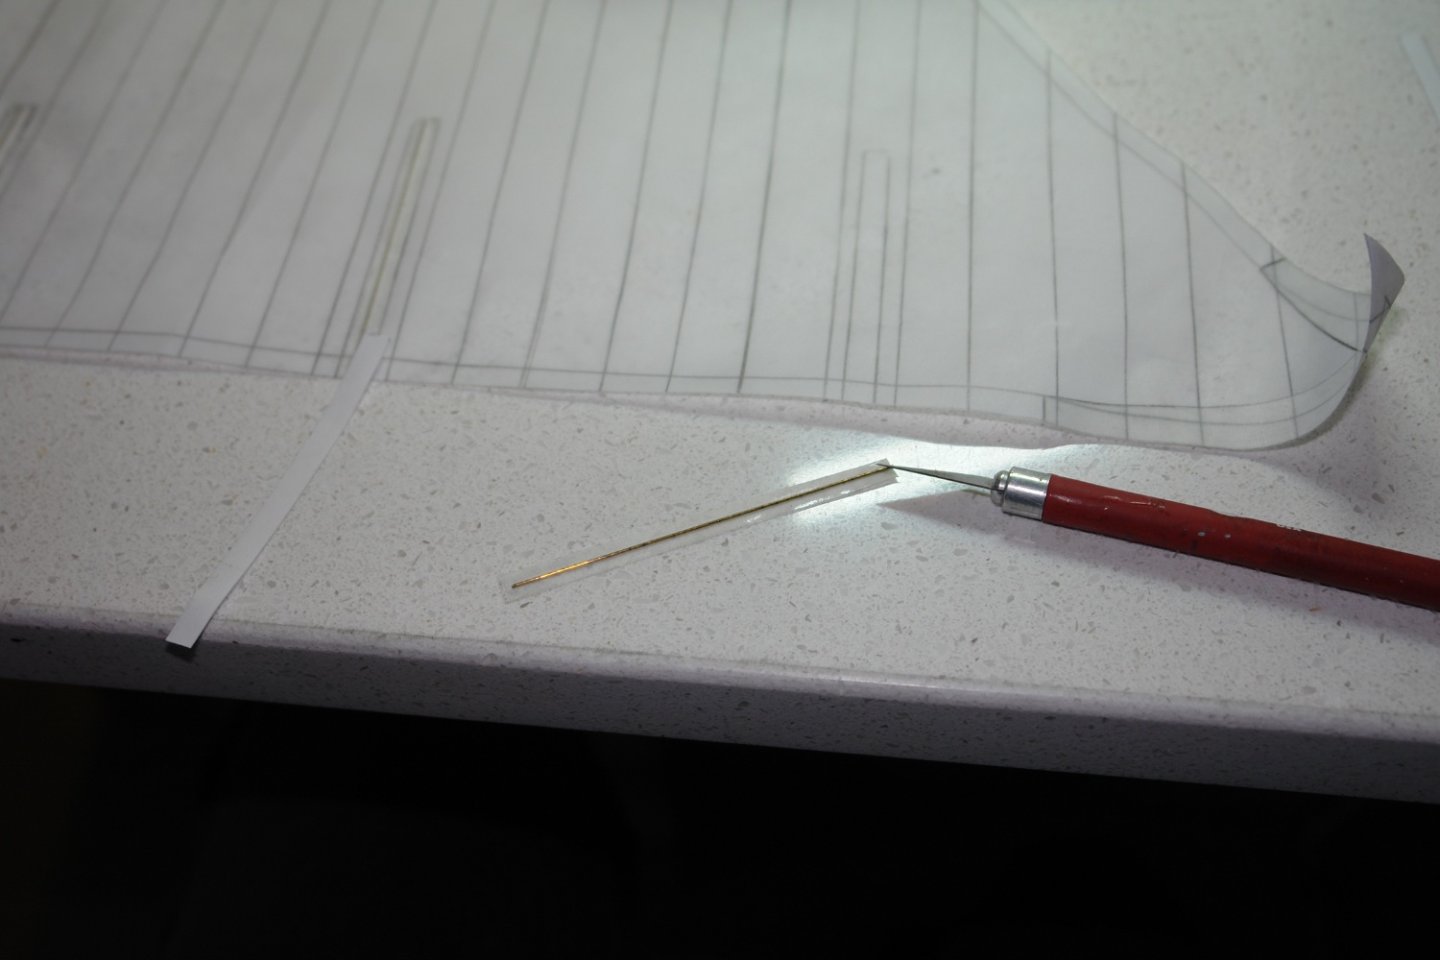
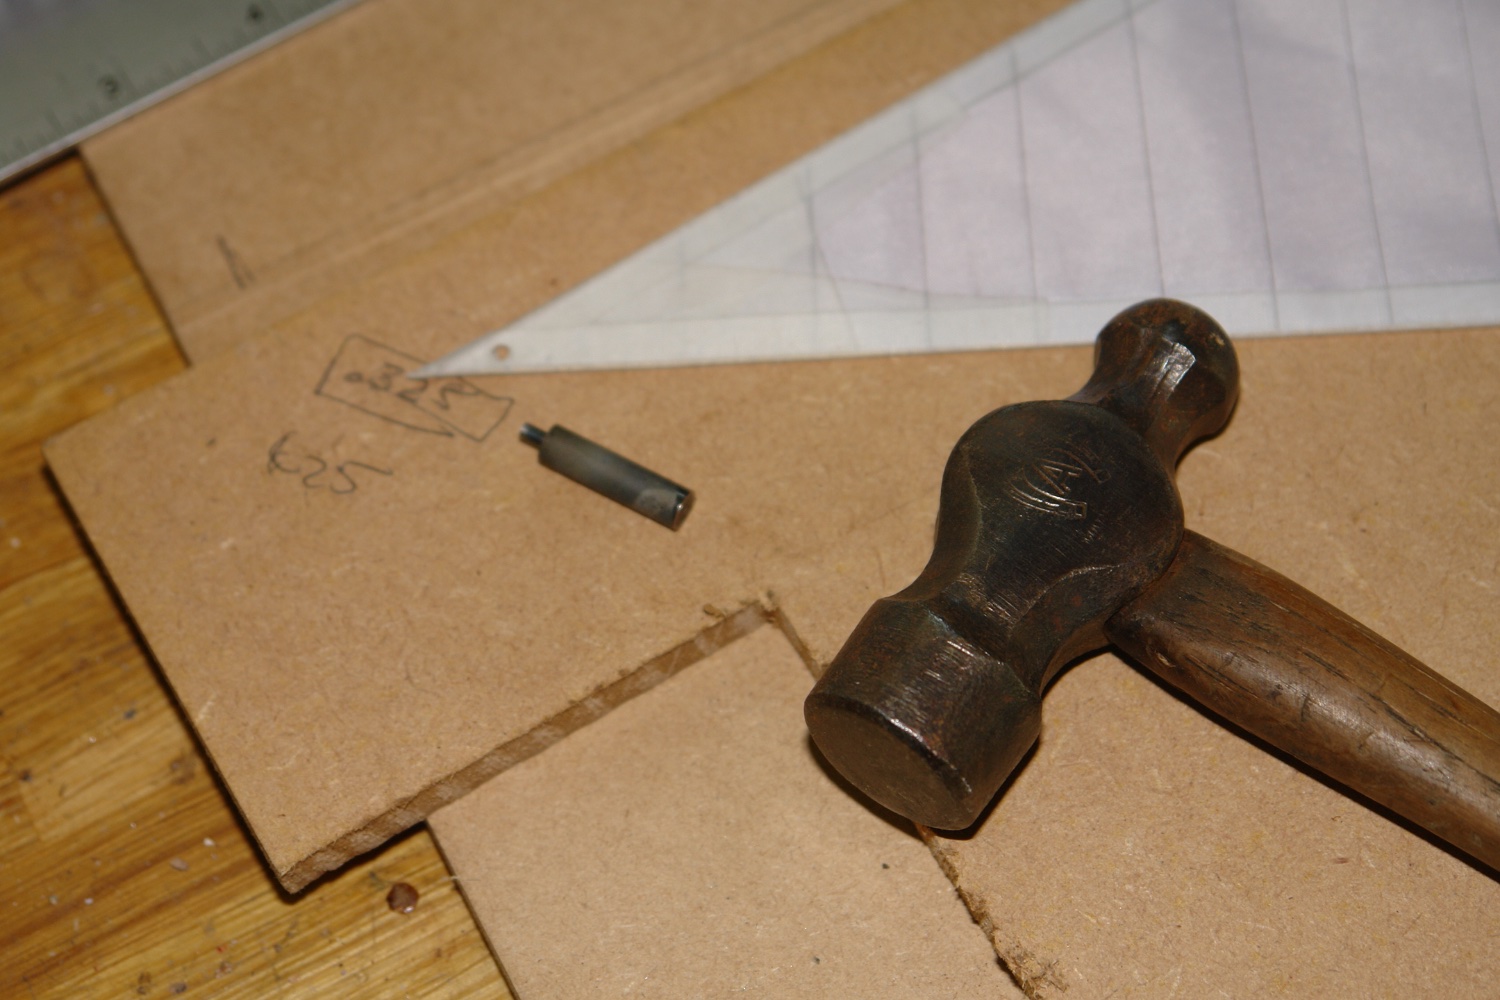
I have been getting on with the sails. I needed to cut the clew holes and cutting through the rip stop was proving difficult so I made a cutter out of a piece of silver steel that was then hardened. The inner surface of the cutter was formed with a small centre drill and the outer profile was turned on the lathe - leaving a sharp edge.
 The holes were punched and small eyelets were pushed through the holes and backed by small brass washers that were glued in place.
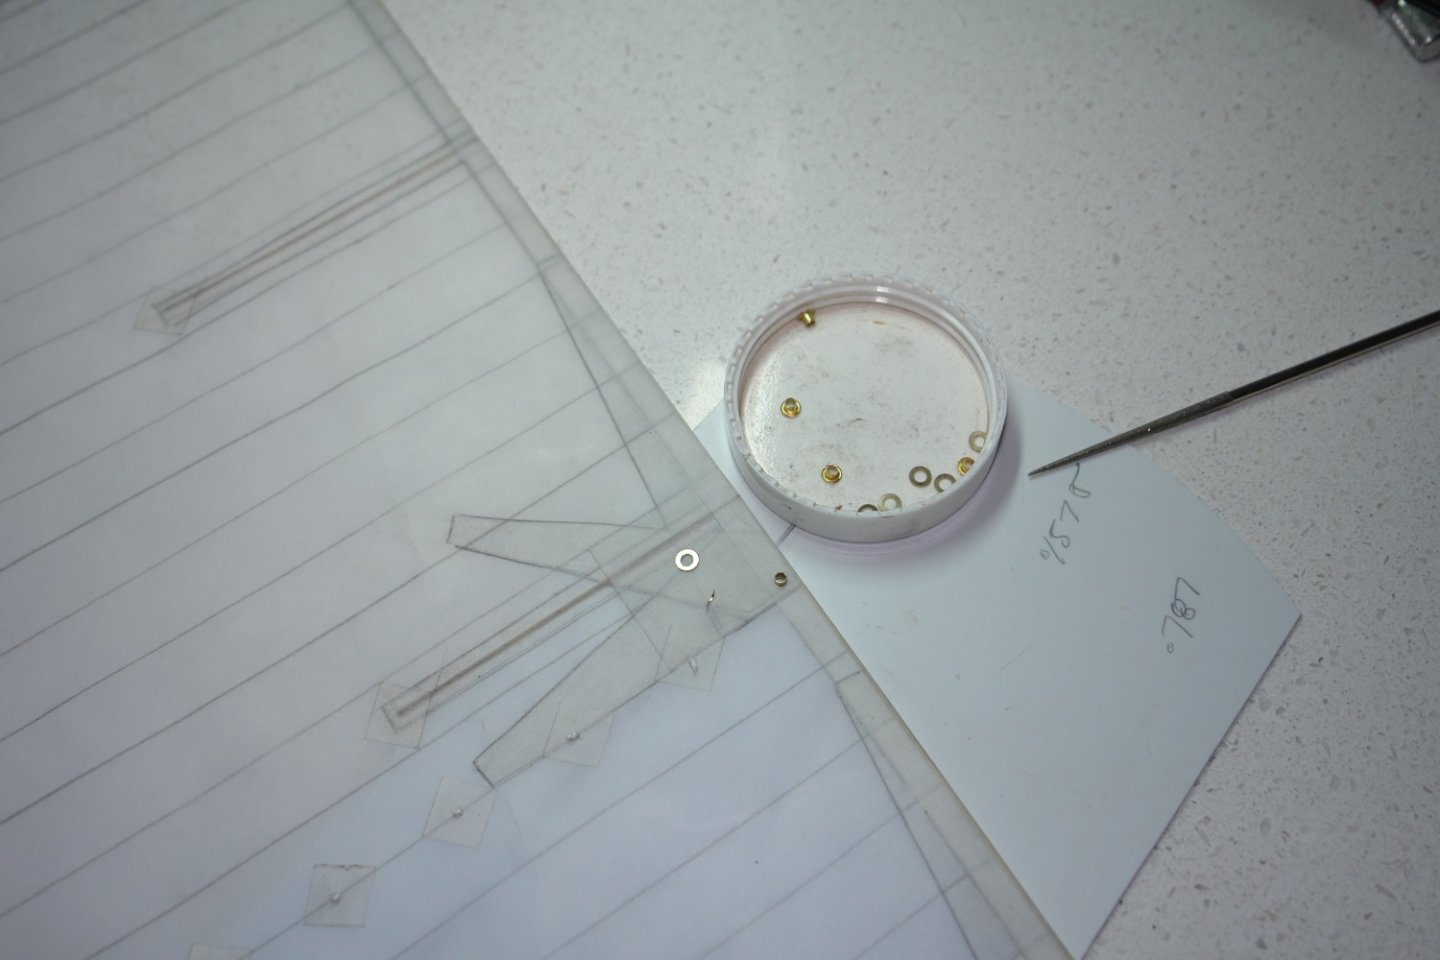
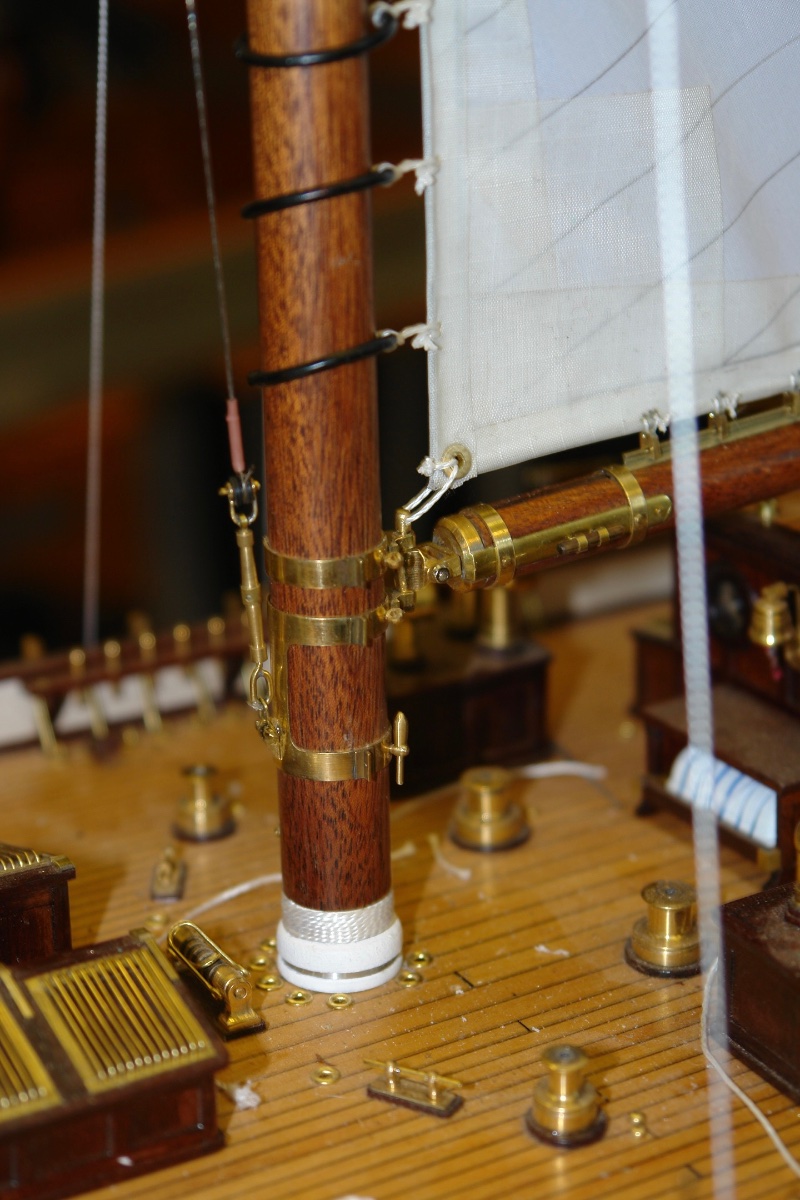
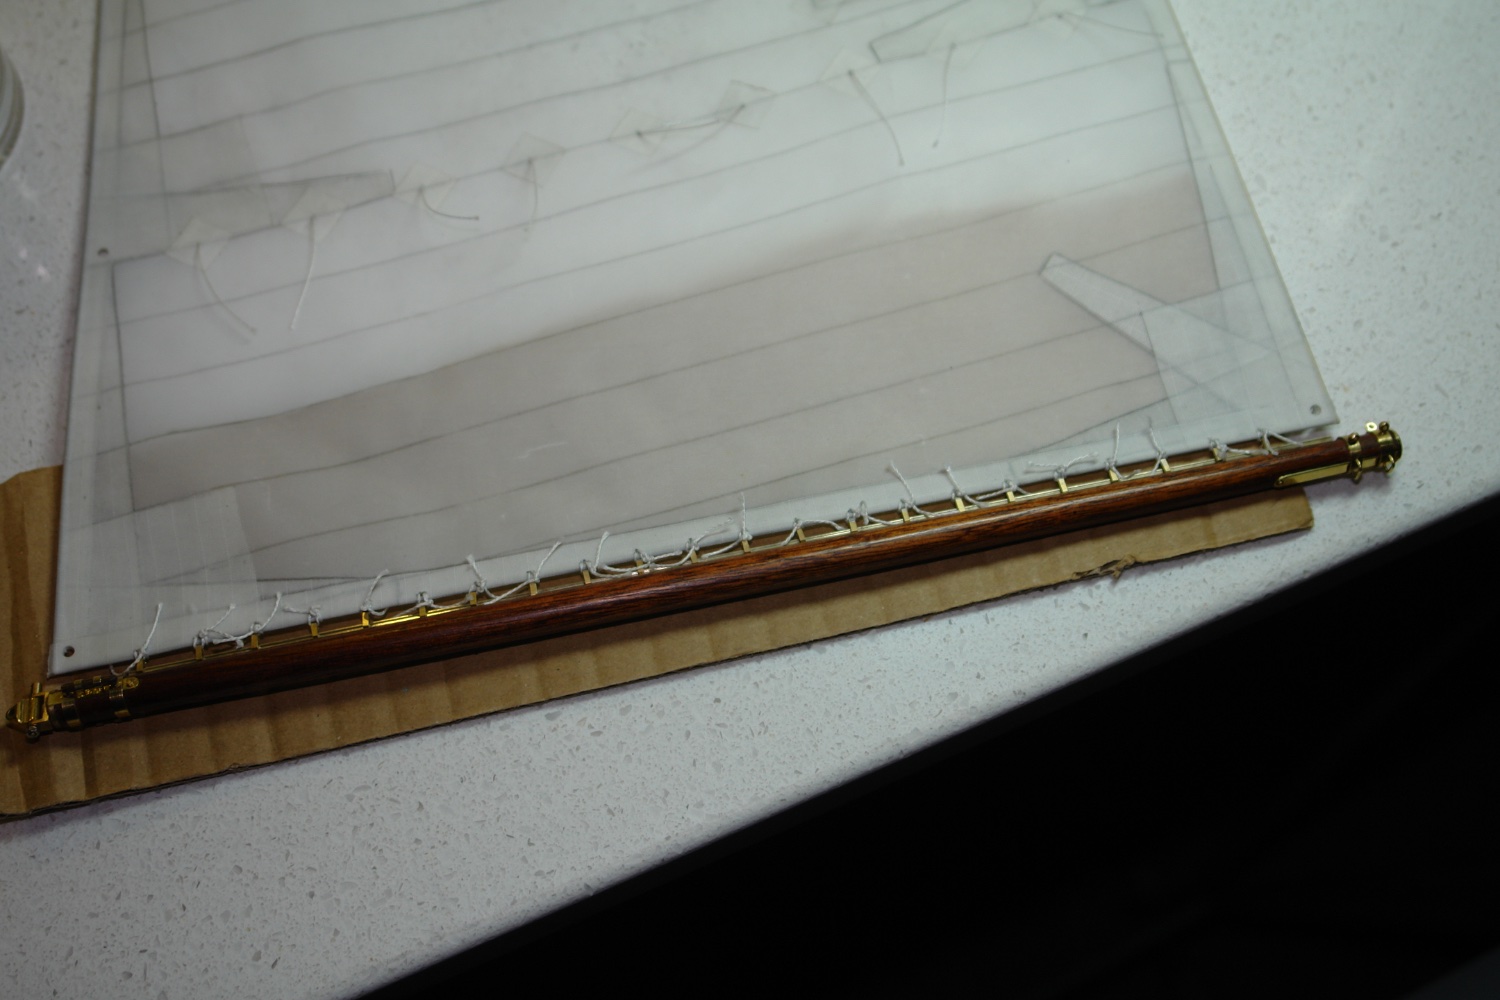
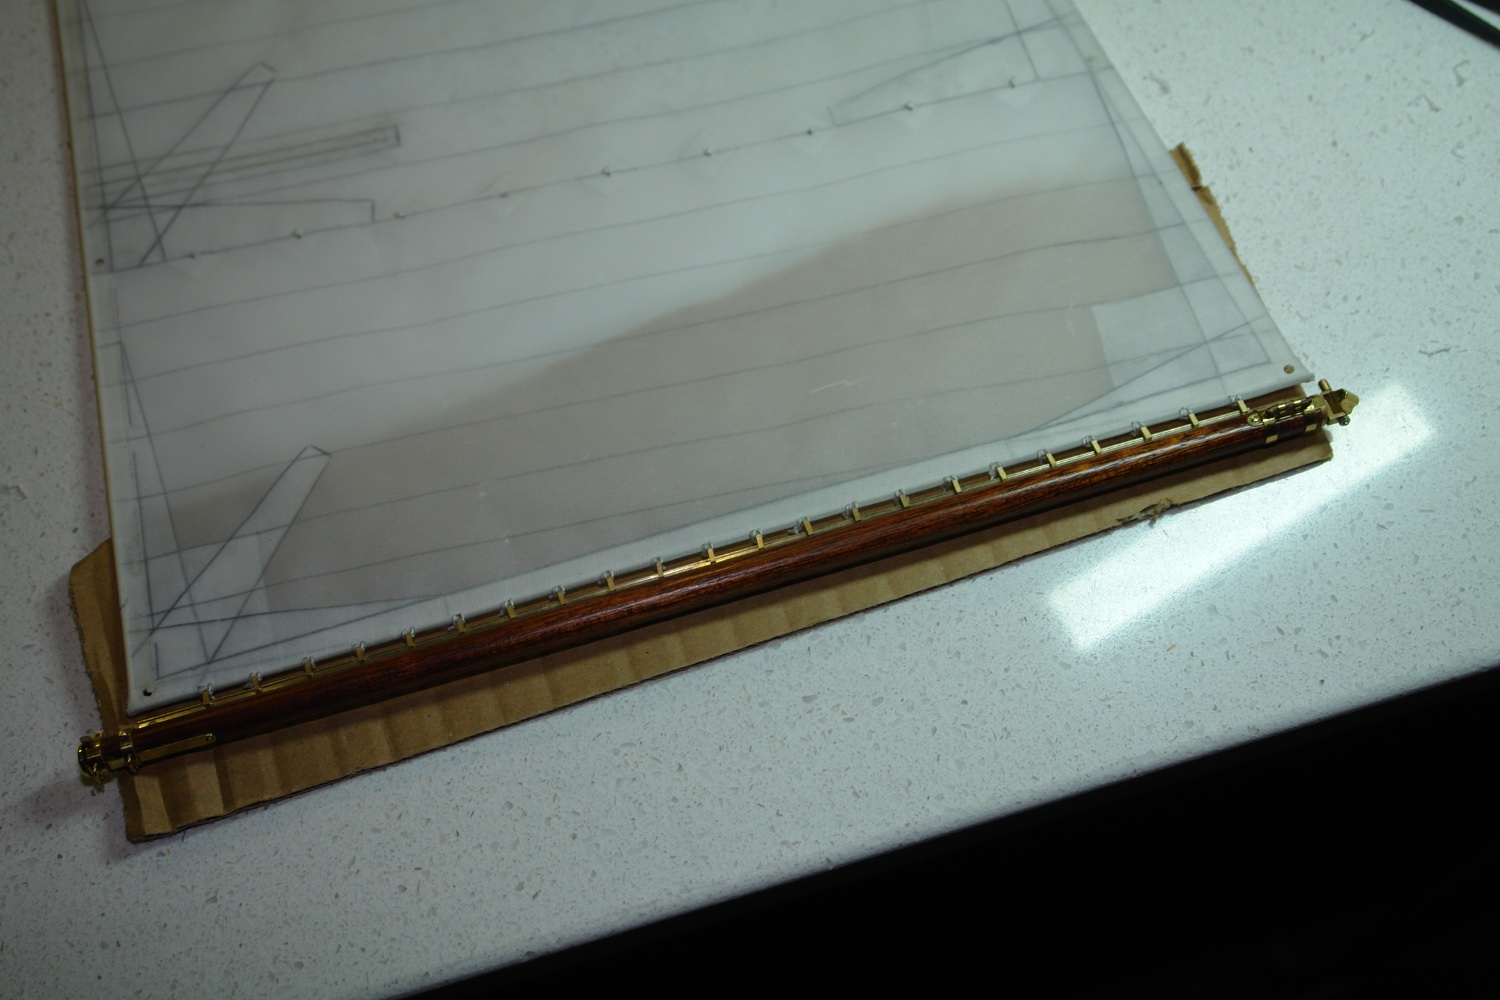
I then went on to attach the sliders on to the foot of the sail.
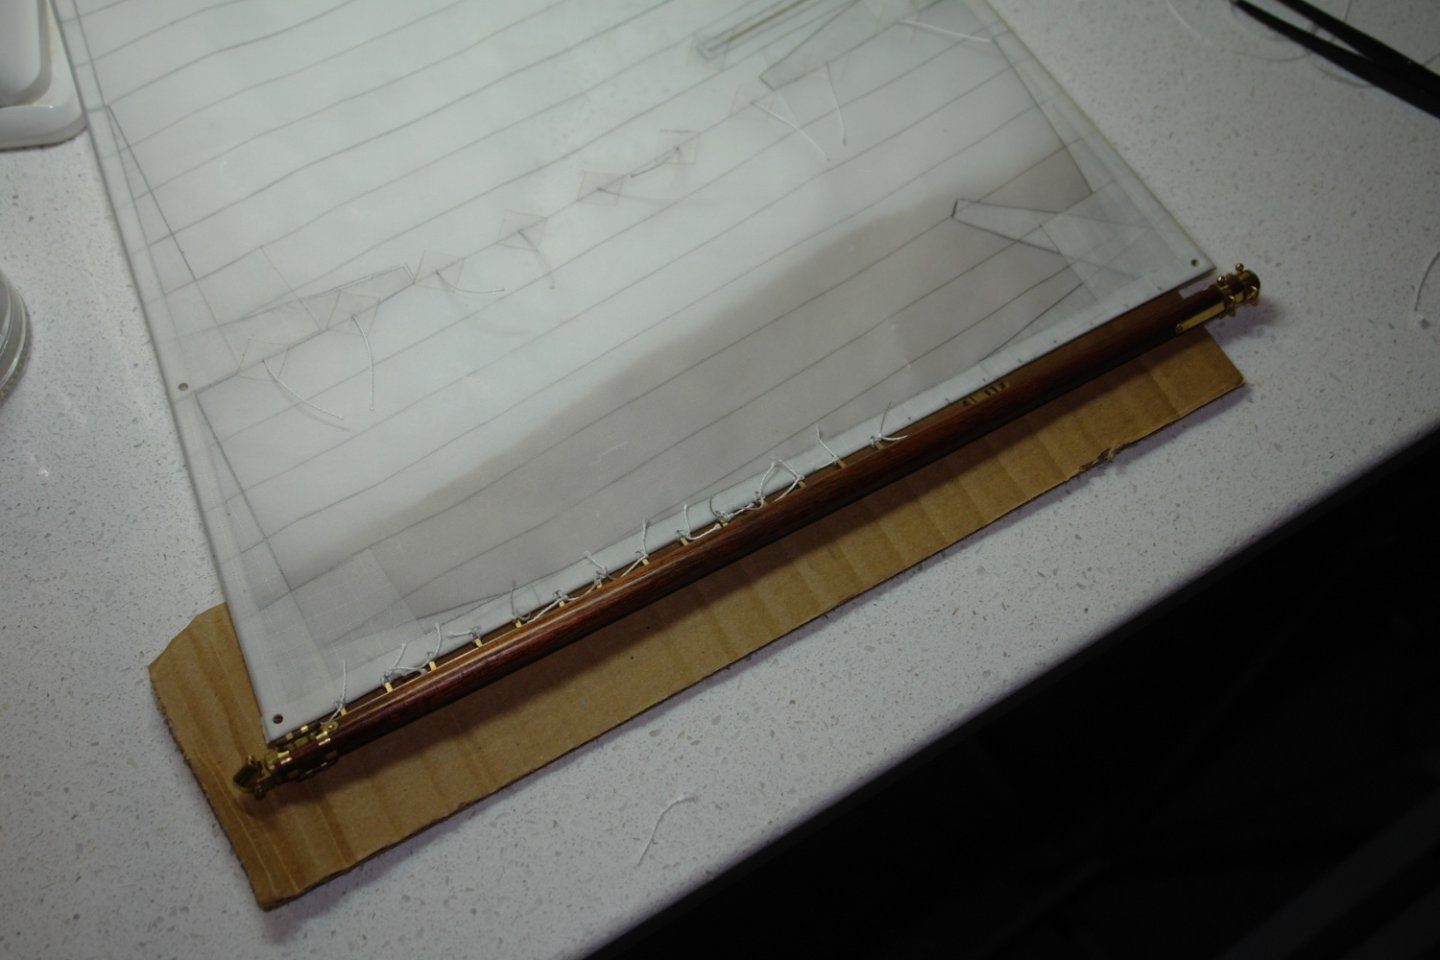

This done the loose ends were tidied up.

With this complete the gaff was laced on to the head of the sail.
-
-
On 8/26/2022 at 10:36 PM, Keith Black said:
I love the BBC show Escape to the Country, what part did she settle into, Keith?
Hi Keith - she was searching a wide area to the south west of London as far south as the west coast, but in the end she bought a house about 6 miles away from my wife and I in West Sussex.
On 8/26/2022 at 10:43 PM, mbp521 said:Do you have a current shot of what she looks like now,
Brian I haven't taken one recently but I should be getting some of the sails hoisted over the next few weeks. I will make a point of taking an overall shot and posting it soon.
Keith, Brian, Pat, Richard, Eberhard, Nils, Gary and Dan. Once again thank you for your continuing support and comments, i do appreciate the time and effort you take in following along. Also thanks to everyone who has visited and or liked my work.
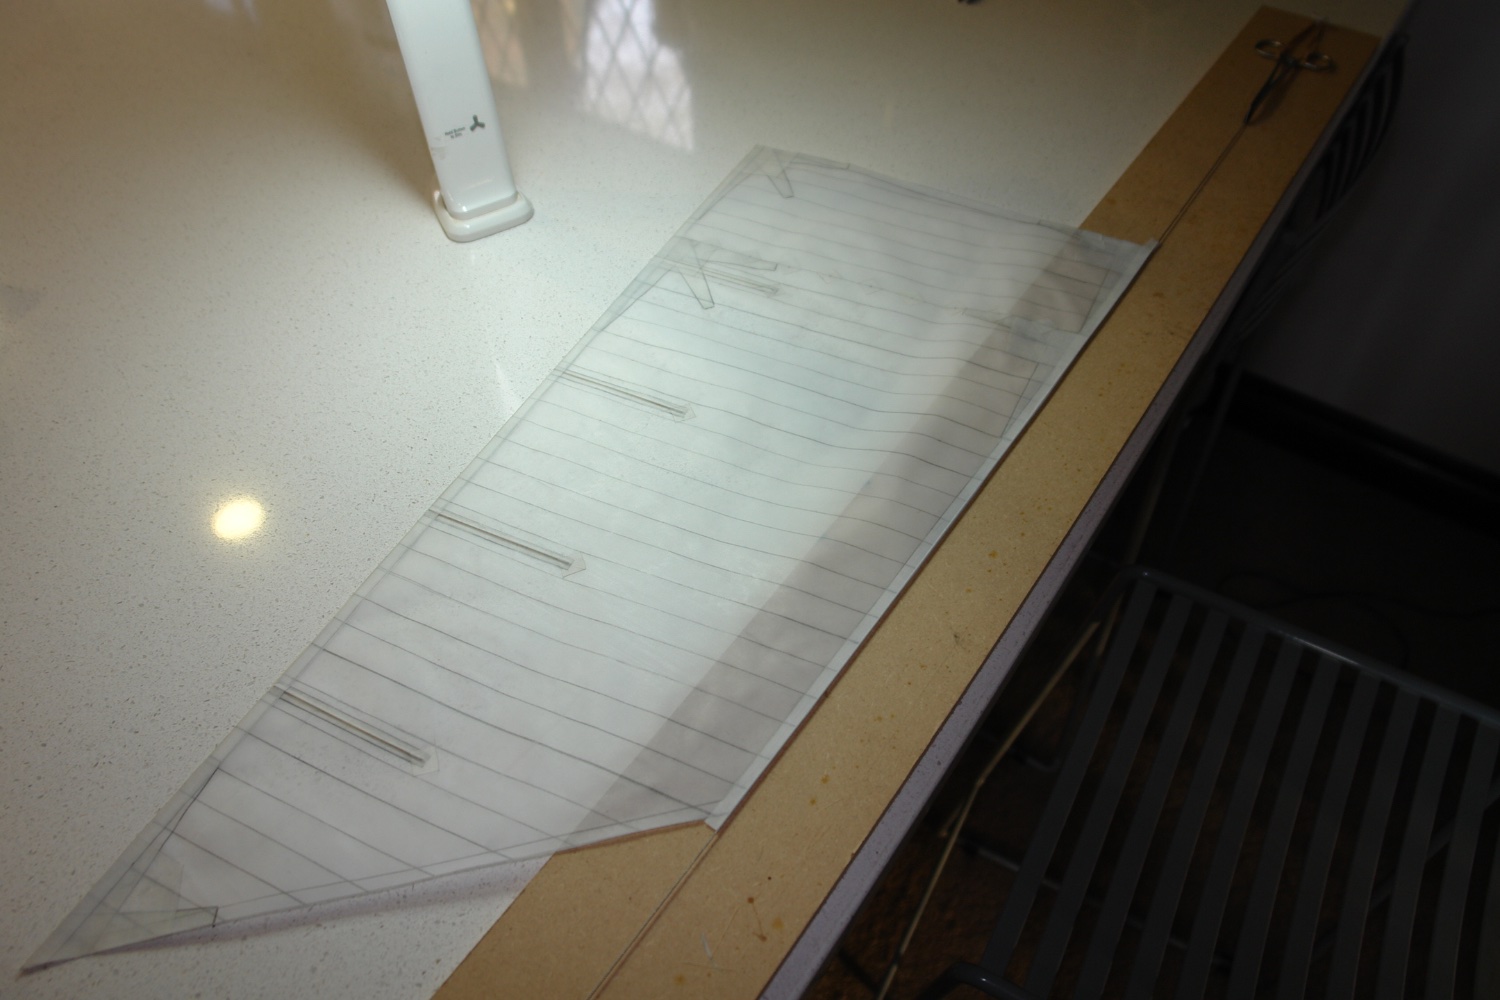
I am now in a phase of sail making. I started this in the last post but didn't provide much detail so I will correct this here.
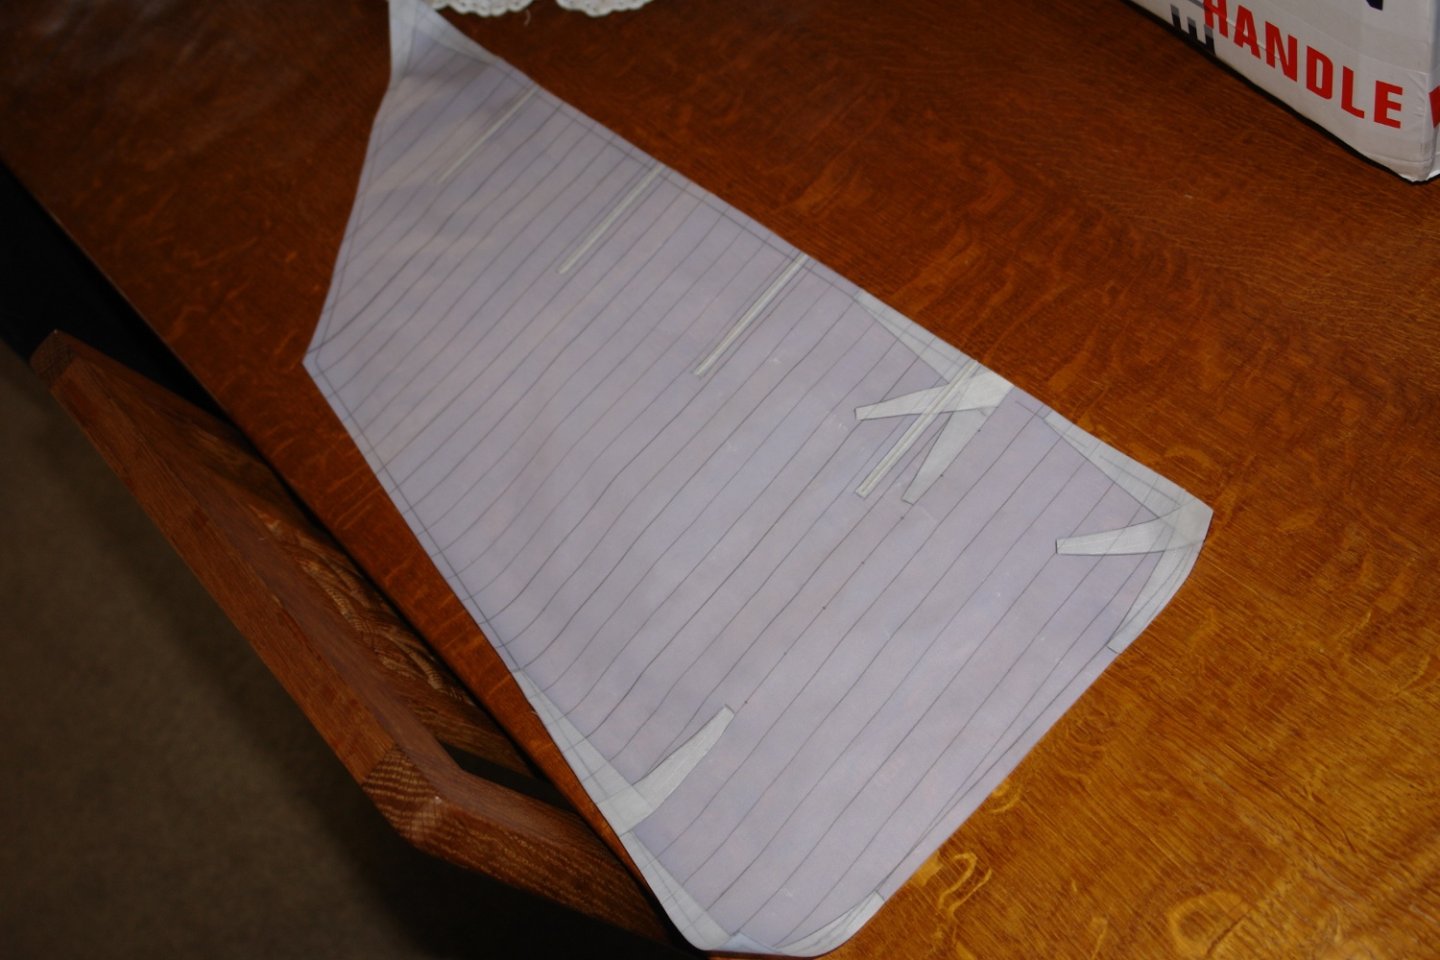
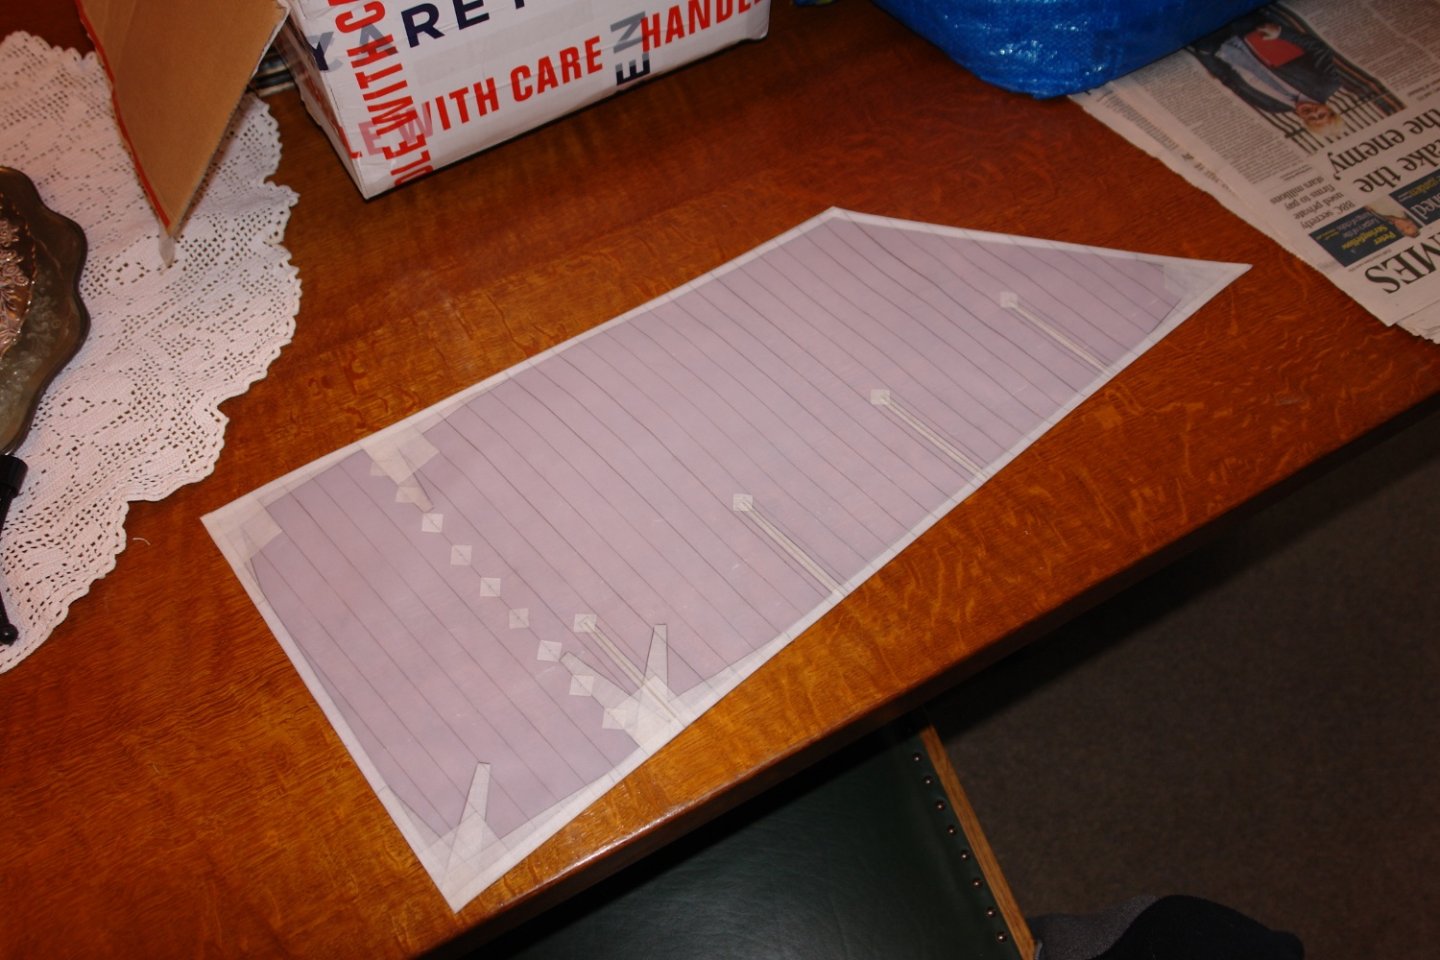
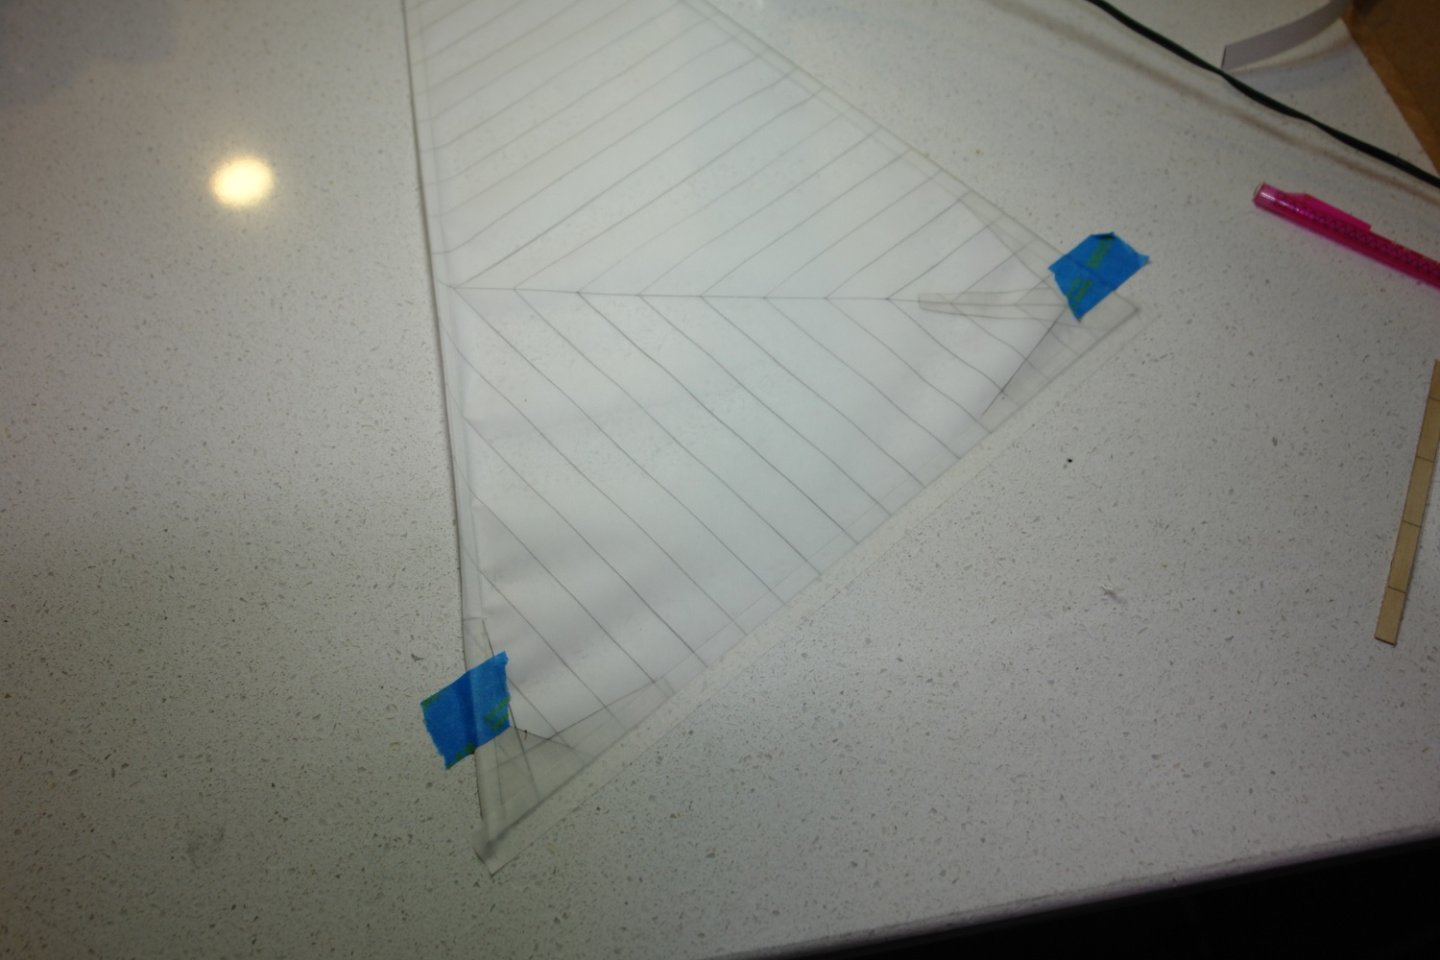
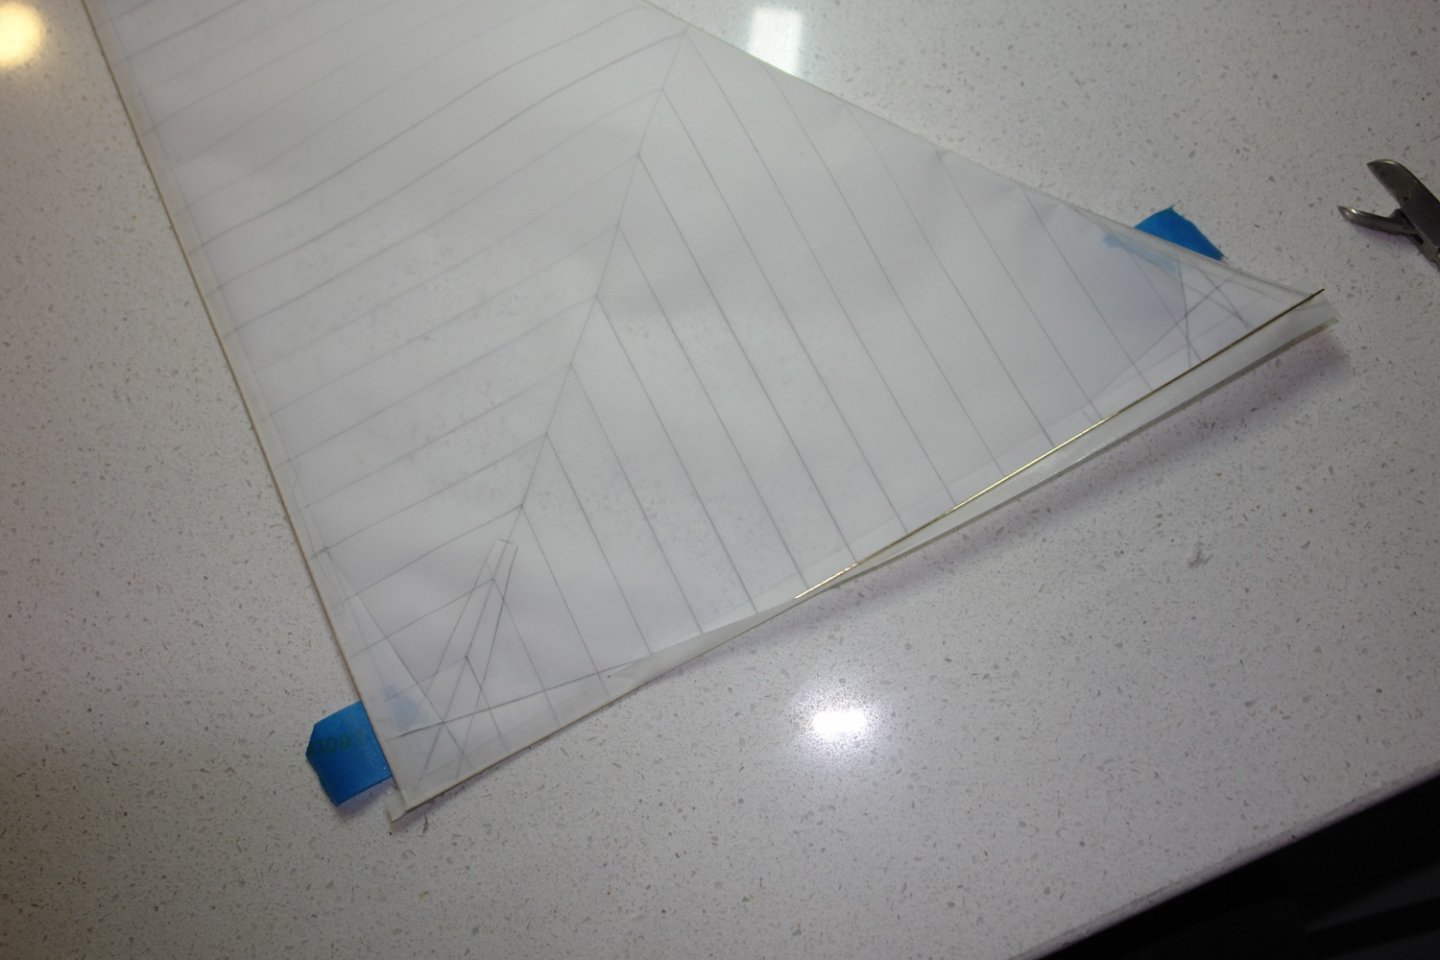
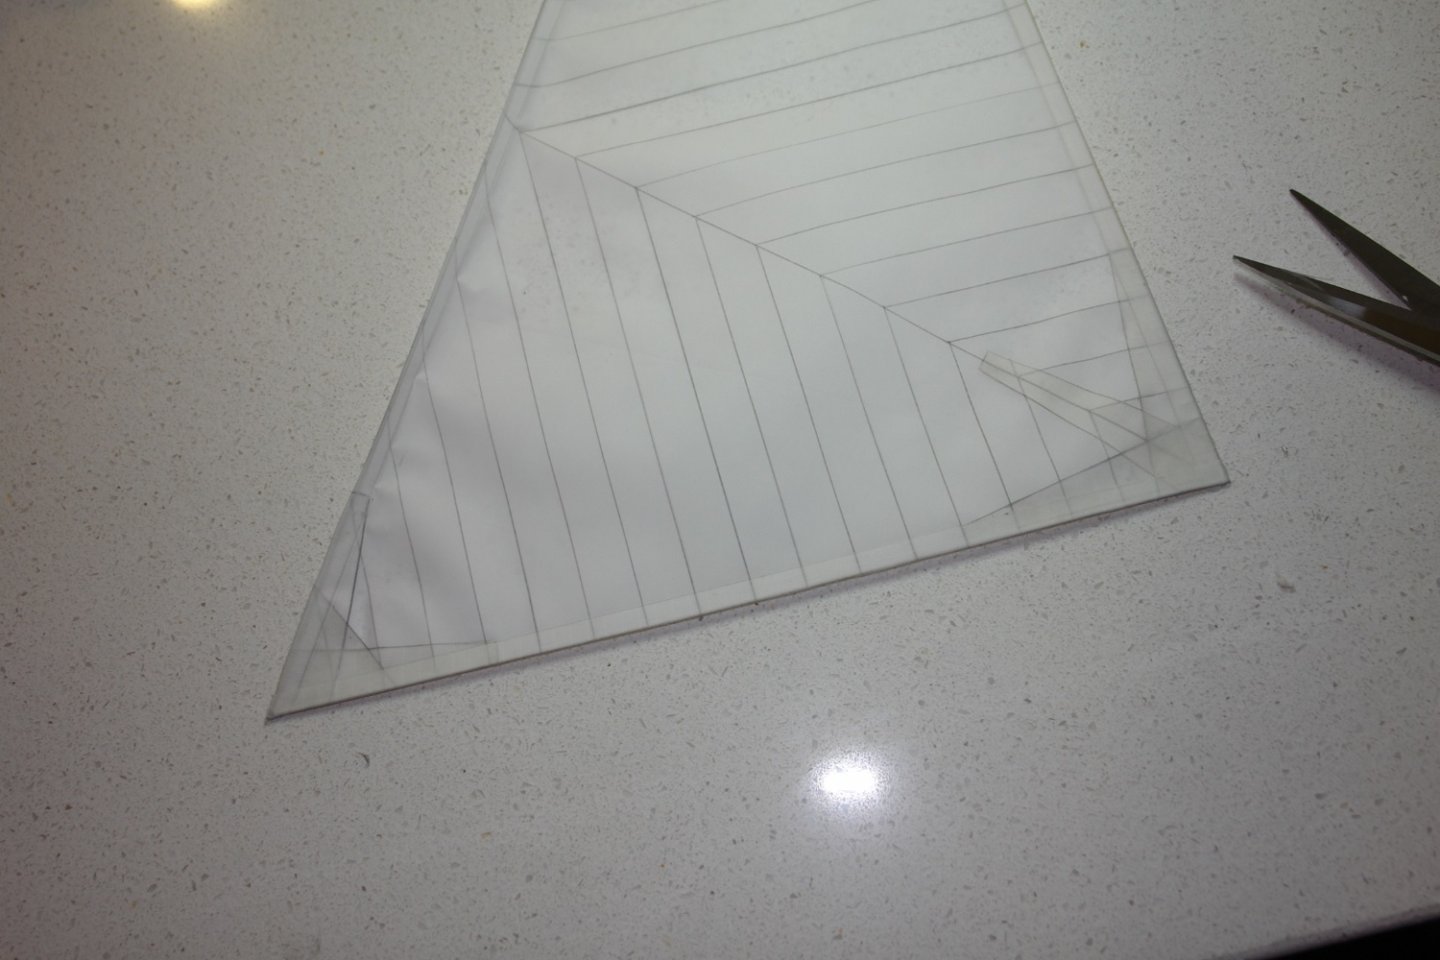
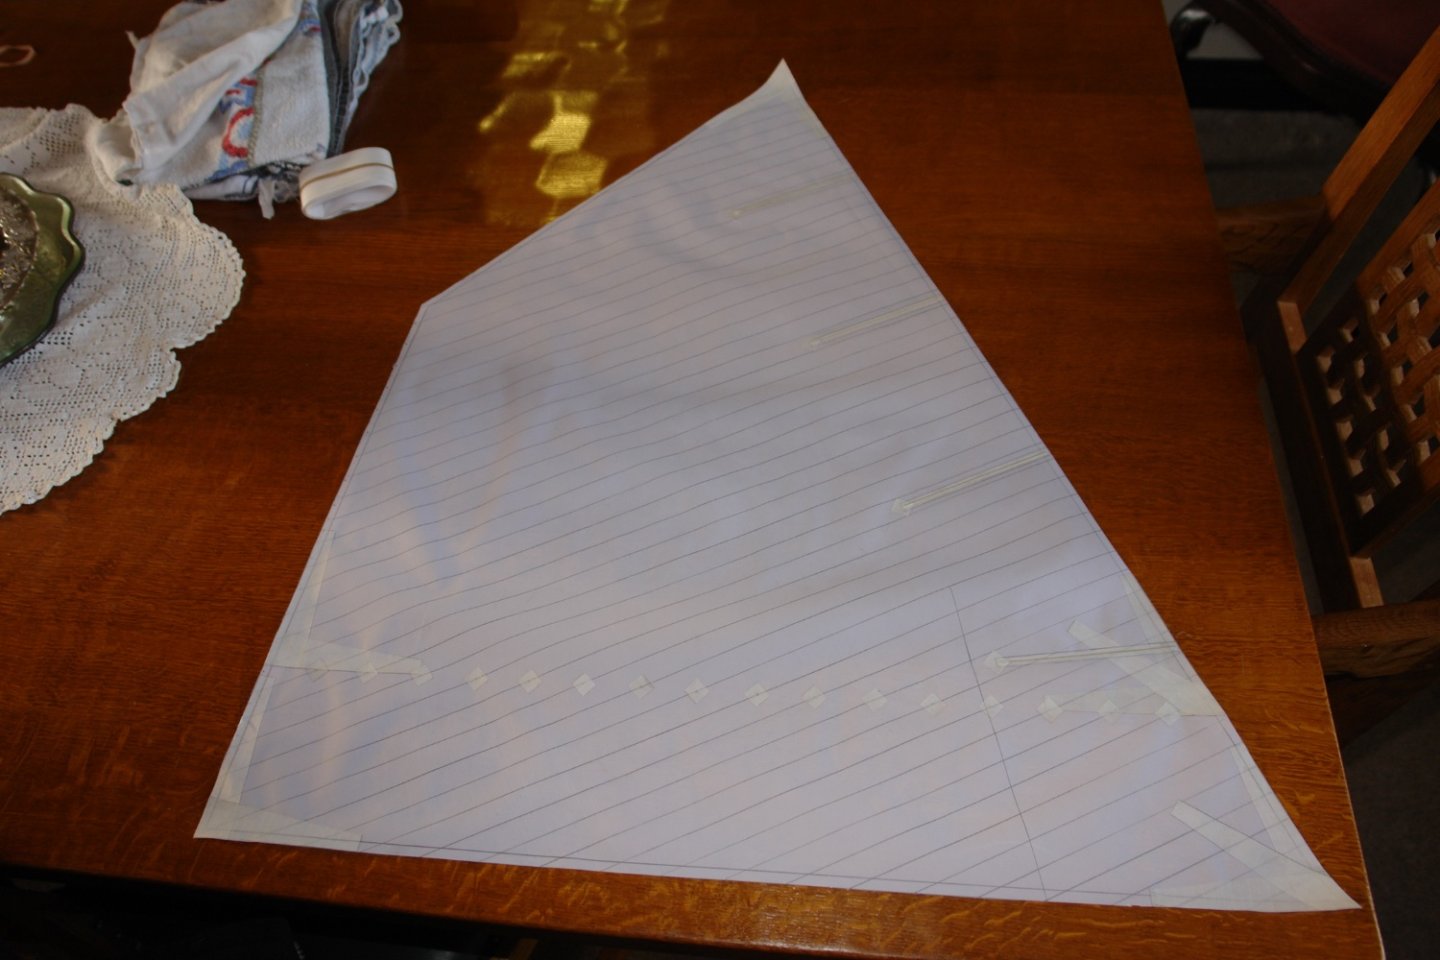
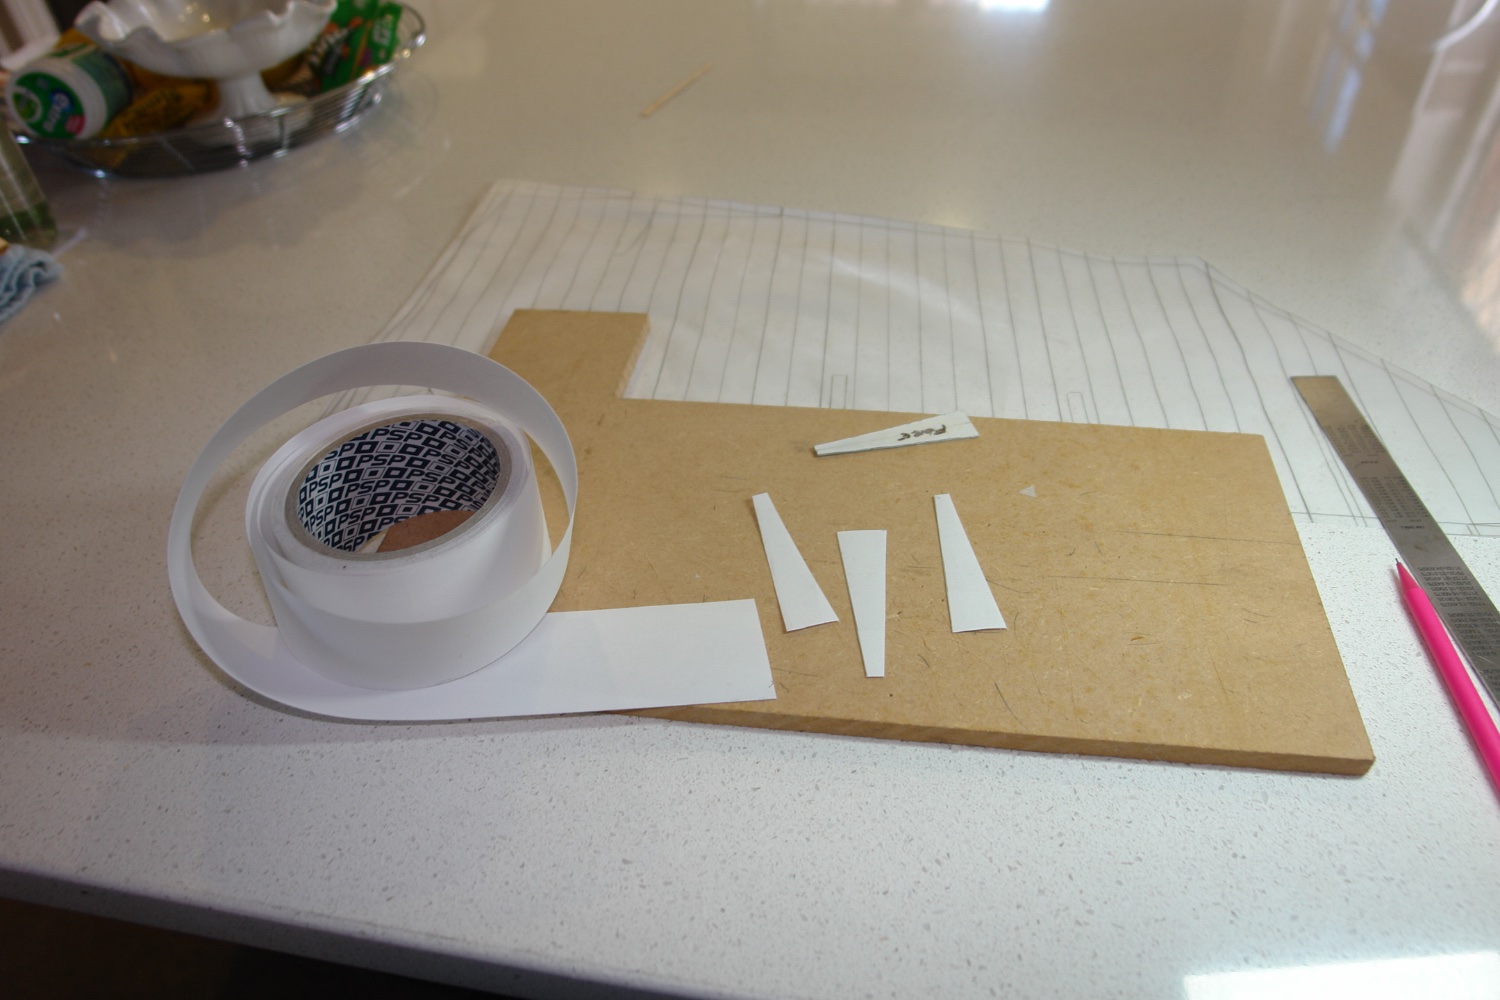
I sketched out the foresail on paper and then repeated the process of tracing the seams and reinforcing details on to the PVA impregnated cloth.

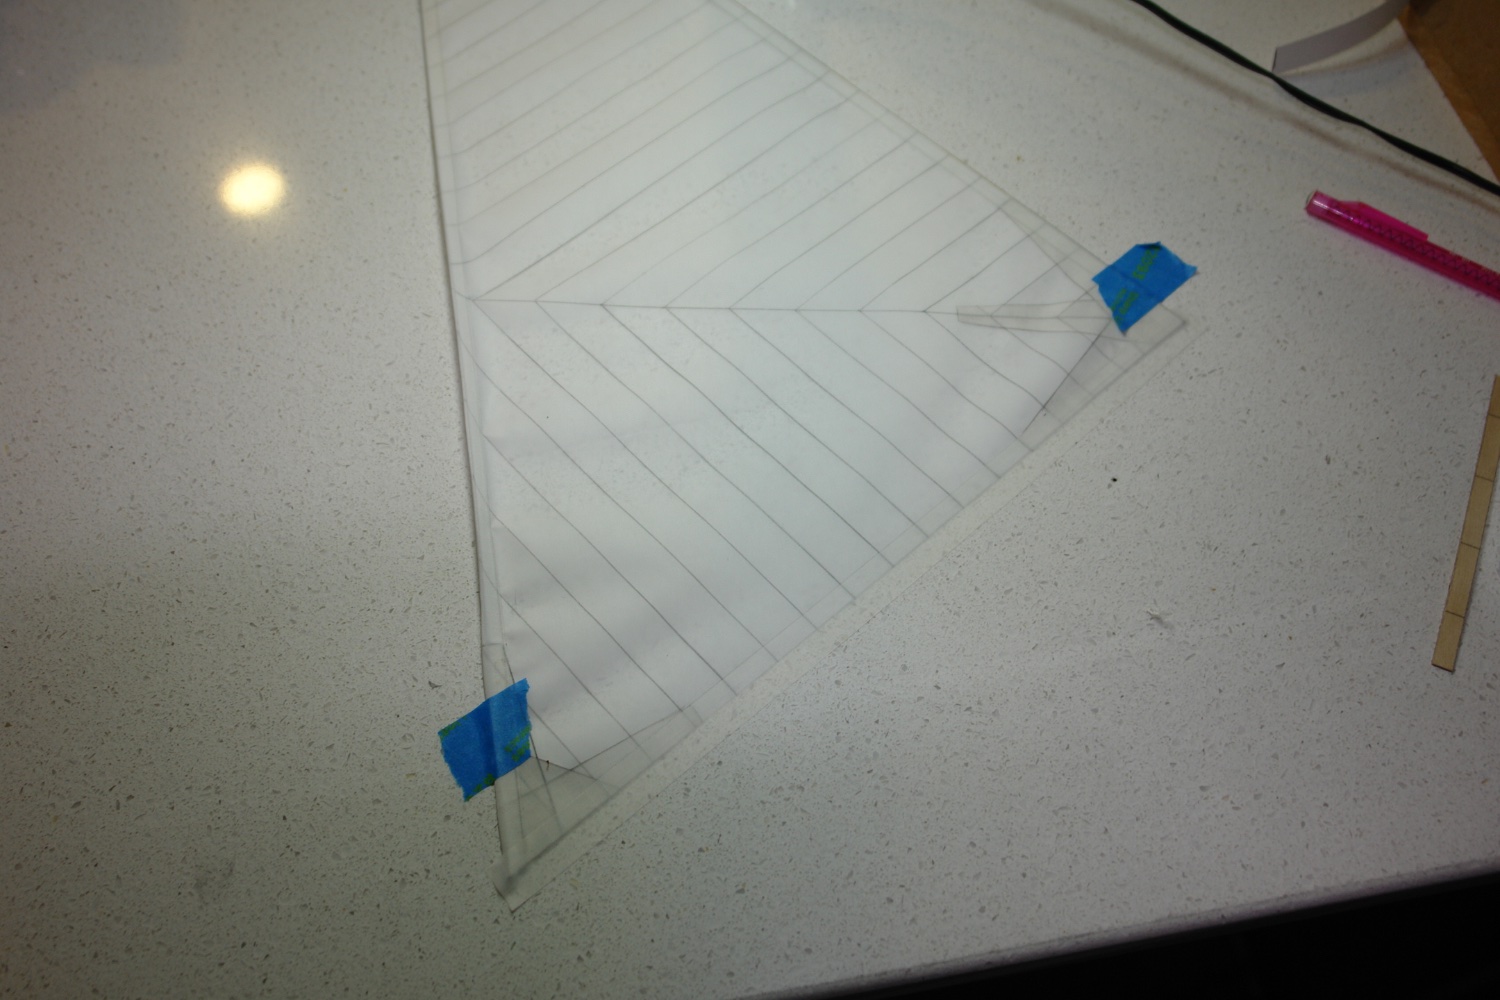
I then cut wedge shaped templates for the reinforcing from plasti-card. These were then used to cut out reinforcing from rip stop tape.

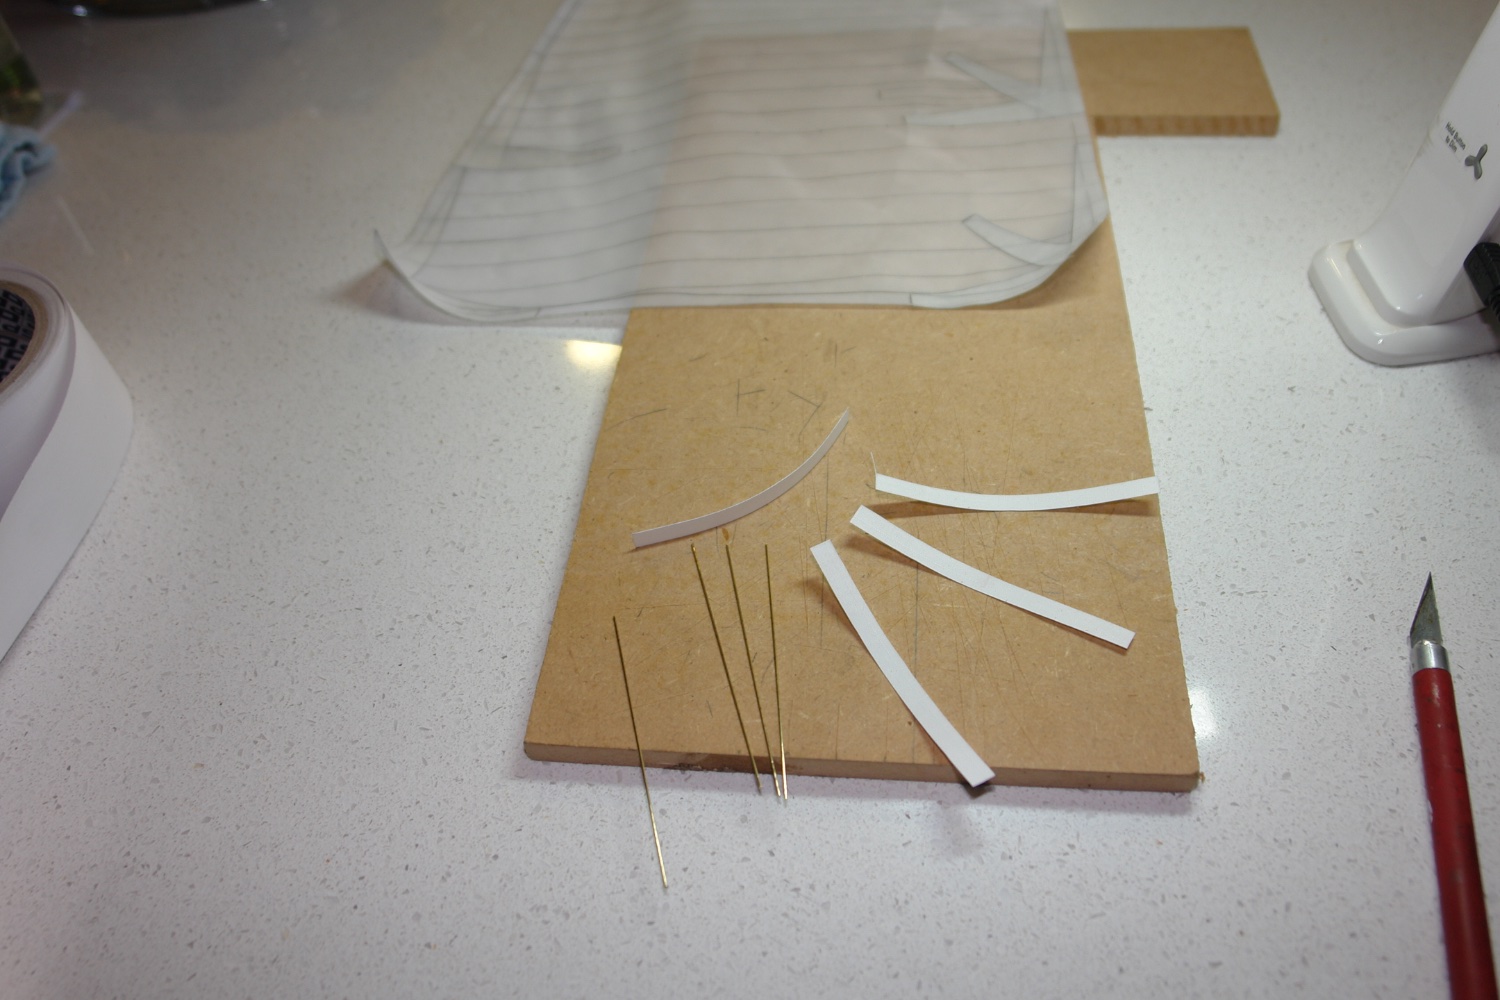
I also used templates to cut out the batten pockets.
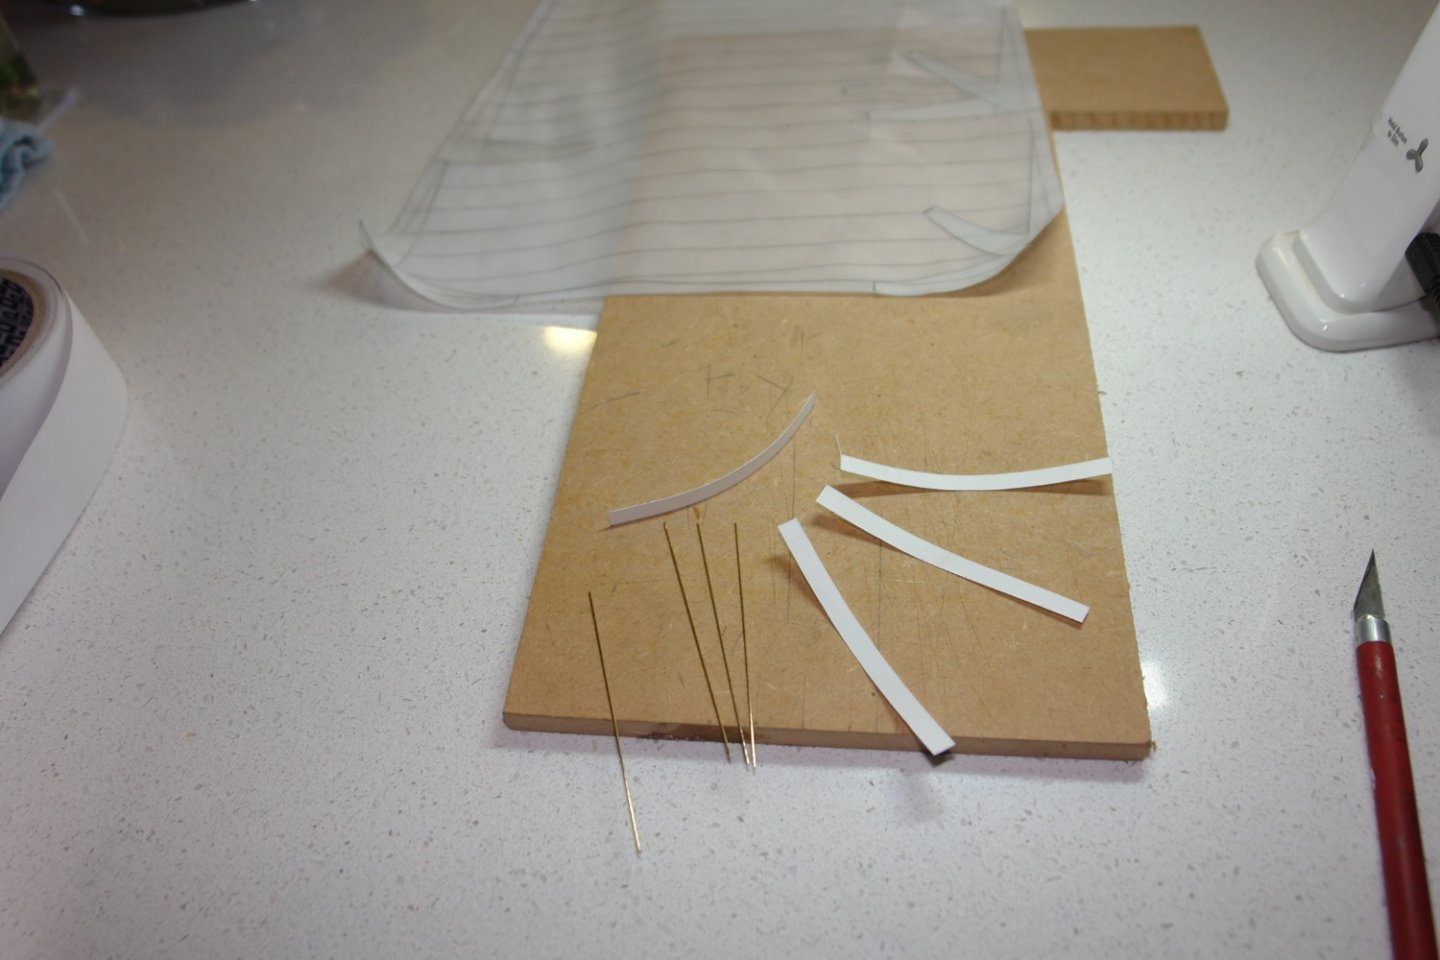
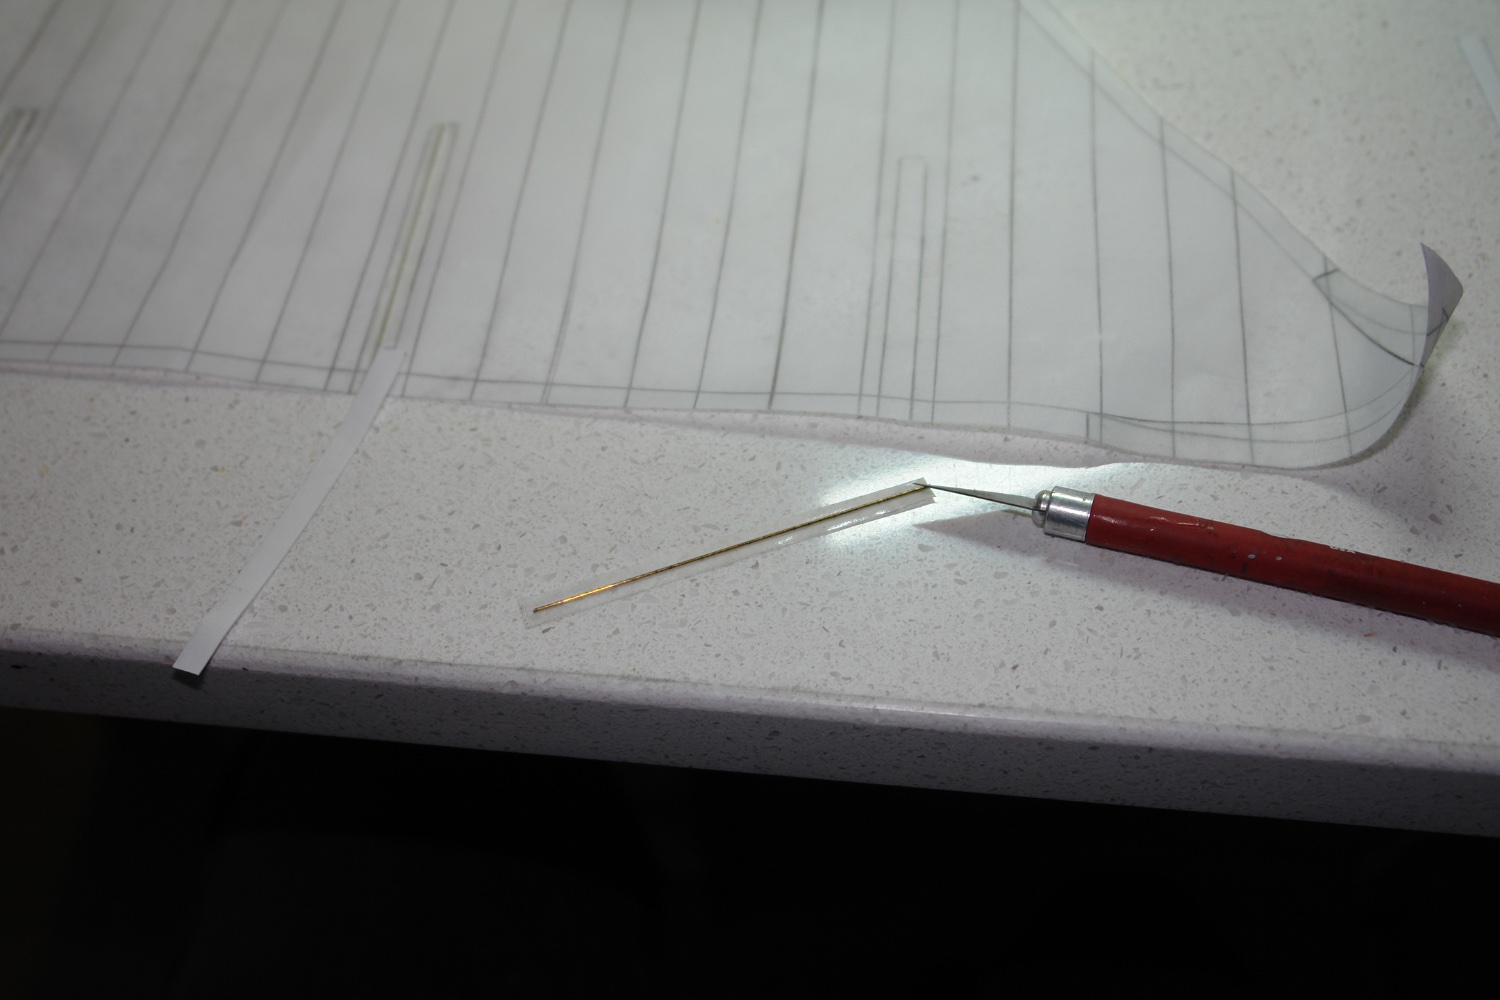
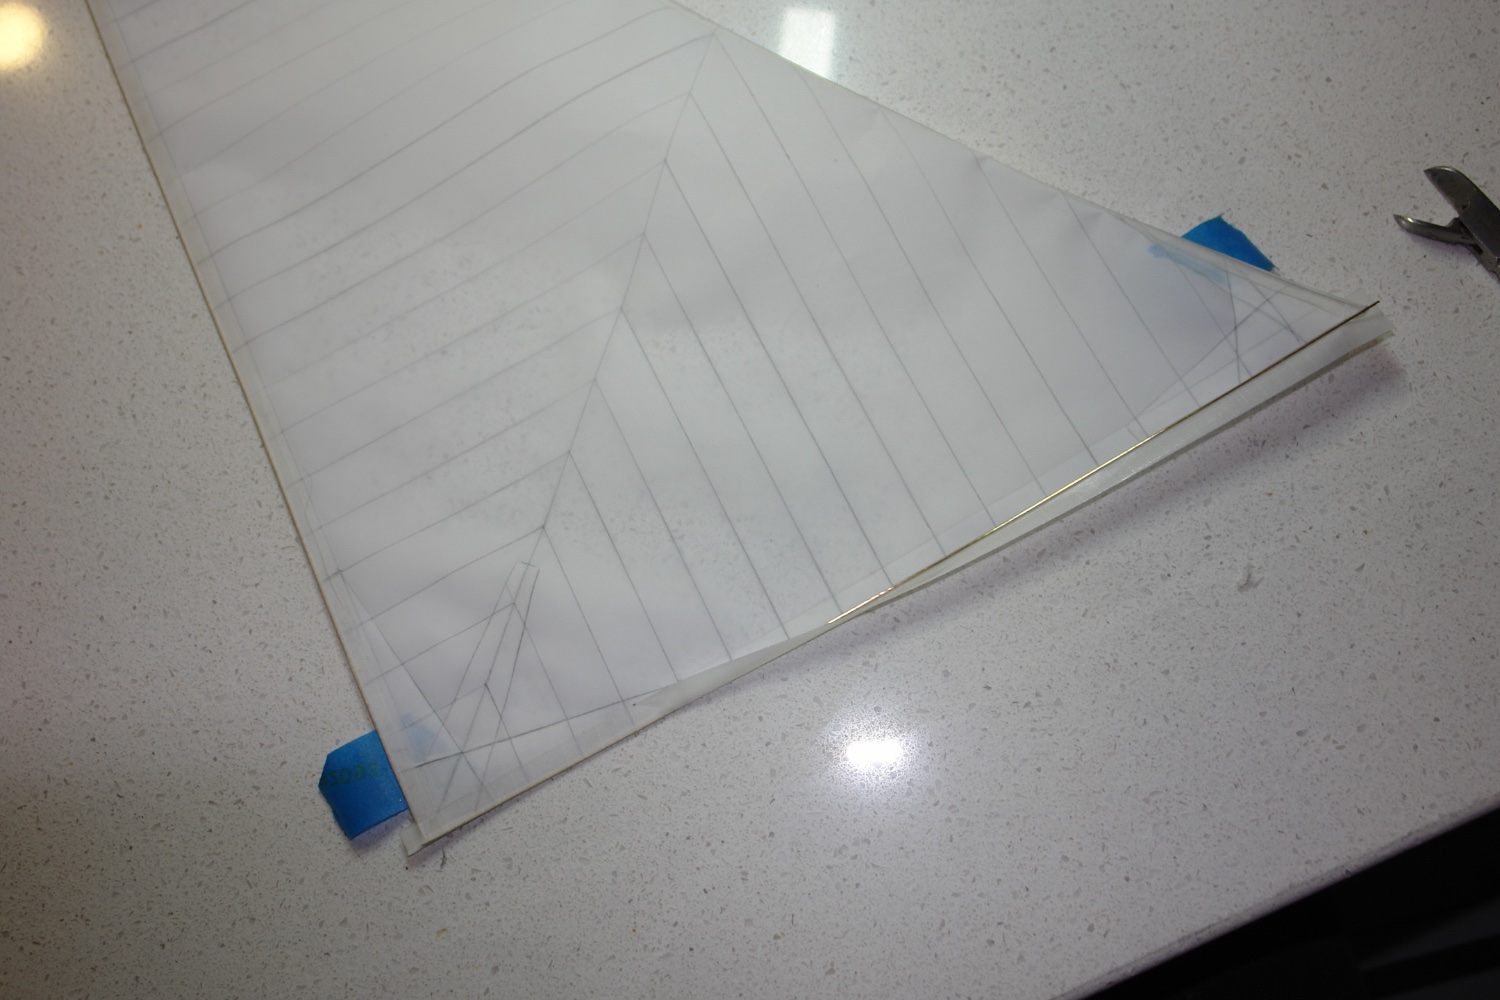
The batten's were cut from hard brass wire and this was attached to the adhesive side of the rip stop tape.
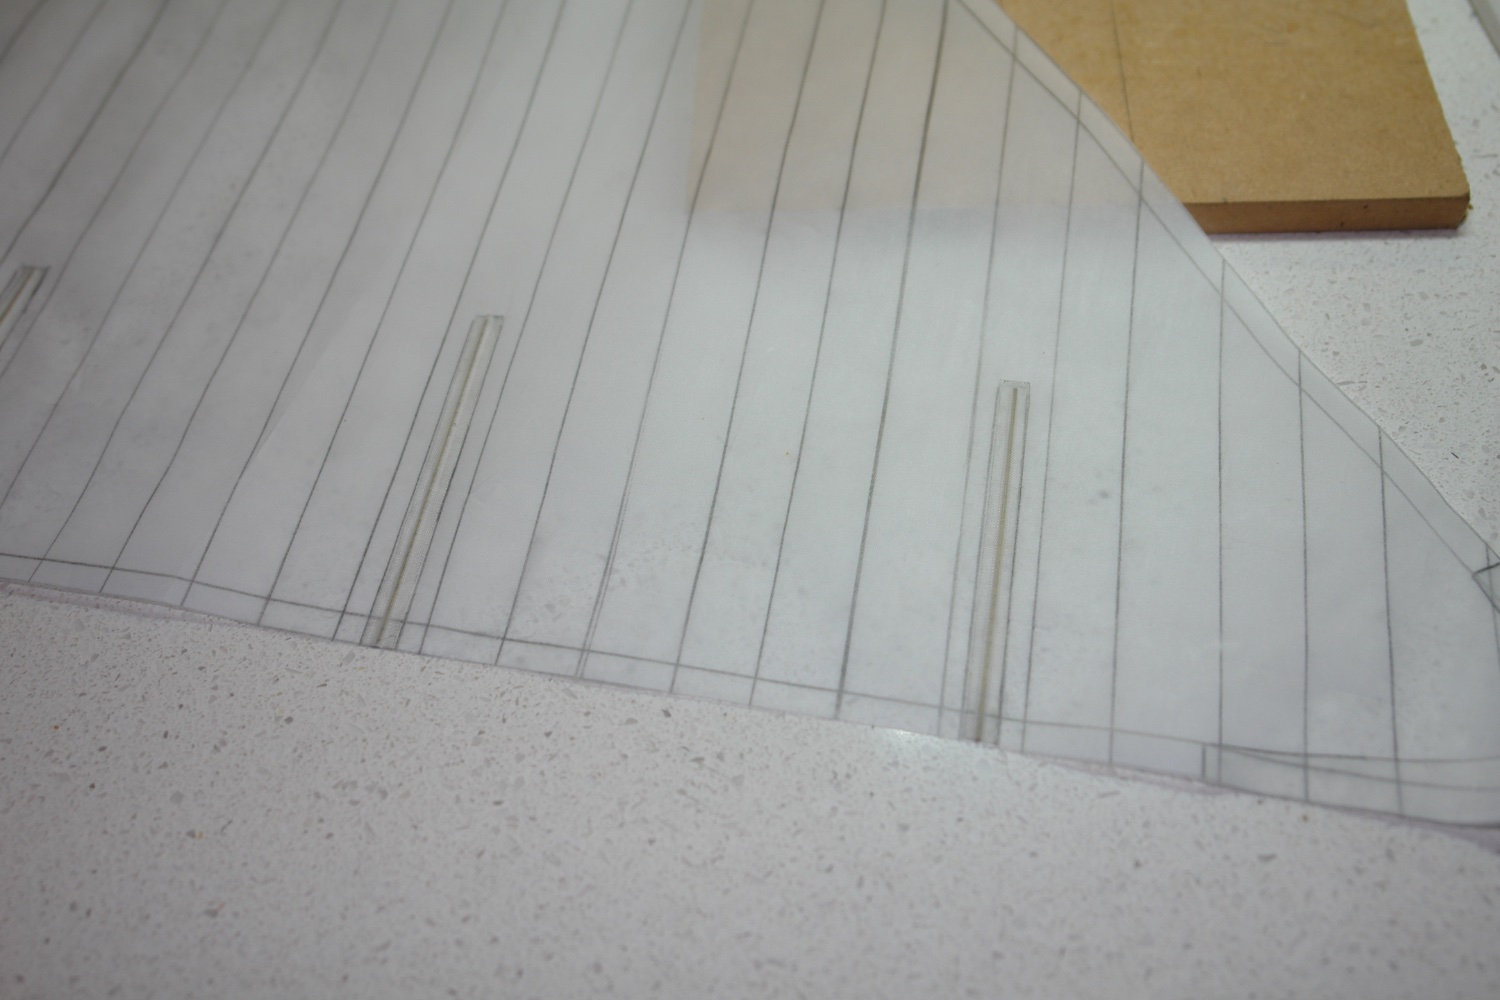
The tape and batten's were then attached to the sail.

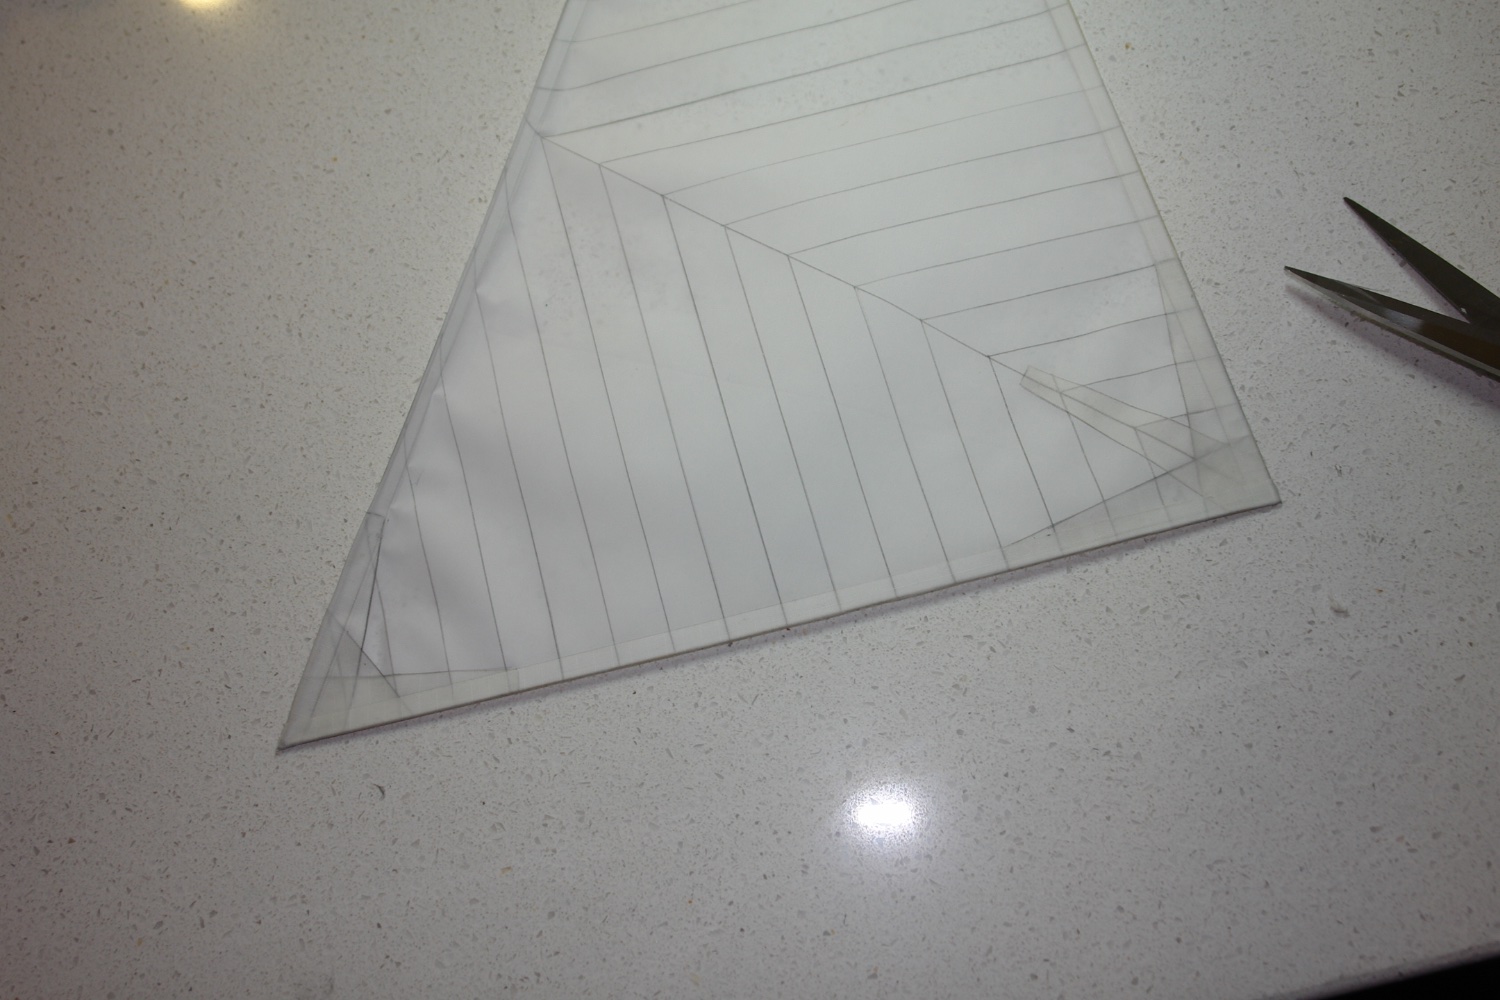
The reinforcing wedges (made earlier) were then applied.
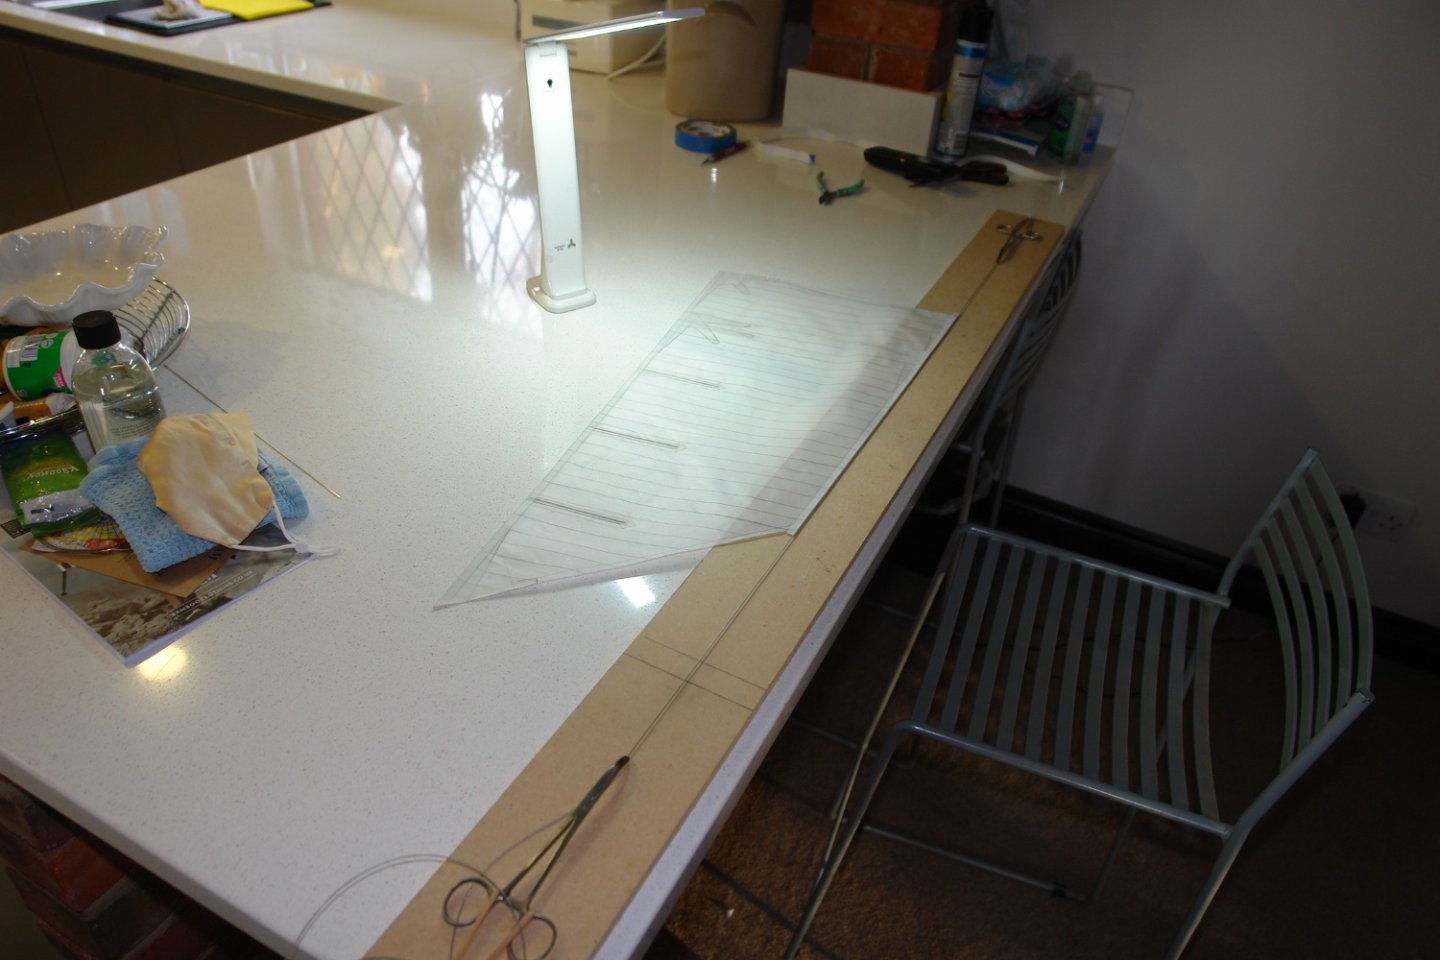
I always think sails with wavy leaches look bad, and even if the sails can't be made taught across their surface they look better with straight or continuously curved leach. It would have been preferable to have the sails modelled as though they were full of wind but getting the curvature set into the sail (given their size) isn't something I know how to do.
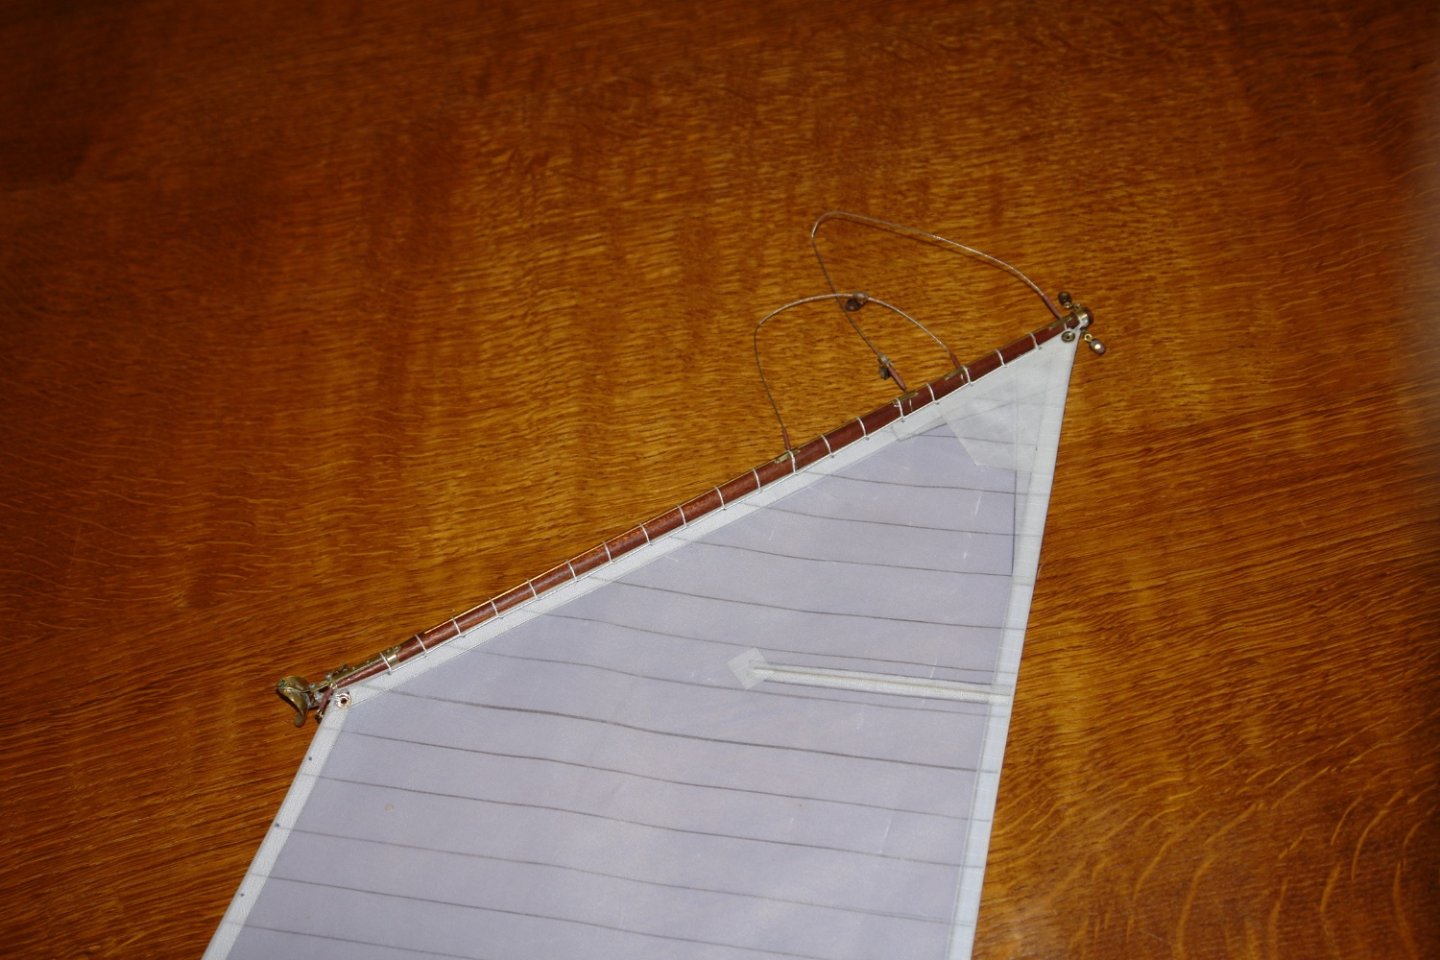
Because the luff is supported along its length by the mast rings and is tight between the goose neck and the gaff saddle I dint need to worry much about it being straight. I did however reinforce the luff by setting into it a (0.031" diameter) length of braided wire.
This was stretched along the luff before being bound in place using rip stop tape.
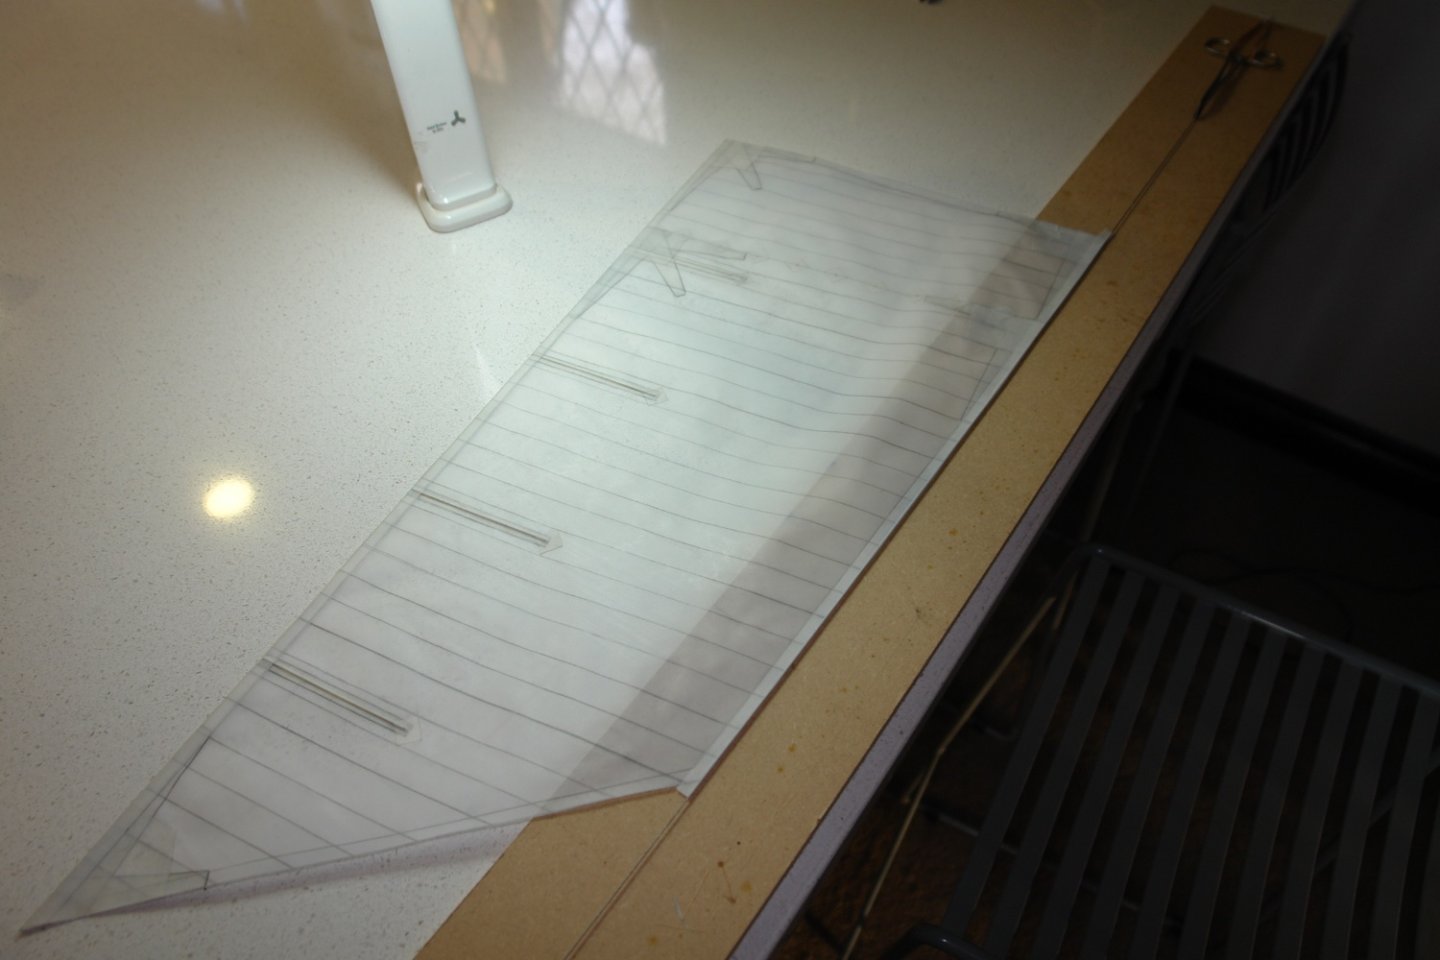
The head and foot were done in the same way as they are also constrained to be straight by lacing them on to the boom and the gaff respectively.

The leach was done slightly differently by attaching a length of (0.031" diameter) stiff brass wire alone the edge. The reinforcing around the reefing points and the ends of the batten's was then attached thus completing the sail (except for the clews).
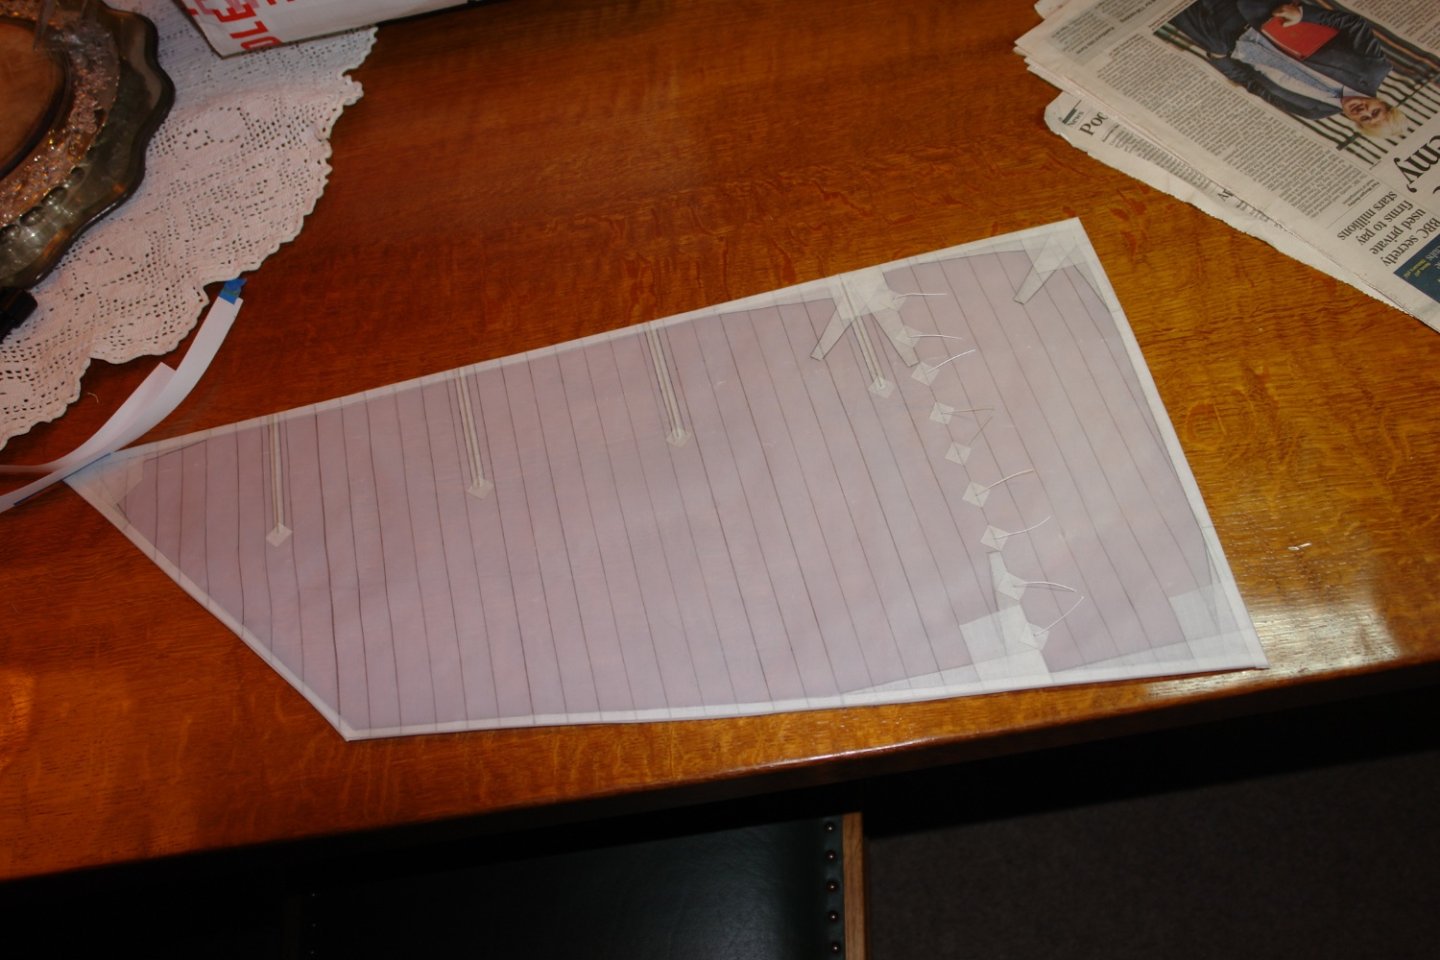
I then moved on to the jib sails following a similar strategy, however both the leach and foot was reinforced by stiff brass wire while the luff was reinforced by the braided wire.
I have done 5 of the sails, the main and fore sails, and the 3 jib sails. I have left the topsails to be tuned for size once the main and foresails have been fitted.
I don't suppose I have pleased many of you purists by my sail making approach but I am going for looks over authenticity.
-
lovey work on the winch and other fittings.
- mtaylor, Canute and FriedClams
-
3
-
Roger - The brass work has come along really well. One step forward and two back is possible, if I were you I would celebrate two forward and one back.
-
Well this should be a jolly little project. 😀
- Mirabell61, Keith Black, mbp521 and 2 others
-
2
-
 3
3
-
2 hours ago, wefalck said:
frying pan (for the fish and perhaps some bacon), a pot for boiling potatoes,
Presumably the voyages were too short to worry about scurvy. (no veg pot)😀
- Mirabell61, Keith Black, mtaylor and 1 other
-
4
-
Great fish Nils - are you also doing chips (fries).
- bruce d, Mirabell61, Keith Black and 1 other
-
3
-
1
-
Hi JD
Nice work on the planking. in some of the shots the planking wood looks quite fibrous. is that the case or is it just the magnification?
-
-
-
It is remarkable how quickly you work Nils particularly given the detail and quality you achieve. Excellent job and i look forward to the next one.
Keith
- mtaylor, bruce d and Mirabell61
-
3
-
Beautiful detail Keith - creating the rigging detail must be a real challenge and you are doing so well.
- AJohnson, FriedClams, Keith Black and 5 others
-
7
-
 1
1
-
looking really nice Hakan. Beautifully clean work as usual.
- FlyingFish, Wintergreen and mtaylor
-
3
-
Well that was a bit of a lay off. My daughter bought a new house (at least new to her) and I have been doing various jobs. She has job in the city but the covid revolution means she can now do it from home so she has relocated to the countryside. I still have some jobs to do - particularly the garden which will take a while.
I have managed to do a few boat jobs so this is a bit of a catch up.
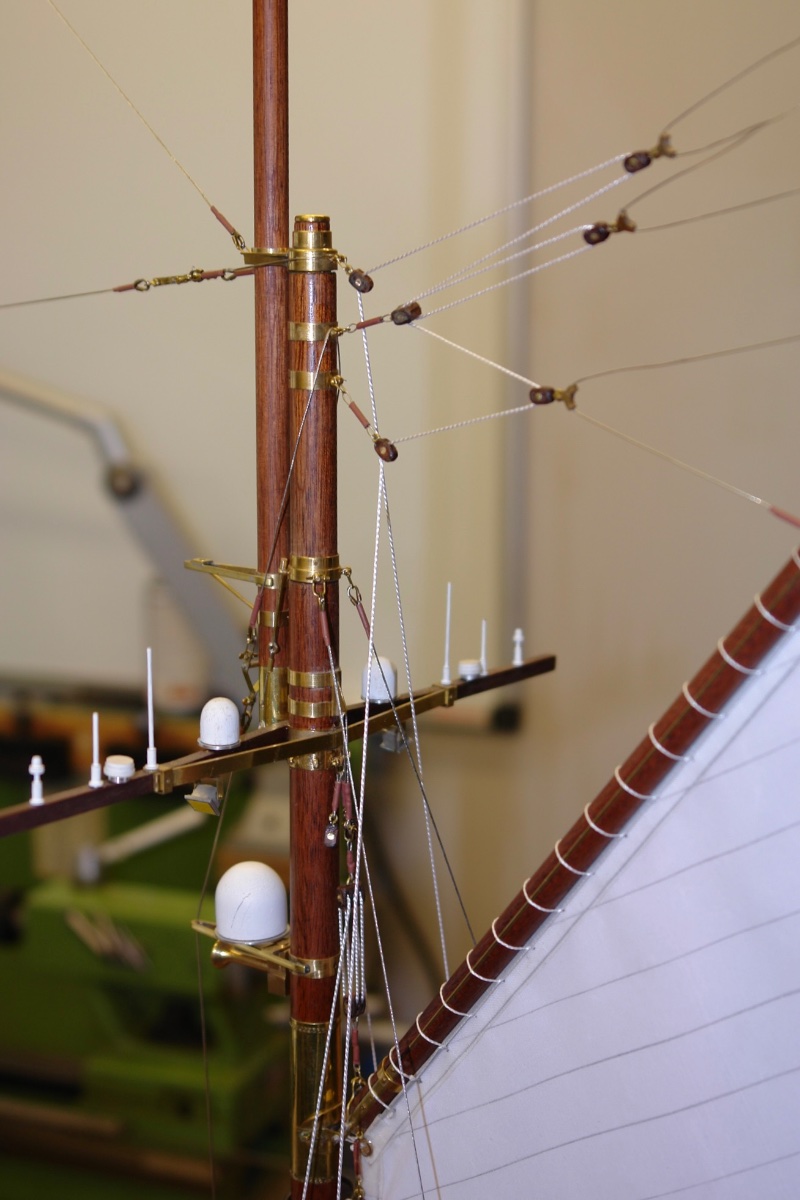
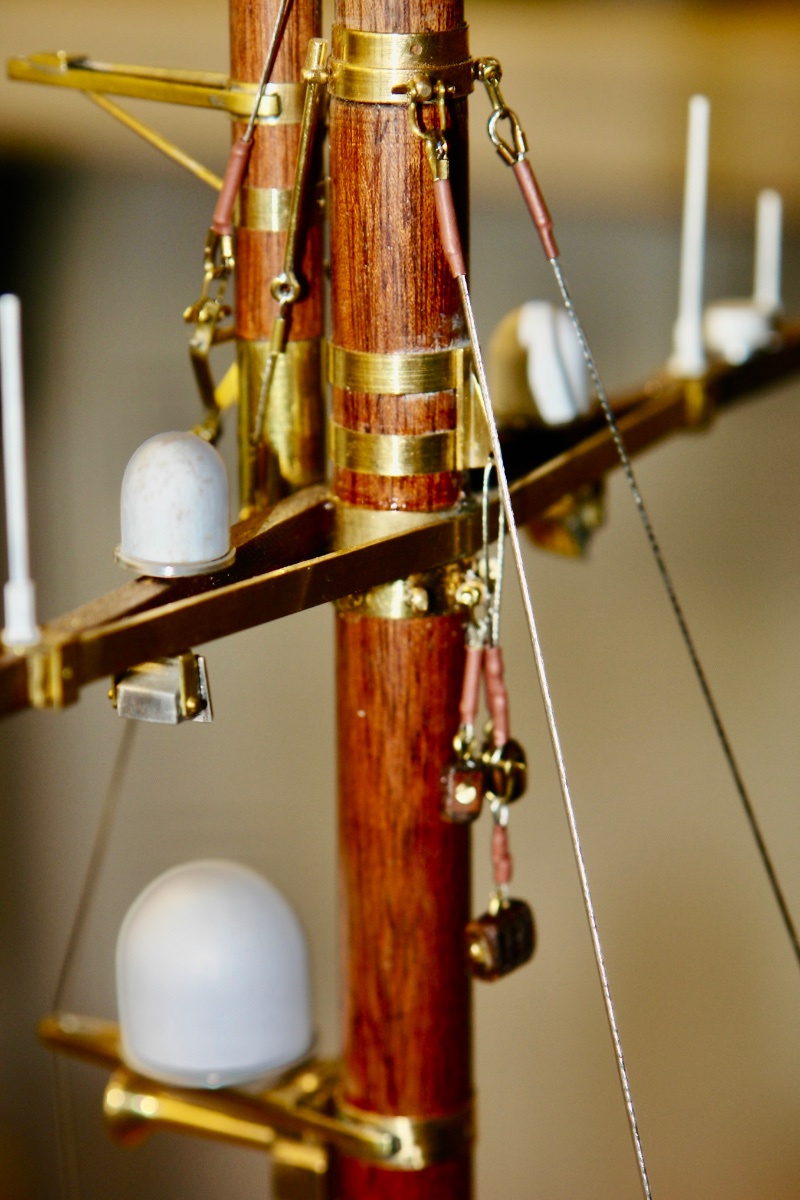
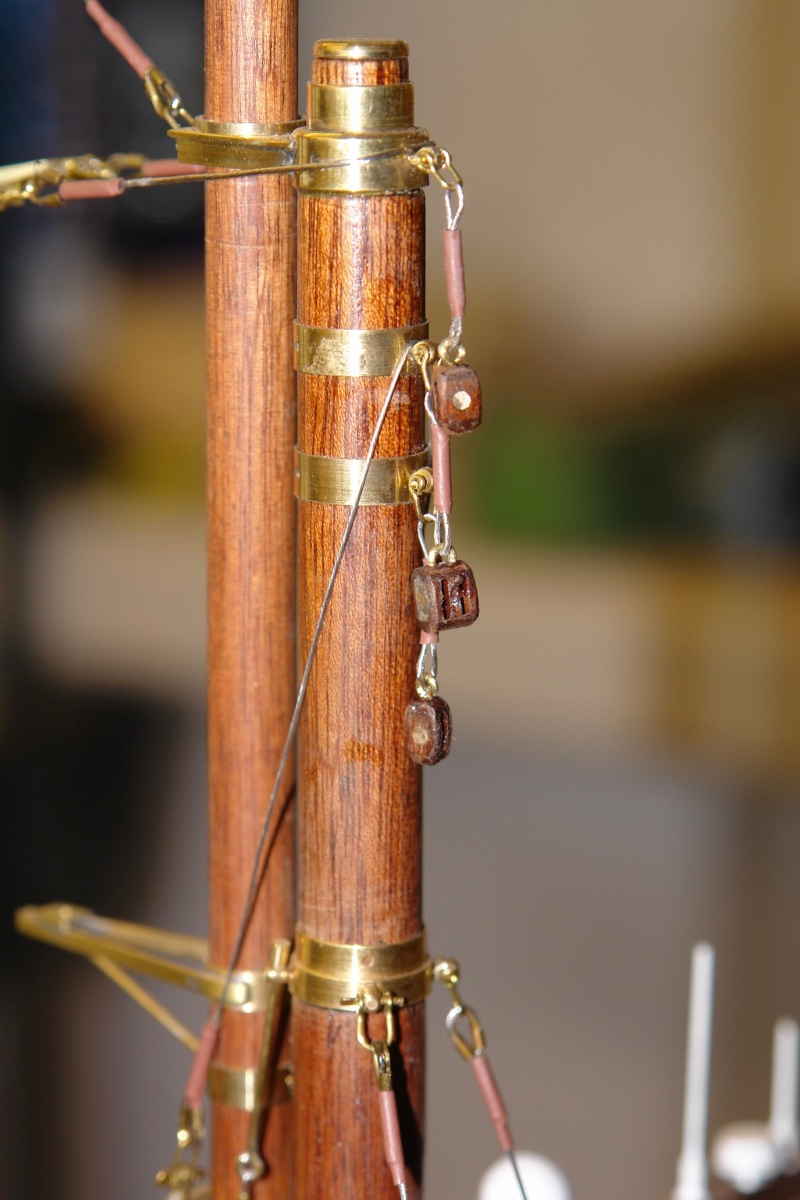
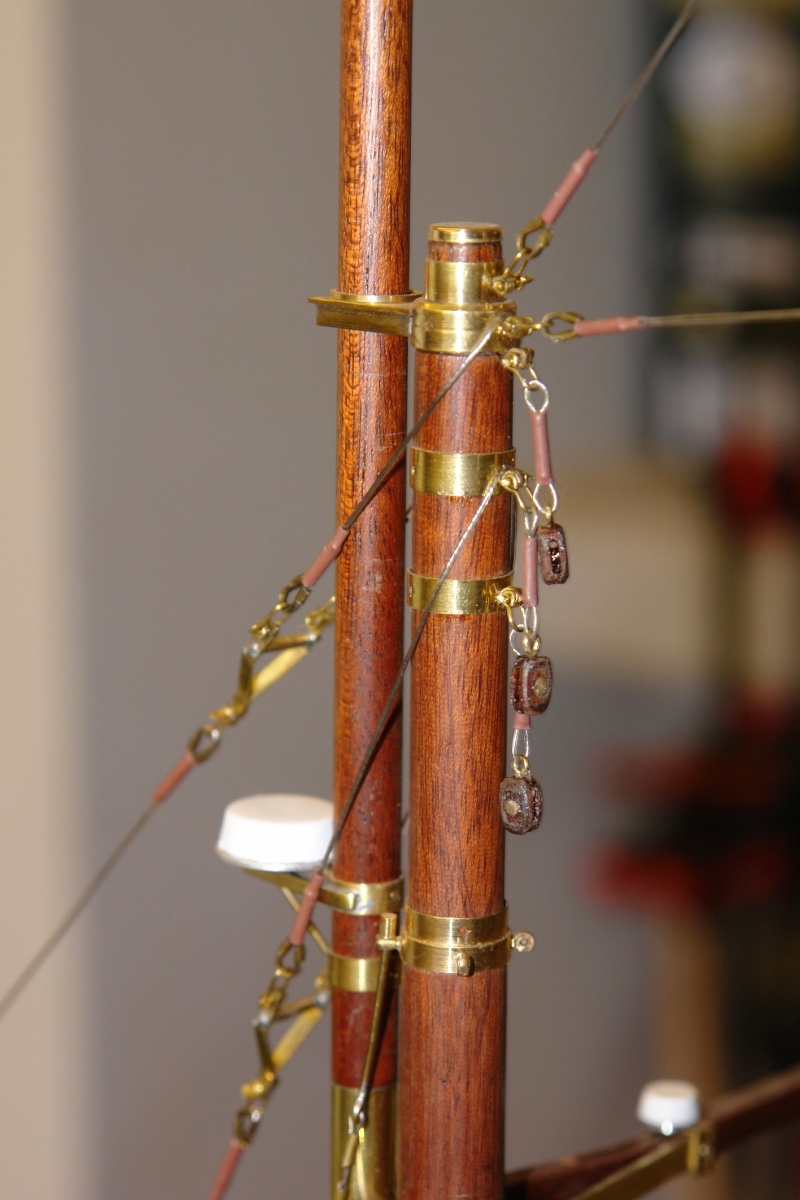
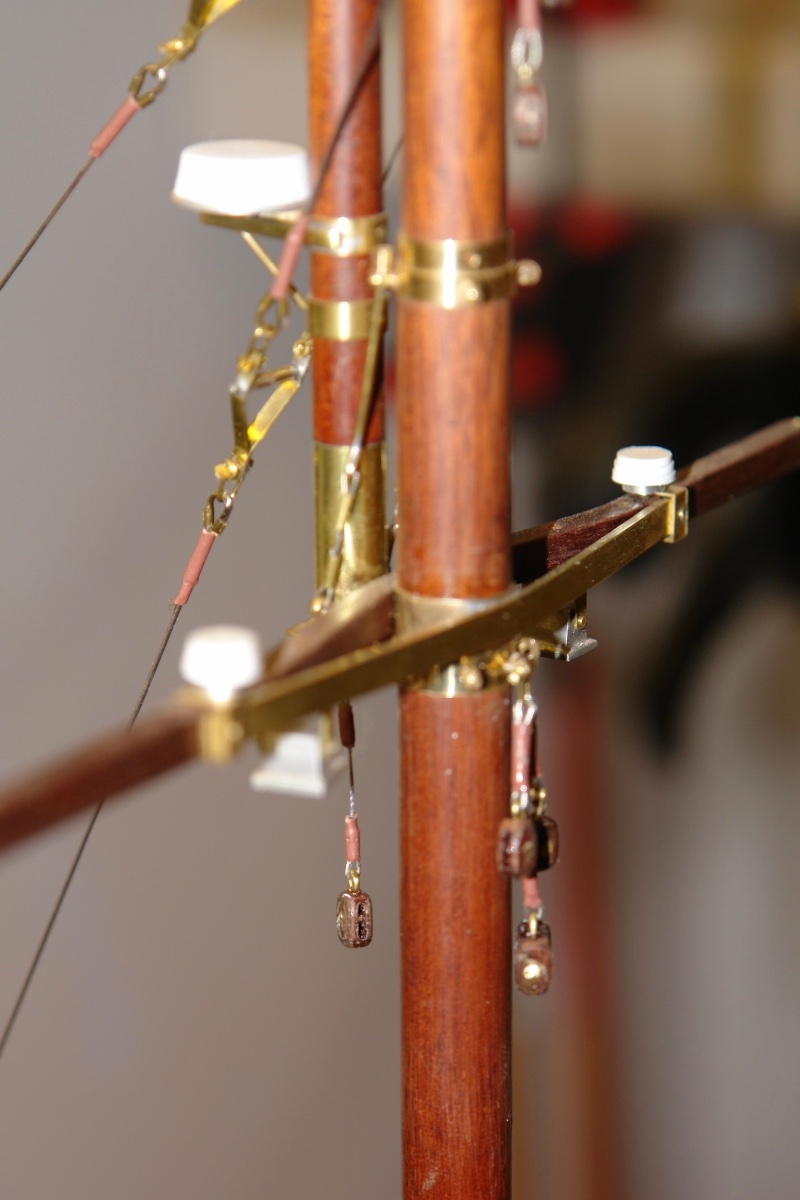
I have done all the block attachments to the masts. It took a while but here are the results.
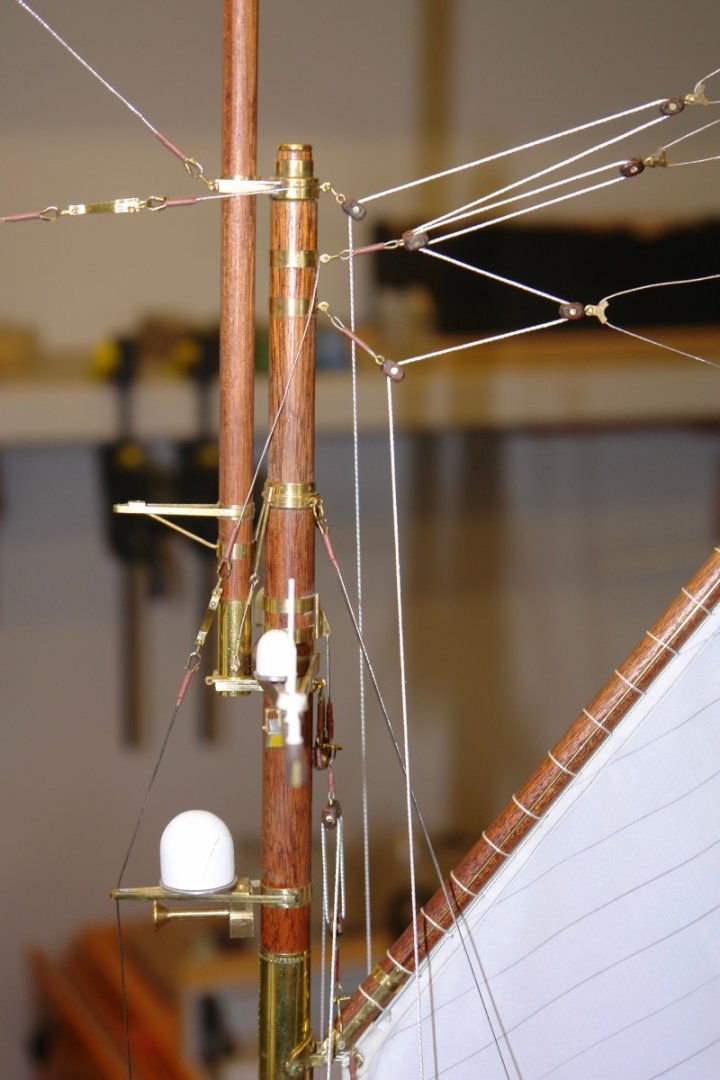
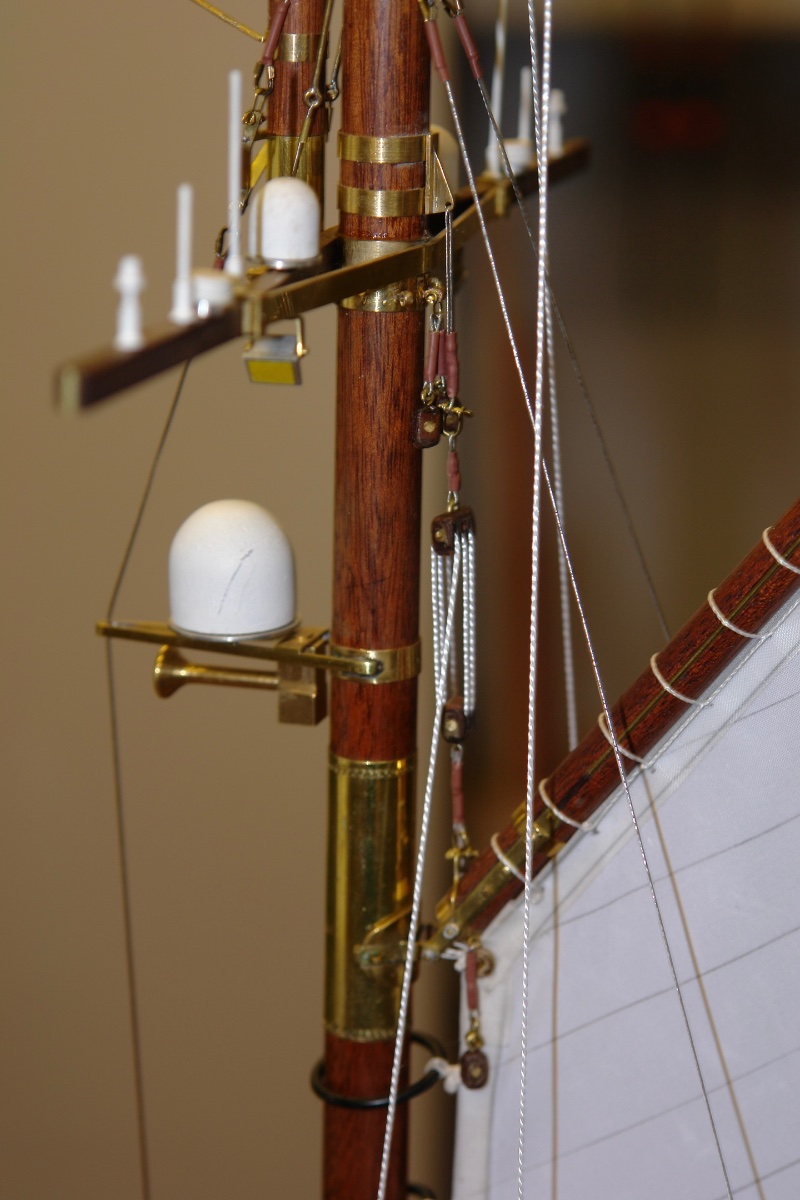
This is the main mast with the gaff saddle hoist block attached.
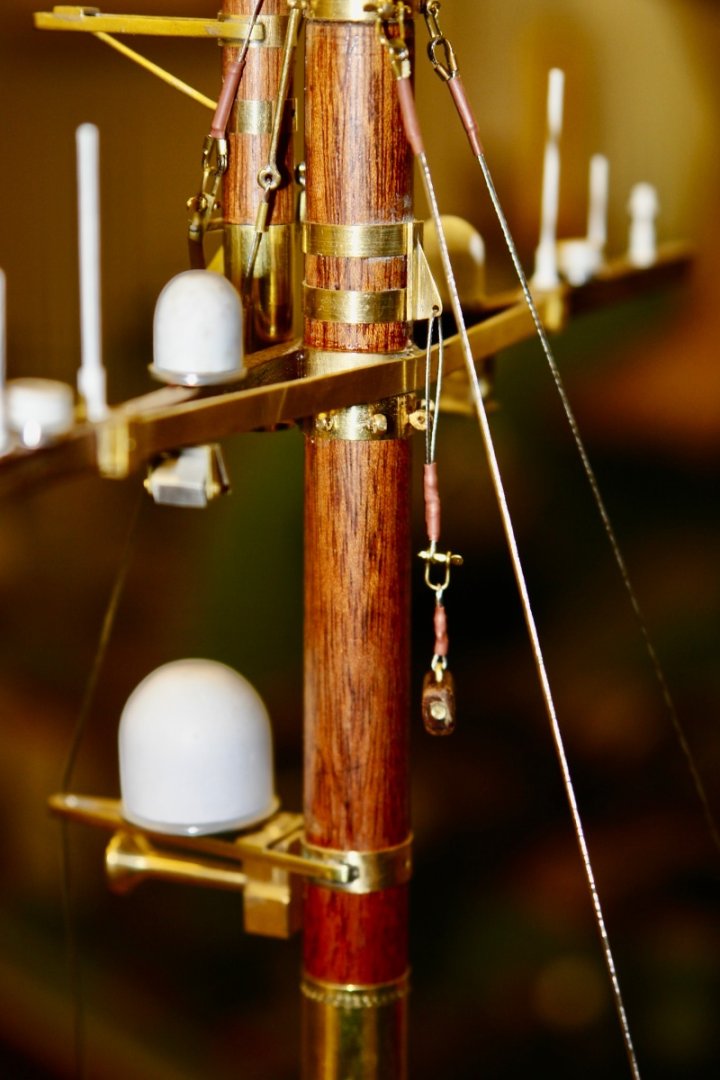
Next the two topping lift blocks are attached to the main mast.

Next the main mast gaff bridal blocks were attached.
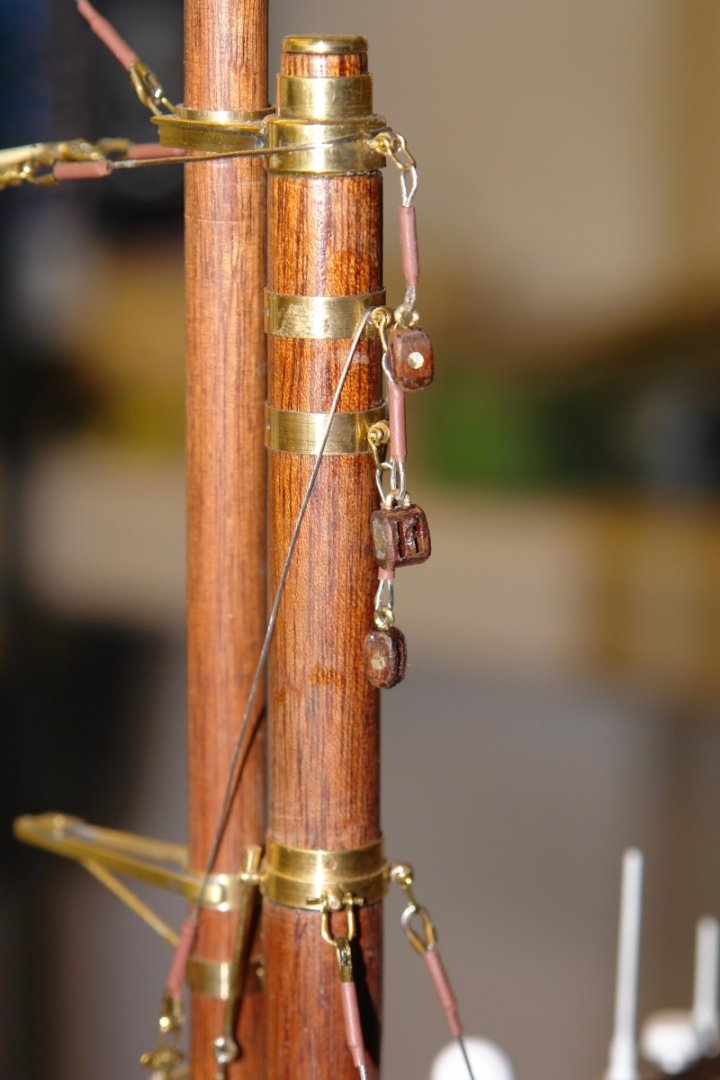
Then the fore mast bridal blocks.
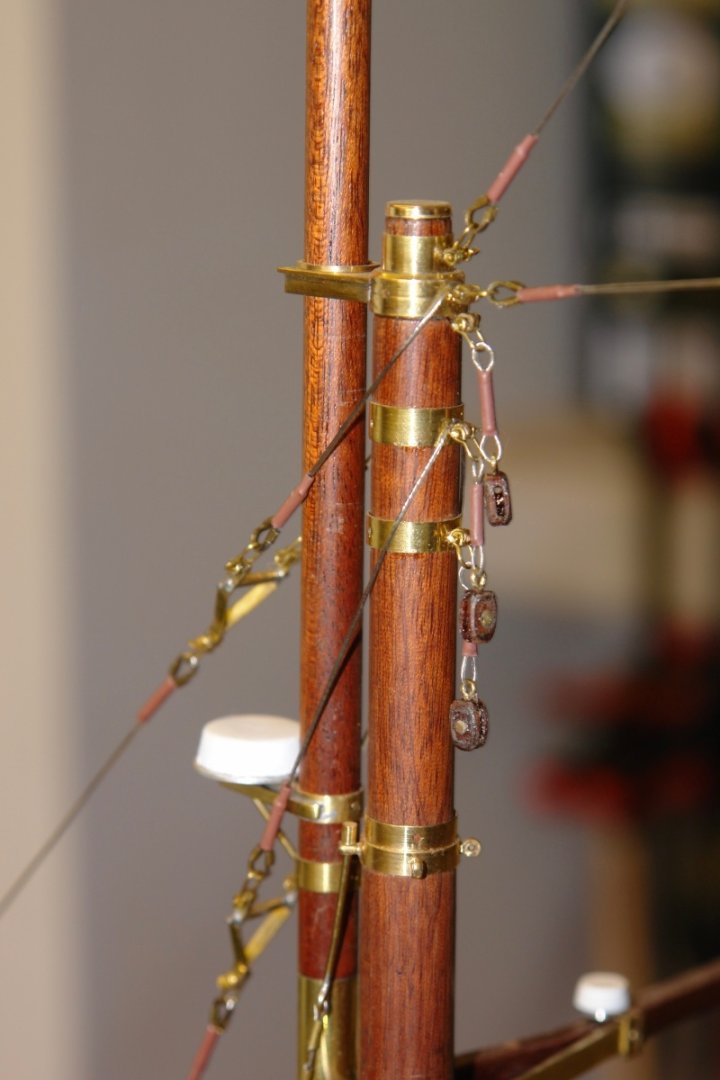
Then the fore mast saddle hoist block , the topping lift blocks and the spinnaker boom block.

I also made a start on the sails, firstly by drawing patterns for the sails / seams and then transferring the seams on to the sailcloth using pencil lines. I'm not among those of you who diligently practice you sewing skills.
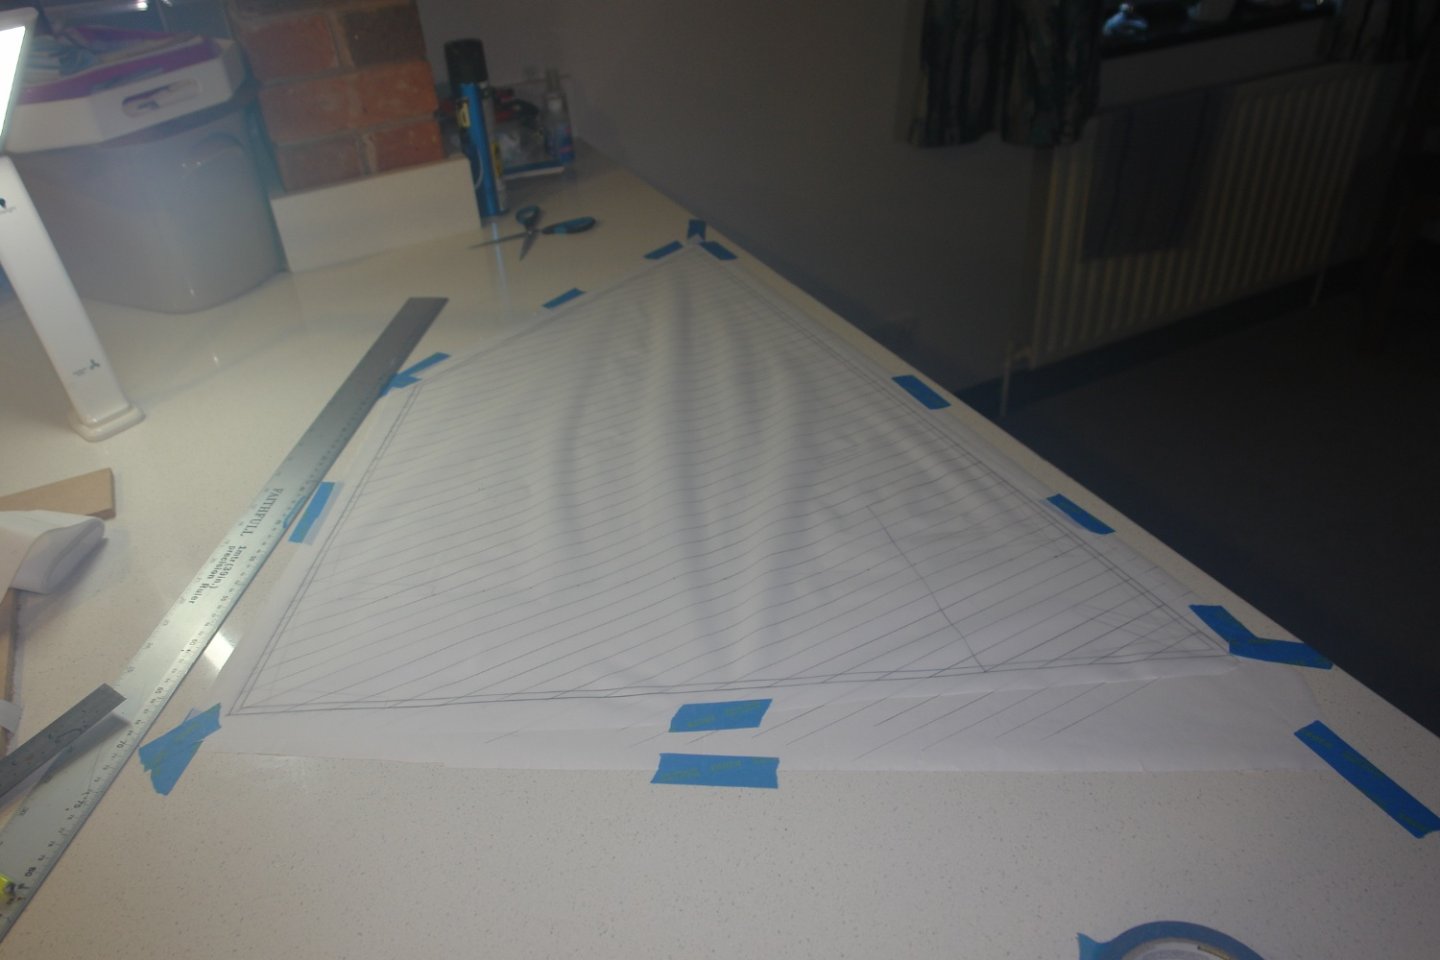
I started with the mainsail (which is huge). I then applied the reinforcing using ripstop adhesive tape.
-
-
-


HMS MIMI 1915 by Ras Ambrioso - FINISHED - Scale 1:24 - Fast Motor Launch
in - Build logs for subjects built 1901 - Present Day
Posted · Edited by KeithAug
Ras - In a few years time camera bearing nanobots will be crawling all over her, stick with the hidden detail it will soon be visible.