HOLIDAY DONATION DRIVE - SUPPORT MSW - DO YOUR PART TO KEEP THIS GREAT FORUM GOING! (Only 20 donations so far - C'mon guys!)
×


AntonyUK
-
Posts
1,190 -
Joined
-
Last visited
Content Type
Profiles
Forums
Gallery
Events
Everything posted by AntonyUK
-
 Hello mark. WOW. Turned out to be a fantastic model and the detail is first class. Regards Antony.
 -
Hi Keith. Mark is spot on with his advice All the ships I have been on do not have any ropes on the deck. They are long coiled and tied with thin lashing and stored on the belaying pin that is used to that that preticular rope is tied to. The only exception to this is when the ropes are being inspected and then they are in coils for short ropes and snaked along the deck for the long ropes. I know there are a lot of photos out there ... but that in for ceremony purpose and not done in normal practice. Regards Antony.
-
Hello Johnny. Nice choice for your first scratch build. There are soooo many Exelent builders in the Triton cross section that will guide you if you need any help The timber is your choice ... and every thing is your choice in this section. Have loads of fun and learn as you go. Regards Antony.
-
Hi Remco. As always truly Exelent craftsmanship with everything. Regards Antony.
- 1,215 replies
-
- 1
-

-
- sloop
- kingfisher
- (and 1 more)
-
Hi Steve. Yes you can fill the Bow section if you want...It will make the planking better. I use balsa blocks the same thickness as the gaps between the bulkheads. Dry fit first and mark both sides to show the excess to be trimmed off. Trim off the excess leaving a little spare to be sanded later. Glue them in place. And sand the contours. Hatchttepartworks is a pain. I still have only got parts 1 to 3. Not happy with them. Regards Antony.
-
Hi Andy. She is looking very nice. And very nice work on the masting. Regards Antony.
-
Hi Divarty. Just catching up with your build The deadeyes are looking Exelent and the whipping is very neat. And yes take your time with the rigging and as you say One step at a time. If you are not sure what goes where just ask. Regards Antony.
-
Xebec by mij - FINISHED - 1:60 scale
AntonyUK replied to mij's topic in - Build logs for subjects built 1751 - 1800
Hi Mij. The ship is progressing very nicely. That method of shaping and cutting the cannon carages is used a lot by the me people on this site. Worked for me as well Please keep the photos coming. This build is interesting as I like the shape of the ship and the style. Regards Antony. -
Hello Garward. That's a very nice set of cannons you have created. And to have a gold award shows the standard of your workmanship. Congratulations on winning and thank you for sharing this with us. Regards Antony.
-
Hi mark. As Jud has said leave the glue a lot longer to dry clamped. I have lammanated all the beams on my victory cross section. Thick PVA glue works best for me. I have always left the timbers drying for 24 hours. Not had any warping like you Regards Antony.
-
ROYAL CAROLINE 1749 by Doris - 1:40 - CARD
AntonyUK replied to DORIS's topic in - Build logs for subjects built 1501 - 1750
Hello Doris. Your work is stunning to say the least. Many fellow modellers have said and complemented you on your creation. I cannot find words that match what I am looking at My jaw is dropped to my chest... My eyes have become dilated... Mouth stuck for words...( wife likes this bit ) Looking forward to your next post. Regards Antony.- 883 replies
-
- 1
-
-
- royal caroline
- ship of the line
- (and 1 more)
-
Hi welcome to MSW. Time spent preparing is well spent and makes the second layer much easer and lookes better. Don't sand too much as the first layers are thin. Put filler in the shallows areas and sand excess. As far as the ships boats go... Look here http://www.cornwallmodelboats.co.uk/acatalog/amati_boats_oars.html They do many others but thease look very nice and come in three sizes 70mm . 90mm and 105 mm. All the best Antony?
-
Hello Al. Read your build log through today.. In the start you were not quite sure on your capabilitys to build the AL Bounty. Since then your conference has grown like the model and she is something to be proud of Your are looking at the build as if you have been scratch building for many years. With solutions that many on this forum would not have thought of. And a big thank you for posting the log as its nice to read and watch modeller and ship grow together. Regards Antony.
-
Hi shipmates. Thanks for your words of encouragement and likes. Upper deck timbers are now cut and ready for assembly. Will take take a few photos tomorow. Thanks for looking in Regards Antony.
-
Hello Hans. The Falmouth is a nice ship and from what I read they produce good quality kits. I do have a question... Why import into Norway from the US when you can get it direct from Euromodel . Much less postage and no inport duties. I will be catching up on your build from time to time. Regards Antony.
-
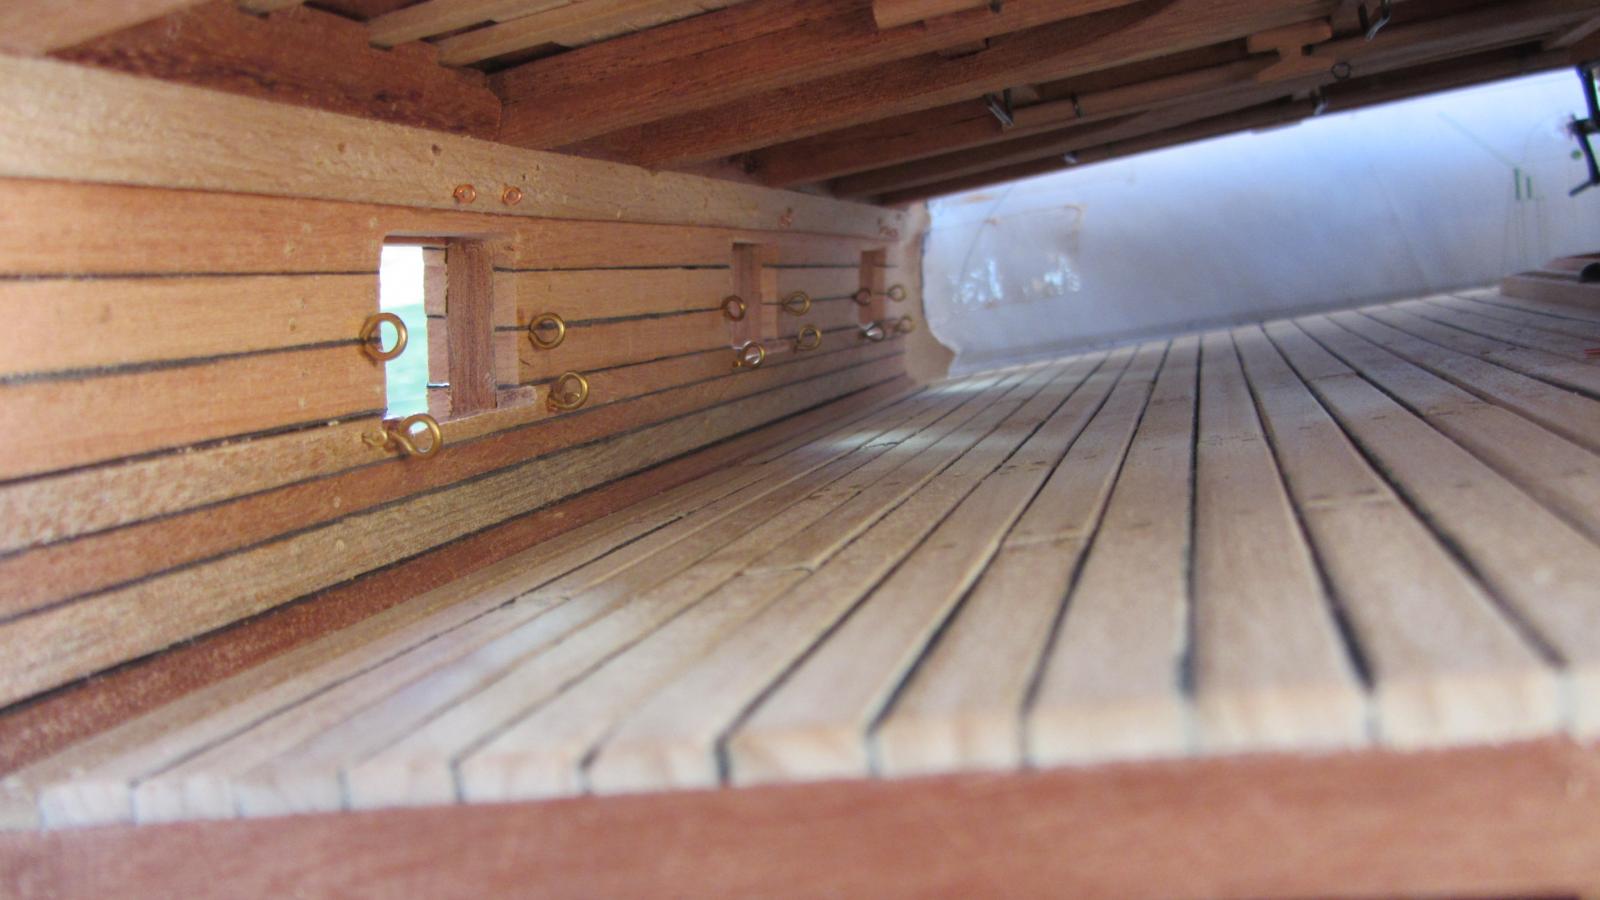
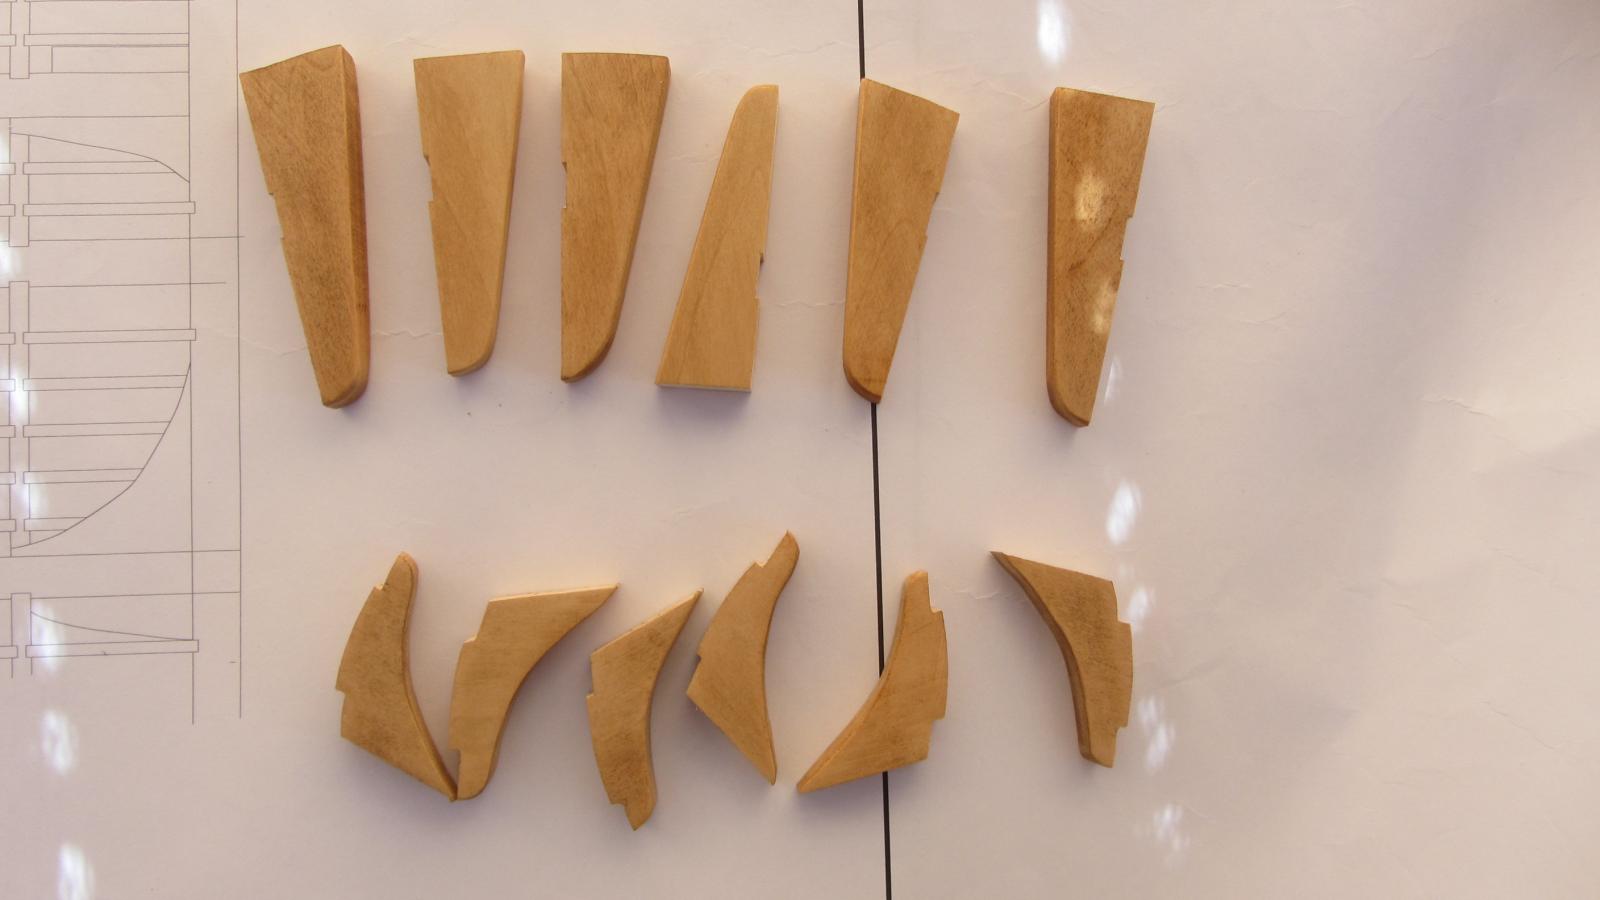
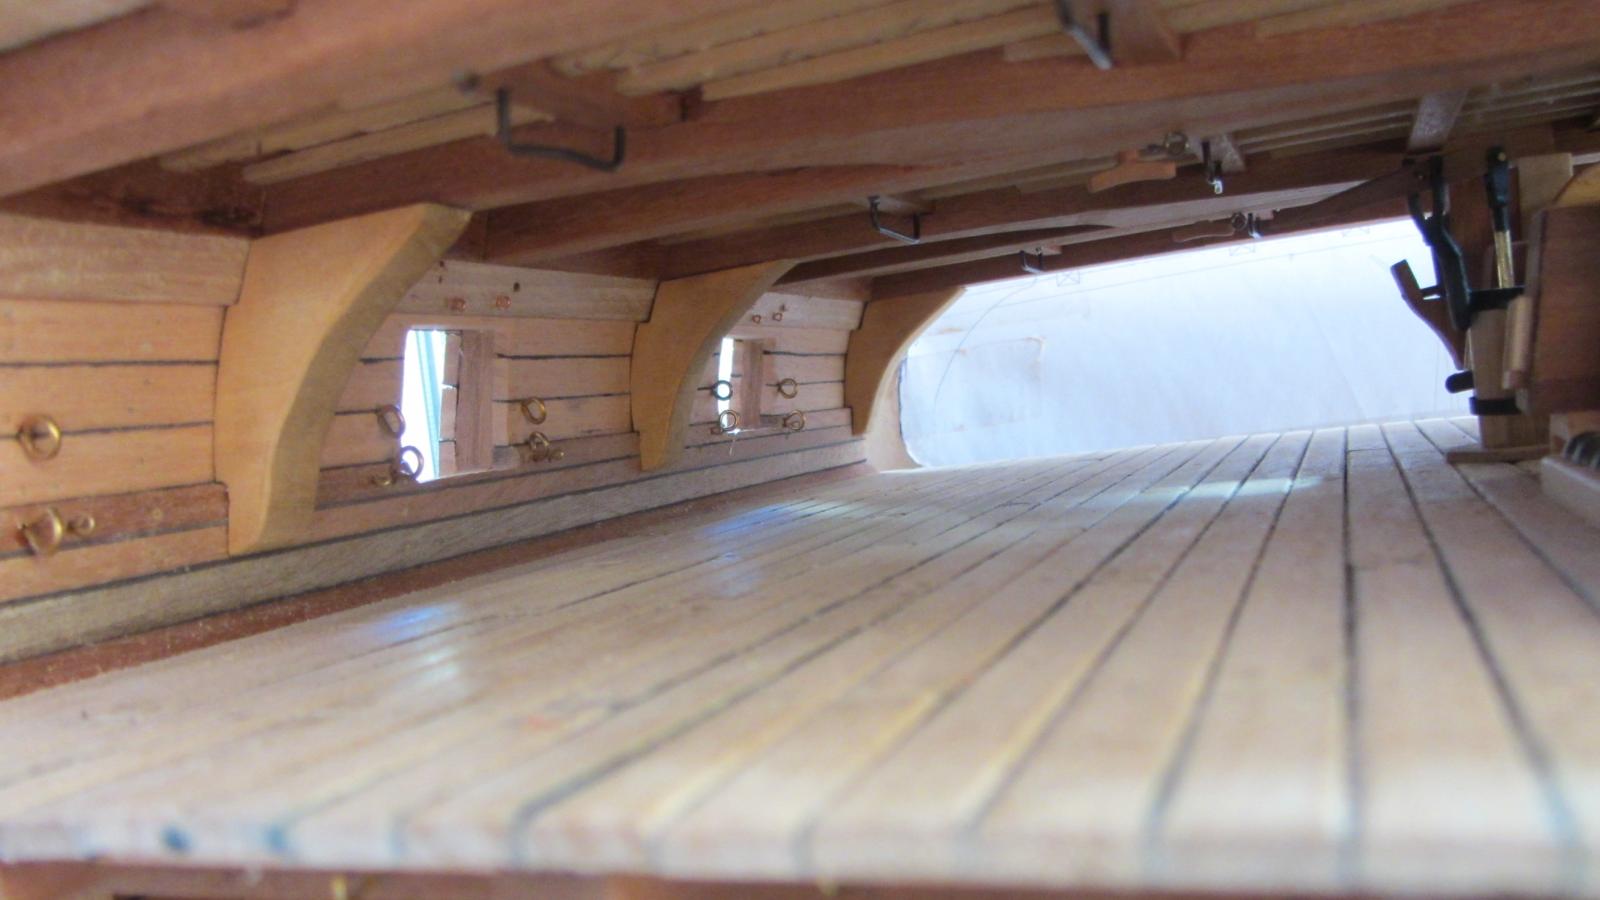
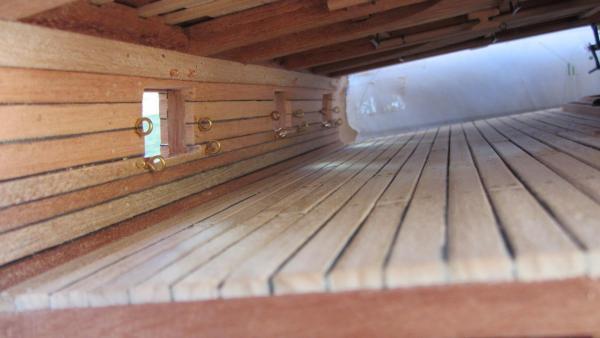
Hello shipmates. Well its time for another small update. Today while working on the topdeck I made a template for the hanging knees. But to my horror I forgot to add then on the middle deck So managed to cut them out and add them to the middle deck. First time I have used super glue on a model ship. And yes I did remember them on the Orlop Deck. Also made up the racks. Hope to get in another few hours later on this week. First its the main beams and all the other timber to be cut down to size. Will post later this week Regards Antony.

- 209 replies
-
- 13
-
-
Xebec by mij - FINISHED - 1:60 scale
AntonyUK replied to mij's topic in - Build logs for subjects built 1751 - 1800
HI Mij. Nice work on the rudder hindge and the carving are master piece. The Eagle in the photo with the dolphins looks real good.. But looking at the carving on the stern it looks like a camera flash has taken away it's curves. A thought... Try a light stain to bring out the depth of the carvings. And by the way they are by far better than my carvings.. Too embarrassed to post photos Regards Antony. -
Hi. If you are not doing a build log ): then can you do a mini kit review.. I.E. laser cutting, wood quality, instructions, and other bits. Many thanks Antony.
-
Poll
AntonyUK replied to Ulises Victoria's topic in Discussion for a Ship's Deck Furniture, Guns, boats and other Fittings
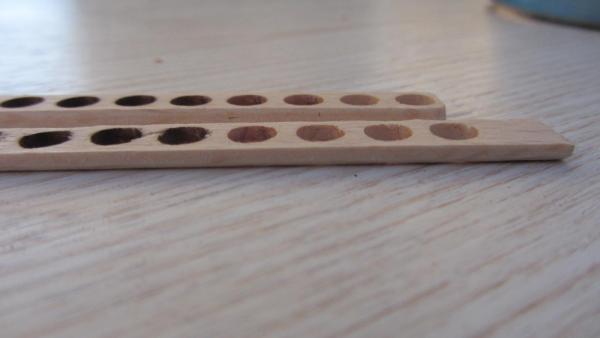
Hi. When pins are not used for other things they are kept in the holes. Regards Antony -
Hi Paul? Excellent videos. Love the soldering one.. I thought I could solder.. But I have learned a lot from one video on soldering. Will check the others when have more time. Regards Antony.
-
Xebec by mij - FINISHED - 1:60 scale
AntonyUK replied to mij's topic in - Build logs for subjects built 1751 - 1800
Hi Mij. Duplicate post.. Lagging . Regards Antony. -
Xebec by mij - FINISHED - 1:60 scale
AntonyUK replied to mij's topic in - Build logs for subjects built 1751 - 1800
Hi Mij. Love the little water dragons And the ship is progressing very nicely. Regards Antony. -
Здравствуйте. Исключительное качество и навыки, используемые на вашем, чтобы строить. Качество законченной древесины - превосходный . Looking вперед к больше с наилучшими пожеланиями Энтони Hello. Exceptional quality and skills used on your build. The quality of the finished timber is excellent . Looking forward to more Regards Antony
-
Hi Andy. POF ... Scratch build your Victory. Or even a cross section of the Victory. Consider using laser cutting or water jet cutting for the frames. There are many small company's out there in the UK that will do it for you. I use adobe Illustrater to design the parts then group then on to the area of the sheet and send the file to the cutters. Several company's on EBay UK that will do this service. Ebay listing number. 390791206653 181327979894 111290072017 121297122252 Doing it using this method means very little work with power tools and no Noise. As far as I know there are no POF kits in the UK. Regards Antony. Edited ... Added eBay numbers
-
Hello Alex. Truly outstanding work. Regards Antony.