HOLIDAY DONATION DRIVE - SUPPORT MSW - DO YOUR PART TO KEEP THIS GREAT FORUM GOING! (Only 13 donations so far - C'mon guys!)
×

bruce d
-
Posts
3,043 -
Joined
-
Last visited
Content Type
Profiles
Forums
Gallery
Events
Everything posted by bruce d
-
 I think that is behind the failure despite me doing a bit of scraping to allow penetration. Just needed more wood exposed, perhaps. You may be able to tell, I find the tiny parts intimidating.
 -
Thanks Bob. I tried a couple of tests and was satisfied at first but was surprised the following day to see one of the CA joints had simply fallen apart. The other four CA joint test pieces were OK. There may have been sloppy practice by me and something affected that one joint but it seemed smart to ask the community. I really do not want to attempt cleaning the char from two sides of the tiny one mm thick frames on the longboat I am working on. Of course, I also don't want the planks to spring off after the model is finished ...
-
I know laser char has been discussed before but I did not feel this point was nailed down: If you glue a joint where the char has been left on one or both surfaces, WHAT are the potential problems? For example, is there a glue to avoid? One that works well? I am building my first laser-cut kit (build log to follow) and many of the parts are so delicate that I only want to carry out the minimum sanding/scraping. All comments appreciated. Bruce
-
New member from Johnstone, Nr Paisley, Scotland
bruce d replied to Marshall54's topic in New member Introductions
Hello and a warm welcome from Sussex to MSW. Not built the Supply but someone will speak up. This is a good place to get guidance, don't be shy about asking. Regards, Bruce -
Well done Giorgio, it is a pleasure to see this completed. What's next? Regards, Bruce
-
Dating 18th-century map from ship drawings
bruce d replied to Stephen Gadd's topic in Nautical/Naval History
The later cutters were cutters but 'revenue sloop' was just a term in popular usage by the press and public in the earlier days, not something to be relied on unless it is verified by revenue records. Having said that, they used quite a few sloops and the picture you posted looks like a sloop to me but I will defer to any better informed observation (that's your cue, Druxey).- 17 replies
-
- 2
-

-
- flag
- 18th century
- (and 3 more)
-
Welcome, Brownbread. Judging from the pic of your armour, you know how to build models so we look forward to seeing more of your longboat. Regards, Bruce
-
Dating 18th-century map from ship drawings
bruce d replied to Stephen Gadd's topic in Nautical/Naval History
After a cup of tea and a browse I should qualify the statement I made earlier: At least some revenue craft were painted black during the first half of the 18th century so my comment about the later stripes' could confuse matters. There is another thing, not conclusive, but worthy of comment. As I recall, there was a protocol for the flying of jacks and pennants by revenue craft. A revenue craft was originally obliged to fly a long pennant for identification and some took to flying the jack as well. This caused friction as they were not part of the English navy. The compromise was that the revenue vessels would display their pennant and were allowed (not required) the jack but must haul it down if in the presence of a vessel 'properly' entitled to fly the jack: in other words, pennant only if in sight of any of His Majesty's ships. That fits the picture, whether by coincidence or design. Make what you will of it.- 17 replies
-
- 1
-
-
- flag
- 18th century
- (and 3 more)
-
Giampiero, very impressive. When you started you said it was an 'impossibly small' scale: well, you have solved that problem! Lovely work. Bruce
-
Dating 18th-century map from ship drawings
bruce d replied to Stephen Gadd's topic in Nautical/Naval History
Hmmmmm…. I do not want to tell you what you already know, but I don’t know what you know, so here goes: The nearest boat is flying the red ensign. This was used by commercial shipping under the English flag from about 1707 so she is not smuggling, she is legitimate. Also, her colours are consistent with early-mid 18th century practice. The further, smaller boat could be an early revenue cutter. She could also be a privateer. The pairing of these two (if the second is in fact a revenue cutter) would make sense as a comforting bit of graphics to illustrate the ability of commerce to function safely under the protection of revenue patrols. However, I will look at some notes on revenue service craft later and comment. My strong impression is that the map is about something happening (or proposed) on land. Do you have any reason to believe that the map is ‘official’ in any way?- 17 replies
-
- 1
-
-
- flag
- 18th century
- (and 3 more)
-
Dating 18th-century map from ship drawings
bruce d replied to Stephen Gadd's topic in Nautical/Naval History
Hello Stephen and welcome to MSW. If you are satisfied that the map predates 1750 I may be able to stir things up a bit. Both vessels would be typical of the daily traffic in the Channel at that time and the fact that Number 1 is armed should not lead you to conclude that she was a fighting vessel. Most commercial craft were armed because of the constant threat of being taken. The second looks more interesting to me. It looks like a typical sloop of the mid 18th century but the most telling feature is the decoration: the stripe created by those painted wales is more typical of the age of Nelson and later. Can you tell us a little more about the map? Does it focus on a particular aspect of the coast such as shipyards or ports? Does it omit anything obvious? Either can give a good indication of the intended purpose, hence the likely user, and may give a good handle on the date. Also, perspective matters. One of the duties of prospective officers in the navy was to draw the coastline of any area where they were visiting/stationed. These sketches (never named officially but generally referred to as ‘illustrative views’) were graded by their captain or superior lieutenants and the best were sent to the hydrography department to have their features incorporated in maps. This was done in home waters for practice and in foreign waters for effect. The distinguishing feature of these illustrative views was that they were records of what was seen at eye level from the deck of a ship, not projected views as would appear on a finished map. I mention this because the would-be-officers were encouraged to sketch a wide range of craft incorporating details of rigging and deck layout. The drawing materials of the day were charcoal and/or watercolour and the sketches you have posted are consistent with those I have seen. So, perhaps if there is more you can share about the map we may be able to get to specifics. Hope this helps, Bruce- 17 replies
-
- 3
-
-
- flag
- 18th century
- (and 3 more)
-
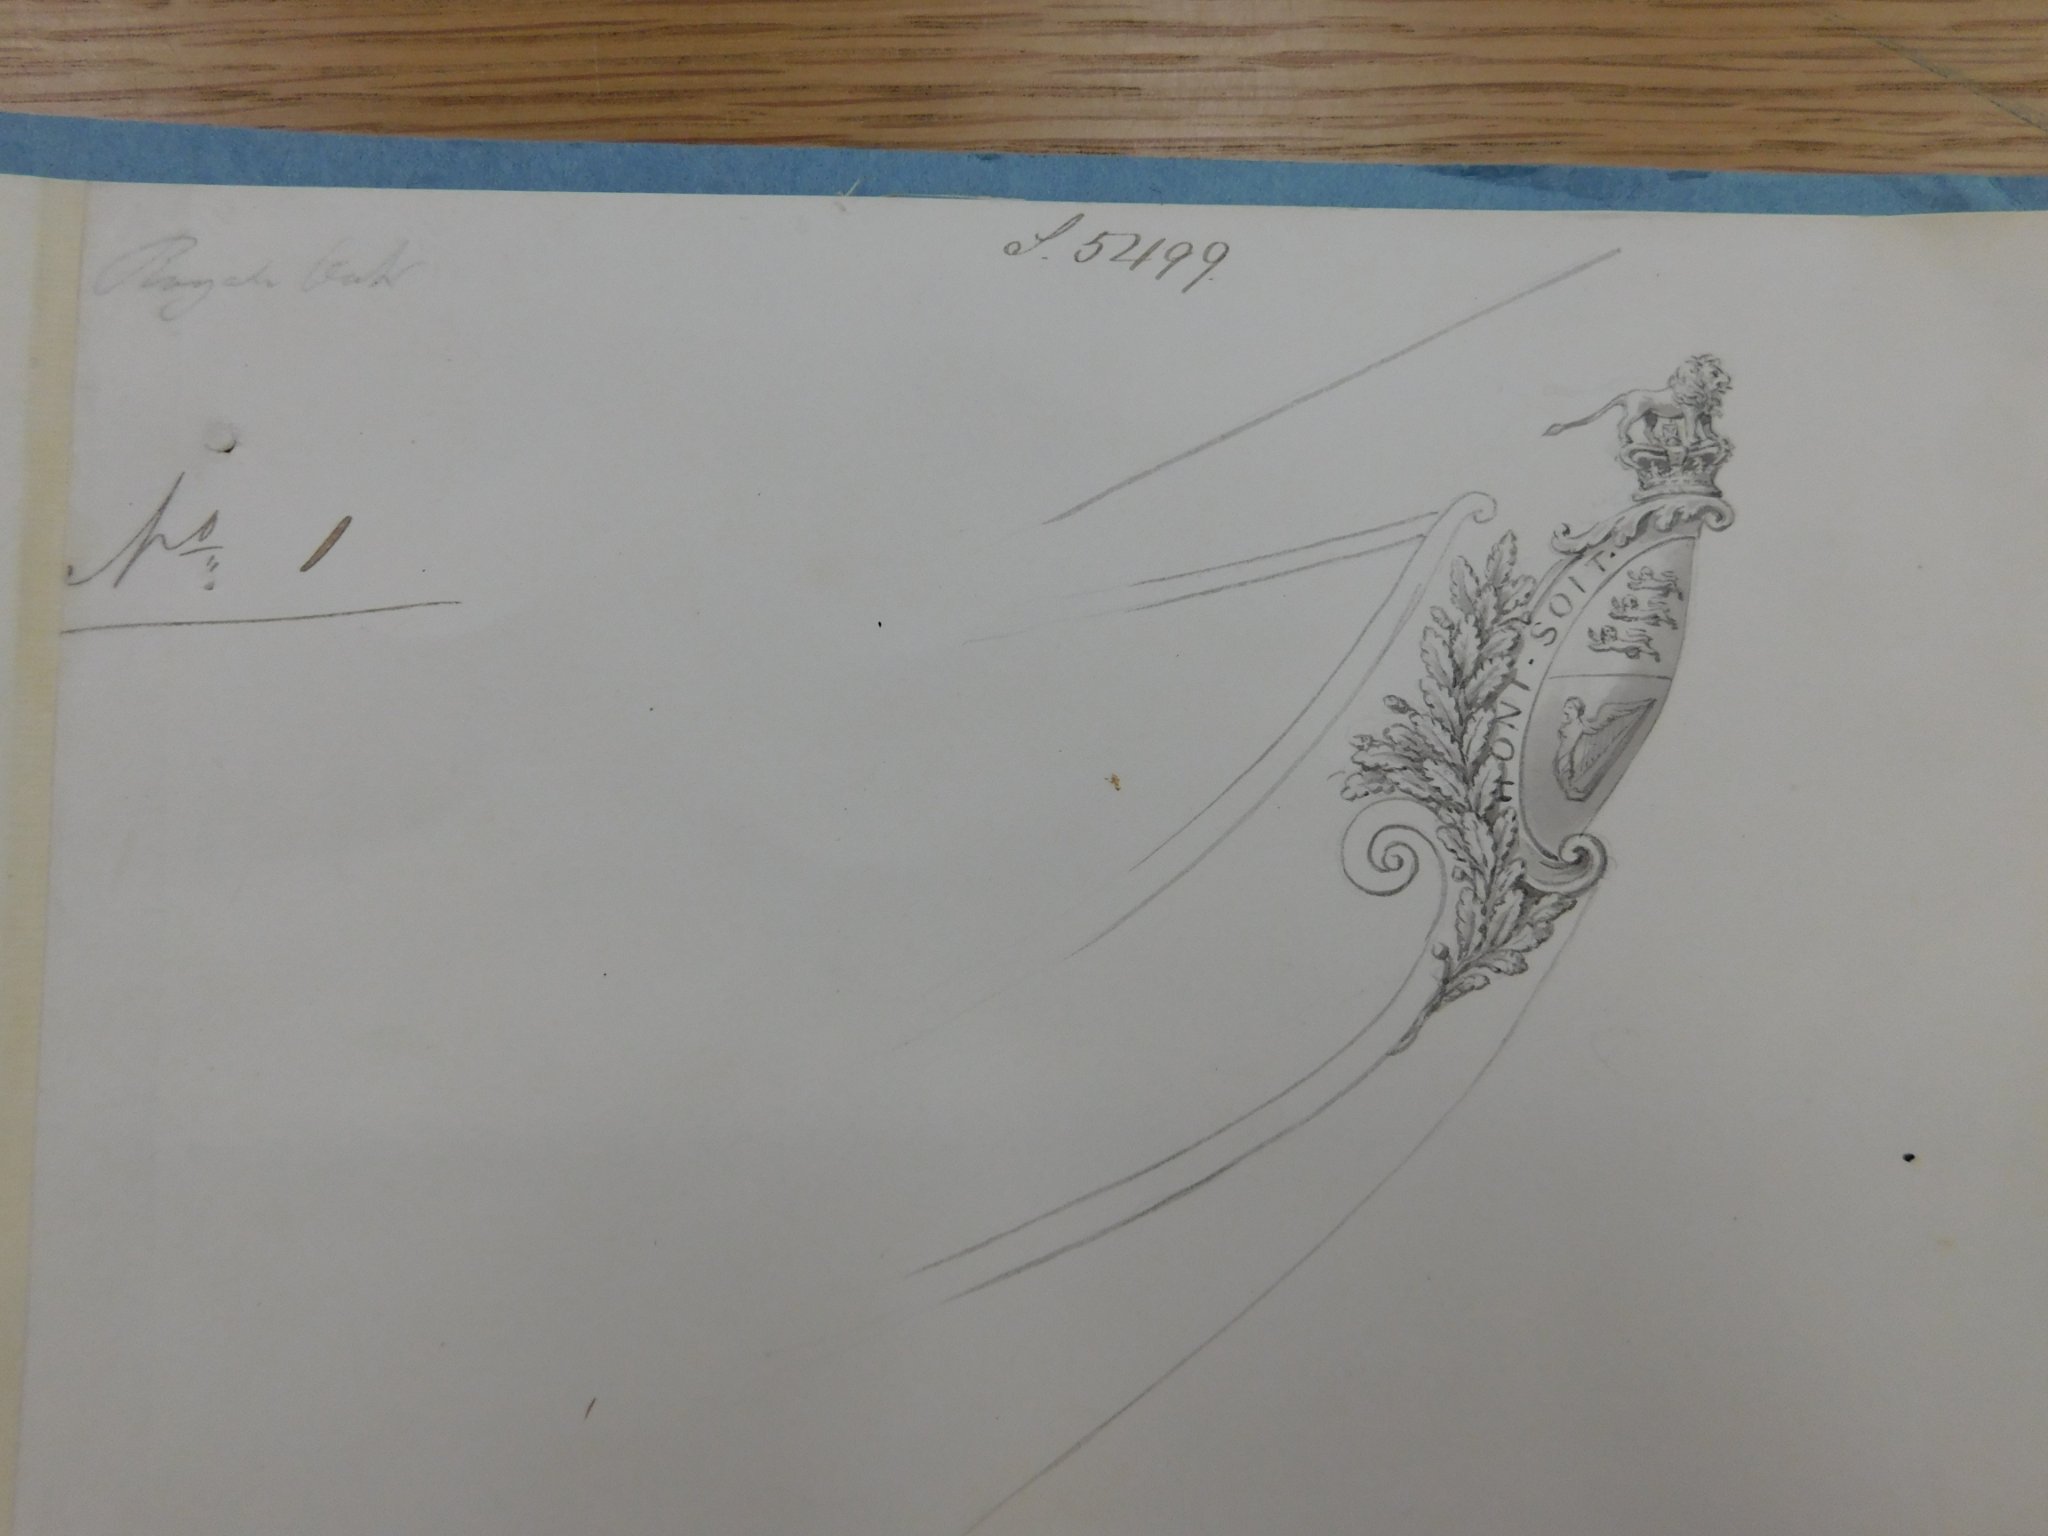
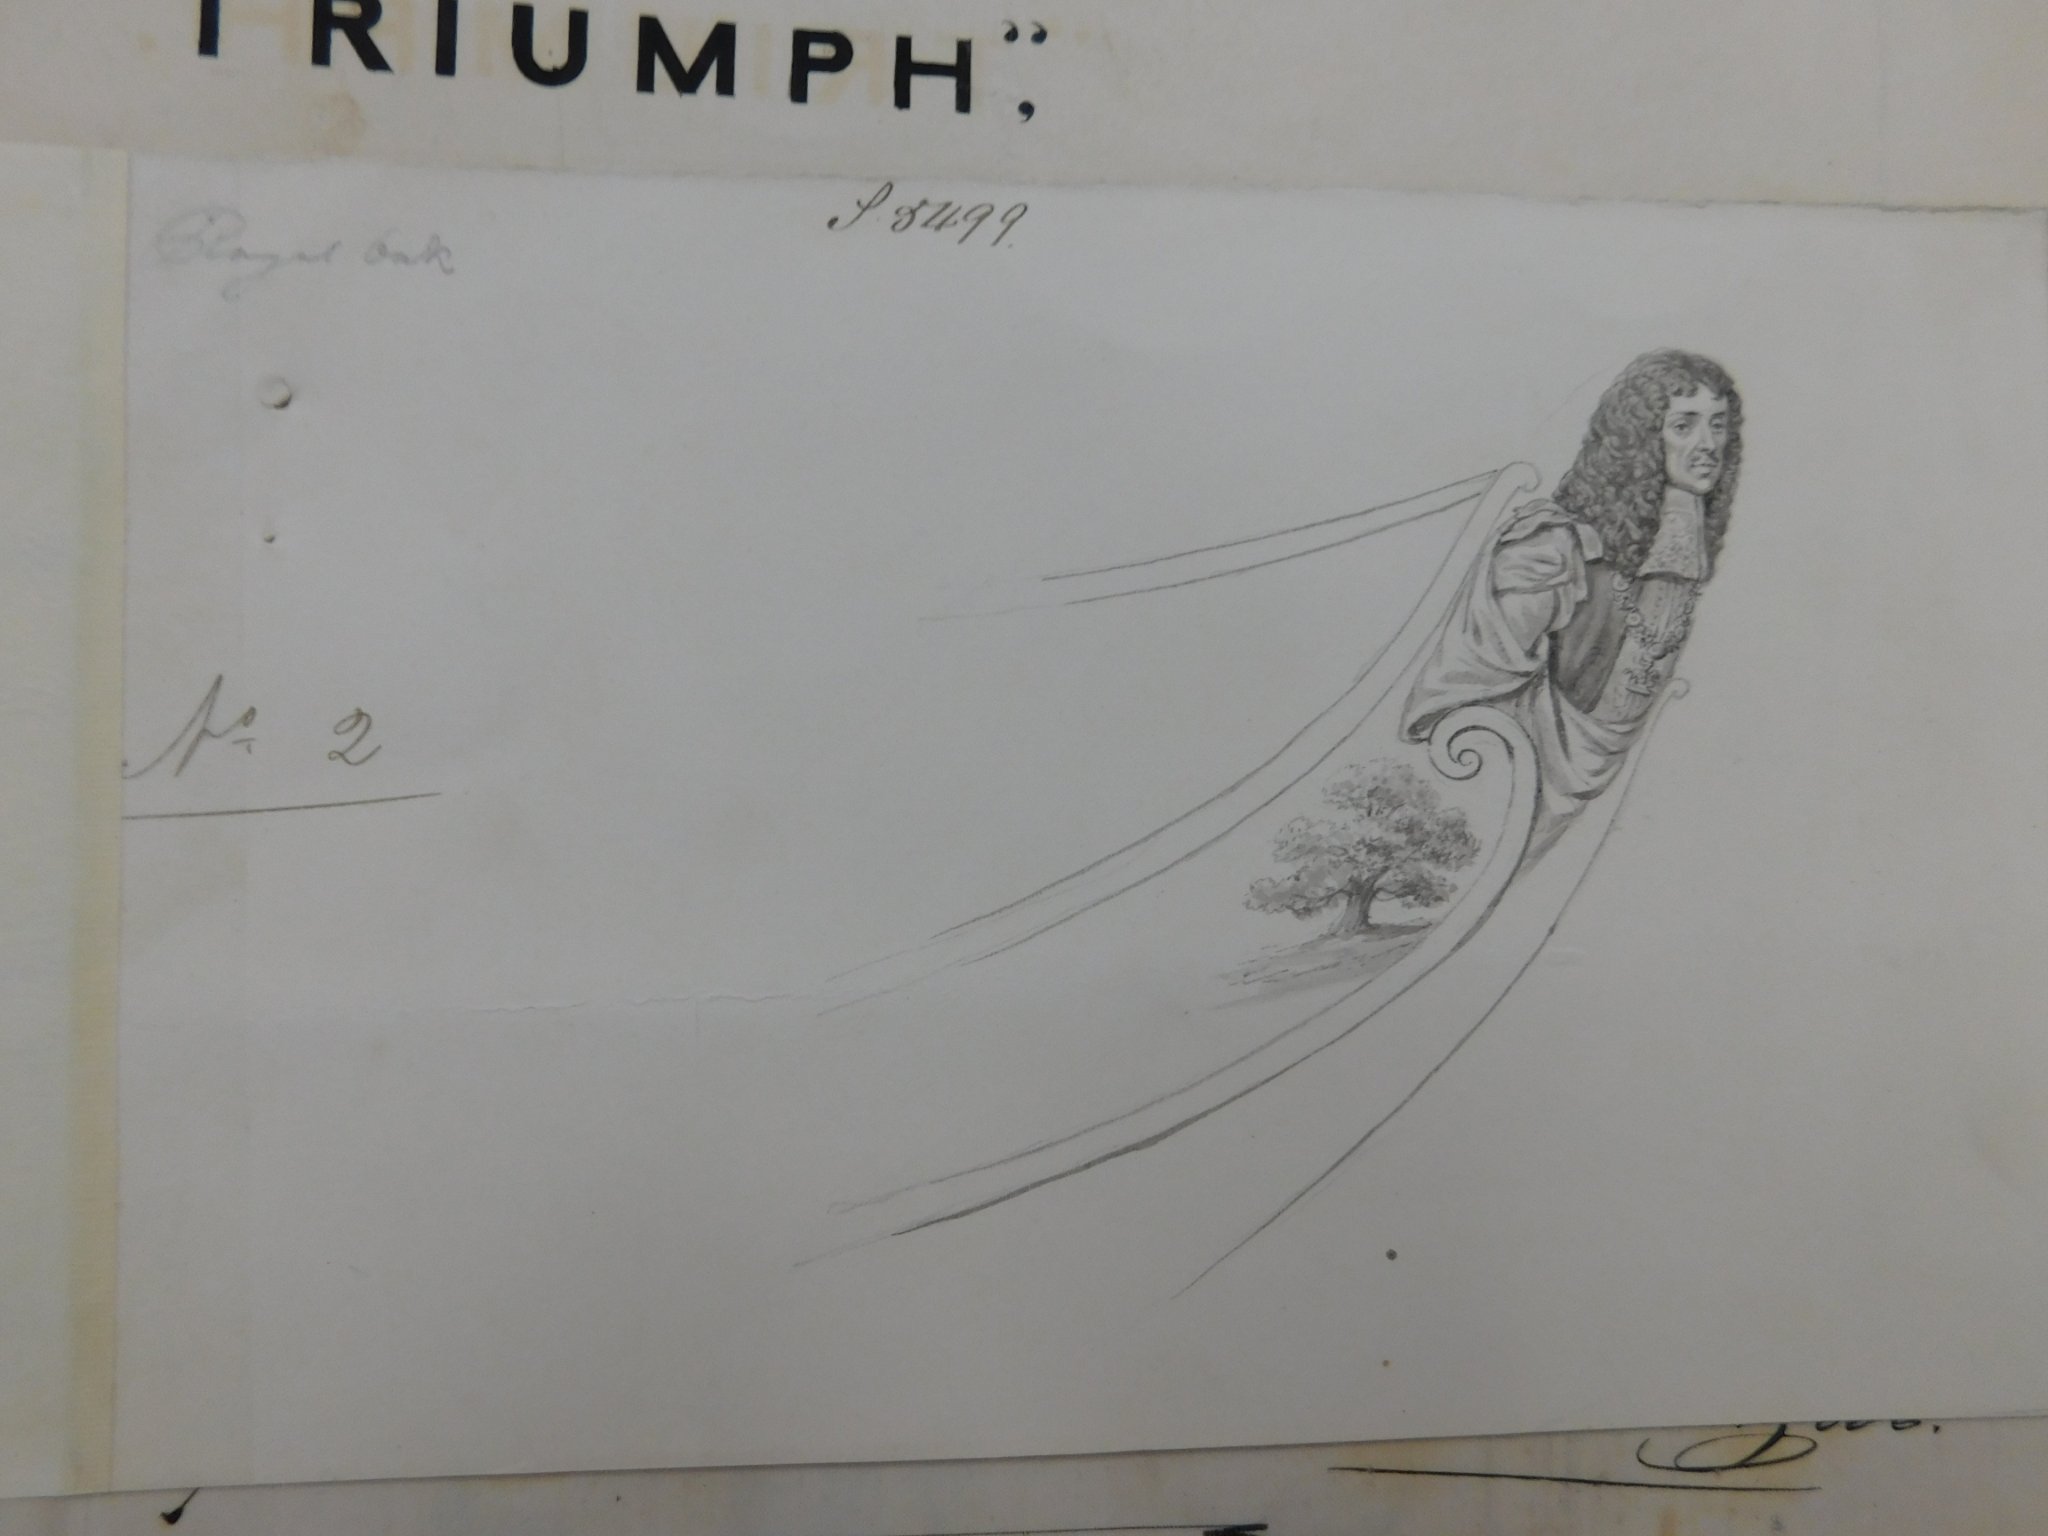
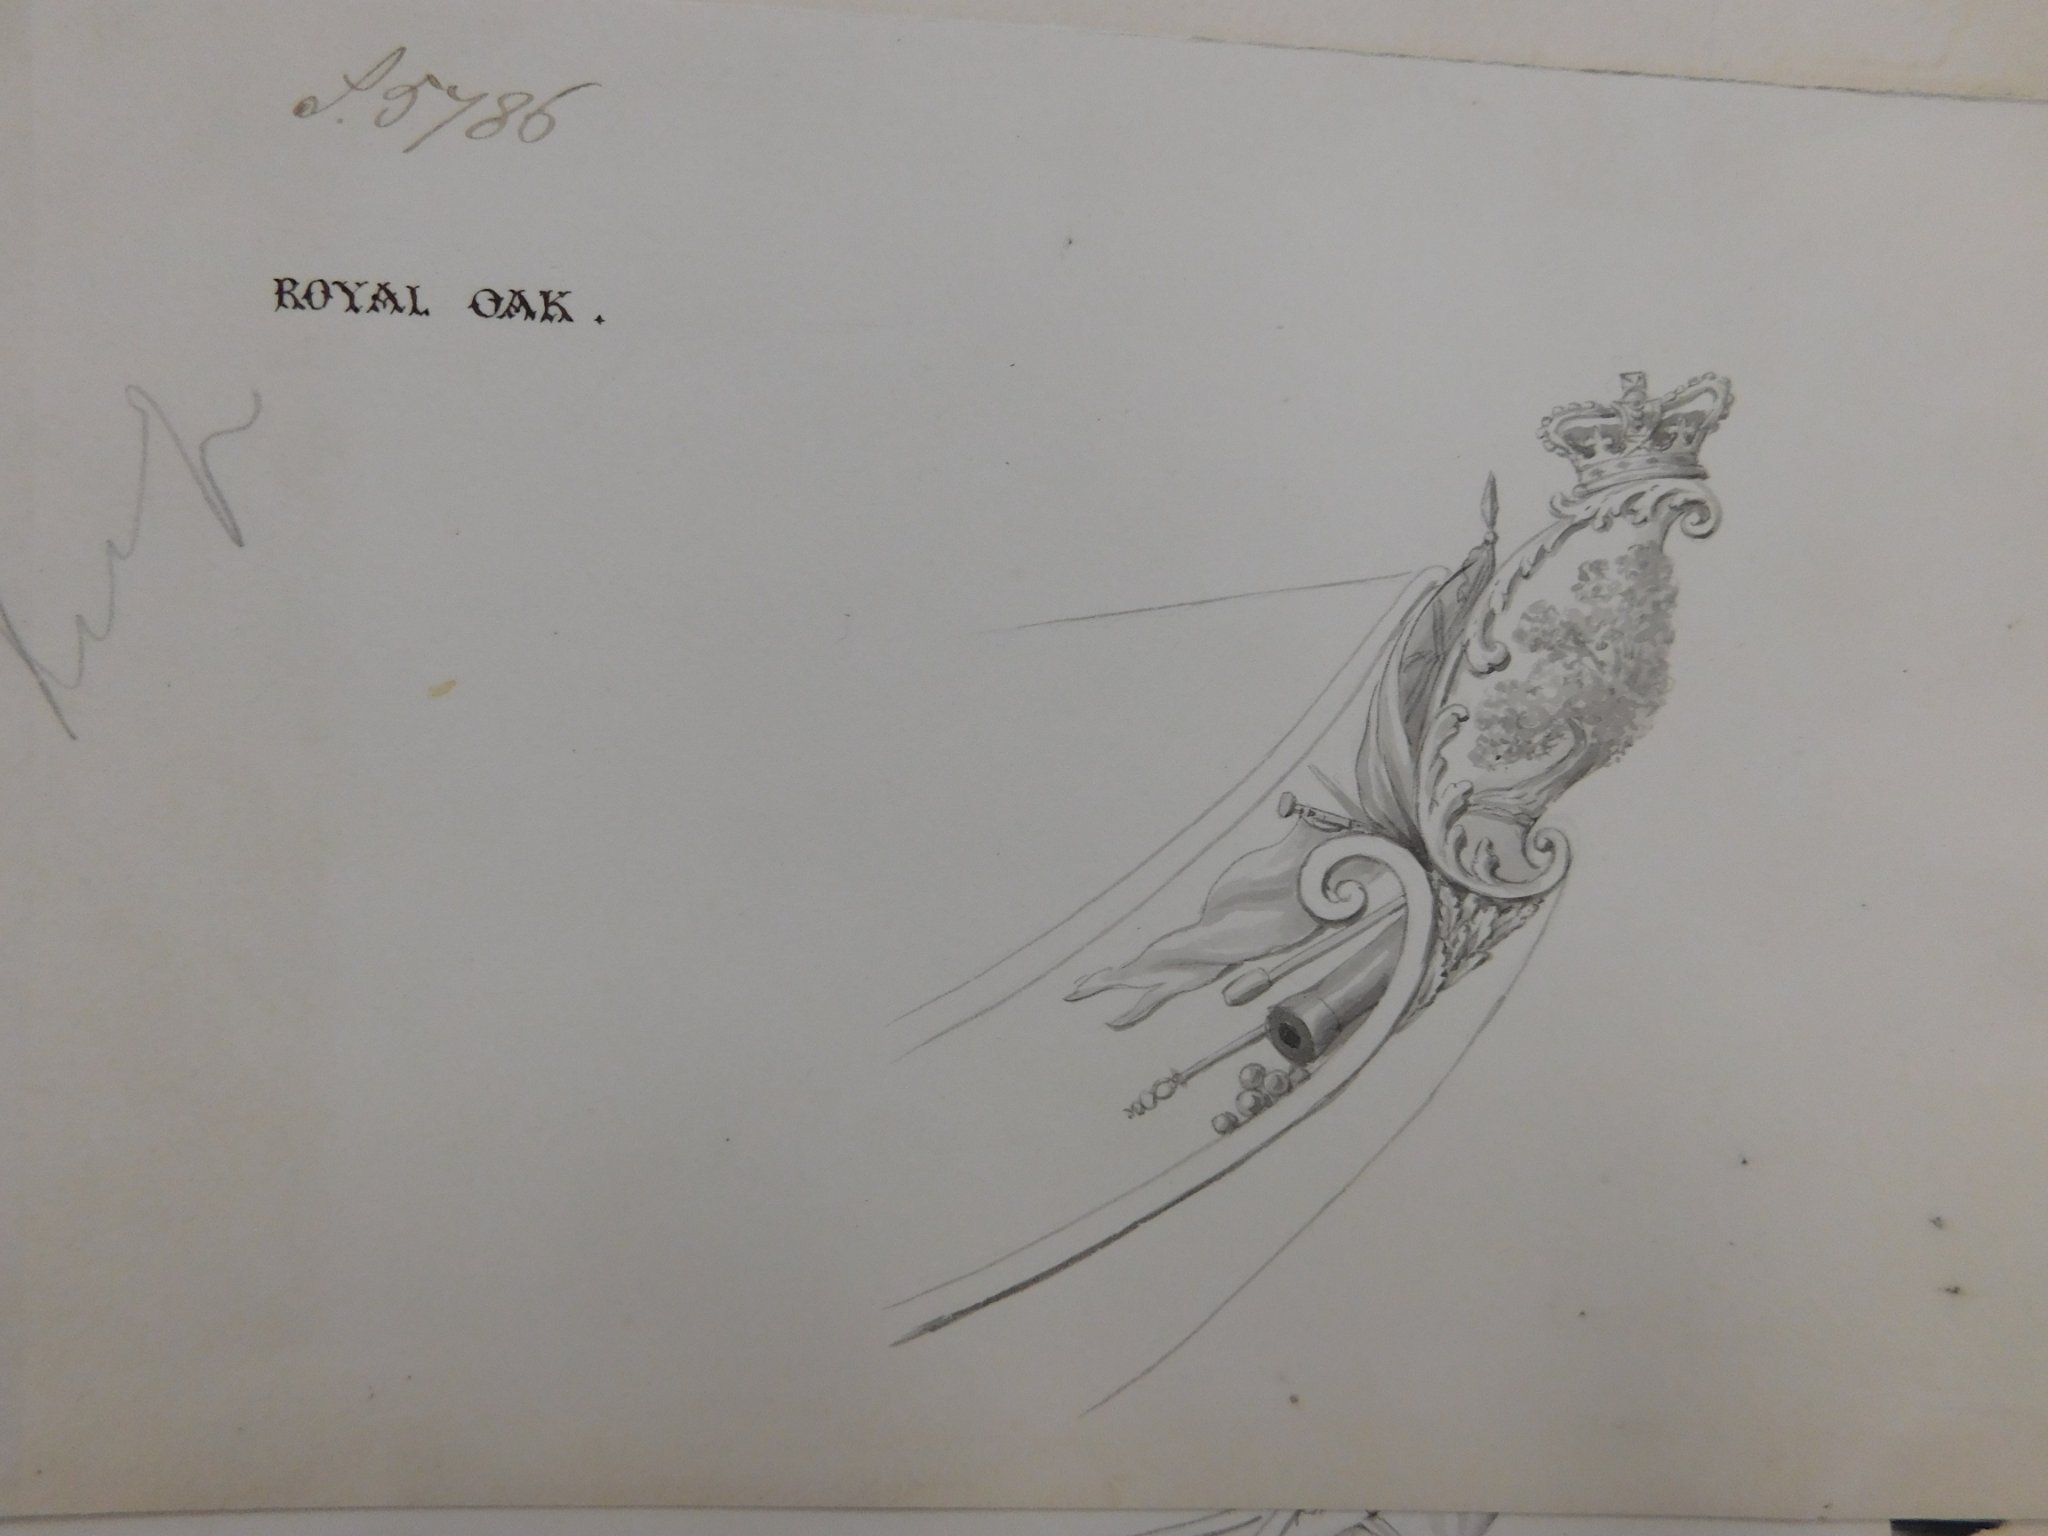
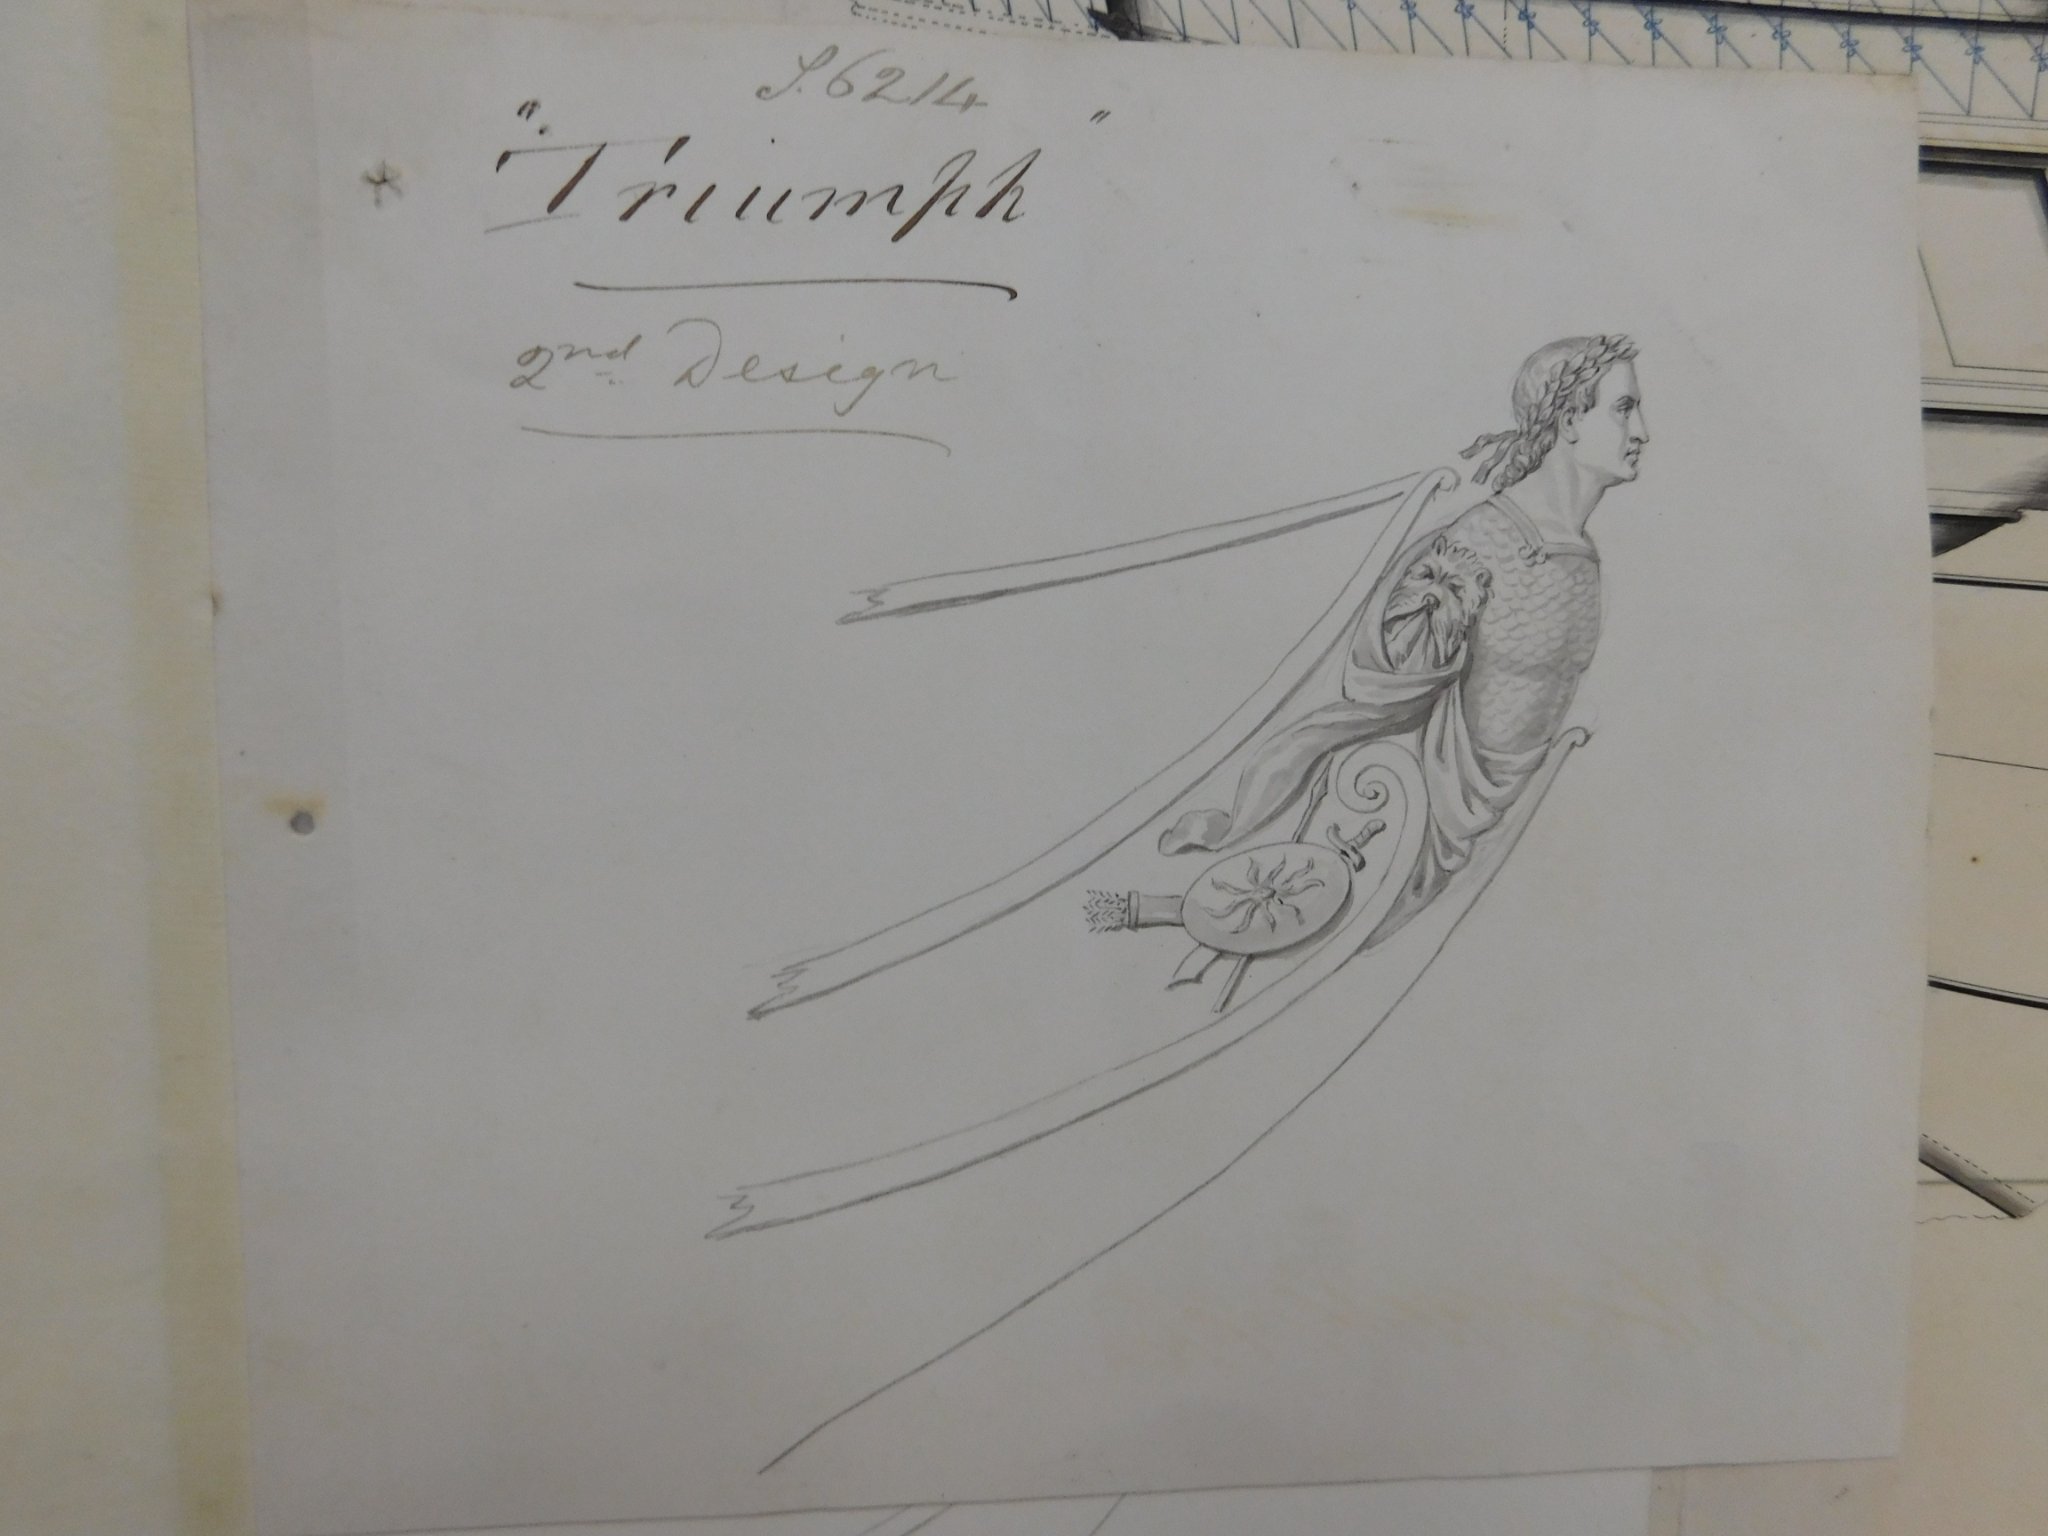
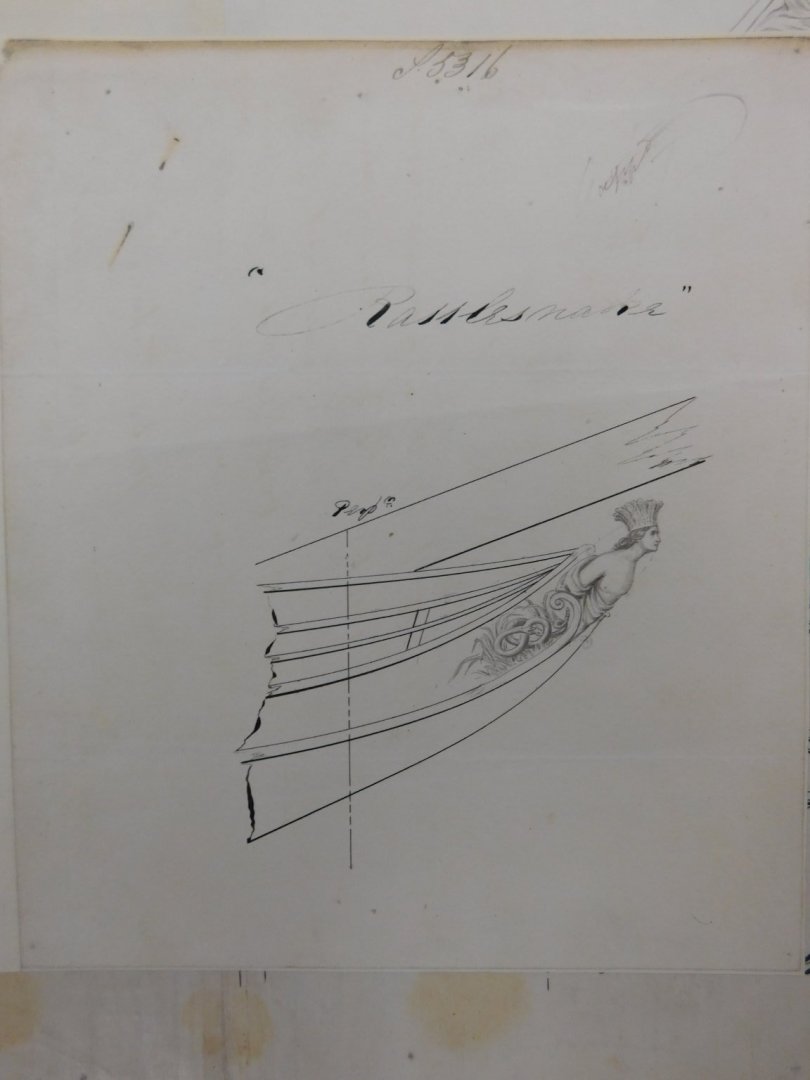
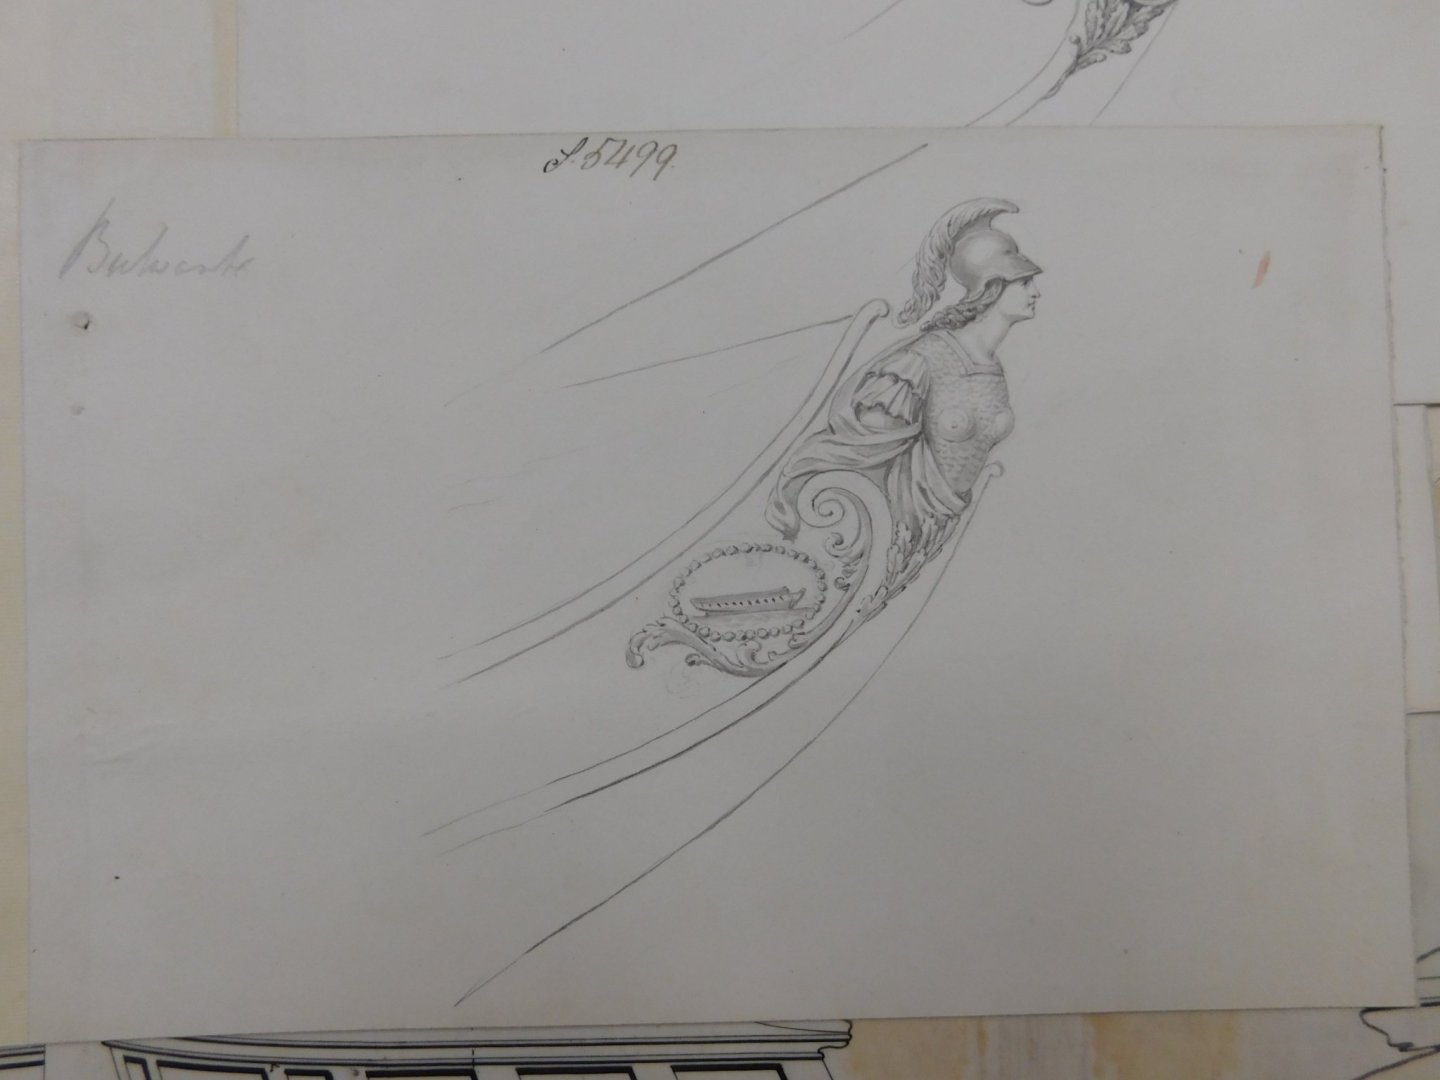
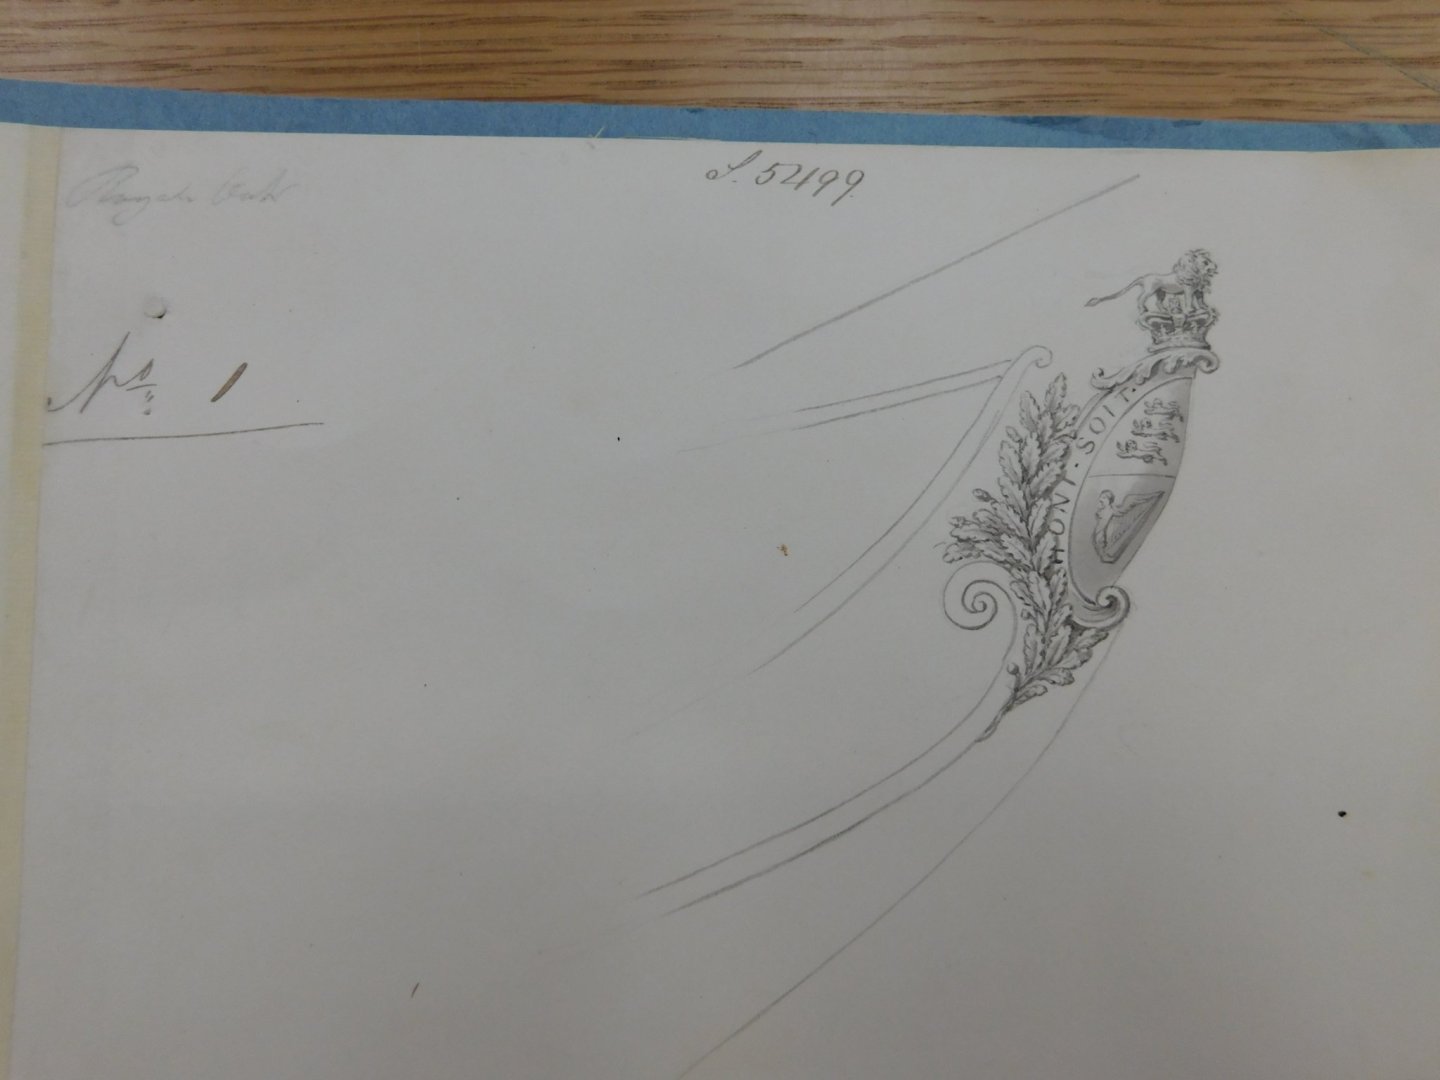
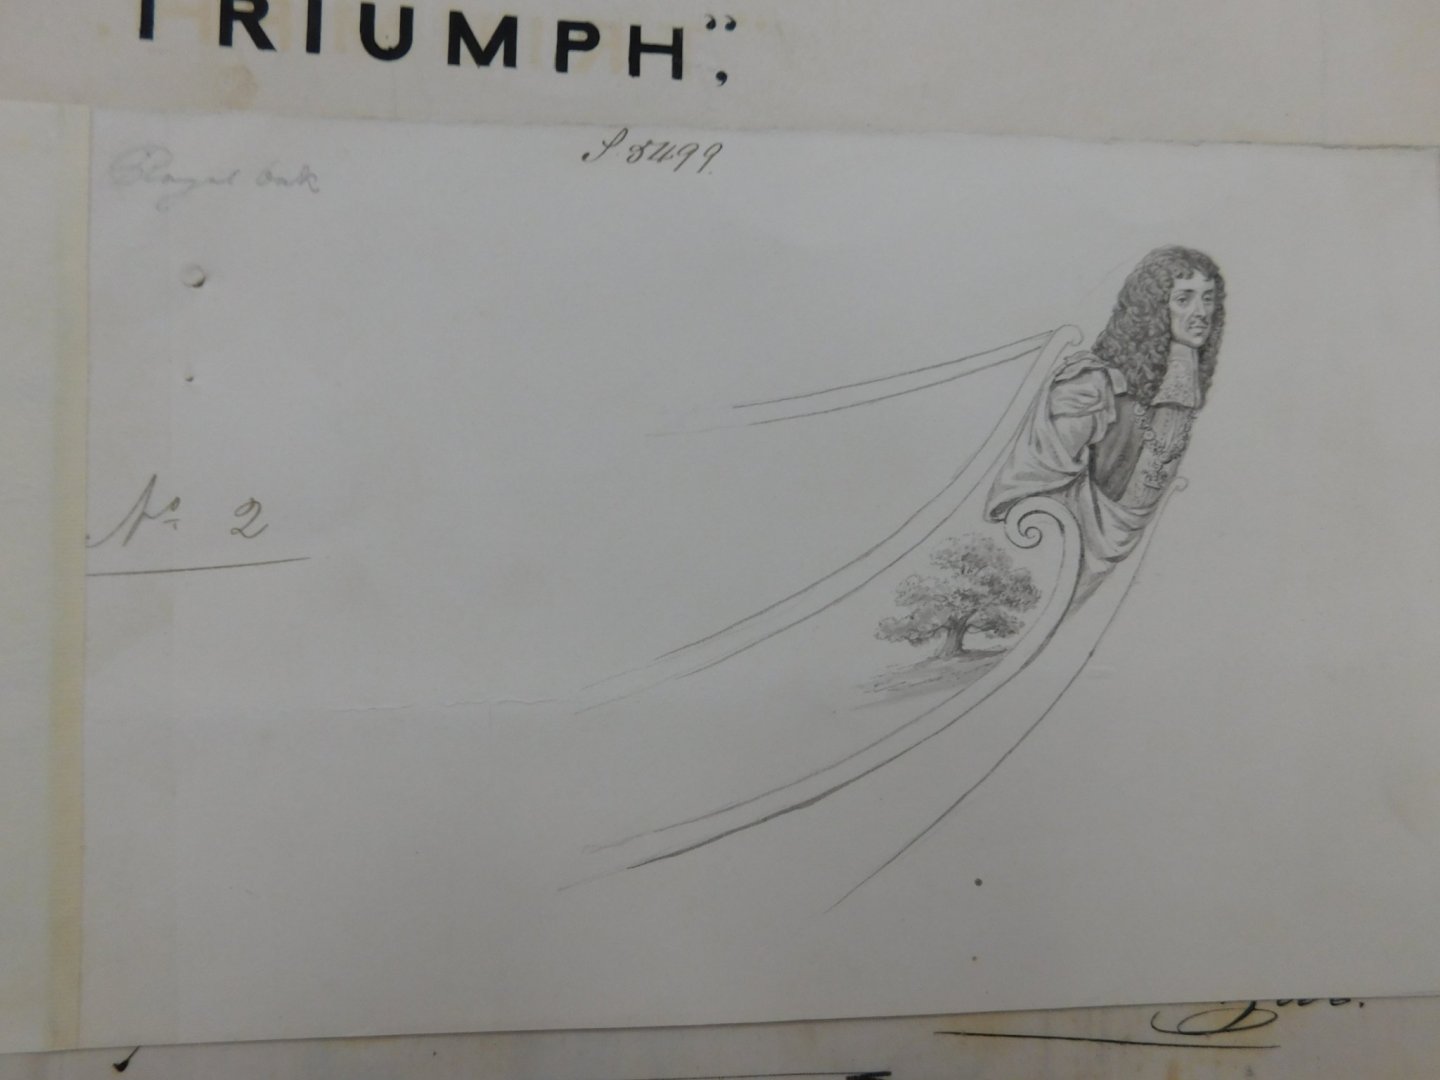
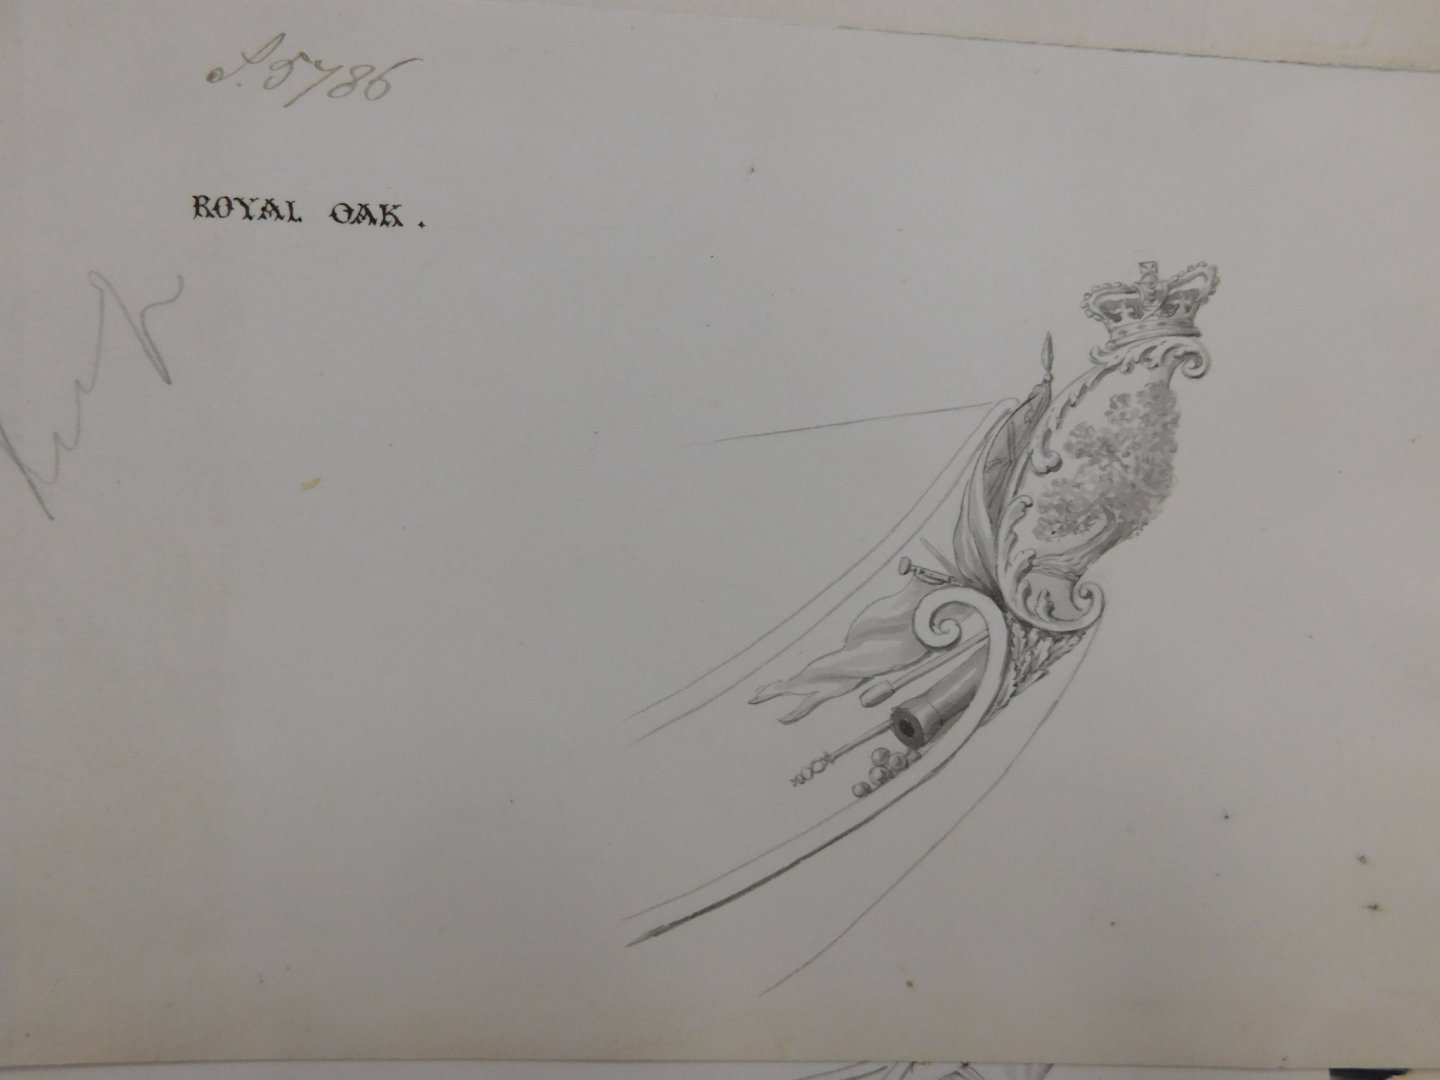
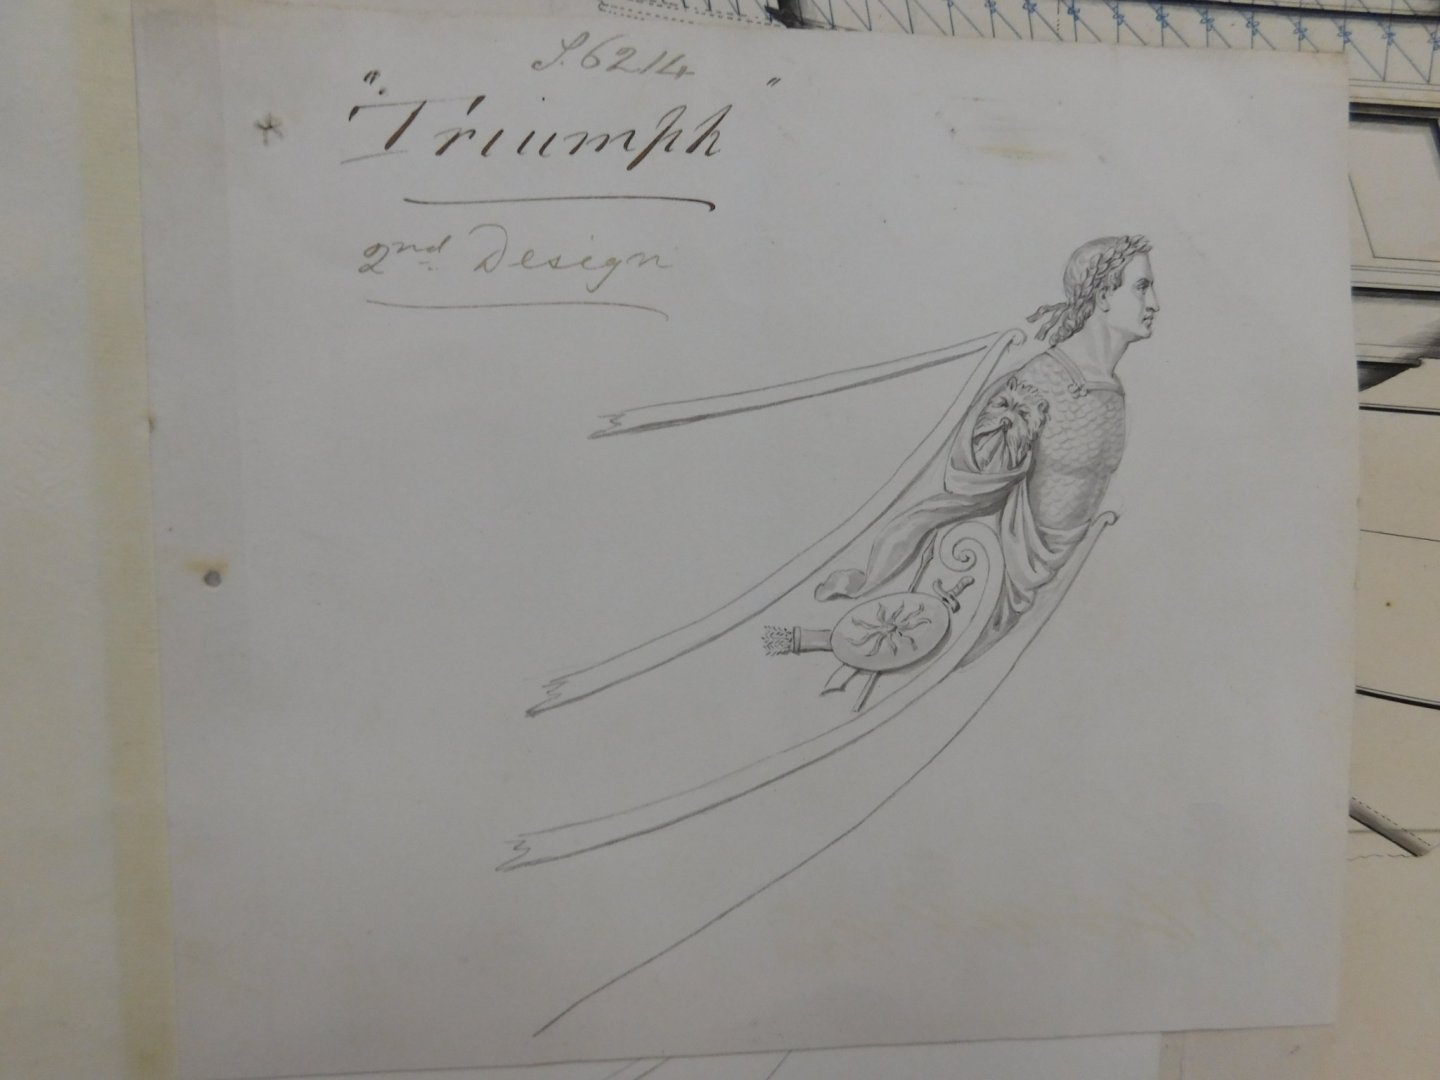
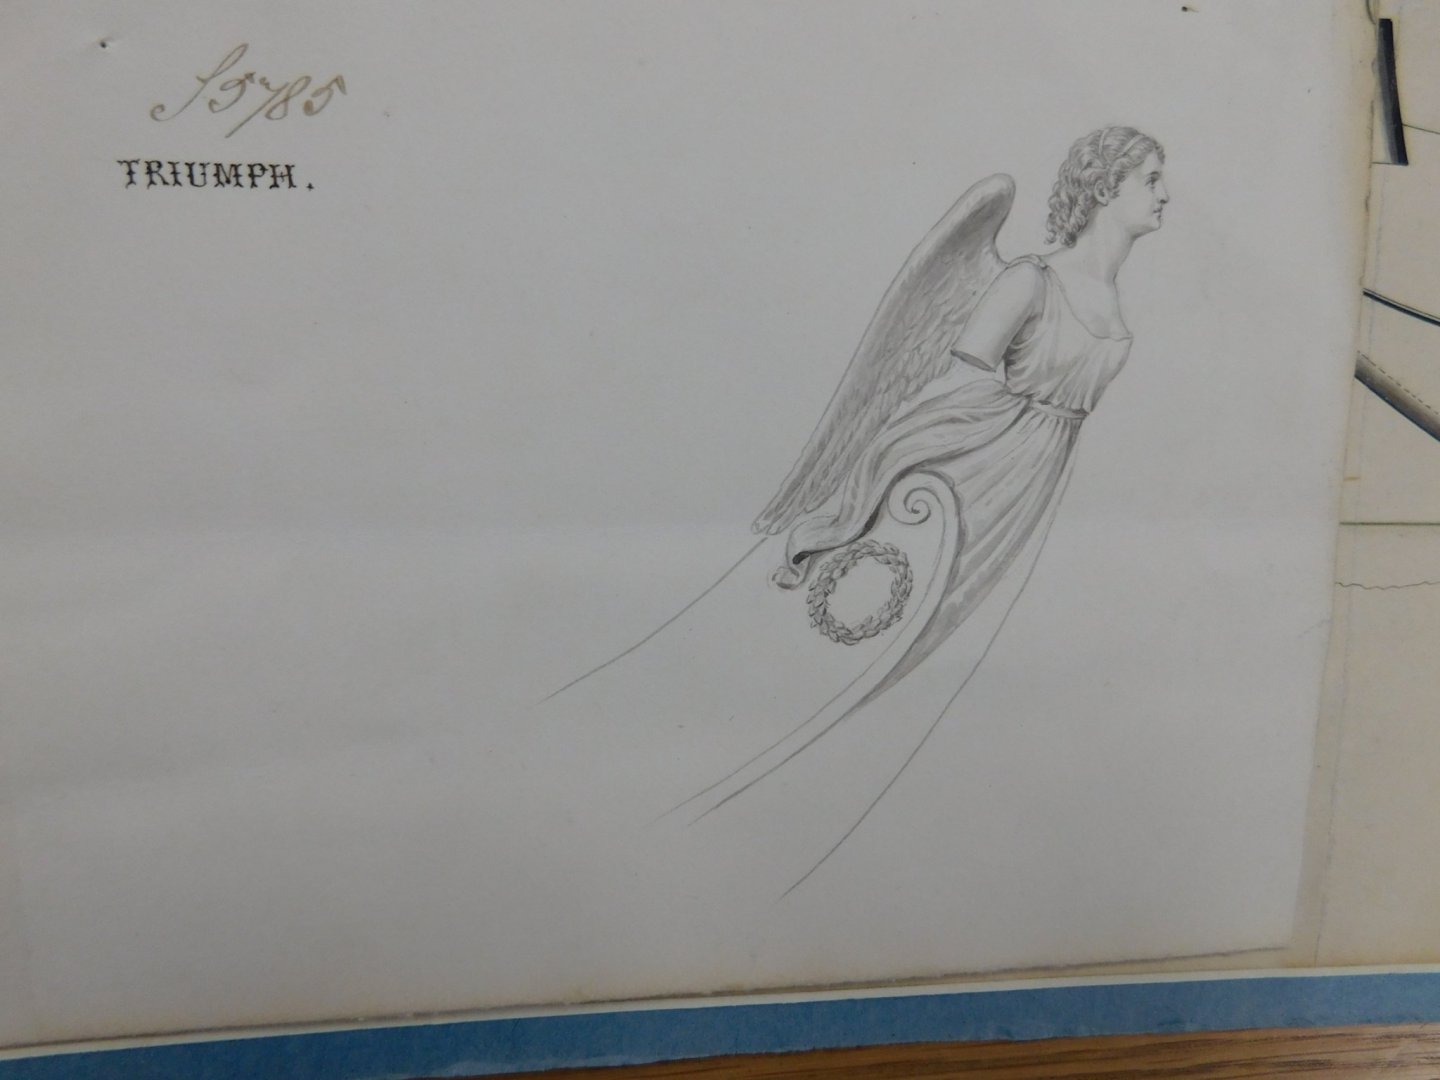
Good photos, and I especially liked the entire collecton. I used to work about two minutes walk from one of the London East End photos and recognised it immediately. Back to the subject: here are some figurehead images collected over time from The National Archives UK. They are drawings in a file of assorted subjects and do not have additional descriptions beyond what is on each page. In context, it is possible these were proposals submitted to Their Lordships for figureheads and may or may not reflect what was actually chosen. Pretty, ain't they? Maybe there are some more out there? Bruce
-
Jim, I don't know how but your build log slipped past me. Brilliant work, I am watching from now on.
-
Alan, good luck on Friday, looking forward to seeing all those frames and blocks in a few weeks. And helm ports.
-
New member from Monterrey, Mexico.
bruce d replied to Eugenio Treviño's topic in New member Introductions
Hello Eugenio and a warm welcome to MSW -
Careful with that watercolour: the NMM links it to 'Waterloo' which would make it the 1824 Bellerophon.
-
Hello Mitsuaki, I have not seen your log before, it is very impressive. I like the jigs, I will watch if you don't mind? Regards, Bruce
- 126 replies
-
- 1
-
-
- victory models
- amati
- (and 2 more)
-
That is dedication. Well done.
-
Hello silverman834, I like what you have done with this obscure subject. I assume you have seen the two papers in this link: Regards, Bruce
-
From experience: under no circumstances breathe in the smoke or fumes. The smoke is HOT and I needed medical help after a similar accident occurred on the workbench right under my nose, burning my sinuses. Good warning, might save someone some pain.
-
Welcome to MSW, Daniel. There is a current build log for Polaris which you may have already seen, it could be useful. Bruce
-
Welcome to MSW, Patrick. Bohuslan looks like a good project, look forward to seeing your build log. Regards, Bruce
-
Hello Clark, before buying from CAF I contacted Tom via messages on this forum and he is extremely helpful. Even though I only ordered some of his smaller kits( like the longboat) he offered to help in any way once I start. I believe the website is 'work in progress' and he concentrates on kits. Looking forward to all these CAF builds! Bruce
-
Gerco, welcome to MSW