GrandpaPhil
-
Posts
6,166 -
Joined
-
Last visited
Content Type
Profiles
Forums
Gallery
Events
Everything posted by GrandpaPhil
-
The fishnet failed. The mesh is the right size, but the fibers are way too thick. It doesn’t look right, so I removed it. Rereading Von Monfeld, he suggested the use of open weave tulle. Fortunately, I found a roll of white tulle in a giant box of craft stuff we found at a yard sale. I cut a yard off the end of it and stuck it in a strong cup of tea to stain it over night.
-
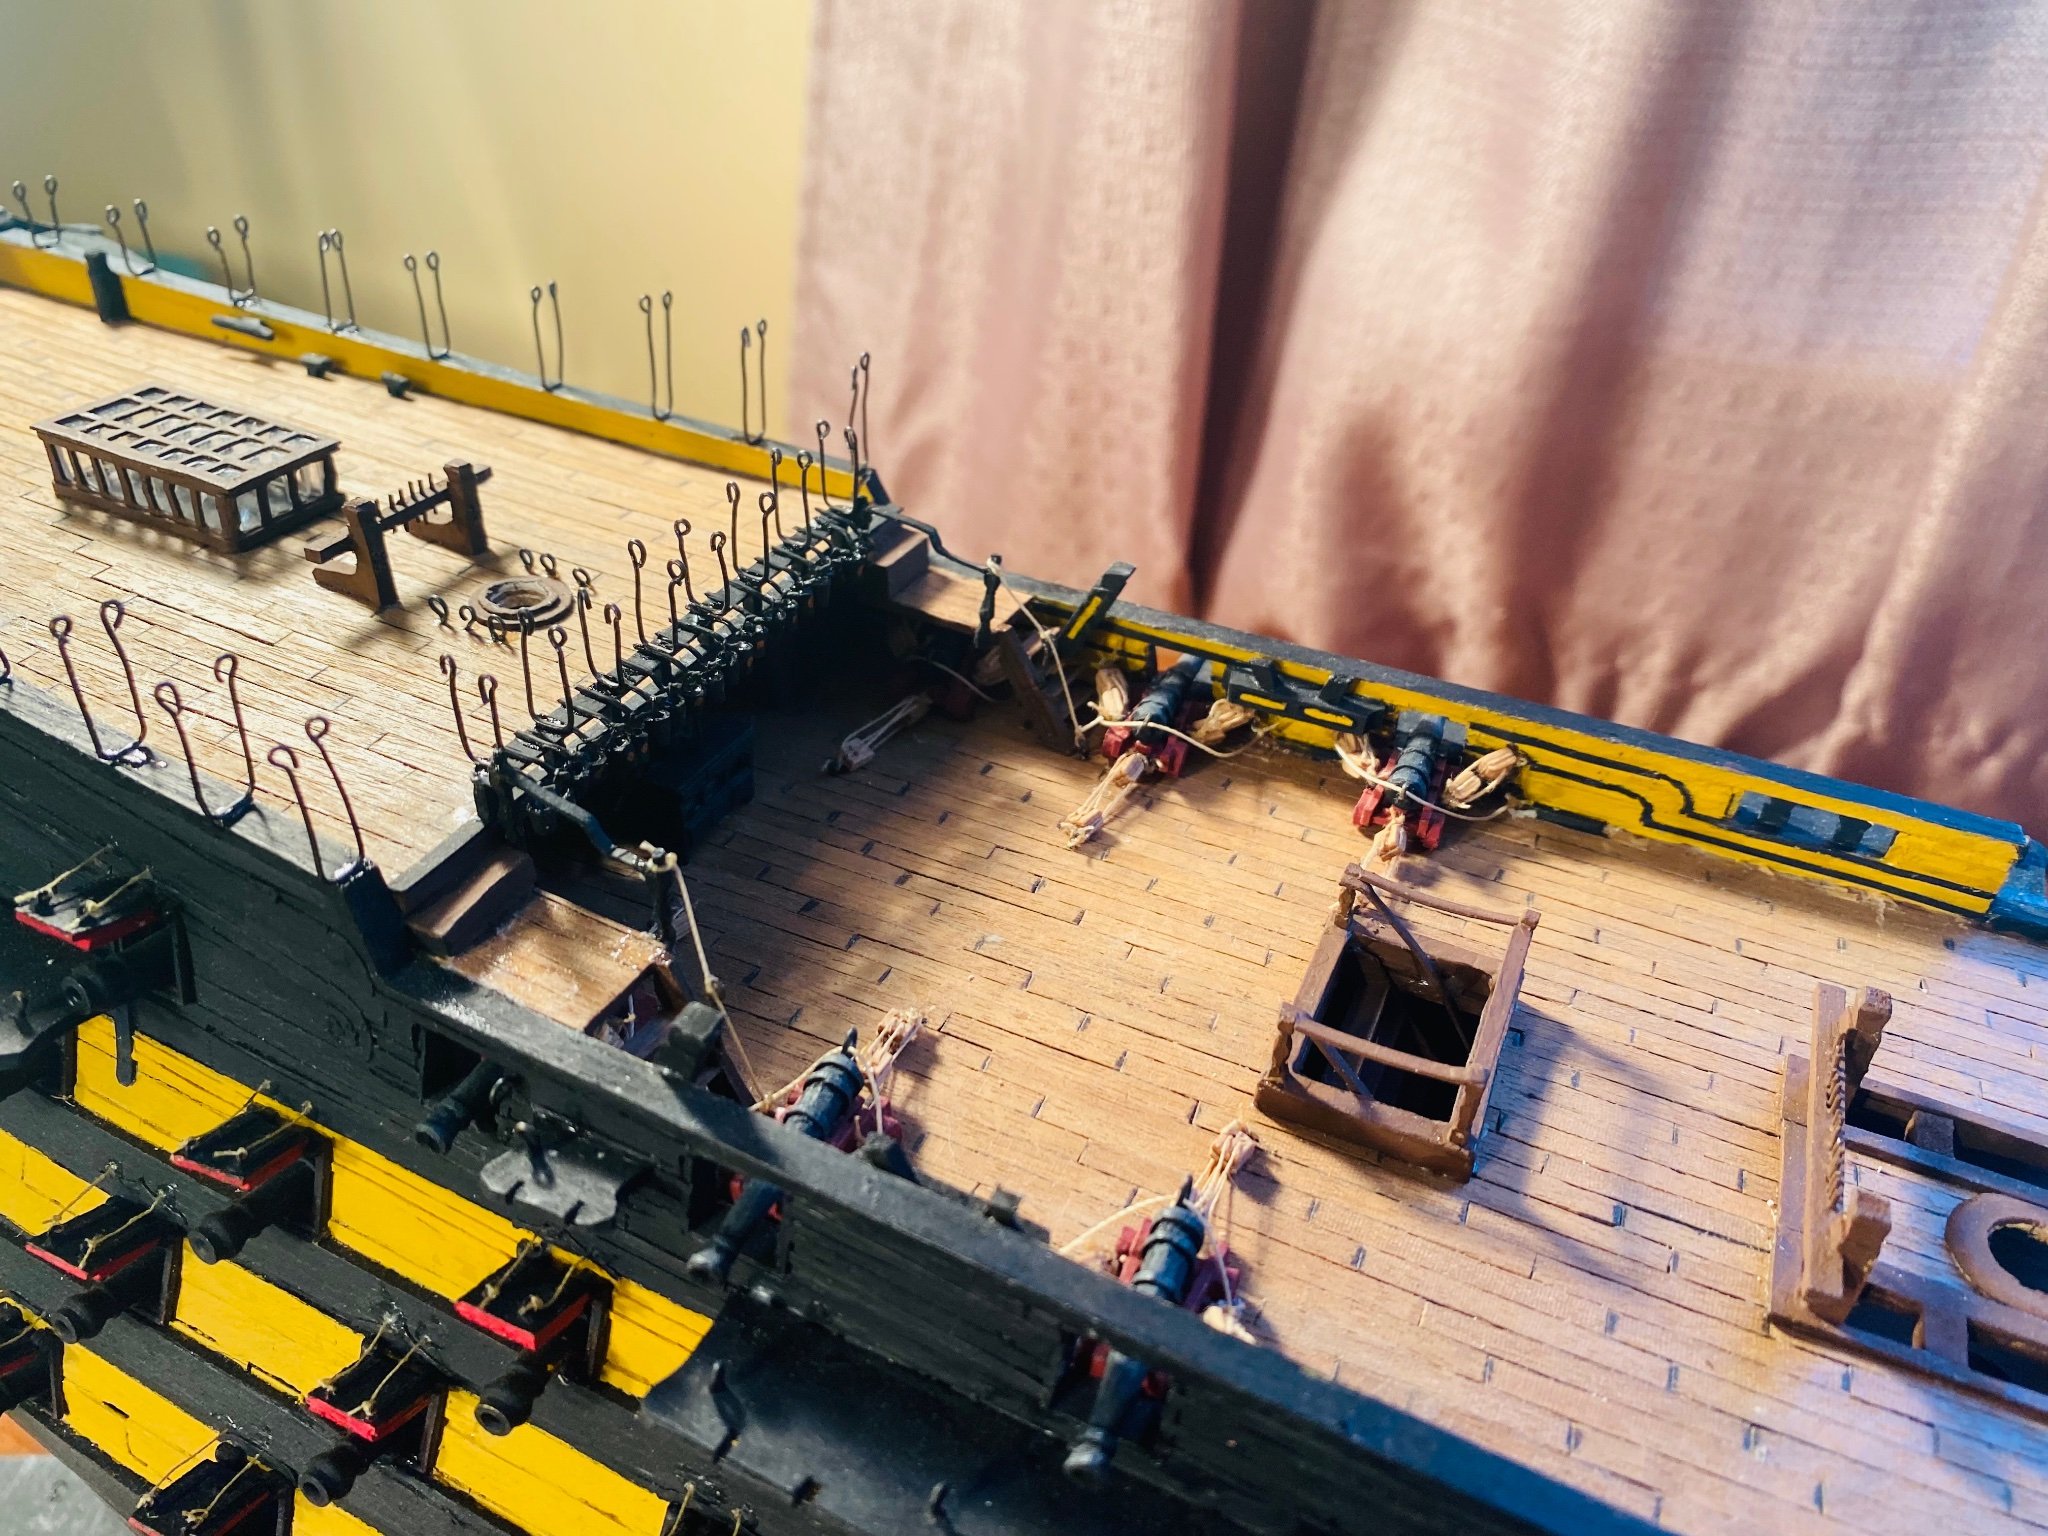
Thank you all very much for the likes and just for stopping by! Still working hammock cranes: The poop deck hammock cranes are now complete: I kept knocking buckets off while installing the hammock cranes on the railing overlooking the quarterdeck. I had to repair a bunch of them. I’ve been dreading getting to the netting, but it’s time to bite that bullet. Like my saying says, “The hardest part is deciding to try.” So, I’m just going to make it. I am using beige fishnet material for my netting, following pictures I’ve seen of the Victory. We’ll see how this goes.


-
Looking forward to seeing this!
-
Thank you all very much for the likes and the comments! Working on poop deck hammock cranes:
-
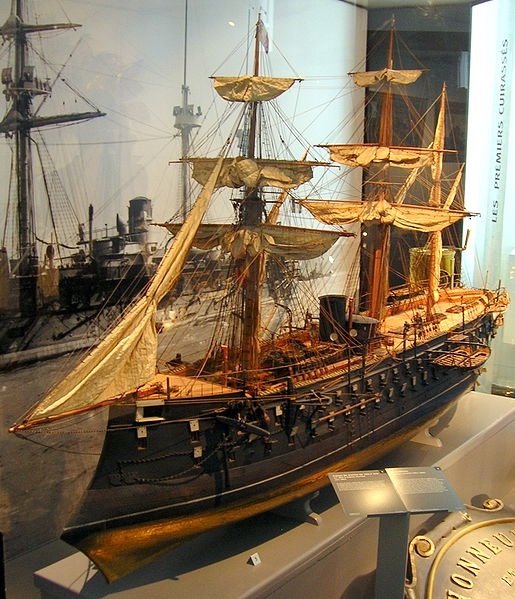
A few days ago, while surfing the forum, I came across a very neat build of the Waratah, an HMV card kit. I pay a lot of attention to card models because I have found that I enjoy building them quite a lot. This set me to looking for HMV kits, and @ccoyle showed me where you could get them on Amazon. While looking at those, I discovered the Orel card kit of the Solferino (Magenta’s sister ship) which I had to have. It is in 1/200 scale, which is very small. I like larger scale models, and 1/72 is very convenient. At first, I wanted to just triple the size of the kit. Then I started doing research. Solferino is one of two Magenta-Class Ironclads. They were broadside battleships. Essentially they were armored versions of conventional 2-decked ships of the line. They struck a chord in me and I decided I needed one, or as it turns out, both of them, lol. They are very neat looking vessels. I started my research by going to Wikipedia, which led me to the original builders plans, hosted by the French Navy’s Historical Office in .tif format, which regrettably won’t display on the forum. I like builders plans, they are fun to develop models from. I will be building Magenta from the builders plans, difficult, but fun for me. The French Musee De La Marine has a model of Solferino which I will also be using for reference (these are from wikimedia commons). I am specifically building Magenta because I will also be building the kit of the Solferino whenever I get it and I do not like building the same ship twice. I have not yet decided on the building material yet. I may build in card or cardboard, or I may build in wood. I will most likely make the final decision on the day I cut the first piece, which will be shortly after I finish the Victory. Actual construction will likely be starting in a few months because I need to finish Victory, do thorough research and print the plans/update them with the findings of my research. Thanks for visiting!

- 104 replies
-
- 20
-

-
I thought about that. I have netting and have looked into making the hammocks. I think that would make the Victory look awesome!
-
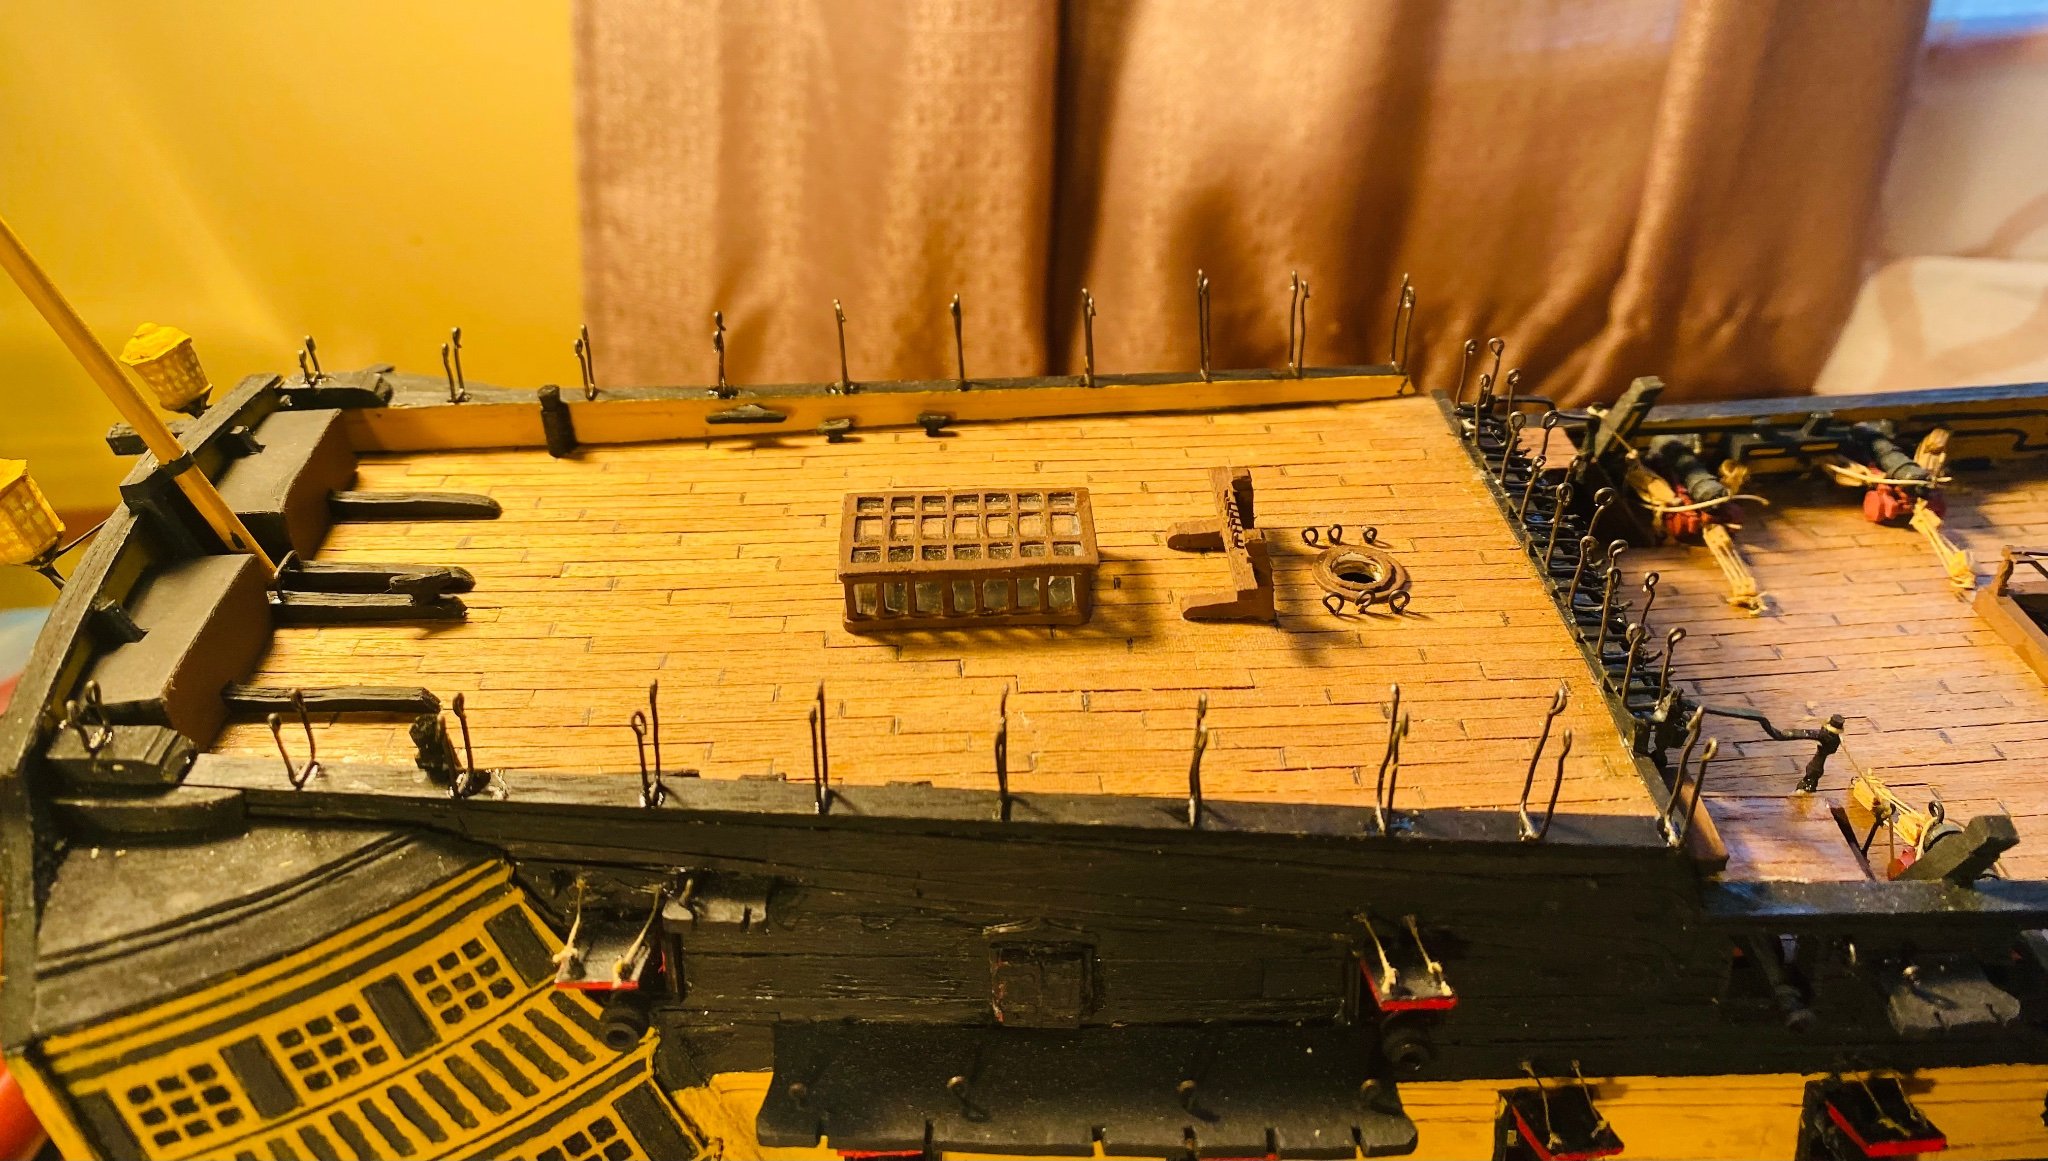
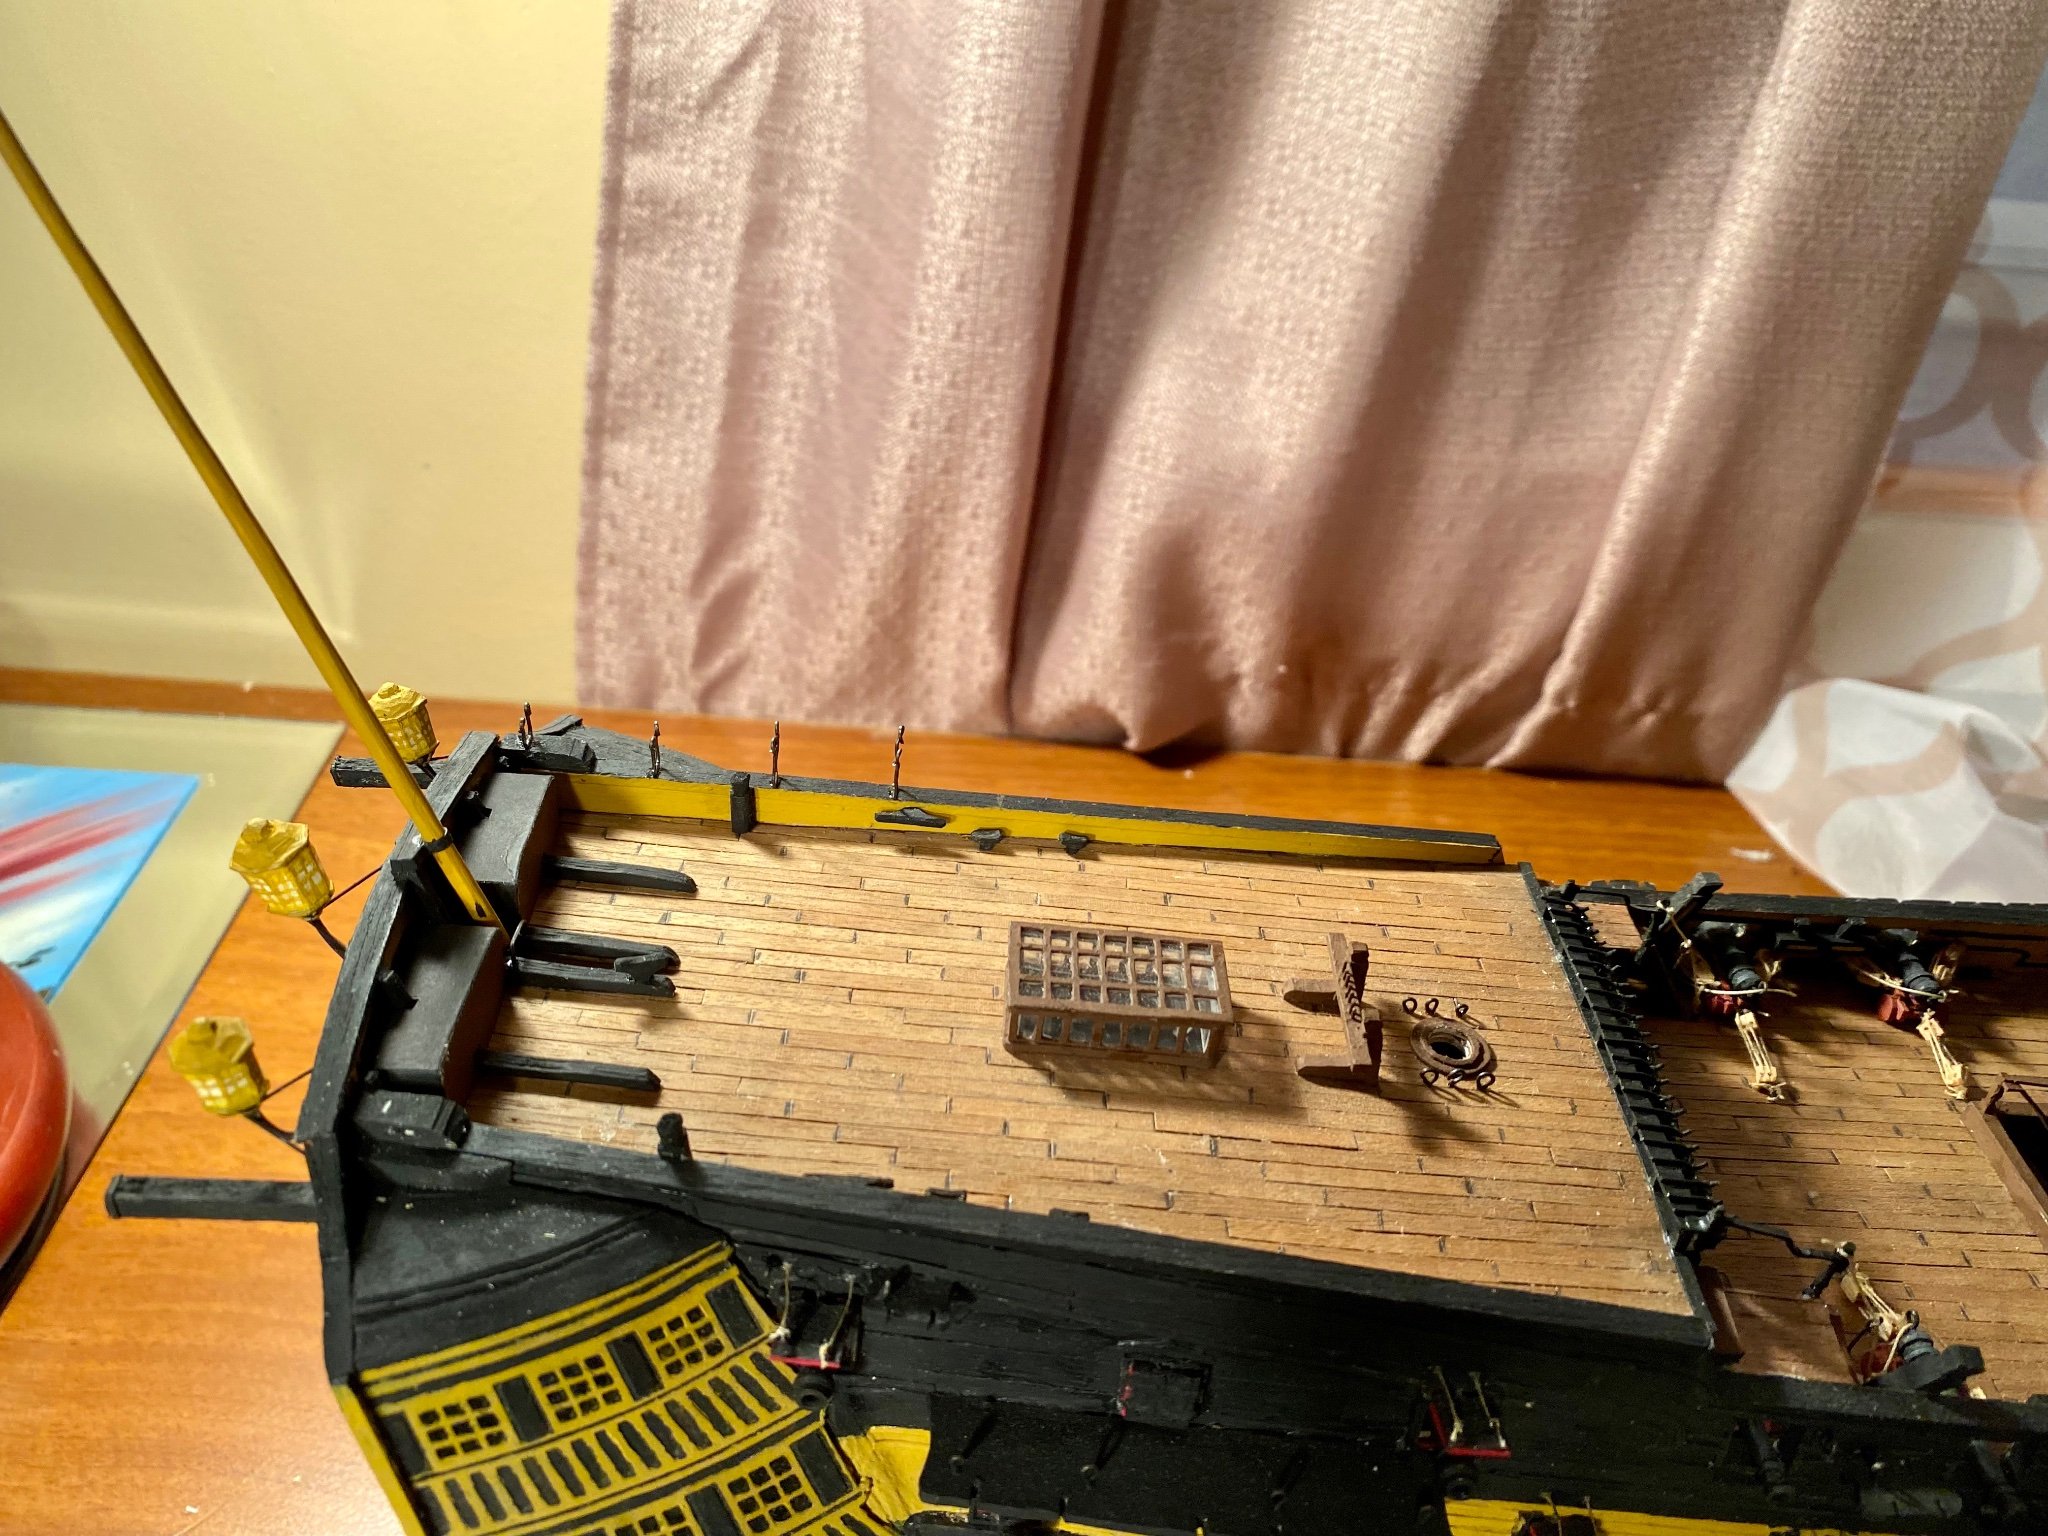
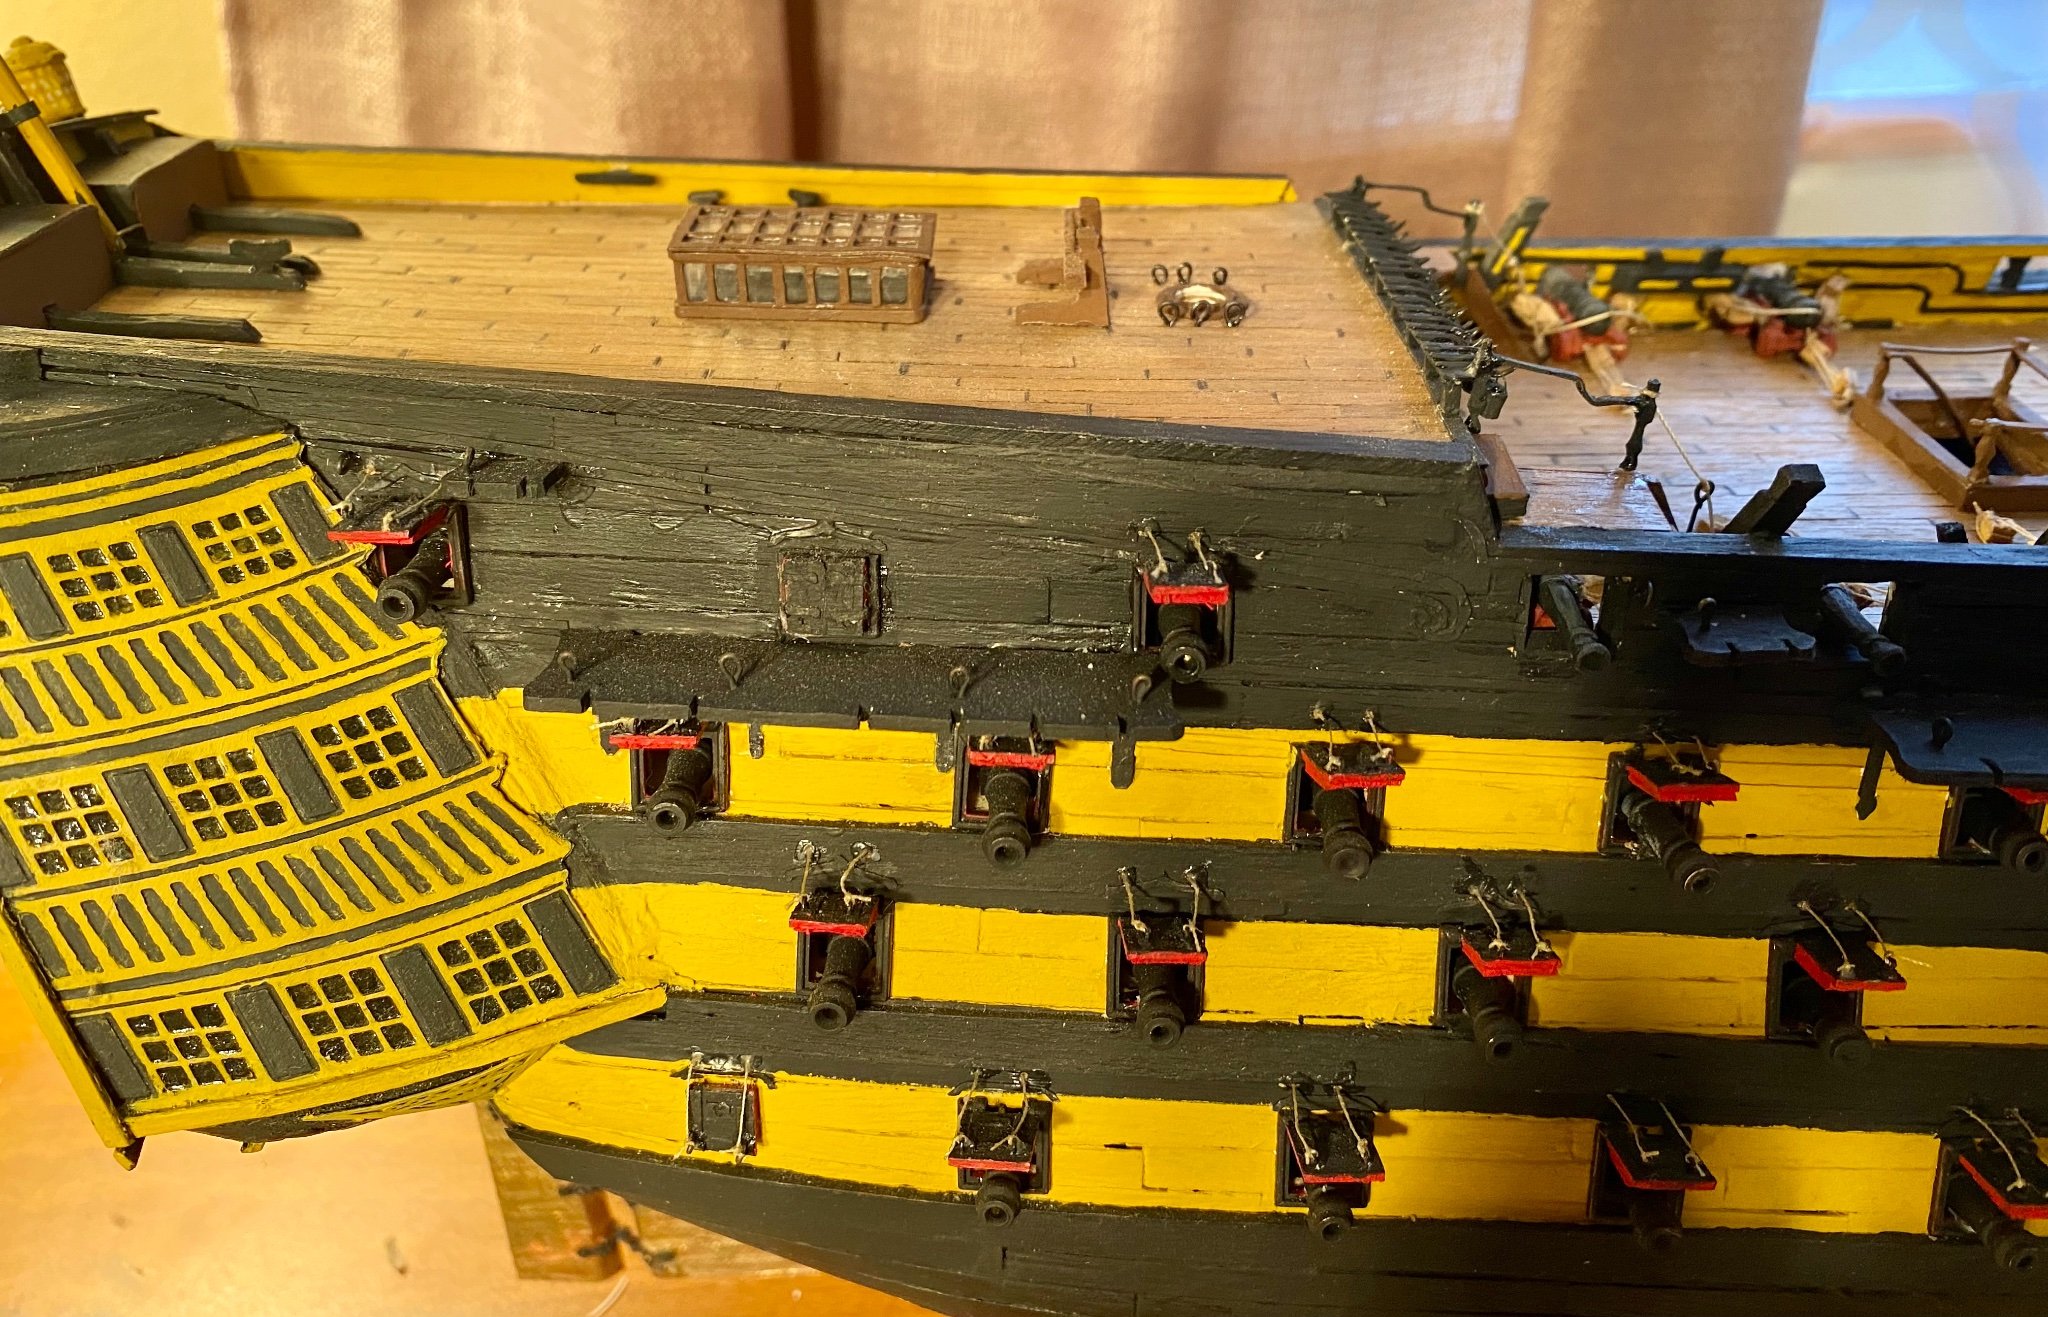
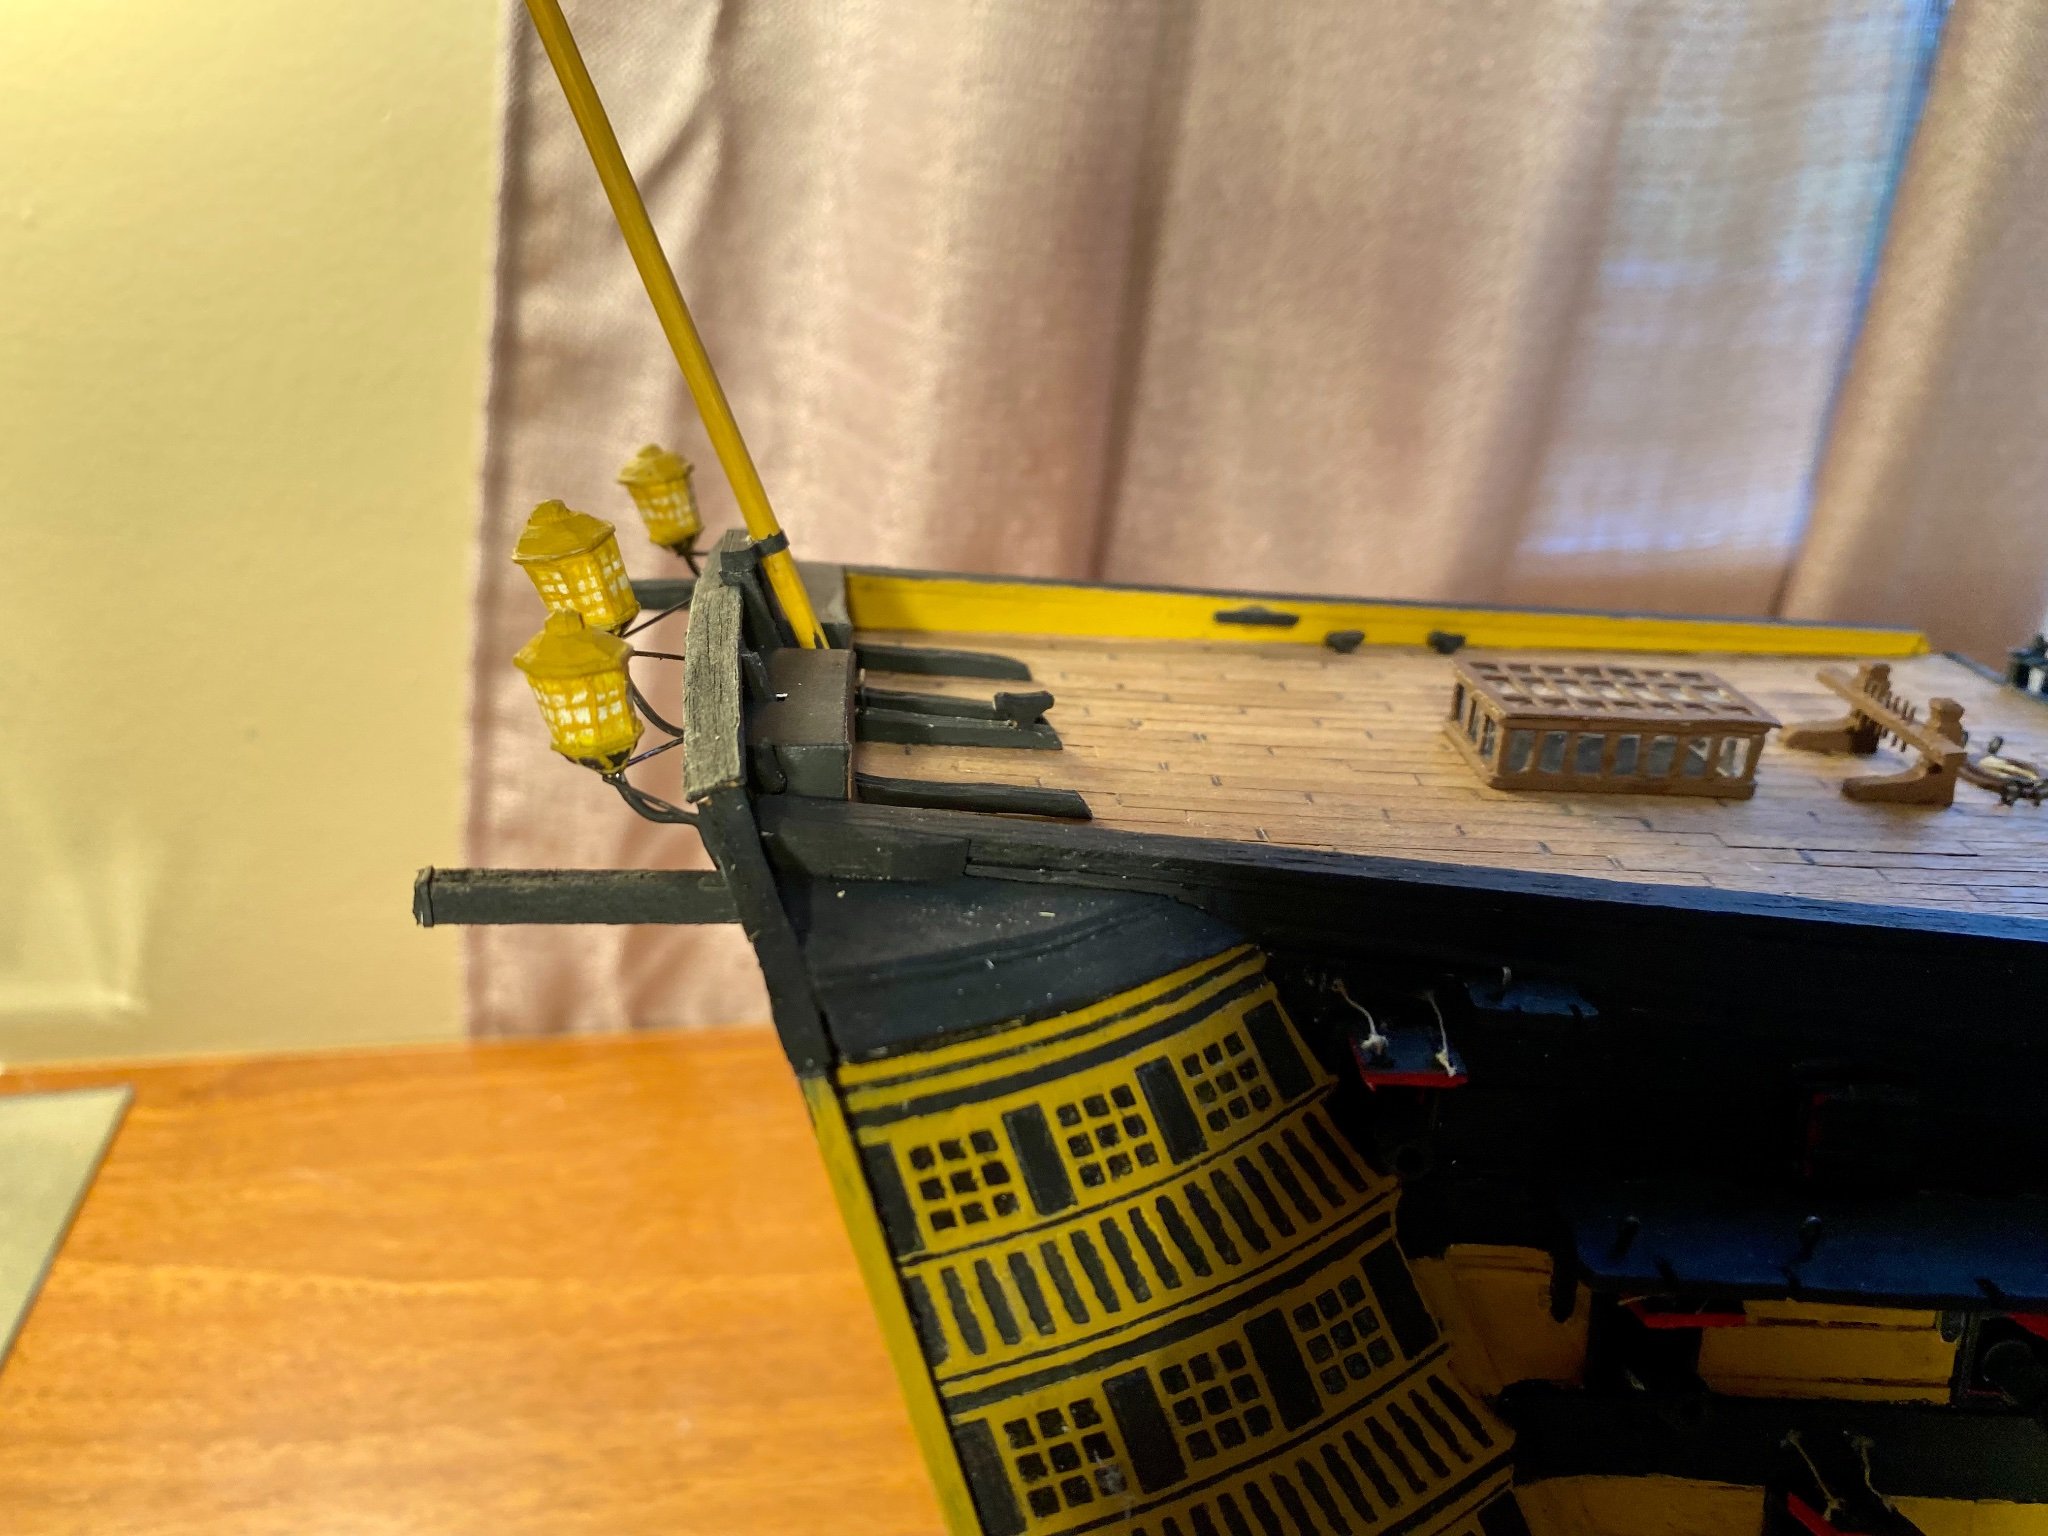
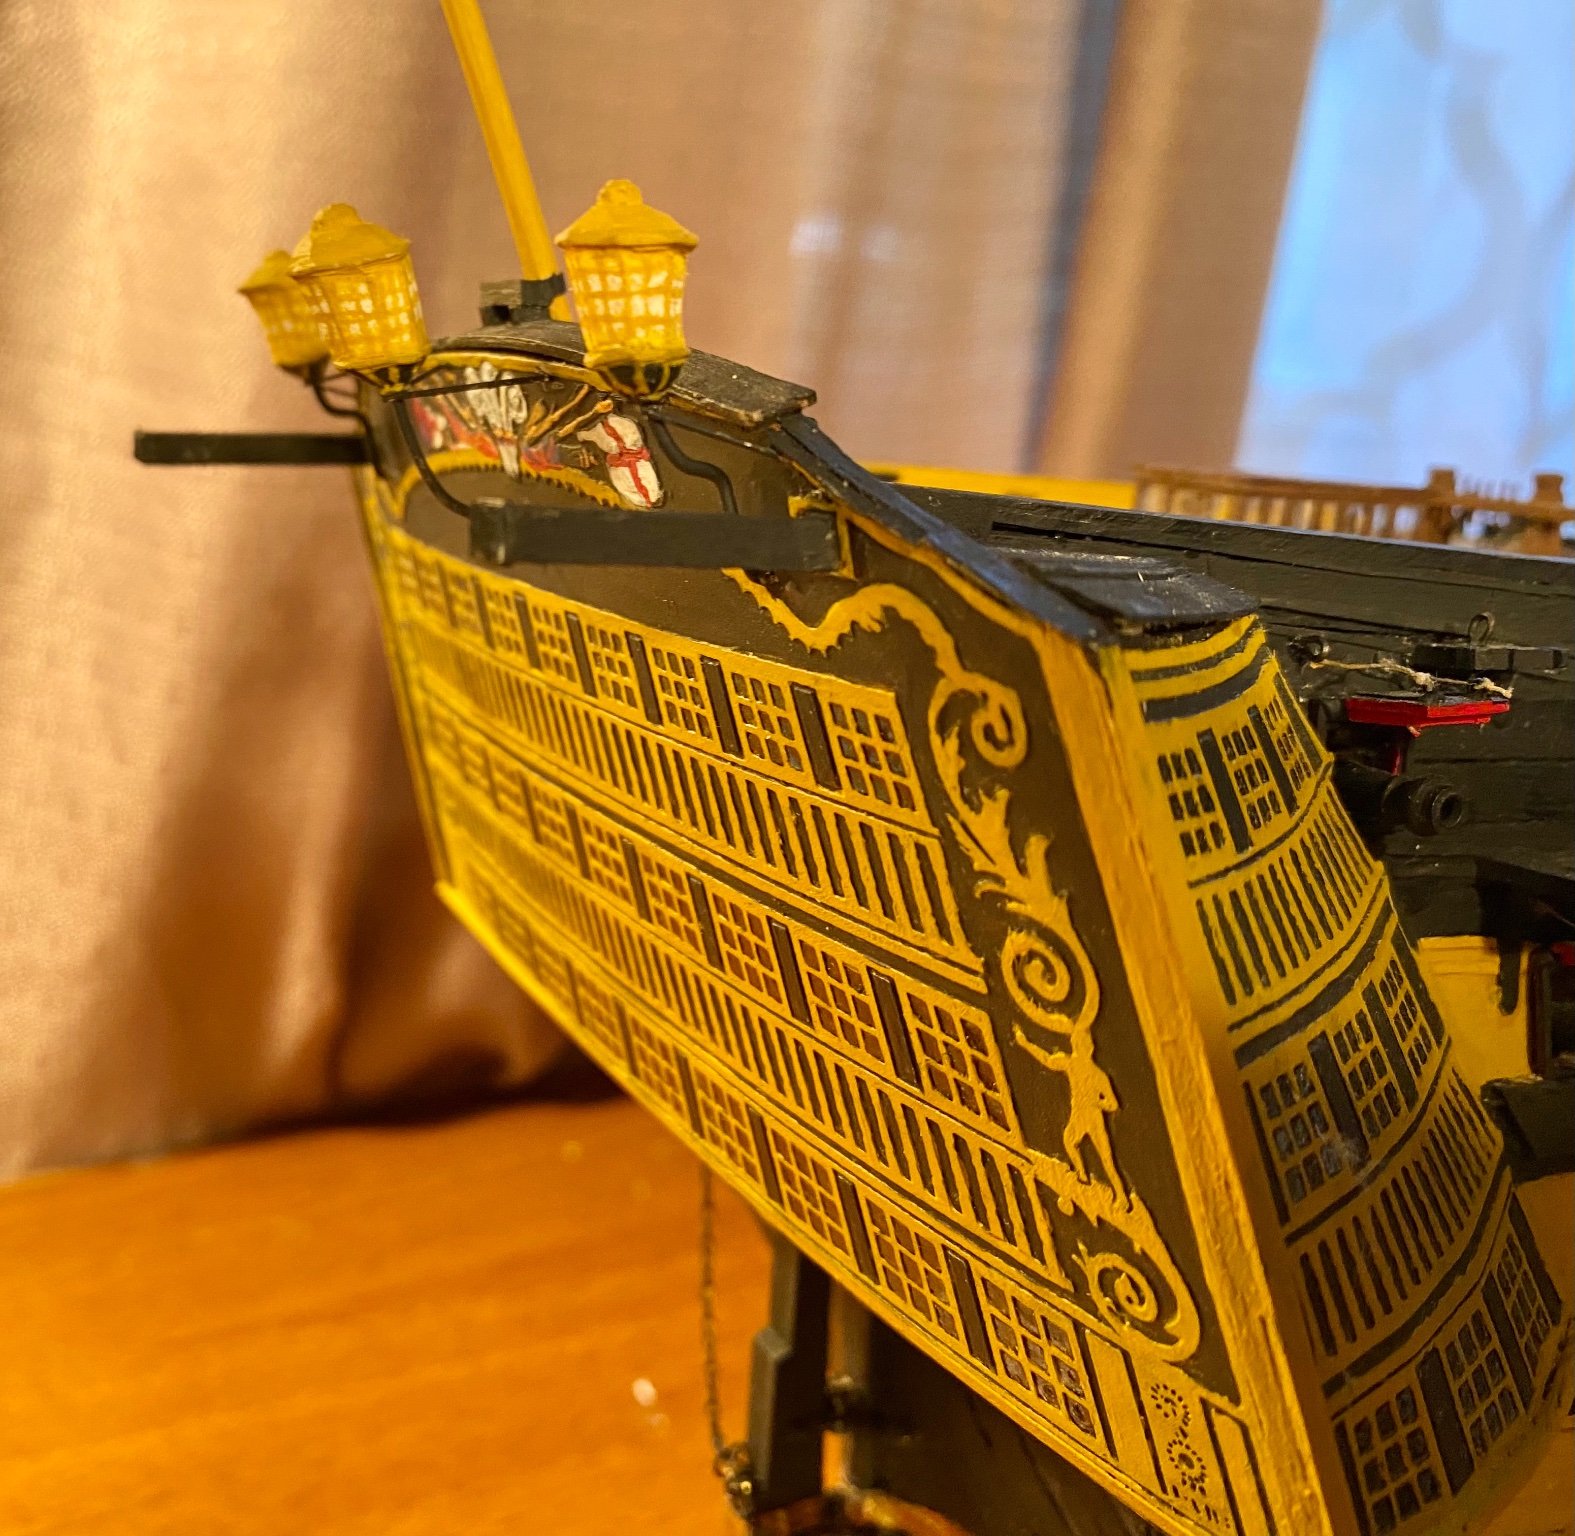
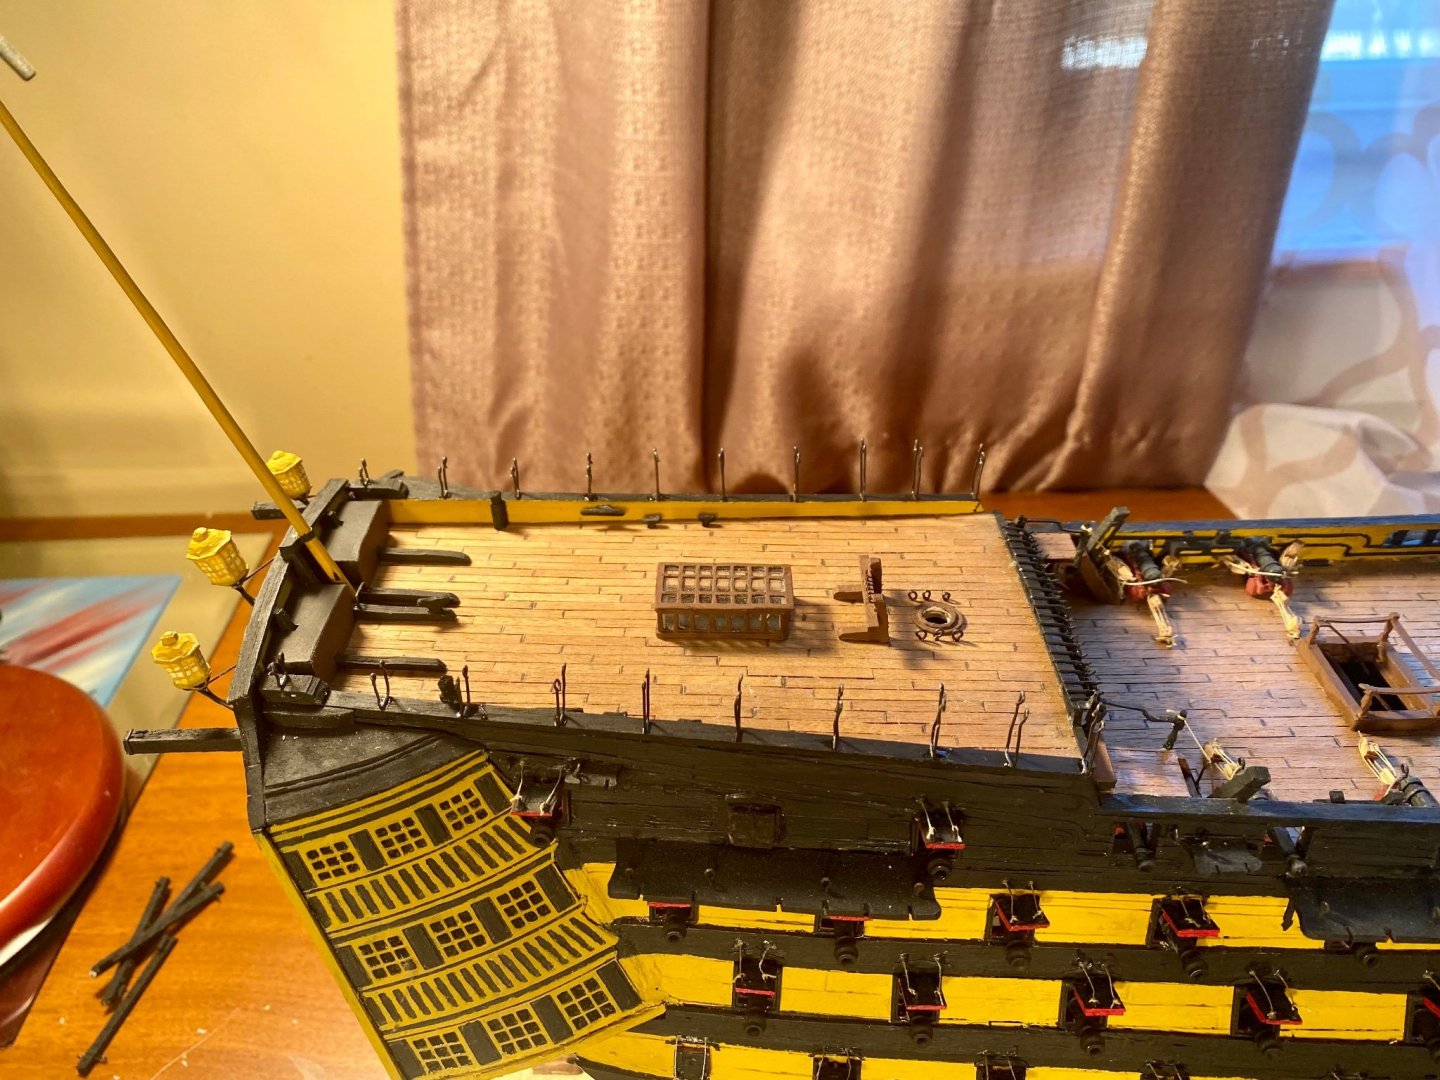
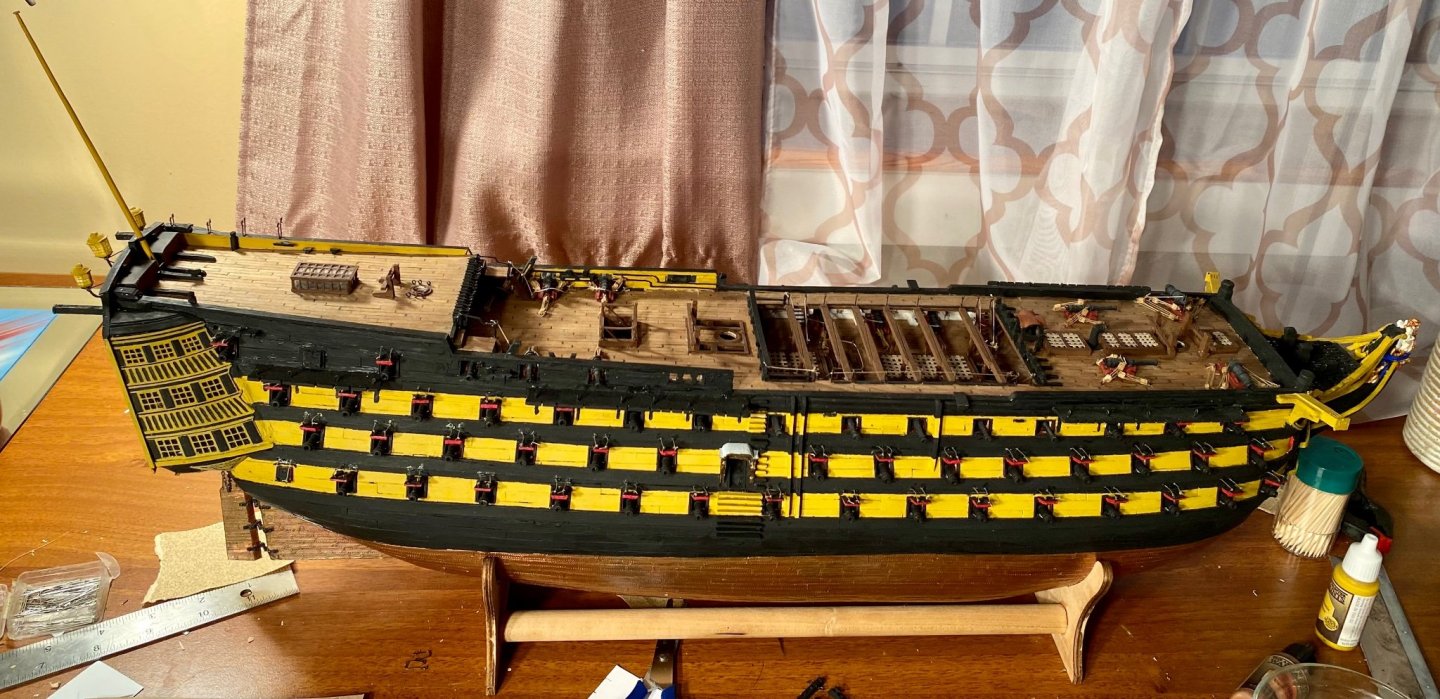
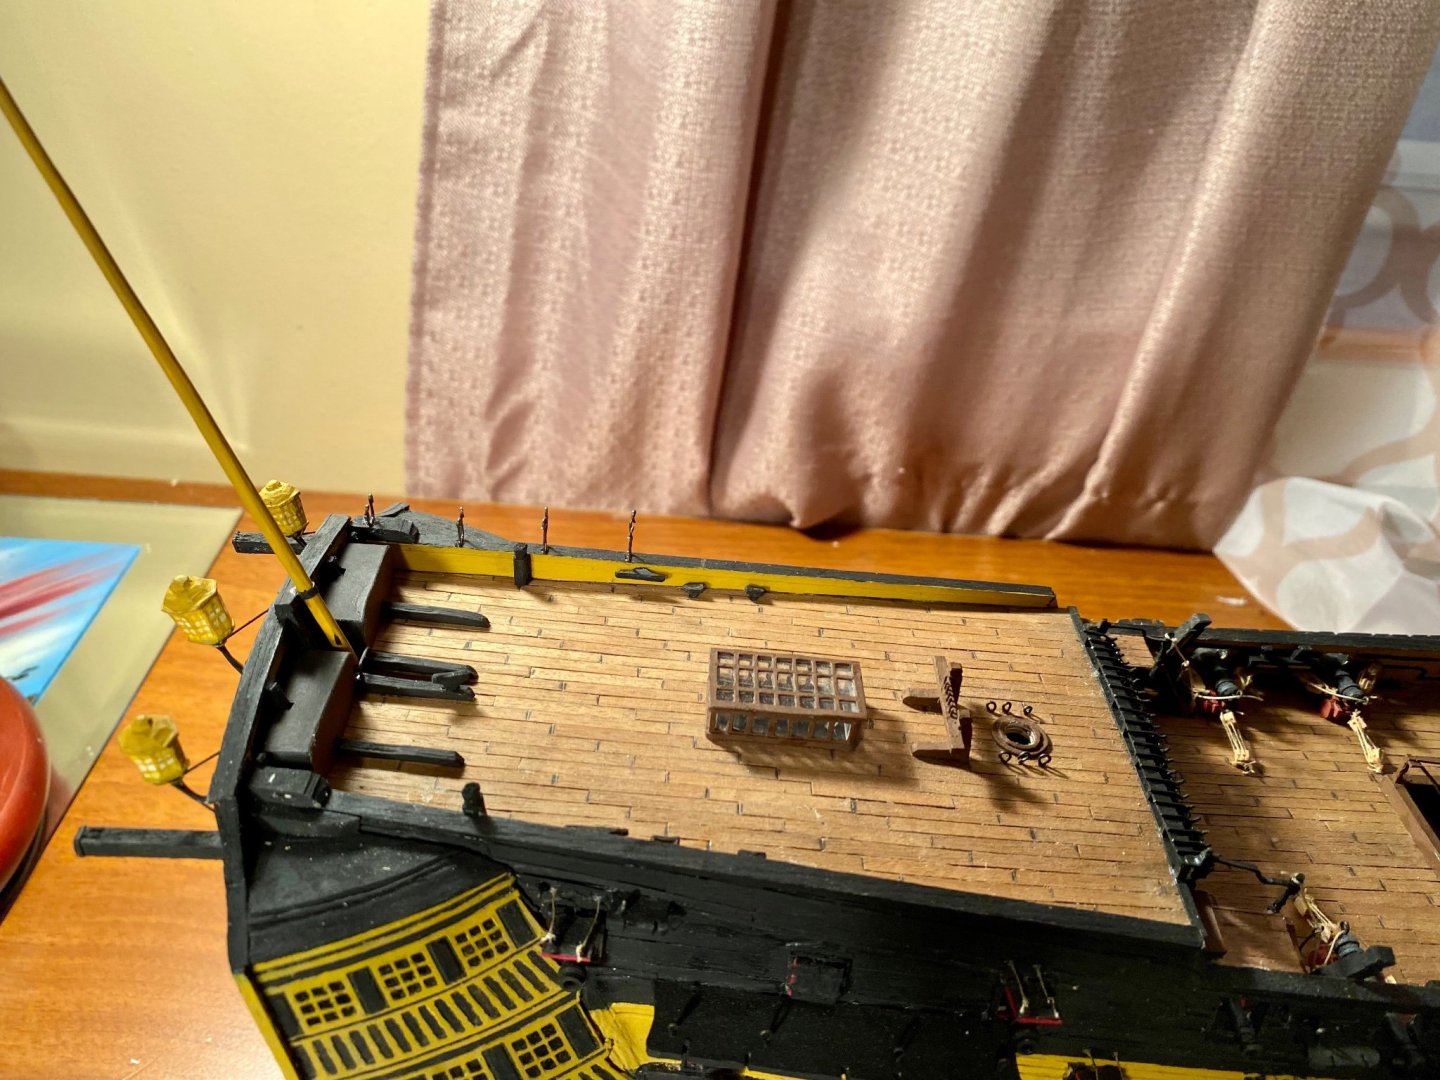
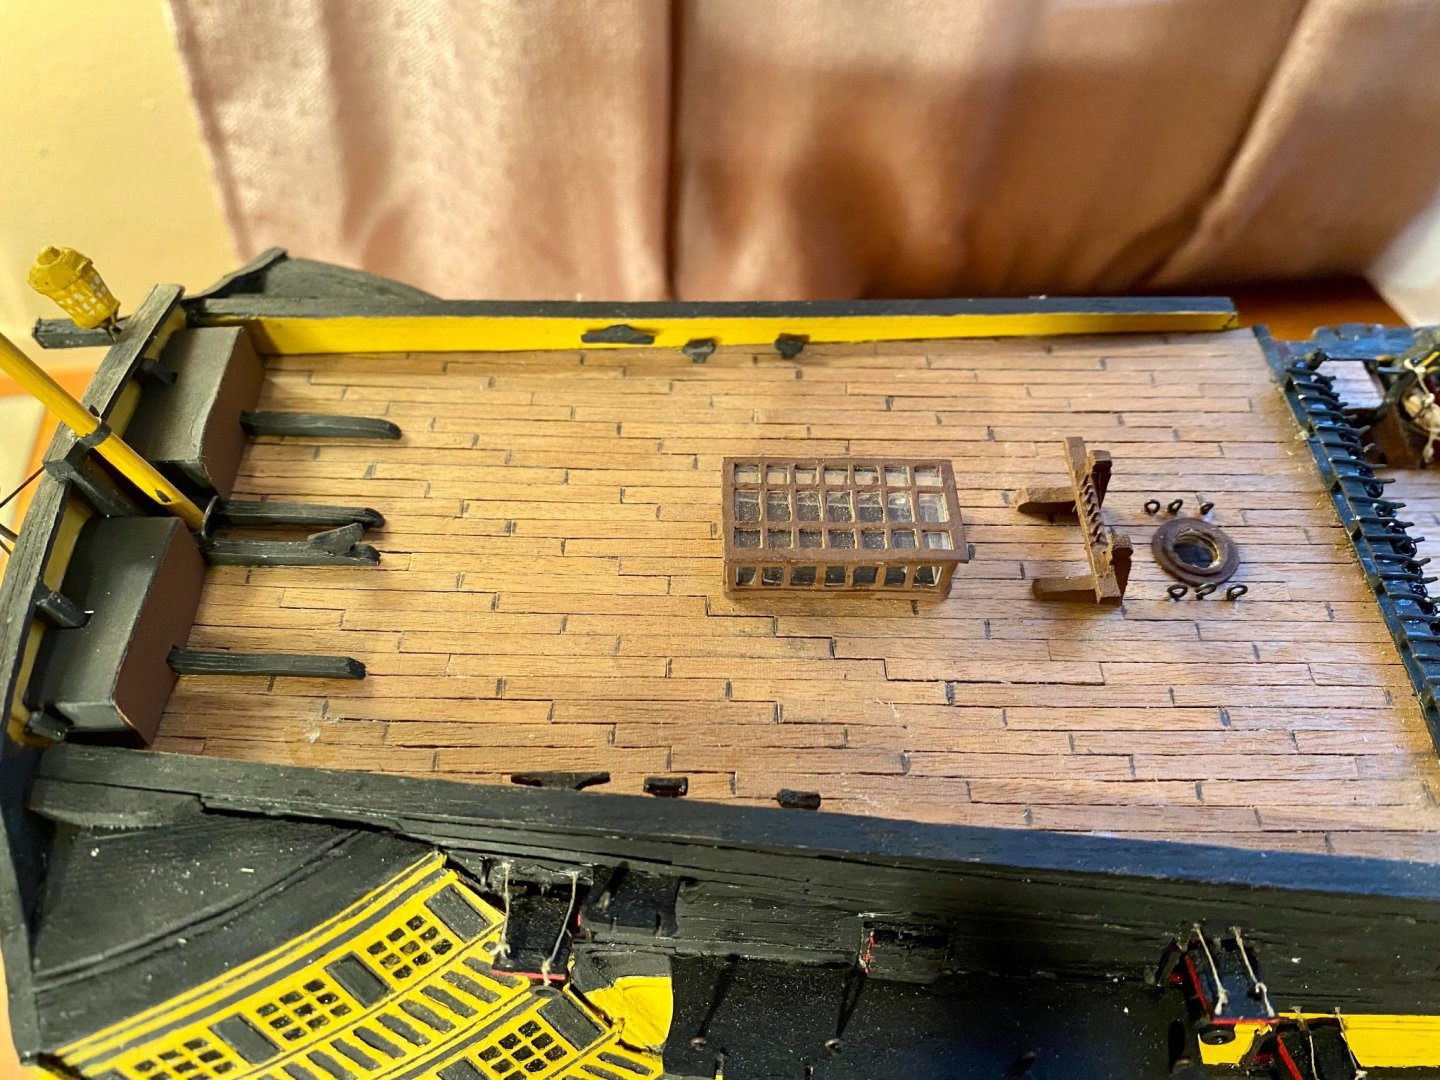
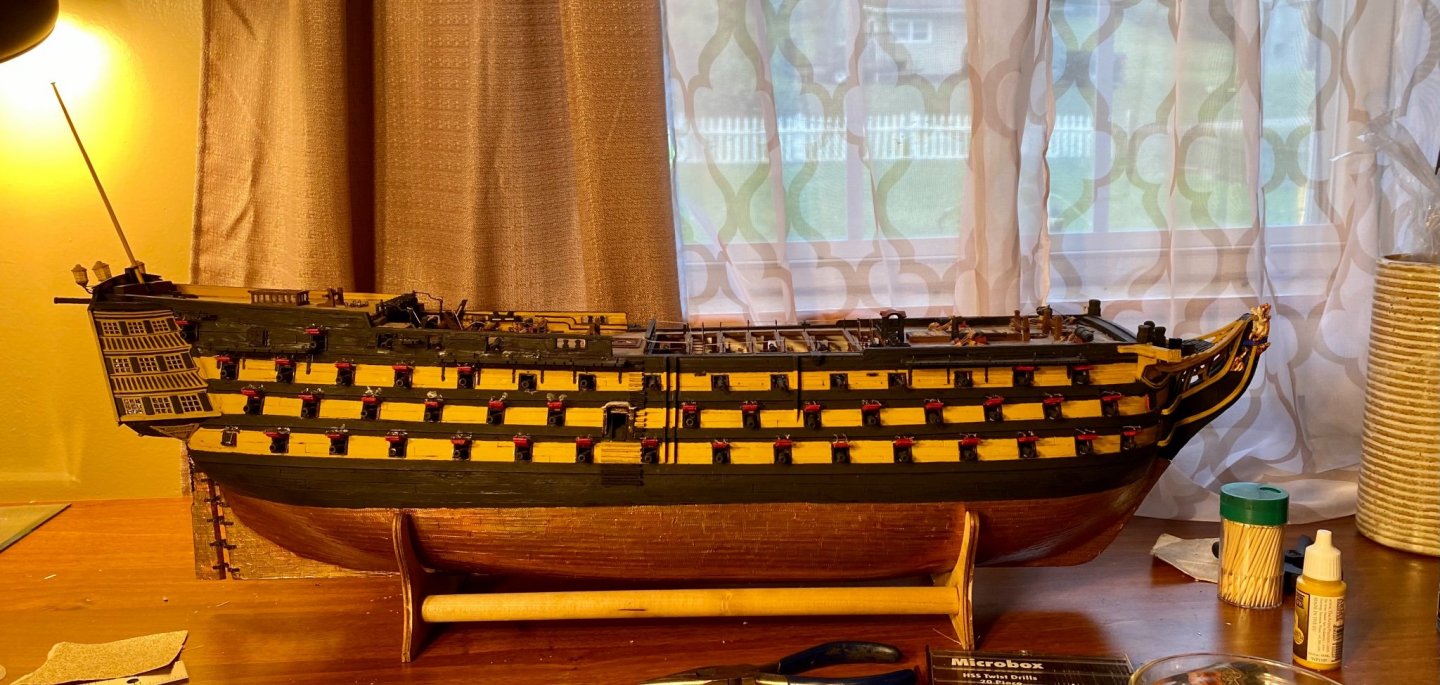
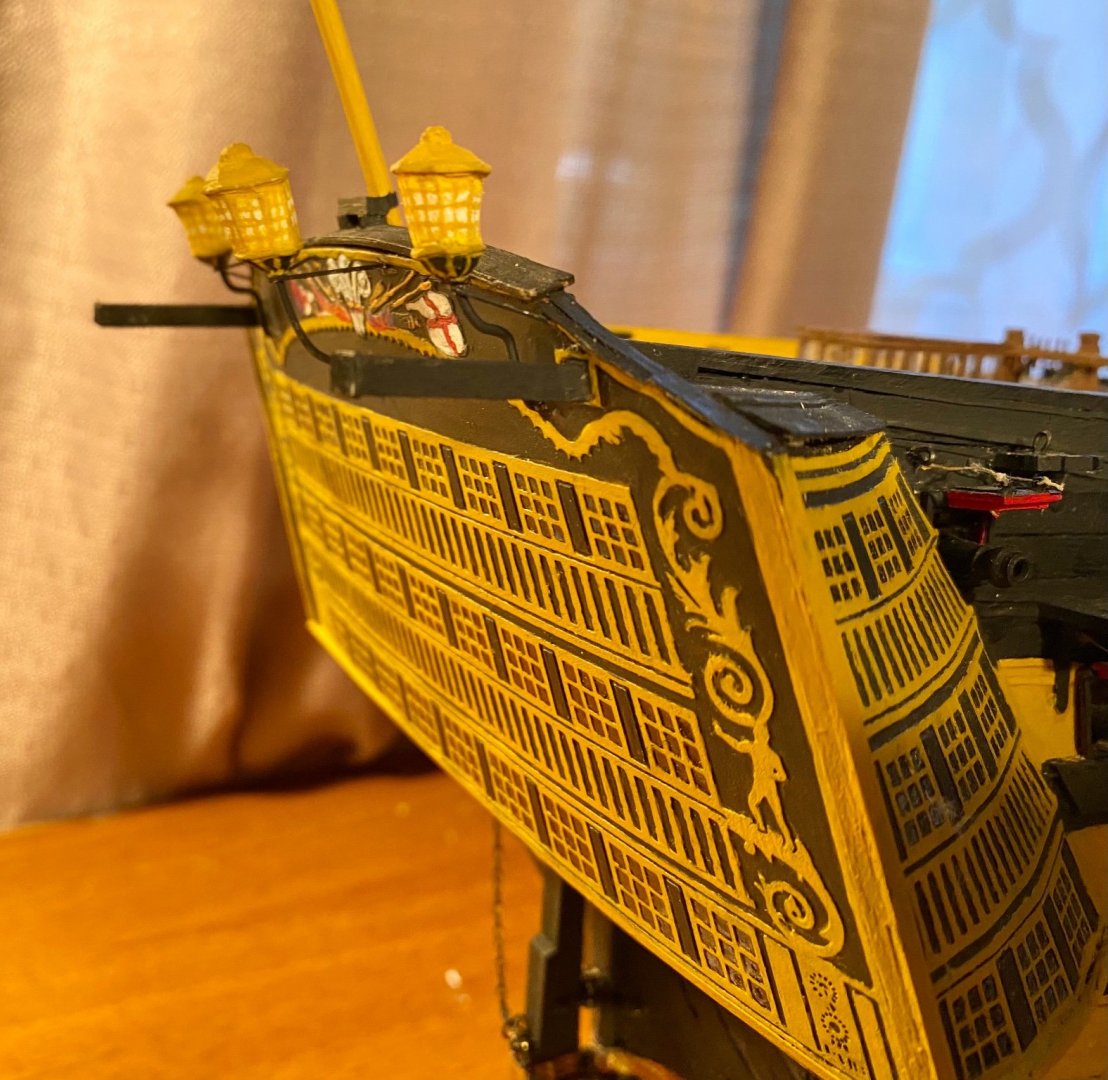
The poopdeck boat davits are painted: The stern lantern brackets are painted: I installed 6 more cleats and 20 eyebolts: Here’s a side-on shot of the Victory: The only fittings left on the poop are two snatch blocks on the tops of the bulwarks and two kevels on the insides of the bulwarks, before the hammock cranes, which I have been dreading making for the last two years. After I make/install those, I’ll install netting and then install the poopdeck boat davits.


-
Looking good!
-
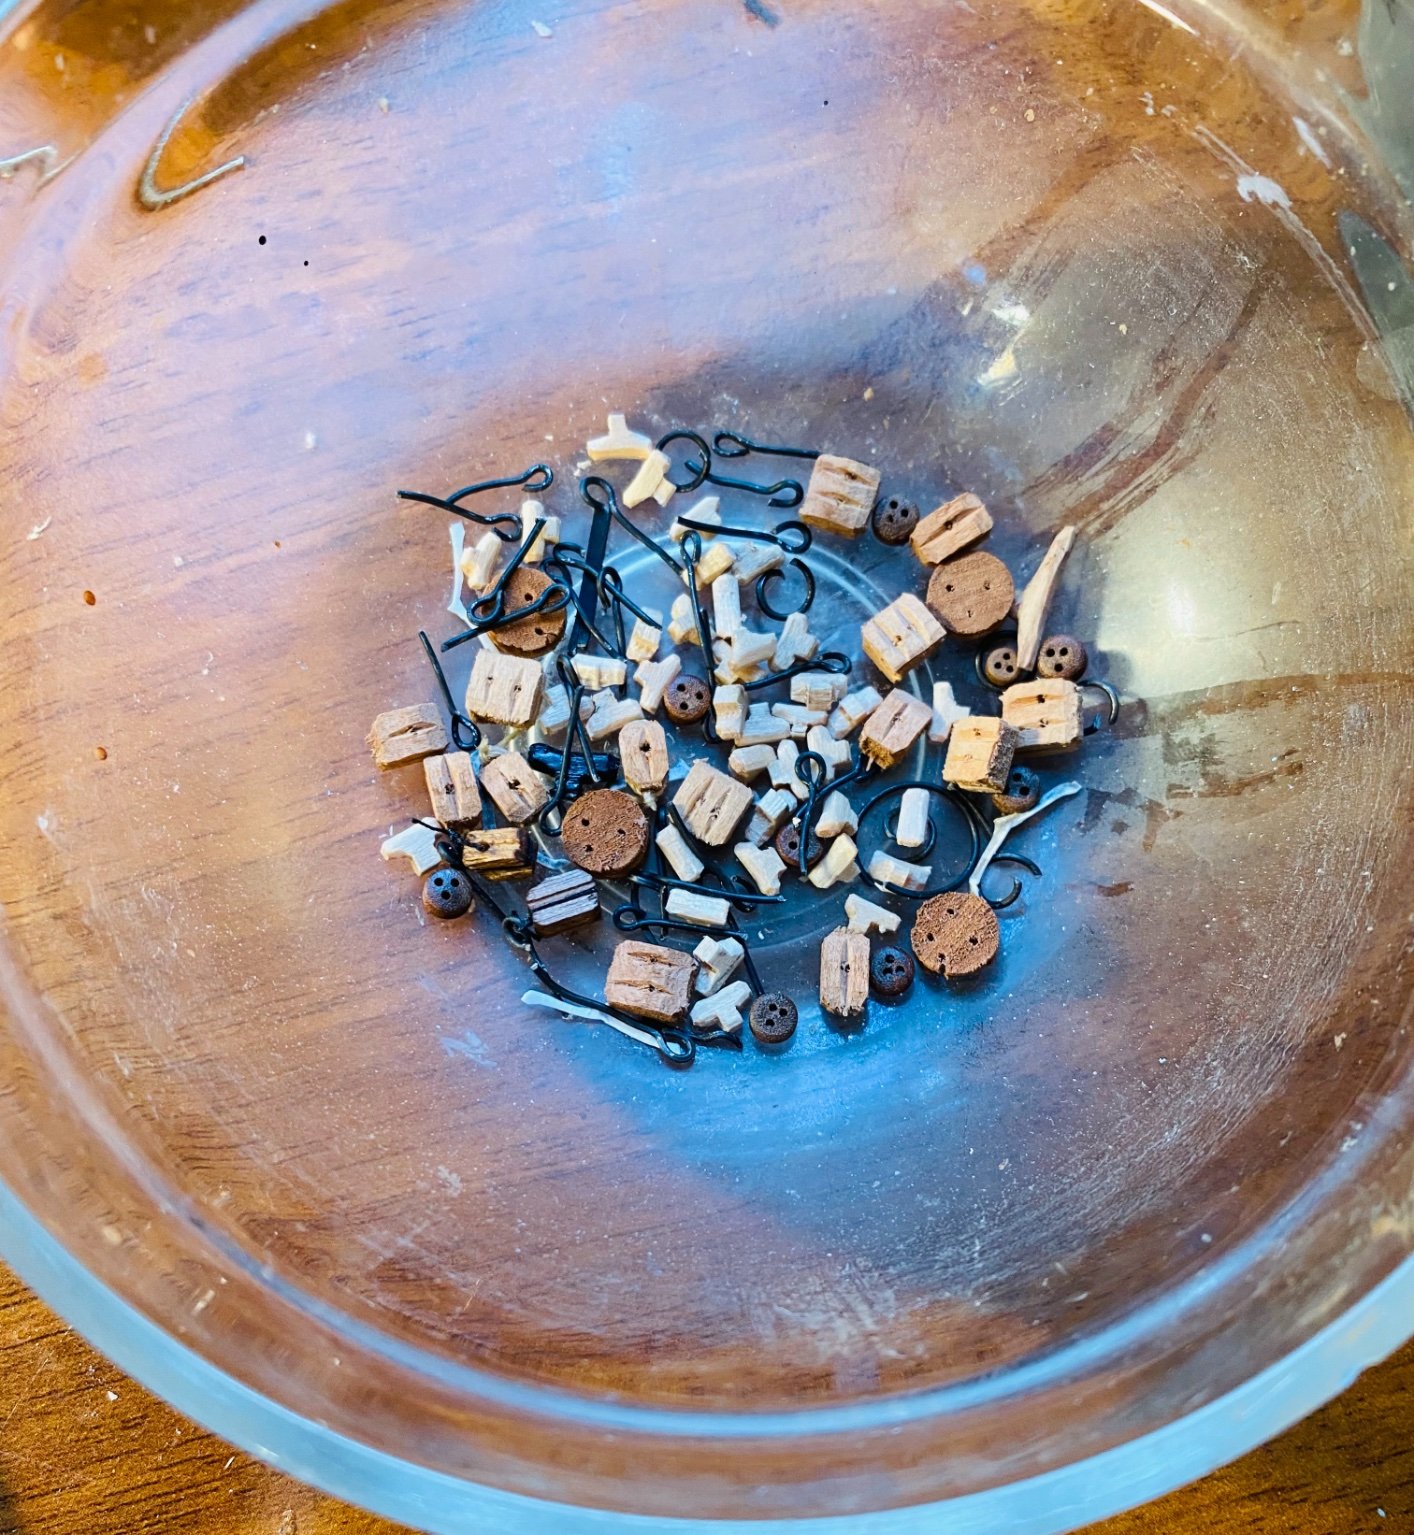
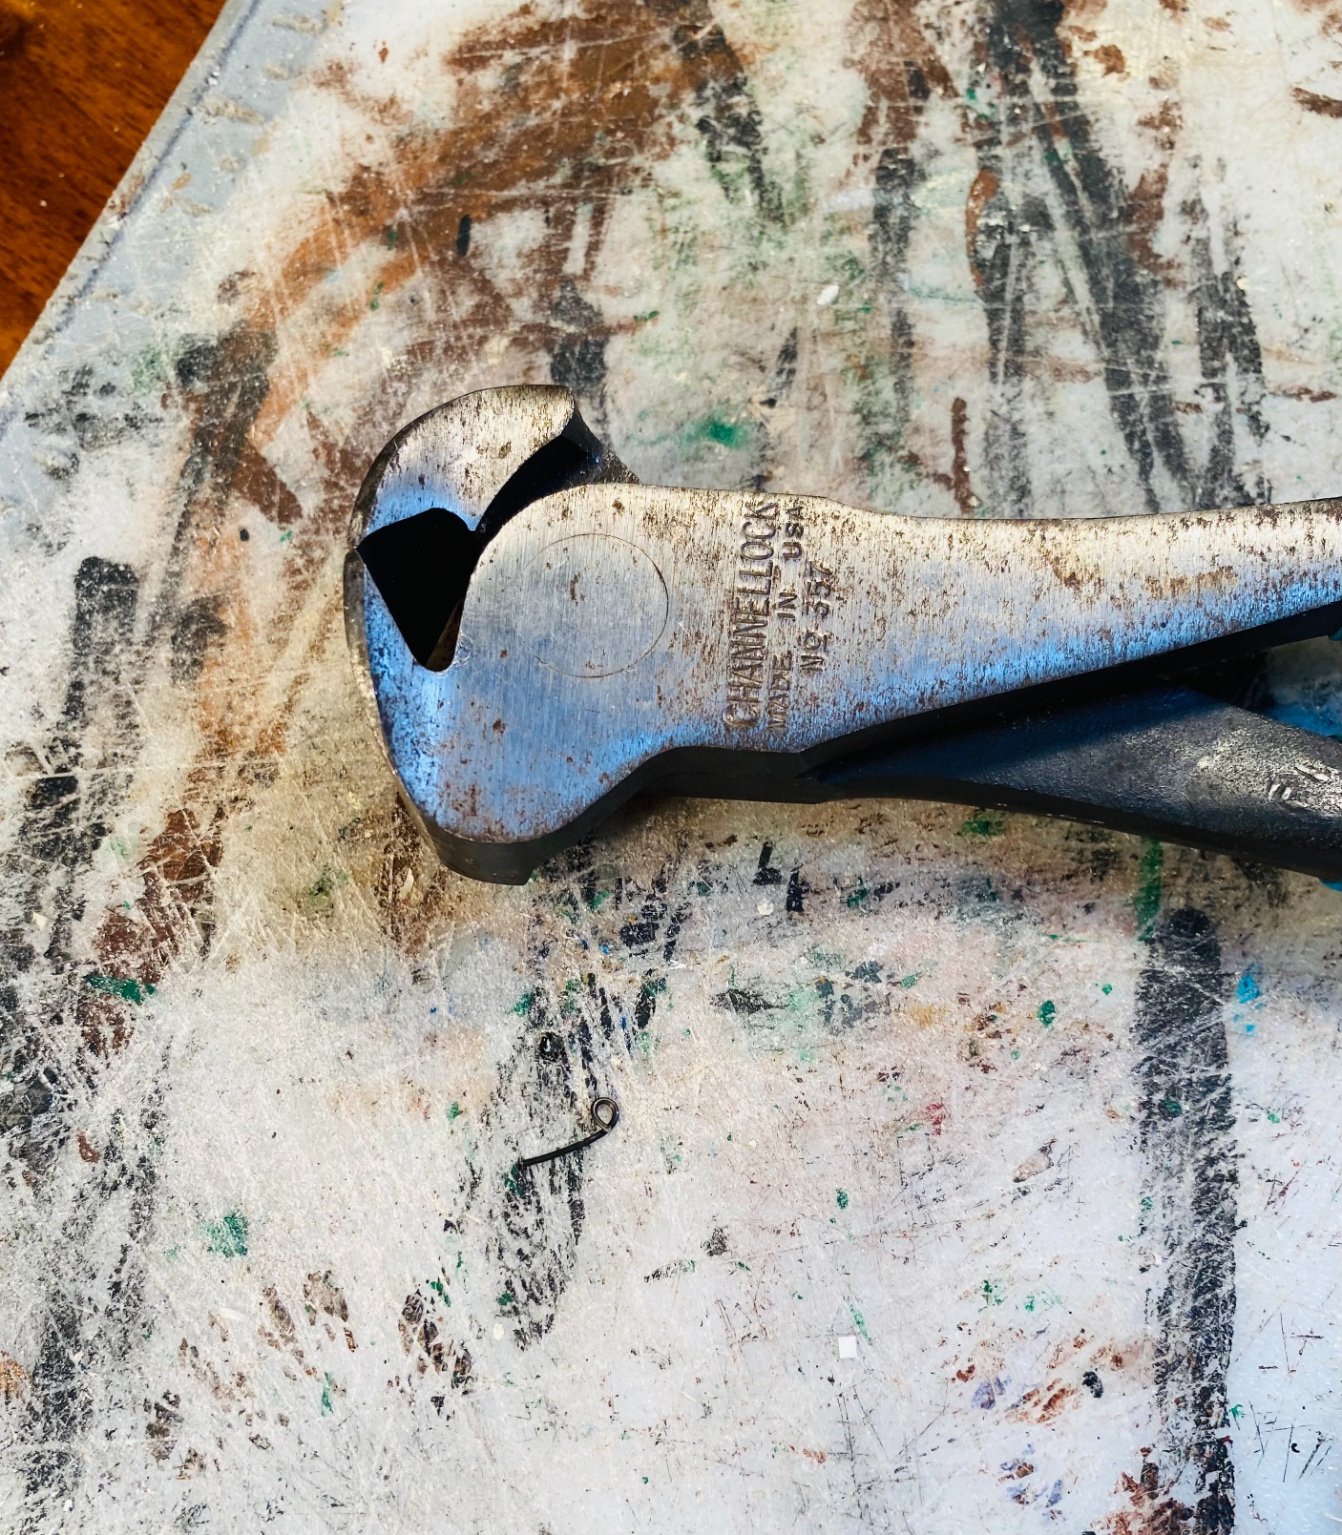
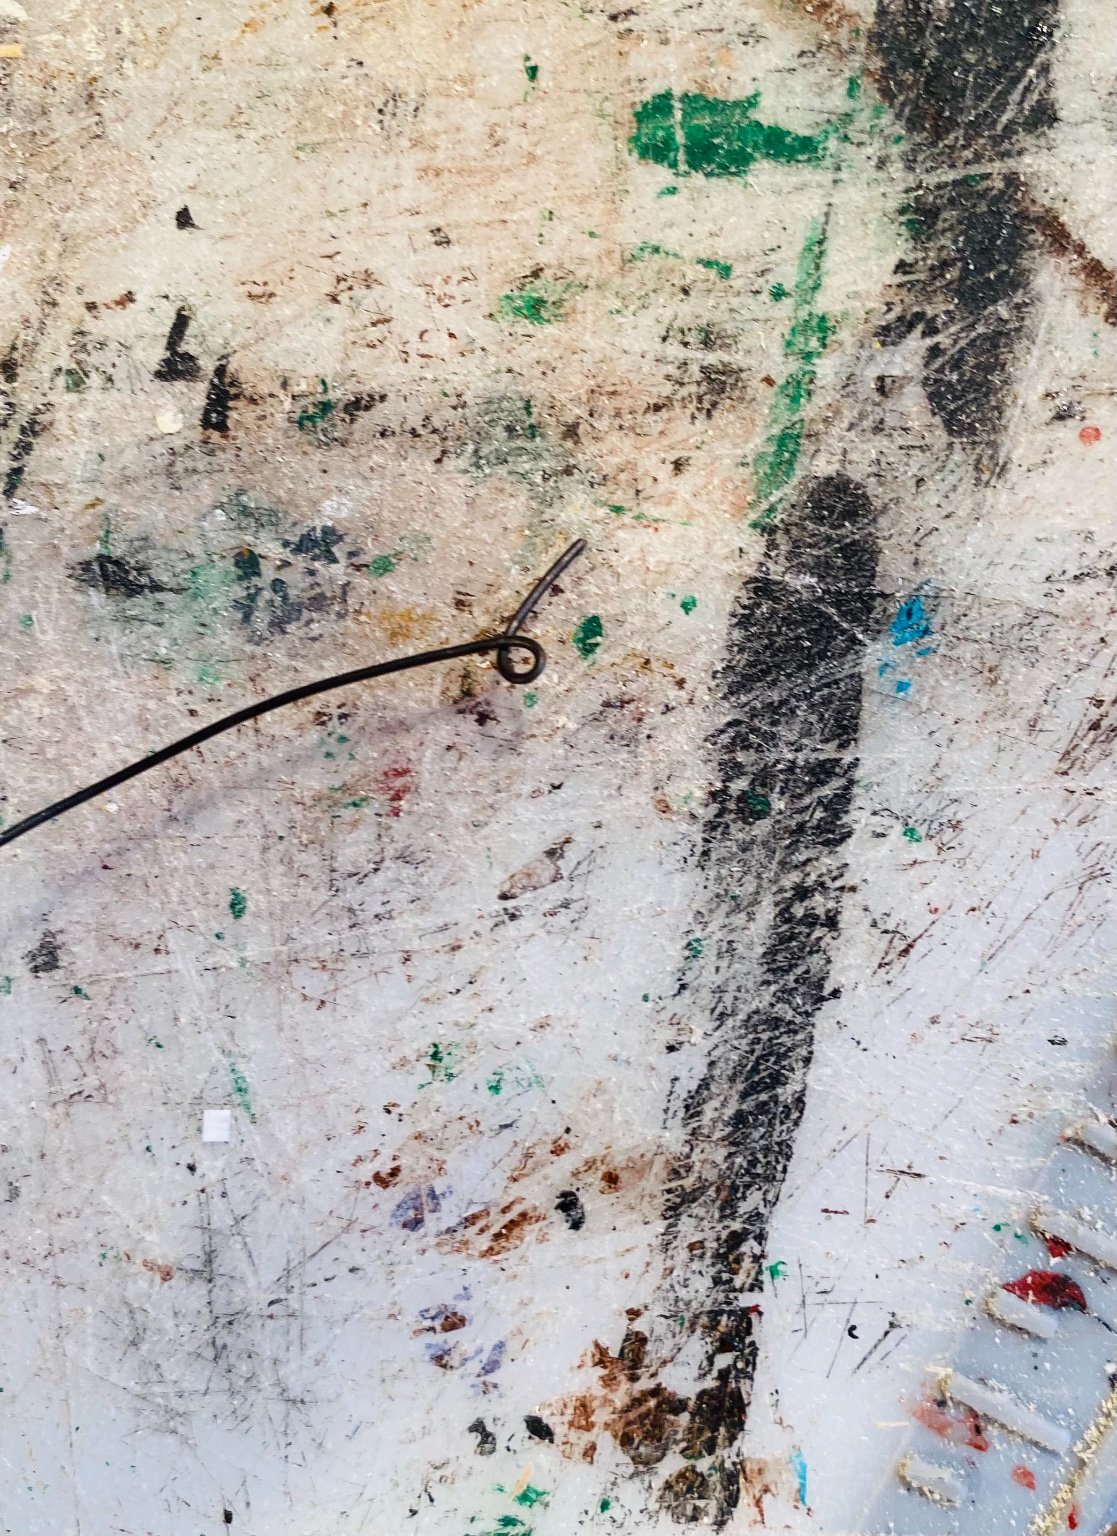
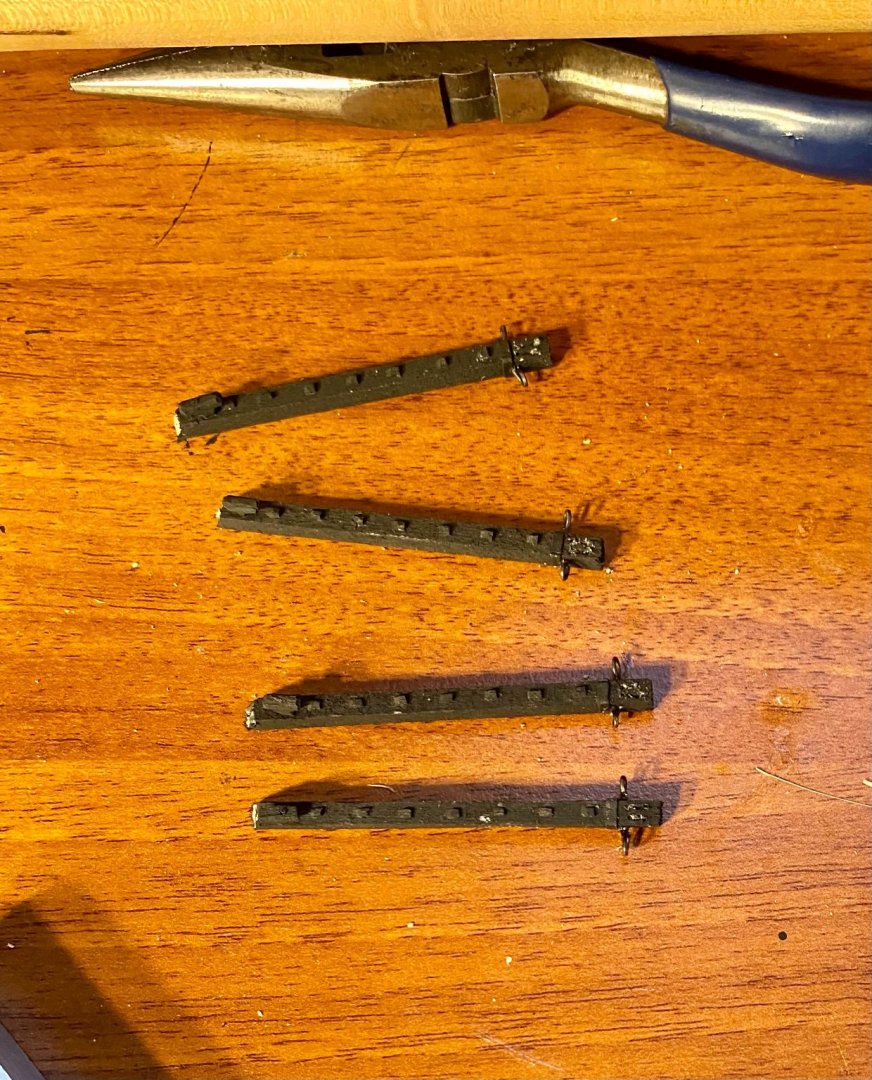
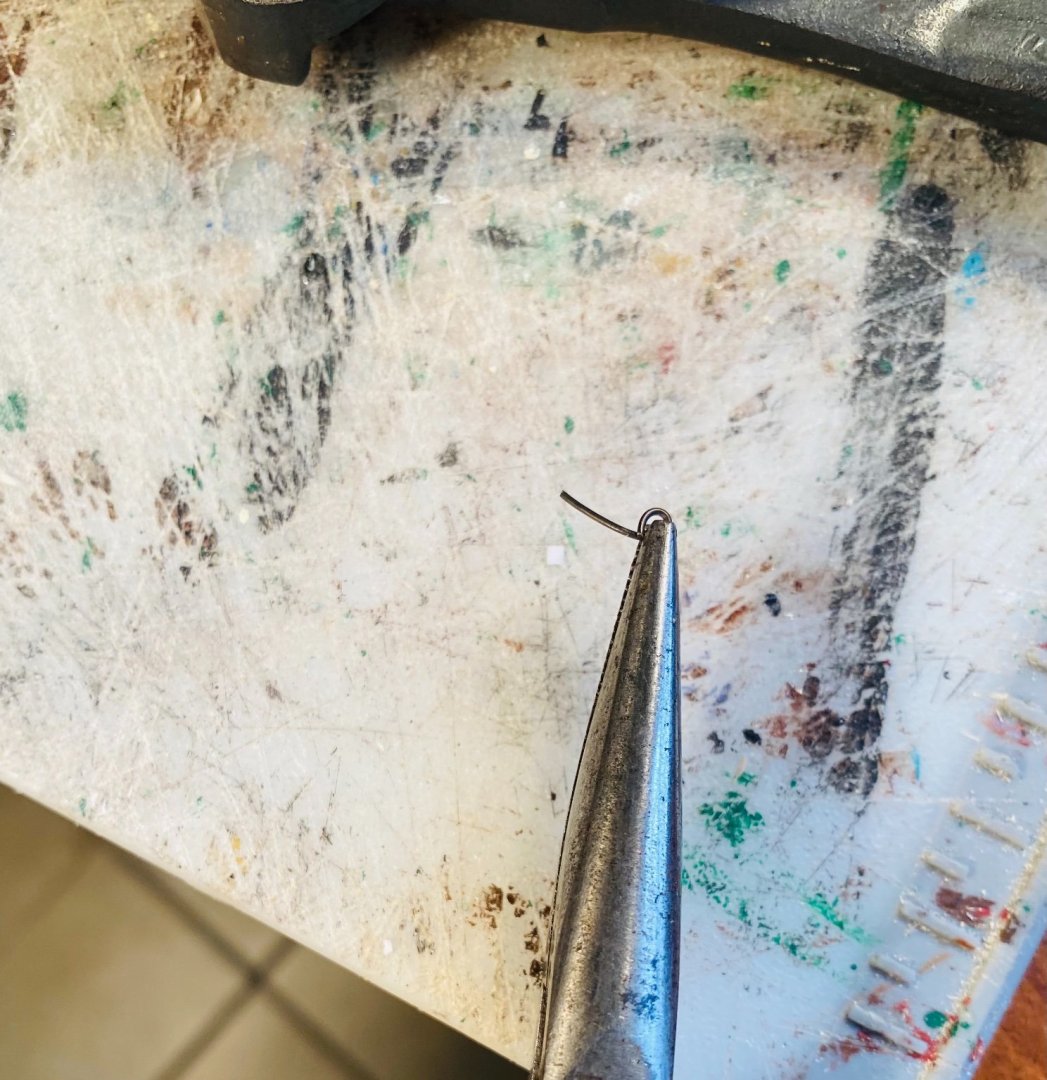
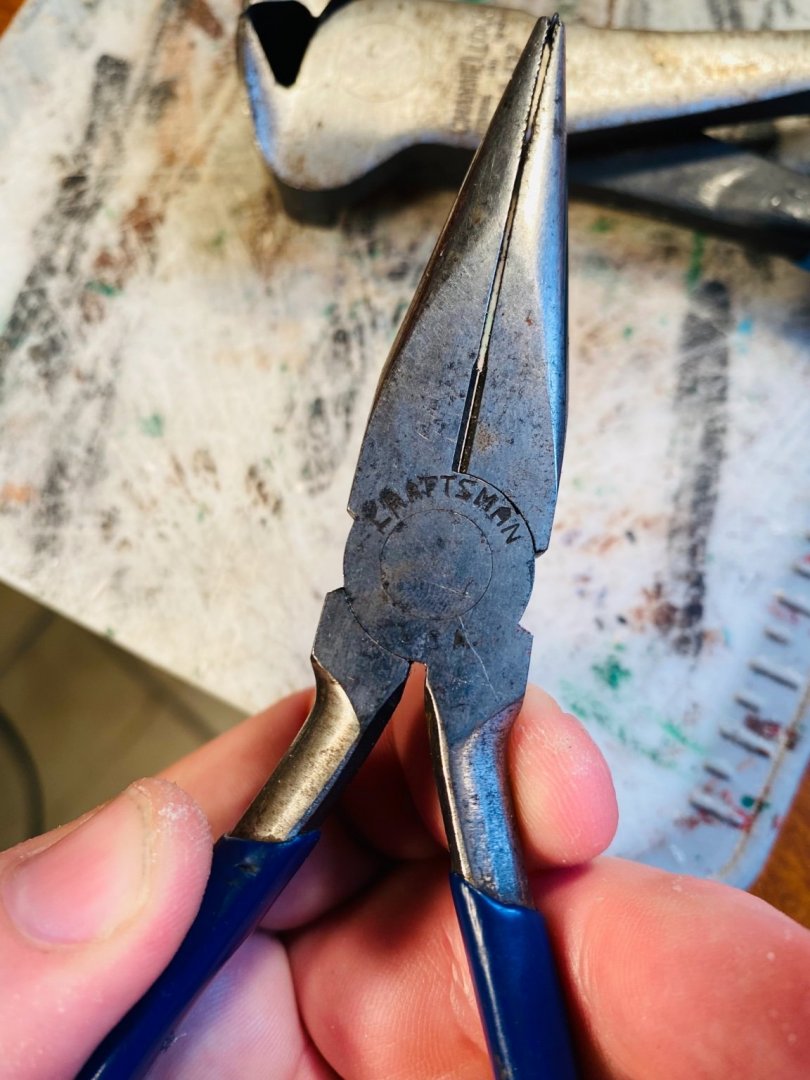
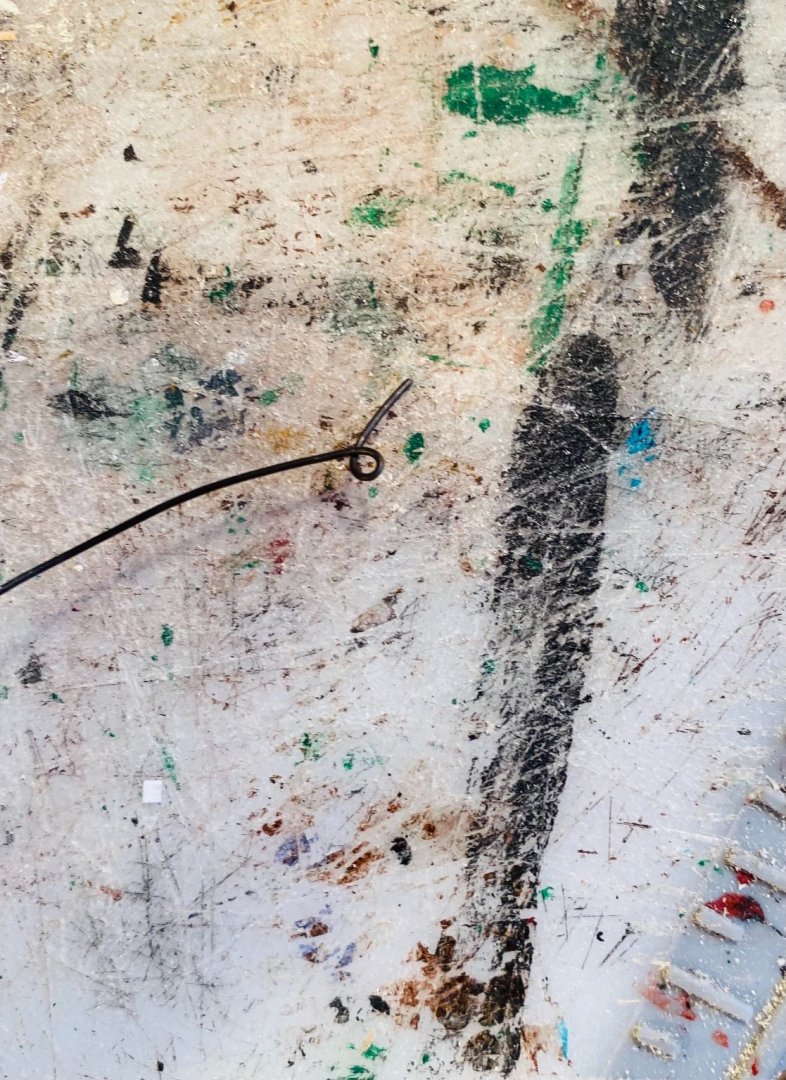
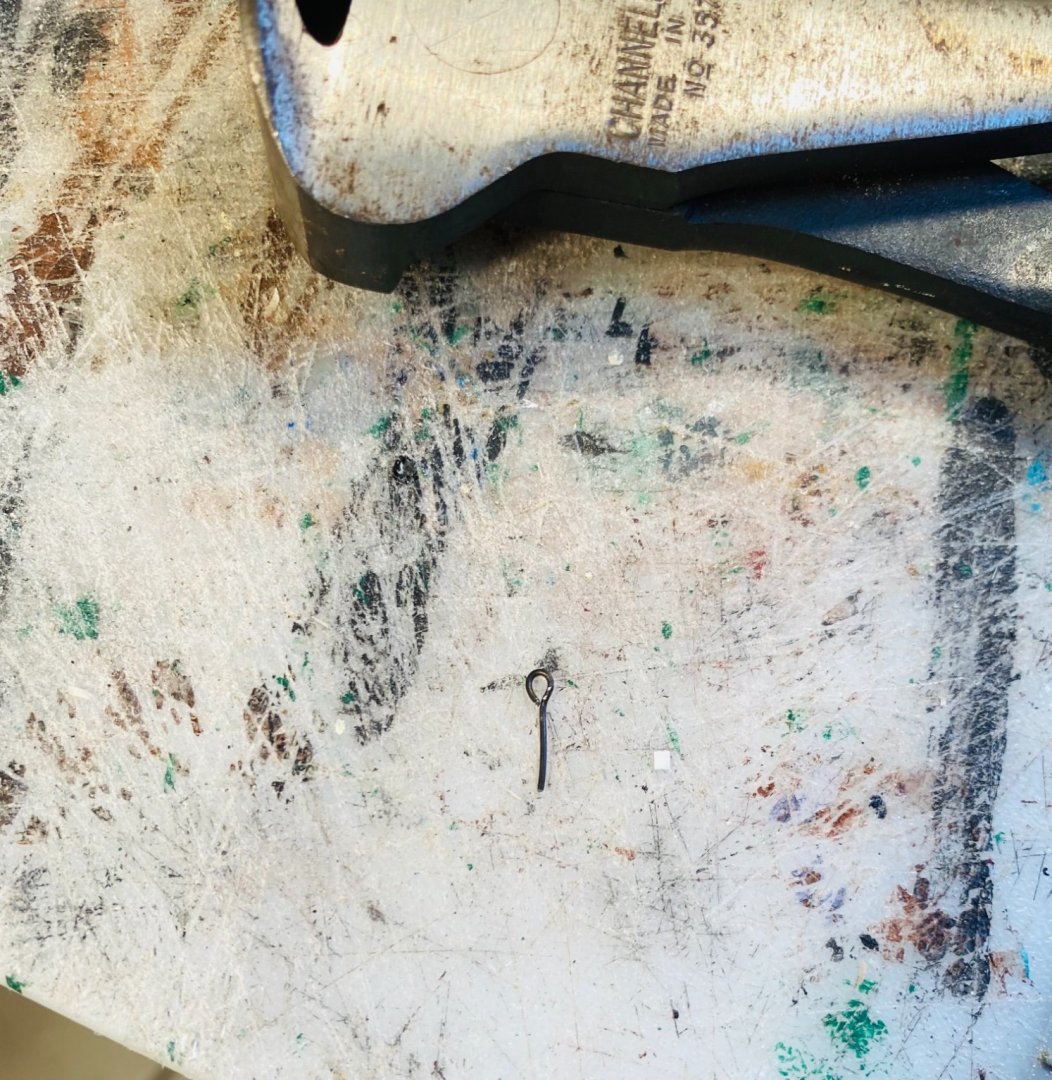
It has been a good day working on the Victory! I made many cleats and eyebolts, which I’ll use until I run out again. I mostly finished the quarterdeck boat davits. For those who would like to make their own eyebolts, here is how I make mine: I take blackened annealed steel wire from the hardware store. I make a small loop. I cut it off with a pair of cutters. Then I finish making the eyebolt. I use an old pair of needlenose pliers. They are relatively quick and easy to make and you can make a bunch of them at one time.


-
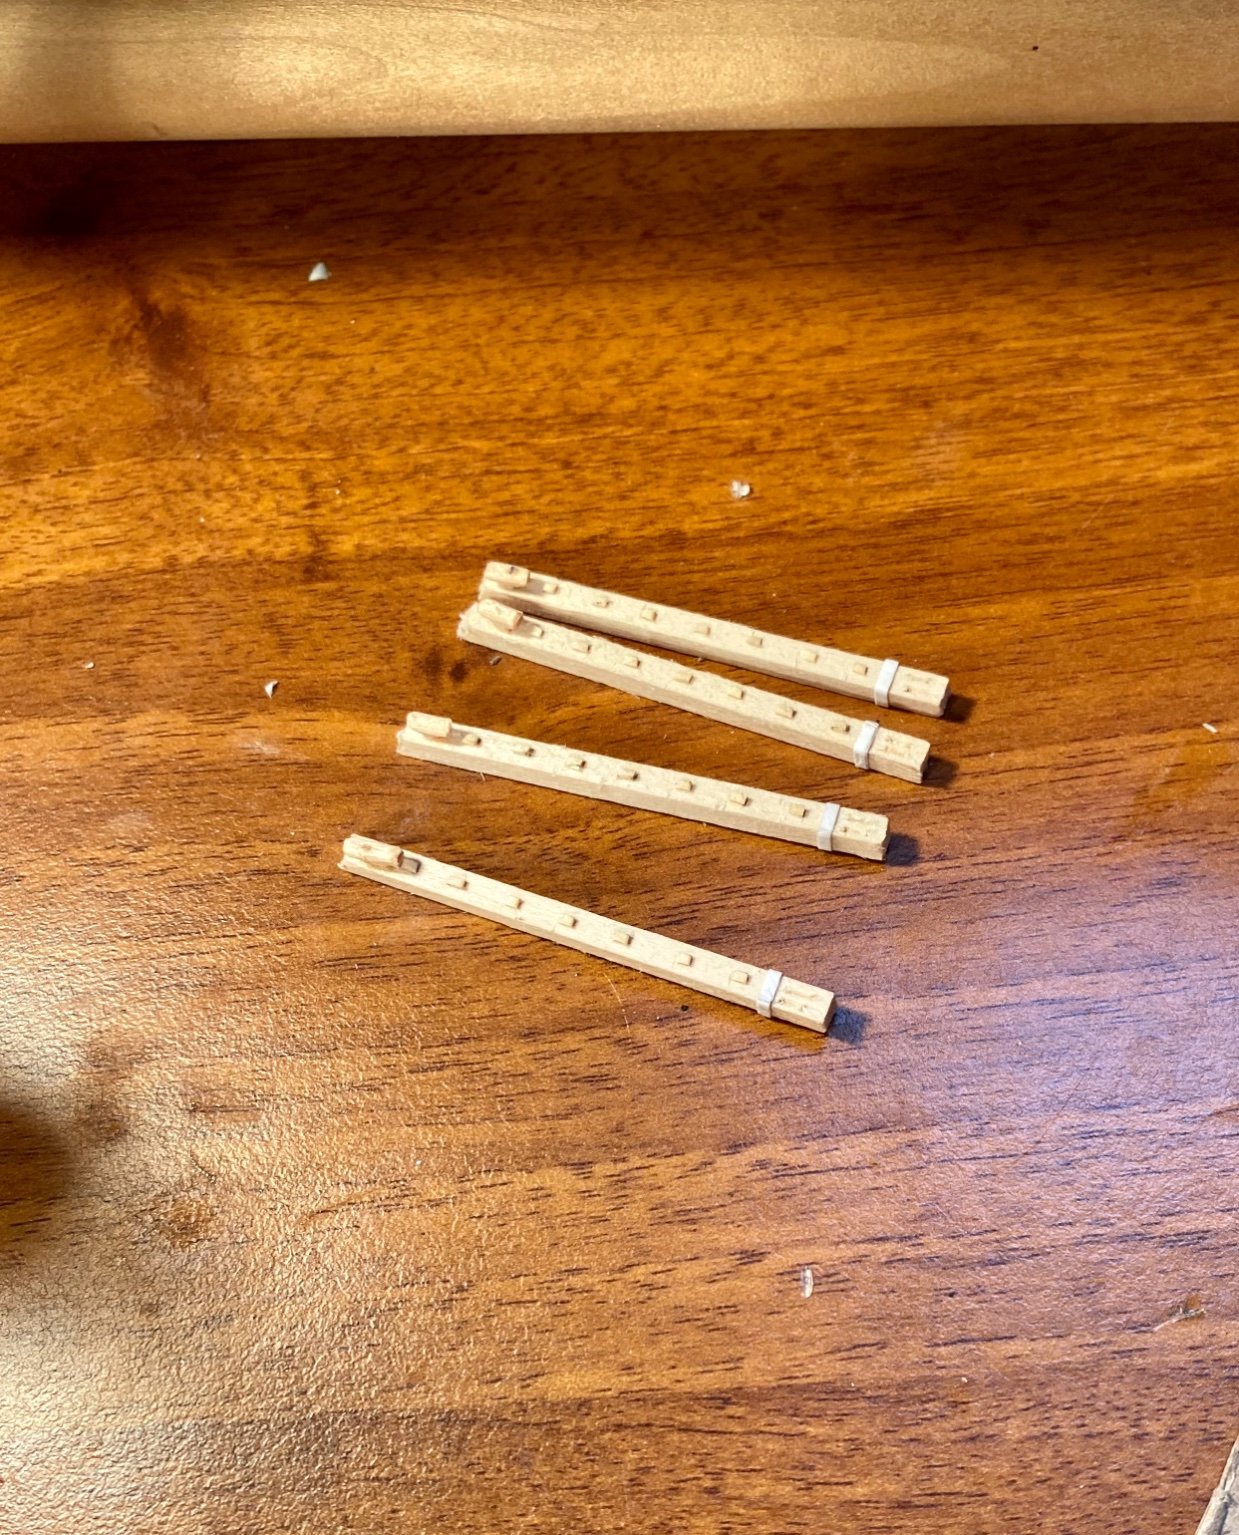
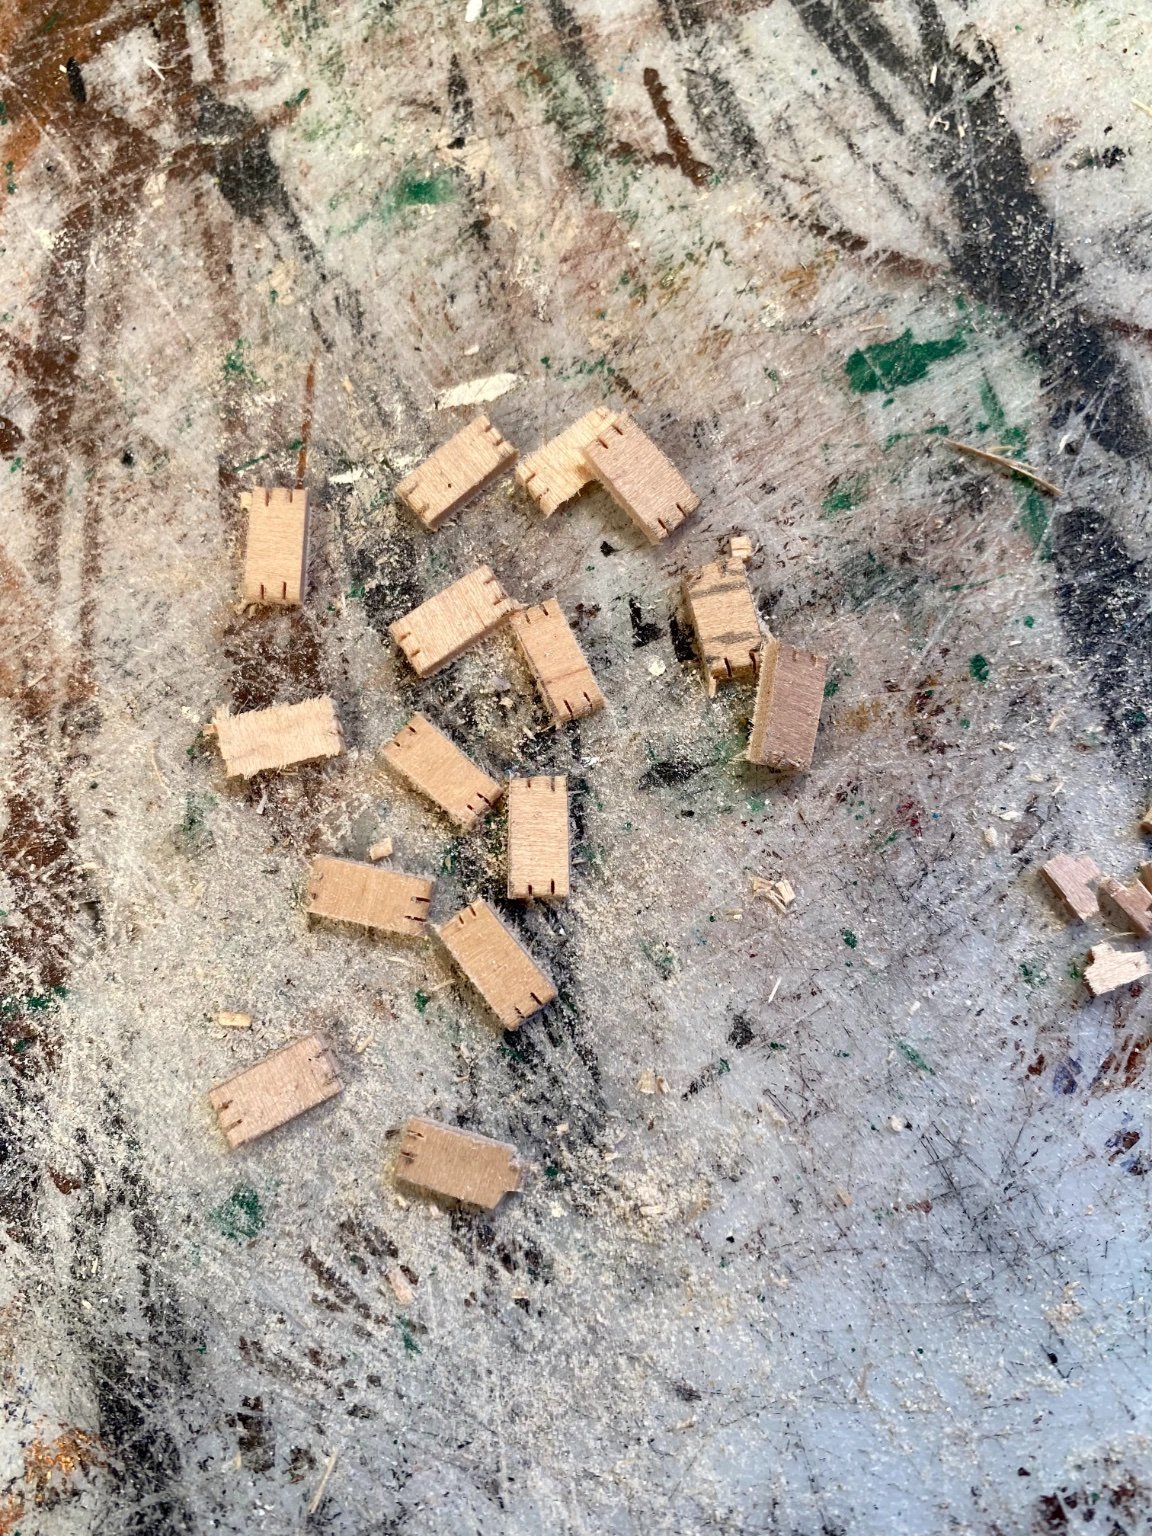
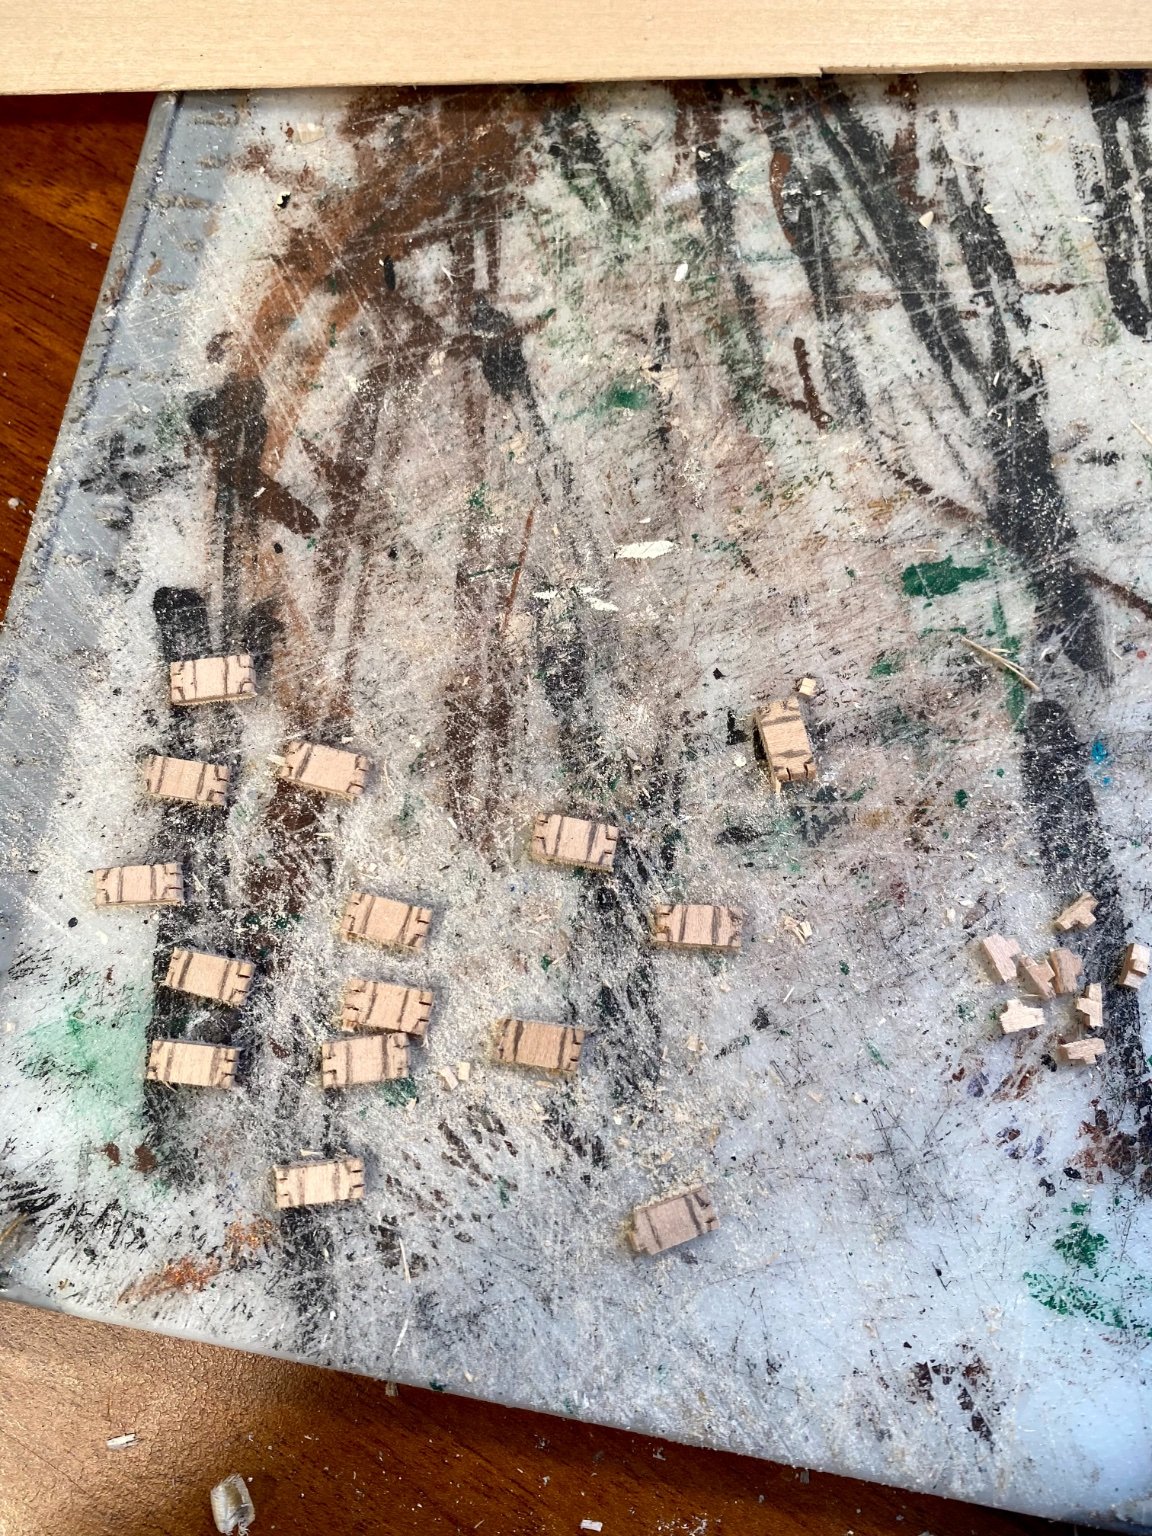
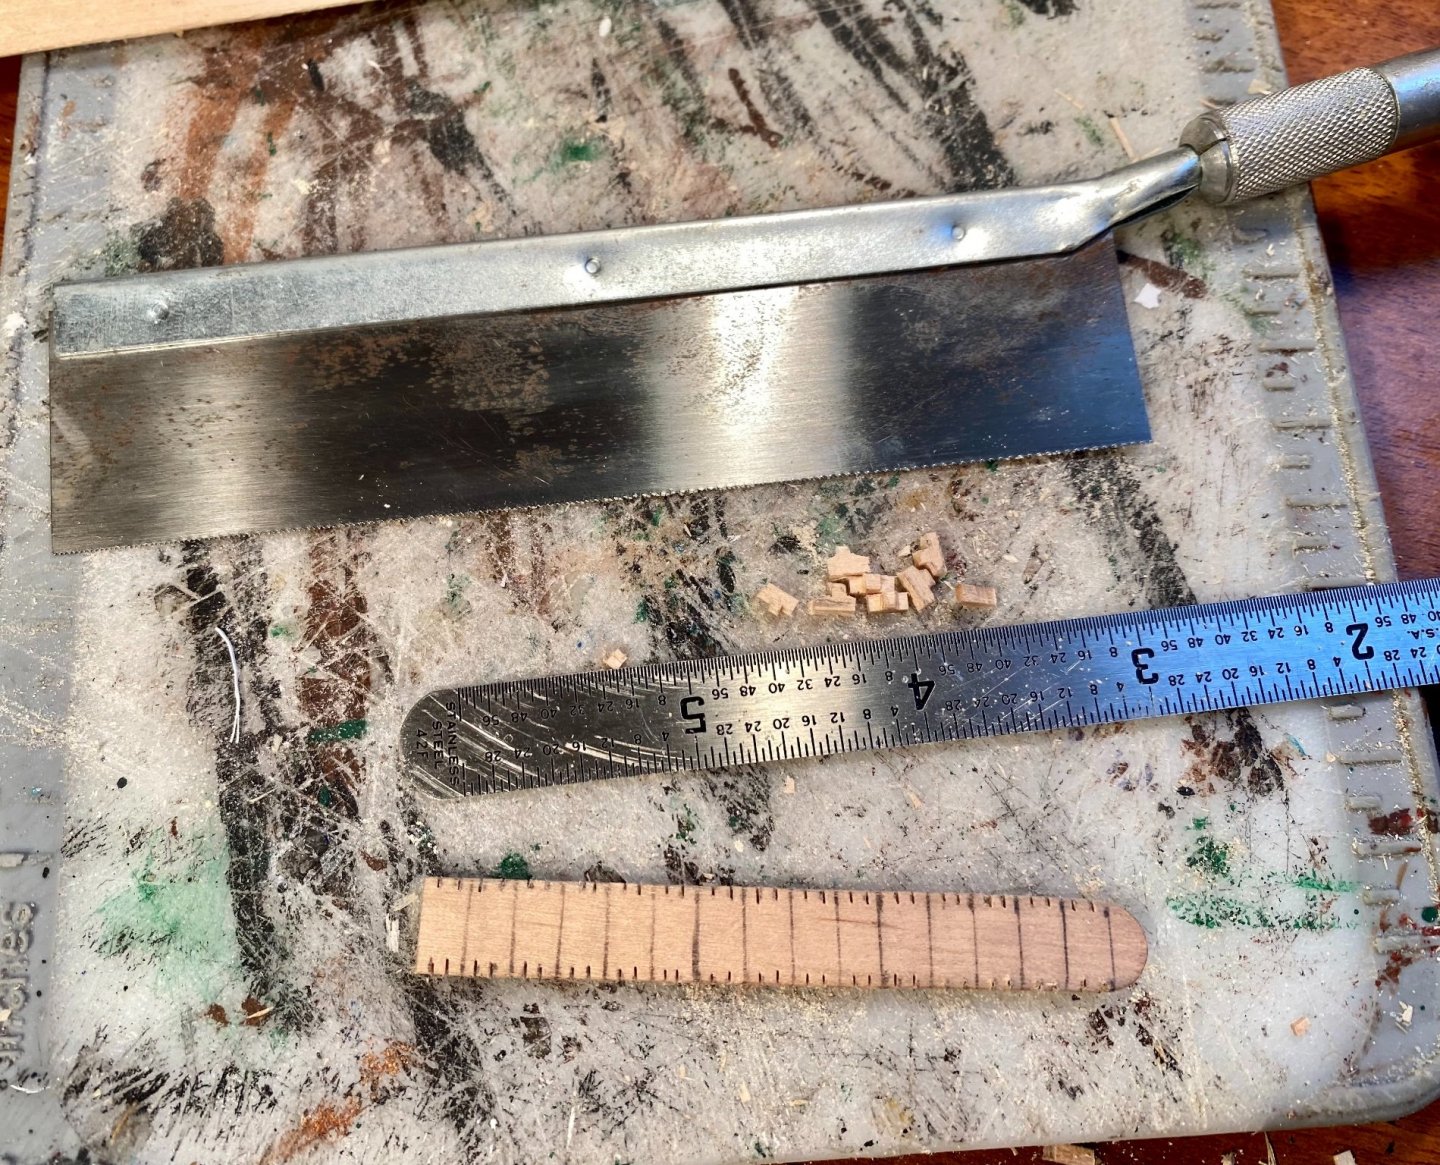
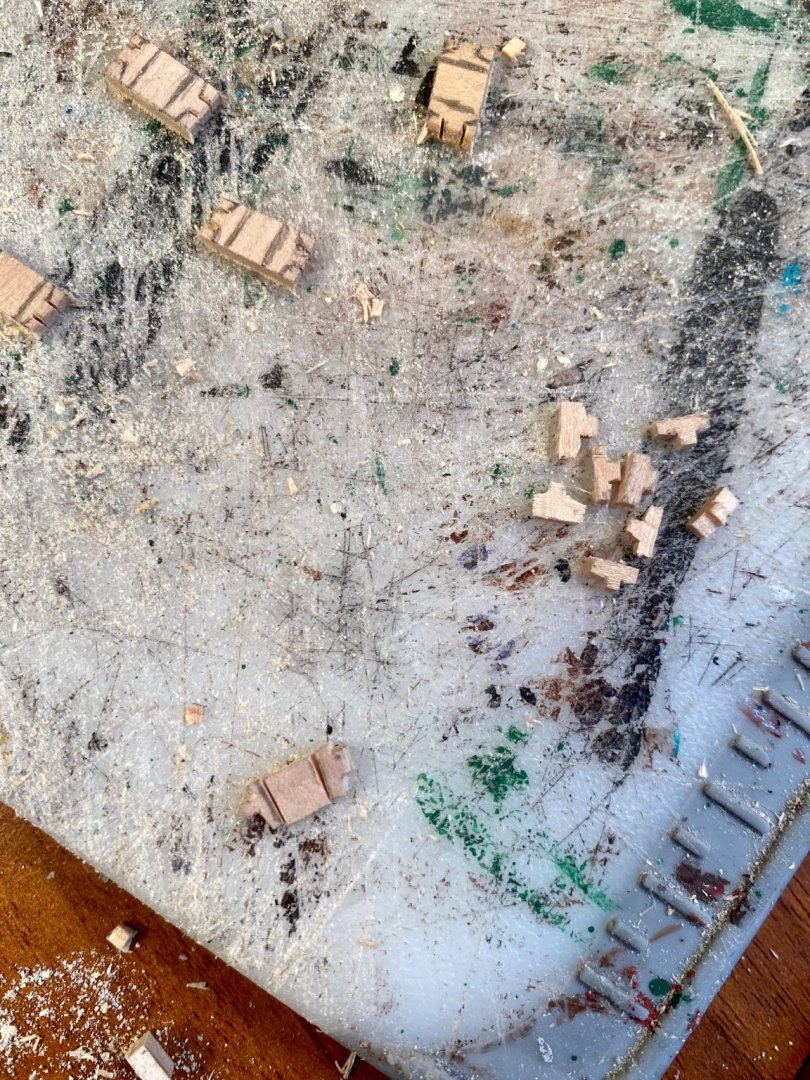
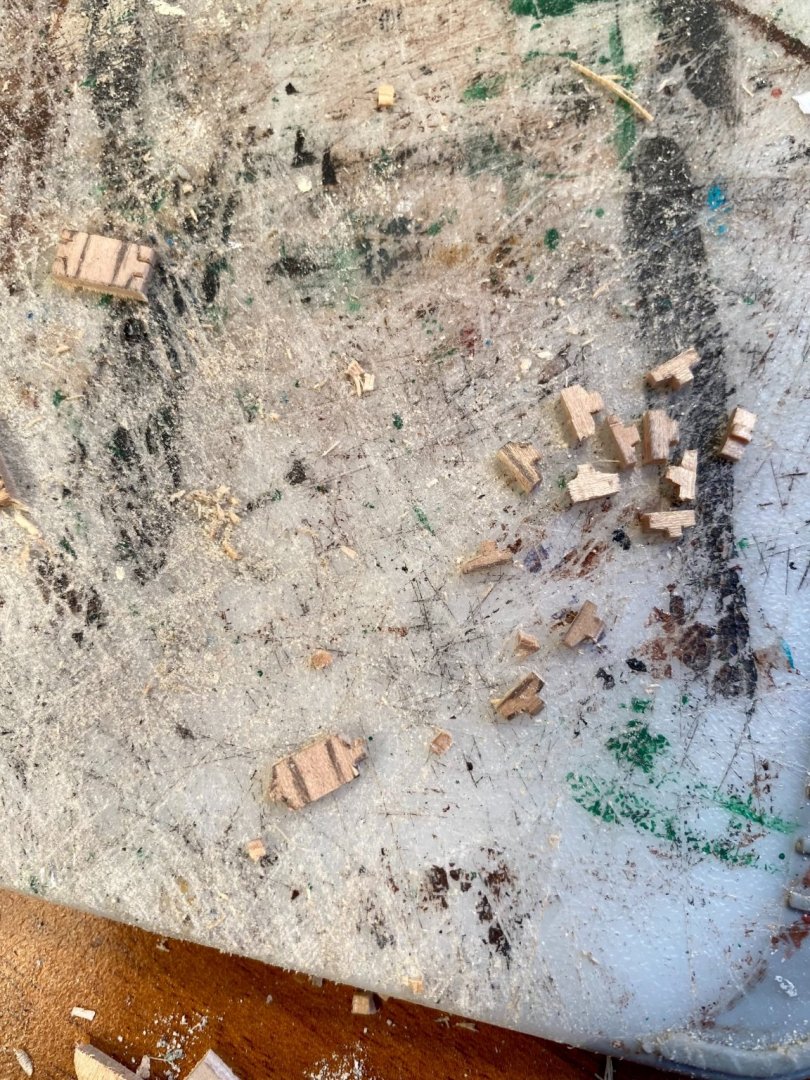
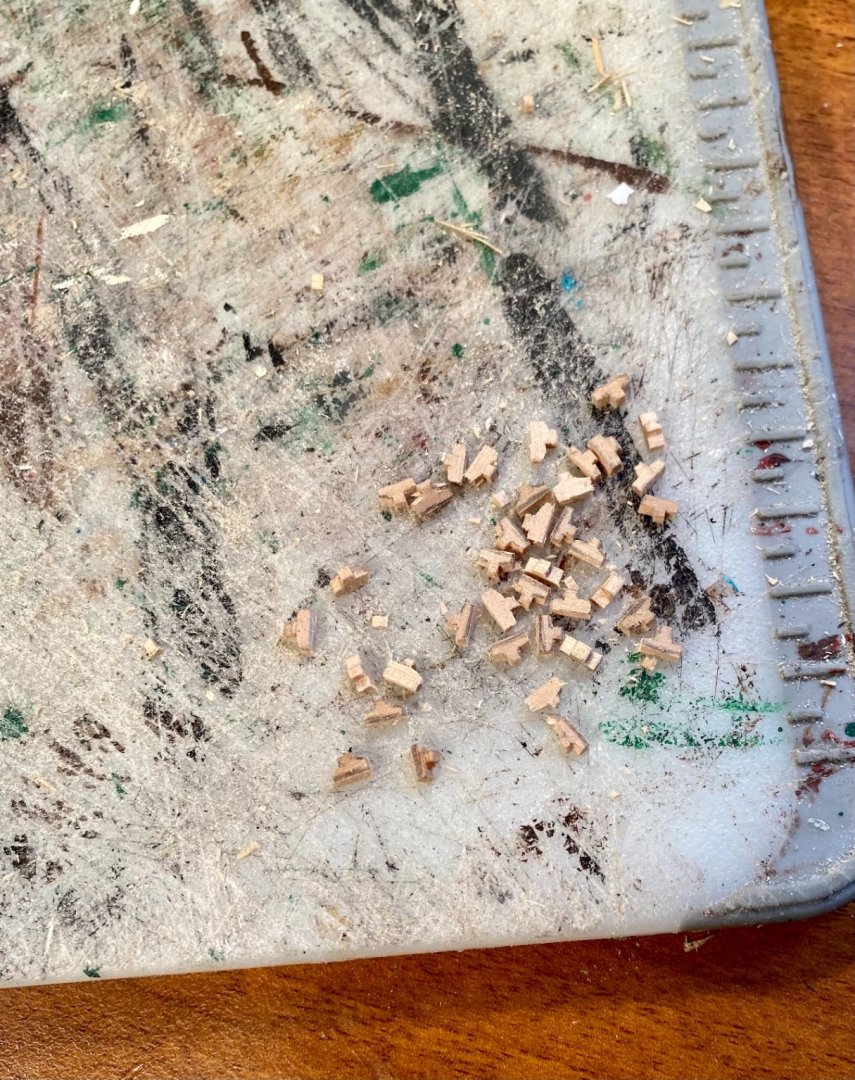
Thank you all very much for the likes and just for stopping by! The first thing needed to get the Victory in motion are many cleats, which are used everywhere for rigging points. So, I am mass producing cleats: For those who would also like to make their own, I am making mine from popsicle sticks from a craft store. This works quite well. First, I measure them off and notch them with a razor saw: Second, I cut them apart with a razor saw: Then I draw out the final shape: Next, I trim off the “T” part of the cleat with a scalpel: Then I cut them apart with a scalpel: Before you know it you have a whole pile of cleats. The last step (not done yet) is to trim them all to their final shape and paint them before installation.


-
I officially need to finish Victory. I bought an Orel kit of the French Ironclad “Solferino” in 1/200 scale. It is a card kit. I think I will use it to build both the “Solferino”, from the kit, and then her sister ship “Magenta” in 1/100 scale based off both the kit and her original builder’s plans. The French Ministry Of Defense has been kind enough to post the plans of “Solferino” on their website and Magenta is identical except for not having a figurehead. However, I do not like leaving anything unfinished, therefore I need to finish Victory before I build anything else.
-
Your Waratah is looking great! Your card builds keep making me want to build another one. I would love to build some of the HMV kits, but shipping to the US is not cheap. Regarding the starving cow look, I ran into the same problem during my build of the Prince de Neufchatel (a LOT worse than yours). For my next card build (the Hannah), I made the deck a double thickness, to greatly reduce the starving cow look. I laminated two pieces of poster board together. It worked well.
-
Well done!
-
Well done!
-
Nicely done!
-
Very nice!
-
Congratulations! Well done!