HOLIDAY DONATION DRIVE - SUPPORT MSW - DO YOUR PART TO KEEP THIS GREAT FORUM GOING!
×


GrandpaPhil
-
Posts
6,044 -
Joined
-
Last visited
Content Type
Profiles
Forums
Gallery
Events
Everything posted by GrandpaPhil
-
Congratulations! Well done!
-
Well done!
-
Congratulations! Well done!
-
Glad I could be of inspiration! You’re welcome!
-
Congratulations! Well done!
-
Congratulations! Well done!
-
Congratulations! Well done!
-
Looking good! Nice job on the carvings! How goes the model?
-
Congratulations! Very nicely done!
-
Congratulations! Well done!
-
Nicely done!
-
Congratulations! Well done!
-
The bottom has been closed up (mostly). Most gaps are filled. It’s a Revell kit, so there was plenty of fitting and plenty of gaps left over. It looks really rough right now. That will change once a temporary base is made and the model gets its first coat of paint.

-
What is Mariners Mirror?
-
Congratulations! Well done!
-
How to access the digital NRG JOURNAL?
GrandpaPhil replied to Zzzz's topic in NAUTICAL RESEARCH GUILD - News & Information
If you join the NRG, can you access back issues of the NRJ? -
Teutonic knight c. 1200 by wefalck
GrandpaPhil replied to wefalck's topic in Completed non-ship models
I had the Chevalier Bayard by Imrie Risley. It was very nice. -
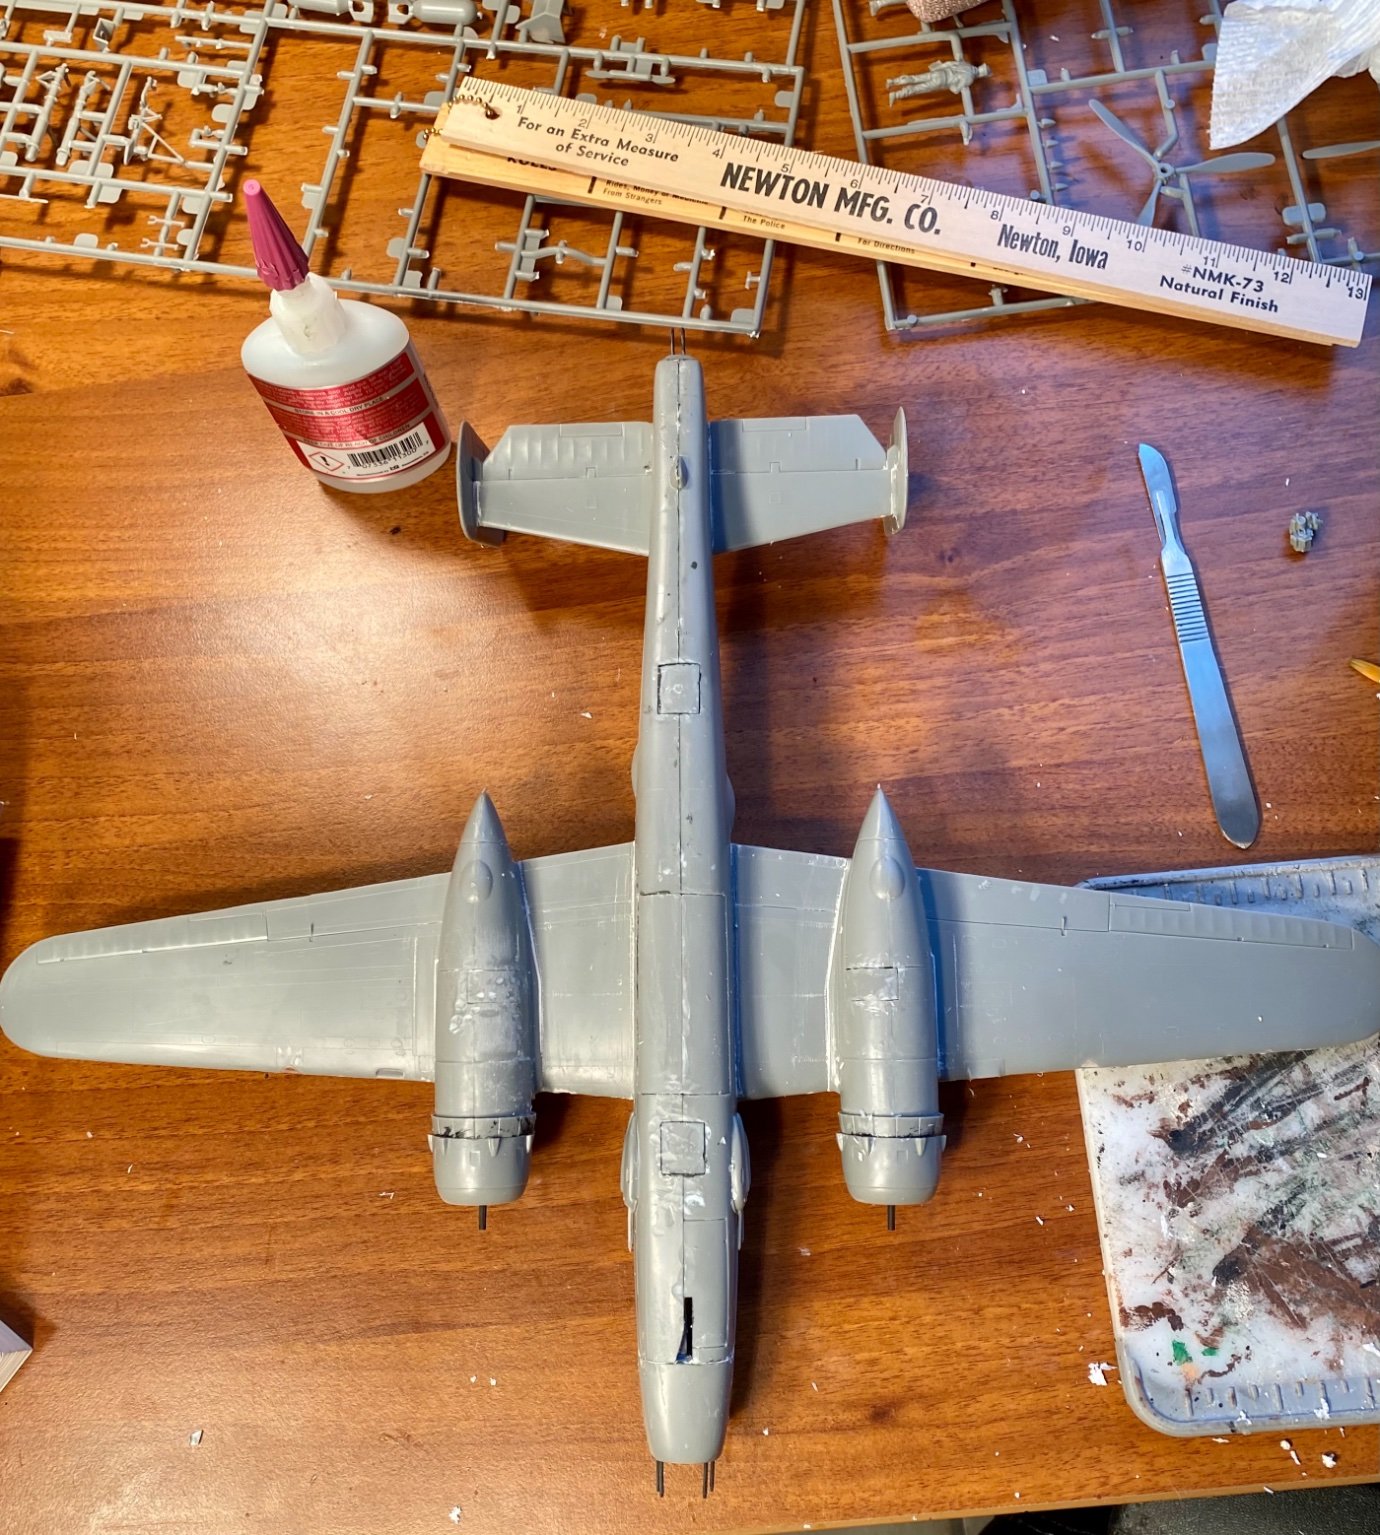
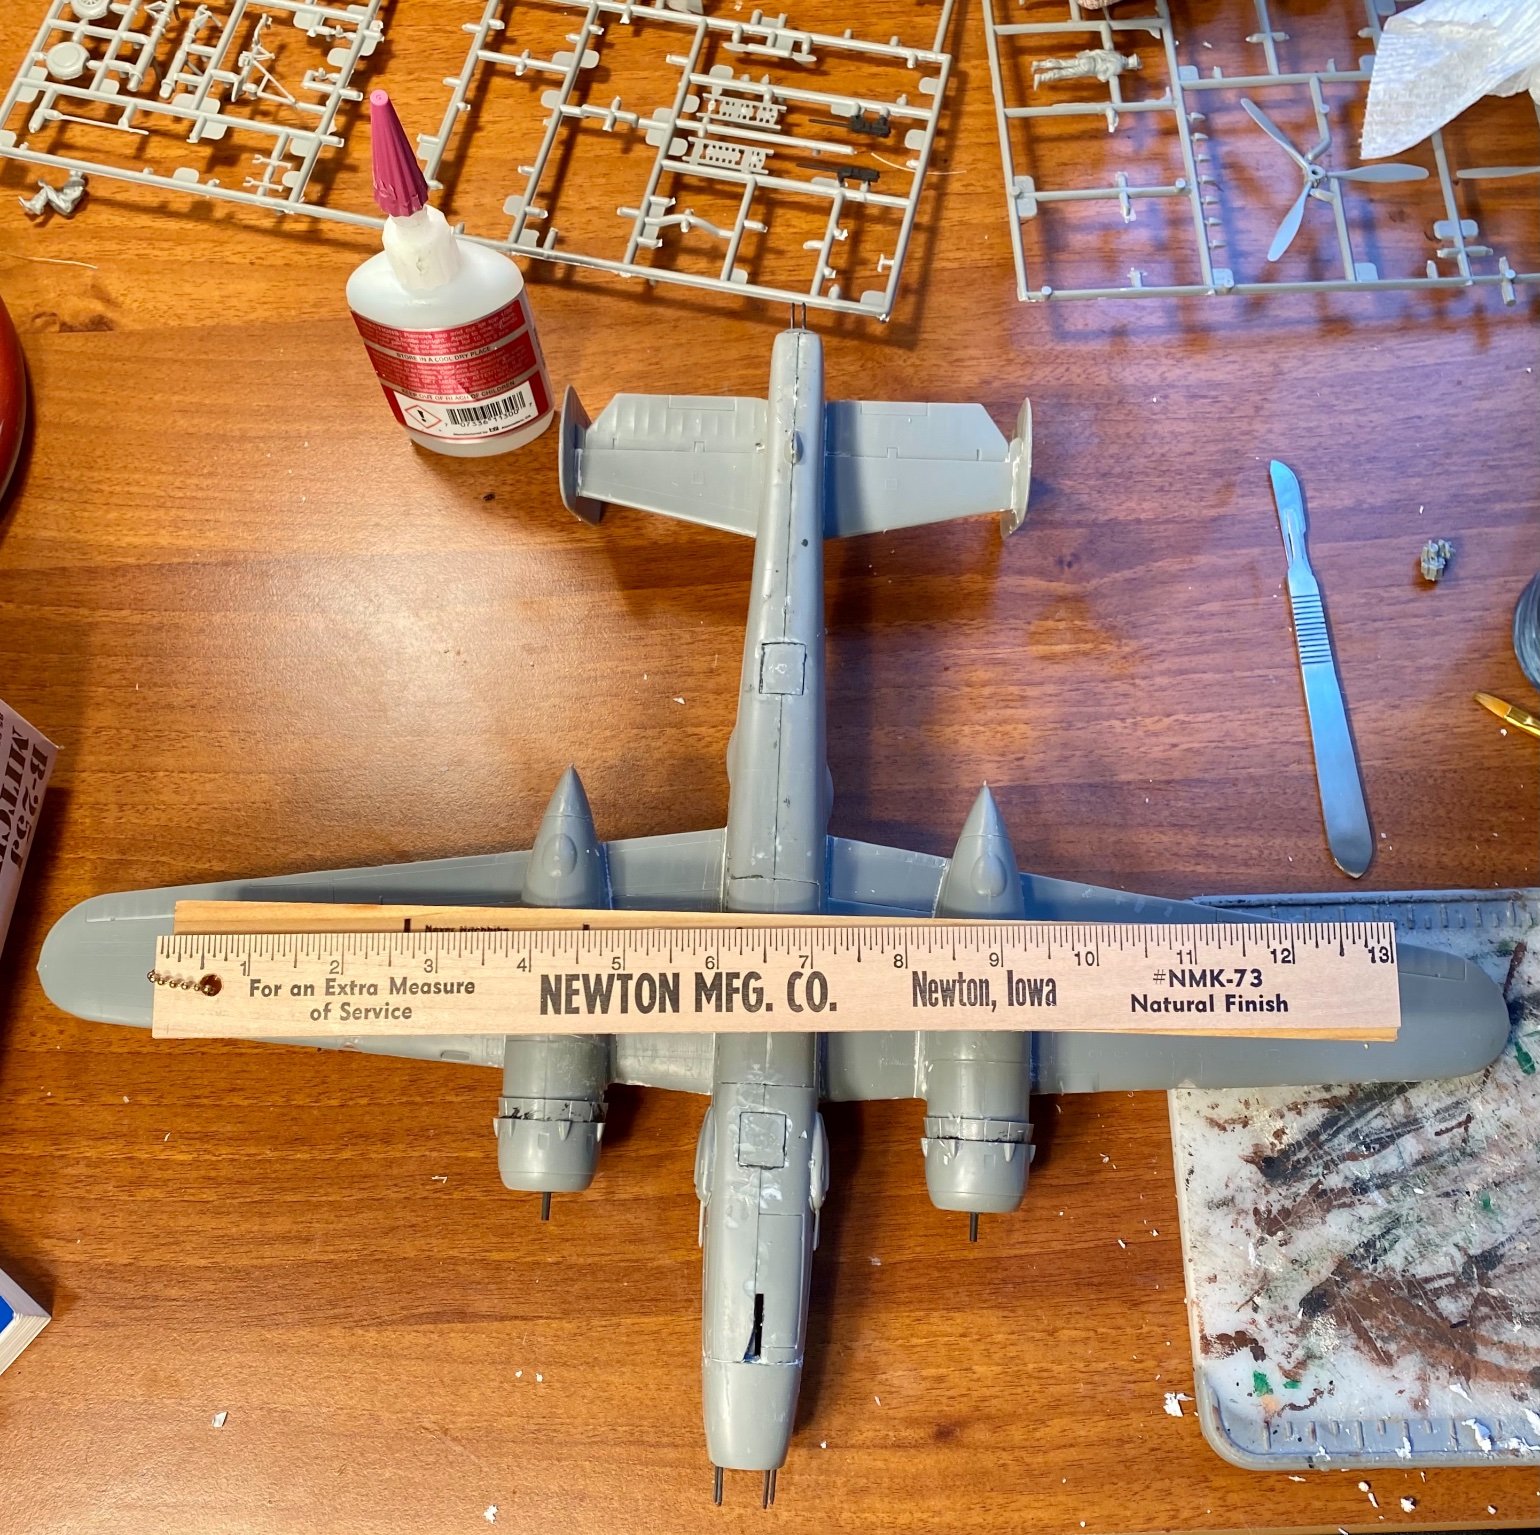
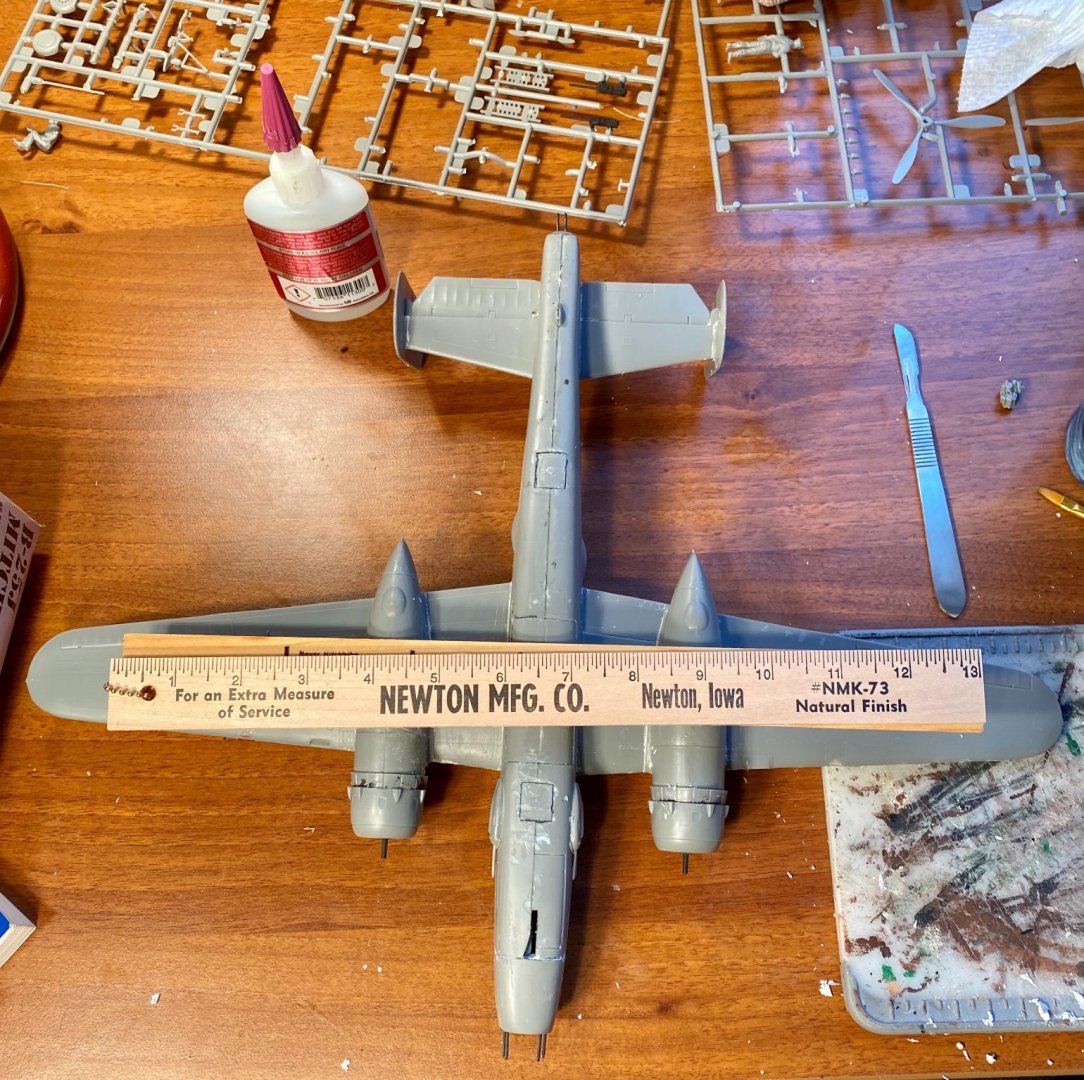
Denis, I watched your builds. They were incredible. This is my second B-25. The first was a Guillows kit. Tonight, I trimmed up the mold lines and filled the gaps with putty.
-
Very nice!
-
PS - this model is getting finished!
-
The Hannah is done. That makes a total of 2 scratch built ships that I have made. I am over half completed on a 1/48 B-25 (plastic kit with custom paint job and markings). I started it yesterday once I decided that I had finished the Hannah. Being a plastic kit, that should only need one more good weekend to complete and then game on for the Victory.