BANYAN
-
Posts
5,965 -
Joined
-
Last visited
Content Type
Profiles
Forums
Gallery
Events
Everything posted by BANYAN
-
 Made my day, great joinery and workmanship as usual Alex cheers Pat
 -
THE 74-GUN SHIP by Jeronimo
BANYAN replied to Jeronimo's topic in - Build logs for subjects built 1751 - 1800
Stunning! what else can you say - you are a very talented modeller Karl. cheers Pat -
Good luck Rowan - have had surgery on C3, 4 and 5 for similar issues - all good now, so hang in there mate - yopu'll be back finishing her before you know it. cheers Pat
-
What are these? does anybody knows? thanks.....
BANYAN replied to BIGMAC's topic in Masting, rigging and sails
The beauty of the internet and the great collective experience we have on this site - thanks for the explanation Gerard (we learn things every day) and thanks Big Mac for raising the sugject. cheers Pat -
What a gem Denis - looking great! Those little details add so much to a build. cheers Pat
-
What are these? does anybody knows? thanks.....
BANYAN replied to BIGMAC's topic in Masting, rigging and sails
Could they simply be a large counterweight (cantilever)? The last image is not that clear but appears to have only a tackle on the opposed side? the weight would then assist in the working of the yard???? Only conjecture offered for further discussion. Cheers Pat -
Dave, as I have just learned and from experience; wherever possible only dry fit (especially if using locator pins to support fittings) some of the deck furniture/fittings (such as the pumps etc) that are close to the bitts / pin rails etc to allow more room for belaying lines to the pins in particular - otherwise it gets too fiddly and you risk damage. Those items can be fitted/glued later as most of the affected ones can be added later, especially if you have used locator pins. cheers Pat
-
Keep smiling and you'll get there Mark - the deck is coming on well. And... yes why clean up twice. Good luck with copying the deck planking plan; that wilol certainly save you a lot of time. cheers Pat
-
A Lorch Micro-Mill that never was ...
BANYAN replied to wefalck's topic in Modeling tools and Workshop Equipment
Stunning workmanship as usual; and it will make a very useful addition to your tool set. cheers Pat -
Hi Greg; nice kit and build you have chosen. That was a very short sabbatical though cheers Pat
-
Nice work Denis; those gallows will make nice fittings for your little beauty. cheers Pat
-
Beautiful clean and crisp work BW. cheers Pat
-
Hi Dave, if you are going to add the blocks to the yards, be sure to check the running rigging (sails) section of the AOTS as there are a few extras I did not see cheers Pat [Edit: Also shows the leads for the buntlines]
-
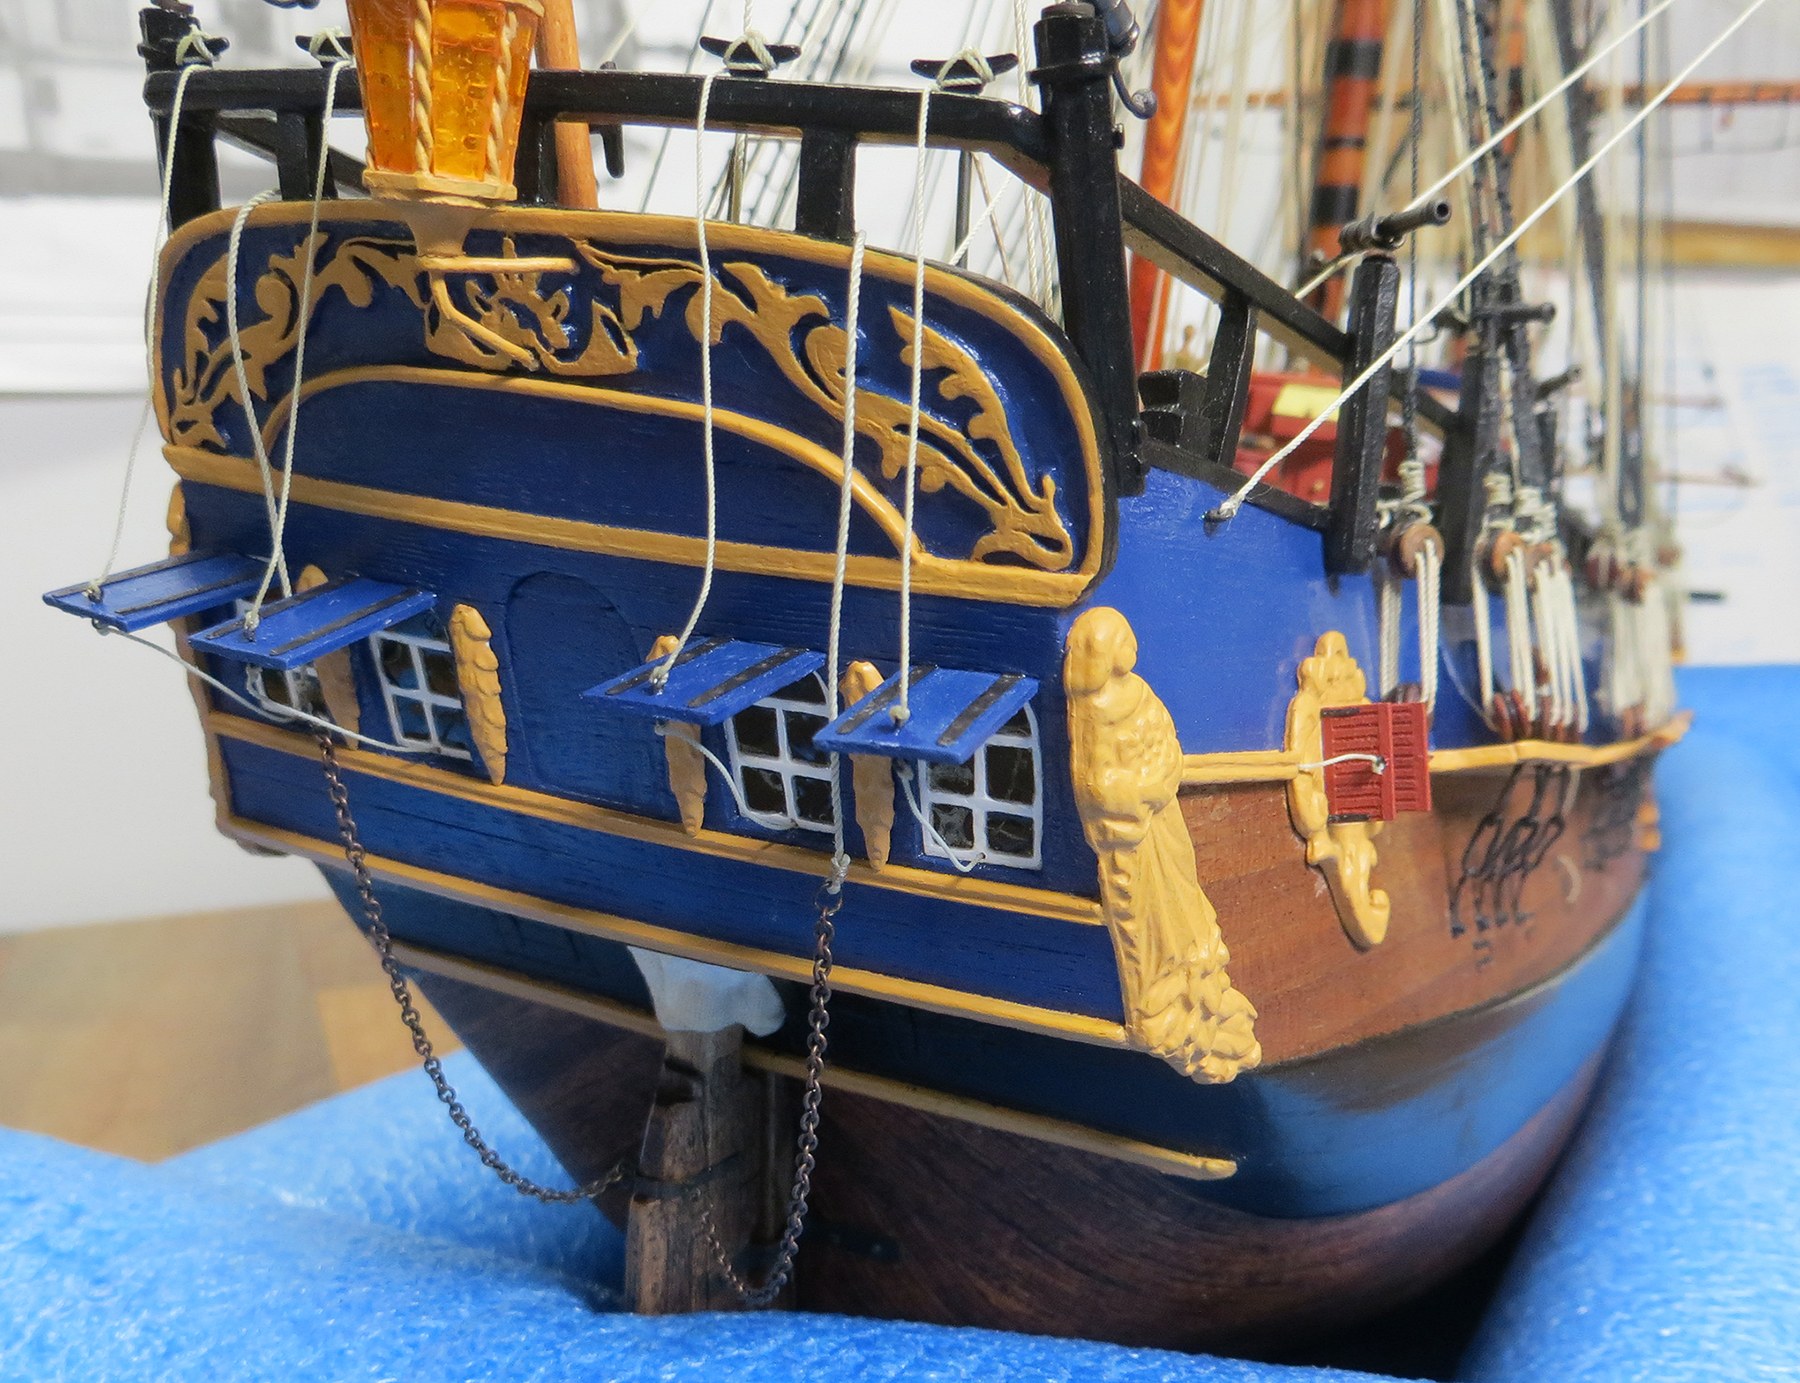
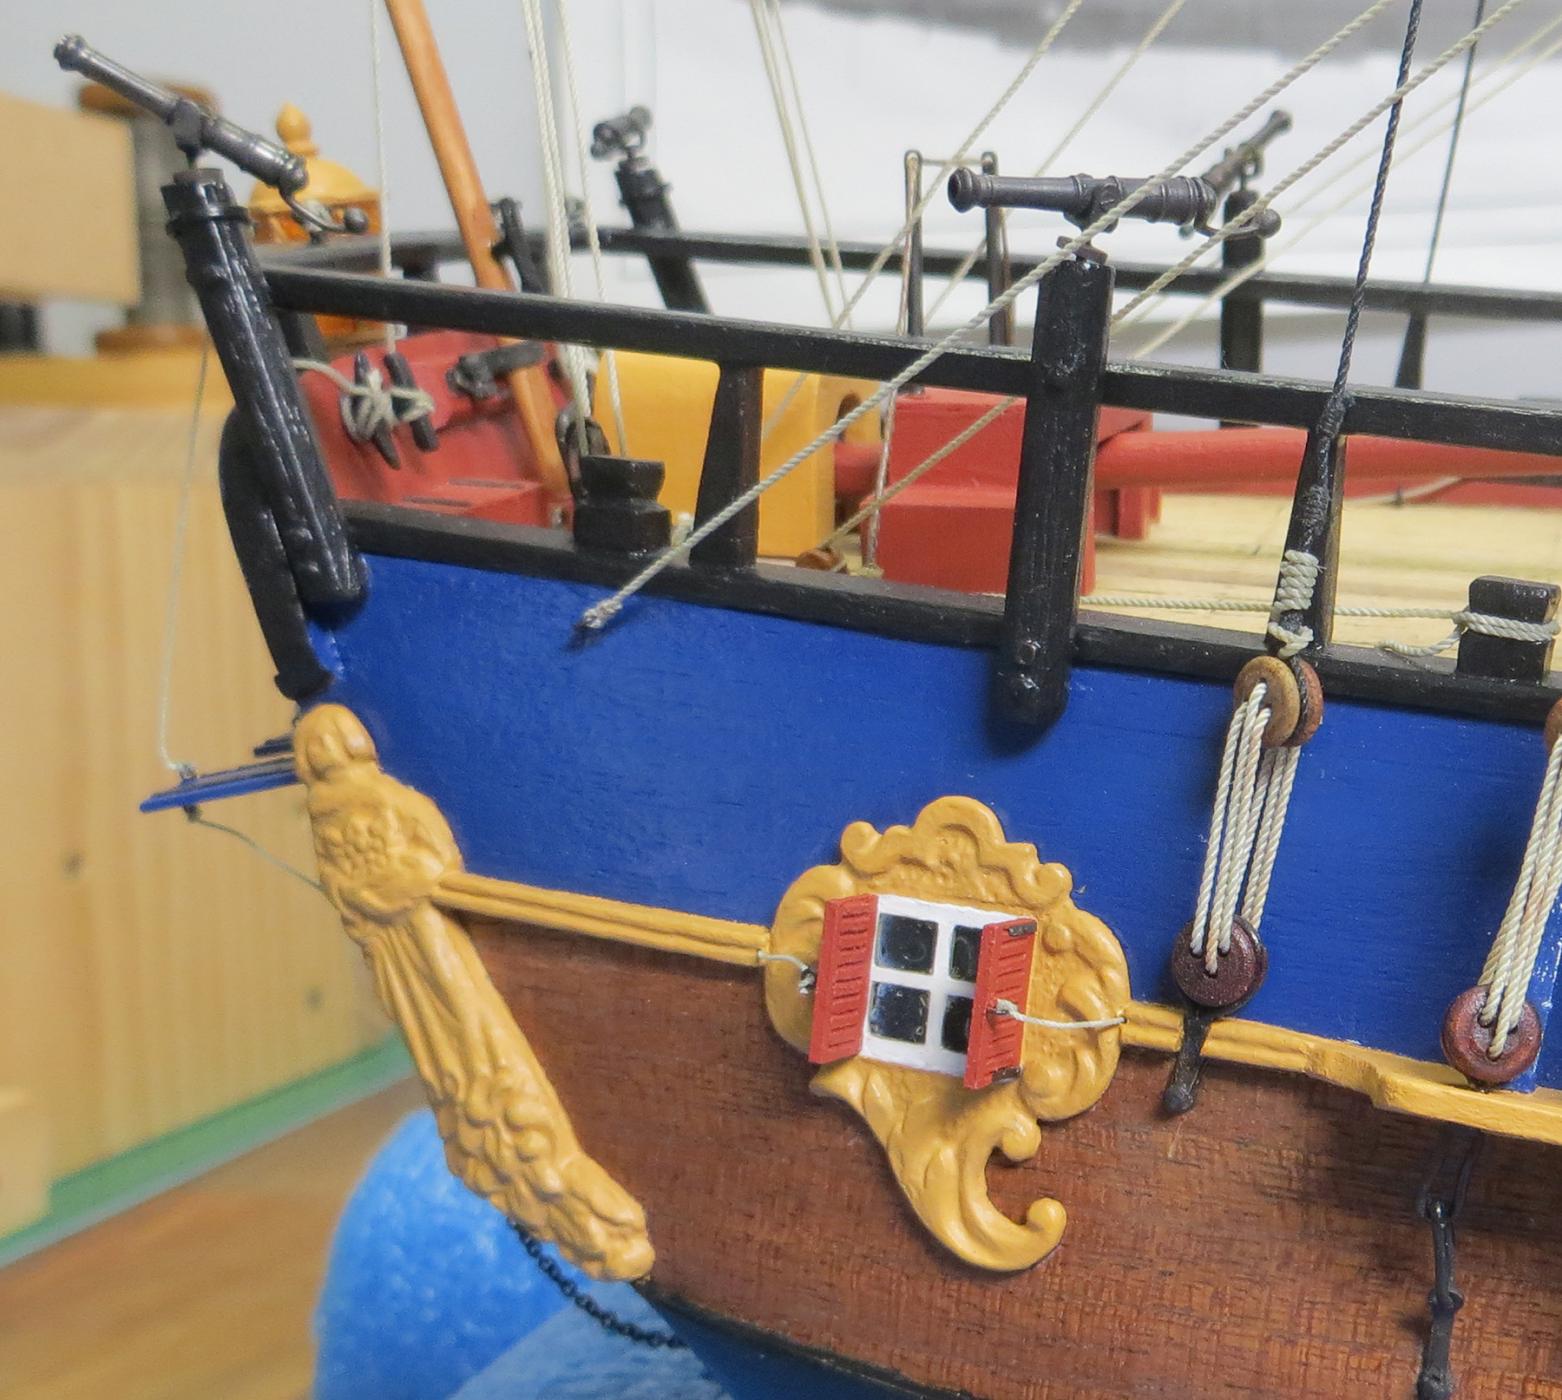
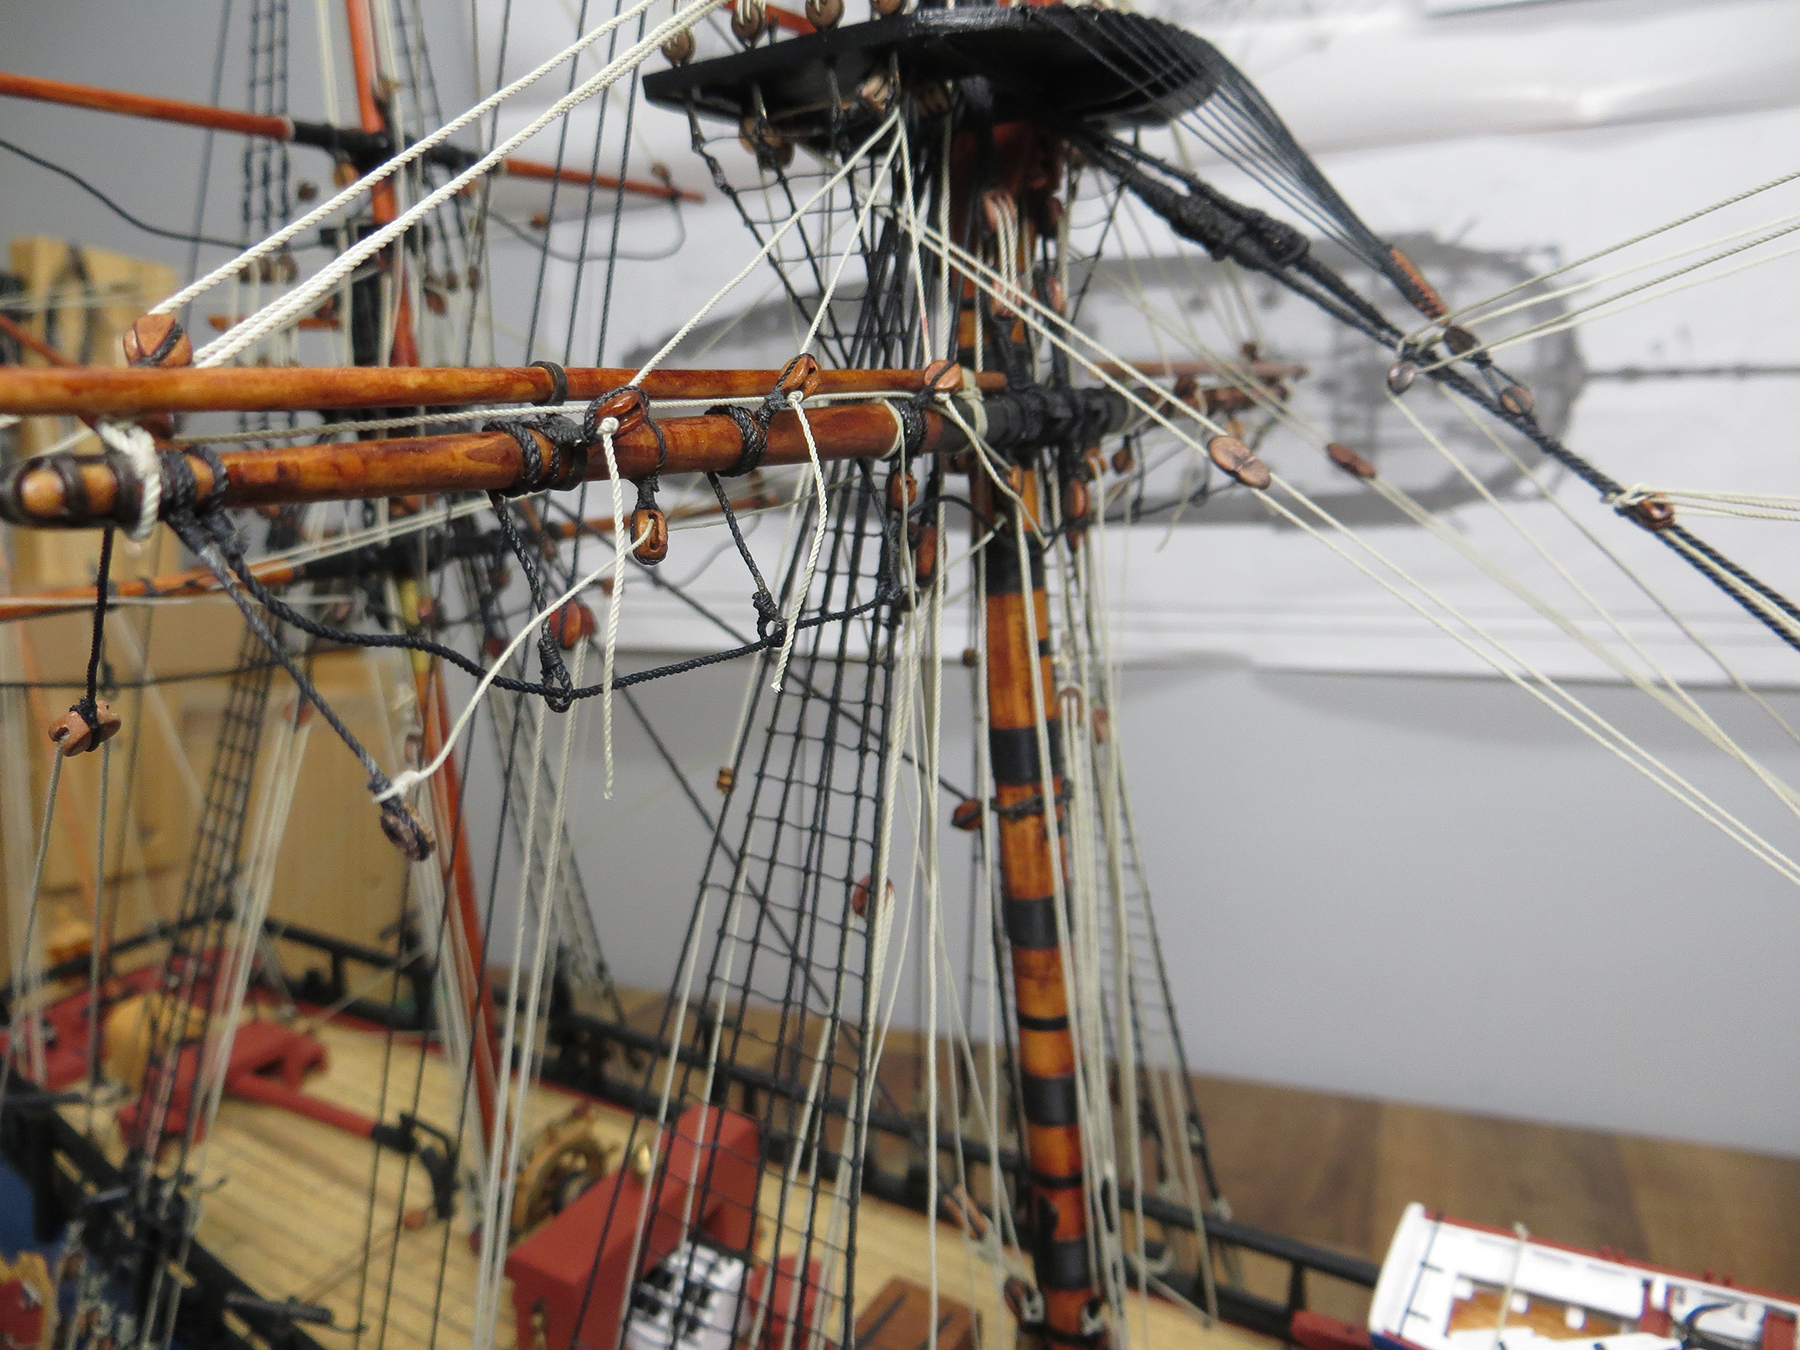
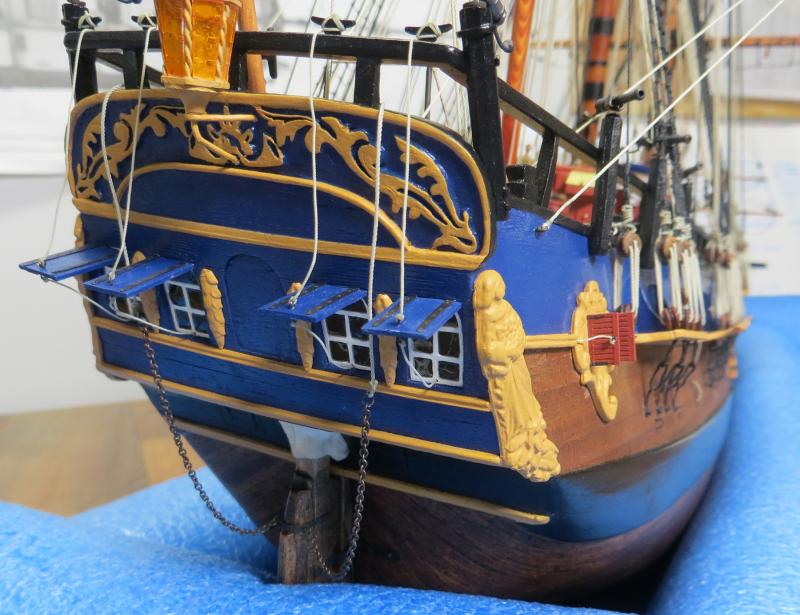
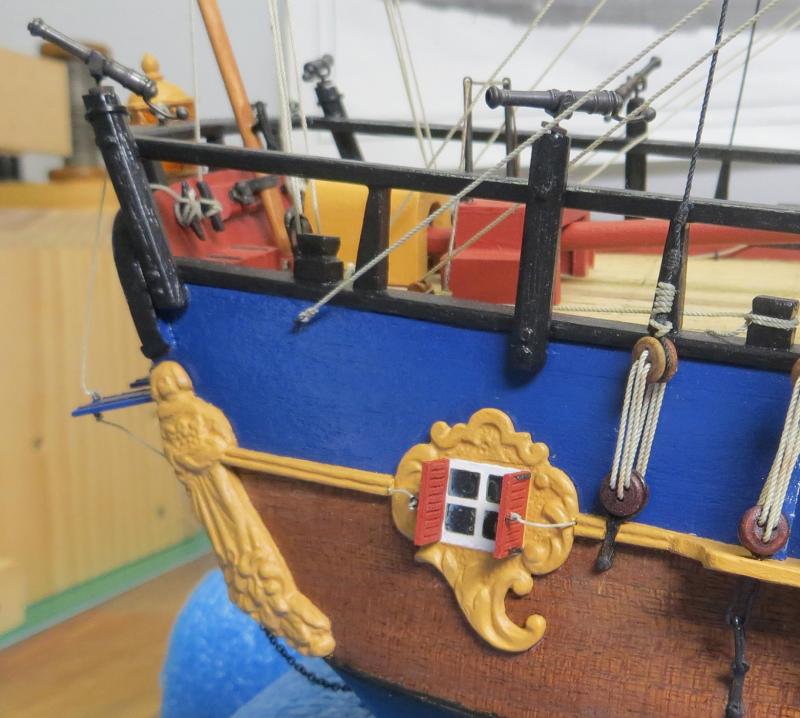
Hi folks, another update. John - you won - many thanks for the head's-up. I decided to do some of the running rigging for sails. I have finished the mizzen, and only a couple t go on the main topsail; then onto the foremast. The quarter badge window shutters have also been fitted now - hopefully I do not bump them . cheers Pat

- 517 replies
-
- 7
-

-
- Endeavour
- Artesania Latina
- (and 1 more)
-
Rigging yards with no sails - question
BANYAN replied to heksanol's topic in Masting, rigging and sails
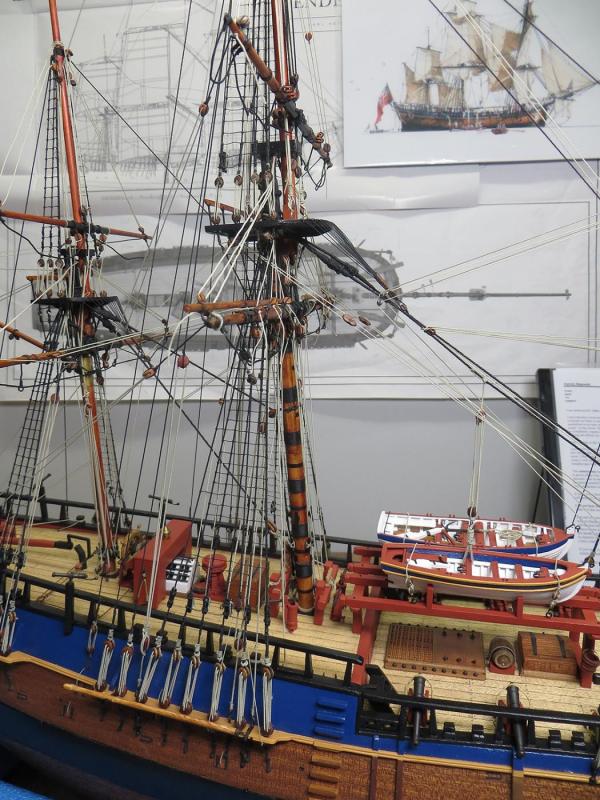
Hi Gif_Haise. I have just had the same issue in my Endeavour build. I rigged the blocks in-situ and intended leaving them unrove as suggested above. However, when I posted my progress photos there were several queries (some p via PM) as to whether I was going to rig the clew, leech and buntlines. After a little bit of research I determined there are two schools of thought on the matter - with and without lines (obvious ) It was pointed out that most of the contemporary models of the period showed the lines fitted with them rove through the blocks with a small overhand knot stopping it from pulling through the block. I have used this approach leaving about 25mm of scale rope dangling. In real life i believe they would have fitted/rove a spike/toggle through the line to prevent the line pulling through when the sails were unbent. I will be posting some photos in my HM Bark Endeavour build log (Kits) of the finished lines later today/early tomorrow if you are interested in seeing what it looks like to assist your decision process. Your choice though. cheers Pat -
Transform a brass chain into iron chain
BANYAN replied to MESSIS's topic in Metal Work, Soldering and Metal Fittings
Yep, chemical blackening is the way to go (I use Birchwood Casey Blackener) - have a look at my build log (near the end) where I have done the rudder pendant chains just that way. cheers Pat -
Hi Mindy, I have the same discussion in my build log. I have opted for the bumpkins/boomkins as when you enhance Parkinson's drawings in photoship, they can be nothing else. His drawings are very accurate in all aspects and if he took the time to get detail right for shutters, deadlights, windows etc, then I am reasonably confident he would have drawn these fairly accurately also? We did this exercise as part of the discussions in our club with Karl H Marquardt and Ray Parkins (both club members at the time) having some very lively debates It was also pointed out that the bumkins are designed and rigged to be used at sea, and removed when working the anchor. This makes a lot of sense for both anchor work and the sail handling. Your choice, and who is actually to know unless some long lost clear drawing/evidence is to emerge with time? cheers Pat
-
Very nice work Dave, the servings are nice and tight and look good. Glad to see you added the cleats to the Belfry. I didn't and it is now impossible to add them causing me some belaying issues as i add the clew, leech and buntlines - oh well, live and learn cheers Pat
-
Nice....and the lady slowly emerges ... cheers Pat
-
I know the feeling of never ending tasks Dave Keep going and treat eash task as a separate project you can tick off and you'll be there before you know it. Those masts look excellent BTW cheers pat
-
Great work Greg, a stunning miniature collection of "steel ship" masterpieces you have assembled. Those bases came up well and Deadnaught looks just the part (fear nothing) with all of that netting etc you have fitted. Look forward to your Yamato build when you get to it. cheers Pat
- 342 replies
-
- 7
-
-
- dreadnought
- zvezda
- (and 2 more)
-
Coming along rapidly Sjors - she looks good! cheers Pat
-
Nice to see the update Glenn, I was missing my weekly fix. Beautiful work as usual. cheers Pat