BANYAN
-
Posts
5,962 -
Joined
-
Last visited
Content Type
Profiles
Forums
Gallery
Events
Everything posted by BANYAN
-
 Ah the fix of the weekly update. Simply stunning work Glenn. That is some very clean, crisp and well executed joinery. cheers Pat
 -
Great to see this update Ben, coming along nicely. cheers Pat
-
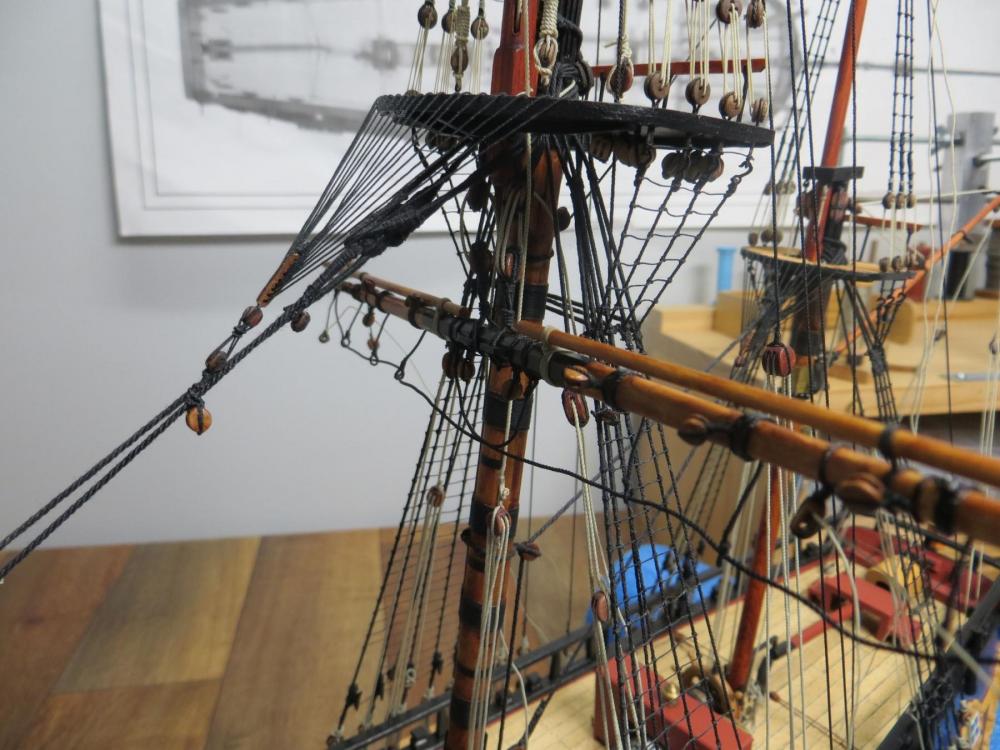
Thanks Popeye and John. Managed to fix one of the yards (stunsail booms but not the other yet ). Thanks for the compliment John, coming from you it is much appreciated. cheers Pat
- 517 replies
-
- 4
-

-
- Endeavour
- Artesania Latina
- (and 1 more)
-
Your riggers have been very busy Dave; nice work - double rum ration for them i would suggest! cheers pat
-
Very nice Greg, those armour bands came up very well indeed. cheers Pat
- 342 replies
-
- 5
-
-
- dreadnought
- zvezda
- (and 2 more)
-
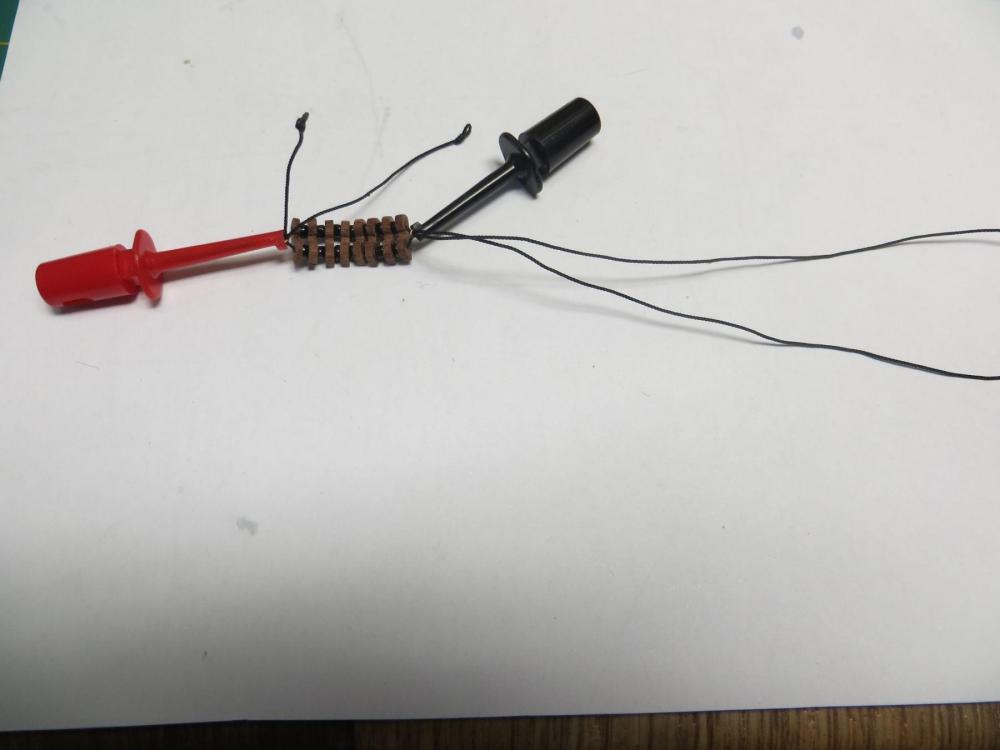
Hi, are the clips I use as shown here what you are after. These come in various sizes and available at electronics stores and the like (as Geoff/Aussie posted). I find them very handy as they are easy to use and very light but grip strongly. Just take care if you have pre-wetted the line with diluted glue as it may develop a kink. cheers Pat
-
Hi Mark and Druxey, why would the lead lining go so high, especially if the railings are open - no way to use it as a cistern unless the lining went up the same height against the rails also? If a storage area, it might have been a wood lining to prevent minor damage but I would have thought the ship's side would have been sufficient for that? Just my two cent's for what it is worth cheers Pat
-
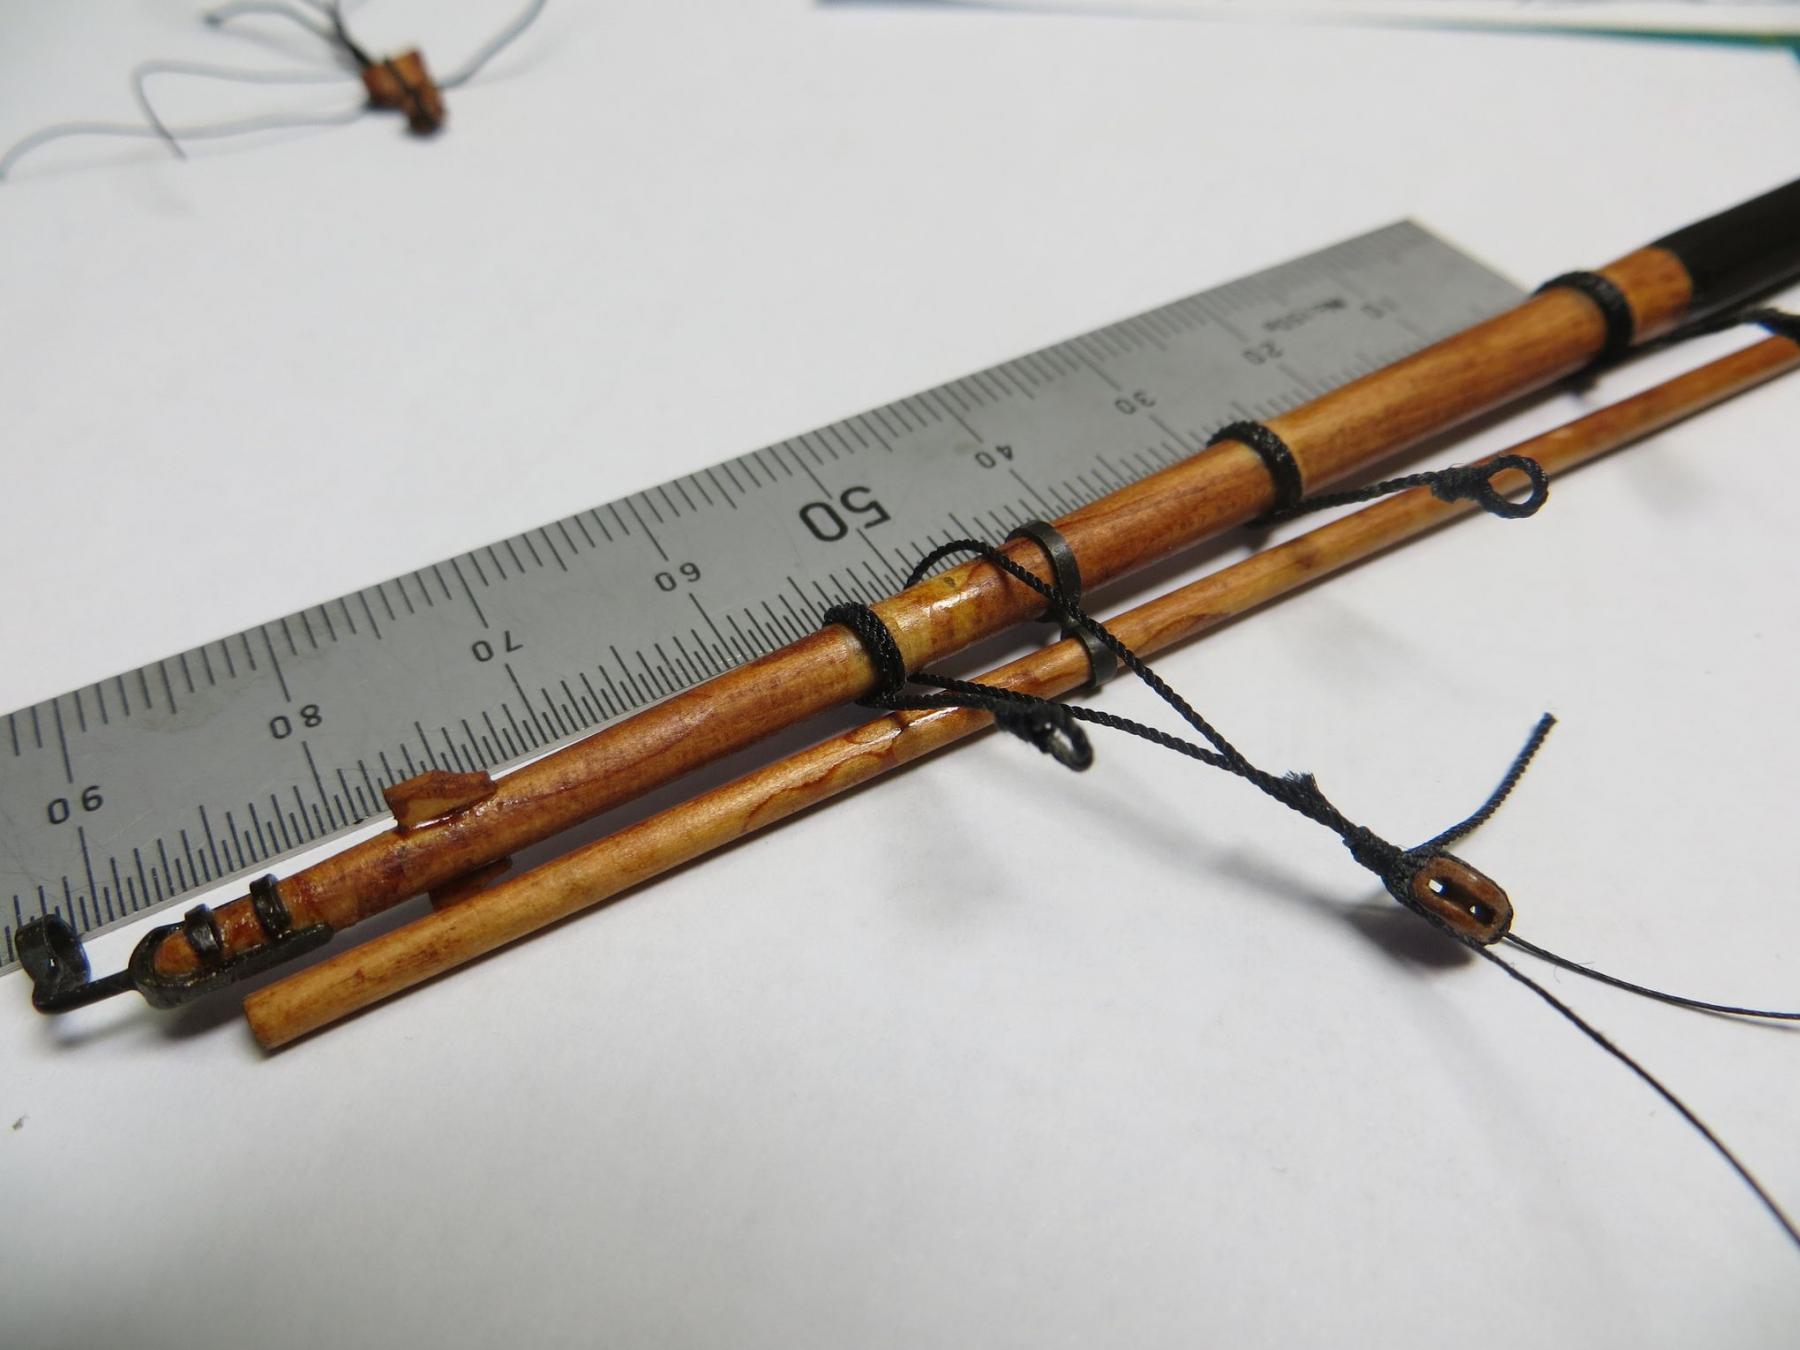
That looks a lot better Dashi; that looks pretty close by eye. You must have had a lot of fun measuring that gnat's whisker cheers Pat
-
Very nice work Dashi; that looks great! I like the arrangement for the boomkins and seats of easement. I have not done the latter yet as I was still trying to ascertain the most likely arrangement - I think I will copy-cat from you (if you don't mind ) cheers Pat
-
Thanks Mark, Per and Dave; and all for the likes. It was a quiet BD but just what you need as the good doctor says above. That's the two most complex yards in place now so hopefully the others will not take as long. cheers Pat
- 517 replies
-
- 3
-
-
- Endeavour
- Artesania Latina
- (and 1 more)
-
You're going along rapidly Greg; that PE looks good where you have used it so far. Those baseboards look a treat, especially with the grain showing the way it does. cheers Pat
- 342 replies
-
- 5
-
-
- dreadnought
- zvezda
- (and 2 more)
-
Ditto Denis' comments re the brass work; great work. Pity these kit makers don't update/improve their kits as technology improves. they end up losing sales. cheers Pat
-
Looks like you have been quite busy with adapting, shaping and cleaning the brass for this one mate; looking good. cheers Pat
-
THE 74-GUN SHIP by Jeronimo
BANYAN replied to Jeronimo's topic in - Build logs for subjects built 1751 - 1800
I had missed your latest build log Karl, beautiful work - but we have come to expect that from you. cheers Pat -
Thanks all for comments and birthday wishes - appreciated. John, no need to paste mate but thanks anyway. I was aware of inner and outer tricing lines, and interpret the same way. My intention is to show one tackle hanging from the pendant with both tricing lines fitted; the remainder will be the outer tricing only with the tackle hauled taut (pendant pulled in along the yard, but I don't think I will seize it also. WRT the positioning, AOTS shows two shroud blocks fitted one above the other on the leading shroud of each set at about the cheek level, one for inner and one for outer. I think I will stay with the AOTS as I have also used that belay plan for the running rigging else where( Braces leads for example) and the lead works nicely for the shroud cleats. Thanks for the heads-up mate, much appreciated. cheers Pat
- 517 replies
-
- 5
-
-
- Endeavour
- Artesania Latina
- (and 1 more)
-
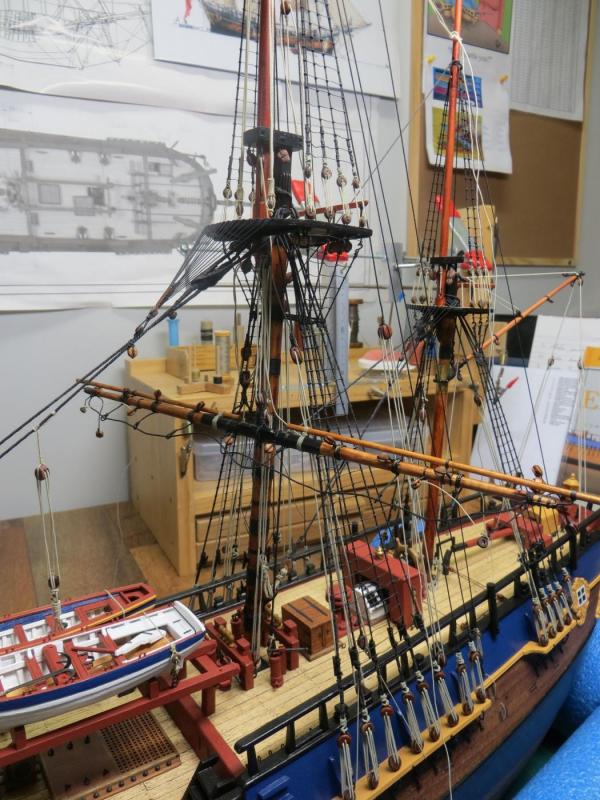
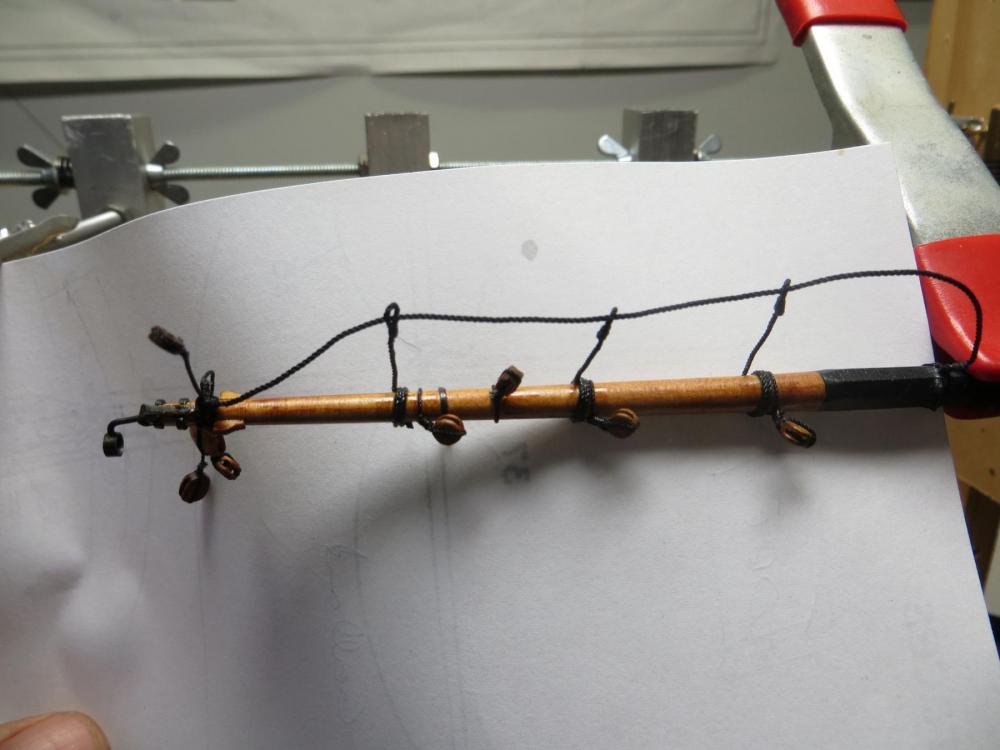
Second instalment. The rigging is slackened to allow the jeers to be lowered about half way down the mast, I seize the slings around the yard. I then prepare the parrel off the yard and fit it after the yard has been slung and raised a little closer to the tops. After tightening it I haul the completed yard. cheers Pat

- 517 replies
-
- 19
-
-
- Endeavour
- Artesania Latina
- (and 1 more)
-
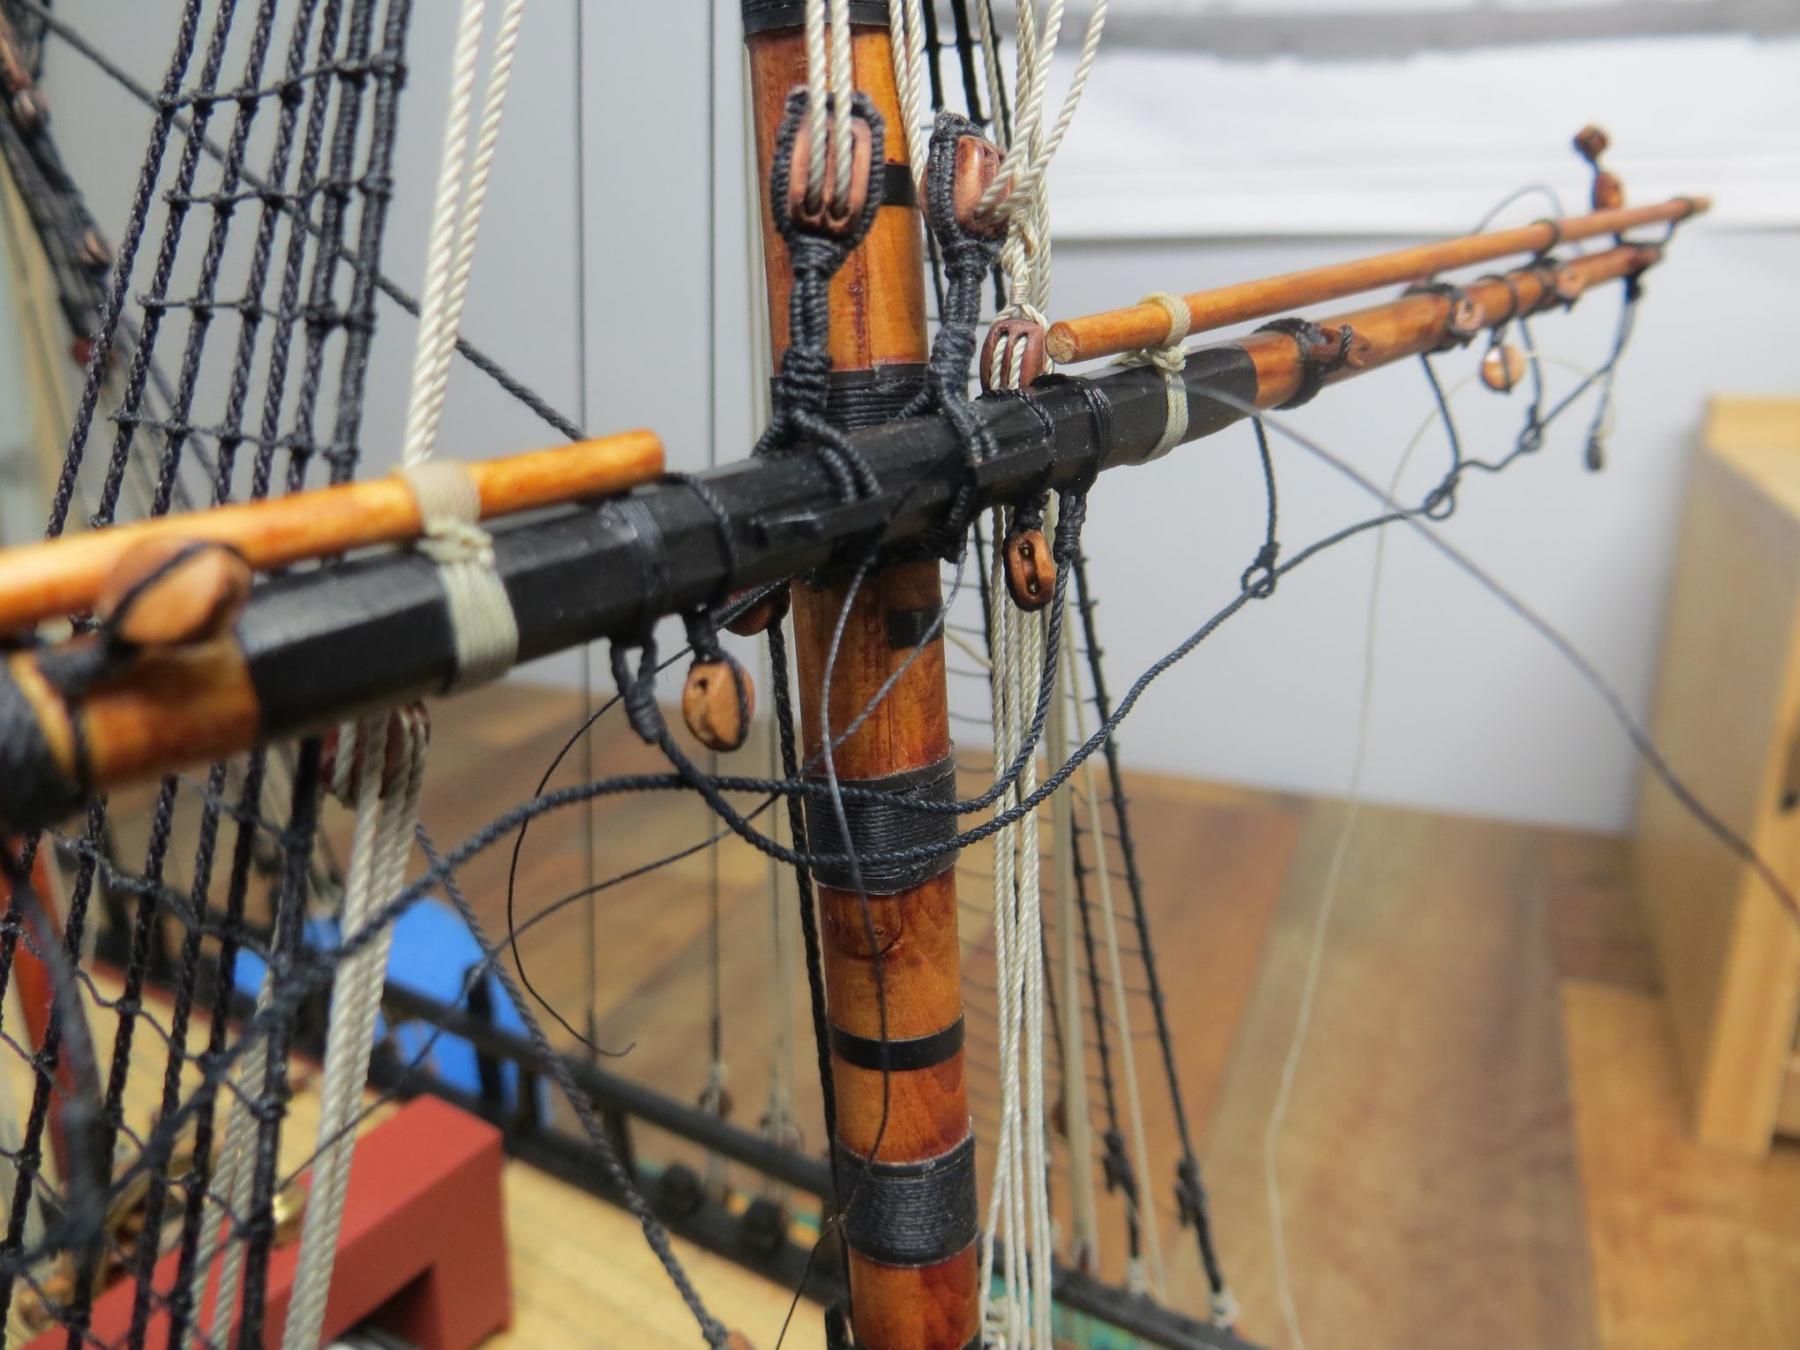
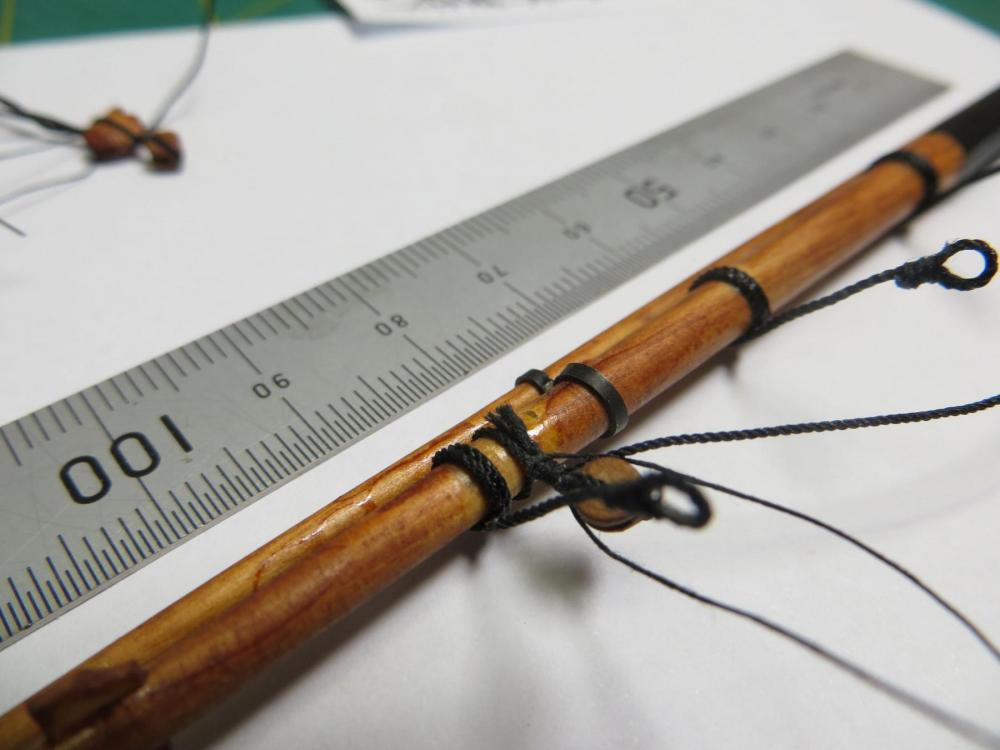
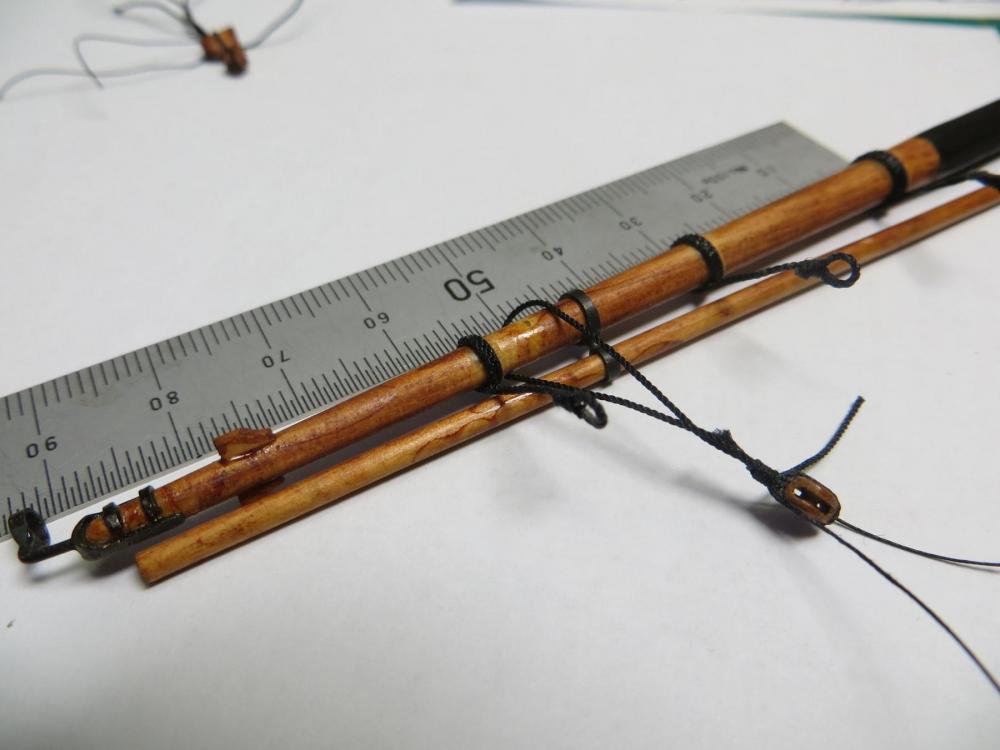
Hi folks, next instalment (if the site lets me - third attempt - seems Win 10 and Internet and this site causes BSODs - I have tried three different browsers!!!!). This posts starts with the yard fitted with the stirrups and hardware (from earlier posts). All blocks etc are prerigged with running loops, with the loop large enough to fit over the stirrups etc without causing damage etc. [edit: ignore the stain run on the stunsail boom, that wipes off very easy - I let its it for a while for the stain to penetrate the wood which is Huon Pine with natural oils, so it takes the stain a little time to penetrate] cheers Pat
- 517 replies
-
- 8
-
-
- Endeavour
- Artesania Latina
- (and 1 more)
-
It's the screw-ups we learn from Mark; thanks for posting them. At least with the "death star" recutting/shaping is a tad easier We also have to remember that the macro-photos also make things look worse than they really are to the eye. cheers Pat
-
Thanks John, appreciated. Last night I found two small blocks seized to the leading edge of each fore shroud (Main and Fore) in the AOTS running rigging overall drawing. Very faint lines which turned out to be (according to the AOTS) lead blocks for the tricing lines which ten led to the foremost shroud cleats for belaying. I'll check those two other reference you provided and decide from there. Many thanks mate, for this and pointing out my error (or should I blame the dockies? ). Pat
- 517 replies
-
- 2
-
-
- Endeavour
- Artesania Latina
- (and 1 more)