

Gregory
-
Posts
3,176 -
Joined
-
Last visited
Content Type
Profiles
Forums
Gallery
Events
Everything posted by Gregory
-

Looking for a good "starter" pin vise set
Gregory replied to Capella's topic in Modeling tools and Workshop Equipment
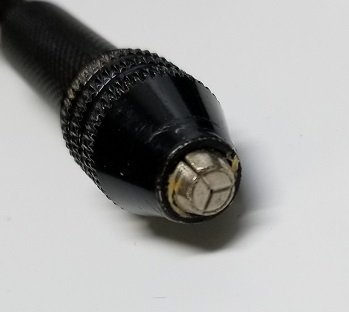
That should work.. Just a matter of getting it threaded.. The chuck on this pin vise is about the same size.. I agree the jaws should be steel.. Just as a test I was able to ding the jaws on mine with a diamond tip scribe, but it didn't seem to penetrate as much as I would expect for aluminum.. These on amazon say they are carbon steel.. Good deal at 2 for $10.49 I would like to acknowledge at this point, that a possible downside to the chuck, is that it would be a little more crowding in tight spaces than a traditional pin vise. -
Looking for a good "starter" pin vise set
Gregory replied to Capella's topic in Modeling tools and Workshop Equipment
I'm a little challenged when it comes to small diameters, in that I just have to eye ball it after .5 mm or so. I see that #80 should be .0135. This little 3 jaw chuck closes essentially to .000, so the #80 shouldn't be a problem.. Here is some copper wire that is about .01, and it's not going anywhere unless it comes out smaller than it went in. I think you would be surprised at the quality of these. Chances are a lot of different 'Brands' are coming from the same factory, the one I have doesn't seem to be available at Amazon right now, but any similar one should do as well. PS Just noticed the specs say this is made of aluminum, so I guess long term durability could be an issue. I don't see any noticeable wear after over a year, but I mostly use the 1/8 shank micro bits..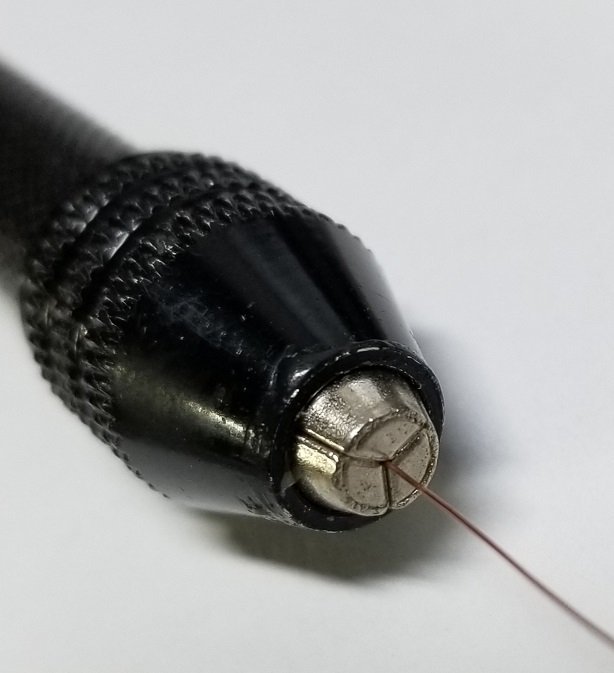
-
Looking for a good "starter" pin vise set
Gregory replied to Capella's topic in Modeling tools and Workshop Equipment
Is there some reason why you feel I am not competent to judge the quality of this tool I am holding in my hand? I need a good reason to spend $100 for a tool that is not as versatile or any better made than a $20 tool. I judge a tool by it's ability to do the work I want to do, and a quality that means I don't expect to have to replace it any time soon. I would have been real disappointed if I had spent $100 on a set of Starretts and subsequently found this tool for $20. -
Looking for a good "starter" pin vise set
Gregory replied to Capella's topic in Modeling tools and Workshop Equipment
I don't see where the Starretts come with different size collets . Do you have to buy at least four of them to get the .04 to .187 pin range? I'm sure they are well made, but doesn't ease of use count for something? I used to have two of the double ended ones so I could have four different bits available without changing bits. I threw them away after I acquired this: It will hold anything from a cat hair up to 1/8 ".. The 1/8 is really convenient for holding a lot of different Dremel type accessories & milling tools if the need arises. Since I haven't had the opportunity to use some of the " higher quality " suggestions, I don't know how this compares in that regard, but it has some kind of baked or anodized finish that appears to be very well done.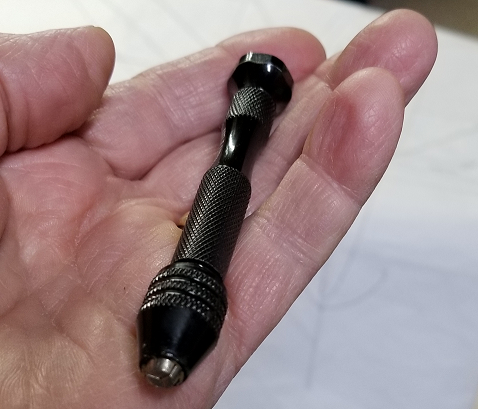
-
Looking for a good "starter" pin vise set
Gregory replied to Capella's topic in Modeling tools and Workshop Equipment
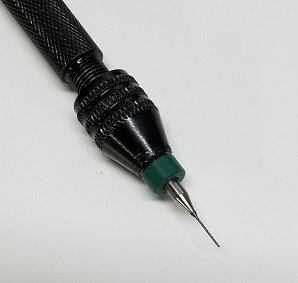
I really like this one. The 3 jaw chuck is really useful for a wide range of sizes without changing collets like a lot of traditional pin vise'.. 36 Pieces Vise Hand Drill for Jewelry Making Set If you get something like this, be aware those burrs at the top are brittle and break easily, but it is easy to get replacements.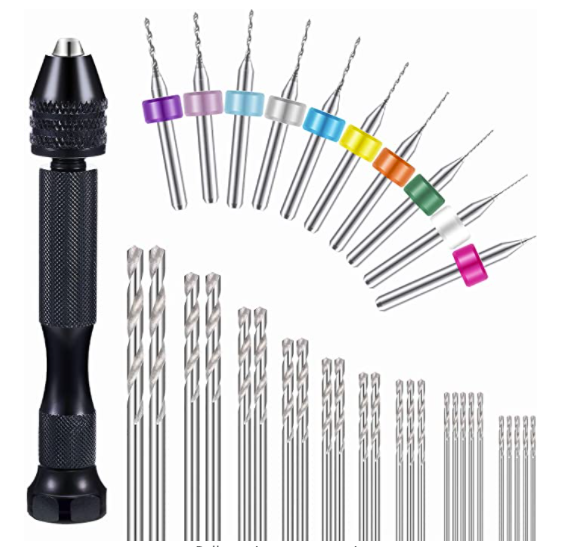
-
I have read a lot of different sources regarding Bligh and the aftermath of the mutiny, and I don't recall any mention of the launch after the landing in Kupang.. Considering the times, there would have been nothing special about the boat.
-
You know, there is a point where raising the bar any higher just makes some of us feel more inadequate..😁
-
Less costly rigging rope for Pride of Baltimore II?
Gregory replied to Brewerpaul's topic in Masting, rigging and sails
Lot of rope making info here: Discussions about Rope Making Did you check out Ropes of Scale? Another MSW sponsor. Another sponsor is Crafty Sailor Until you start making your own, stuff like Syren rope is still a bargain at $50. -
For whatever reason, I was able to get a color change on 100% polyester rope with Fiebing's leather dye. It seemed to be permanent and resisted wiping off after it was dry.. It was just an experiment, as I have no reason to change the color of the rope I make beyond changing the color of thread I use..
-
Have you seen the log by vossiewulf where he used red primer: They look pretty good IMO..
-
Any dying option you use may be subject to changing over time, and you won't know how long until it happens.. Have you looked at BenD's rope?
-
Old Montgomery Ward Model Kit worth building?
Gregory replied to kwaheltrut's topic in Wood ship model kits
That's never stopped anyone before..😄 -
I really like that decision.. Your planking looks like a fine piece of furniture.. Would be a shame to paint it.
-
I need help repairing an Artesania Latina Dallas 1:50 model
Gregory replied to Zeus-cat's topic in Wood ship model kits
Sorry I didn't get back sooner, but didn't find what I thought I might have.. -
Untangling and rerigging or start from scratch?
Gregory replied to Rgpracer's topic in Masting, rigging and sails
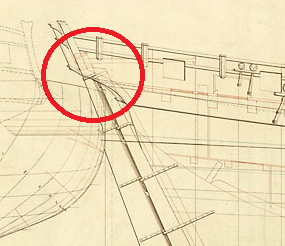
Keith, I came across this when browsing through the drawings at Wiki Commons, and thought I remembered someone commenting in this regard. Whoever drew this didn't get the word..😁 Link to Wiki.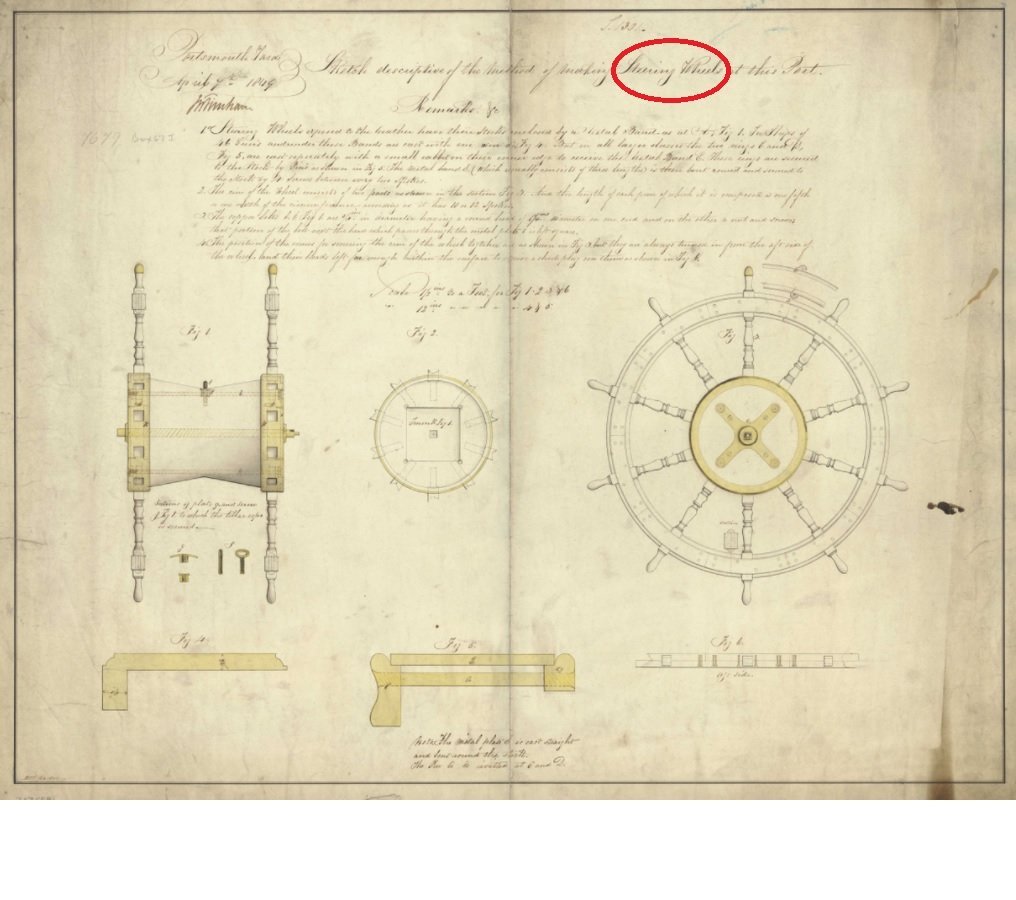
-
The counter looks like an excellent preview of your usual planking prowess.. It's almost a pity the that the fancy stuff will hide your fine work in that area..
- 840 replies
-
- 3
-

-
- winchelsea
- Syren Ship Model Company
- (and 1 more)
-
I need help repairing an Artesania Latina Dallas 1:50 model
Gregory replied to Zeus-cat's topic in Wood ship model kits
I will look in my stuff and get back to you later... -
The Master Korabel boats are similar to the Falkonet, and you can find them at our sponsor Crafty Sailor.
-
They look great! Those would work well for any 1:64 cutter..
-
I 2nd that!
-
Waterways
Gregory replied to Ron B's topic in Building, Framing, Planking and plating a ships hull and deck
here is a sketch from AOTS Royal Caroline that illustrates it rather well.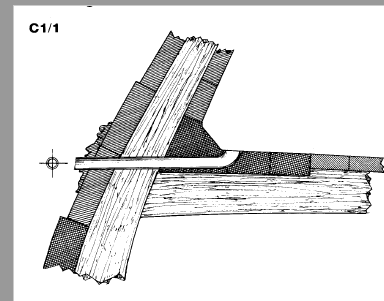
-
That is probably because many kit plans and instructions often present it that way. If you dig a little deeper, you will find many build logs where that is not the case.
-
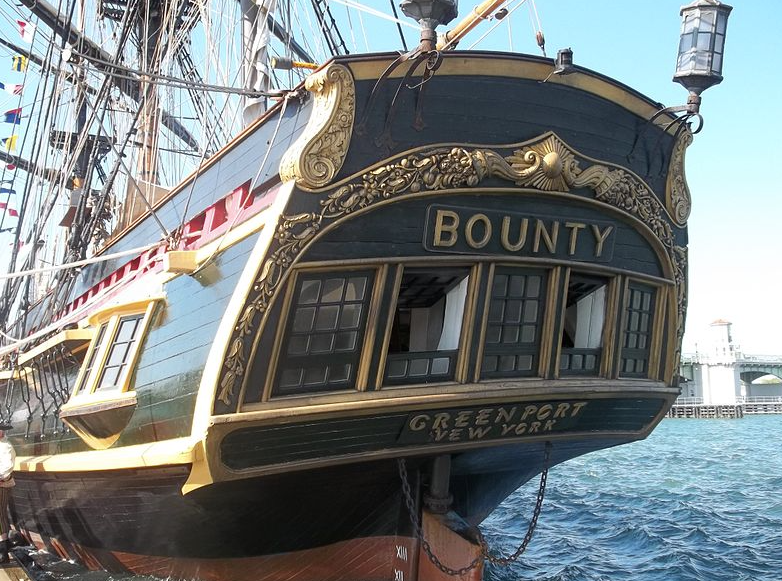
That stern looks a lot like one of the Bounty replicas..
- 347 replies
-
- 6
-
-
- Sophie
- Vanguard Models
- (and 1 more)
-
The plan I used was to illustrate how the rudder post enters the transom and determine the position of the tiller. Not necessarily how you plan to build Sophie. Your plan doesn't show where the rudder post enters the counter.. That would determine where the tiller would lie.
- 347 replies
-
- 2
-
-
- Sophie
- Vanguard Models
- (and 1 more)
-
Well, no.. All ships with a wheel did not have the same amount of space below decks to accommodate tiller mechanics, but it would have been adequate for the tiller as designed. Where does your rudder enter the transom? What kind of space do you have at that point for the swing of the tiller?
- 347 replies
-
- 2
-
-
- Sophie
- Vanguard Models
- (and 1 more)

