

Gregory
-
Posts
3,079 -
Joined
-
Last visited
Content Type
Profiles
Forums
Gallery
Events
Posts posted by Gregory
-
-
-
Great food for thought Chuck.. Another consideration might be whether adding details are reasonable at the scale you are working at.
How often have we seen an otherwise beautiful model where the belaying pins look like bowling pins, or the ratline clove hitches scale to the size of grapefruit ?
-
-
-
Great model!
It would serve well as the box art and other promotional material for the kit..
-
-
-
2 hours ago, tkay11 said:
Gregory: thanks for the experience with Chuck's blocks, as that seems to be good evidence.
I might add that I didn't soak them very long.
I also prefer the darker blocks seen on contemporary models, but that may have more to do with age ( of the model, not me ) than how the block was prepared....
While I am on the subject of age, I will say I don't want to wait 200+ years for my blocks to darken.. 20 Will be pushing it..
-
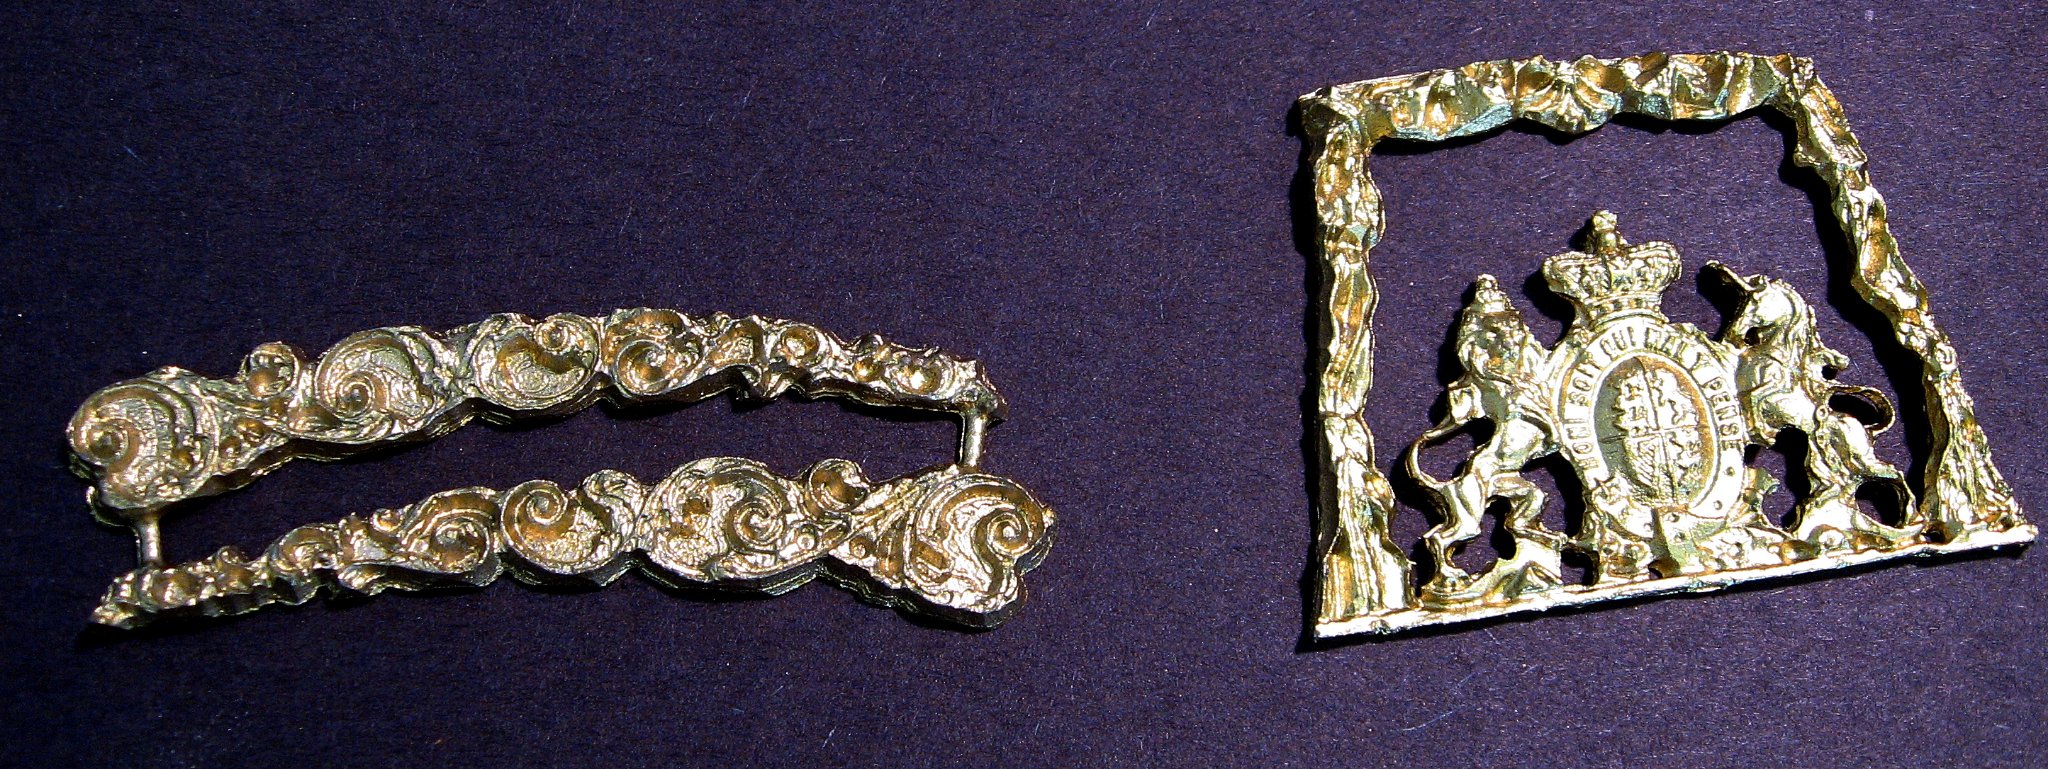
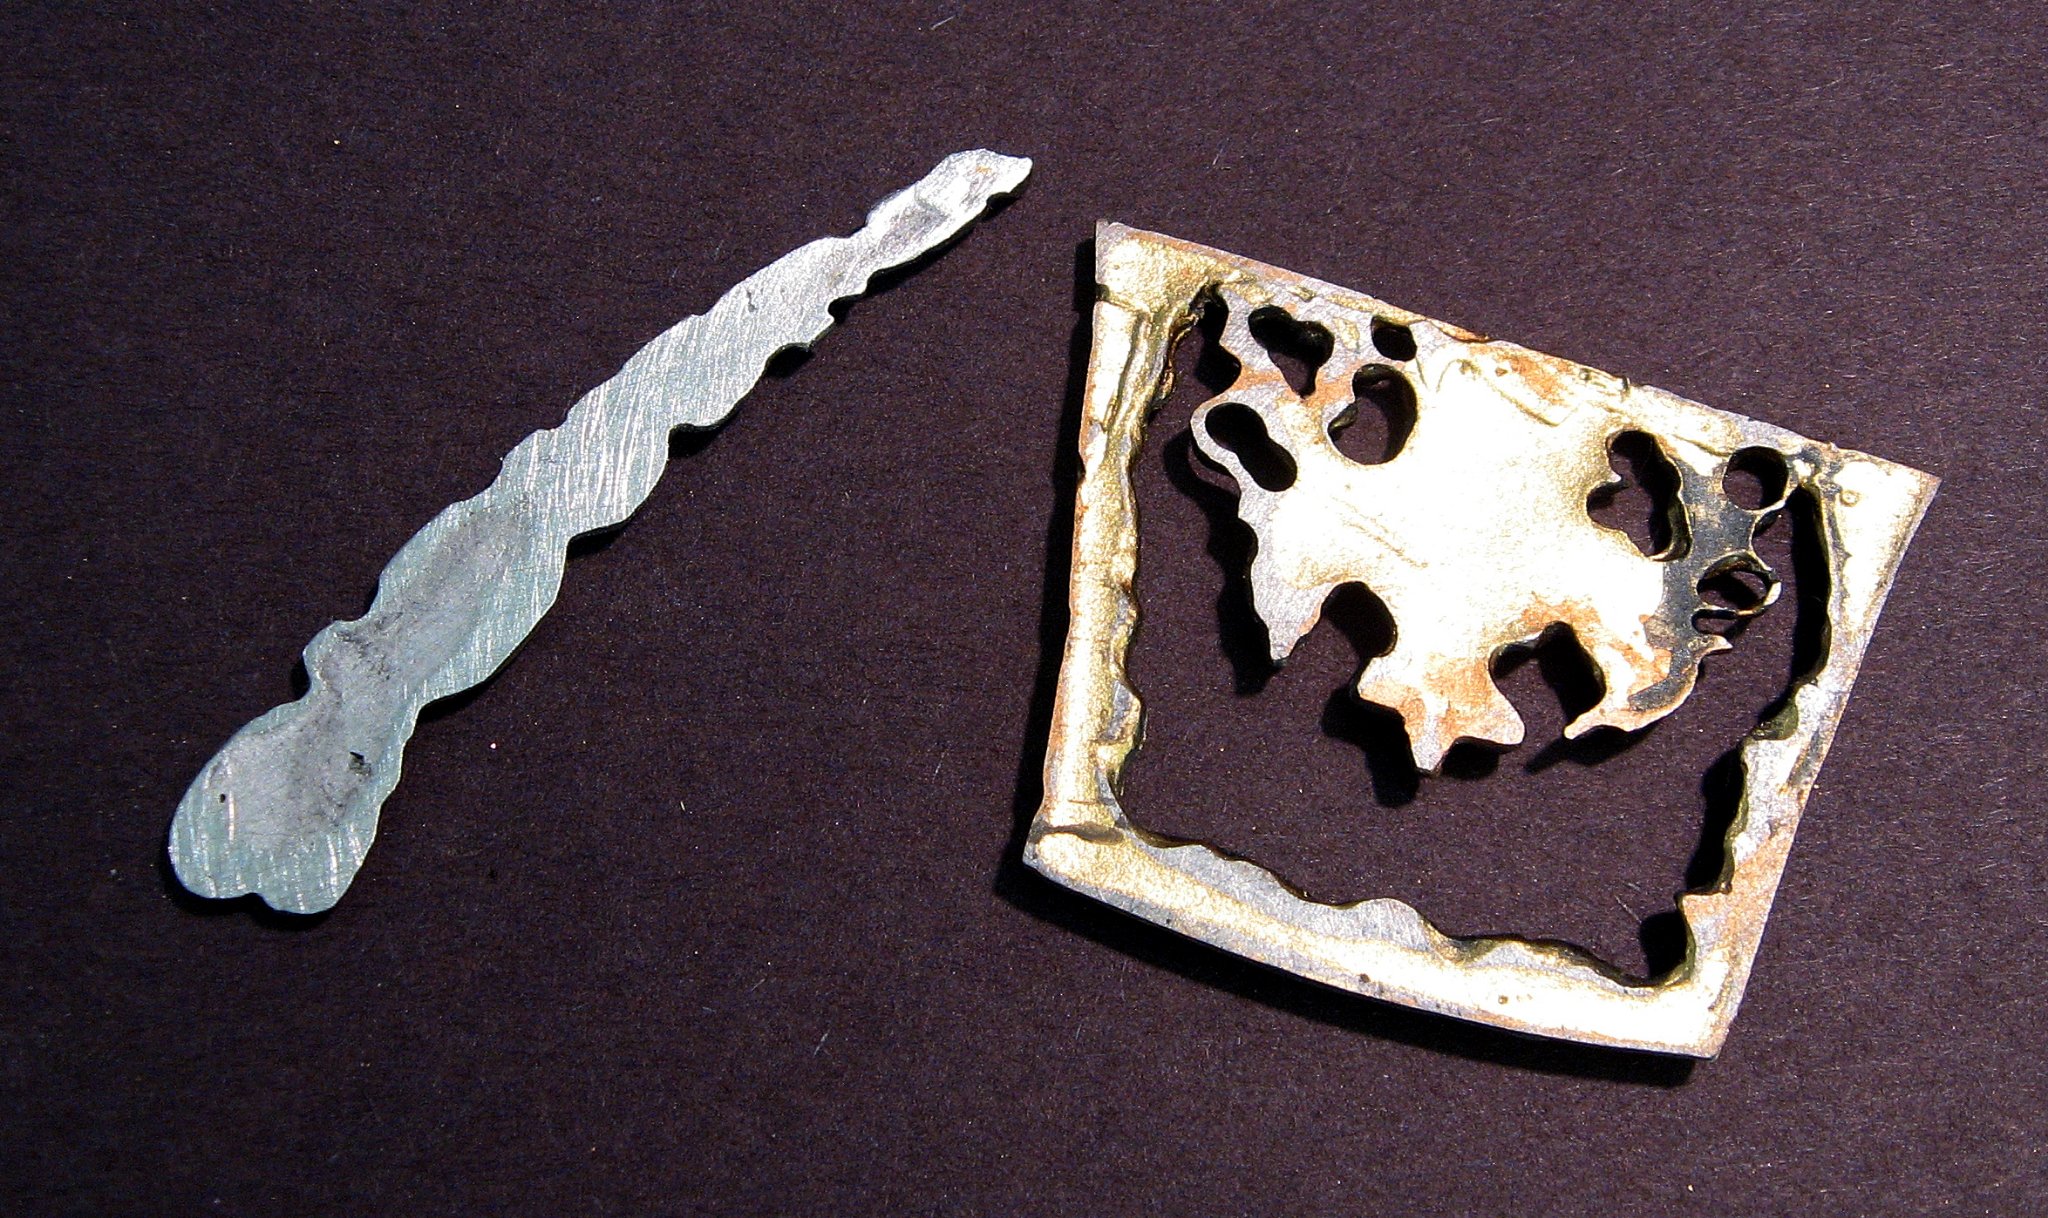
I used something like 80 grit sand paper. I laid the paper flat, and rubbed the piece over it..
I don't think I had a disk sander at the time, so I think I would use that to some extent today..

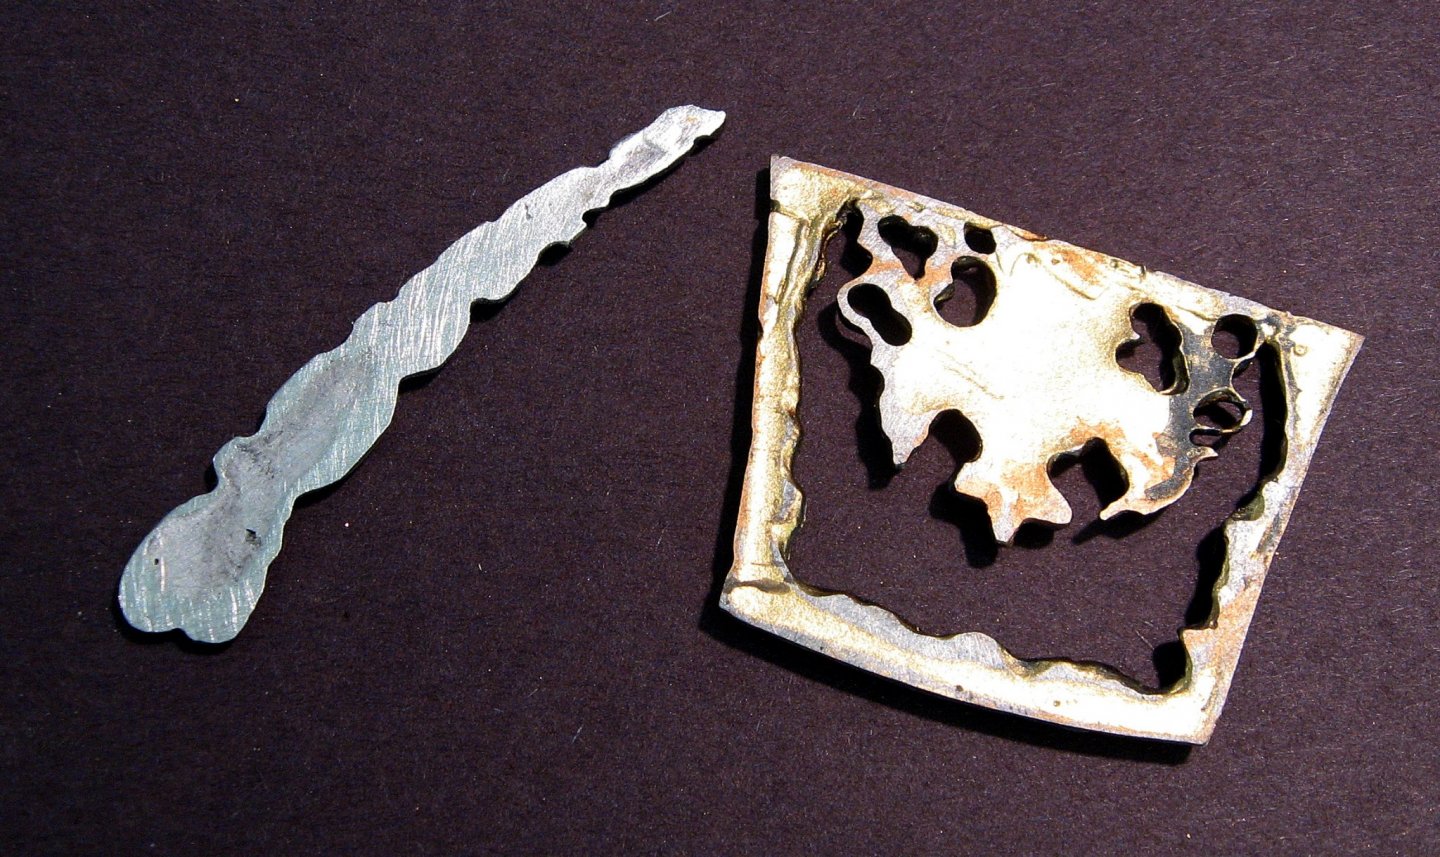
Here is an example of some of the pieces on my Mary.
-
@ jaager
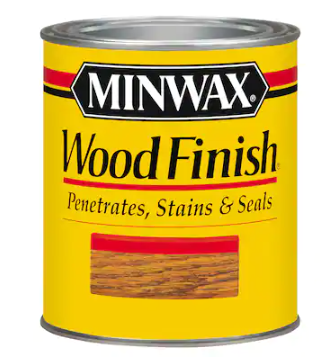
QuoteA stain - the noun - applies to a semi transparent paint. It does not penetrate wood.
What about companies such as Minwax, who claim their products " penetrate " ?
Their products are marketed as "stains".. Same for Varathane and other brands.
I have used these stains on thin ( 1/32, 1/16 ) sheets, and it shows up on the other side where I did not brush it..
We may be quibbling over the proper definition of the word, which manufacturers are using improperly.
Pedantry aside, I think when most members here talk about stains, it is these popular products they are referring to.
I have found that Chuck's blocks don't take a stain very well, depending on the lot.
- mtaylor, Ryland Craze, Canute and 1 other
-
 4
4
-
1 hour ago, Jim in KC said:
I completed the first planking (Swift Virginia Pilot Boat
That is a very nice job and shouldn't need much filling..
Any filler you use should be glue friendly.. Look for water based wood filler.
If you have any major dips that are not showing in the photo, fill those in with thin pieces of wood to smooth them out.
-
Can be a bit pricey, but you might check out:
Arming and Fitting of English Ships of War, 1600-1815
Lavery, Brian
- mtaylor and GrandpaPhil
-
2
-
-
Sounds interesting.. Show us some pictures...
- thibaultron, mtaylor, bruce d and 1 other
-
4
-
This amounts to a tutorial on how to detail the bow and head of any number of ships..
I will be coming here often for reference.
2 hours ago, Chuck said:Even those Chinese POF kits that everyone raves about do a rather crappy job with their headrails and cheeks.
You may be giving away too many secrets..
- Vladimir_Wairoa, FrankWouts, KentM and 1 other
-
4
-
Just another possible option: See if there are any vocational wood-working shops/schools around. They may let you use tools or help you..
- thibaultron and Ron Burns
-
2
-
-
14 minutes ago, VTHokiEE said:
is there any reason to do one compared to the other?
I think it's a matter of " what looks good to you..
Google " images of belaying pins "..
You will see a lot of nice coils..
- Old Collingwood and VTHokiEE
-
2
-
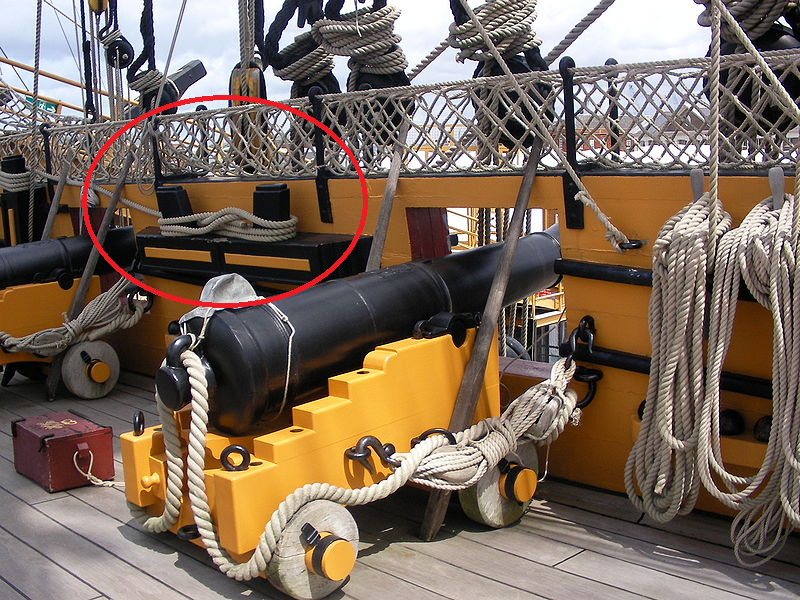
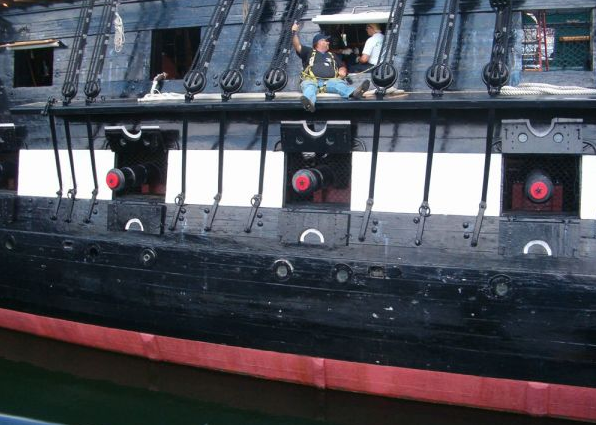
Looking very nice.
On those tie off's, keep them simple and cover with coils..
I like this example provided by SpyGlass

Maybe not as much volume, but go for the look..
- Old Collingwood, egkb, VTHokiEE and 3 others
-
6
-
It is a type of walnut from Africa. Not usually as dark as American or European walnut.
I would be reluctant to say it is a particular color, and you end up with something different.
It should be as easy to work as walnut or cherry.. The grain is usually finer than American or European walnut.
Are you planning on using shorter planks, rather than going from stem to stern, as a lot of kits suggest?
FWIW I have used these 1/32 basswood sheets from Model Expo to make my own strips which gives you more options for varying your plank width.
You can also stain it to get the color you want.
My experience has been that these sheets were very good quality.
-
.5 to .6 Is usually good. Model Expo usually has a good selection.
Just stay away from what they sell as boxwood.. Unless they have changed, their " boxwood " is not...
-
Quote
Gregory are you an advocate of CA glue for most jobs? best regards Dave
I use CA a lot. Mostly anywhere it is not very small pieces.
I used it for planking with veneer on my current Resolution kit project
I used to avoid it because I had trouble managing overflow at edges. Then I learned to keep a swab and acetone close by, and have learned it's pretty easy to keep mistakes cleaned up.
-
FWIW I have used a homemade accelerator that works pretty good. 1/2 Teaspoon of baking soda in 1/4 cup of purified or distilled water. Brush it on where needed.
More baking soda makes it faster..
-

Sheets from HMS Victory
in Masting, rigging and sails
Posted
I deleted my earlier post because I saw you had that information. Did you see my last picture?