HOLIDAY DONATION DRIVE - SUPPORT MSW - DO YOUR PART TO KEEP THIS GREAT FORUM GOING! (78 donations so far out of 49,000 members - C'mon guys!)
×


yvesvidal
-
Posts
3,607 -
Joined
-
Last visited
Content Type
Profiles
Forums
Gallery
Events
Everything posted by yvesvidal
-
 BIG, BAD and BEAUTIFUL as the Monogram cover box used to say. Yves
 -
Kevin, if we could not see your tools all around, I would swear it is a real boat!! Yves
- 72 replies
-
- 1
-

-
- fishing boat
- artisanal fishing boat
- (and 1 more)
-
Great work Kevin. You are experimenting and I like the solutions you are coming with. It is not a simple kit, between the charred wood to remove and the large number of parts, all looking the same. I cannot wait to see you holding the fully framed hull !!! Yves
- 317 replies
-
- 3
-
-
- enterprise
- caf
- (and 1 more)
-
Could that paint be polished or buffed, like certain metallic paints? That would increase the shine. Yves
-
This is all very fishy..... but so well made. Yves
-
Now, you need to place a small propeller inside that tubing. Yves
- 70 replies
-
- 3
-
-
- calypso
- billing boats
- (and 1 more)
-
Very nice model, Mike. Yves
-
Mike, Thank you for these excellent directions and hints. I will definitely refer back to them for my upcoming projects. Yves
-
Beautiful and sleek shape. Yves
-
Superb little fleet and beautiful decals, Mike. Your painted insignia are out of this world..... That must be a tremendous amount of work. Could you describe for us, how you approached that daunting task? Yves
-
This is so realistic and beautiful. You are so lucky to live in such paradise and go fishing at your leisure with your Perseverance boat. Yves
- 72 replies
-
- 1
-
-
- fishing boat
- artisanal fishing boat
- (and 1 more)
-
Exciting kits. I am glad that multiple threads of these CAF models, will be started. In the old days, certain kits were pre-cut with water jets, which does not leave any charcoal marks on the parts. It is unfortunate that this technology is not used more or no longer used in the kit industry. I suspect that the water cutting machines are a lot more expensive and bulky than the laser cutting machines. Yves
-
GORGEOUS !!!! That Stern is so beautiful and your attention to details is amazing. You have done a masterpiece. Yves
-
If you are not satisfied with the coiled brass wire that they gave you, you could use N-Scale tracks (1/160) or perhaps better Z-Scale tracks (1/220) made by Marklin. You can easily remove the rails from the plastic ties or even buy the rails from Micro-Mark which sells them individually. Use code 55 rails or even smaller if you can find them. I believe real rails will look better than round wires. https://www.micromark.com/N-Scale-Code-55-Flex-Track-Bundle-of-6-Pieces https://www.ebay.com/itm/Marklin-Z-Mini-Club-Straight-Section-9-Length-8505-LN/174408520737?hash=item289b8ed421:g:m-MAAOSwu0BfRSm2 Yves
- 64 replies
-
- 2
-
-
- yamato
- deagostini
- (and 2 more)
-
I am starting to really like that kit. Very nice assembly so far. You also need some Italian beverage on your shelf, a Chianti or some Asti Spumante to replace that beer. Yves
-
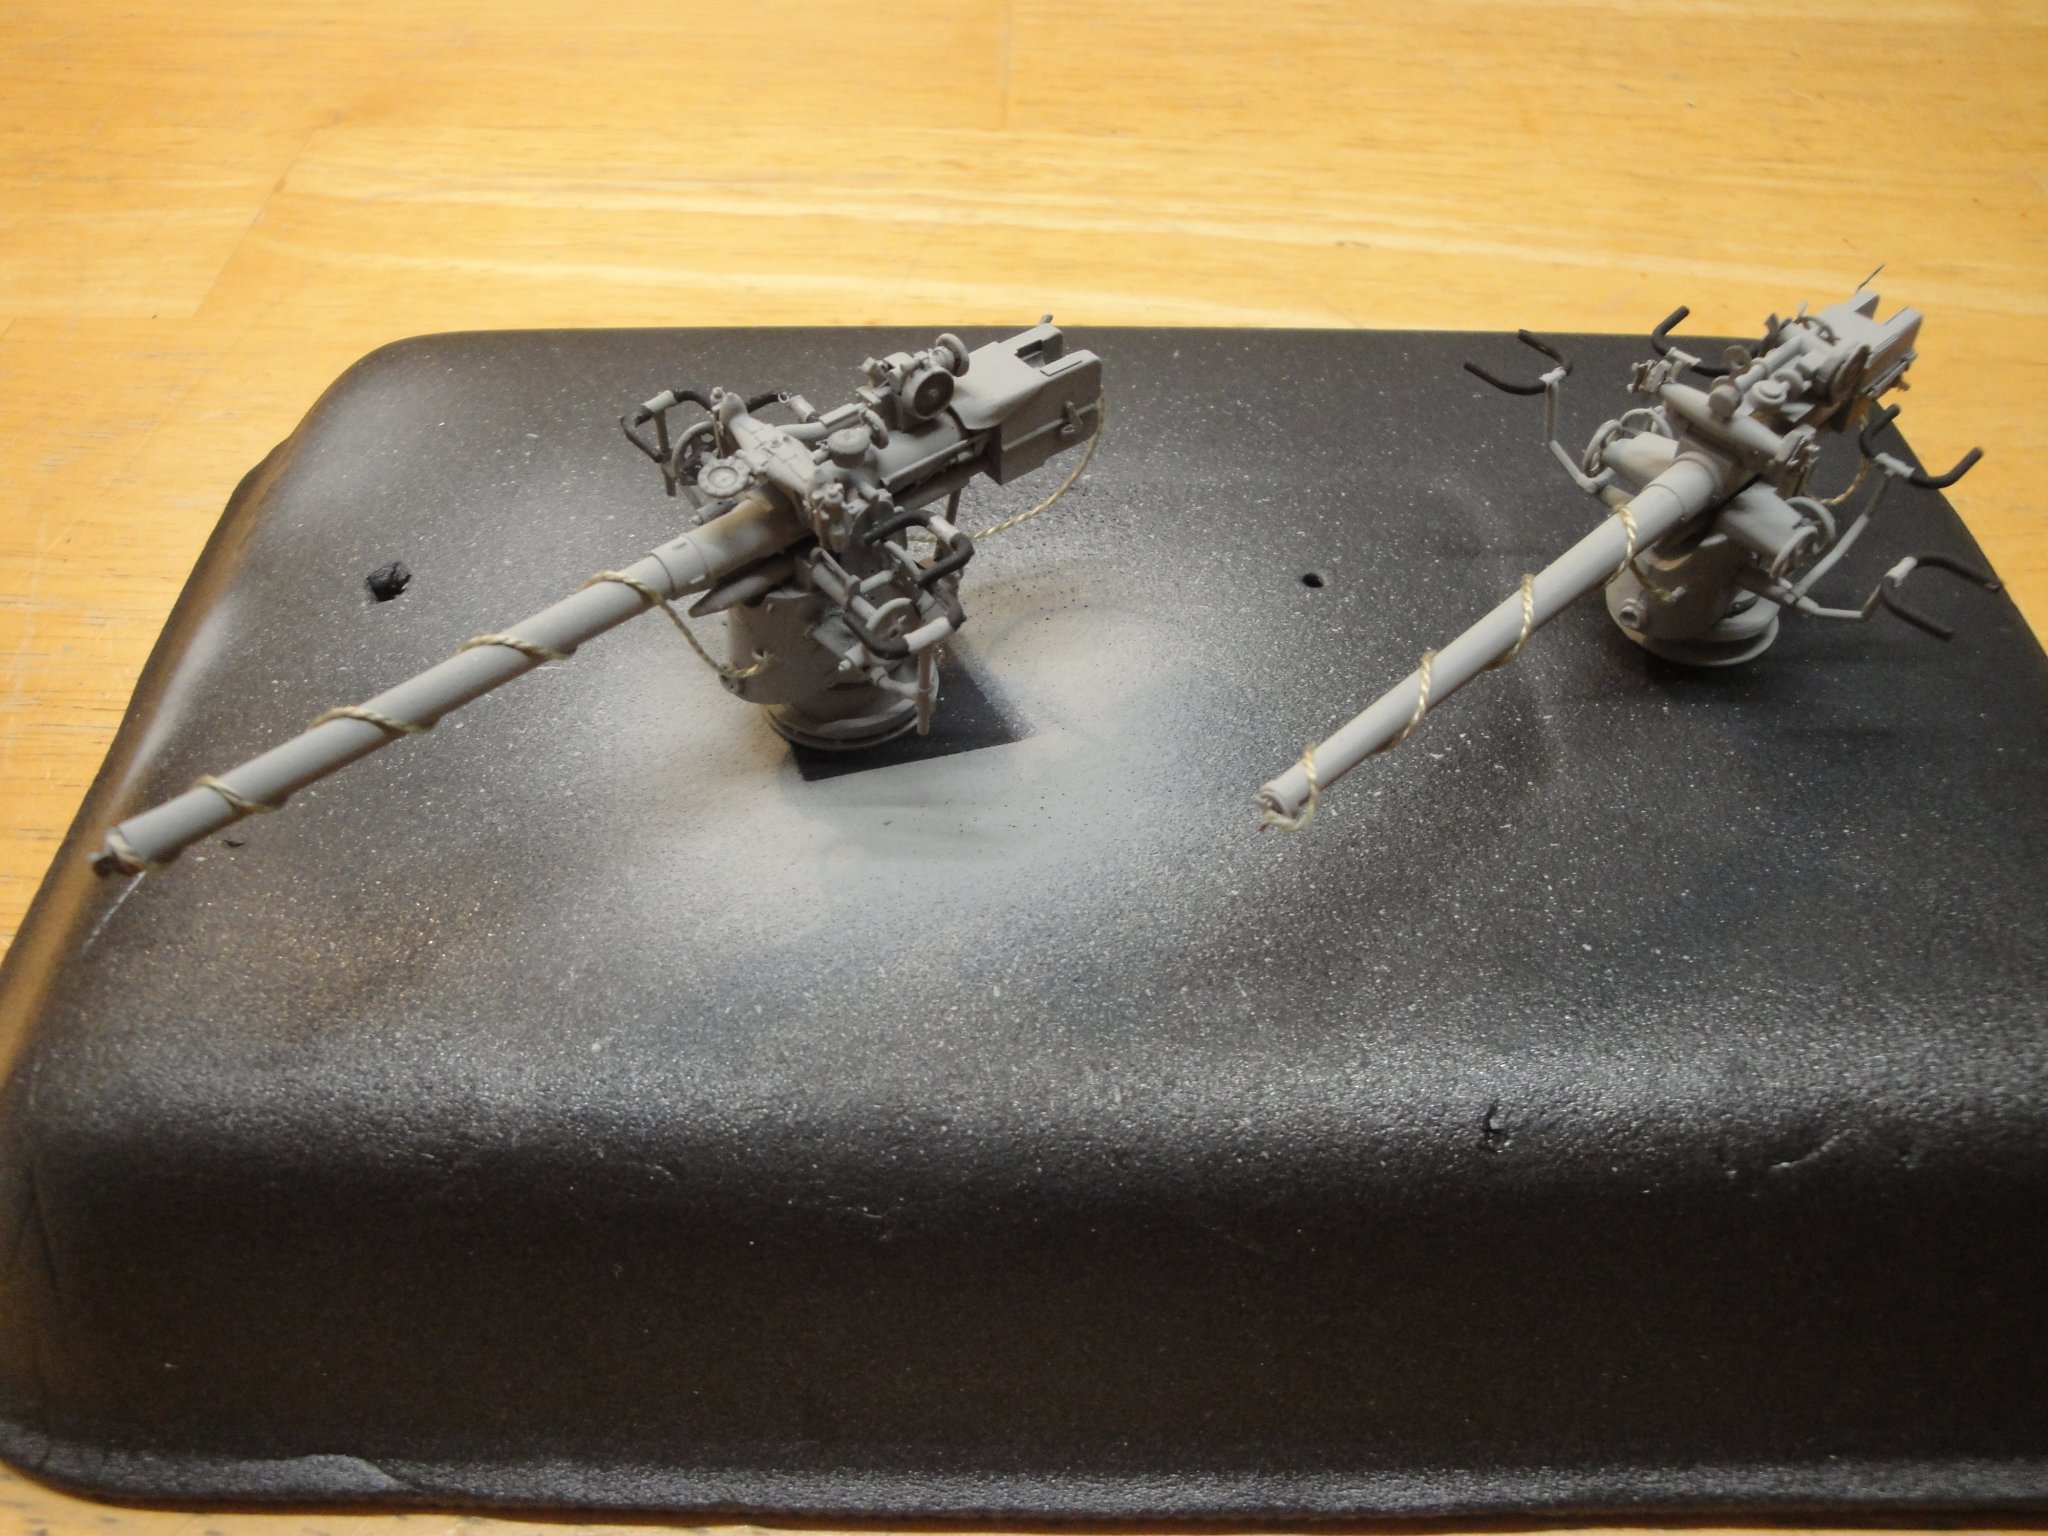
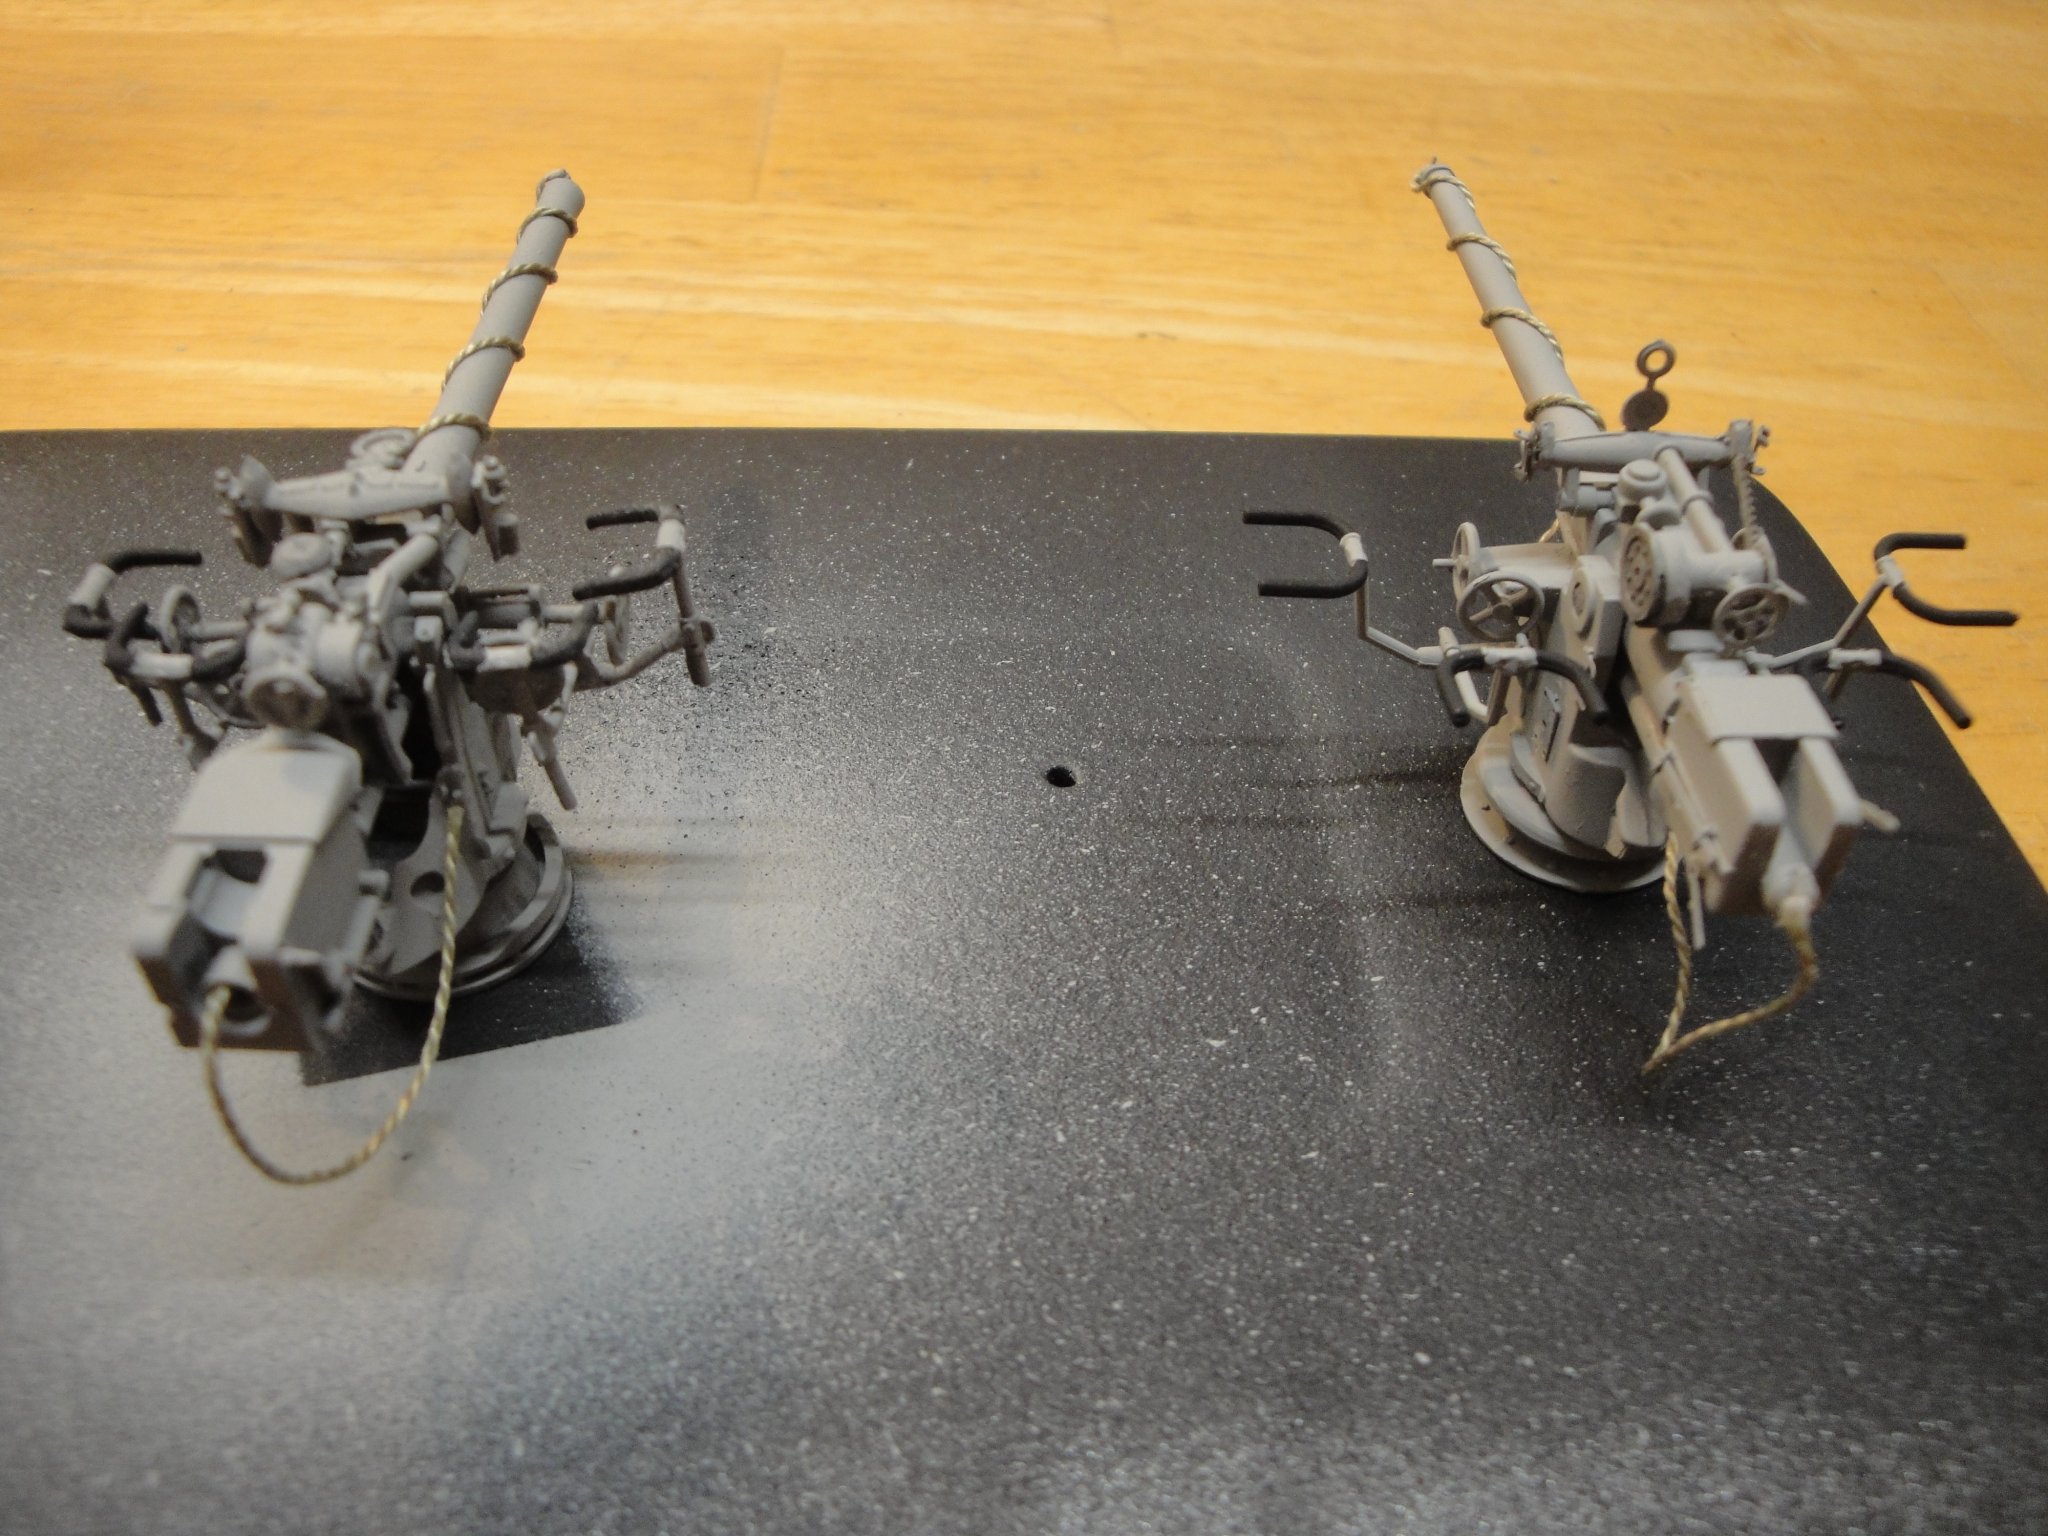
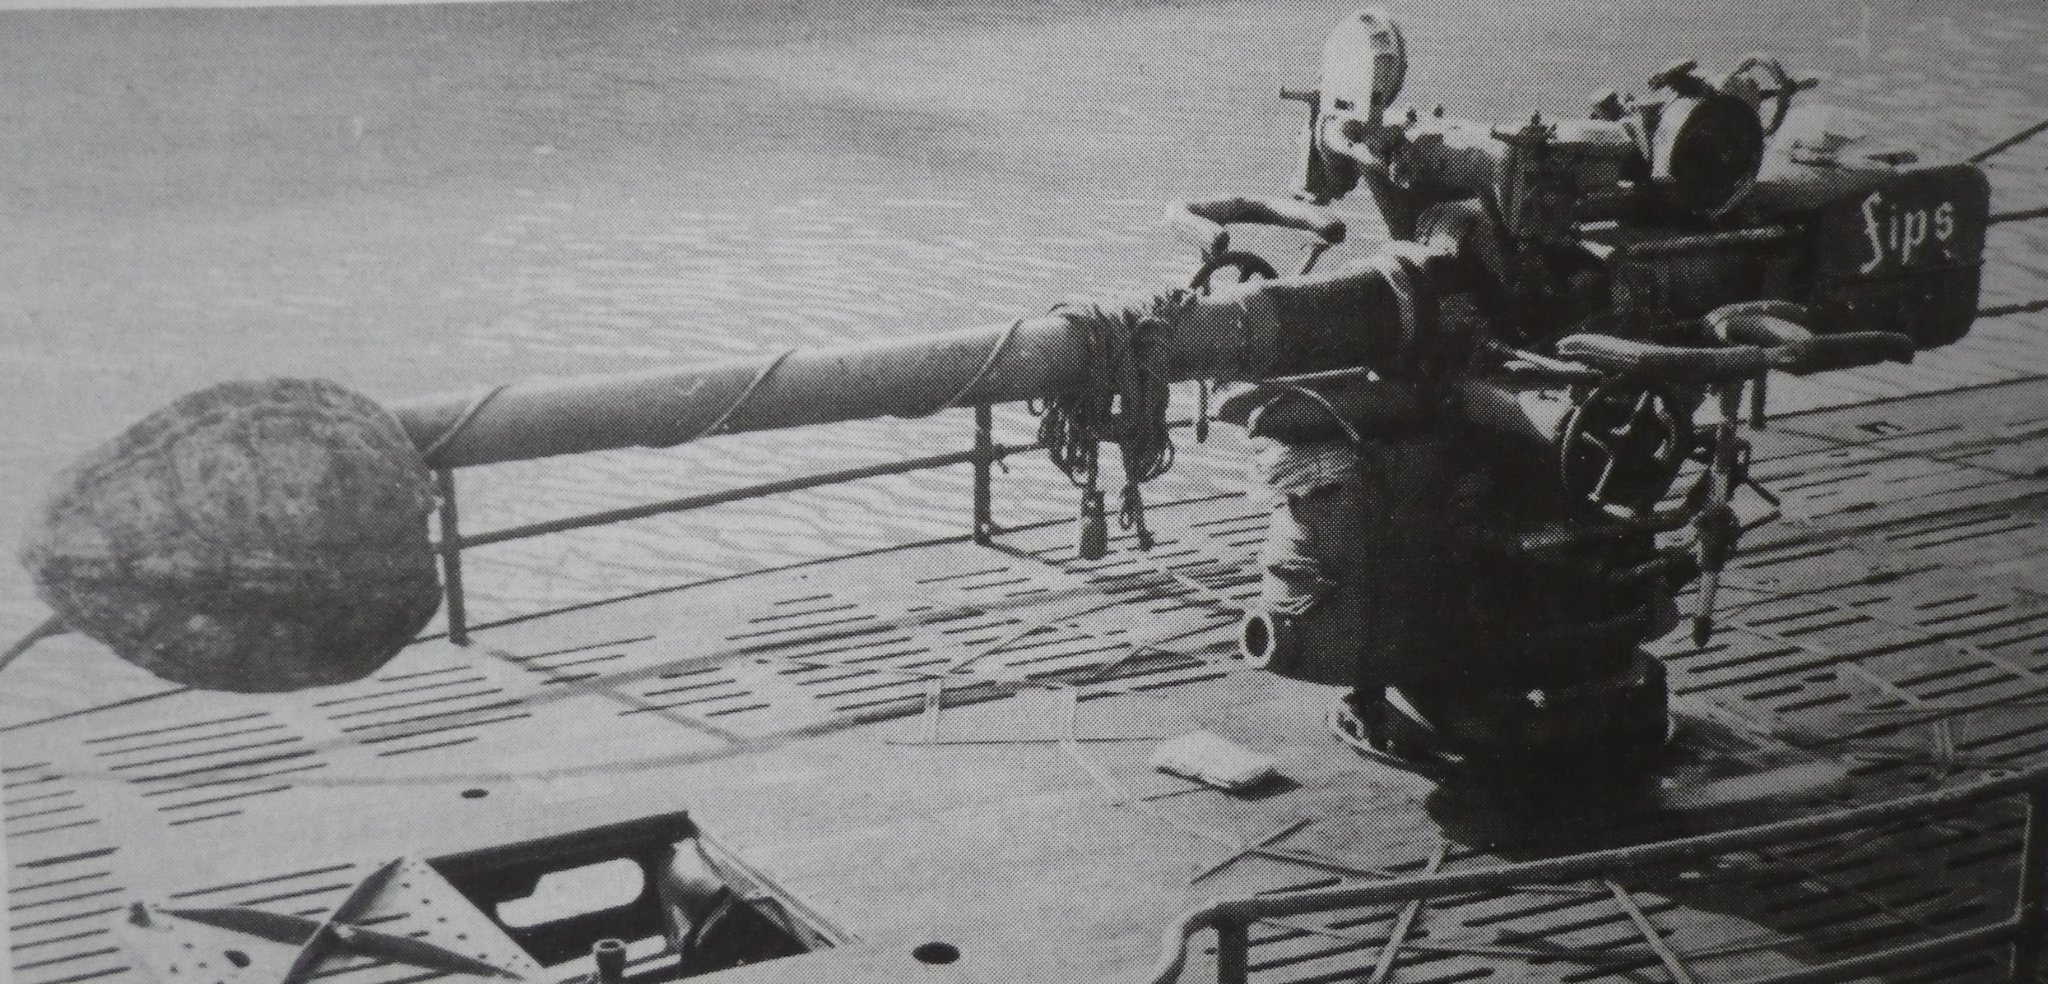
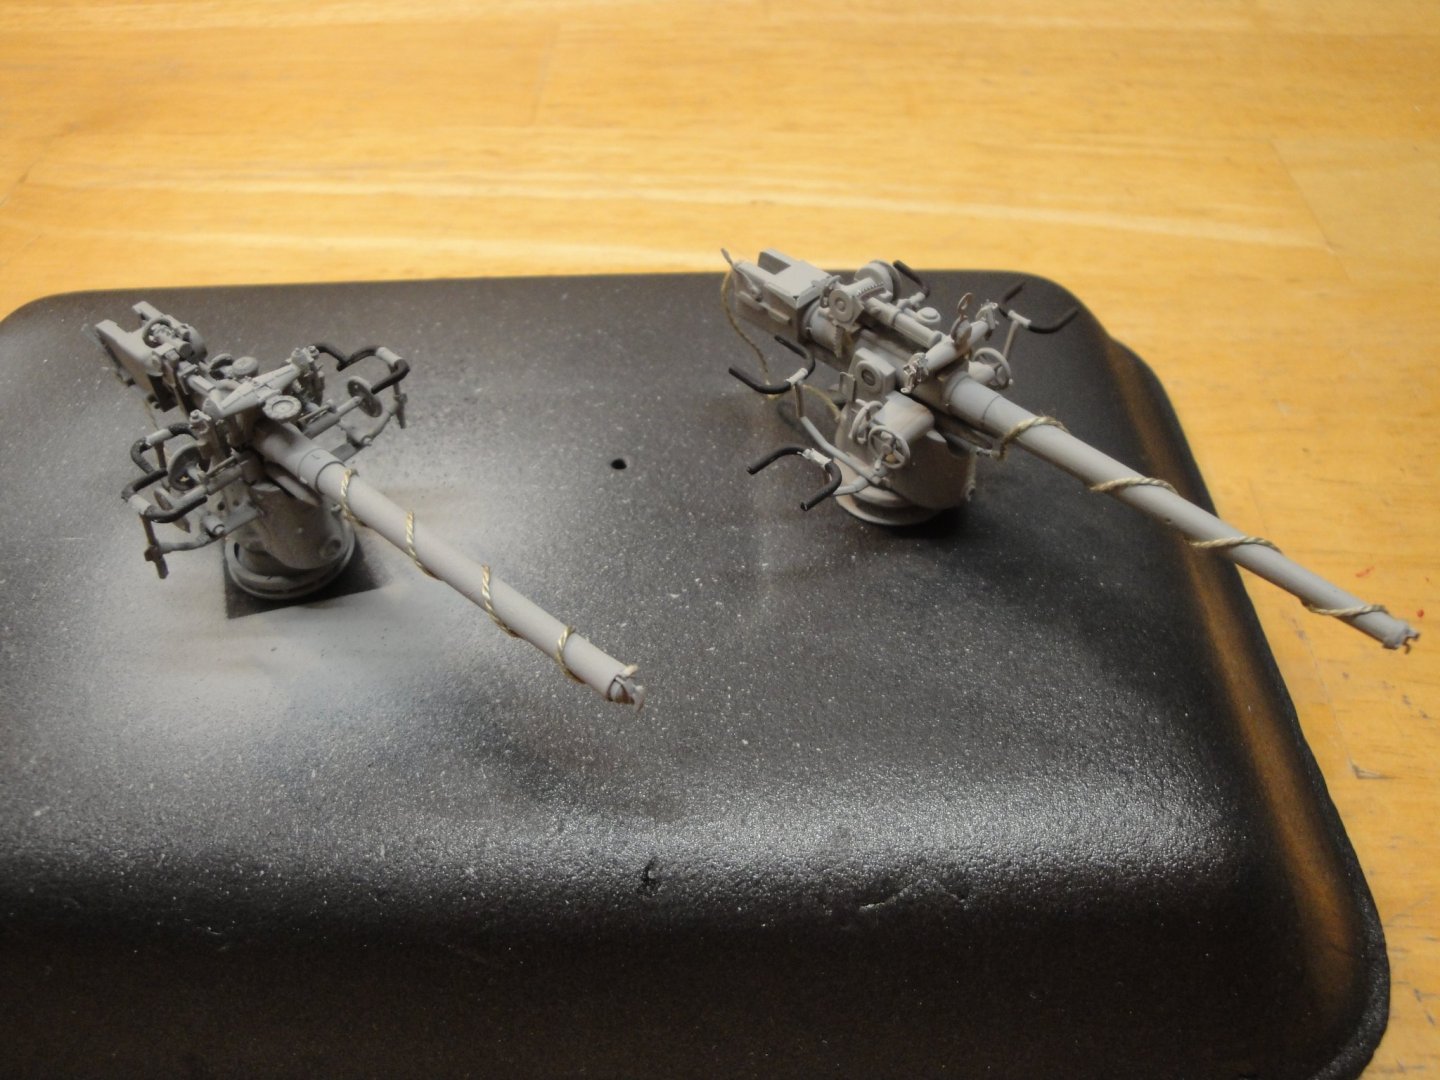
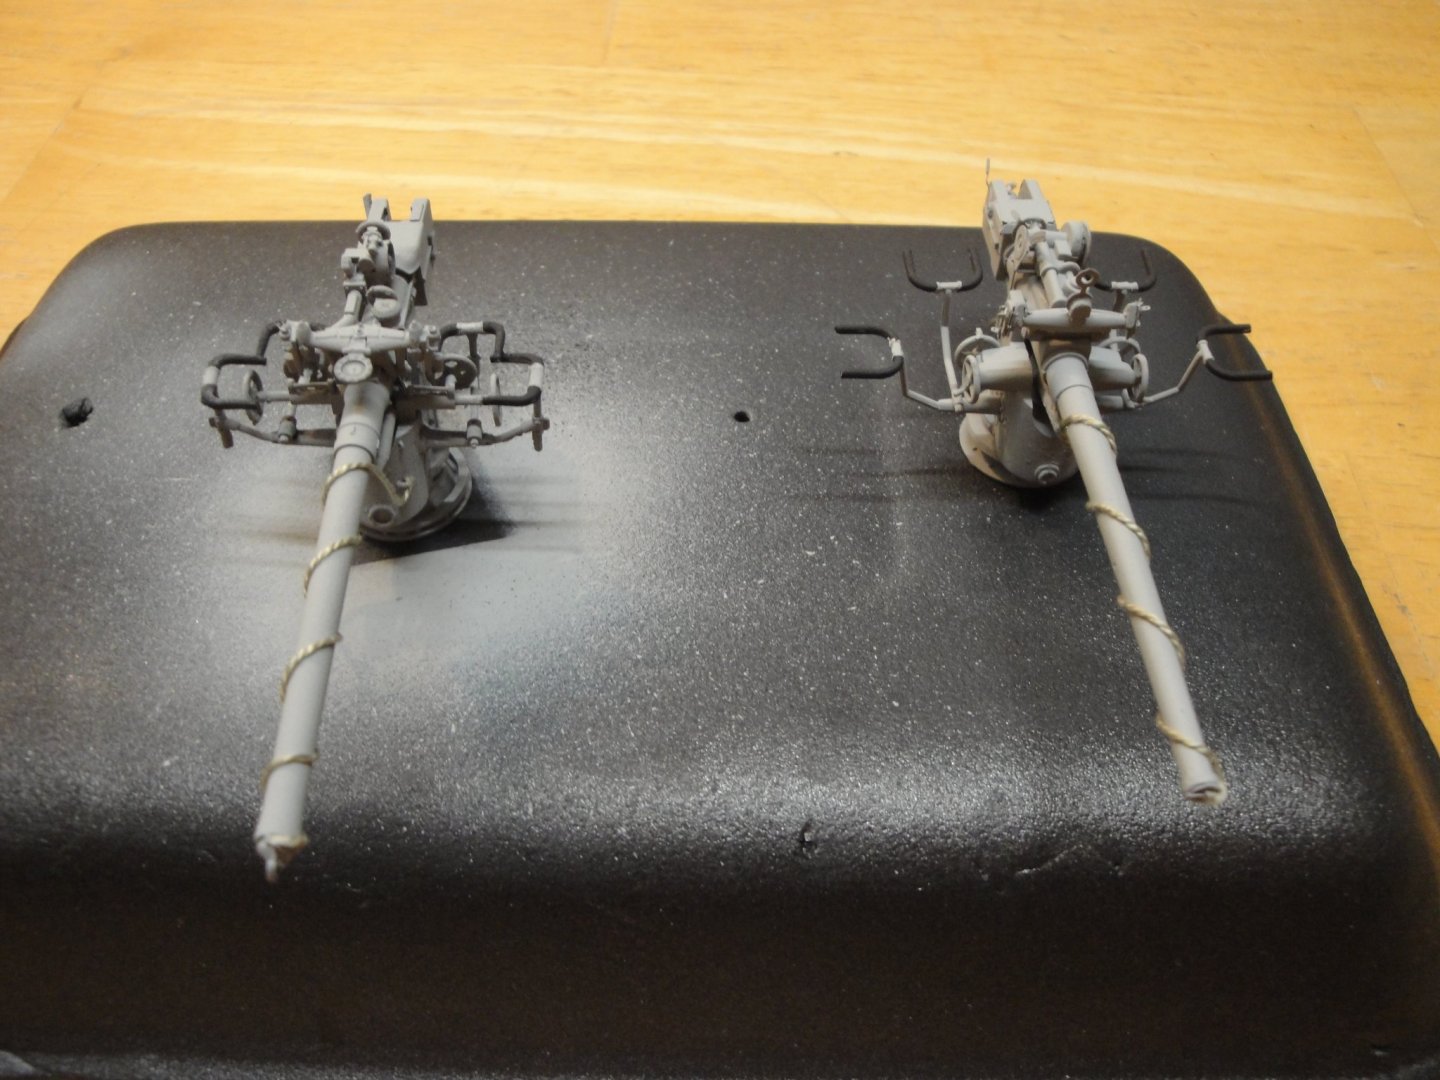
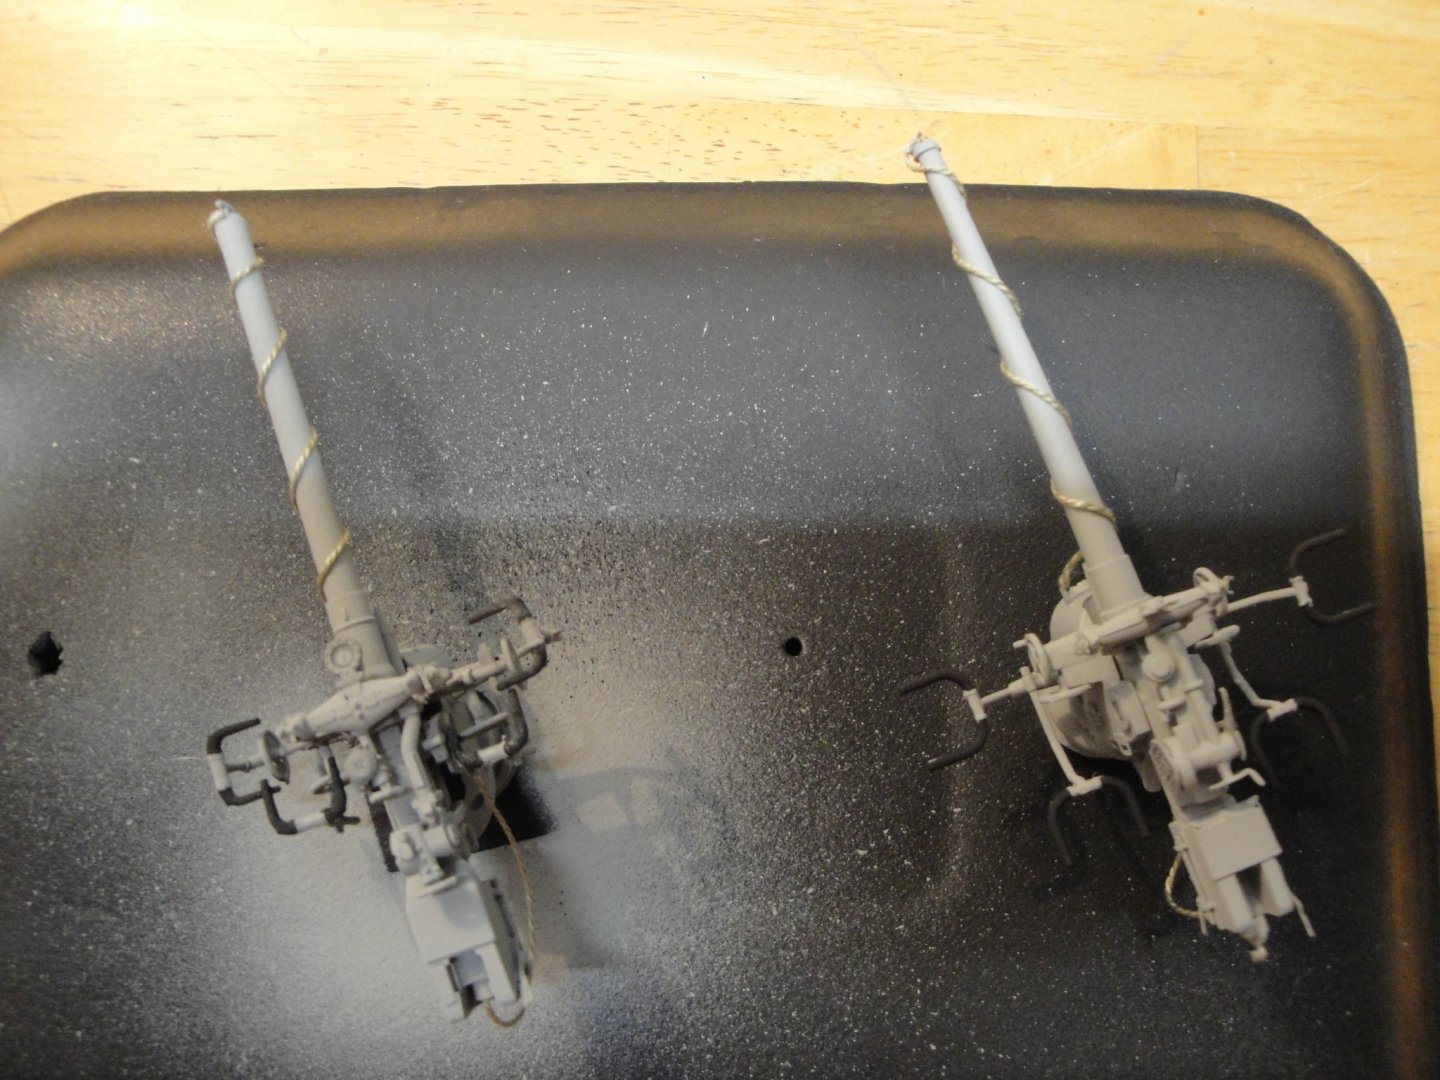
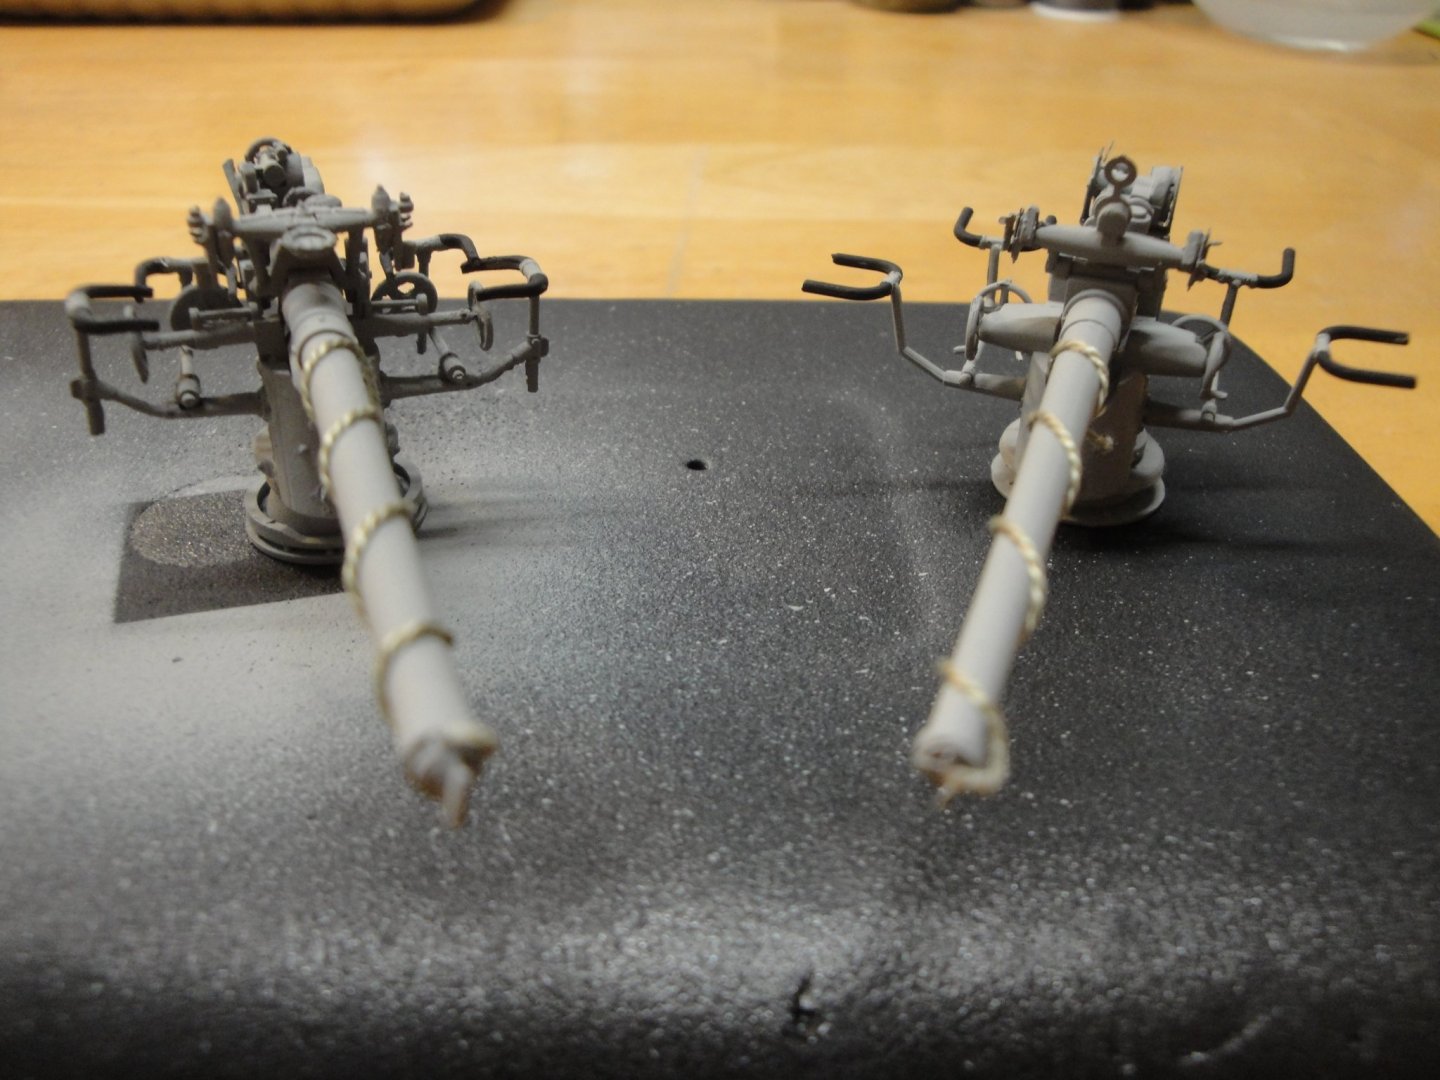
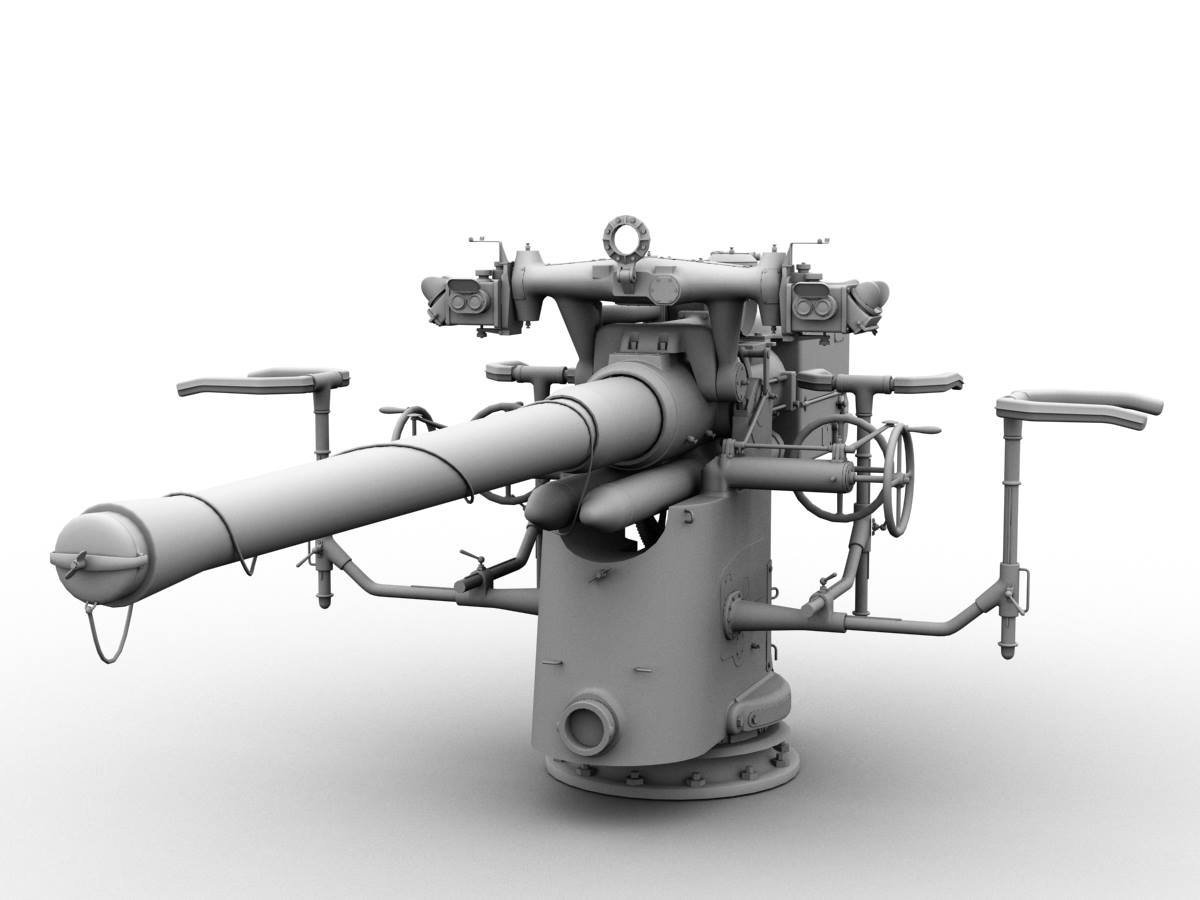
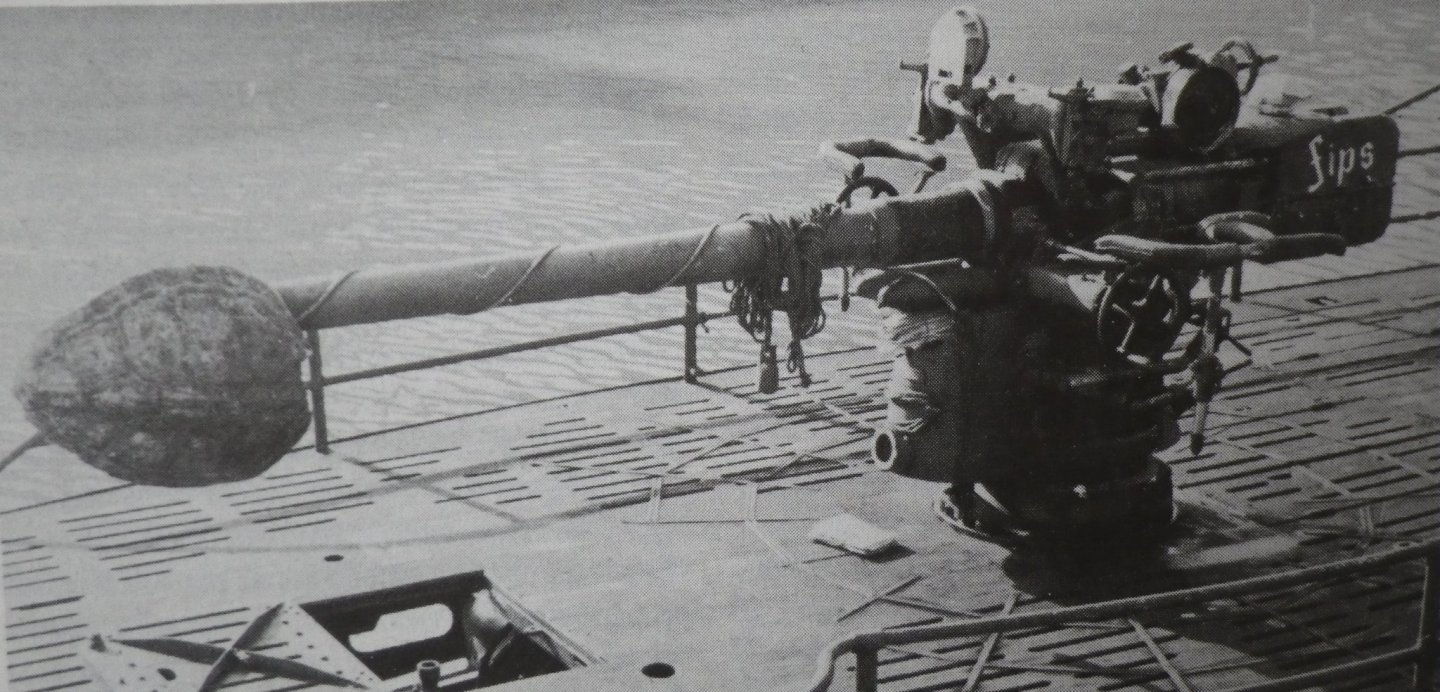
Well, both guns are now complete and I still do not know for sure, which one to mount permanently on the U-Boot..... Ideally, If I had known earlier that Eduard was offering this kit, I should have mixed parts of the Trumpeter, RCSubs and Eduard gun kits, to make the most realistic model possible. The Eduard kit is definitely more precise in the casting and offers some details that the Trumpeter parts miss completely. On the other hand, the Trumpeter/RCSubs kit offers a gun which can pivot and swivel. It is also more solid because of the flexibility inherent to the polystyrene. By comparison, the Eduard resin parts are very brittle and are just asking to fall apart if poorly handled. It is also completely static which may not be a bad thing. Maybe I should design the gun bases so that they can be interchangeable, based on my mood..... 😉 I think I am going to retain the Trumpeter/RCSubs version but it is truly a tough choice. I have agonized long enough and must keep moving if I ever want to finish this model. To end that presentation, a couple of pictures for a 3D rendering of the gun and the real stuff: Yves


- 760 replies
-
- 15
-
-
Thank you for publishing this picture. It really gives us a sense of how large the model is and how complicated. This is going to be a great model, no doubt. Yves
- 317 replies
-
- 7
-
-
- enterprise
- caf
- (and 1 more)
-
That is amazing. You may not be happy with the results, but it looks good from 6 inches away. Yves
-
That Molotow paint is fabulous. What a great work you did. Yves
-
Wonderful progress on the Emma. That is a lovely kit and I hope your Build Log will give me the urge to resurrect mine, which has been idle for way too long. Yves
-
Nice work, Kevin. I am glad you went ahead with the glue! Yves
- 317 replies
-
- 4
-
-
- enterprise
- caf
- (and 1 more)