
HOLIDAY DONATION DRIVE - SUPPORT MSW - DO YOUR PART TO KEEP THIS GREAT FORUM GOING! (Only 13 donations so far - C'mon guys!)
×


popeye the sailor
-
Posts
16,007 -
Joined
-
Last visited
Content Type
Profiles
Forums
Gallery
Events
Everything posted by popeye the sailor
-
 there are quite a few of them too........I never knew just how large the wargamer medium really was, until I went looking for a tutorial on the decal maker that I own. I would imagine that for air brushing, there are just as many, if not more!
 -
really nice detail in the cockpit......I built the Guillow's Spitfire MK 1. of course, there is no comparison to the level of detail your doing, but I've had thoughts of trying to detail one of those bad boys out seeing what tiny parts your dealing with........I'd definitely have my work cut out for me
-
what's next on the menu?
-
I haven't forgotten about the General folks........I would have had an update, but things kinda went wrong and the walkways came off the boiler in a rather horrible way . I have them back on now........there is still a bit of touch up to go, but I will wait till I have the floor cemented in place {correctly this time}. maybe then, I can proceed without any more brain pharts
-
came out great.....a sweet looking model! the backdrop is a nice touch too........kinda looks like corrugated siding I would have commented on the decals, but I didn't want to sound like a broken record. but it came out look'in superb......congratz on a fine build!
-
don't show me stuff like that!!!!! you really want me to get thrown out of the house!.....don't you! too late.......I've almost figured out the two components to build it her is another that I built in the past....this is not my model though. I haven't done much to the model of late.......I did get the radiator back on. should have something on this one soon
-
nice progress so far Tom.......the wheels did clean up well. it shouldn't be too hard to get a convincing finish on them, but did you look at the upgraded wheels to see if them might look better?
-
I wouldn't think so....too much forward ballast. probably an inboard in the rear. it looks like a Kenworth.......possibly a heavy duty tow truck
-
neat! that would have to be a 1:16, or a 1:8 build.....to get the full effect dontcha know
-
very nice progress....the engine looks great!
-
they may beef up during the rest of the year.......but when the tax man cometh, they slim down
-
hello Tom! thanks for the good word no Lou.......it's April fool's day....365 days of the year! you can only go so far on a lump of coal ya know I'm sure she thinks highly of you..... Kevin came by yesterday.......he brought me two cans of Fosters! thanks Lawrence......hadn't even gotten out of Hobby Lobby, when I came up with this half baked idea. I remembered doing something like this to a plastic woody model back in my youth. I think it's telling me how I really should be getting back to wood, and leave the plastic to the experts I'm glad you like it ....and thanks to all of you folks who hit the like button. I appreciate ya'll look'in in
-
look'in forward in seeing your progress........is the kit detailed?......engine and all?
-
jeeze.......I haven't browsed Squadron for quite a while now. I've seen some of the wing nut models......some serious cake there......almost as bad as Eduards. I don't recall ever building an albatross.......they were extensively used in all the Jastas. guess I'm just a Fokker kind of guy following along diligently!
-
super job Danny! even though it fought you tooth and nail, you got 'er together a model well done! ....now if someone can tell me, why every time I log in here........I pick up my x actor
-
very nice progress.......she looks really good
-
I think that's where a lot of folks run into trouble with the dead eyes, eye bolts and blocks. I always use white glue for the ties and lashings. other cements will tend to weaken the eyelets and they end up breaking. I have never substituted them......haven't had much trouble at all with 'em. haven't tried epoxy......just good 'ole CA very nice progress.
-
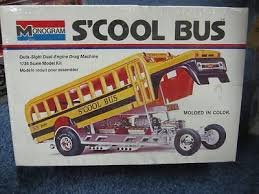
thanks for the kind comments gents it's good to finally have these two halves together. I worked on it a bit more last night, but as I was adding the radiator hose, the radiator popped off! I have a habit of scrapping off enough paint to cement the part on. then if I wished to change things in the future, a light prying usually removes the part with little damage { I used to do this a lot}. the admiral likes it too. good synopsis Lou .......so far, the aluminum and brown {hull red} paints are now in bottles.......got 'em out of those tins {monogram}. I need to find one for the satin bronze. I've been using these paints.......yesterday, I saw that there was a 'skin' floating around in the hull red paint.......tells me that if I didn't get them in a better sealed container, they might not last much longer. I hope you recover quick......there's only two things that you should run down the stairs for......supper and s--. though the two can be done in the kitchen, be leary of the latter.......it may be a decoy to get you there to dry the dishes thinking of you good buddy I wanted the mags J.......but I'll need them for the C.G. PADDY WAGON>>>>>>PADDY WAGON>>>>>>PADDY WAGON! said three times fast......it comes out as puddy wag'in the moons are pretty old school 🎓
-
second that
-
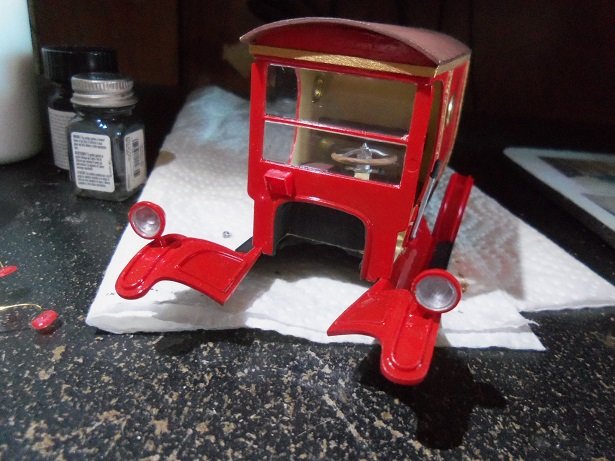
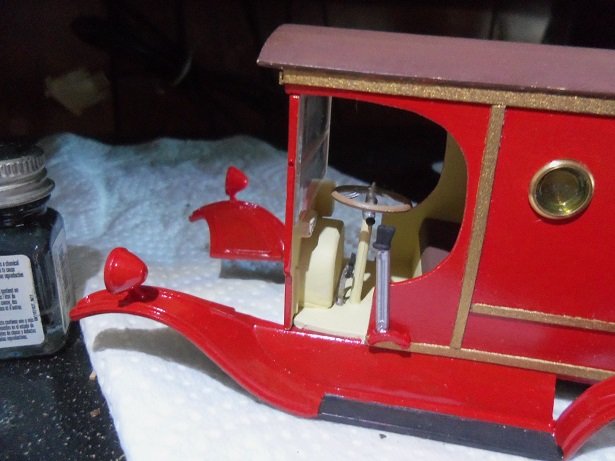
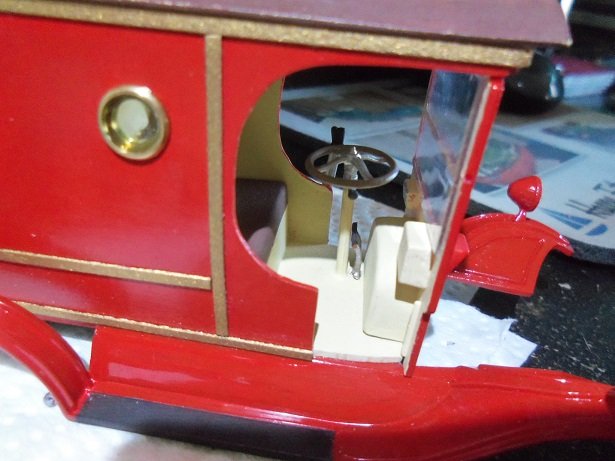
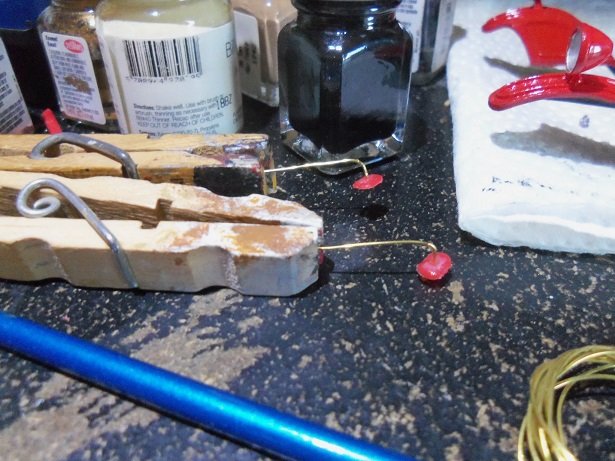
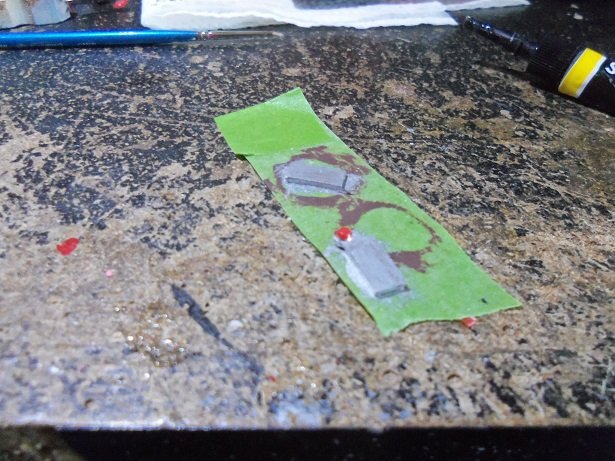
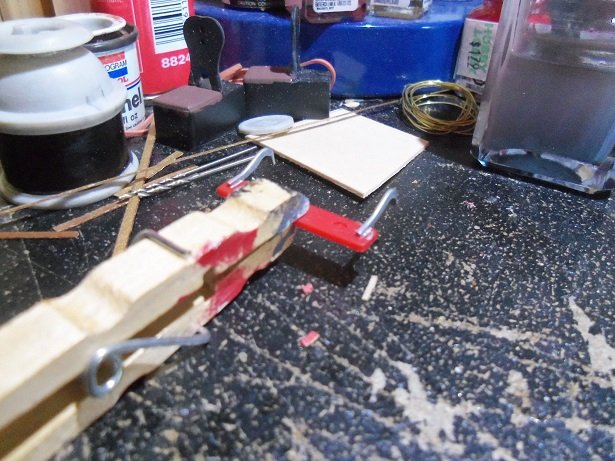
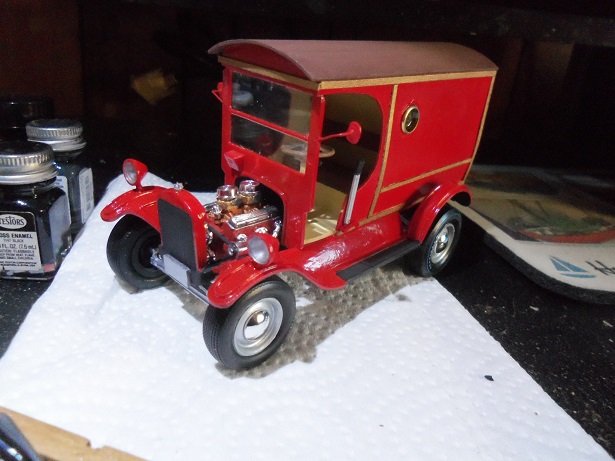
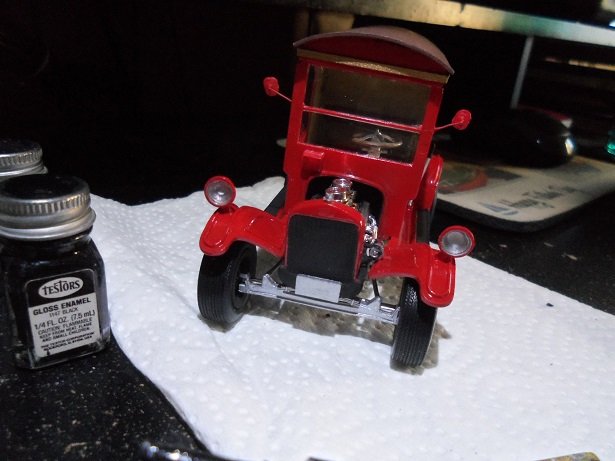
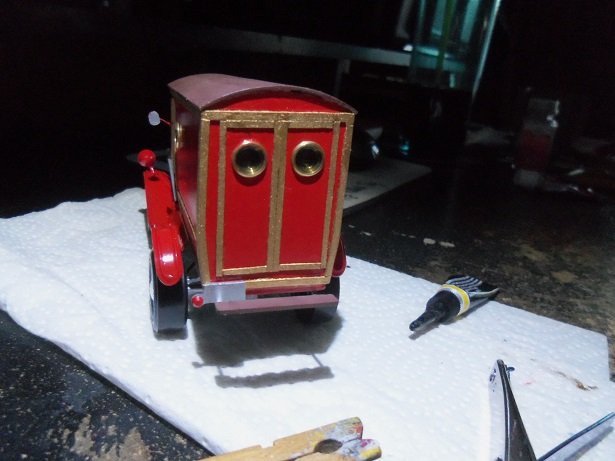
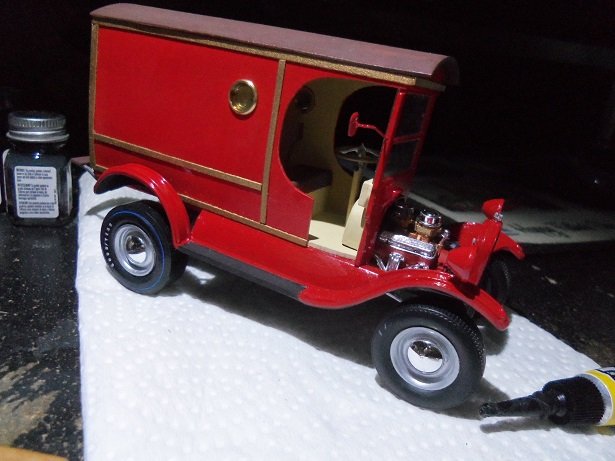
while I was browsing here, I have been working on the Coke mobile. still more to paint.......still a ways to go yet. I've seen it in the so many dry fits, that I'm getting all peckish........I want it together! to start off....the glass was cemented into the fire wall yesterday...it is painted and ready to install, but I wanted to make sure it was fully dry. the darn thing was getting red on the interior roof! so it was installed, and the red was removed by a light coat of paint. there was no cement applied with it......it slid into place very snug. yes......the steering wheel, pedals, and E-brake lever has also been added to the body. because of how I had the body propped, the column appears to be almost perpendicular........an innovation by Wenzel's auto body......it's a tilt column while this was drying, a few more parts were being assembled and painted. the side mirrors....there are holes drilled on each side, half way up the windshield for mounting {you may see the dimples}. they are made from the number tabs on a sprue....ca'd to some thin wire. the license plates are being painted. ....and I'm adding a step platform at the rear. when all was dry and ready to go, they were added.........but I took one last stab aligning the body to the frame. I'm not sure what it is......the circumference of the tires has changed.........I shortened the drive shaft, but that was because of the transmission length. the only thing I can think of, is that perhaps I should have cemented the fenders further back on the body. it's a good thing I didn't though......the engine goes back into the recess in the fire wall. to have done that would have meant a larger cover....it's pretty close to being 1/4 of an inch deep as it is. I also removed the two pins that were on both sides, on top of the frame. I think the fire wall butted up against them.......not shown in the instructions {or so vague, I couldn't tell}. I added another .5 mm shim to the first pair....probably could have added another......but all is said and done now. the body and frame are one. I added the new parts as well........even the radiator cap it's still missing a few odds and ends....most important, the exhaust. still another update or two to go the Batmobile is finished........all of the parts are on the car, and now it's waiting for decals. all 'n all.....it was a productive day!
- 91 replies
-
- 11
-

-
truth be told.......all cars have their flaws. they become text book after a while I thought you'd get a kick out of it J I've reached a milestone with the project. whether or not I made it harder in finishing it, remains to be seen. the update for today
-
a quote from the Moody Blues: there ya go man, keep as cool as you can. replace piles of trials with smiles. it riles them to believe, that you perceive the web they weave and keep on thinking...free
-
there you go....that looks really good you gonna break a few eggs, but you'll get there........just gotta get used to working under low hanging objects
-
it shows effort Vossie........that counts for much more catching up on your project and I see your doing a spectacular job with the rigging...the cannons are nice 'n neat! coming along in fine style
- 714 replies
-
- 2
-
-
- lady nelson
- victory models
- (and 1 more)