
HOLIDAY DONATION DRIVE - SUPPORT MSW - DO YOUR PART TO KEEP THIS GREAT FORUM GOING! (Only 72 donations so far out of 49,000 members - Can we at least get 100? C'mon guys!)
×


popeye the sailor
-
Posts
16,007 -
Joined
-
Last visited
Content Type
Profiles
Forums
Gallery
Events
Everything posted by popeye the sailor
-
 you ought to build a tiny boat to go in that case.........it looks really cool!
- 1,350 replies
-
- 2
-

-
- constitution
- model shipways
- (and 1 more)
-
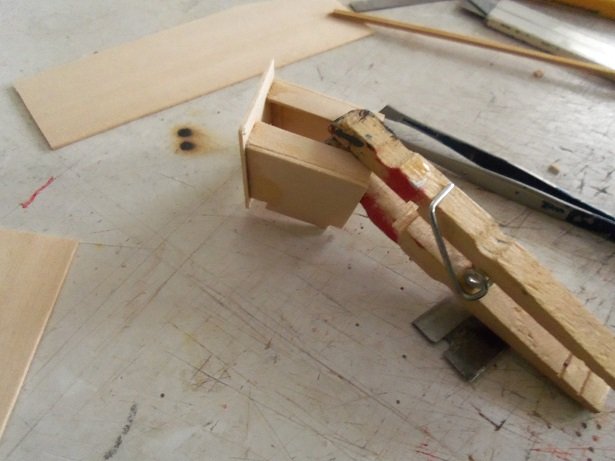
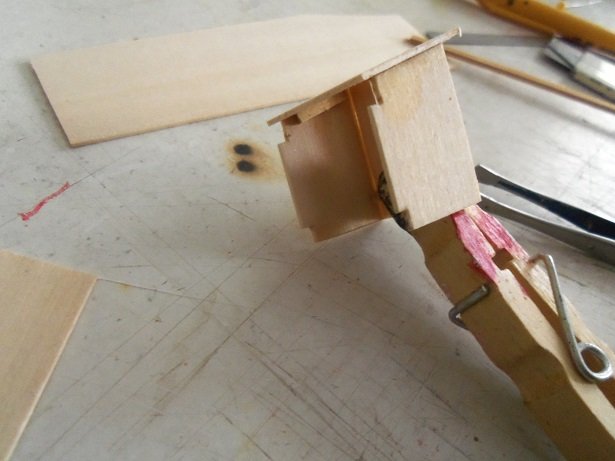
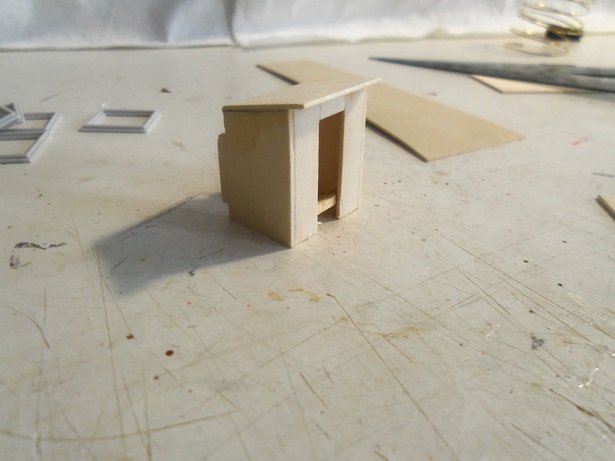
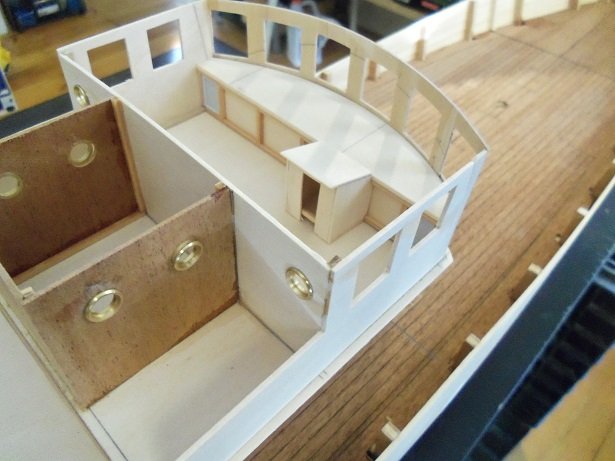
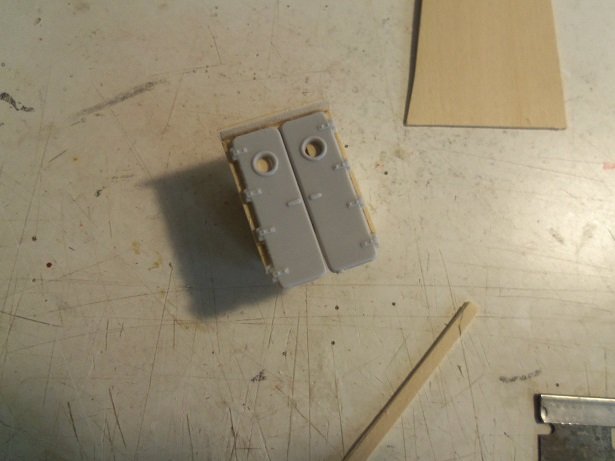
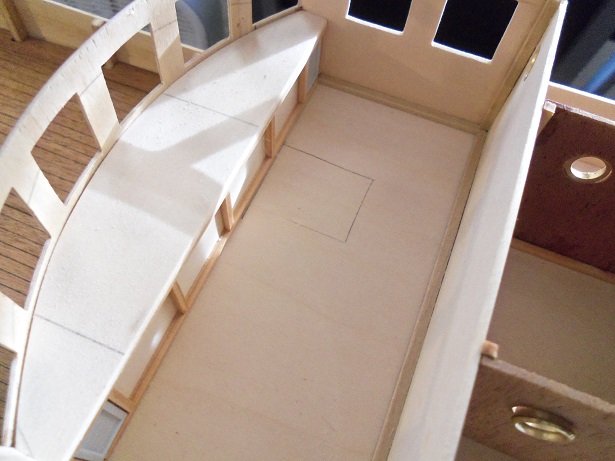
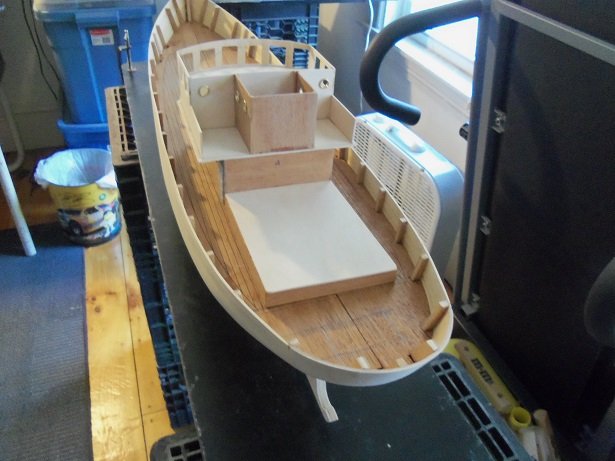
hello Bob and thanks for your kind comment. oh.......I'm sure I goofed up somewhere along the way; but it came out well in the end I'm not going to complain I had just as much fun, as I did with the Nordkap. thanks for the Holiday wish.............I hope you and your family has a great Christmas as well here is the second part of the update........that idea I've been batting 'round in my head. at first, I thought it might be too tough to do.........but the more I looked inside the helm room, the more I wanted to try it out. I need to do one thing, that once done, there's no going back. I'm thinking of adding a companionway......it will involve cutting a hole in the floor and boxing in a pit. first....the doghouse. I didn't want it to rise to high above dash level and obstruct the windows. the top was beveled........the lower point will mate the dash line. the back of the sides, notched so they will seat into the moldings I added to the kick panel of the dash. fiddling with it, bits of 1/16 strip pine was used to make it more sturdy. sanding and trimming went hand in hand, as it was fitted to the dash, but not cemented in place just yet. by this time, it was fitted well enough to be shown dry fitted in place. to cut down on the size of the pit, I will use double doors.......1 left and 1 right I'll have to clear the portholes so glass can be added.........wide enough for the hinges..........and the depth will pose the need for a pit. I figure one step down to access the doors.......maybe two at the most...........with either casements or railings on both sides of the pit. this will mean that the ship's wheel will be offset to the left...........or would it be better on the right side{?} since I'm going with two doors, the pit won't need to lead out to far in front of the doghouse.........I made up a template and drew the cut out, leaving enough for the doghouse to be cemented to. there's still plenty of deck space inside, so it won't be too intrusive. so.........whadya think........good idea...........or no?

-
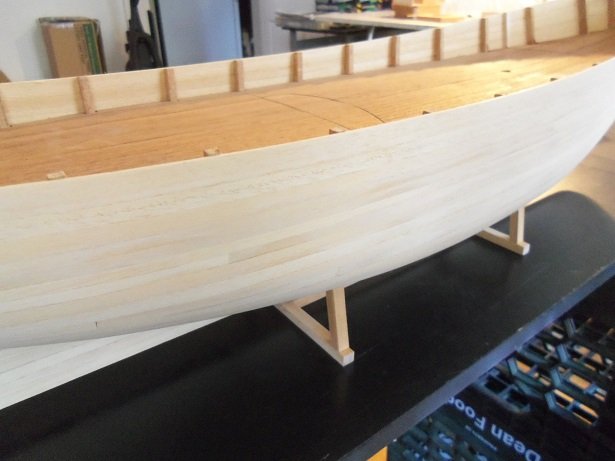
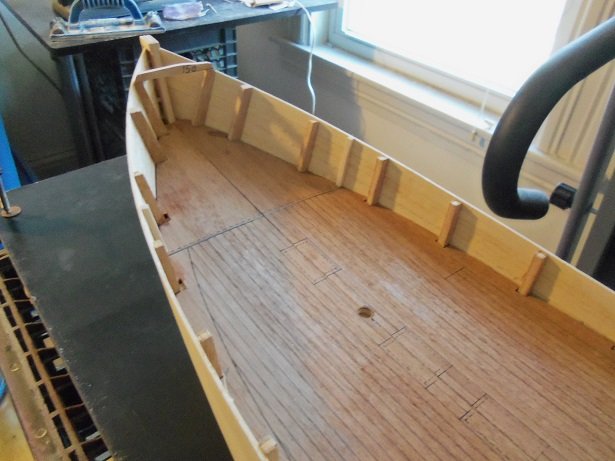
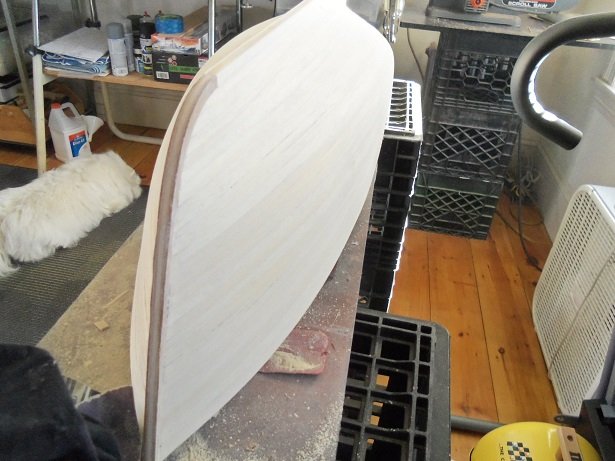
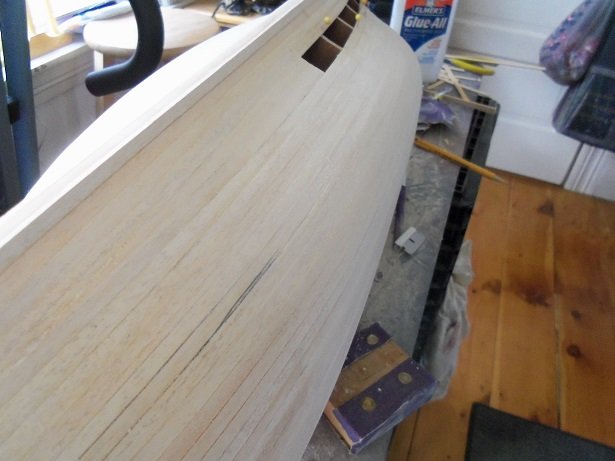
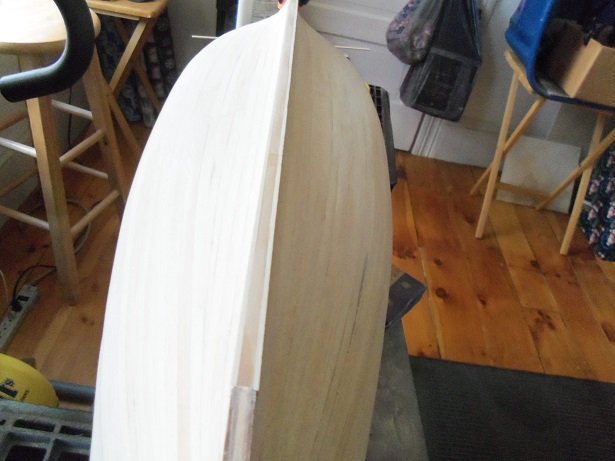
the first sanding is done......DRAT! no sooner type out the beginning, and the admiral announces that we need to go out now that we're back and I start typing again, she mentions that I need to check the tree for water..............will this madness ever end! hold for a moment............. OK..........I'm back.......believe me..it's worth the aggravation this is a two part update due to the length........first the hull after the first sanding . I would have had a shot of the bow, but the camera froze, and I had to pull the battery. I still see a bit more sanding along the sides, but it shouldn't take much more to pass muster. I took the hull out side and blew it out with the compressor. the inner bulwarks and deck came out good too. once the margins and deck is laid, none of the gaps will be seen. one thing left to do.........dry fit the cabin structure to show the total progress on the Progress
-
thanks OC........I got right back to it after i stopped browsing here. had to catch my breath ... kinda miffed at myself .........almost closed, I dropped a pin inside, and I forgot to remove it. got it down to a small opening when I remembered, and I shook the hull trying to get it to come out the opening, it did, but only the metal pin part.......the ball on the end was too big to come out. so, I took a pair of needle nose pliers and grabbed it....pulled, and the ball came off of the pin. now I have a plastic BB rattling around in there..........hate that! "where are the tools"................"what tools?"............."the tools we've been using for the last ten years!" "oh.............those tools!"
-
off to a good start Tom...........I'd like to pull up a chair too
- 131 replies
-
- 1
-
-
- santa lucia
- panart
- (and 1 more)
-
she is one sweet model the rigging is phenomenal, and the sails look so realistic!
- 228 replies
-
- 1
-
-
- spanish galleon
- lee
- (and 1 more)
-
thanks CDW........it will be nice when I can get her upright and continue on the deck can't seem to get that idea out of my head........something silly, but I think it will enhance the interior of the helm room. we'll see what happens I also want to get the bow cabin installed......still on the fence about the design of the outer bulkhead. silly me though.......I'll have to make another bulkhead part........I used it for something else. I hope Santa brings me some sheets of flat stock.......I'm running out!
-
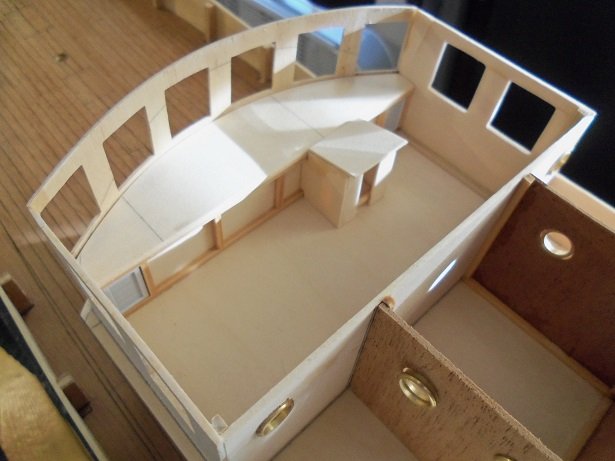
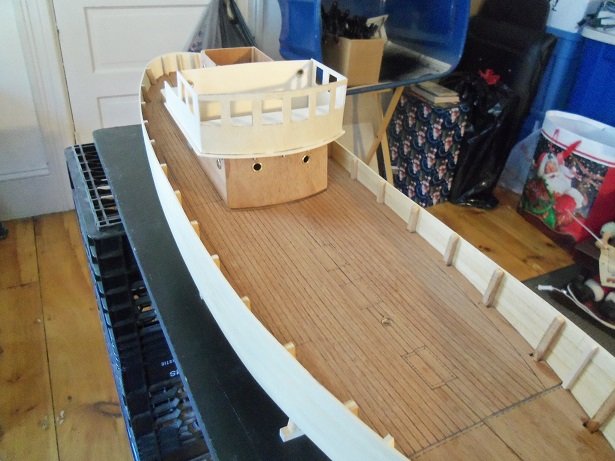
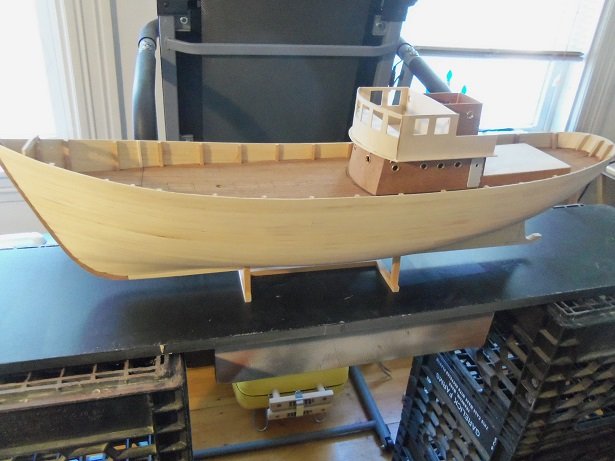
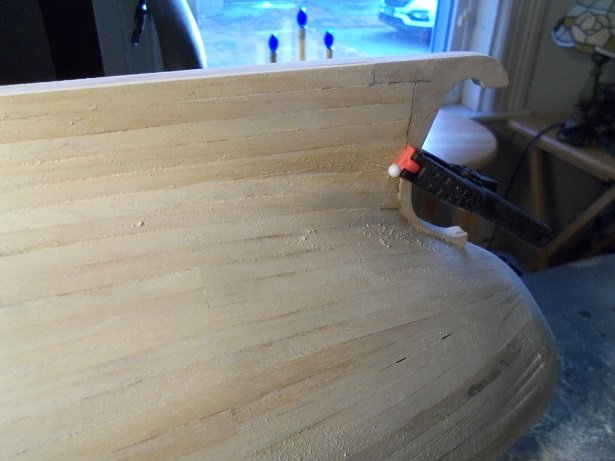
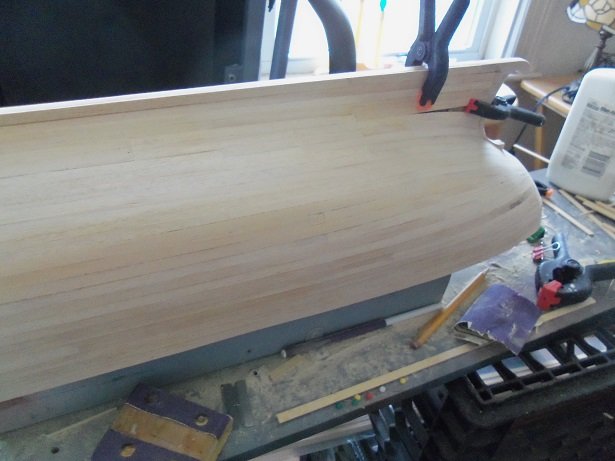
huff......puff............pfffffffffffff! what?!?!?! I haven't expended this much energy, since the Olympics.......{fell asleep watching it}. the last bit of planking was glued in place yesterday.... tell tale bits of sawdust.........I was at it even then. just preliminary shaping..........., he said, to cover up the face that he just can't seem to keep his hands off the sandpaper I didn't get to do much more than that though........but I did find out about the windows. there are four of the deep frame, and six of the shallow frames.........tells me that the four belong on the sides and the six belong on the front fascia.....the thickness of the wood used was a dead give-a-way. models.........they're so predictable the starboard side has undergone the first round of sanding.......I'm on the port side now. Gibbs is stationed at his usual post.........my loyal crew mate the admiral, on the other hand, was alarmed by the amount of sanding dust that was in the air. so, I stuck the fan in the window.....I'll get the wet/dry vac to suck up all the residue and fall out that is too heavy {fancy way of saying sawdust} should have more soon thanks for the kind word John, Patrick, and OC..........you'll see her on the stand very soon Patrick. thanks to all who hit the like button too!
-
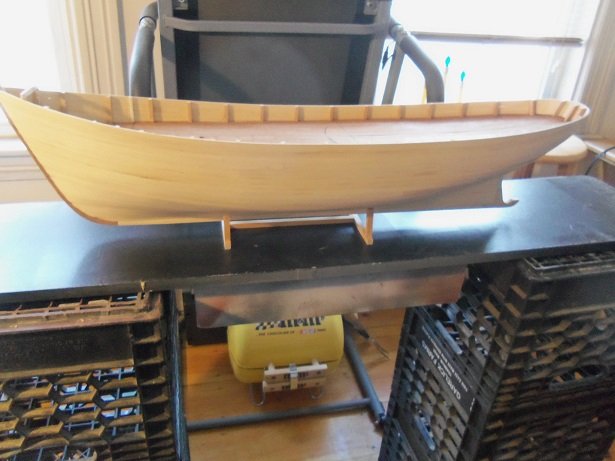
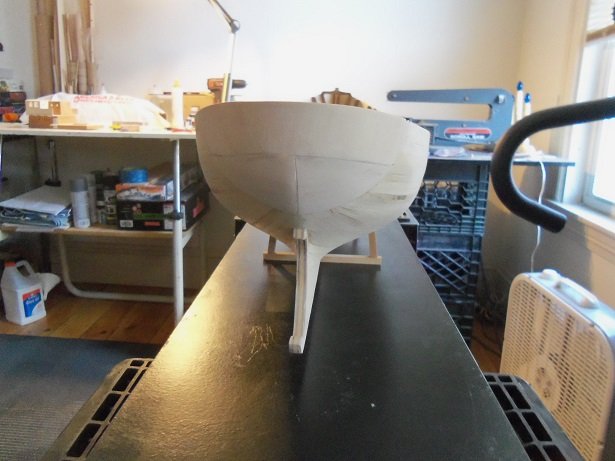
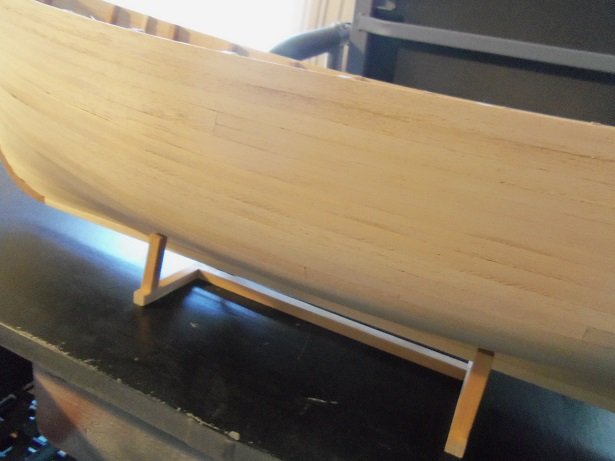
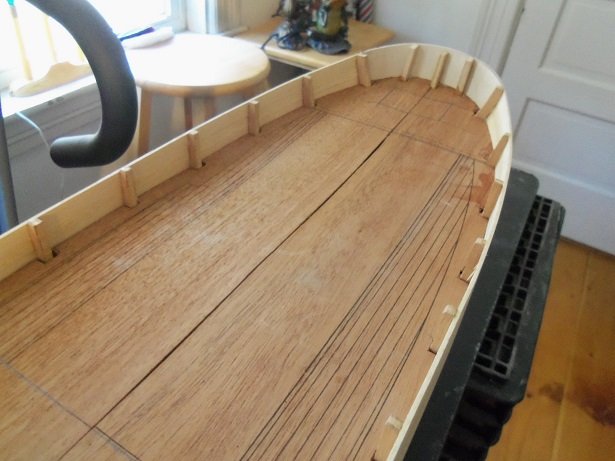
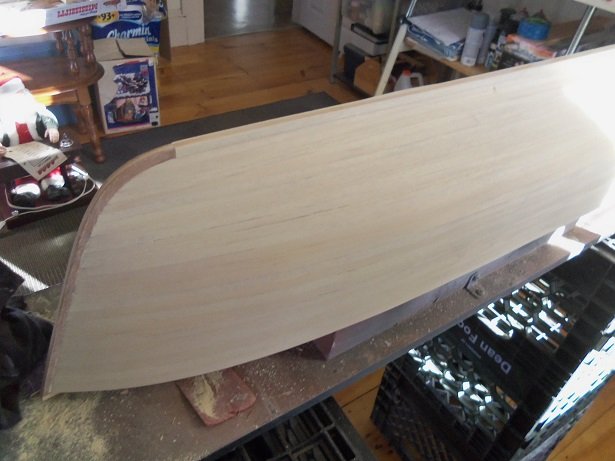
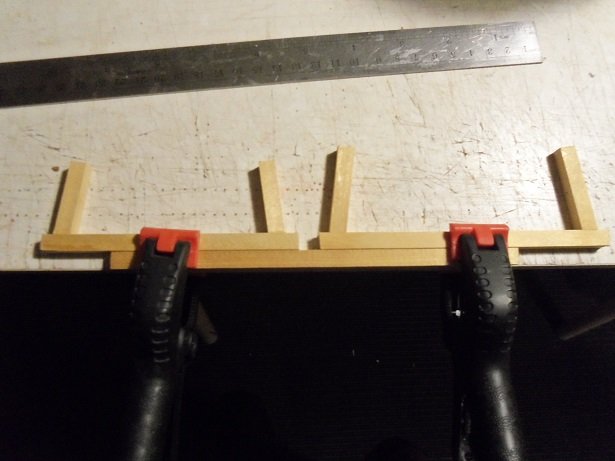
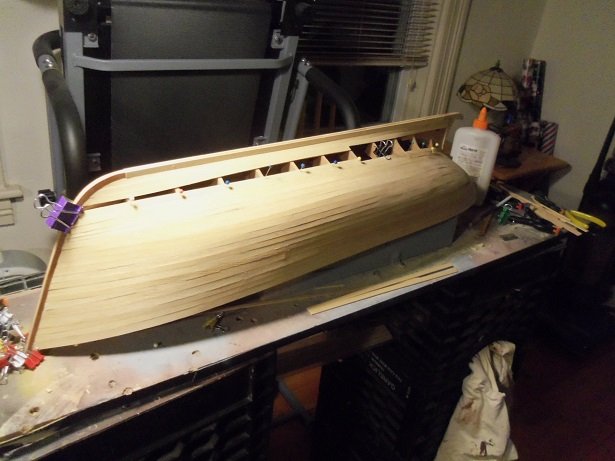
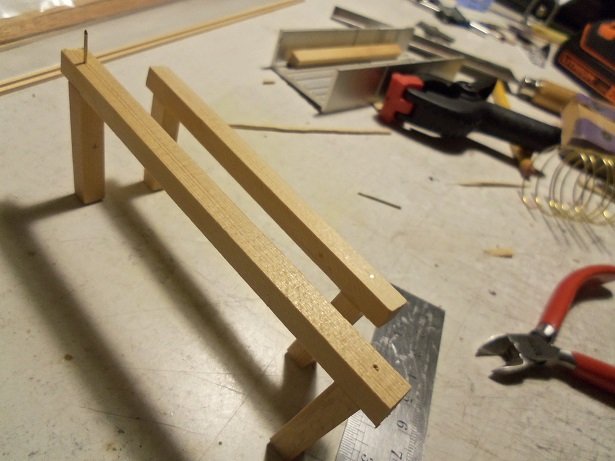
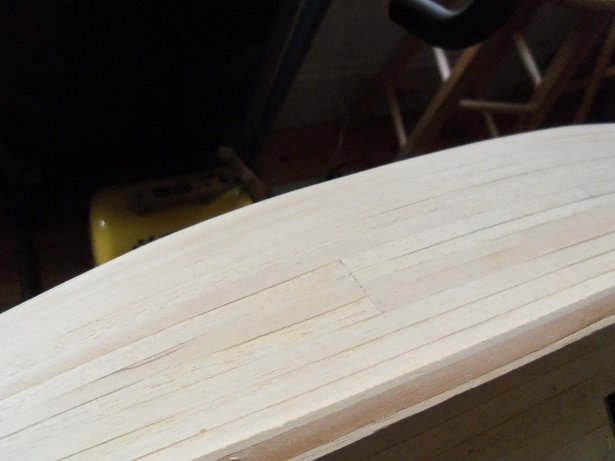
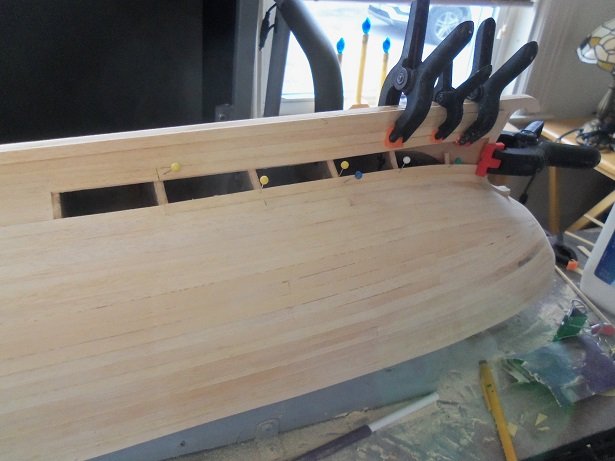
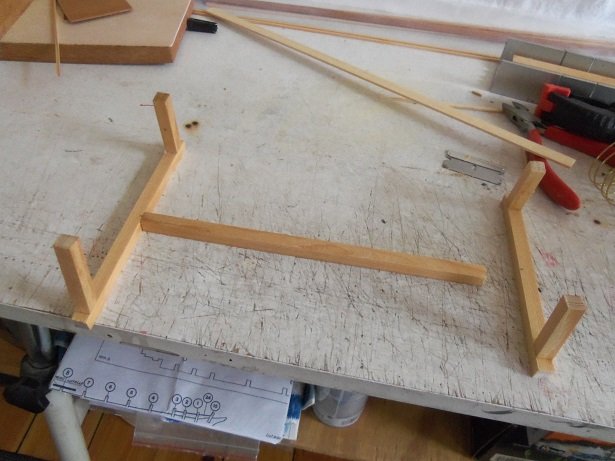
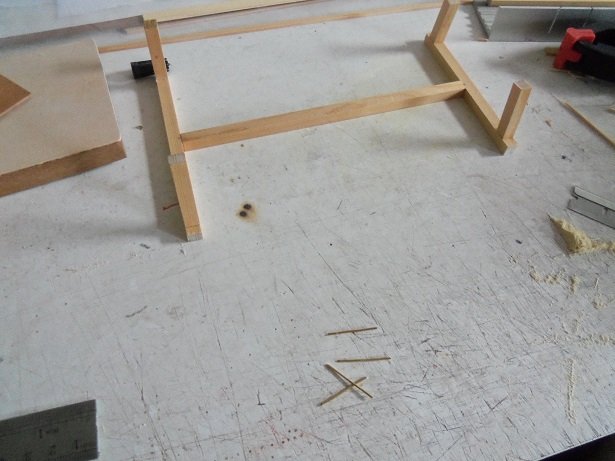
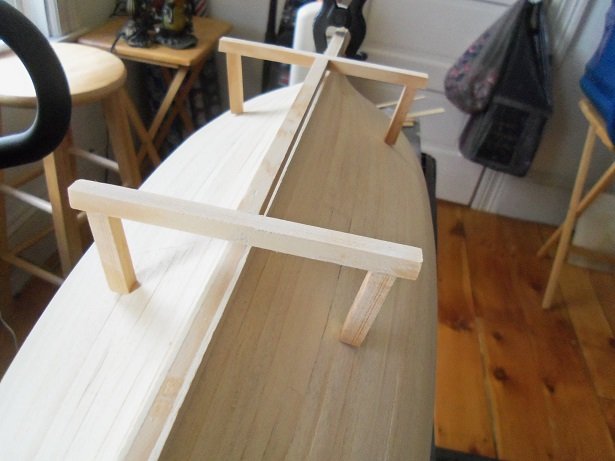
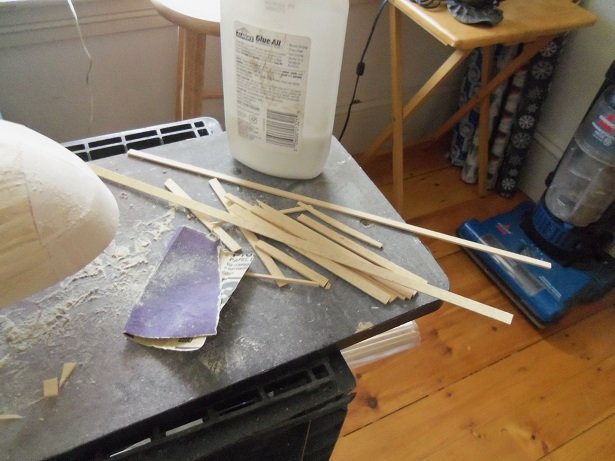
the update is a little late........shut down the computer early last night. I got quite a bit done though, and continued again this morning. the hull is down to one last wedge at the stern. once dry, I'll finish it off. I knew I was fooling myself, if I though I could refrain from sanding until the hull was finished. I've been sanding around the mid ship and counter.......it wasn't very hard to achieve the contour of the turn. I cup the sandpaper in the palm of my hand, adding extra pressure here and there with my fingers. I wanted to assemble the stand too.........I will need something for her when completely planked. in thinking about it........this will be the third stand that I've made, using the Nordkap diagram. the original one is under the trawler........likely permanently. I had made a second one for the Nordkap, which was a bit sturdier that the first one......I've had to fix that one a few times. I plan to make this one the sturdiest one yet! the kit supplies a length of 8 x 8 mm pine.......the spine, the two end parts, and the uprights, were cut from it. the centers of the end parts was marked for orientation, when cemented to the spine. the uprights were cemented on the end parts first, beveled for the proper spread, according to the instructions. the spine was used as a jig, as the uprights were measured and set to dry. a couple more full strips will be needed to close the hull........then I will rely on the cut off pieces to fill the rest in. comparing it to the earlier picture of the hull will give you an idea of how much more I've done. so, as I did with the port side, I will do the same here........from the bow to the stern. while the newly added plank was drying, I did more with the stand. holes were drilled into the upright joints and brass rod pieces were inserted. the holes are merely pilot holes......the pins were a tight fit, pressed into place. as mentioned, I couldn't stop myself from sanding. the beginnings of a model's assembly can look rather disheveled and ugly...........until the model sees it's first coat of paint or varnish, it usually doesn't look very attractive. I see other, more experienced model projects, and they make me feel a bit self conscious. it's likely what drives me to doll 'er up a little bit, so no one thinks I'm some kind of hack I am..........but I'm a tidy hack just bringing down some of the rises, smooths out the contour. if I keep this up, I'll only have to concentrate on the bow and stern! the hull is now closed well down the mid ship by this time..........and yea, I'm play'in 'Mr Clean' on this side as well. more assembly was done to the stand.......one of the ends was cemented in place. it set a while before the other end was glued in place. after it had time to dry, the holes were drilled for the pins. here I used twp pins per end......I may add another pin for each upright.........can't be too careful. last but not least..........I'm finally down to what would be considered, a stealer at the stern.......a short triangular piece. both side have seen some sanding..........isn't going to take much to really smooth out the hull. any gaps were filled with white glue and sanded over a short time afterwards to force sawdust into them. the stand was put on the hull to gauge the angles of the uprights as they touch the hull. they will have a felt button on them, so a bevel here will allow them to seat fully on the hull. does seem kinda low though.......and small. the spine is 190 mm long.......roughly 7 1/2 inches long.........add the thickness of the end parts, and the span is 8 inches. the depth is roughly 1/2 inch from the keel to the stand's spine........not much to play with. perhaps I'll get creative with it ans see what I can come up with.......from this angle, you really can't see how small it is in relation to the hull. I was really good with the wood usage too......I usually show this with all my builds.........but give or take a piece or two, this is all I have for waste.... out of 50, 7 mm planking strips I ordered to replace the mahogany strips, I have 13 left over. all is good
-
those tiny bits of detail are adding up fast! when they are all together, you'll have one decked out deck very nice!
- 1,013 replies
-
- 4
-
-
- gun dispatch vessel
- victoria
- (and 2 more)
-
sorry to hear of your mishap as well Eric....won't weigh in on healthcare. thinking about it just fries my eggs
- 599 replies
-
- 4
-
-
- sidewheeler
- arabia
- (and 4 more)
-
I guess there will be figures after all you did tell her that you weren't building a sub?! she's a cutie
- 77 replies
-
- 5
-
-
- icm models
- Markgraf
- (and 1 more)
-
out of that storm that tracked across the U.S. all we got was a jot of snow and rain. now we're back to freezing temps and a lot of wind. it's supposed to go back up in the '50 by Friday. we are promised a snow free Christmas could go downhill from there.........but I ain't complaining...........yet.
-
I took the afternoon off today..........finish my Christmas duties and rescue the snowman! it's been so windy here, that it ripped the base out of the ground {I staked it down}. thankfully it has the tethers on it, so it wouldn't blow into the street! not only that.........I'm in the process of finishing the planking. update soon
-
non wood related, but Revell included them in their 1:96 Connie and United States. however, I don't believe they supplied the booms that swing out from the hull. I would have to check the kits.....I have them both.
-
there's always online Lou........nudge, nudge you've made some good progress Jack..........looks very good that;s the one thing I dislike about plastic model cement......I am forever touching up the oozes. they stick out like a sore thumb with flat paint. still looks great. I remember the gang....the admiral used to be into the ceramic houses. I used to help her by refining the windows...cutting out the 'flash'. since she fell back in '94, slowly she lost interest in it. quite a collection of figures.......I showed them to the admiral {I ain't scared ....anything to jog her}
- 140 replies
-
- 7
-
-
- the sullivans
- trumpeter
- (and 2 more)