-
Posts
16,007 -
Joined
-
Last visited
Content Type
Profiles
Forums
Gallery
Events
Everything posted by popeye the sailor
-
here in the states, we have some that fit in the palm of your hand........got digital readout and everything. they don't have them where you live?
-
your not alone.........I haven't heard of a doctor in these parts, that makes house calls either. I think that service stopped quite some time ago....when they invented the ambulance. does she have to prick her finger? I know it can be rather hard to 'dial in'. I just hope she's better, so she can enjoy the holidays
-
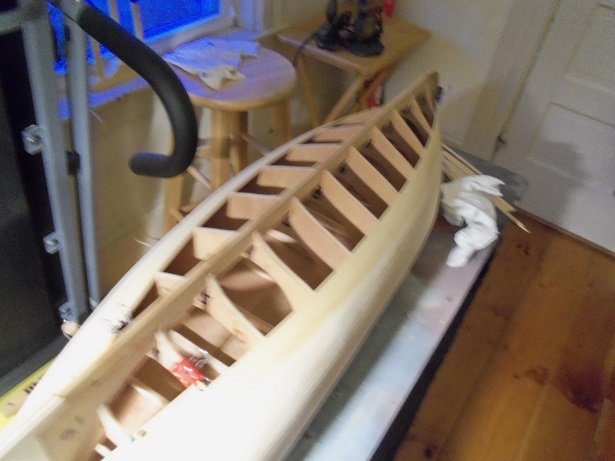
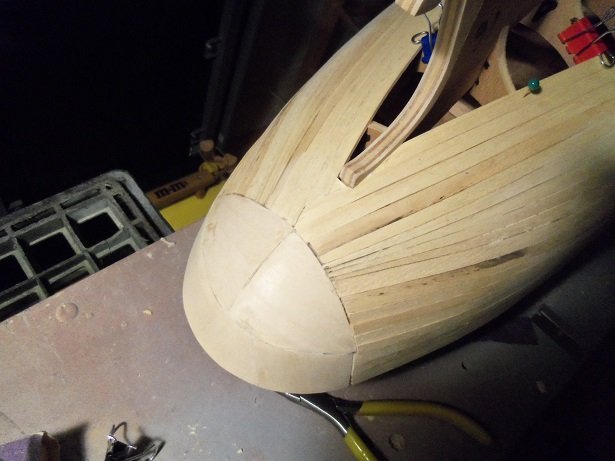
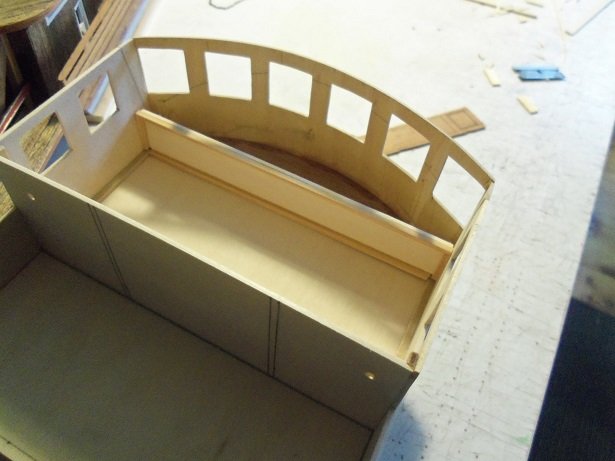
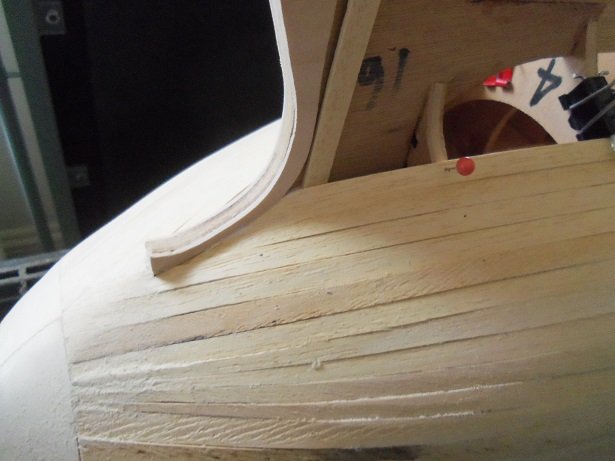
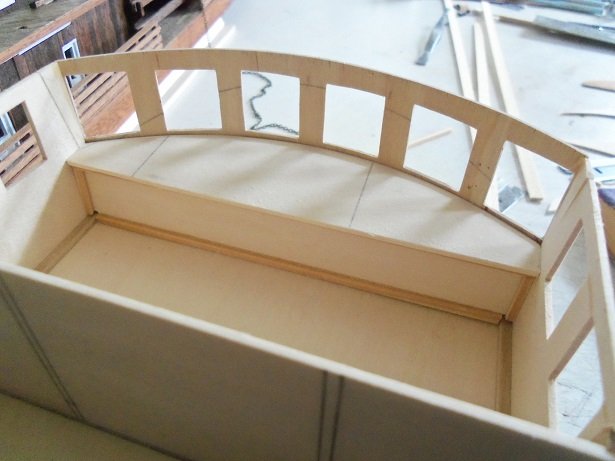
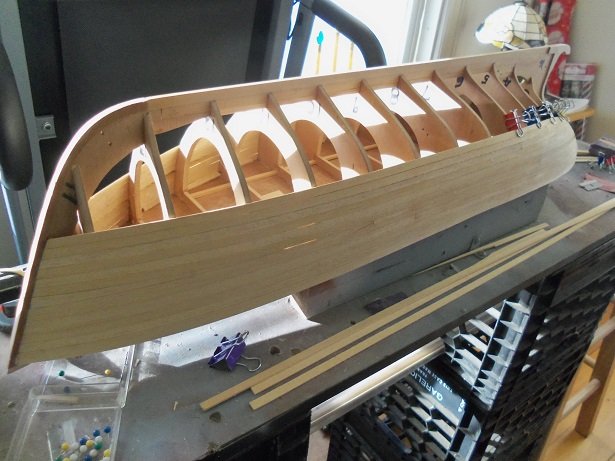
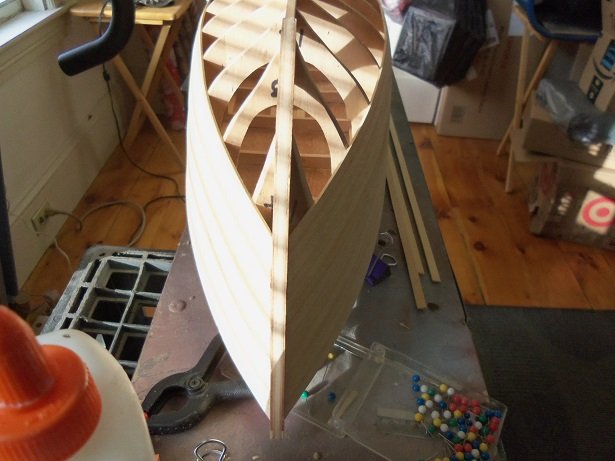
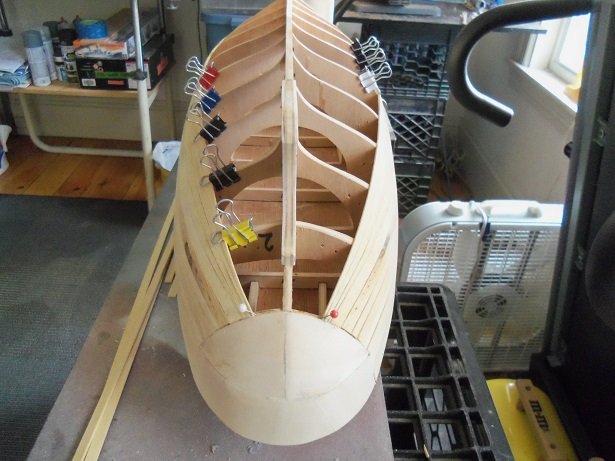
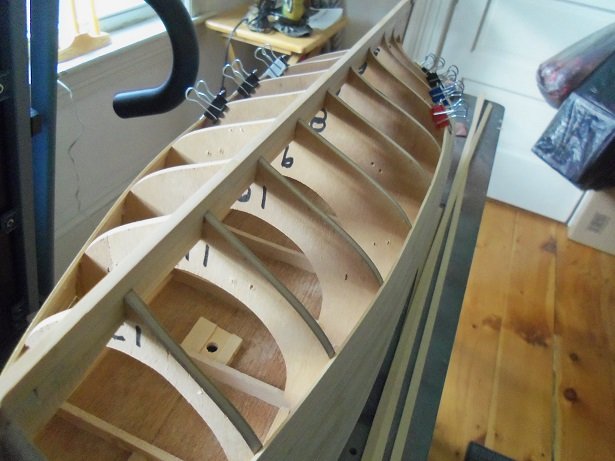
between all the holiday hub-bub, I've been able to add more to the hull planking. the opening is much smaller now........ the stern counter is closed in now and beginning to climb the rabbits. I've done minimal sanding, which is rare for me.......usually I can't stand how ugly it looks and knock down the high spots, as I go along. I've just done where the plank butts are, so it doesn't look like such a dog's body. between times of waiting for it to dry and doing things 'round here, I've been working on the dash for the helm room. I decided that there was too much to do with the other dash I had made........it was scaled to 1:33 ( the same scale as the Mary Ann, the Cux 87.......which was the template to build the trawler). I'm using the same design as the Nordkap......likely the same for this particular model too, seeing that they seem to be clones of each other {whichever came first...the chicken or the egg}. I'm still dealing with the shrinkage issue, having to make the parts, instead of using the kit parts. I started to fashion out the kick panel. a little further with the planking, the keel rabbits were put on.....figures I'd just get'em out of the way. the planking did lay down rather nicely....there are a few gaps, but rest assured that they are filled with cement. hopefully it will cut down on the use of filler. conforming the planking to follow the rabbit hasn't been too bad.......coming up with easy ways to accomplish this. darn planking is 1.8 mm thick........should be no problem sanding the hull and smoothing it out. it can be seen that I did some sanding to the counter by the stem.....my big block will do wonders I also ended up making another dash top.........I cemented it in place, but left it movable, so I can complete the work on the kick panel. I will have more later on........
-
a few touch ups....it will look fine it's hard to look under the decks anyway. I'm using a brush on the Vendetta........to me it seems a bit too thick too. I guess I feel like I'm in the same boat........it's one of the pluses with wood.......at least the paint will sink into the wood. all you can do is double check the thickness of the paint, before you apply it. practice on the sprues beforehand. while it does seem too dark, if it's the color scheme, it can't be wrong. don't critique yourself to despair
- 140 replies
-
- the sullivans
- trumpeter
-
(and 2 more)
Tagged with:
-
really nice there is a site that is devoted to the Titanic....might help you with the paint colors. well, I had one, but for some reason or another, it is gone.......domain problems {go figure}. I did post some of the charts and mixes for the colors used on her though. if your interested, you can find them here:
-
echoing the same sentiment my friend......hope the misses recovers well in time for the holiday. take care of her mate, the model can wait
-
really like the head rigging.....as well as the shrouds . when the ratlines are added, they will really stand out nicely
- 359 replies
-
- prince de neufchatel
- model shipways
-
(and 1 more)
Tagged with:
-
great job matching up the camo you can see the guy wires clearly in those pictures. looks awesome Carl
-
thanks John.......I went in to lay down another strake or two on the Progress, and the rubber bands that were holding the windows in place snapped....I guess they were too old. one of the windows came off...........I'll have to fix it ahhh......the life span of a rubber band thanks to all who hit the like button
-
I was intrigued with your concerns about the rigging, so I downloaded a copy of the instructions. quite an interesting vessel........I also downloaded the Caribbean Pirate ship instructions #0386. that model doesn't even hold a candle to the one your building! there is some great detail in the rigging of the Black Swan........really show what I've been saying about the standing rigging and how the running rigging depends on it. the Santa Maria rigging is not even close either, I don't think. you are building a wonderful model here........heck, I may even be on the look out for it
-
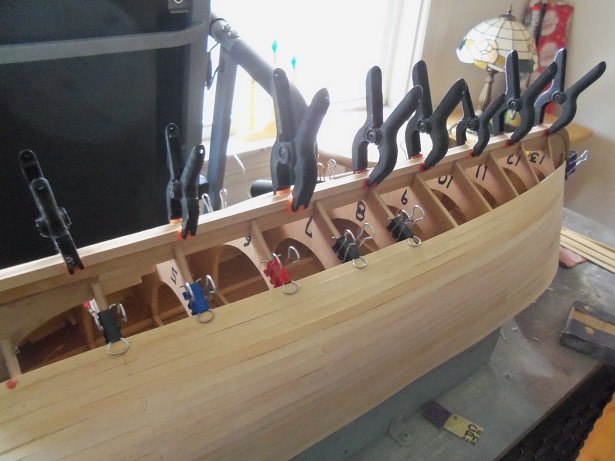
planking is still going on.......I'm adding more and more each day. I spent some time on her this afternoon, shaving down the protrusions on both sides of the helm cabin, and a few more strakes of planking. bulkhead #15 has disappeared behind the wall of planking....the open frame is slowly closing up. the line is looking much better. even the bow has a good shape to her, tucked behind the rabbit. before I cement the plank in place, I bevel the mating edge of the plank, so it will sit flush with the rabbit edge. the correct angle is key here to keep the gap monster away the stern is looking pretty good too........four strakes later, each one tapered down. I've done some extreme tapering here so far......time to widen it, I think. I am very close to the turn........I had thoughts about resorting to 5 mm strakes to span it. I had this weird thought that using the 7 mm might make it look kinda clunky. I threw the thought out of my mind.......if there was the idea that this might happen, the instructions would have specified it. besides, the turn isn't really that drastic, and I don't recall doing it to the Nordkap.
-
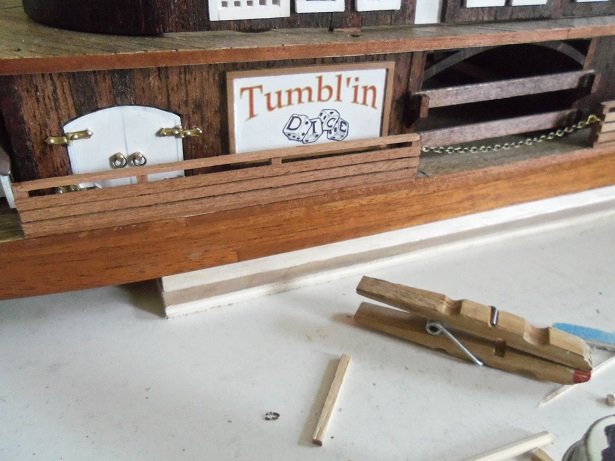
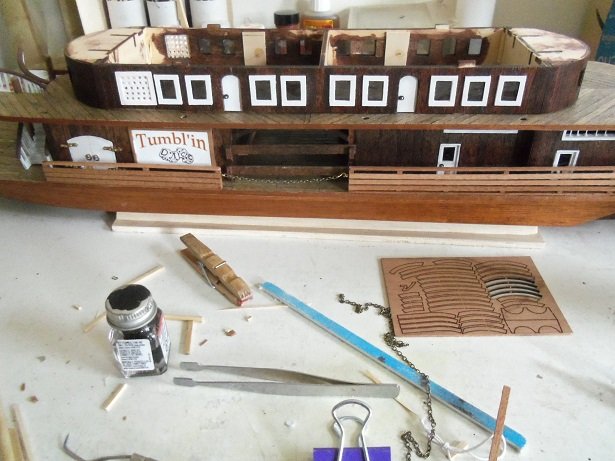
this week has been tough to get much table time in........I had the coup de gras at the Dentist, and holiday decorations to contend with. of course, after the visit to the dentist, I didn't have much gusto to do much else.......but I made myself. I did manage to do a little on the T.D. as well. the front lower railings are now in place, both done in the same manner.......I only have pictures of the starboard side. funny how I always seem to do the starboard side first, with just about every bit of progress I make..........guess I'm just a starboard kind of guy the windows have also been added to the front and rear of the second level structure.....as I guessed, the curvature gave me a bit of trouble. they are not as I would have liked........I'll check 'em out when I remove the rubber bands that are pressing them in place. hopefully they are good enough to cement the structure in place and add the third level.
-
nice work on the Cutter Bill........have to agree how Revell dropped the ball on their boat kits. although, the 1:96 line of ship kits are among my favorites. they did better with their car and plane kits. I have the old U.S.S. Arizona kit.......it's just as I remember it.......but back then, us modelers were so sheltered and hidden.....who knew >shrug< great job on an old kit! really nice
-
looks good. just follow the diagrams and you shouldn't go wrong. I took pictures of the Santa Maria diagrams in case you need them.
-
well then......just sand in the flats. if you should goof up and only do a six sided center...no one will notice
- 89 replies
-
- constitution
- revell
-
(and 1 more)
Tagged with:
-
glad to hear...........have fun with your new toys thanks for letting us {me} know........you didn't have to, but it's interesting to hear that your job involves all things nautical. a huge salute to you. you didn't have to rub in the semi retirement thing though.......I'm still try'in to get there myself look'in forward to your continuance...........
- 207 replies
-
- billing boats
- cutty sark
-
(and 1 more)
Tagged with:
-
don't worry OC........there are plenty of folks here that can give you pointers. another thing you can do, is look up rigging diagrams online.......I'm also sure there is something out there. you don't need to be too detailed.......as long as you have all the important rigging, it will still be an impressive model. does the instructions have rigging diagrams? I have the Revell Santa Maria....an old kit....should be close enough. I can snap some photos of the rigging diagrams and send them to you if you'd like........in a PM, or here on the log.
-
did you add the thicker section as a sleeve, or did you assemble the yard in three pieces? I've seen most folks add short strips of strip stock to the center of the mast dowel {as a full length yard}, and sand it to retain the eight sided appearance. I would say that with the thickness of the mast, you could accomplish this with 2 mm wide strip
- 89 replies
-
- constitution
- revell
-
(and 1 more)
Tagged with:
About us
Modelshipworld - Advancing Ship Modeling through Research
SSL Secured
Your security is important for us so this Website is SSL-Secured
NRG Mailing Address
Nautical Research Guild
237 South Lincoln Street
Westmont IL, 60559-1917
Model Ship World ® and the MSW logo are Registered Trademarks, and belong to the Nautical Research Guild (United States Patent and Trademark Office: No. 6,929,264 & No. 6,929,274, registered Dec. 20, 2022)
Helpful Links
About the NRG
If you enjoy building ship models that are historically accurate as well as beautiful, then The Nautical Research Guild (NRG) is just right for you.
The Guild is a non-profit educational organization whose mission is to “Advance Ship Modeling Through Research”. We provide support to our members in their efforts to raise the quality of their model ships.
The Nautical Research Guild has published our world-renowned quarterly magazine, The Nautical Research Journal, since 1955. The pages of the Journal are full of articles by accomplished ship modelers who show you how they create those exquisite details on their models, and by maritime historians who show you the correct details to build. The Journal is available in both print and digital editions. Go to the NRG web site (www.thenrg.org) to download a complimentary digital copy of the Journal. The NRG also publishes plan sets, books and compilations of back issues of the Journal and the former Ships in Scale and Model Ship Builder magazines.


