


popeye the sailor
-
Posts
16,007 -
Joined
-
Last visited
Content Type
Profiles
Forums
Gallery
Events
Everything posted by popeye the sailor
-
 nice car! build log........duly noted.........saw it.........love it! your going to have a lot of fun!
 -
I like the look too, but most do the tree nail look. it wouldn't do to pull them out now.....perhaps if you were to paint them flat black? the joint pieces going up the sides could use a couple as well. this is going to be a tall model! very nice
-
sorry to hear of the color difference....hope your able to even it out. I use those archive pens too........an idea gotten by you and John ........best idea I ever got! looking good so far Danny. you've had a couple small problems.........but know the level of experience you possess....they are but mere adjustments
-
hello Nils........yes! the admiral wants them, so I ordered some. I tried to get some that have the southern dress and attire. I think I did well with the first bunch, but I think I may need a few more. hello Carl......nice to see you dropping in not done by a long shot......you've come with plenty of time left to the project. glad to have you following along
-
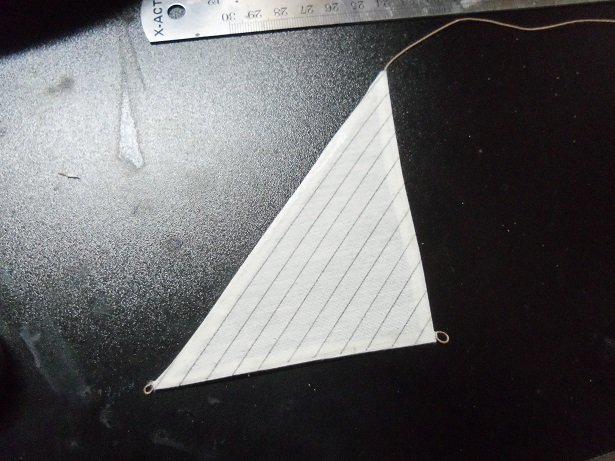
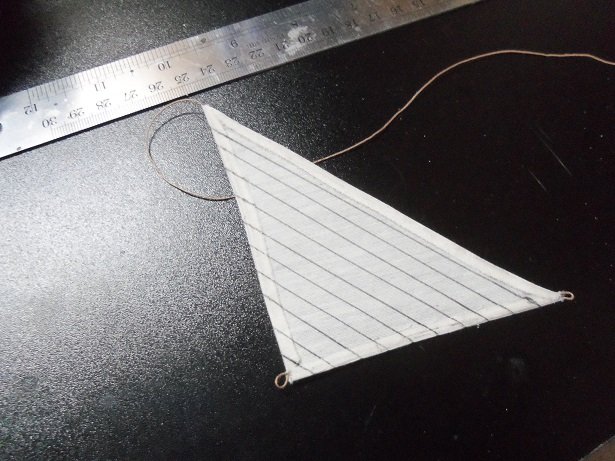
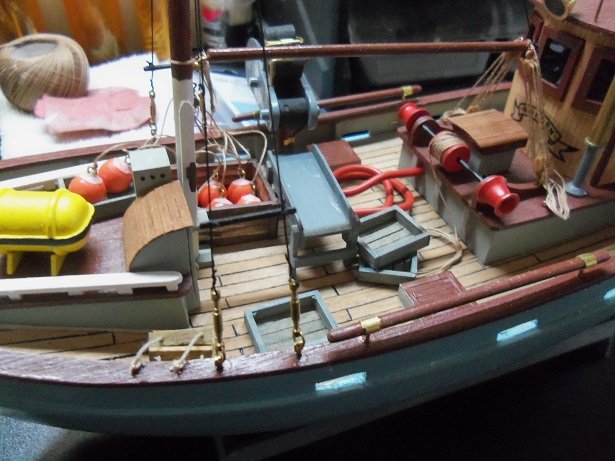
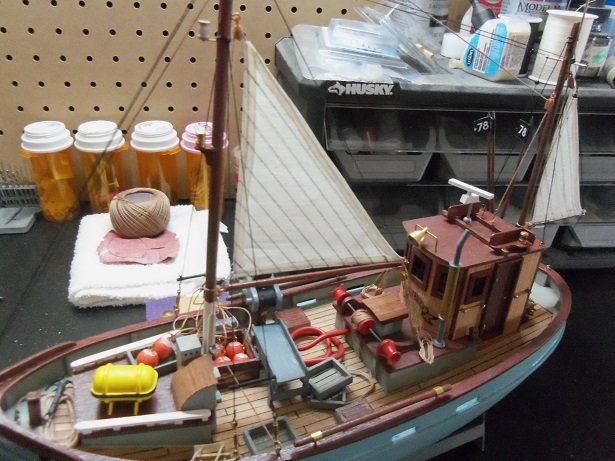
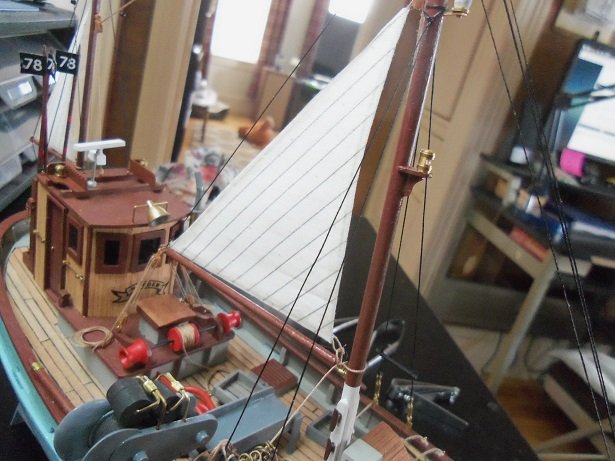
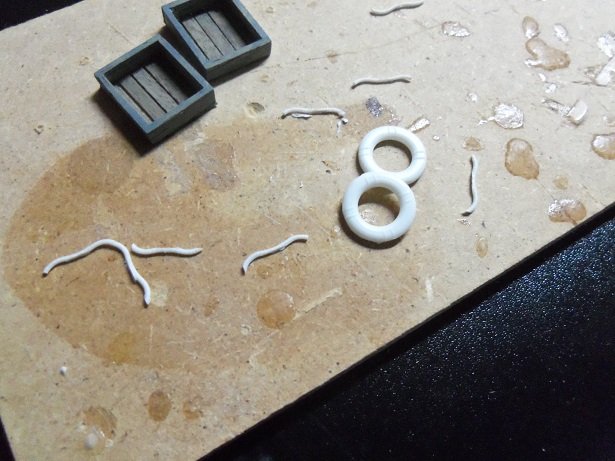
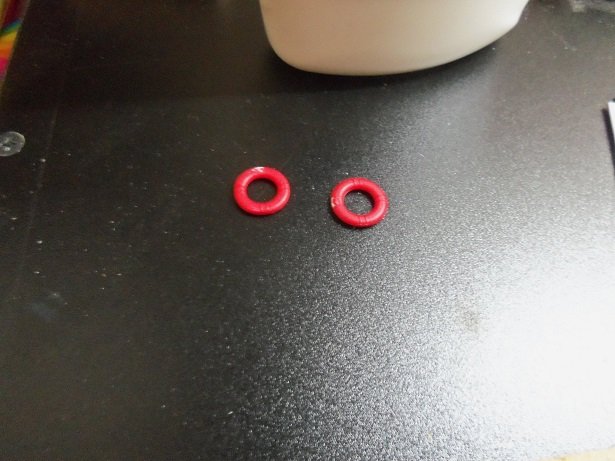
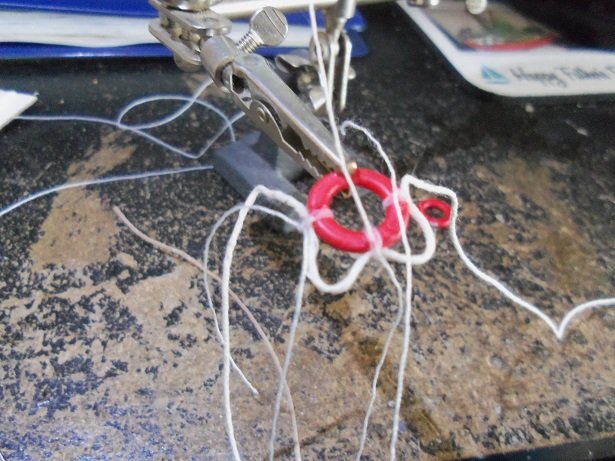
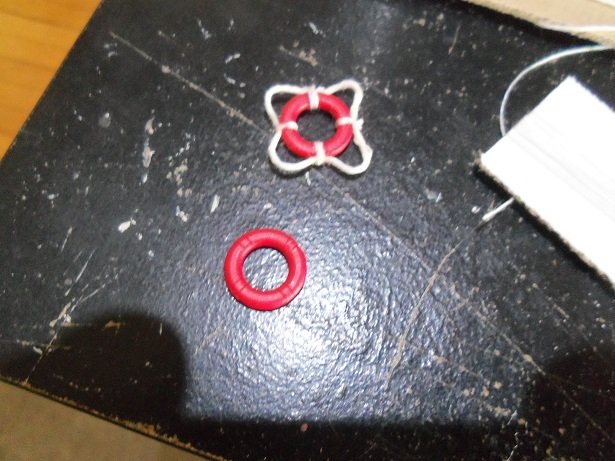
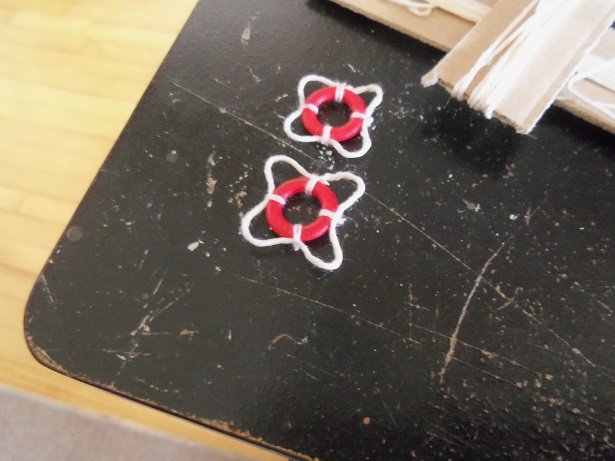
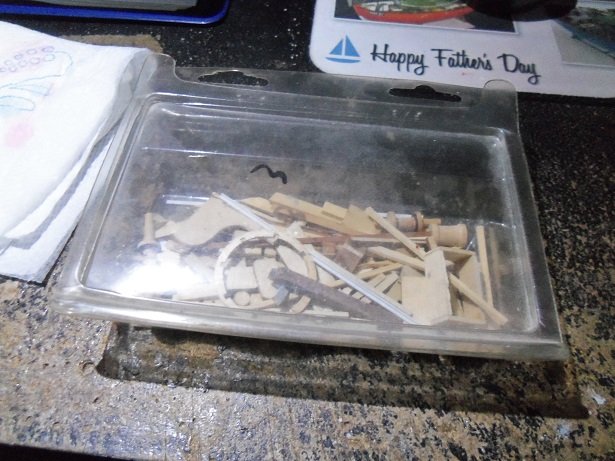
thanks for the likes folks.........we're finally getting to the finish of this project. as shown above, the fore sail is in the process of having it's folds cemented over, trapping a length of thread along the fold. I usually don't do sails this way, but the small eye loops was something I wanted to try. usually all pleats are sewed by sewing machine, but for two sails, I couldn't see bringing it out {I could have brought out the Bluenose sails......I still have those to do}. it's finished now......I drew the pleat lines on the backside of the sail. I still wasn't sure about the catch trays.......whether I should add them now or not. I have cut out a few more of the fish from those plastic pieces.......some look weird. perhaps after painting, they might not look so bad. I did add a couple more though......I can add the fish later. the sail was tied in place on the main mast.....I do a rope coil for it when the terminated line dries. I meant to do this before John left.........something he suggested to me a long time ago.........like with my very first model as you saw, I had cut all of the plastic rope off of the life preservers. what I usually do from here, is first paint them red, leaving the rope areas white {four points around the preserver}. here, I'm going ti try a new approach, so I painted them totally red. after touching up the nonconformities, instead of the trying time of cementing actual 'rope' onto the preserver, I'm going to try and tie it on. the 'helping hands' works well for this process. after tying the last lashing, {I used CA to cement the knots} all the excess thread is cut off as close as I can, to produce the finished product..........the bashed life preserver. it doesn't take too long, so the other one was done lickity split. these are a bit exaggerated........even allowing hardly any loops at all is exceptable. now I need to find some hooks to hang them on. I do recall having some.... tiny little buggers, they are......I don't keep them just anywhere {they would get lost}. I have this small bin, where I keep all the tiny punch outs and cast off parts that I don't use.......I'll see what is in there my 'Pandora's box'........so to speak.
- 378 replies
-
- 11
-

-
- t78 norden
- billing boats
- (and 1 more)
-
hello Sam....... I've never had a problem with stain interfering with glue. perhaps it has to do with the different glues that folks use, but white glue has never been a problem. some stain does get under the planking, but there are still plenty of bare spots. I cut a small rag and fold it up into a small square to apply the stain......I do try not to saturate the square. glad I don't bore.......still plenty of build time left I didn't do much yesterday to this project......I'll see what I can do today thanks for the likes....glad your all enjoying the project.
-
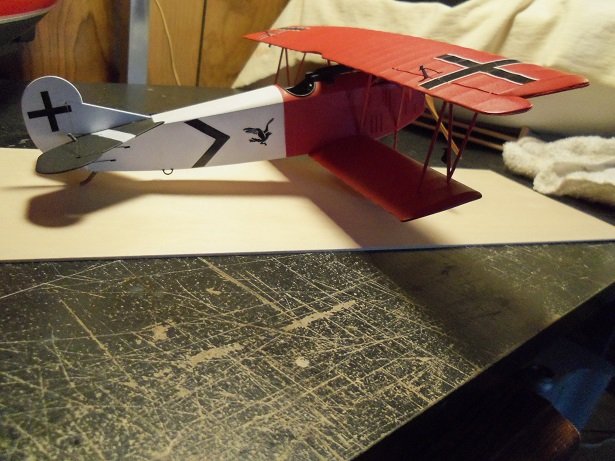
awesome.....I'm in 1:16.........a very nice scale indeed. I built the Revell 1:28 scale Fokker D VII.......this is also a very nice scale to work with I should post my Guillow's Fokker Dr 1 build........I have all the frames together....just gotta do a lot of sanding to get the leading edges in shape, to tissue it. I have some white tissue left over, so I may do it in the same paint scheme as the D VII. the squadron was Jasta 18, Rabin's Ravens. I look forward in seeing more on this fine project
- 141 replies
-
- 10
-
-
that model is huge! I have the brochure that I got with the Fokker kit ......1:28 scale / wingspan 45 1/2 inches. I have the series 200 model of the Fokker 1:14 scalw / wingspan 20 inches. I like them a lot.......I used to build 'em back in the 70's. most of my projects back then were comet kits though. but Guillow's does a lot of 'em now with laser citting, so the parts are much better. the old die cutting was tough on the notches and slots. the plans are pretty decent too....you can pretty much scratch build a plane if you want to.
-
Cutty Sark by NenadM
popeye the sailor replied to NenadM's topic in - Build logs for subjects built 1851 - 1900
it takes practice.....and time.......something that is hard to come by for some. I don't paint.........I need a lot of light. if I don't have enough light, I can't see the numbers- 4,152 replies
-
- 2
-
-
- cutty sark
- tehnodidakta
- (and 1 more)
-
very understandable........I remember when we didn't have problems like these..sad world. the view pictures look great Sam.......can't wait to see the underwater garden tell the little smirfs they are doing a super job
-
Cutty Sark by NenadM
popeye the sailor replied to NenadM's topic in - Build logs for subjects built 1851 - 1900
take your time and get better......I wish you well. try to do a portrait of Rhea- 4,152 replies
-
- 6
-
-
- cutty sark
- tehnodidakta
- (and 1 more)
-
nice finish on the boiler........has that aged look to 'er
-
really like the way you rigged the cannons too.......shows clearly how they were rigged or stowed. she's shaping up fantastically! very well done 1st class model you have here!
- 692 replies
-
- 3
-
-
- eagle of algier
- chebec
- (and 2 more)
-
happy belated birthday Patrick! your really fine tuning in on the paint.......she look'in splendid
-
WOW! you've done some serious progress on the Bounty! she is looking superb with her shrouds rigging extremely well done !
-
the frame looks good Mario.........you've solved the problem you were having in fine shape faring looks nice too.
-
Cutty Sark by NenadM
popeye the sailor replied to NenadM's topic in - Build logs for subjects built 1851 - 1900
interesting piece of art Nenad....very well done- 4,152 replies
-
- 5
-
-
- cutty sark
- tehnodidakta
- (and 1 more)
-
welcome back to the fold Ben..........been wonder'in where you got off to. looks like your ready to make sawdust......the layout looks very good congratz on bobbin #3.....does this mean we might see a future armada of these boats? hope to see the continuance very soon
-
really nice additions to the deck layout.......right down to the wingnuts really super! I know I'm chiming in a bit late, but regarding to paint bleeds......I sometimes do a light sand over the affected edge and then touch it up. fine paper will remove a lot of it, and the touch up is much easier.
- 1,013 replies
-
- 3
-
-
- gun dispatch vessel
- victoria
- (and 2 more)
-
very nice what you've done on the deck......really adds a lot of the 'subtle' detail. how thick are the strips you used to make them? you may need to sand them down a bit thinner, so they don't protrude from the deck surface as much. the layout so far looks awesome
-
nice progress KP.......do you have more to add on the deck? the rigging might hinder it going further. doing the gammoning on the bow spirit will take up the slack on the stays.
-
looking good KP.......glad you were able to repair the damage and get on with the rigging. shrouds look really good....keep it up !
-
really nice progress Jesse.....stay rigging is very nice {like the mice }
- 1,306 replies
-
- 5
-
-
- syren
- model shipways
- (and 1 more)
-
there might be a draw back to this though......you would see this looking through the model. you may need to do this on both sides, throughout the model, for it to be effective. it would be a very nice touch though great idea of veneering the outside surface of the frame....are you going to cover the back one too?