
HOLIDAY DONATION DRIVE - SUPPORT MSW - DO YOUR PART TO KEEP THIS GREAT FORUM GOING! (Only 13 donations so far - C'mon guys!)
×


popeye the sailor
-
Posts
16,007 -
Joined
-
Last visited
Content Type
Profiles
Forums
Gallery
Events
Everything posted by popeye the sailor
-
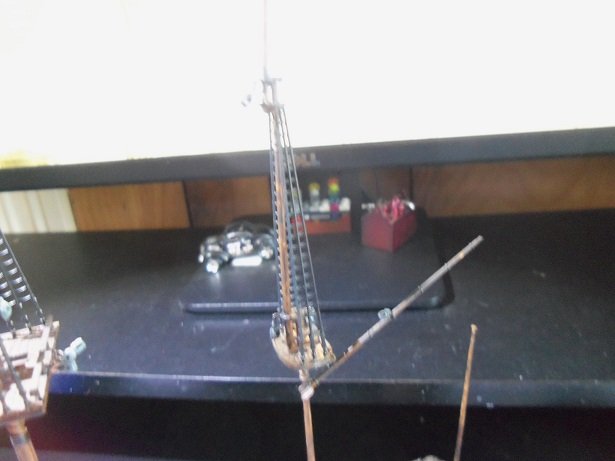
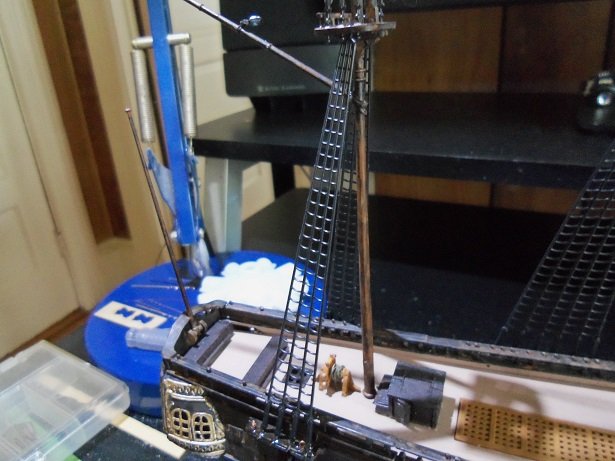
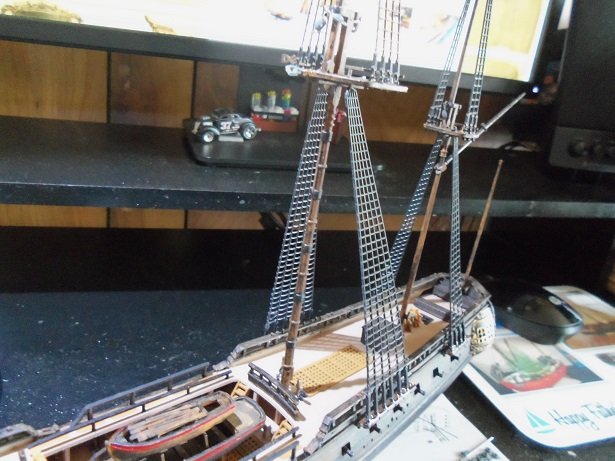
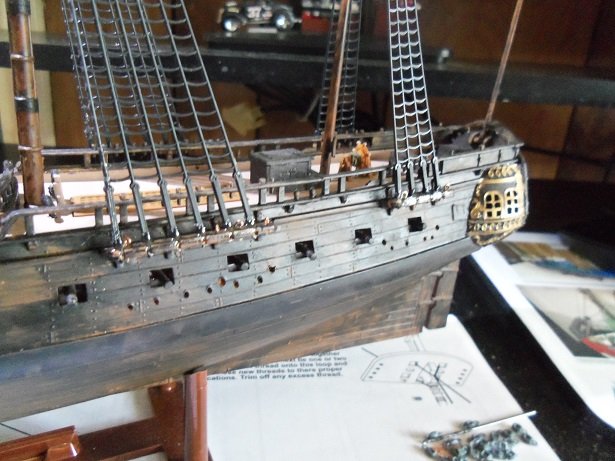
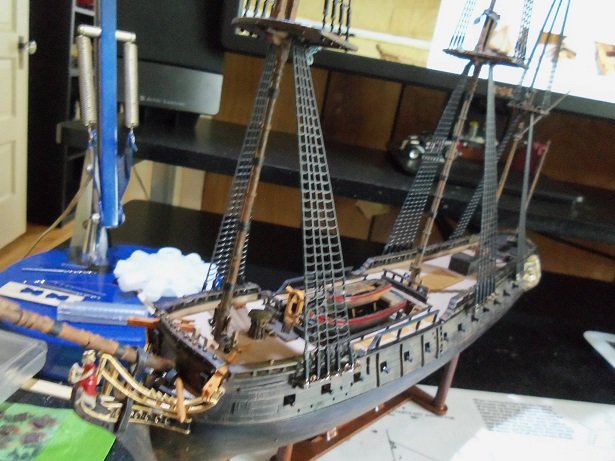
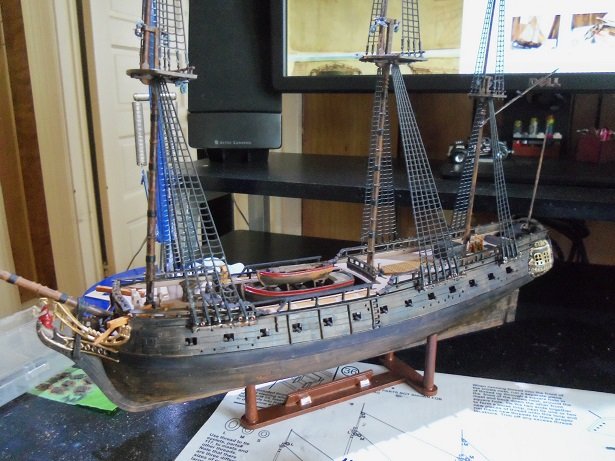
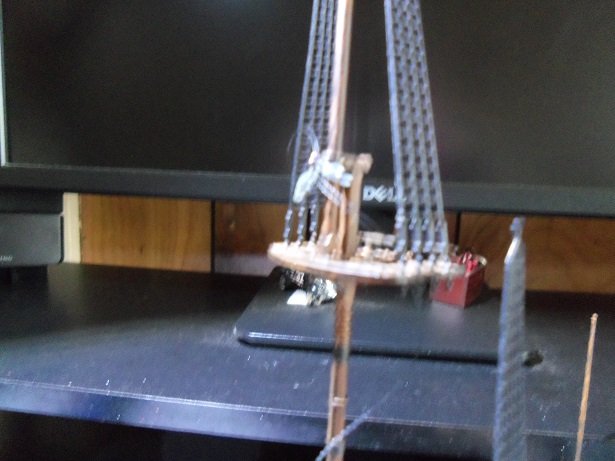
 you can do it if you have the mind to one would never evolve, if the envelop is never pushed. I wanted to post this last evening.....but I never got back to the computer. substituting the rings for blocks, and plotting them out took a lot of thought. the mast trees are done now, and they have been cemented in place. Since I trimmed the root of the fore mast, it required being propped up to align it. it also gives you good idea, with the scale of the blocks. I let this dry for the day.......did some stuff outside and replaced the stereo in our car. the next day, came the installation of the lower rat lines. with the ratlines the way they are....they do not fit.....they are too long! they need to be shortened, and the most logical place, is at the bottom. Ratz! I thought I had a picture of the process, but no....... what I had to do, was cut the bottom off, leaving a stub at the base of each dead eye lanyard. you need to be careful, because the plastic is somewhat brittle {trust me}. after doing this to both sides, the mizzen lower shrouds are in place. I will have to do something with the lower part of the channels....there's more to do there anyway. the main mast shrouds were next. I will reestablish the grooves in the channels when I complete them......something simple {I hope}. the fore mast shrouds were done last.....carefully because of the past damage. the port side is the damaged one.........noticeable, but it passes muster all this will sit for another day.......I want them to fully dry. trivial, but the fore mast did come loose during the fit.....it needed to be cemented back in place and rejigged for alignment. the fact is.....they are done!......and once dry, I can begin with the standing rigging. while waiting, I gave the yards the flat black wash. I'm debating........sails.......or no sails. it's not going to make a difference, since one......maybe two sets of lines hang in the balance here....clew and sheet lines {I lumped the tack lines in with the sheet lines.....clever huh?!?!}. they supply what amounts to black sewing thread........in the instructions, they tell you that the thread is not to scale, and to make the model look better, thicker thread must be used {not supplied in the kit}. I get it........plastic genericide! that's OK.......I'm ready for ya! I have some thicker thread. more soon my friends
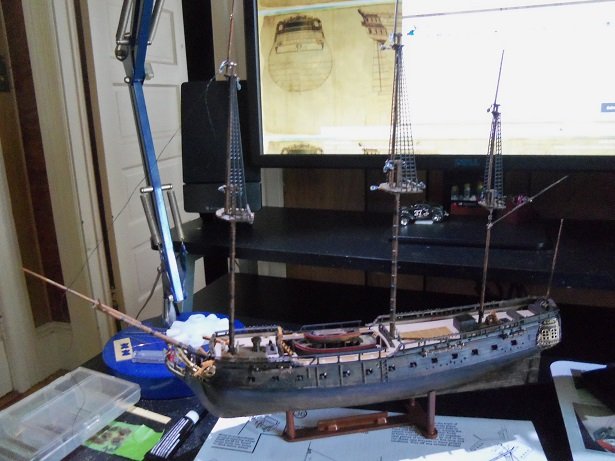
- 140 replies
-
- 13
-

-
- jolly roger
- lindberg
- (and 1 more)
-
very nice Knight heads Jesse I see the cut out you did at the stem.......bow spirit coming soon! your moving right along.......glad to see your feeling better
- 1,306 replies
-
- 7
-
-
- syren
- model shipways
- (and 1 more)
-
KP......your back! good to hear the cat didn't eat 'er look'in forward in seeing the project continue.
- 87 replies
-
- 1
-
-
- thermopylae
- revell
- (and 1 more)
-
Possibly interesting find by an utter newbie
popeye the sailor replied to Dylanmserra's topic in New member Introductions
I agree with Pavol......the angle of the cannons....the cut of the transom......gives it the look of someone's beautiful imagination. the crests could be clues......find out what they mean, and how to recreate them....the flags as well. restore her to her former glory she made somebody happy........maybe you too! -
premature in my post.......I still had a couple of pages to go.......simply awesome is what comes to mind. you showed up your collection a while ago..........if memory serves me right, the Cux wasn't painted.........was it?!?!?! I'm relieved to see unfinished projects......I don't feel so bad you must be very near the finish of the liner........truly, a great journey indeed!
- 2,625 replies
-
- 5
-
-
- kaiser wilhelm der grosse
- passenger steamer
- (and 1 more)
-
great progress since I last looked in Nils! the ship's boats are coming along ........super!
- 2,625 replies
-
- 4
-
-
- kaiser wilhelm der grosse
- passenger steamer
- (and 1 more)
-
naaawww.....I just need to keep my width and thickness straight interesting alternative to staggered butt joints
-
she's look'in good E.J. just a small oversight........you need to do more sanding anyway, now that you added the casings. ....and yes, you are making good progress on her
-
the bow looks so much better now.......standing rigging looks real good
-
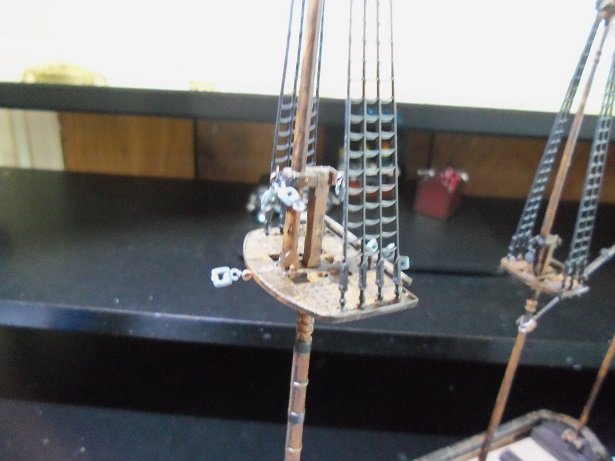
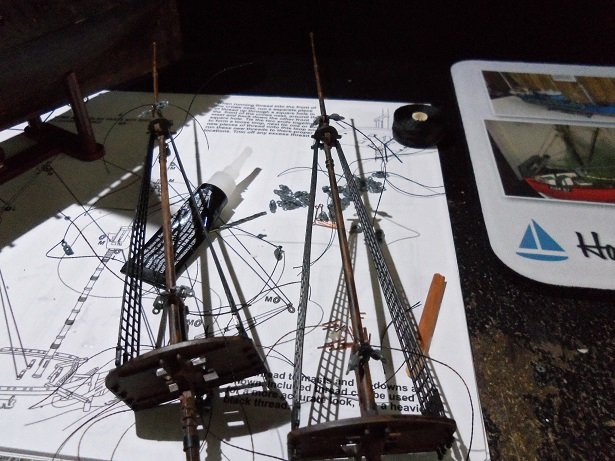
well.....Happy Birthday to you! the pictures above show the blocks that I've tied on already.......yea, they are a little over sized, but in relation to the supplied rings, not by much. with what I'm planning to do.....it's looking like I'll get this one shot at it........I have those other two kits. I think they can be had in 1 mm.......but scratch making them seems to be the latest craze. I've made a few for a past project...drilling the holes is the hardest part the fore mast is ready and has been cemented in place. the yards will be added later......I wasn't gong to, but I've gone to this much trouble, I may as well add them in. darn! broke another drill bit!
- 140 replies
-
- 4
-
-
- jolly roger
- lindberg
- (and 1 more)
-
awesome looking ship Glenn......the model is very well done.
- 101 replies
-
- 2
-
-
- L Toile
- Billing Boats
- (and 1 more)
-
so are your waterways 3/32 or 6/32? this must mean that your going to plank the deck with normal planking {1.5 mm} I've always thought that the waterways should taper down to the scuppers. with the Bluenose I have, dealing with the damage it received in shipping, the bulwark posts had to be removed. I will need to make scratch ones before I go any further. I think it's also neat that your not using a deck platform, as supplied in most kits......your going to plank over the frame. your progress looks really nice
-
sweet of your mum to do your doing a great job so far
- 291 replies
-
- 3
-
-
- bounty
- billing boats
- (and 1 more)
-
sorry to get back to you late Lou........with everything going on here, this last post took most of the day thanks for sending the links....I did look them up......believe I found one and not the other. bids are hard........I tried it a few times before but lost out. my friend in Hawaii told me about a formula........wait till the bidding is just about over, then with the last few mins, post a bid. this is how I got my United states, although I posted a higher bid, I won it for the bid that was on the table....substantially lower bid. I will try it.......what could go wrong. I could win and the admiral angry with me >shrug< thanks again I deal with oldmodelkits.com if your looking for older kits, that is. sounds like the kits you mentioned are not kits readily found in the US I've had a few 1/16 scale cars...as well as large scale aircraft and ships. it's one of the reasons why the 1:96 scale ships that Revell offered in the day, appealed to me. I've had these blocks for quite some time.......I figure they will work better than those silly rings. I know they make 2 mm wooden blocks....smaller would be insane to do....if they make them.
- 140 replies
-
- 3
-
-
- jolly roger
- lindberg
- (and 1 more)
-
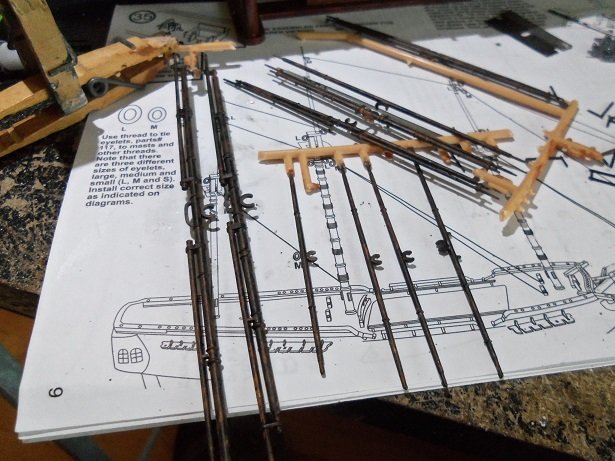
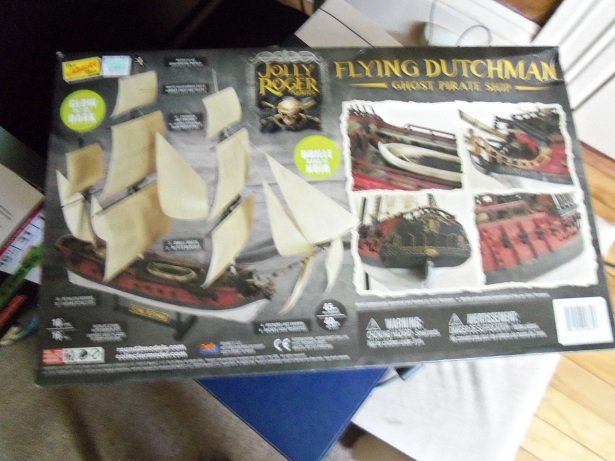
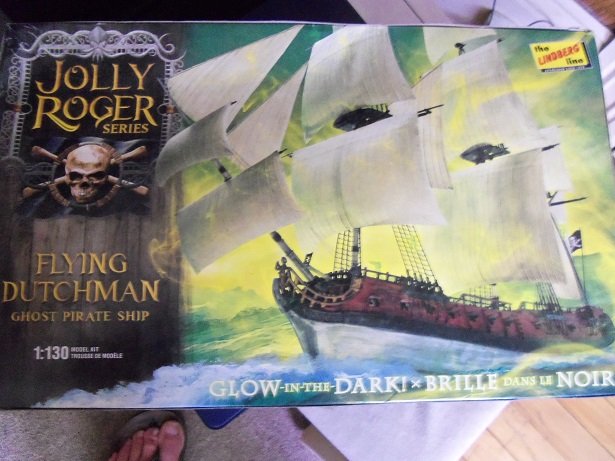
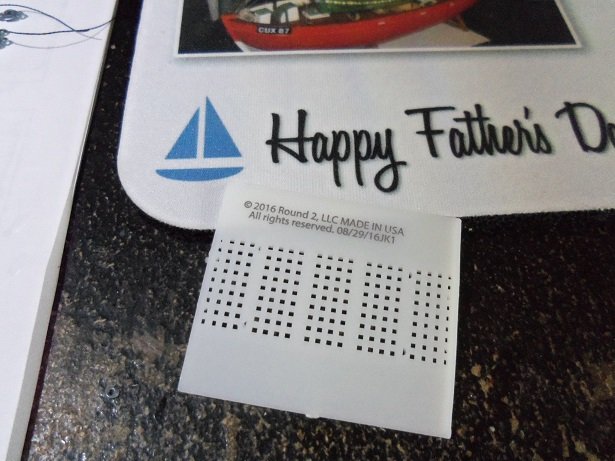
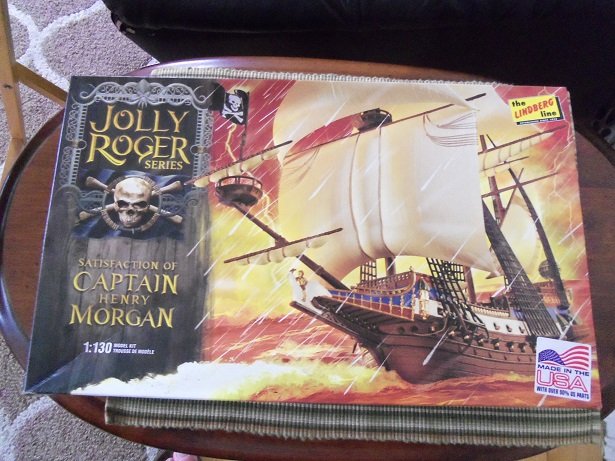
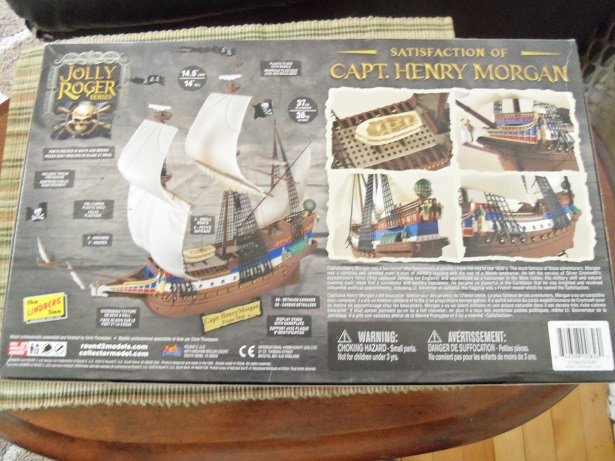
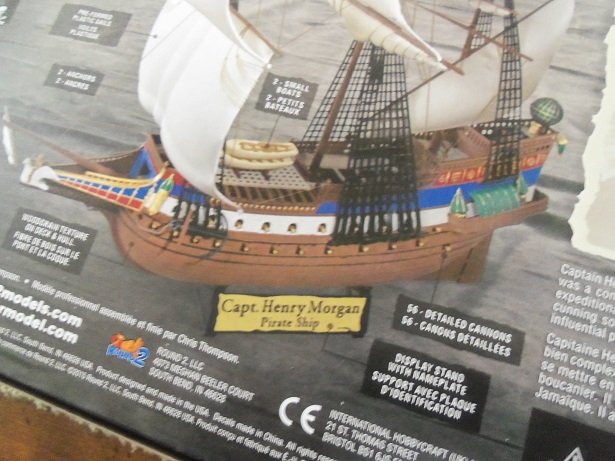
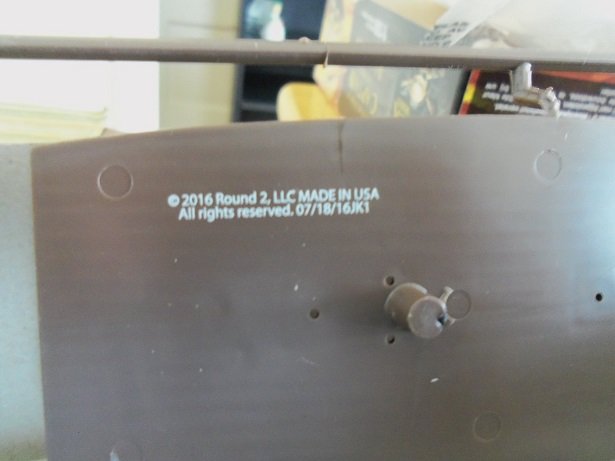
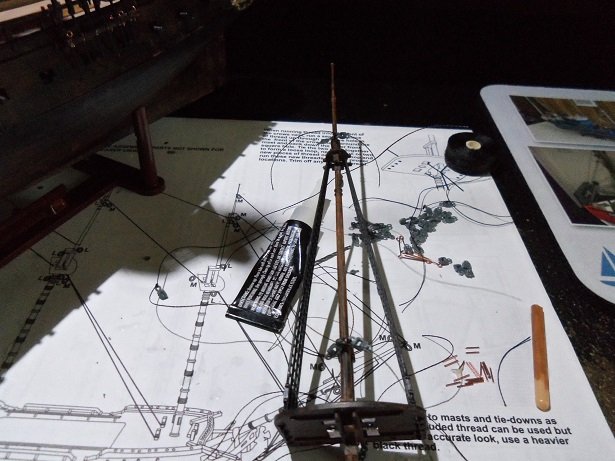
OK....I'm back. oh......by the way.....Happy Father's day to all of you out there! I'm home today....I took the day off the admiral also talked me into taking tomorrow off, so I did. I really hope that all of the Fathers out there have the best day today. I call it 'white hair counting day' since yesterday, I've been doing a little research on the Lindberg line company. what I've found of it has been somewhat interesting. I grew up with Lindberg line kits, and the roots trace all the way back to the 30's. http://www.scalemodelnews.com/2016/12/new-lindberg-line-1959-century-coronado.html the original Lindberg line company was formed later from another company.....after Paul Lindberg joined up with a fellow, only known as Olsen, to form O-Lin models. the very first companies to be formed to create the model industry was Varney, Hawk, and Empire. Keen to note here, that during the time between 1947 and {I would say} 1955, these two had also been busy creating molds for other companies too. Pyro models entered into the fray in this time frame....becoming another link in the chain........they phased out in 1972, being sold off to a company called Life Like. http://www.oldmodelkits.com/blog/plastic-model-kit-history/early-plastic-model-kit-development-in-the-usa/ Lindberg acquired some of the Pyro molds........could be that they created the molds for them too..........but they released the Pyro line of car models. to me though, Pyro's claim to fame was the series of gun and rifle models that they released.....which can now be heralded as collector's items. I haven't done much more research than this, but Lindberg has either merged, or was bought up by Round 2 models. what I did find out points to this......research uncovered more. http://round2corp.com/product/1967-oldsmobile-442/ http://round2corp.com/product-category/lindberg/ Round 2 has been reissuing older kits by MPC, AMT, and other by gone manufacturers. Polar lights has been doing the same. what cause this interest in Lingberg was what the admiral bought me yesterday. while I was at work, she went to Hobby Lobby and bought me some thinner and flat red. she also bought me one of the other installments in the Jolly Rogers series {I now see that this is a series of models fitted under this pirate banner}......the Flying Dutchman. this ship is the exact same as the model I'm building now. the plastic that it's molded from is a special glow in the dark formula. I've built one of these in the past {I believe it was a Revell kit}, in which it was painted with a solution when assembled, to possess this quality. so long ago...........I forget the name the parts for this kit is molded in a pearl, greenish white plastic. it's the same scale.....the instructions are the same {with slight variation in procedure}....and the sail sheets are the same......I paired them up with the ones from the Jolly Rogers kit the one thing that ruins the concept of this kit, is paint. those who wish not to paint it will benefit more...but if paint is used, it will kill the glow in the dark quality. I failed to find the production date on the Jolly Rogers.....but I did look for it on this model. interesting to see that it also has a date of manufacture too. also interesting to see that this is laser printed, and not etched into the mold. it will be a bit harder to date the association of kits vs molds. there was a bit of a pause here.......Kevin and his girlfriend Crystal came to visit. the got me a father's day gift......so sweet! I was surprised when I saw it.......and it convinced me that the Jolly Rogers and the Flying Dutchman are clones. they got me the Henry Morgan! closer examination revealed that this is nothing more than the Capt Kidd. it has the raised stern and galleys like the Capt. Kidd and the instructions show all the tell tale 'points of interest' similarities. it has plastic sails and actual decals of the pirate crests. it can be seen that this kit is also put out by Round 2 models, and the date stamp confirms it. the kit that I'm building now is not put out by Round 2 models........but by J. Lloyd International, under the Lindberg banner. the instructions are dated 2009, but I don't believe that this reflects the production date........it might though. I know......what's the big deal..........I always had this thing about when a kit was produced.......I love the older models. I think it's cool to pick up an older kit and think that you might have built it in your younger days there is a small bit of progress with the Jolly rogers. trying to get a good picture of the blocks tied to the mast trees, was a pain. I did get a couple that were palatable. the main mast is partially done too. I will try to get more done today..........I hope you find this post interesting
- 140 replies
-
- 7
-
-
- jolly roger
- lindberg
- (and 1 more)
-
........thanks for the info! I'll be sure and check it out! no need to go into the corner.......I appreciate all input this forum is based on the thoughts and views of us as a whole, we would not grow otherwise. as said, there is no such thing as a silly question either. the big obstacle will be to get the admiral's consent, if I should start giggling like a school boy, when I find it ! I have a friend in Hawaii that has three other Cutty kits in his stash......one is the first production, another is the 'museum' version, and the third one is the 1959 release with sails. I have built two of them so far.....a Thermopylae would be the feather in my cap right about now! {oh god.......now you got me all peckish} the time aspect is hard to say.......we all are different slaves to it. my blog writing started when I built my first wooden model. when Billing Boats was located in Wisconsin, I contacted them to order the hardware fittings for it. I met and befriended the owner, and he asked me if I would be up to doing a log on it. I built two kits for him as well, during the time of our exchange, and I would help with customer service. I wrote many build logs on the wooden kits I built.......even now, I'm still writing them.....a habit that I view as fun, since I love to write. I also wrote blogs for a website called 'Model Buzz' , a Q&A site that I envisioned could be more than that...but the owners wouldn't listen. I dropped them quite a while ago. gotta take Gibbs out.....I'l be back......I have a story to tell
- 140 replies
-
- 6
-
-
- jolly roger
- lindberg
- (and 1 more)
-
my Thermopylae is in Italian........I'm glad that I have some knowledge of clipper ships or I'd be sunk I'm sure someone here will chime in Danny......it takes time for word to get around
- 295 replies
-
- 5
-
-
- amatsukaze
- halinski
- (and 2 more)
-
thanks Marc.......but you know, for as long as you've been working on this build, she looks really good. you must cover her when your not working on her. if you can come up with a ship that looks this good...imagine what you can come up with, working in 'real time' I know.........you don't have to say.........life and work always gets in the way. it does to me whenever it can......but I try not to let it. still......it's best to take one's time .....breathe and take it all in. but not in L.A........to much smog, don'tcha know
- 525 replies
-
- 1
-
-
- cutty sark
- mantua
- (and 2 more)
-
interesting thought Lou........but I already shortened the fore mast root. I find that, with wood, I seem to get away with it better.........but then again, if the paint isn't scraped away on plastic parts, the glue doesn't adhere as good. so, either way it probably would work. thanks for the thought......enjoy the read I do blog logs too, if you really want to laugh
- 140 replies
-
- 3
-
-
- jolly roger
- lindberg
- (and 1 more)
-
I'm so sorry Marc.....I try to acknowledge everyone. you are correct.....sometimes it's good to dabble in something out of the ordinary. I started building plastic models....seems like ages ago....cripes, back when I was eight or nine! of course, paint came later.....I was too interested in build'in 'em......crash'in 'em.....and then put them back together if you haven't found it yet Lou, it's here: https://modelshipworld.com/index.php?/topic/14830-thermopylae-by-popeye-the-sailor-sergal-1124-scale/ the kit has a lot of aspects lacking with it......I did the best I could so far. I should be back to her soon. hello Piet.......thanks for the good word. I'm liking the blocks....I think they will dress up this model quite a bit. way too much thought about which ones should go where though you didn't offend Gibbs Gerhard, right now he's preoccupied with squirrels I did......I cut the fore mast root shorter......a bit too short I think. it's OK........I think I can manage. there has been a new development with the Jolly Rogers saga.......can't wait to show it to you all! at the moment though.....this light is so darn poor......can't get a decent picture of the blocks I have tied on I'm gonna have to juggle the tables......with the build reaching upward......I need a better light the kicker is..........is that I knew about this. I knew I should have cemented in the fore mast first, before the bow spirit. I wanted to outfit the mast tree with blocks before I did it. one of these days I'll smart'in up update soon
- 140 replies
-
- 6
-
-
- jolly roger
- lindberg
- (and 1 more)
-
looks awesome Marc! nice paint work on the trail boards