


popeye the sailor
-
Posts
16,007 -
Joined
-
Last visited
Content Type
Profiles
Forums
Gallery
Events
Everything posted by popeye the sailor
-
 oh.....well then, let me put more wood on the fire errrrr, that's not your building wood is it? ......it's not...OK, I'm happy again I have come to cherish this little diamond in the rough. the effort you've put into her, and the materials you use makes it extra special. it's sad to hear that some folks don't have the luxury of a craft or hobby shop near them. I have made a friend in Pakistan, who read my blog on the Mary Ann, and decided he's make his own, using my blog as a guide. to date, he has done a super job of it it's an example your carvings are superb........you have me to the quick. I can't wait to see what you do next
 -
amazing work Patrick! I see the room with the long table and chairs.......but in another picture, it's an open room. the table and chairs are removable still?.........and the couches too?!?!?! man! there's too much stuff here........... the galley connects to it though....that's a neat set up so much detail Patrick
-
to think I would have missed you! I look at so many projects that I can literally get stuck on the kit forum page! the beauty of all this though, is that I get an overload of progress! you have done much! she is looking absolutely fantastic the transom looks so sweet........and the bow is crossing the boundaries of fantasy........it looks so good the transom windows testaments your resourcefulness.....the carvings......no word can describe. I'm in awe at how this little model has evolved. so happy to see your workmanship again .....you'll have to show us a snap of the shed
-
ok.......I'll put a like to it, since you were able to fix the dryer yepper! quite long panes of glass there.........very nice!
- 2,625 replies
-
- 6
-

-
- kaiser wilhelm der grosse
- passenger steamer
- (and 1 more)
-
yea, but looking at the diagram, half is the bow and the other half is the stern........there may be a duplicate line on the starboard side. this has been the case on many models I've done in the past.....wood or plastic. would any be submersed in water?....another thing to consider.
- 653 replies
-
- 4
-
-
- trabakul
- marisstella
- (and 1 more)
-
thanks Scott for the kind comment.........I'm not that good with weathering and stuff. it's just something I tried out........happy to see that it came out good and well received. as for the ship's boats, they were the same....the smaller one inside the larger one.......looked terrible. I was going to leave it at that, not being able to come up with a good solution.....but then I stumbled onto that thwart part in my plastic bin {I have a small collection of plastic spare parts}. with a little modification, I was able to fit it into the large boat and add the chocks. I've seen these chocks in other logs...that's where I got the idea from in the first place I hope it works for you as it did me. I dunno Carl........a quicky to me, is something you throw together fast....no mods and extra stuff to slow you down. I wasn't even going to paint it at all then the crazy thoughts came and blew all that out of the water. I don't regret though....the model did come out looking better for it. I'm waiting for the finish to come.......I have other fish to fry OK......what did I do yesterday? well.......I did the rigging for the fore top and top gallant sails..... ...and then tied the main course sail to it's yard........cementing it in place on the main mast. so, now I'm down to two sails {cripes........I'm beginning to sound like the count on Sesame Street}......three billowing sails..........TWO billowing sails!........ {and then you hear Sonny and Cher..... ....and the beat goes on........... .....the beat goes on. NA-NU..........NA-NU!

- 140 replies
-
- 14
-
-
- jolly roger
- lindberg
- (and 1 more)
-
hello there Don! browsed through your log , and I must say...I'm impressed. it's a very unique looking ship your building here. kind of a mix between a POB and a POF. I've done a few Billing kits that the bulkheads were open like that....but I never thought to do anything like a lower deck.......I might try that?!?!?!? the deck is another interesting feature......instead of the usual platform to plank on, the platform is actually planked. I've done that with a POF, and left it at that {Billing Regina}. splendid work on all the fiddly bits as well......they add a lot of texture and detail. it's too bad though that I've caught your log near the end, but I'll at least get to see if you decide on sails or not hat's off to Marisella for such a wonderful kit
- 653 replies
-
- 4
-
-
- trabakul
- marisstella
- (and 1 more)
-
thanks Tom........awesome work on your Connie very soon, I'll be doing ratlines and shrouds too thanks for the likes EJ!
- 140 replies
-
- 4
-
-
- jolly roger
- lindberg
- (and 1 more)
-
it is a material called Tulle......used to make veils and parts for wedding dresses. there are other uses, but this is the most common. I think any place that deals with fabric will have it. nice progress by the way
-
Cutty Sark by NenadM
popeye the sailor replied to NenadM's topic in - Build logs for subjects built 1851 - 1900
the life boat looks great Nenad! your perseverance paid off ....now for the other three- 4,152 replies
-
- 7
-
-
- cutty sark
- tehnodidakta
- (and 1 more)
-
this has been a great log to follow Nils....you've done so much to bring you to where you are now. your latest touches are awesome, and I'm sure the case your making for her will be extra special. she's a very beautiful model.......very well done!
- 2,625 replies
-
- 3
-
-
- kaiser wilhelm der grosse
- passenger steamer
- (and 1 more)
-
thanks Daniel......and to those who hit the like button
- 140 replies
-
- 4
-
-
- jolly roger
- lindberg
- (and 1 more)
-
La Nina looks super Jerry........the sails really add to her beauty very well done !
-
amazing job on the hull Julian....the trim looks great
-
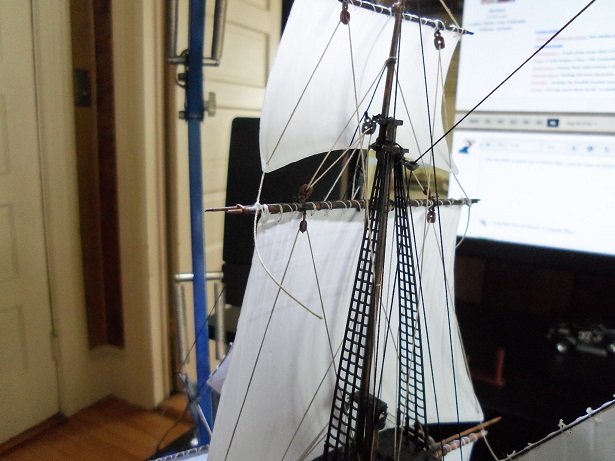
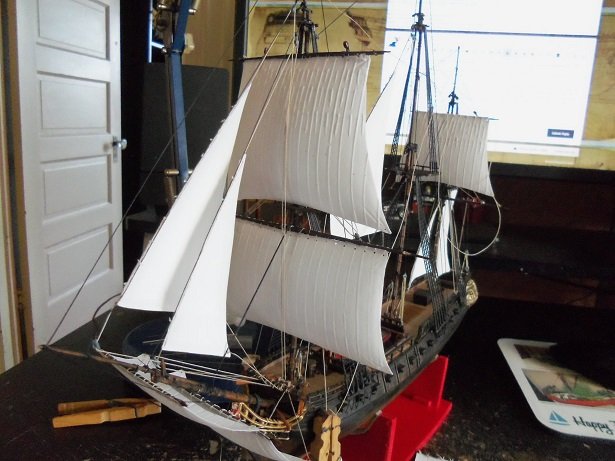
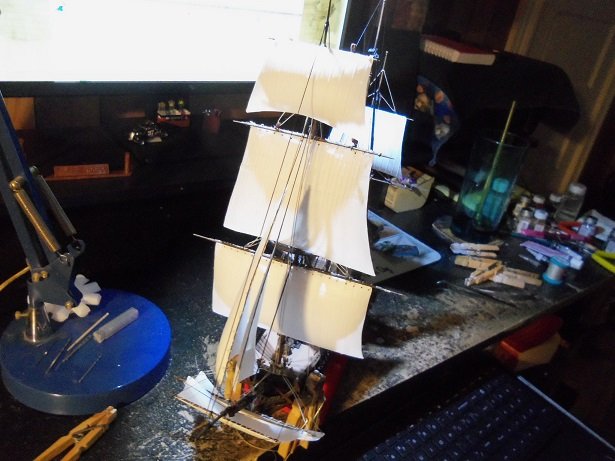
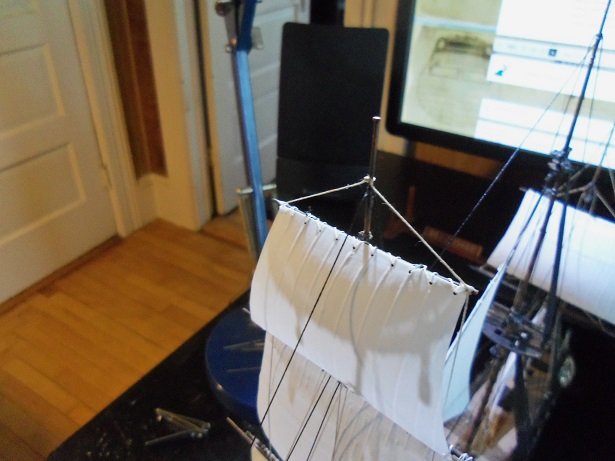
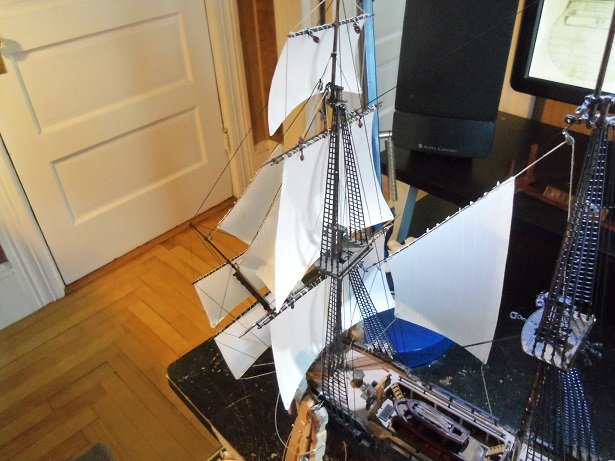
I did two more sails yesterday......lashing the yards on.....and I had a better time of it. knowing when to avert problems is a big help the lower fore sail assembly is already done, so the two additional sail assemblies, complete the fore mast. I quickly looked up the names of these sails to make it easier.......I may be wrong.....so be kind and let me know so.....anyway...before I knew it, I had the fore course and the top sail cemented in place. I rigged the fore course sail lifts before adding the top sail......the lifts for that sail was next. the sheet/clew lines are not done yet, so not to make it too confusing. the top sail.......for this large a sail, I probably should have given it a pulley assembly......but I opted to use single blocks instead. the fore course sail got the pulley assembly. the top gallant sail was the last assembly to be cemented in place. I'm thinking that this would be a fixed yard, so no lifts would be needed.....simple fixed lift lines was added to it. I will have to do the same to the main top gallant sail, but I had to remove the single block that were tied to the yard. once all of the lift lines were rigged, they were set up to be terminated. once that's done, I can rig the sheet/clew lines. one thing I see, that I will have to remember to do, is rig the tack lines on the fore course, before the sheet/clew lines are done. three more sails to go......the main set. it might appear that I've added a lot of the rigging......actually.....no. this model has most of these lines.......I'm merely doing it differently, adding in some extra detail due to the use of these blocks.
- 140 replies
-
- 17
-
-
- jolly roger
- lindberg
- (and 1 more)
-
I hear ya.......Gibbs spent the last couple of evenings in the cave {under our bed}. TV wasn't the same without him
-
I see these more often now.........they don't look that hard to make. really set it up for some neat detail I like the turnbuckles too......but they look like Britannia metal. did those come with the kit John, or did you have to order them?
-
she's look'in good now she needs her panels. I was going to do some extra detail work with the centerboard, but I figured I'd try and keep it simple.......I've got a knack for making mountains out of molehills ask anyone here........they'll tell ya!
- 24 replies
-
- 4
-
-
- finished
- Chesapeake Bay Flattie
- (and 2 more)
-
some folks will use graph paper or draw lines on a paper to use as a backing, when tying the ratlines. I've seen others make a jig or template to gauge them. the shrouds themselves can be slightly limp.......it's the back stays that do most of the work. it's amazing how they are put together, considering that the shrouds are adjustable. we try so hard to keep the straight line for the ratlines, but in real life, if they were to be adjusted, the line would be offset by it. it's best to keep the ratlines slightly limp........to make them taught in any way will distort the shrouds....it doesn't take much. I used to eyeball the dead eyes......but the last one I did convinced me that I needed to make a jig for them. I made one......now to get back to the ship that I goofed up on. it's compounded though, since it fell on the floor a couple of times.......poor duck is gonna need a reno. I still do other things by eye.........I find it quicker, and my 'mind's eye' knows what I want
- 291 replies
-
- 4
-
-
- bounty
- billing boats
- (and 1 more)
-
glad to hear you've found something to fill your time perhaps a build log on it might be something of interest. if you find that your experiencing gaps of time to be filled, and decide to get the kit, let me know. I'll get a St Roche and we can build them together there are only a couple logs here......none have been finished as far as I'm aware. I have the plans for it too......don't have the profile diagrams though.......downloaded the plans to follow along with a previous attempt to build it. I have the Norden in the closet at the moment......that might also be a doable build for you as well. just let me know in advance don't disappear.........your a good heart.......keep in touch.
-
I'm glad that you don't feel like I'm critiquing in any way........it's not my nature artistic licence is paramount in my book. it just that I've seen other Bounty builds, and the ratlines have been done closer together. you've done a superb job with them, and I didn't want it to come back to haunt you......especially near the finish where things would be in the way. 5 - 8 mm is good, considering the scale. are you going to keep the snake? I can't recall seeing a build with it, but you've done a super job with too.......hate to see you remove it.
- 291 replies
-
- 5
-
-
- bounty
- billing boats
- (and 1 more)
-
just checking how that new 'tookus' is coming along.......