popeye the sailor
-
Posts
16,007 -
Joined
-
Last visited
Content Type
Profiles
Forums
Gallery
Events
Everything posted by popeye the sailor
-
 thanks Mark, Greg, and Patrick.......and all who hit the like button. I figured the red would be a change of pace, and save you all from being blinded by the white I'll see what else I can get on her thanks for the good word!
 -
thanks Patrick and Bob....and to all who hit the like button. I forgot to mention that I had also installed a brad at the base of the mast. after centering the mast, it was pushed into the keel spine inside. I just hope that I can easily find the hole when it's time to cement the mast in place thanks for looking in
-
I just saw this Hakan.......what a cool idea and concept very well thought out and constructed...the idea for the steam box will be an inspiration to anyone who has the need for one very well done! belated congratz on becoming a grand father........I have four in total it's really nice when they come over....all they want to see is grandpa's boats and what he's up to now!!!
-
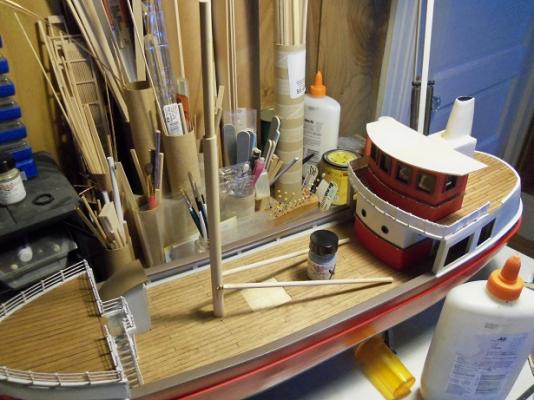
I started to play around with the mast........fairly sure there will be a mizzen. I began to taper it, but I'm thinking of adding a top to the first step........that's going to mean......yes, another ladder. I've also done some work towards a roof on the helm room. as I suspected, it will definitely kill the light, but I will add a few more bits of detail to it anyway. I should have more on her soon.
- 747 replies
-
- 15
-

-
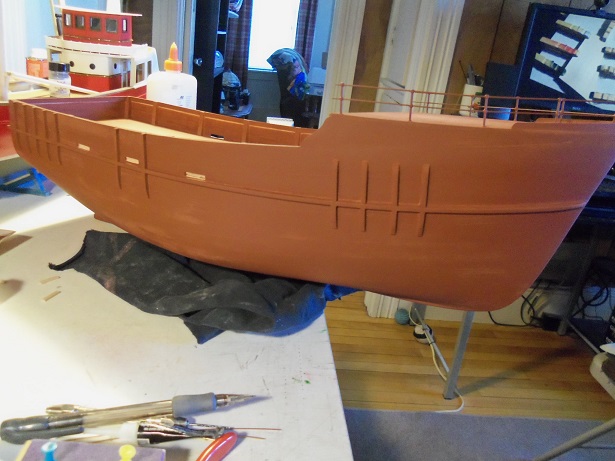
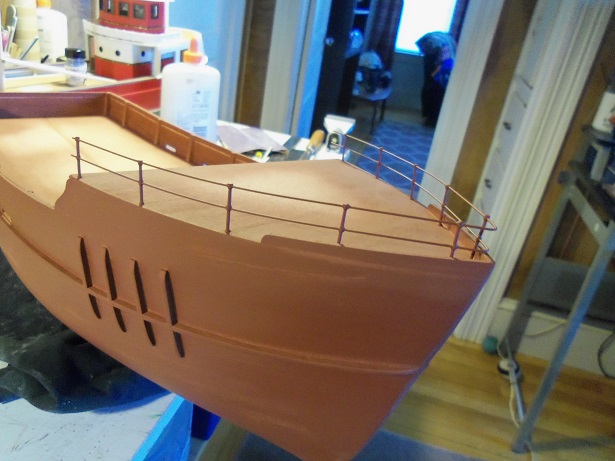
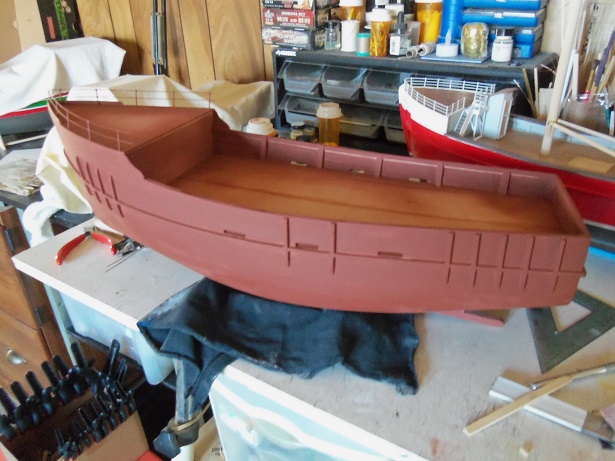
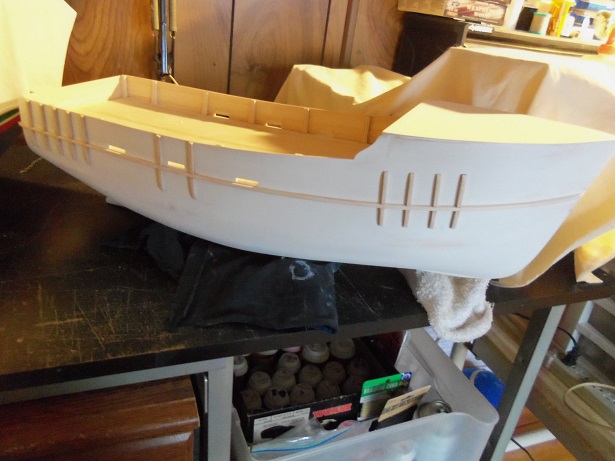
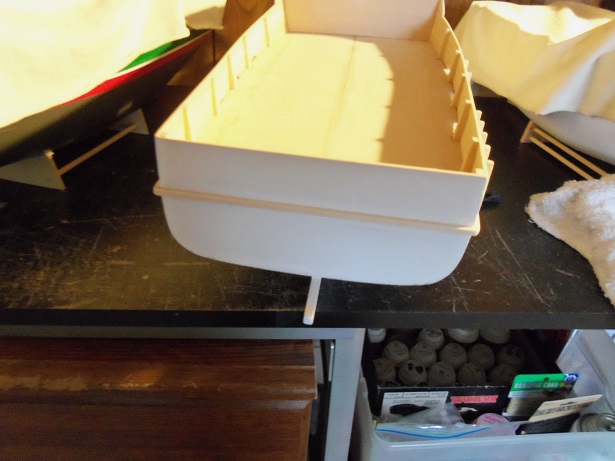
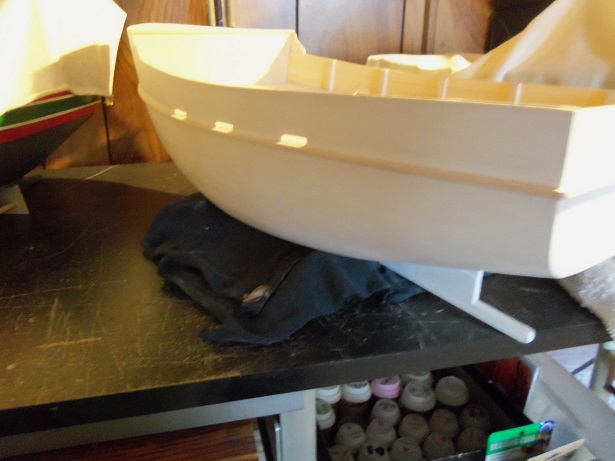
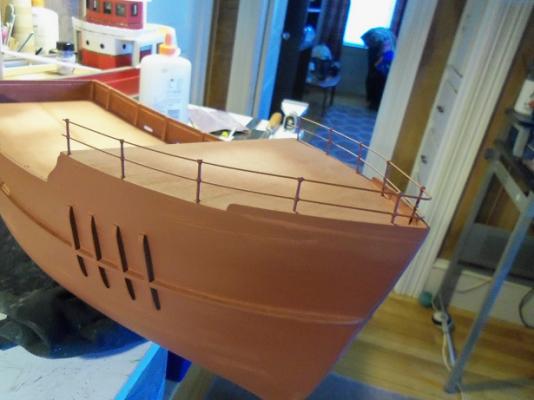
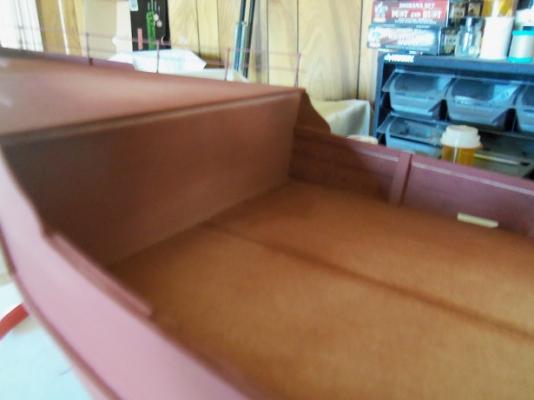
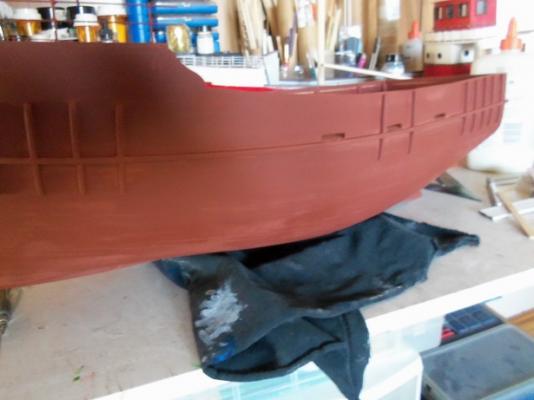
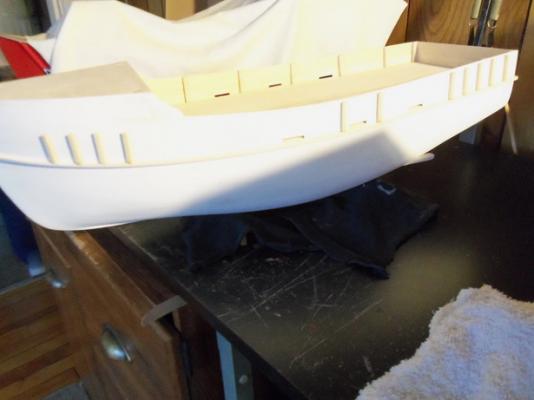
I took a few more pictures with the light on.......looks a lot better. don't fret, with the hull hanging.......the hull won't fall as mentioned, another coat of primer and those blotches will be gone. I may even keep this color for the bottom paint. I may have to 'cut' around all the rail work when I give it the color coat........lots of 'blind sides'. pay no attention to the computer screen I'm trying to warm up to the railing color......but I'm finding it hard. they are already cemented together, but not to the fore deck...I can remove them. with what I plan to do with the deck, I think the scheme will look pretty neat. the transom came out pretty good.


-
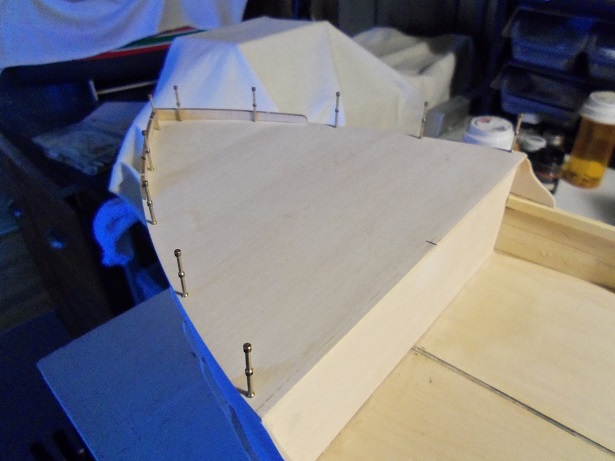
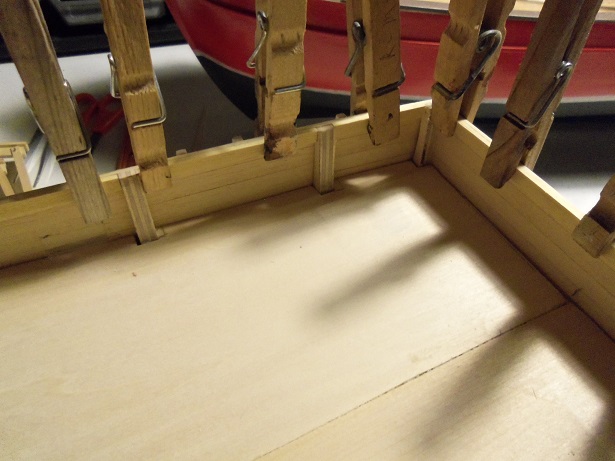
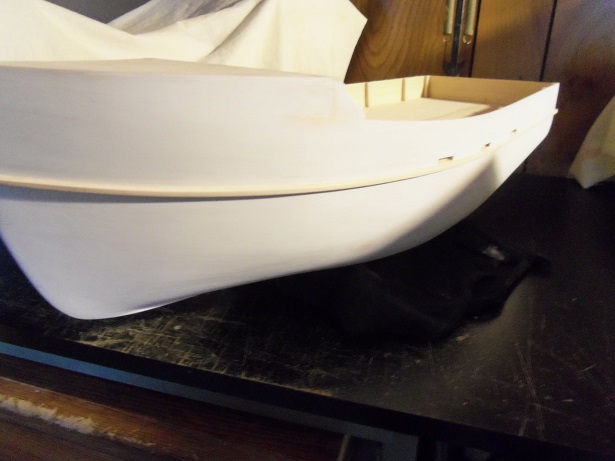
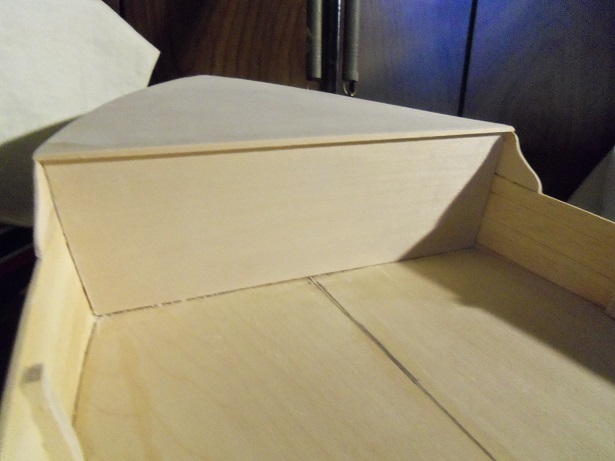
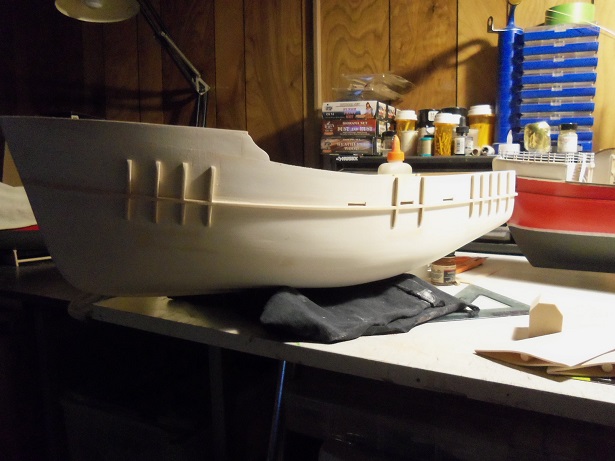
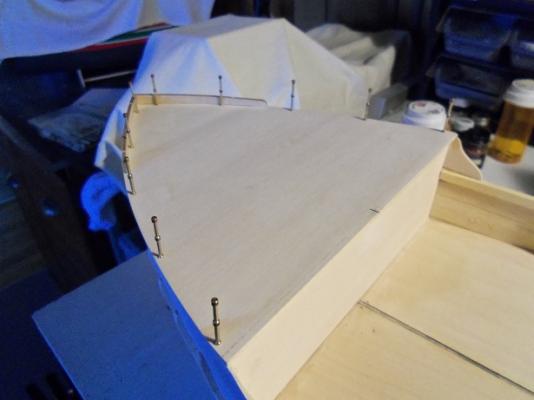
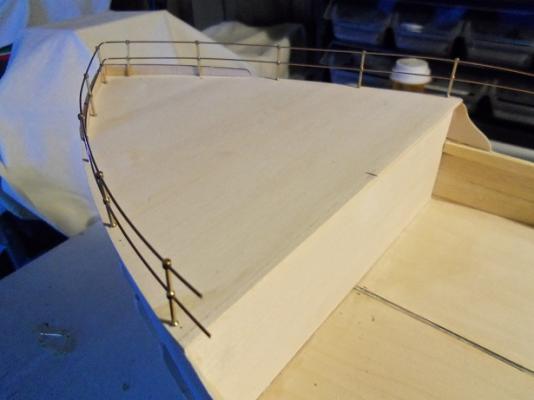
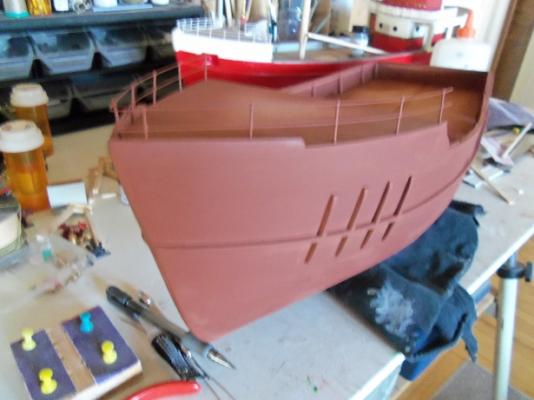
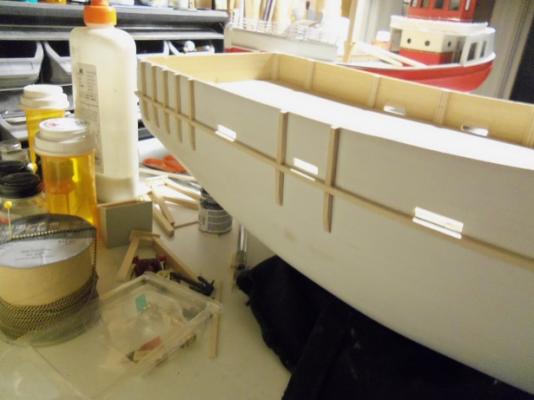
this week wasn't my week at the table......I've been busy doing other things. when I was at the table, a lot of idea juggling went on.......railings and fenders. I had these two parts from the Mary Ann kit.......don't know why they were in there, they were like extra parts. so, I put 'em aside and kept them. I was going to do full fender / bulwarks for the fore deck, but in trying these out on the model, I kinda liked them. I wanted to get the primer paint done on her, but it's still a bit chilly for paint. I decided to go a bit further with the fore deck in the meantime. I have 11 of the 23 mm two hole stanchions left.......all the other ones I have are the 15 mm. I was going to go with the 23 mm, and then slope it down to the 15 mm single hole, terminating the second rung by bending it and end it at the deck line. I ended up staying with the 23 mm.......spaced out, I was able to do five stanchions on each side. the next day was a little bit warmer by the afternoon........so I went for it with the primer. I still need to touch up the areas under the 'overhangs' but it will be getting another coat, I'm sure. you'll see some blotches on the hull......it's either that the primer tried to turn 'white' {due to temperature and relative humidity}, or they are merely areas where I did the sanding and I had taken off all the white primer. I didn't use any lighting to take these pictures...they might be a little blurry. the primer is still rather fresh too. you can see the areas where the primer missed. I did the railings too.........I may paint them white later.


-
looking really nice Sjors! it sounds like a heck of a fight.........but you came out on top wonderful!
- 1,616 replies
-
- 6
-
-
- caldercraft
- agamemnon
- (and 1 more)
-
Cutty Sark by NenadM
popeye the sailor replied to NenadM's topic in - Build logs for subjects built 1851 - 1900
I agree.........nice story Nenad- 4,152 replies
-
- 9
-
-
- cutty sark
- tehnodidakta
- (and 1 more)
-
glad to hear your up and about
-
nice looking build thus far Jack you have enough....but even though it'a a plank on frame deck, the structures could have been mapped out and left open. leaving enough of a lip in the opening to cement the structures to. you'll need to insure that the structures are mated well to the deck. I kinda chuckled with how cluttered your instructions are........with Billing's, there's not enough there to be cluttered I've been watching Gerty's build too.........I may have to get me one of these beauties!
- 250 replies
-
- 6
-
-
- willie l bennett
- model shipways
- (and 1 more)
-
rudders are a funny thing........on most of my builds, they are all stationary.......except on my trawler. I keep hitting it on things I have on my table it won't come off........so I guess I have my first one with a movable rudder. I'm not going to fix it again the sails look nice as well..........I see kits that have the hanks, some look so out of scale. yours have a better look to them. did you coat them with anything to prevent rust?
-
wonderful masting and boom work Kees..........and to imagine your doing this in triplicate! simply awesome! lighting wires add so much more detail
- 434 replies
-
- 4
-
-
- pelikaan
- beamtrawler
- (and 2 more)
-
Cutty Sark by NenadM
popeye the sailor replied to NenadM's topic in - Build logs for subjects built 1851 - 1900
looks awesome Nenad..........now you need to make the other one the buckets came out great..........nicely done!- 4,152 replies
-
- 9
-
-
- cutty sark
- tehnodidakta
- (and 1 more)
-
good to hear your OK Vivian........hope you can get past your currant setback looking forward in seeing your continued build
-
look'in really sweet John.........you can't rush a fine build. hope you feel better soon.
- 745 replies
-
- 4
-
-
- francis pritt
- mission ship
- (and 1 more)
-
looking awesome Patrick. leave the woodwork and just do accents.......it would be sad to paint over any of it
-
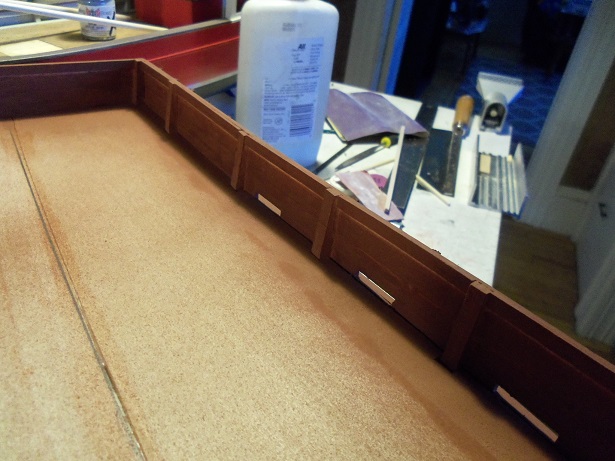
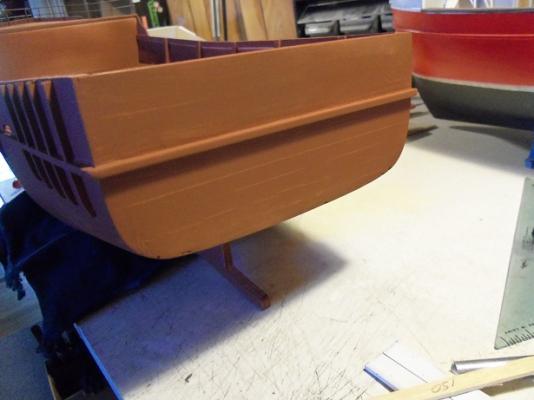
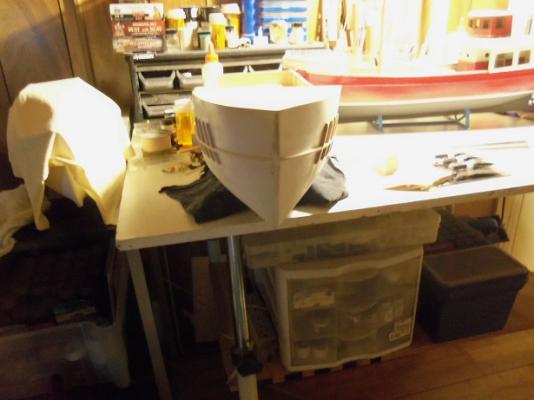
thanks Mark Keith and Greg.......also to those who hit the like button. white primer is good.......it will keep any color that the hull will be, bright as it will affect that pigment in the paint. I have a color in mind, but I'm curious to see what hue it will become, using a darker primer. not only that, but the red primer will also work as the bottom paint. I worked on her a bit more last night......I put a border strip around the top of the inner bulwarks. it will reinforce the bulwarks and give a better surface to cement the cap rails to. I have a thought about the fore deck........and the helm room. I want the helm room aft, but with what I want to do, it can't happen. I didn't make the fore deck large enough to accept it.....but in writing this, I thought of something that would be a good solution. one problem though.......the more I think, the more that the tree boat concept takes a back seat. I have also given this some thought as well.........I do have a back up solution, but I don't want to cause confusion. it would be sad to think that this type of hull, was a bad idea to base this concept on. thanks for your likes and comments, I really appreciate it

-
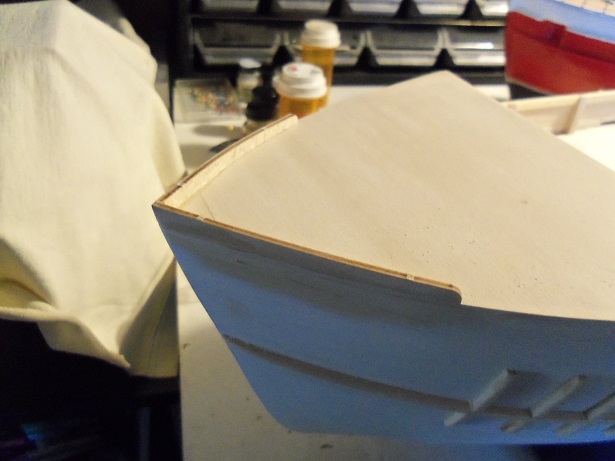
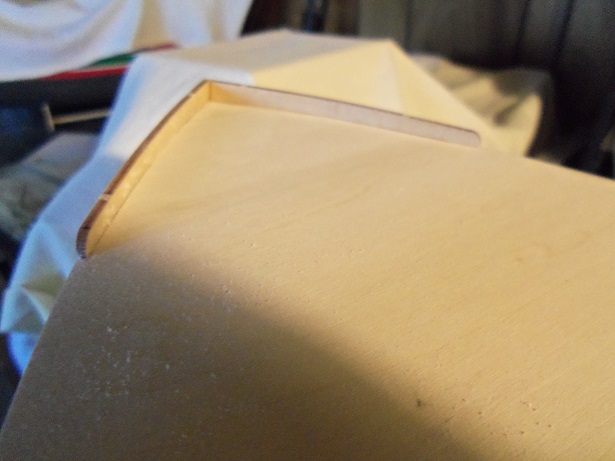
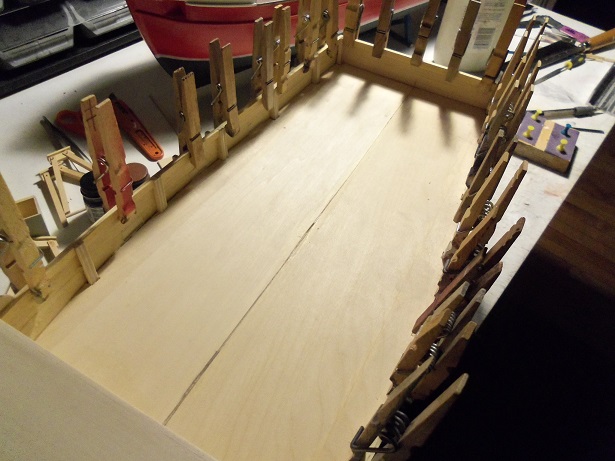
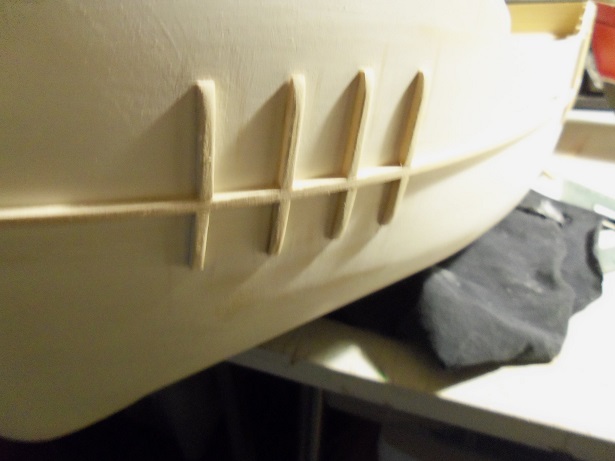
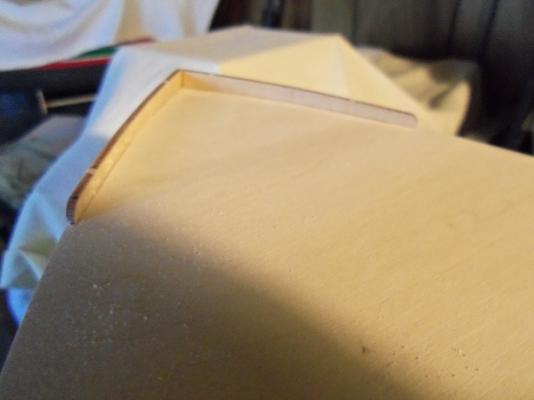
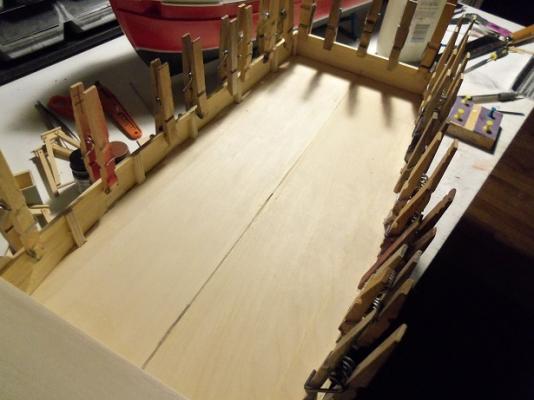
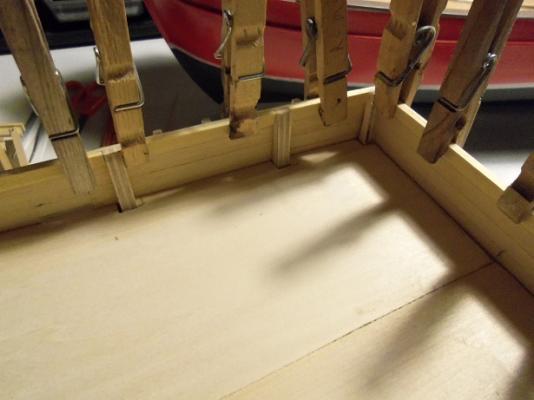
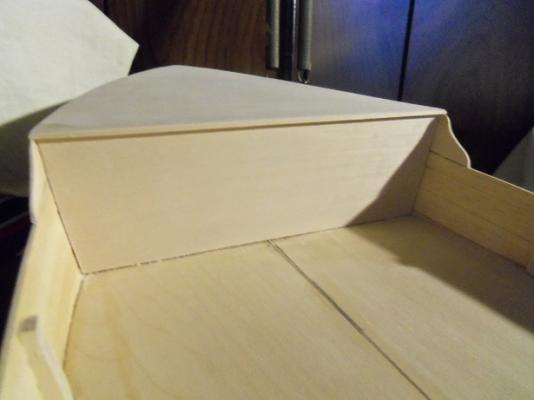
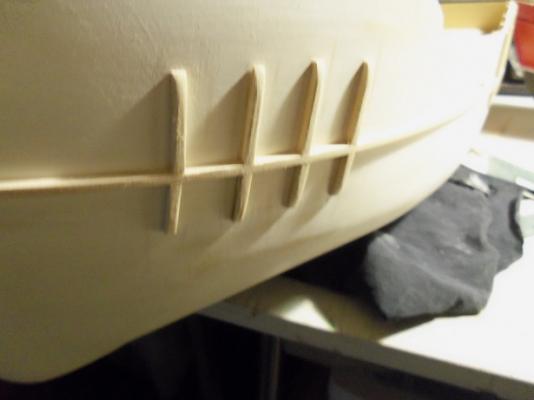
I'm in deep do do right now.......you ought to see my desk. there is sawdust from one end to the other......sandpaper and tools......strewn about. the word was handed down from above {yes.......she was towering over me......"you WILL clean this mess!" lord Vader has nothing on that stare *gulp!* I just watched the latest Star wars movie......if you haven't seen it.......you must! I spent the morning playing with a plastic aircraft model......a Fokker D VII in 1:28 scale. it's not totally accurate, but it builds into a very nice plane. from there, I went on websites to catch up with folks here and in other places. this is where it gets dicey.........right in the middle of a post, I began rubbing the tree Boat with fine sandpaper. the more I rubbed, the more I fell.........the plane model ended up in the living room I worked out a few of the minor imperfections........the heck with it, I'll work the rest out by the time I paint. I got out some 1/8 x 1/8 square stock and went to work on the rub rails. first I did the initial rub rail on both sides. cutting bits of square stock, the starboard side looks like this....... the stern has a single rail across it connects the two sides together and is rounded. across the fore deck, a cap beam was installed.... 3/16 x 3/16 square stock was used for it. the main deck has a huge joint down the middle......yea, I got plans for that of course, and like clockwork, an errand popped up out of the woodwork. I had to leave it for a while. when we got back, I began on the port side....cutting all the little pieces and laying down the upper part...... crap! another errand ......laid it back down and took off again. we got back and ate supper. I picked it back up like I didn't miss a beat........laid the bottom and started to sand the crap out of it. all of the bottoms are rounded to a blunt point.......first with coarse grit to bring them down quick, followed with fine to smooth them out. took care of a couple of other slight imperfections along the way. only the upper verticals on the bow are rounded blunt, as the bottoms. the bow has a nicer look to it.......they stop at the stem and are rounded to meet it the top verticals towards the stern are left straight, so they will meet the cap rails.......the top edge of the bulwarks are sanded down to meet them, as well as the inner posts. I have plans for the inside.......nothing drastic,, I assure you. ....and the bow, with both upper and lower verticals rounded blunt. I wanted to give it a coat of red primer........something a bit different......and to kill the white, to make her a little more photogenic, but it's getting late. I'll do it tomorrow. I'll do some more tonight. Gibbs tried to get me into the living room.......I laughed. "where the heck were you when I was watching the Star Wars movie?" he trotted off to the living room by himself.........I may give in later.......depending on how late I work on the Tree Boat


-
just do what you can......hope you feel better soon. every bit of progress you make brings you closer to completion
- 1,306 replies
-
- 7
-
-
- syren
- model shipways
- (and 1 more)
-
superb color for the sails...appears that they send a purplish hue down to the deck. the ship looks so awesome with them on! very nice work