


Stuntflyer
-
Posts
1,196 -
Joined
-
Last visited
Content Type
Profiles
Forums
Gallery
Events
Posts posted by Stuntflyer
-
-
Thanks, Rusty and a belated thanks to everyone for the comments and "Likes".
Mike
- FrankWouts and egkb
-
 2
2
-
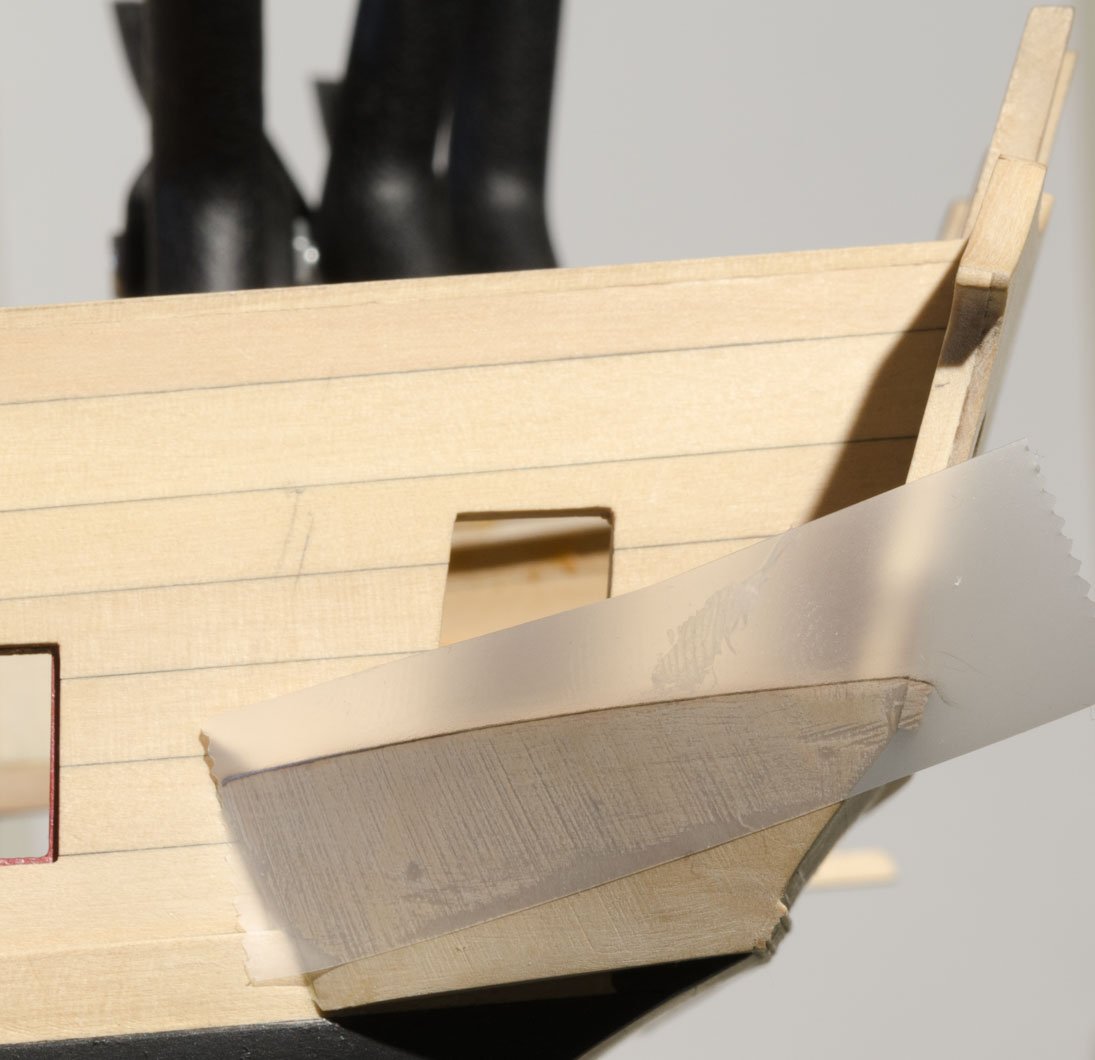
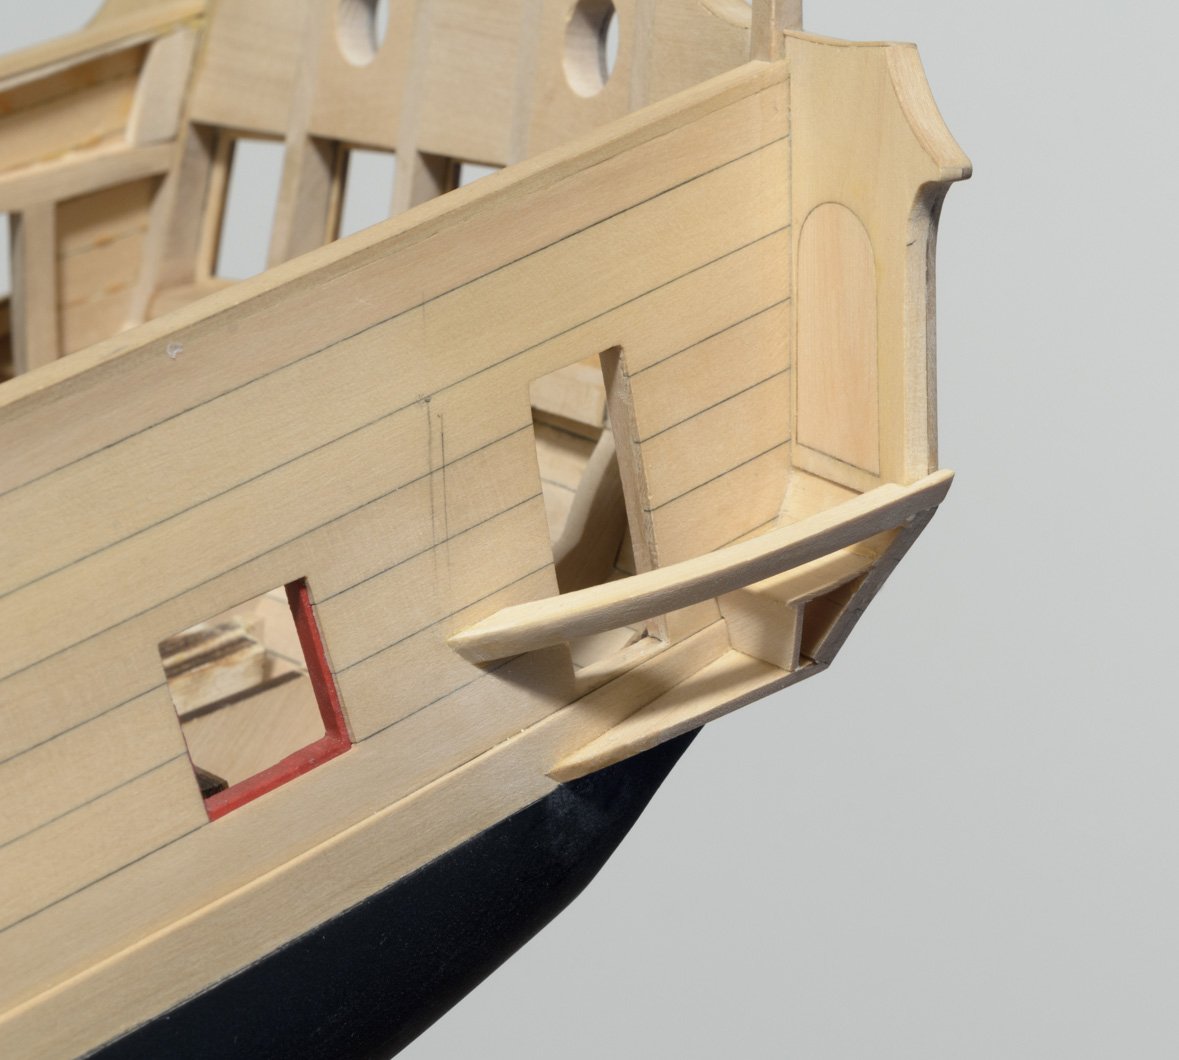
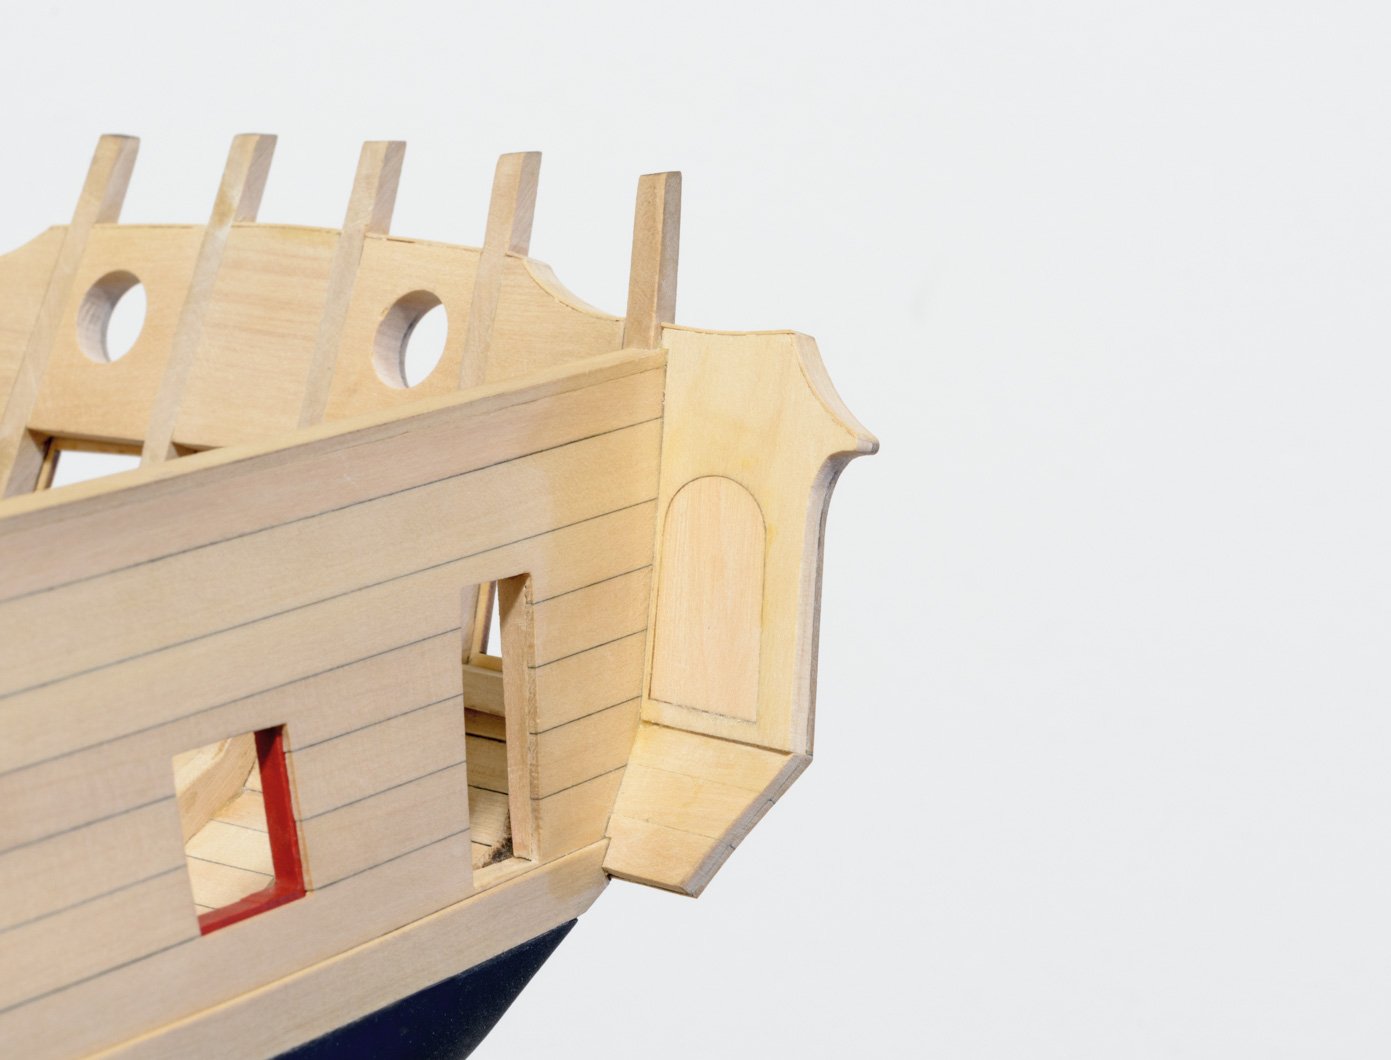
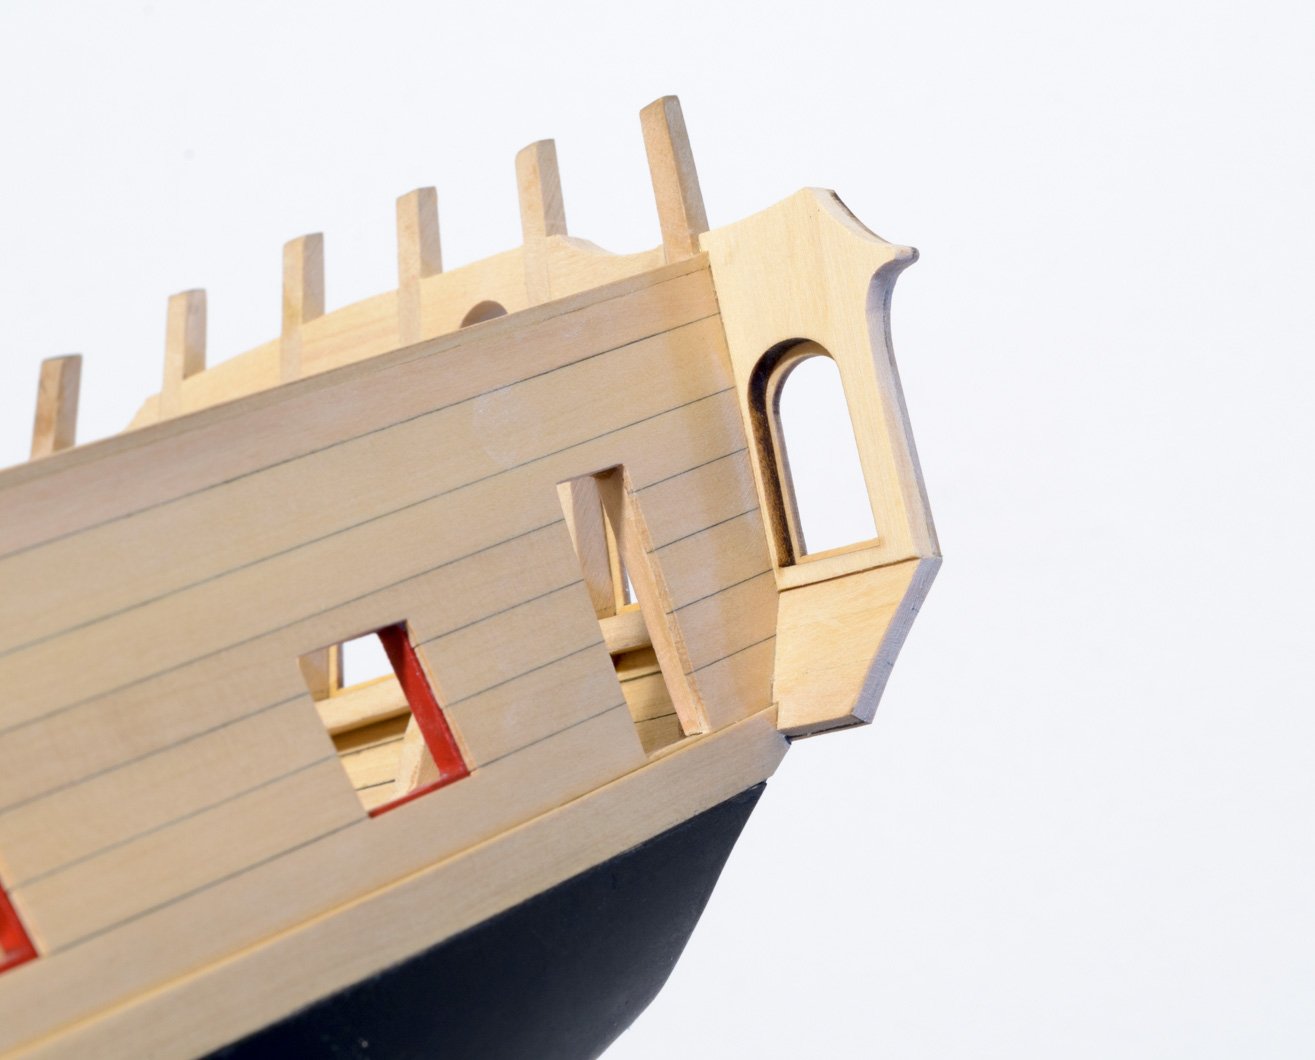
Time for another update. The fancy moldings that define the upper counter are done. Only one scraper was needed and it was made from a piece of .025 brass sheet. Making the scraper with such a tiny profile proved more difficult than I thought. I must have made 6 or more before finally getting it right. The last photo best shows the shape used.
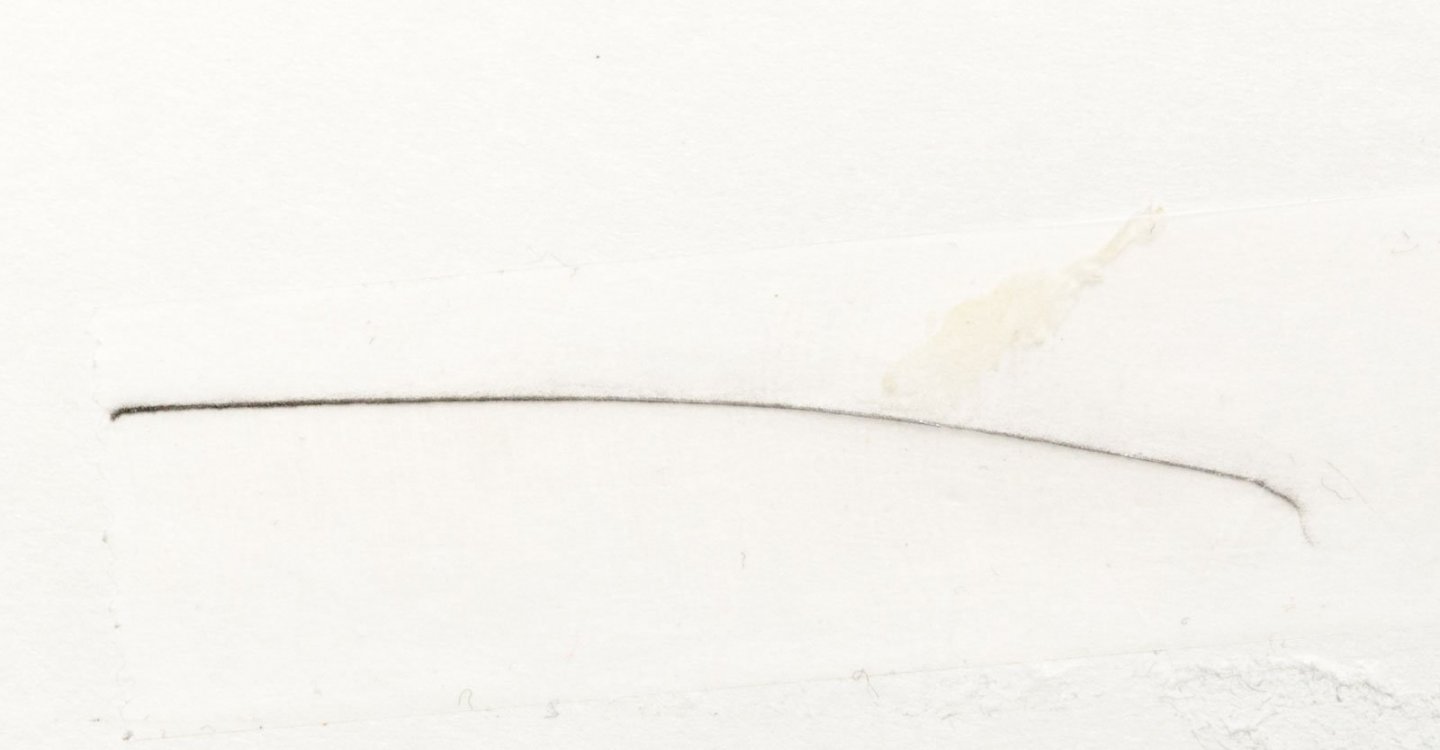
Using tape along with a pencil to darken the edge is an easy way to determine the proper shape for edge bending.

Mike
-
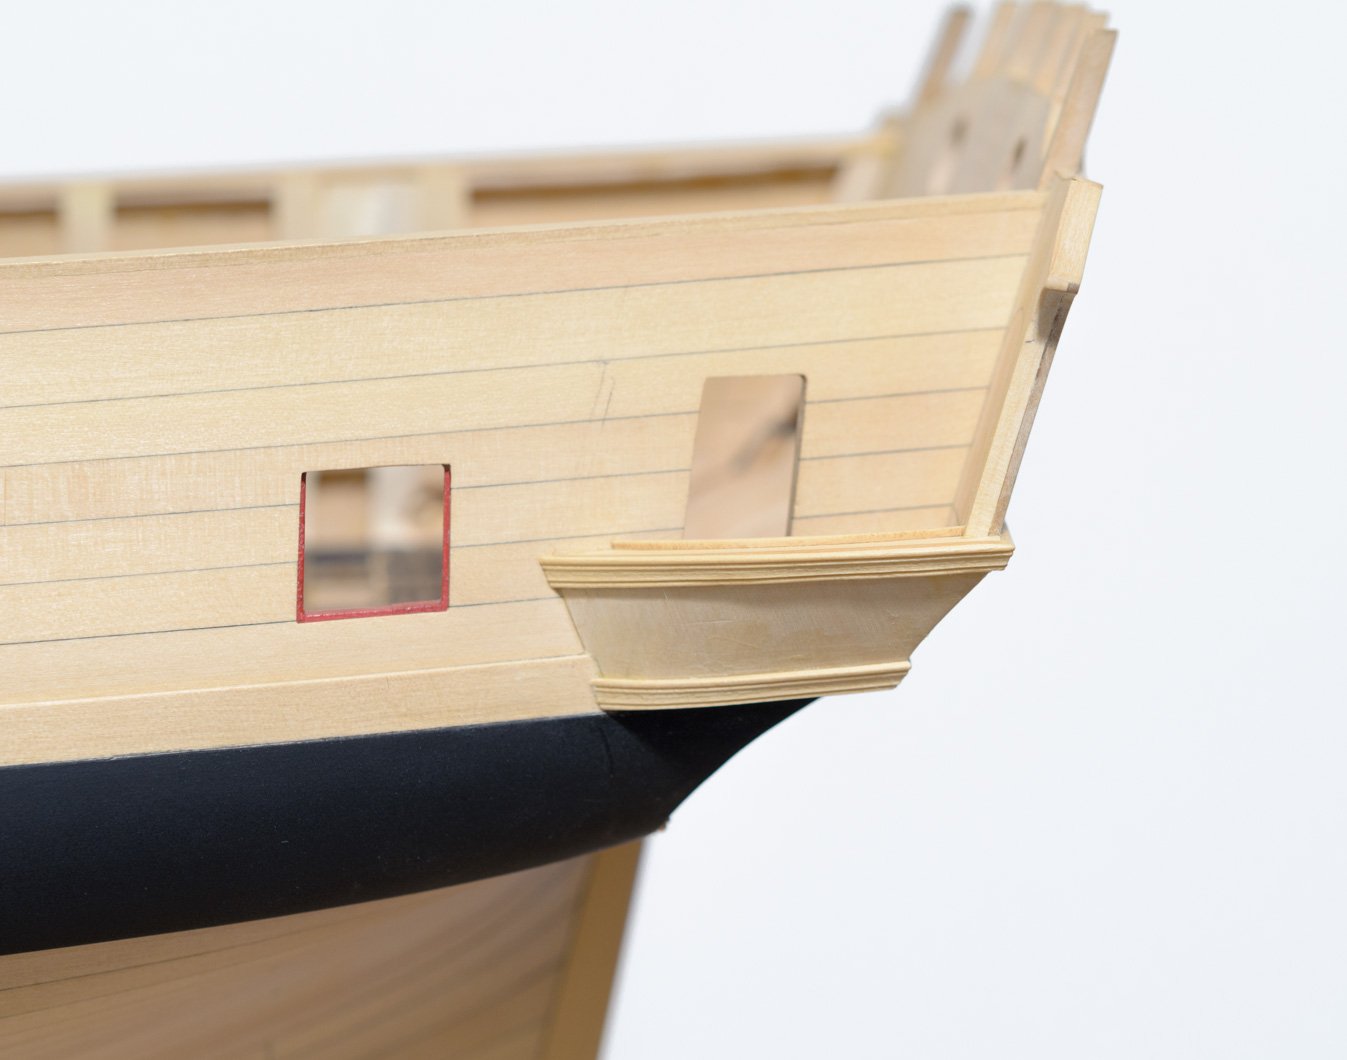
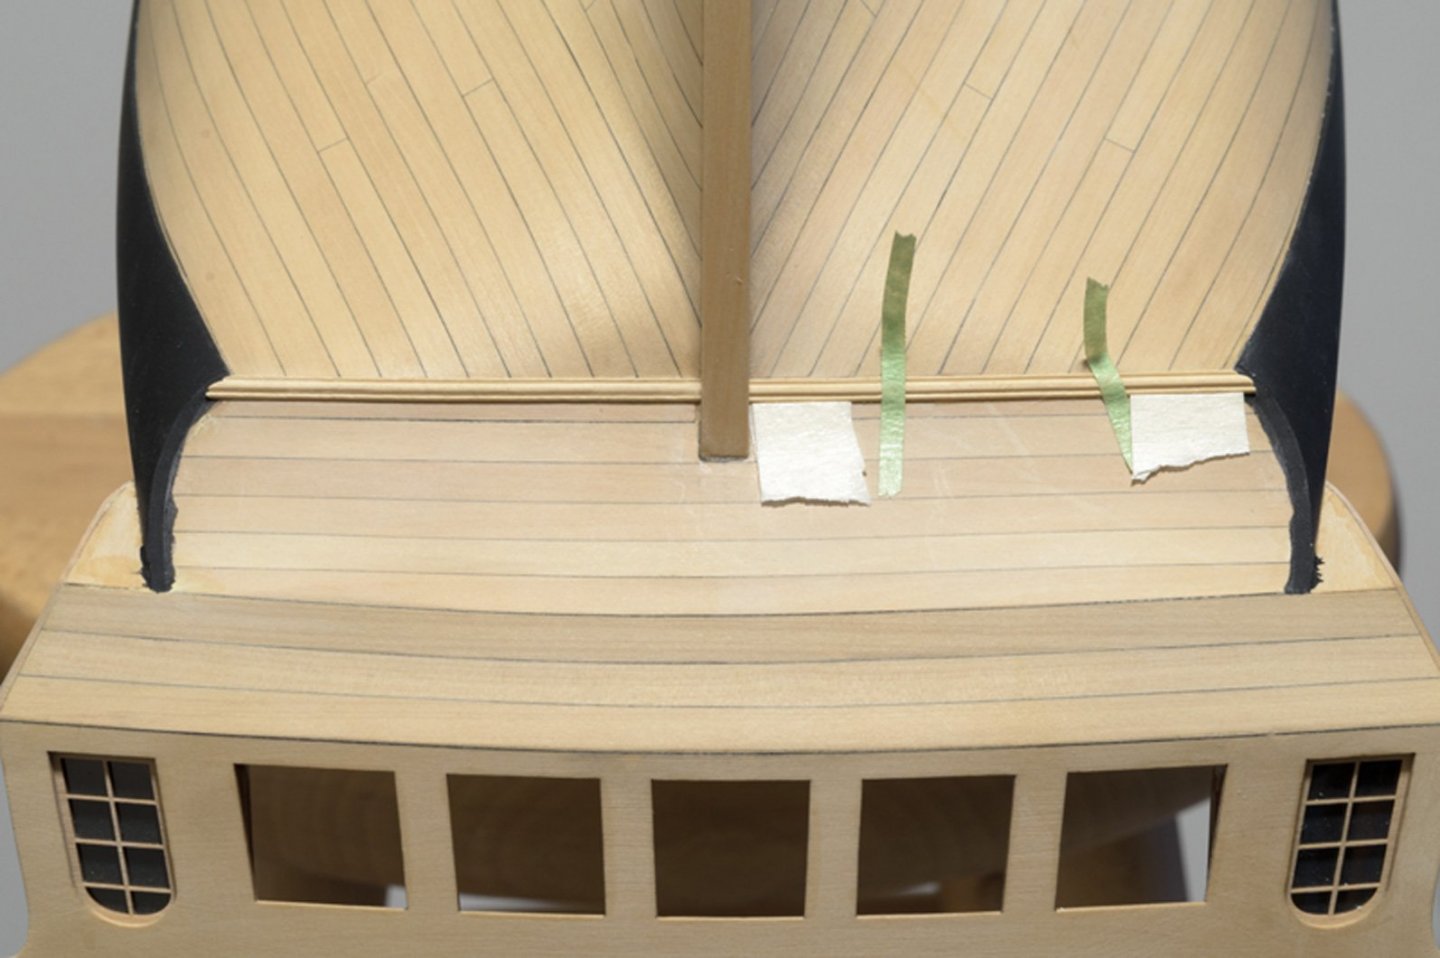
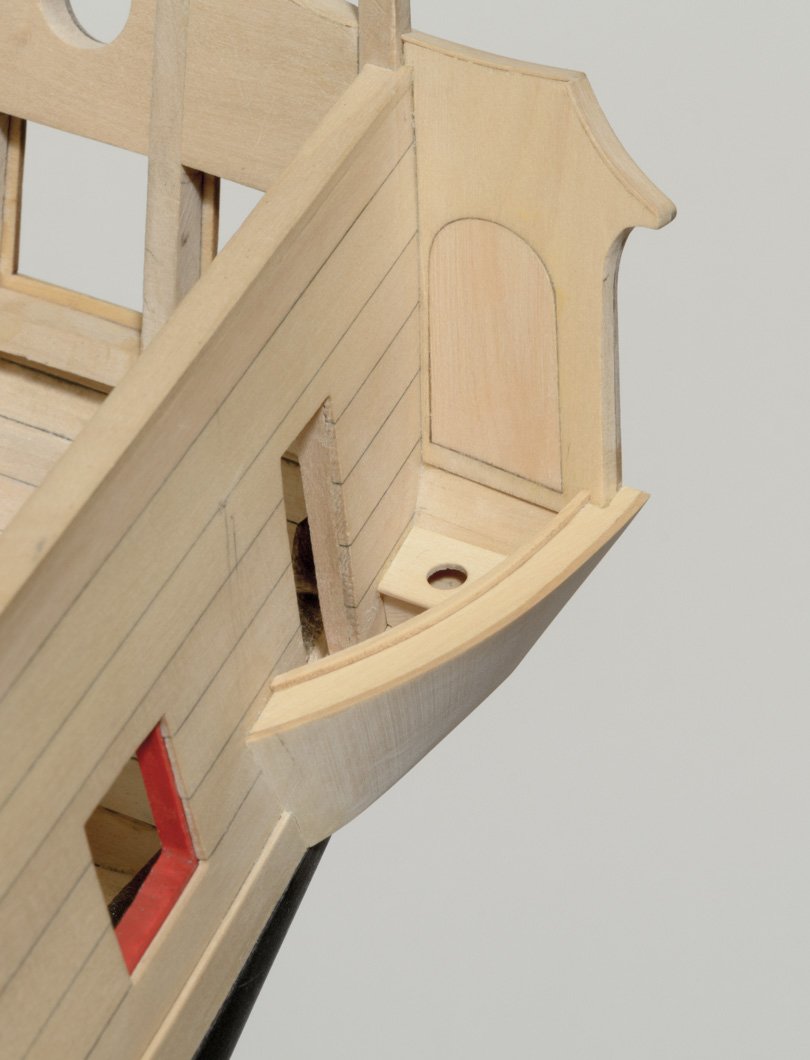
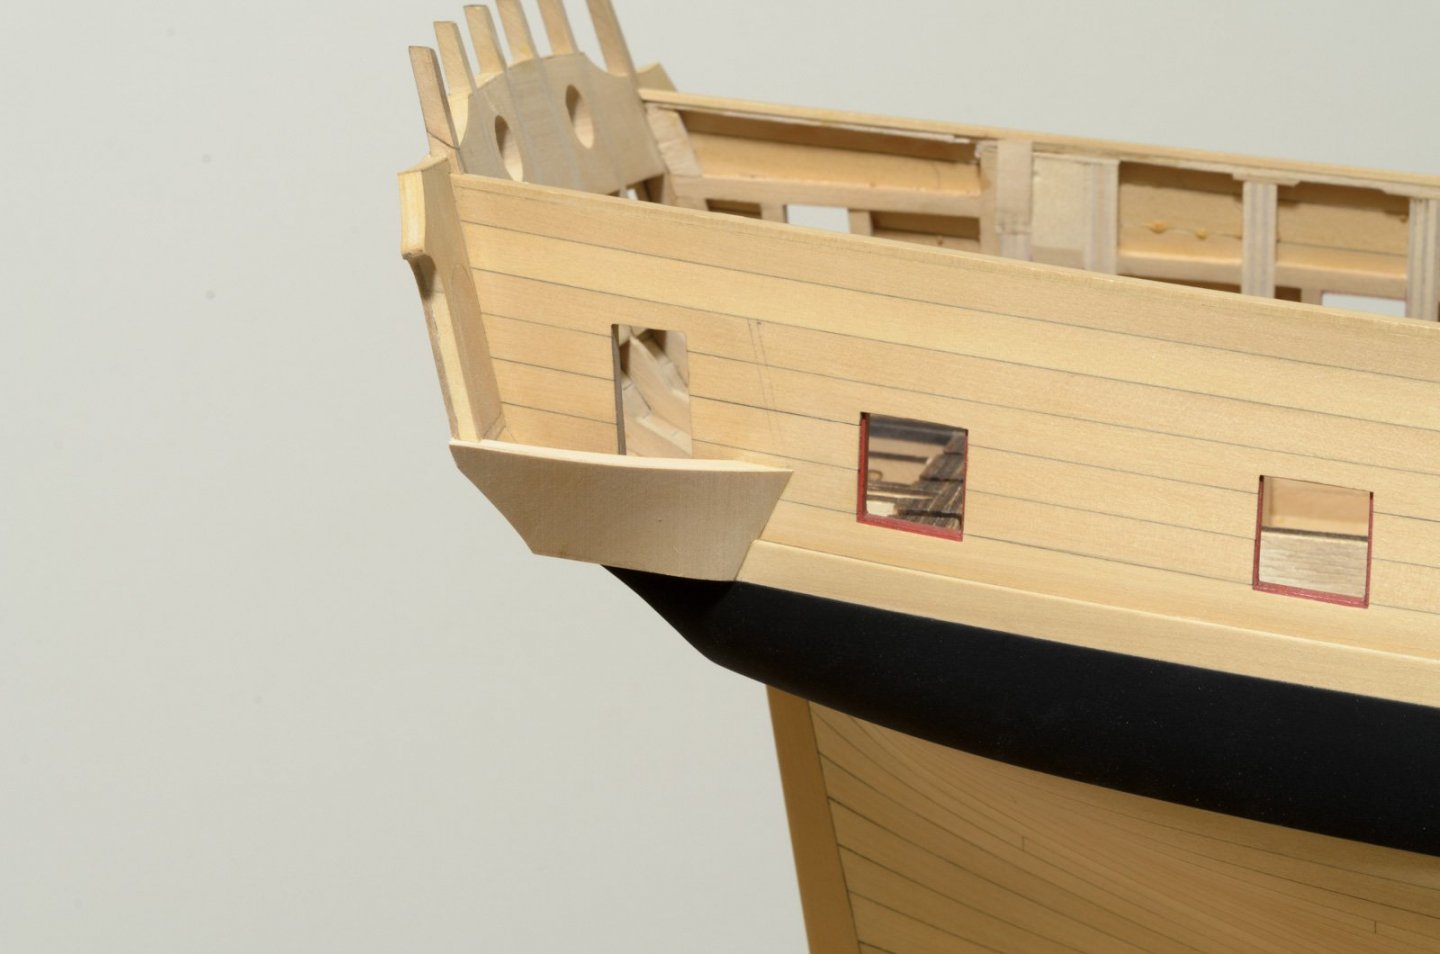
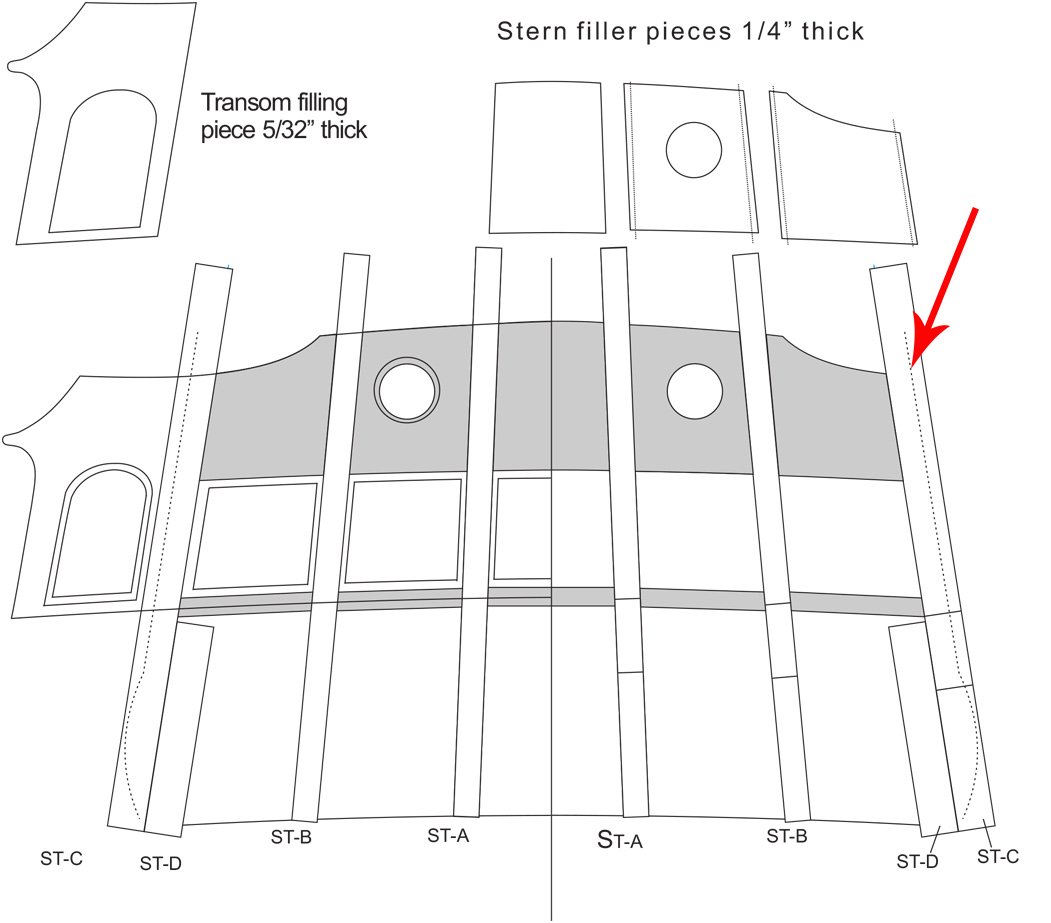
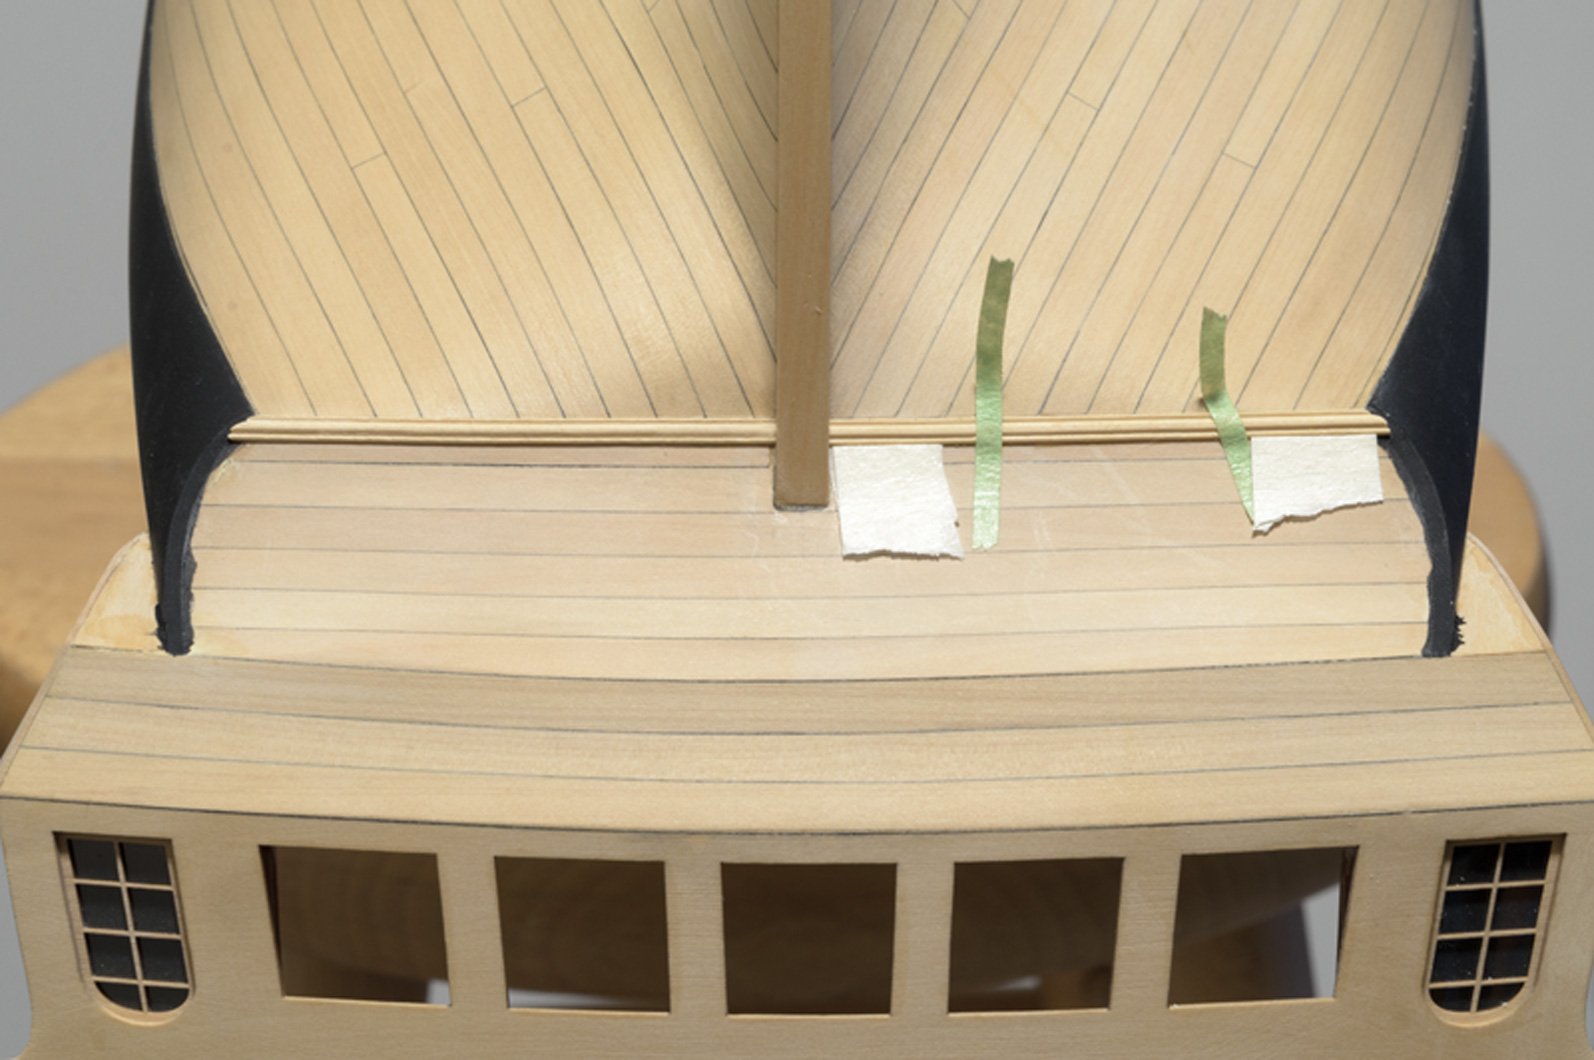
I took a break from the Qgalleries in order to get the lower counter molding done. First, I needed to clean up the wale edges at the counter and paint them black. The molding was scraped using a piece of thin brass sheet. There is a slight curvature to these which is easily formed with dry heat edge bending. For reference you will find the sterndrawing.pdf file in the chapter 3 discussion. Placing them by eye onto the transom would have been tricky, so I stacked several layers of masking tape together which was used for alignment when gluing them on. Those thin pieces of green tape were used as pull hinges to expose the underside of the molding when applying the glue.
Mike
- oneslim, Nunnehi (Don), KenW and 20 others
-
23
-
-
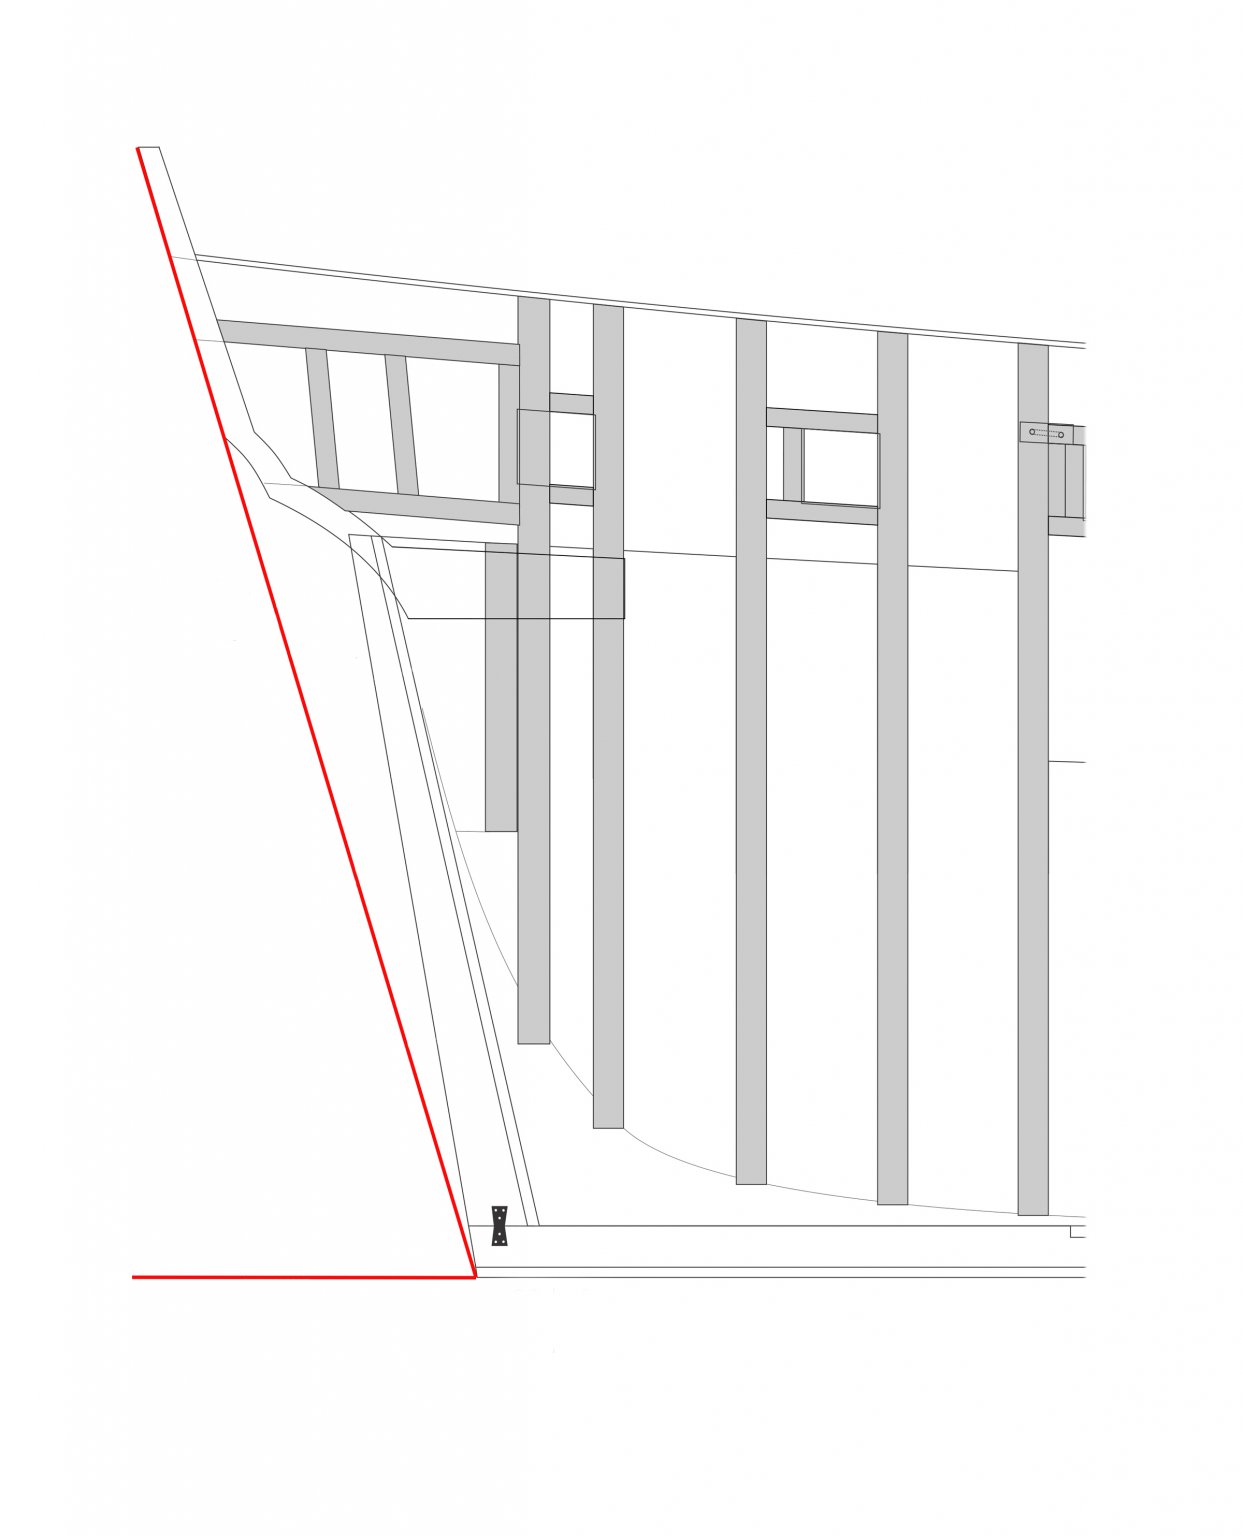
Taken from Winchelseasheet2.pdf, here is the angle that you should shoot for. The model should to be on the build board and in a vertical position when setting the frames. I used some card stock cut to the angle shown below. View the frames straight on from the side, making sure that the aft edges of all the frames are at this angle and also parallel to one another before the glue sets.

Mike
- Rustyj, JpR62, CaptMorgan and 8 others
-
11
-
The seats are finished. The one on the starboard side was done after planking the stool. Getting a good fit all around required a number of angles being worked into the seat. I used a dowel to hold the seat when checking for fit and to hold it into position while the glue set.

When it came to doing the one on the port side, I decided to do things differently. This time I installed the seat before planking the stool. That meant I didn't have to work the two outside angles for fit. Once the seat was glued, I simply faired the outer edge of the seat.
Mike
- svein erik, Captain Poison, digby and 20 others
-
23
-
-
Greg, You're right! Certain aspects of the model are quite complex. I have just begun to work on the first Qgallery and find that these laser cut parts need quite a bit of tweaking in order to fit according to plan.
To begin the Qgallery assembly, I used Chuck's template to establish where the upper support beam for the stool would go. This beam should run parallel to the planking, but the template could yield a different result depending on the angle of the transom or planking run, for example.
Luckily the upper beam is parallel. This photo was taken slightly below straight on, therefore the curve of the beam gives the impression that it's not parallel. When you check the beam try to move your eyes level to the beam to see if it's parallel to the planking. After setting the upper beam I then added the lower beam. The two beams need to be faired prior to planking the stool.
To get the planking shape, I moistened and clamped the plank to the two beams. I used the heat gun to set the shape and dry the wood.
I almost forgot to mention that when fairing the two beams I used the drop as a guide when fairing the lower beam. You don't want the planking to stand too proud of the drop. I had to reduce the lower beam depth slightly on my ship.

Mike
-
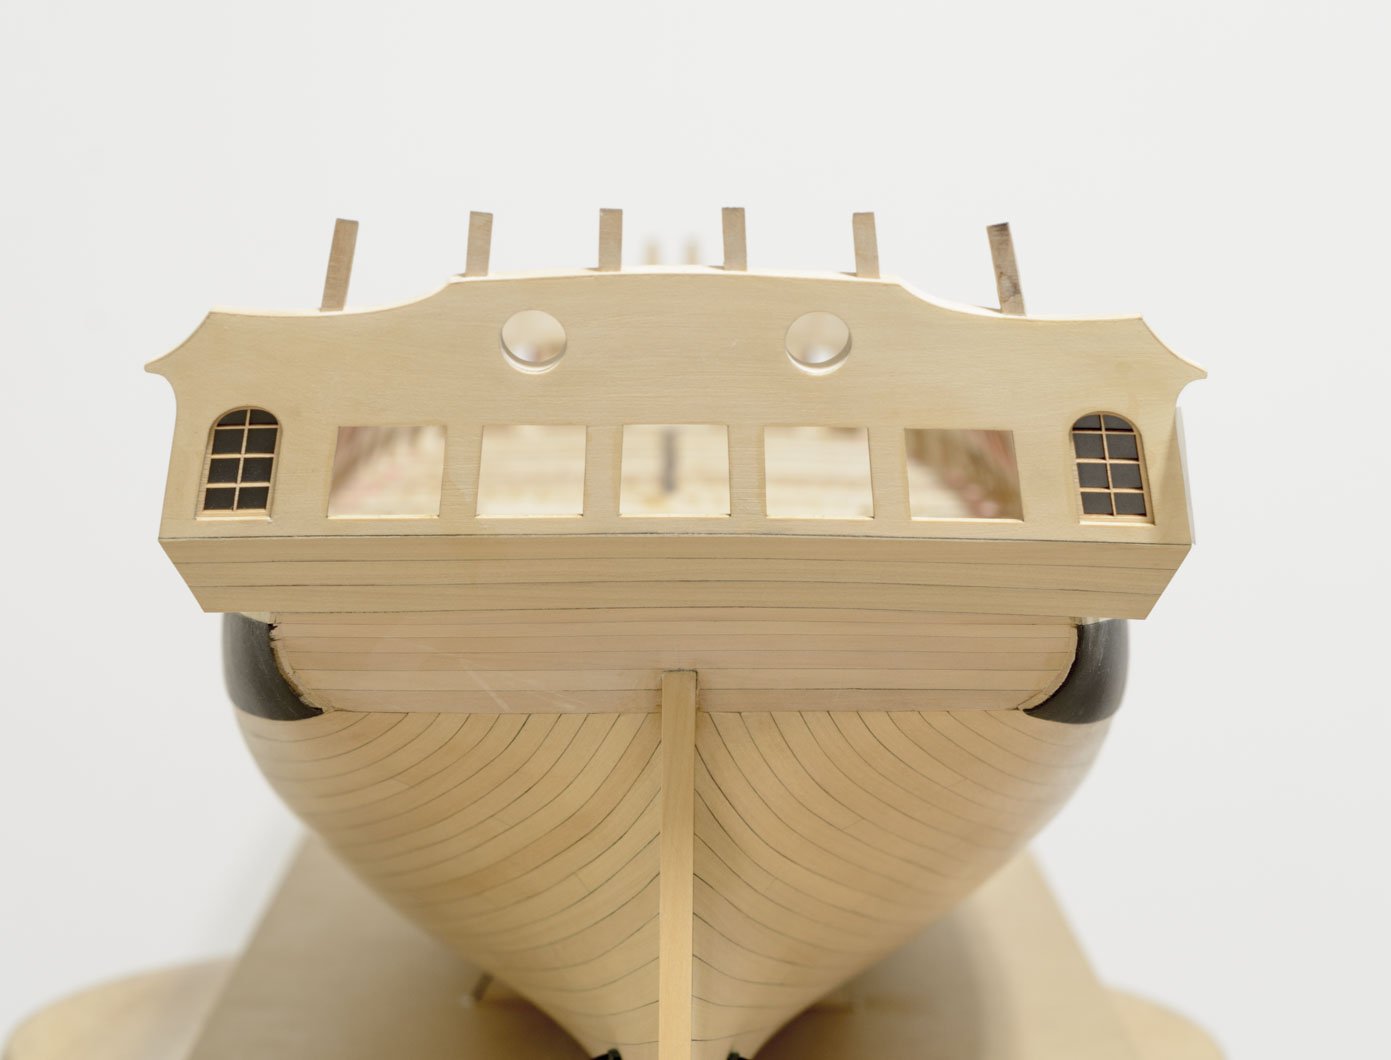
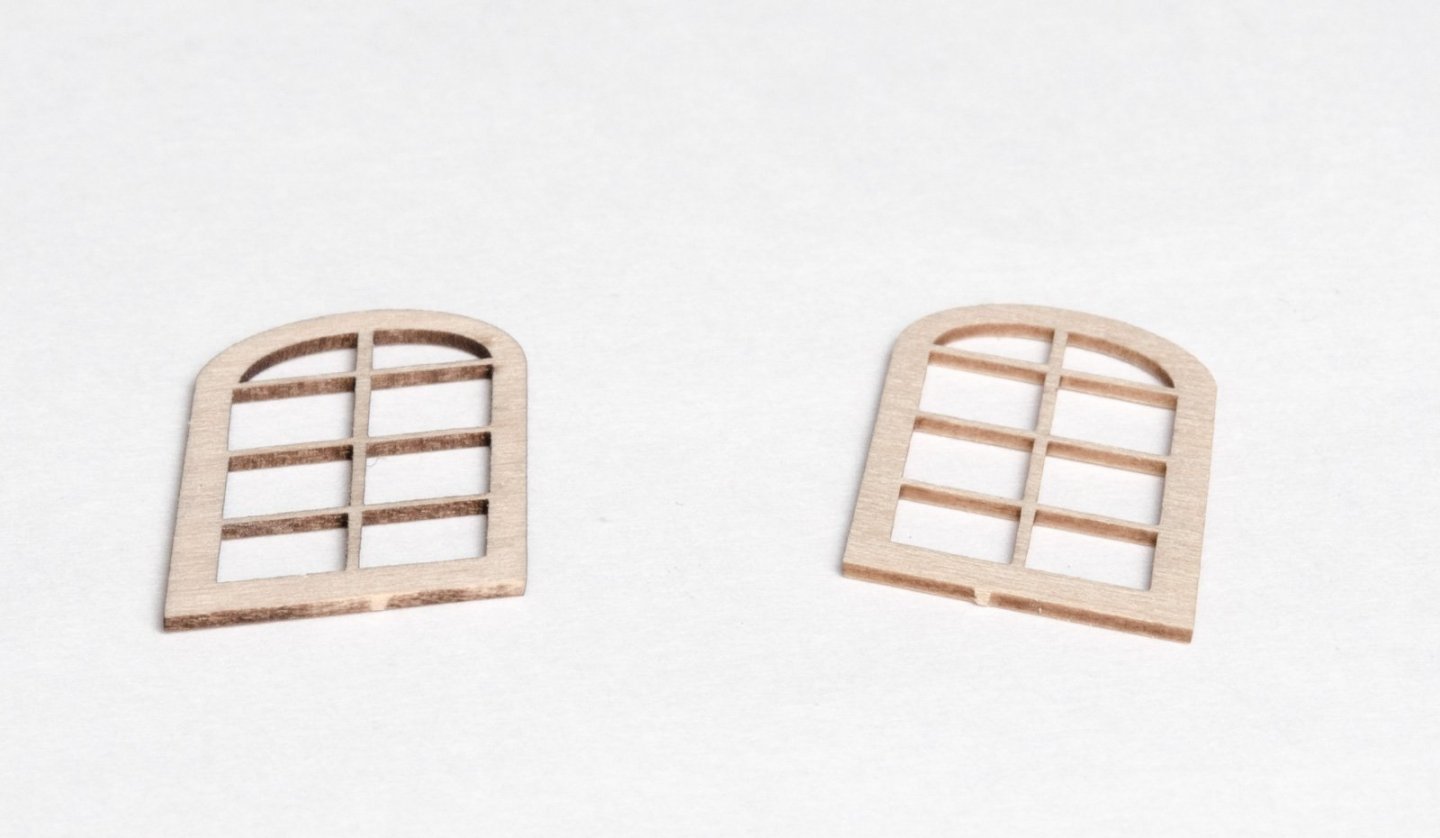
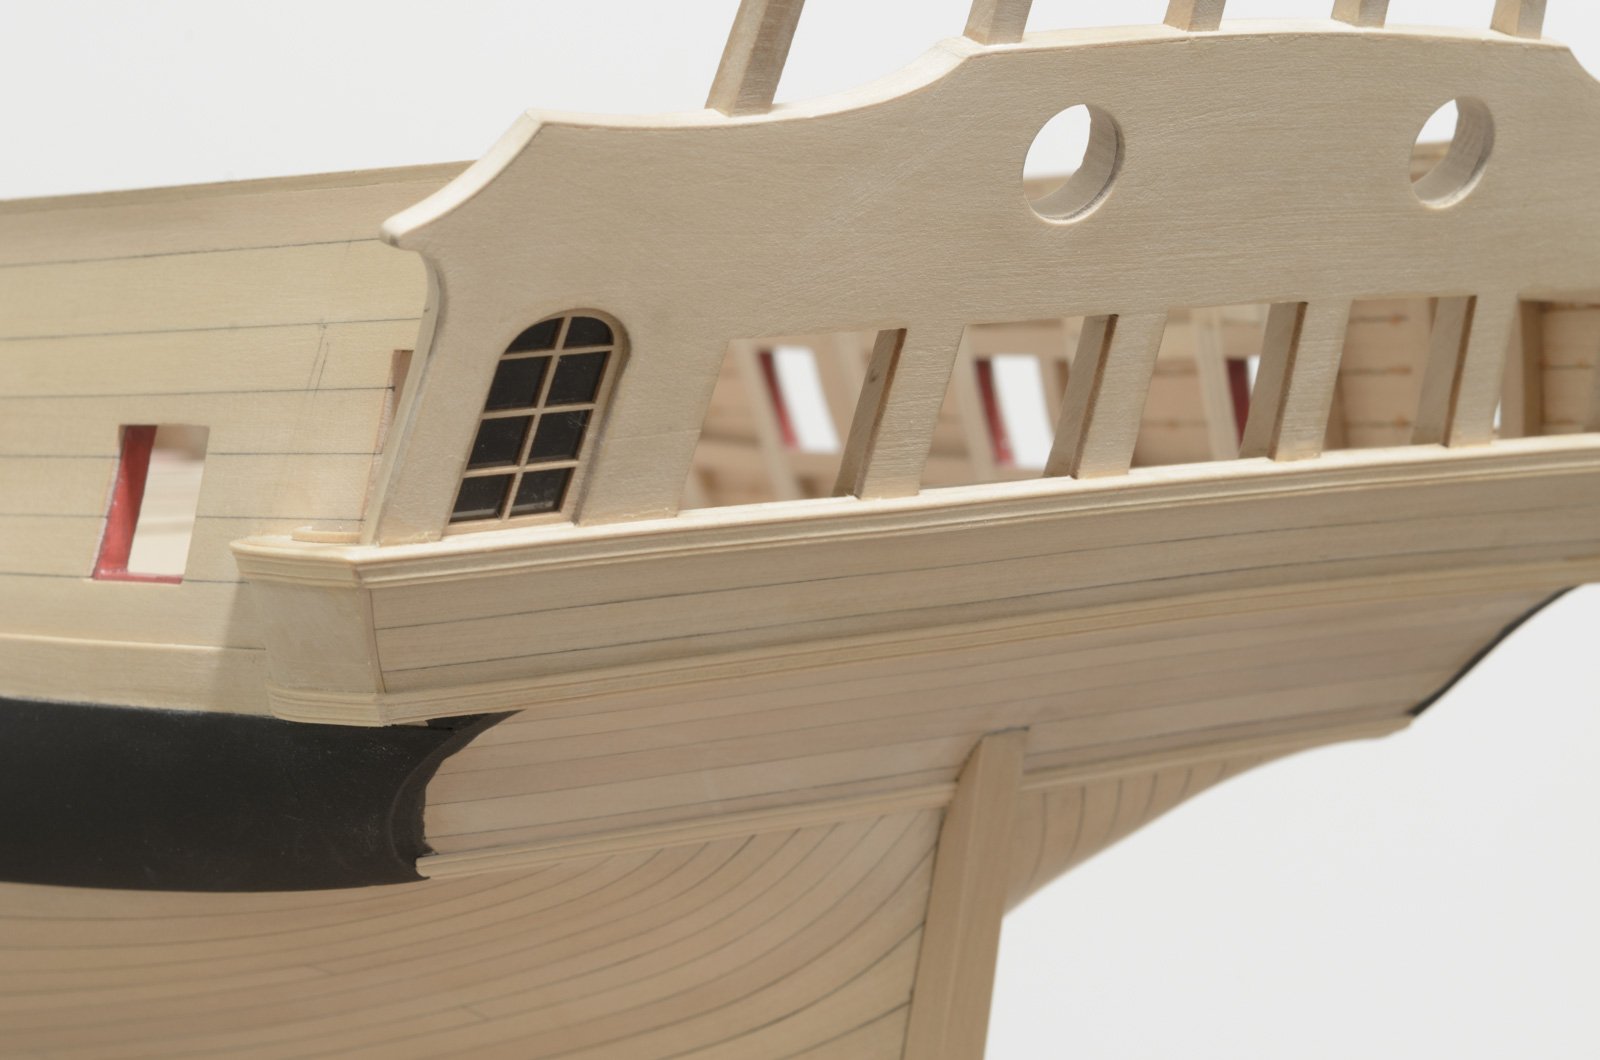
Before starting on the Qgalleries, the two outer windows need to be installed along with the acetate and filler pieces. I used a small bead of glue, top and bottom, to hold each window in place. Then I added the clear acetate and filler pieces. The fillers are painted a dark gray color. I did not apply any glue before inserting them as the fit was snug enough. I did however close any gaps around the filler pieces, with some glue, in order to prevent any dust from getting in afterwards. The fillers were then sanded down flat to the transom.
Mike
- billocrates, egkb, John Cheevers and 28 others
-
31
-
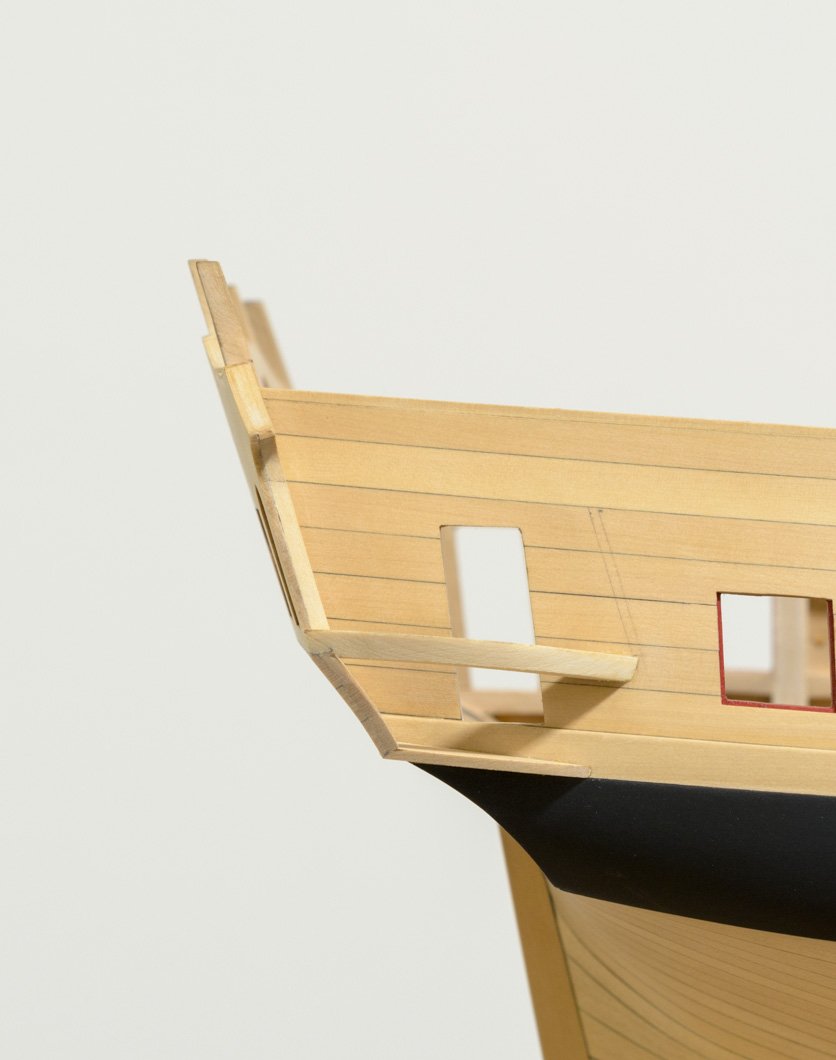
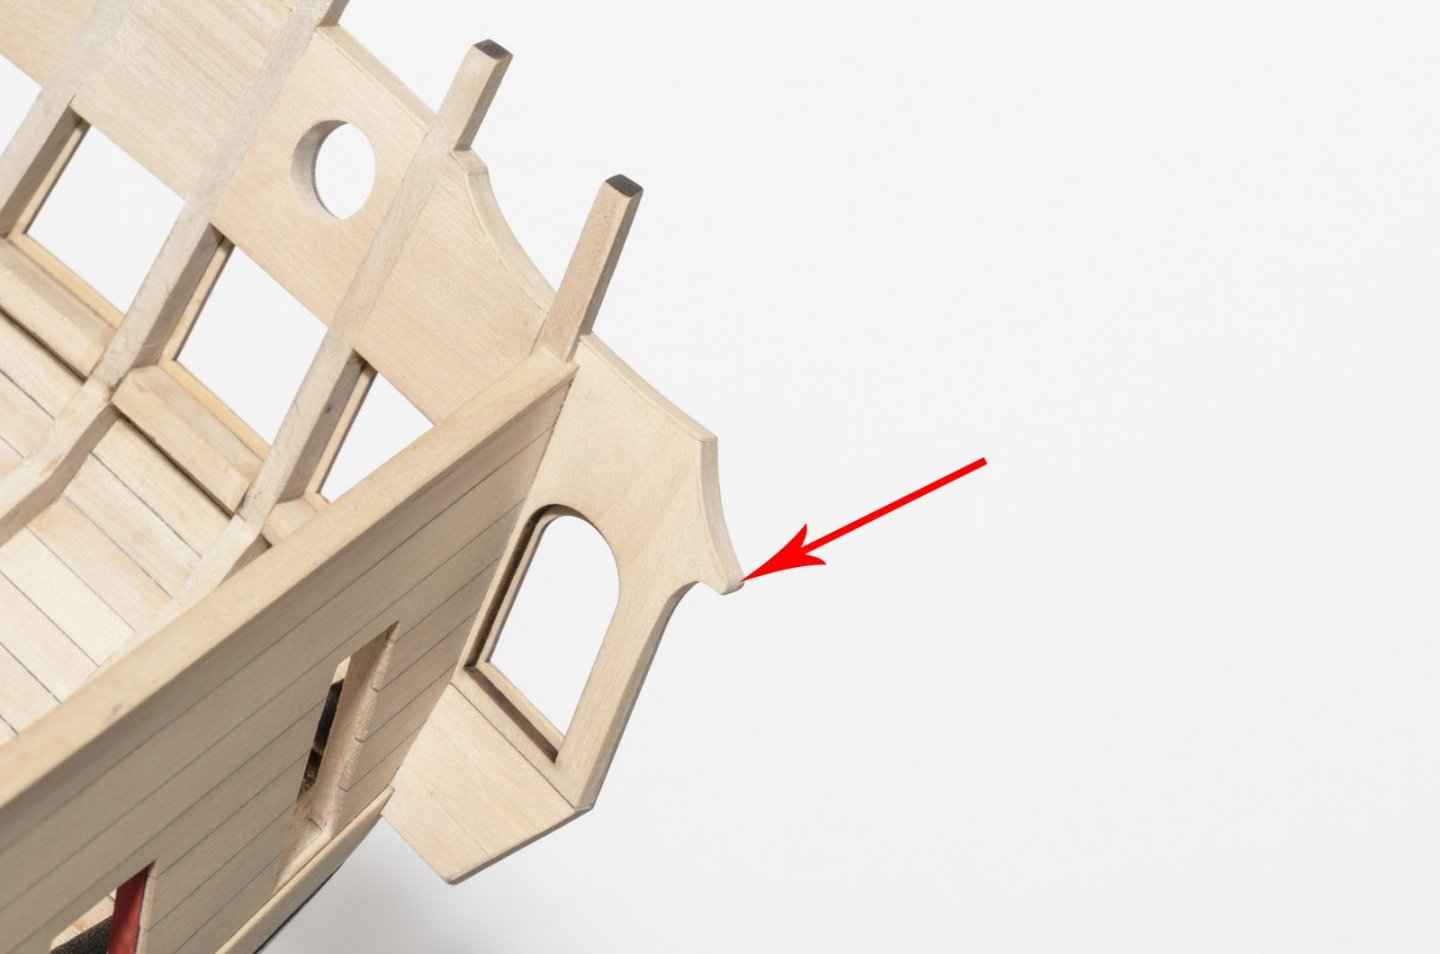
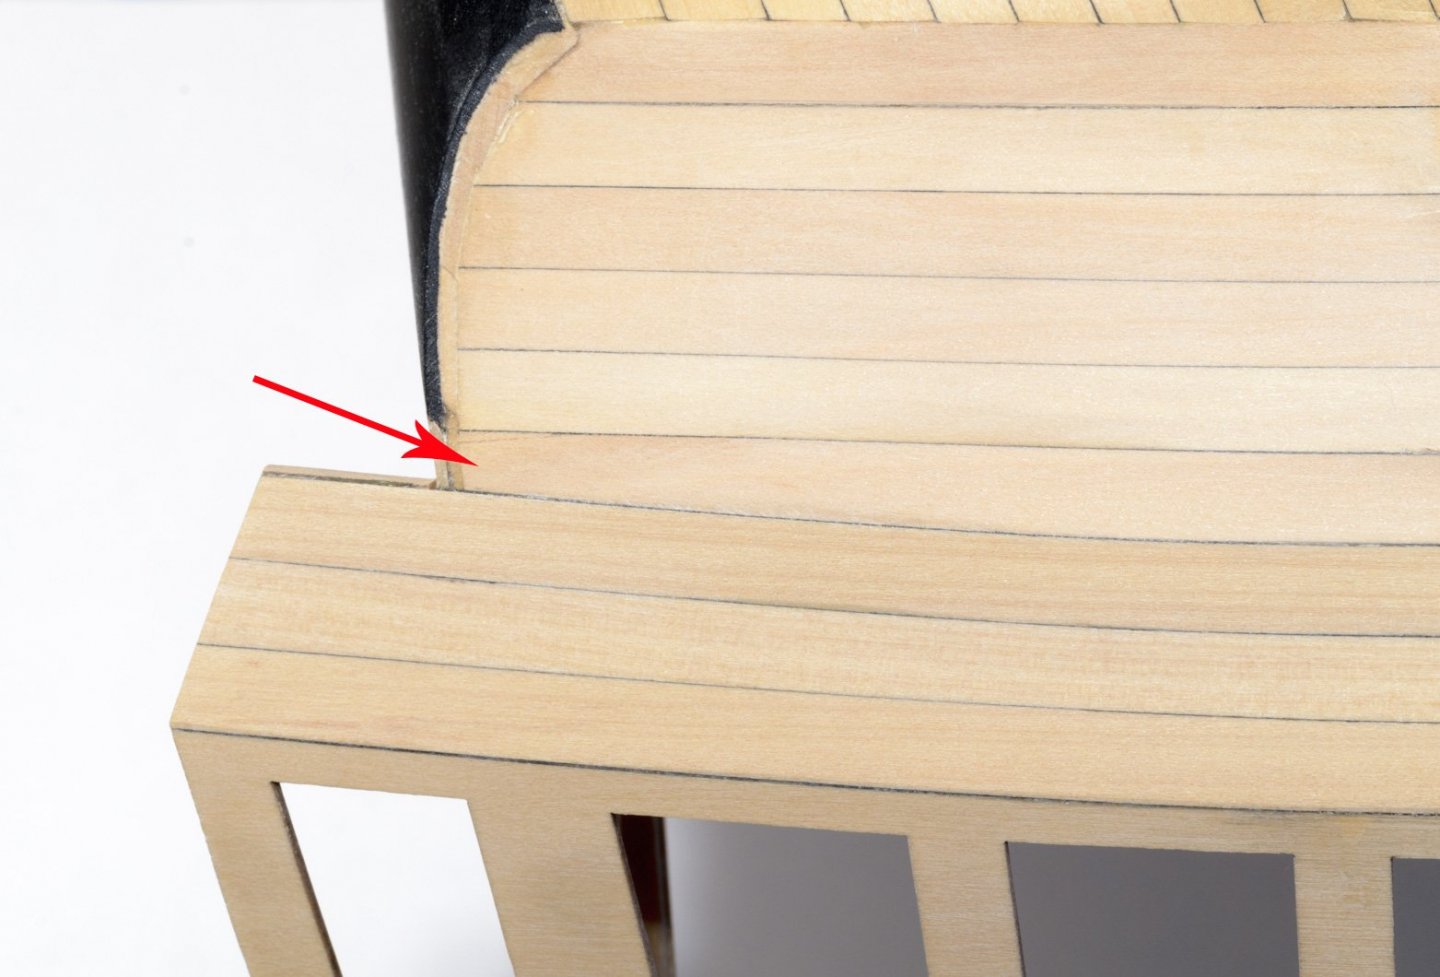
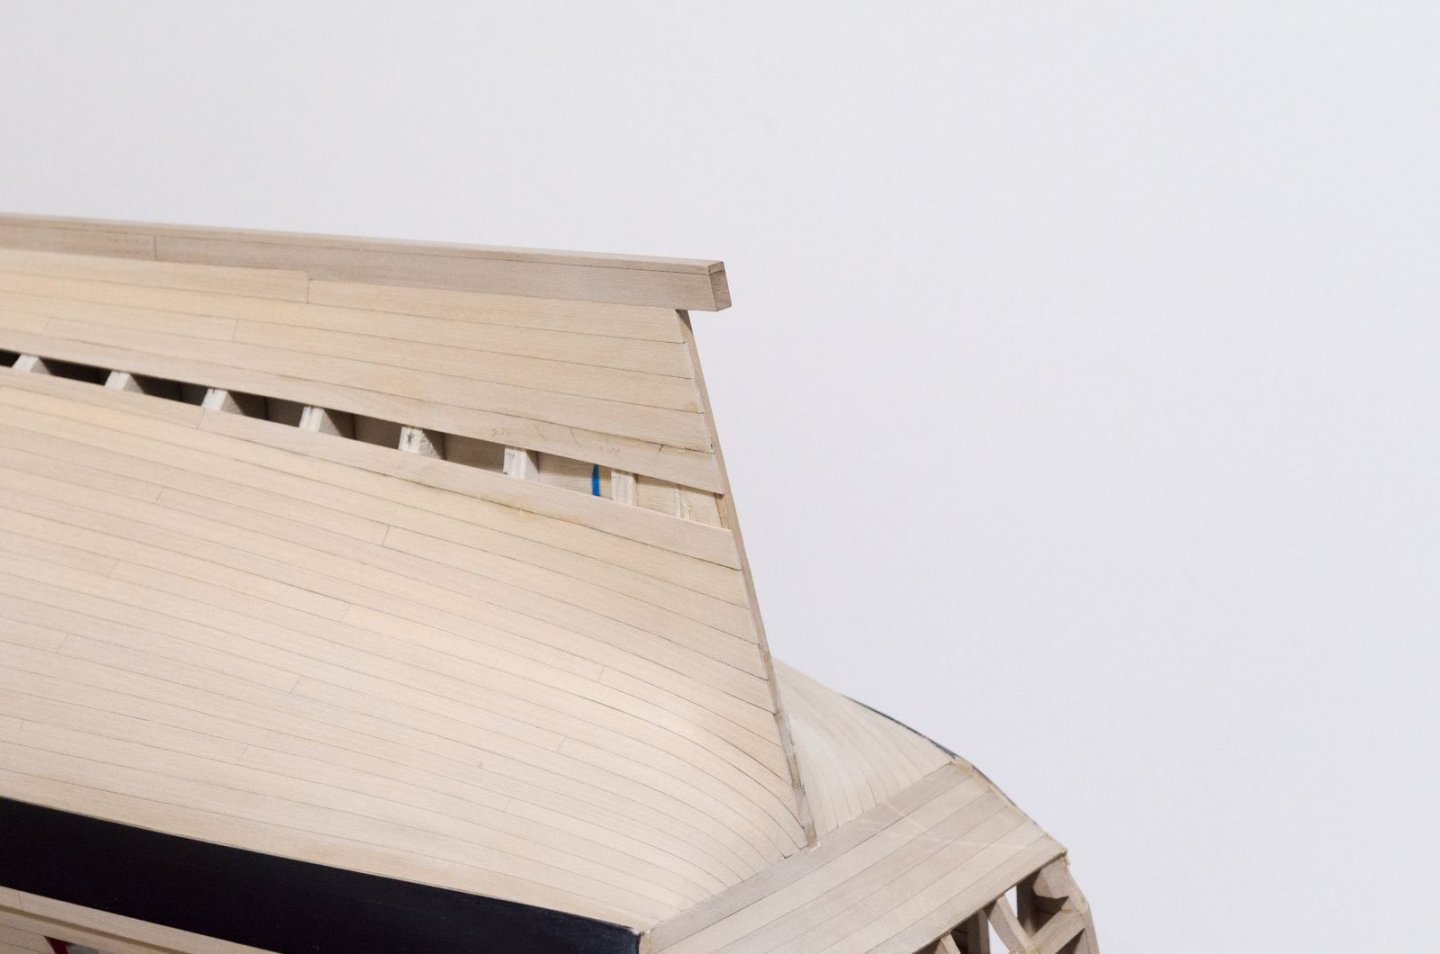
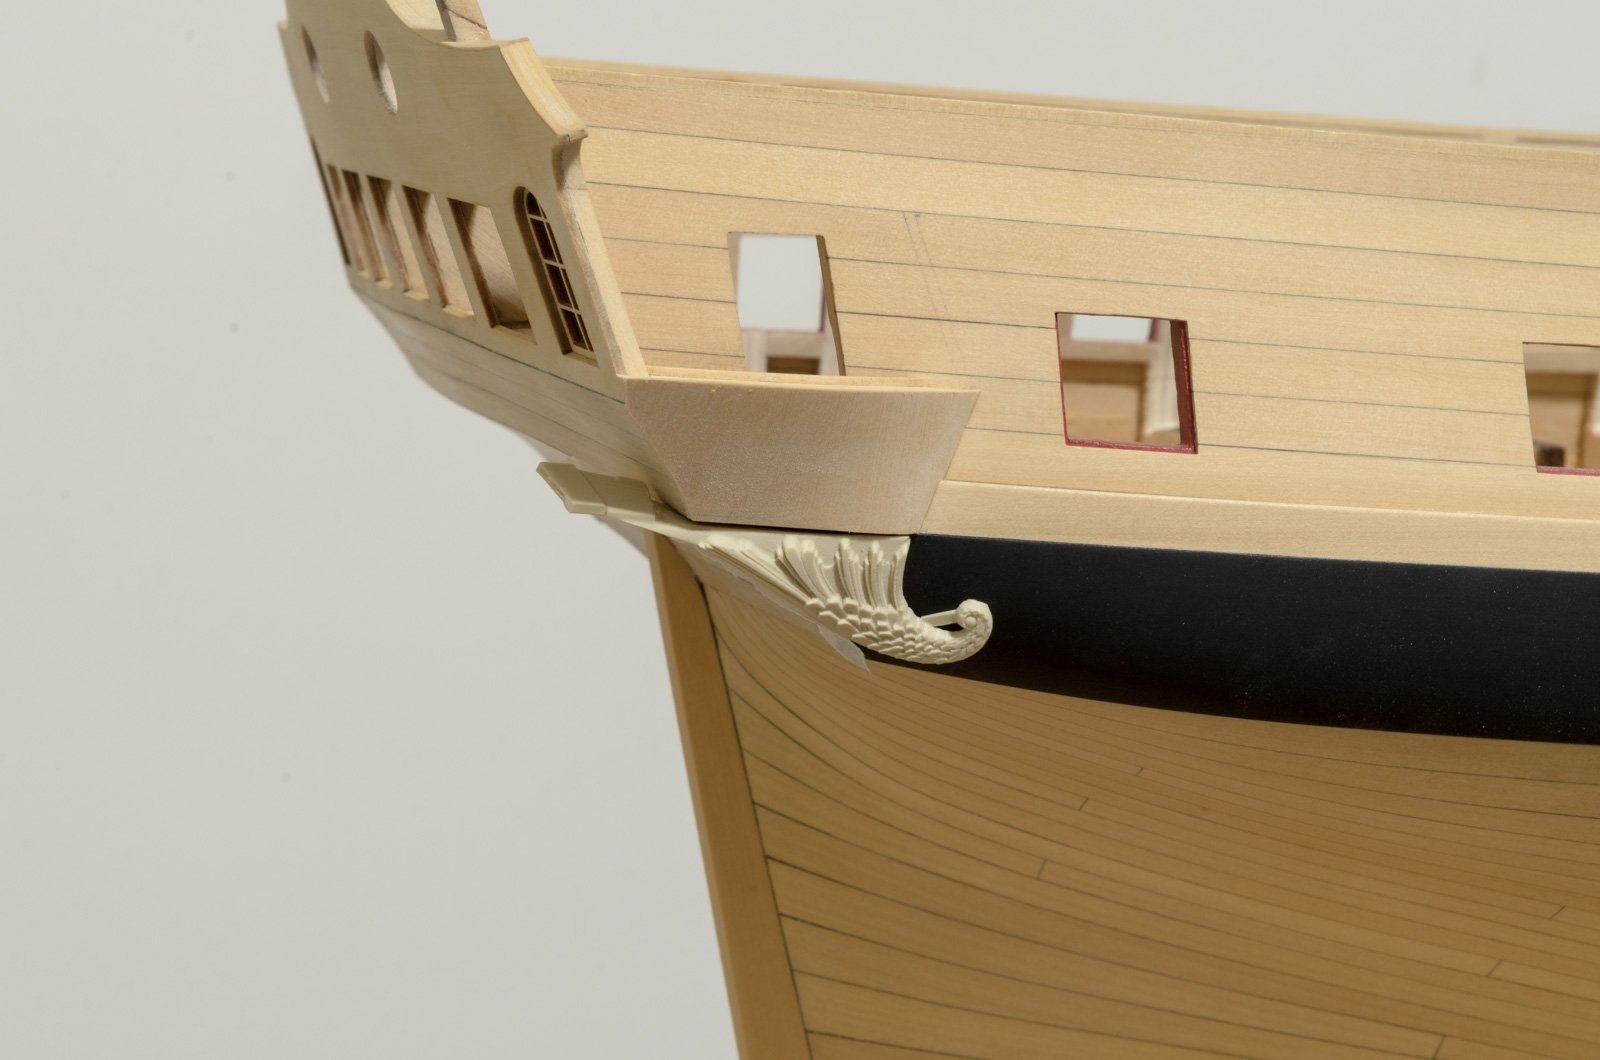
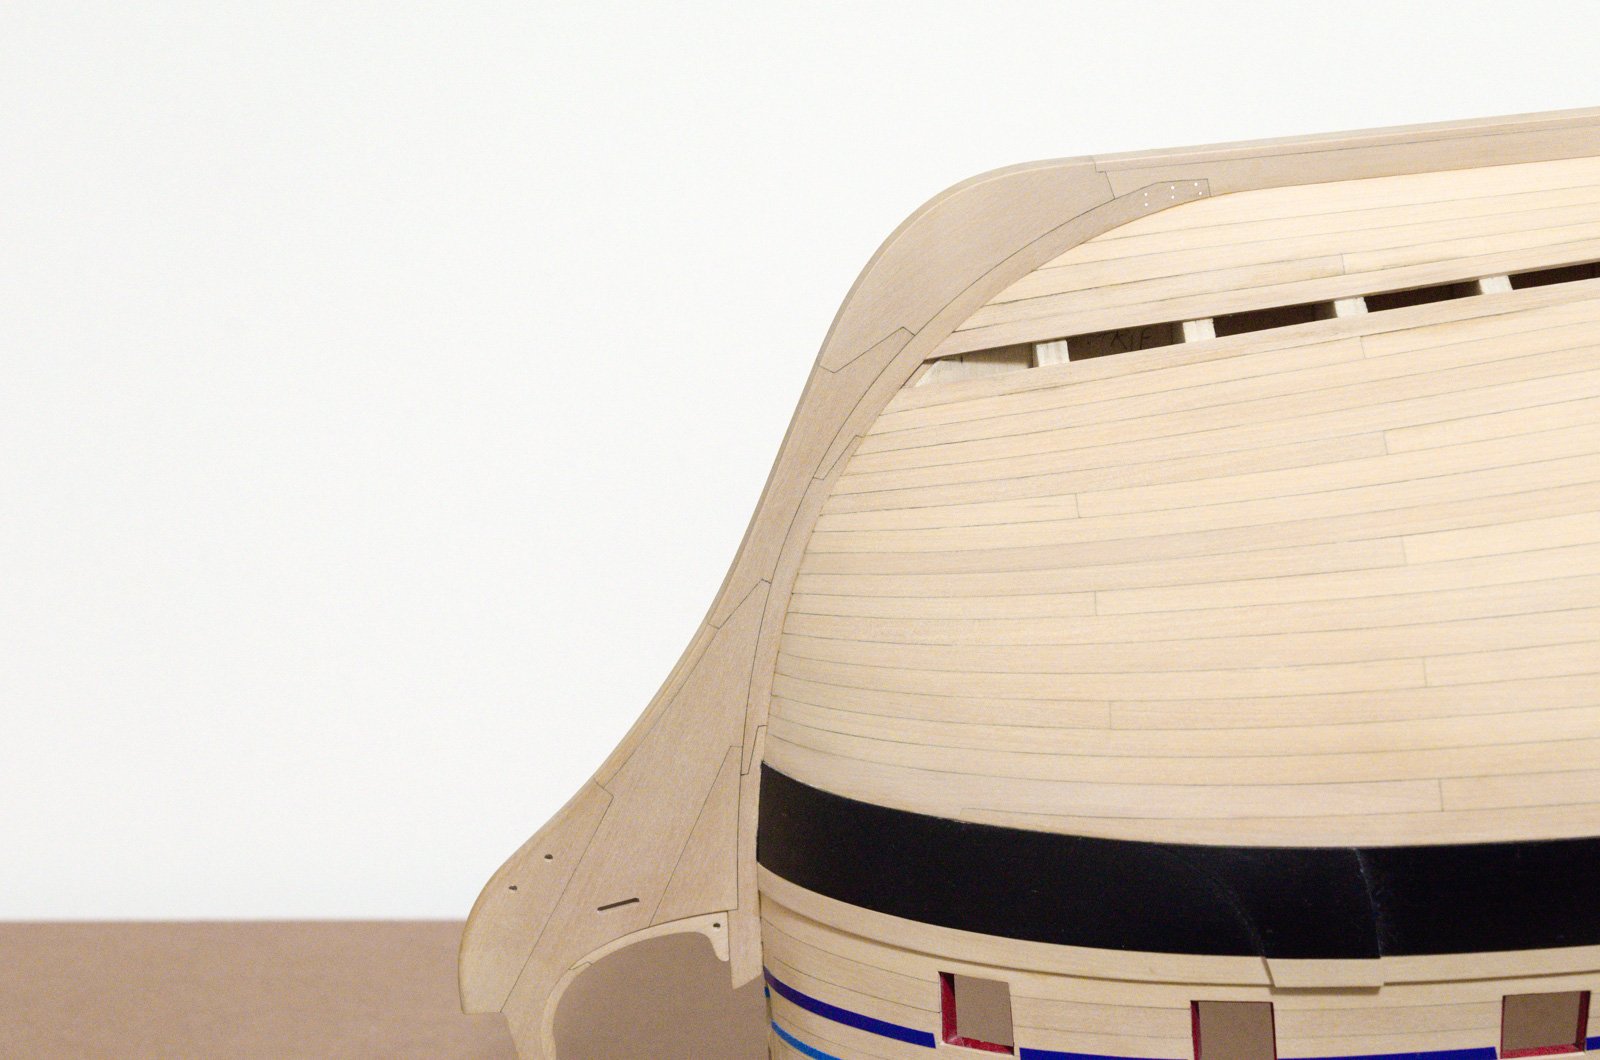
Over the weekend I added the 1/64" x 3/16" boxwood strips to the top edge of the transom. This hides the seam created by the transom fillers and the transom template. The arrow shows the area where I filed away about 1/64" from the top edge of the transom before adding the strip. This helps to maintain the same profile after the strip was added.
A while back I did a google search looking for a way to remove laser char and found that GOJO is a product that is often used. On larger wood pieces where the char layer is thicker, I found that a very light scraping or sanding before using the cleaner with a pipe brush gives a good result. With some trepidation, I tried using it on a gallery window for the Winnie. Using a soft tooth brush, I just kept massaging the wood gently for a few minutes. The windows was then rinsed in cold water and placed between layers of paper towel on a flat surface and weighted until dry. The result isn't perfect, but overall certainly better than before. I would imagine that those building with softer wood products like Yellow Cedar wouln't need to go though the process of removing char at all.

Mike
- Tigersteve, Captain Poison, Beckmann and 19 others
-
21
-
 1
1
-
The wales are done in two layers., exactly as described in chapter two.
Mike
- FrankWouts and Jorge Diaz O
-
2
-
Having those suggestions from Chuck, I'm sure that you will fix this. Looking at sheet two, one can see the fairing line suggested. That would reduce the frame down to a little under 3/16" from its original 1/4" width.
Mike
- JpR62, Jorge Diaz O, Beckmann and 5 others
-
8
-
I managed to get a coat of Wipe-on-Poly on the hull.
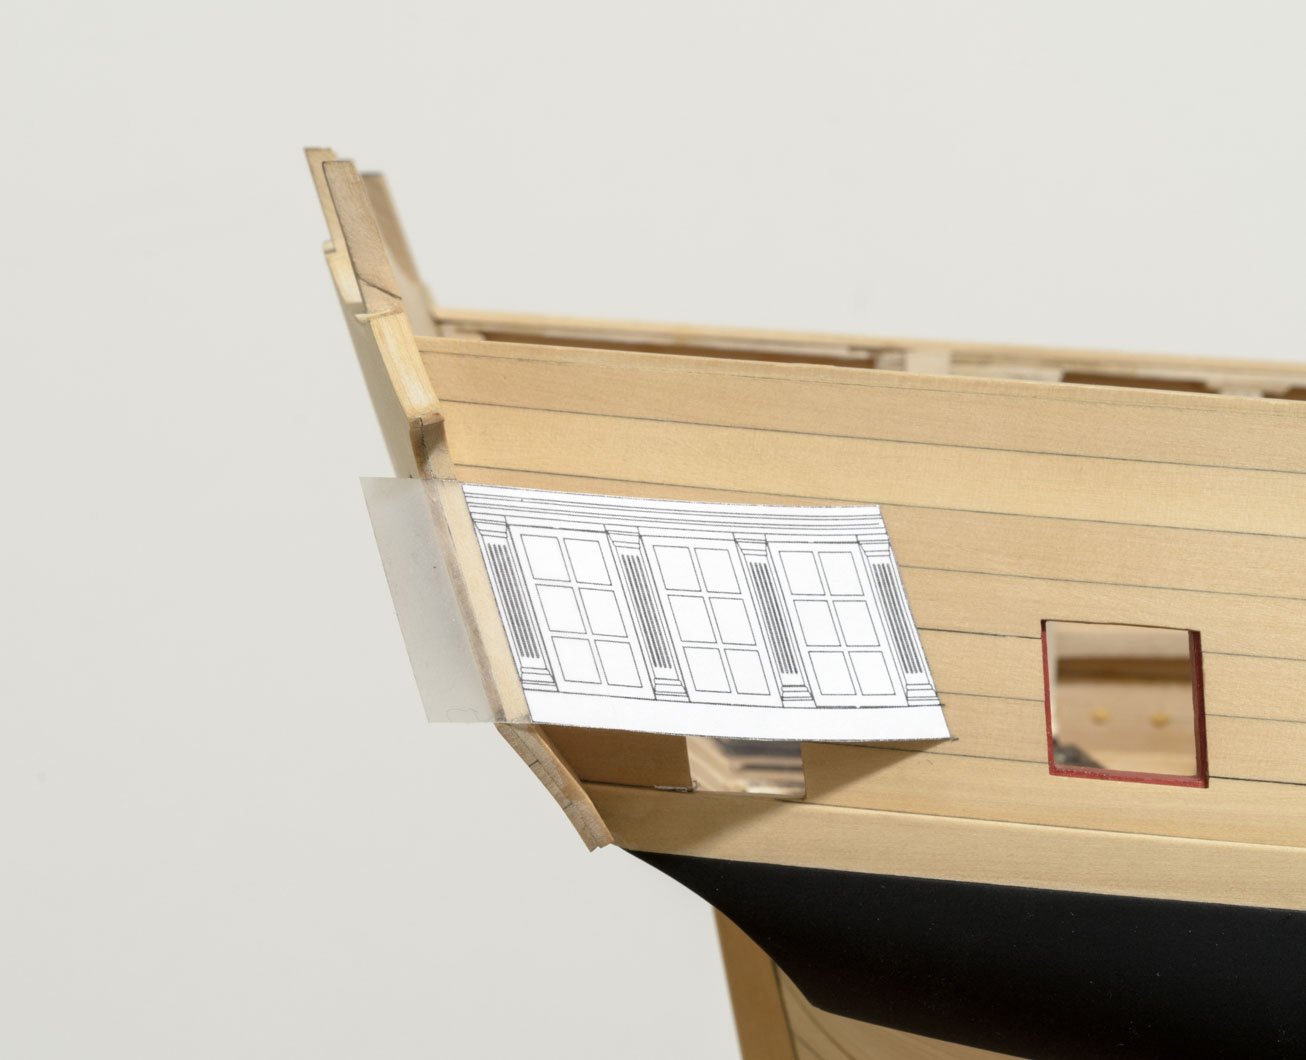
 I did not have the friezes, that are now available, when I originally planked the lower counter. After adding the transom template I placed the friezes to see how they would align with the upper and lower counters. The lower counter frieze didn't align well at all. There was just too much wood showing below the frieze. The fix was rather easy to do, however. I used the frieze to guide me in reshaping the upper plank on the lower counter. So, my suggestion is to use the provided friezes and check things out earlier rather than later.
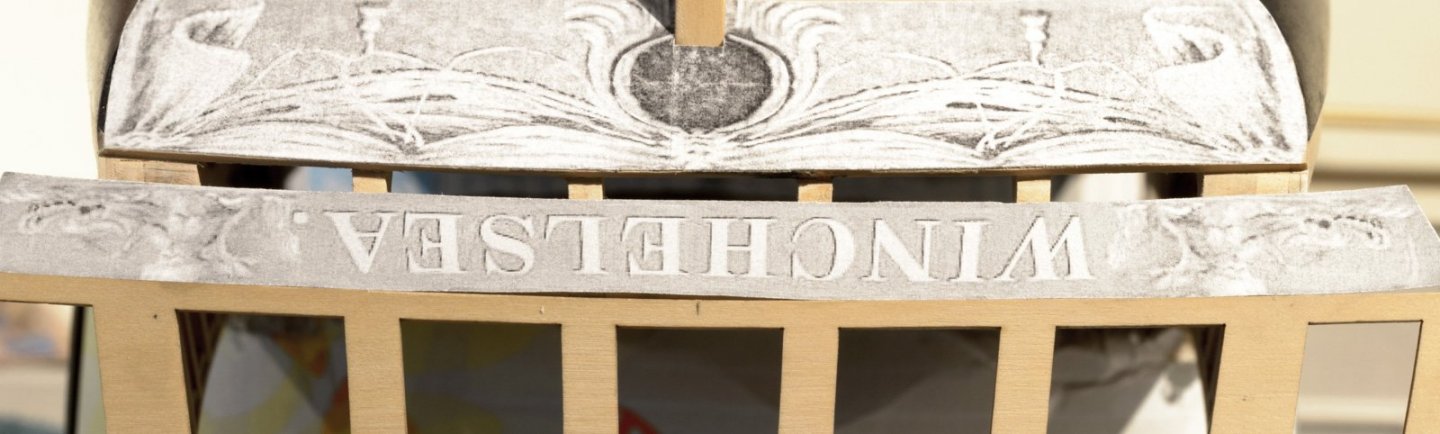
Here is the result and as you can see there was quite a bit of wood that had to be removed, about 3/32". Once that was done I added the upper counter planking.
I added the outer window doubler to the inside of the transom template. This is a very, very tricky piece to make. I spent a lot of time finessing the angles for it to fit properly. You want the inside lip for the window to be very close to equal all around. Next, I added the 1/16" doublers to the inside of the upper counter. I then angled the upper counter planking, but not before first checking to make sure that the upper counter frieze was aligning properly with the angle. You can do this by drawing a line on the other side of the counter which mirrors the line on the inside.
Mike
- JpR62, JeffT, Edwardkenway and 21 others
-
24
-
Glenn,
The balsa sanding blocks that I used on Cheerful when fairing the hull were of various shapes and sizes. I used sticky back sandpaper on all of them. Some have a more pronounced curve that are shorter in length for those areas near the stem. Others are longer with a shallow curve for sanding amidship. A block that allows you to fair across 3-4 bulkheads is what I would recommend. You can even use wide planking strips which are able to cover a broader area. Of course there are other ways of doing this other than mine. What's important is to take your time to get it to the point where you can run a batten over areas of the hull and see a smooth run without dips, etc. On my Cheerful the char was almost completely gone after fairing.
Hope this helps,
Mike
-
Well done, Matthias.
Mike
-
Here you go. . .
Mike
-
Thank guys! As always your comments are greatly appreciated.
Mike
-
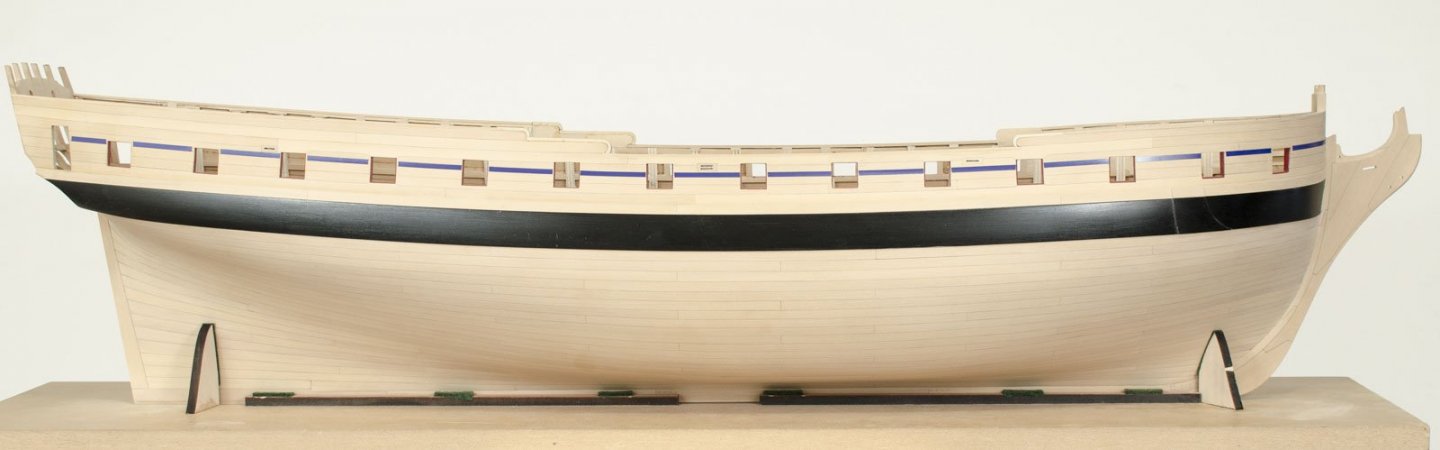
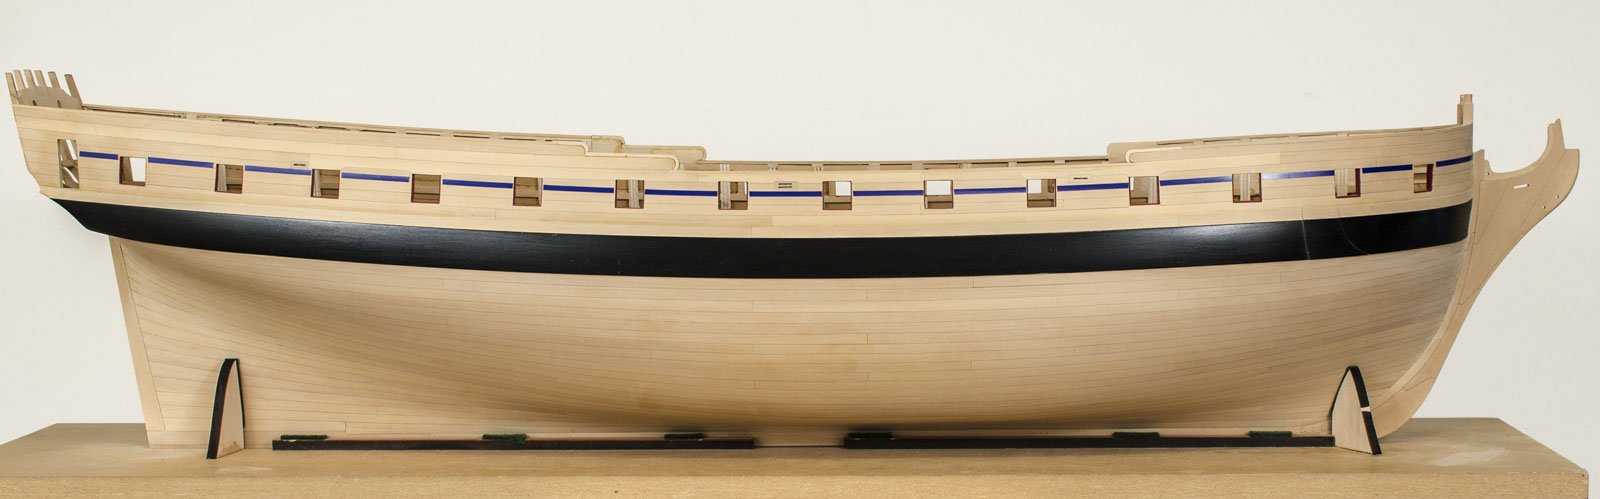
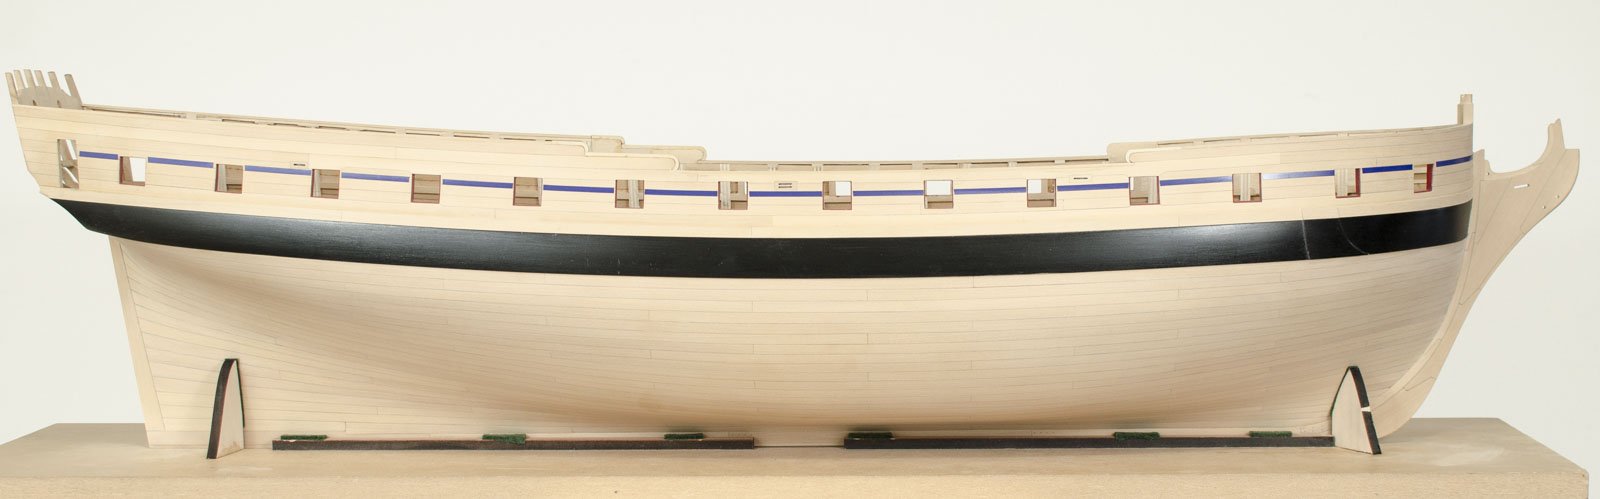
It was seven months ago that I first started to plank the hull below the wales. I'm happy to say that it is now all done. The last few days were spent sanding out the hull planking. I find that I can see dips, rises and other types of fluctuations better when the lights are off and I just use the daylight coming through the window. Sounds crazy, but it really accentuates things better than my indoor lighting. I added the stern post as well. No finish has been applied though that will be done as soon as I re-paint any scuffed areas on the wales and cleanup the keel and knee with a light sanding.
Mike
-
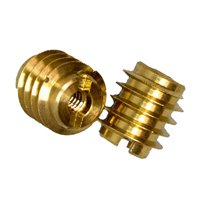
I started to use 6-32 brass inserts on Hayling, but felt that they were too wide for the 12" keel. The 6-32 insert measures about .218 dia. The pilot drill is between a #5-#8 which depends the the hardness of the wood. They work great and are quite easy to install. If you can pilot drill safely into your keel then it would be a great way to go.
Mike
-
-
Steve,
Following up on our recent pm, remember that your not looking to have a completely gray surface after sanding. Use the filler as an color indicator to fill the low spots only. After that you could spray or brush a blanket coat of gray which will make it easier when painting tallow white.
Mike
-
-
5 hours ago, Chuck said:
Did you have many planks that were discarded into the scrap box? I know I did and it is typical for such an outstanding planking job.
Chuck
Thank you! Yup, quite a few throwaways. Funny thing though, it always seems to go faster and better the second time around.
Mike
- FrankWouts, Ryland Craze, Martin W and 3 others
-
6
-
Hello and a Happy New year to everyone!
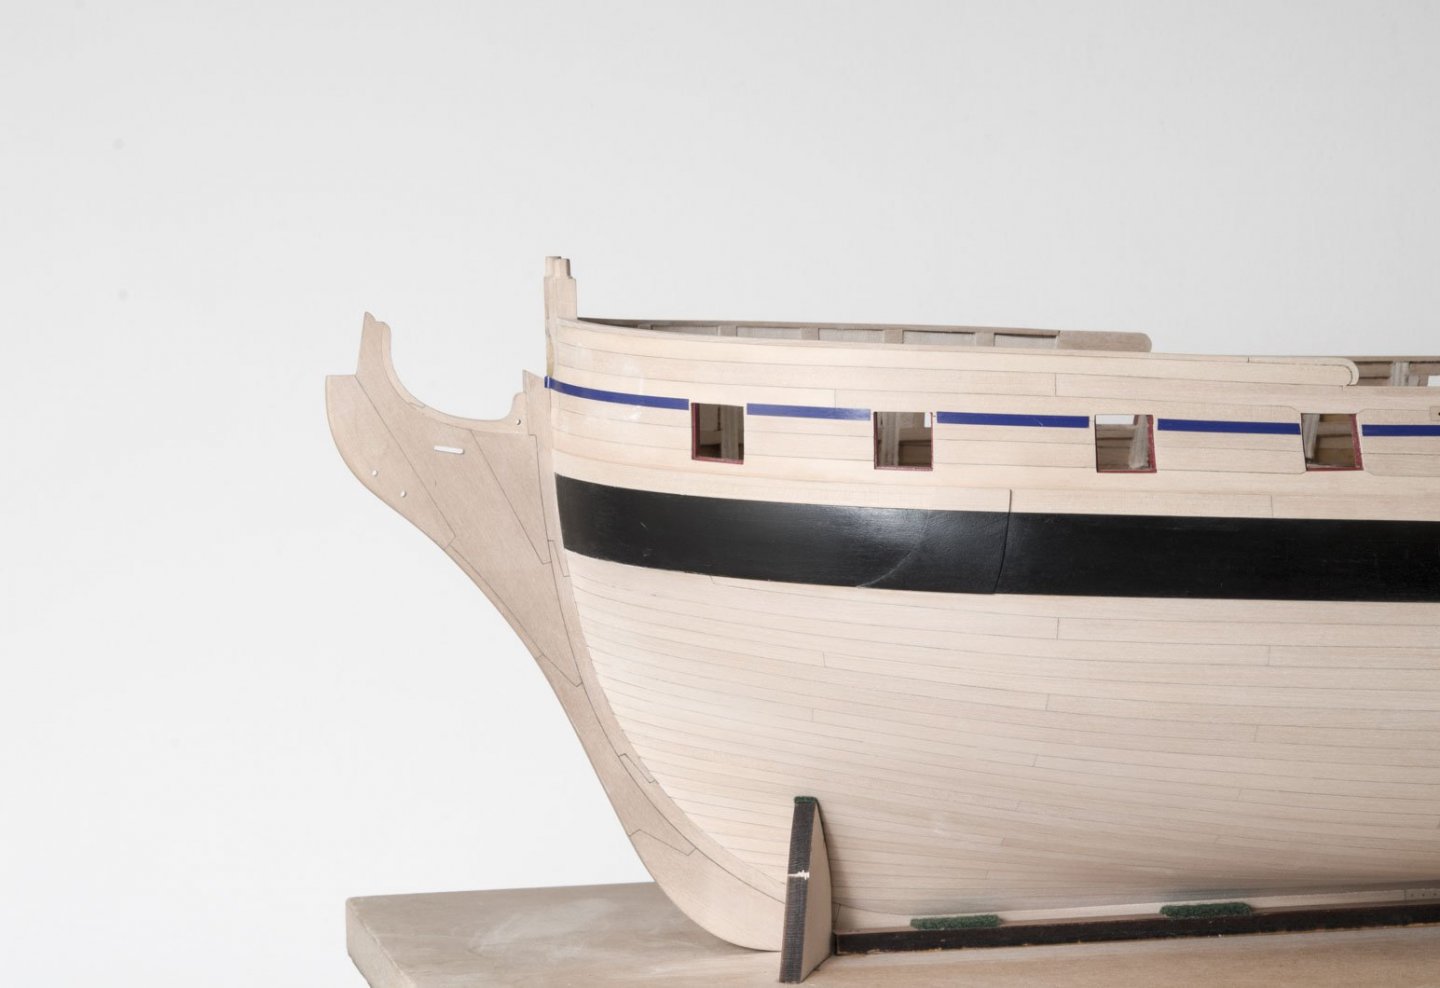
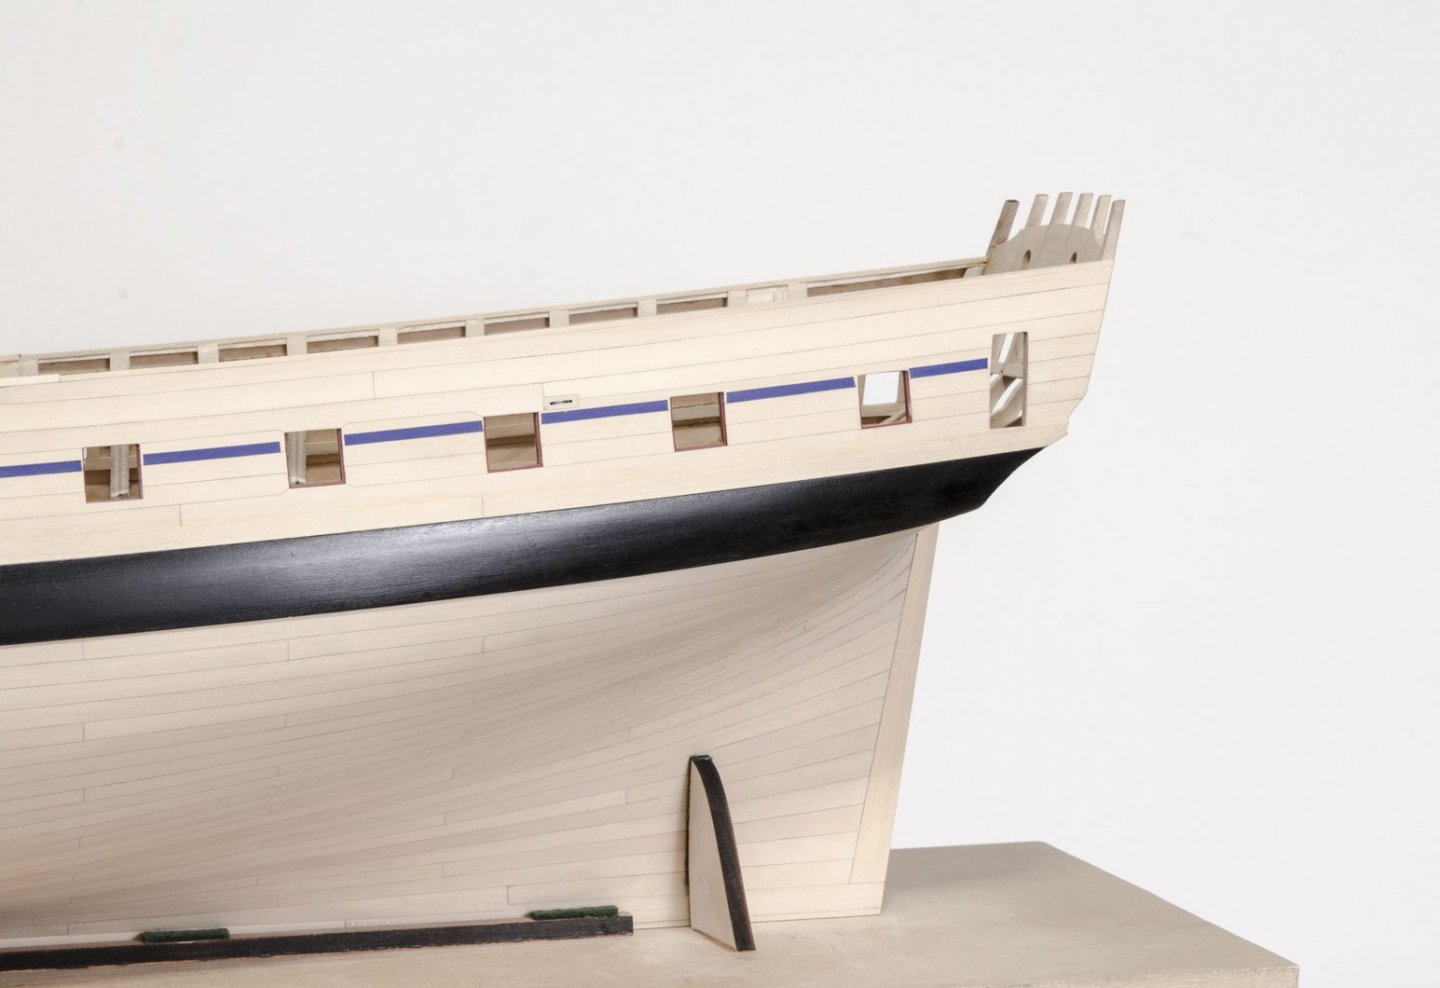
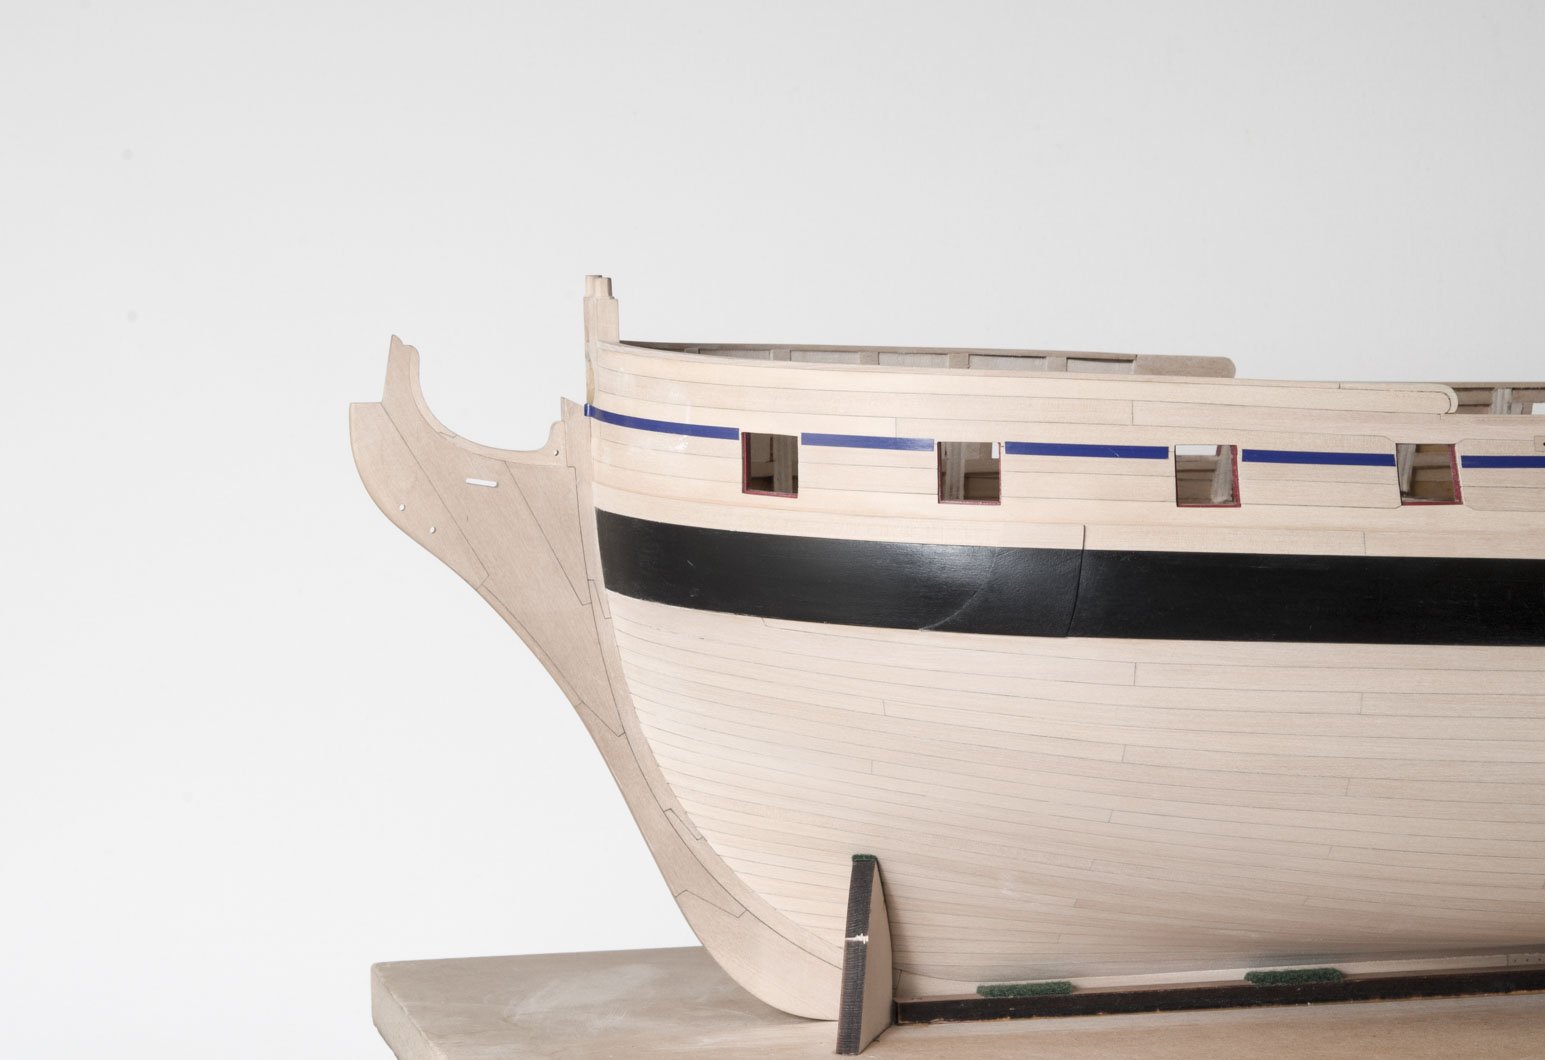
I've been making some progress on the hull planking. The last two belts on the starboard side minus one strake are done. As tempting as it was to add the last strake I knew that I would still need a clamping area to adhere to when I start again on the port side. Clamping against the keel doesn't work since the angle of the clamp would pull the plank up and away from the bulkhead. Moving the clamp down five strakes changes the angle of the clamp just enough to hold the plank tight against the bulkhead.

I've added a few photos showing the planking detail both fore and aft.

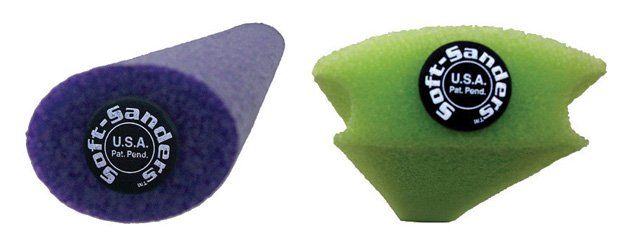
All of the sanding so far has been done with Soft Sanders. They are hard foam shapes that you wrap with adhesive backed sandpaper which is supplied by the company. The sandpaper lasts forever it seems. I am using 180 and 320 grit. http://www.softsanders.com/products/wood. I find that these two shapes work well. I cut them into 3" to 5" lengths. They conform to the hull shape allowing for a smooth transition when sanding.
Mike
- Nunnehi (Don), druxey, JpR62 and 19 others
-
22


HMS Winchelsea 1764 by Stuntflyer (Mike) - FINISHED - 1/4" scale
in Member Build logs for the HMS Winchelsea
Posted
Chuck, I have a question for you. In your photo, the top of the Qgallery (pie shaped piece) is on the line on the fore end and above the line on the aft end. How did you determine this to be the correct position?
Mike