Beef Wellington
-
Posts
2,249 -
Joined
-
Last visited
Content Type
Profiles
Forums
Gallery
Events
Everything posted by Beef Wellington
-
 Alan, that bowsprit is a thing of beauty in of itself!
 -
First off Peter, wonderful progress, you've clearly been busy and she's looking grand. On a couple of your questions above.... Blackening - this takes practice to figure out what works as it seems to be a bit of an art, and everyone seems to have their own preferred method. FYI - I used JAX Black, but I'm sure its similar to Casey. First off its important to have a clean surface, but not space shuttle clean - when I blackened the JB model cannons for 'Jason' I'm not sure I even did this and just took them out of the bags, but was careful not to get skin oil on them. Using thin latex gloves works a treat. The other common factor seems to be concentration of the solution. Using too concentrated a solution from my experience causes a very fast reaction with superficial and unstable surface blackening that flakes off. Much better to use a less concentrated (10 or even 20 parts water), slower reaction but structurally sound. I've seen many people dip the items in a 'bath' of reactant. I've found this problematic for 2 reasons, you end up using a lot of product, and as the reaction takes place the solution naturally weakens which in my experience just led to a more random outcome. The method that I found works best is simply to make up very small batches at a time, and brush on like paint using cheapo small nylon brushes (the kind sold in bulk in hobby stores for painting plastic models). The combination of the physical agitation on the surface, and ability to control where the solution goes provides a bit more control. The surface still needs to be buffed a little to remove any crud. Personal preference for me was to then spray with matt lacquer to dull any shine. Attaching blocks - There are a number of combinations to consider. To avoid knots, splices for a tack fall can be simulated by threading the line back through itself using a needle and then very fine thread used to simulate a seizing and also to help secure. I think I have some pictures in the my Jason log of cannon rigging that may be helpful. GS-Hypo glue is also very effective here, as well as good old diluted PVA to strengthen.
-
Just to expand on BEs comprehensive answer above, ships under Admiralty orders not under command of a squadron would use the red ensign. Seems most likely scenario here. Rounding this out with another interesting fact, in addition to certain Royal yacht clubs, Retired Royal Navy officers today also get to fly an undefaced blue ensign (upon application and approval) for a civil ship they are in charge of.
-
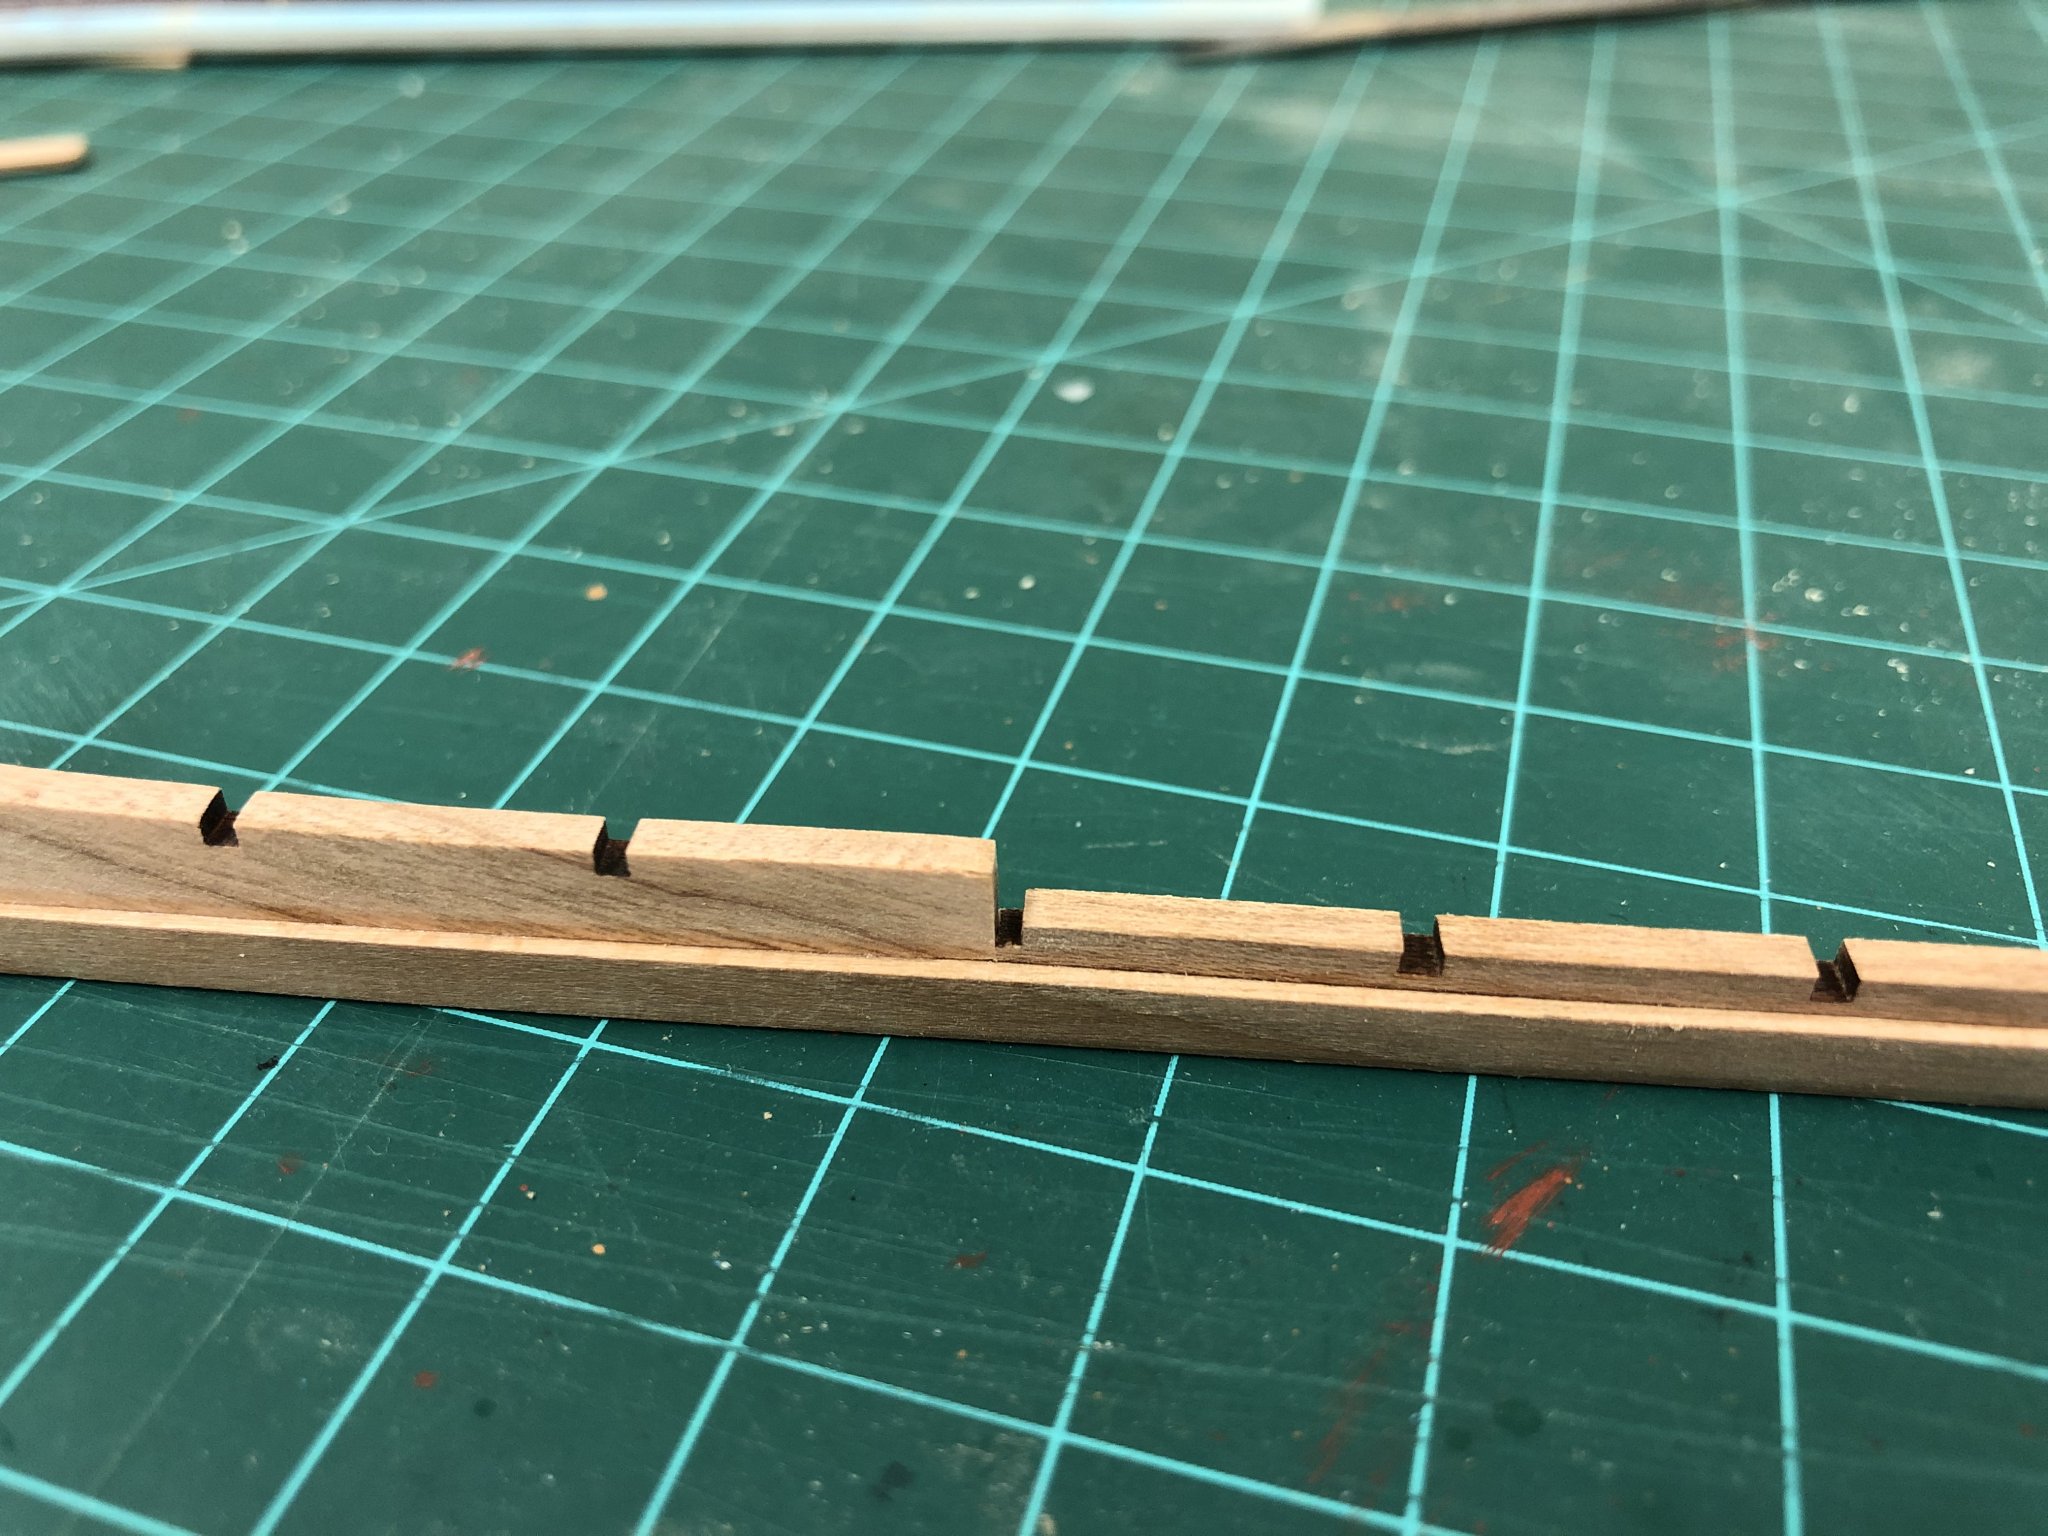
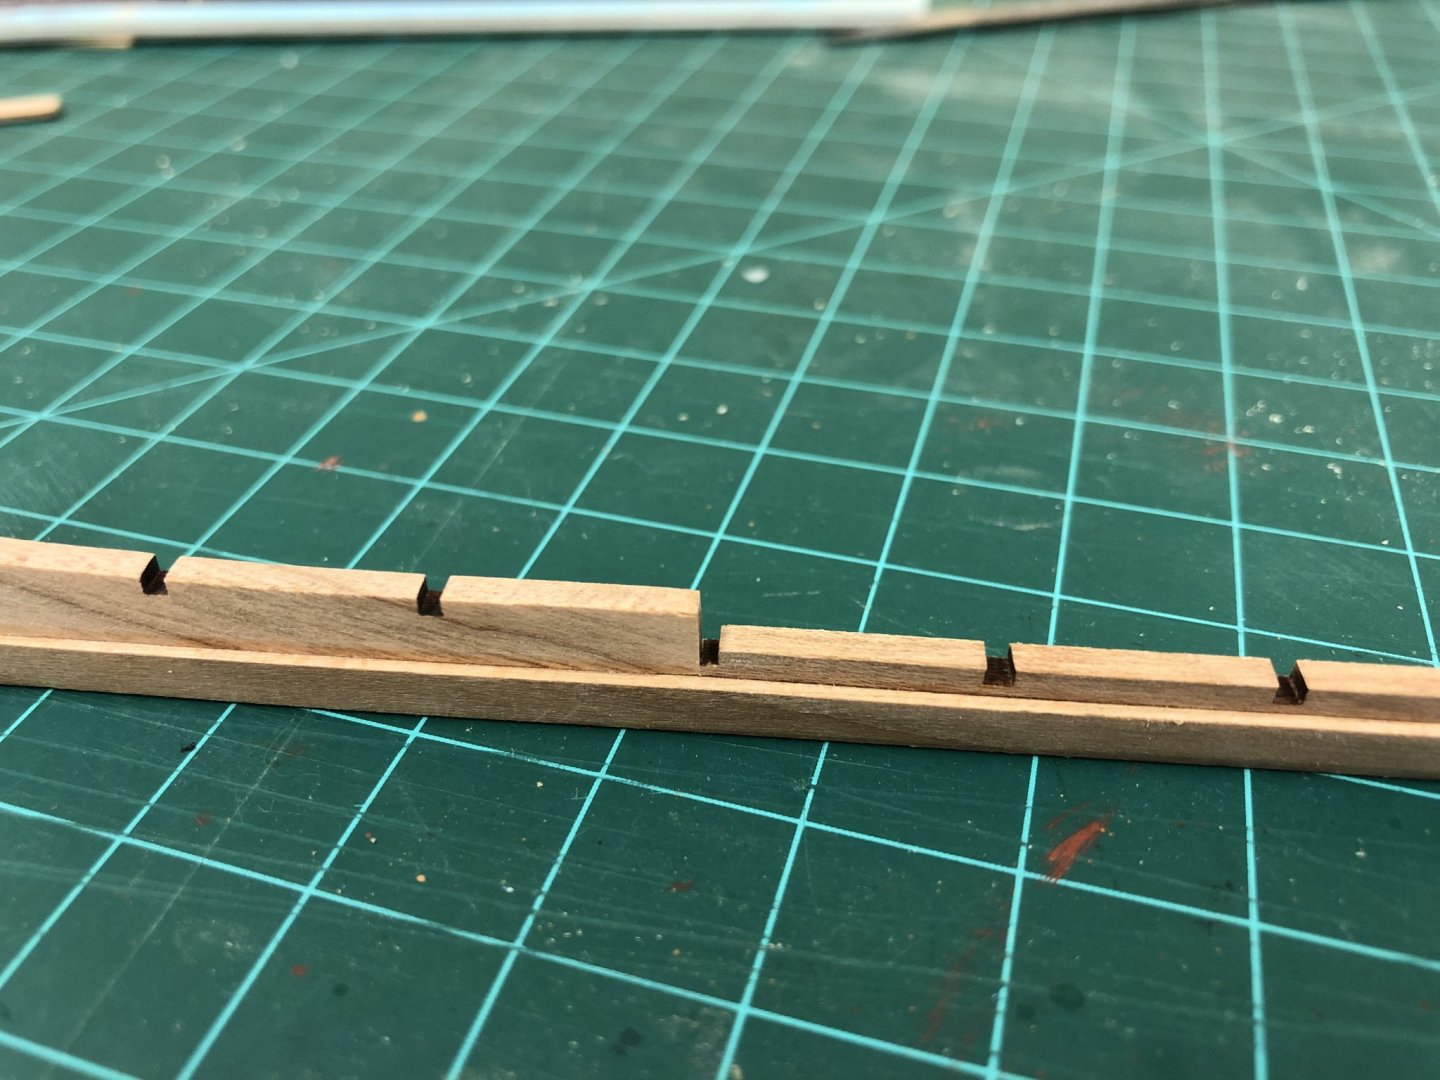
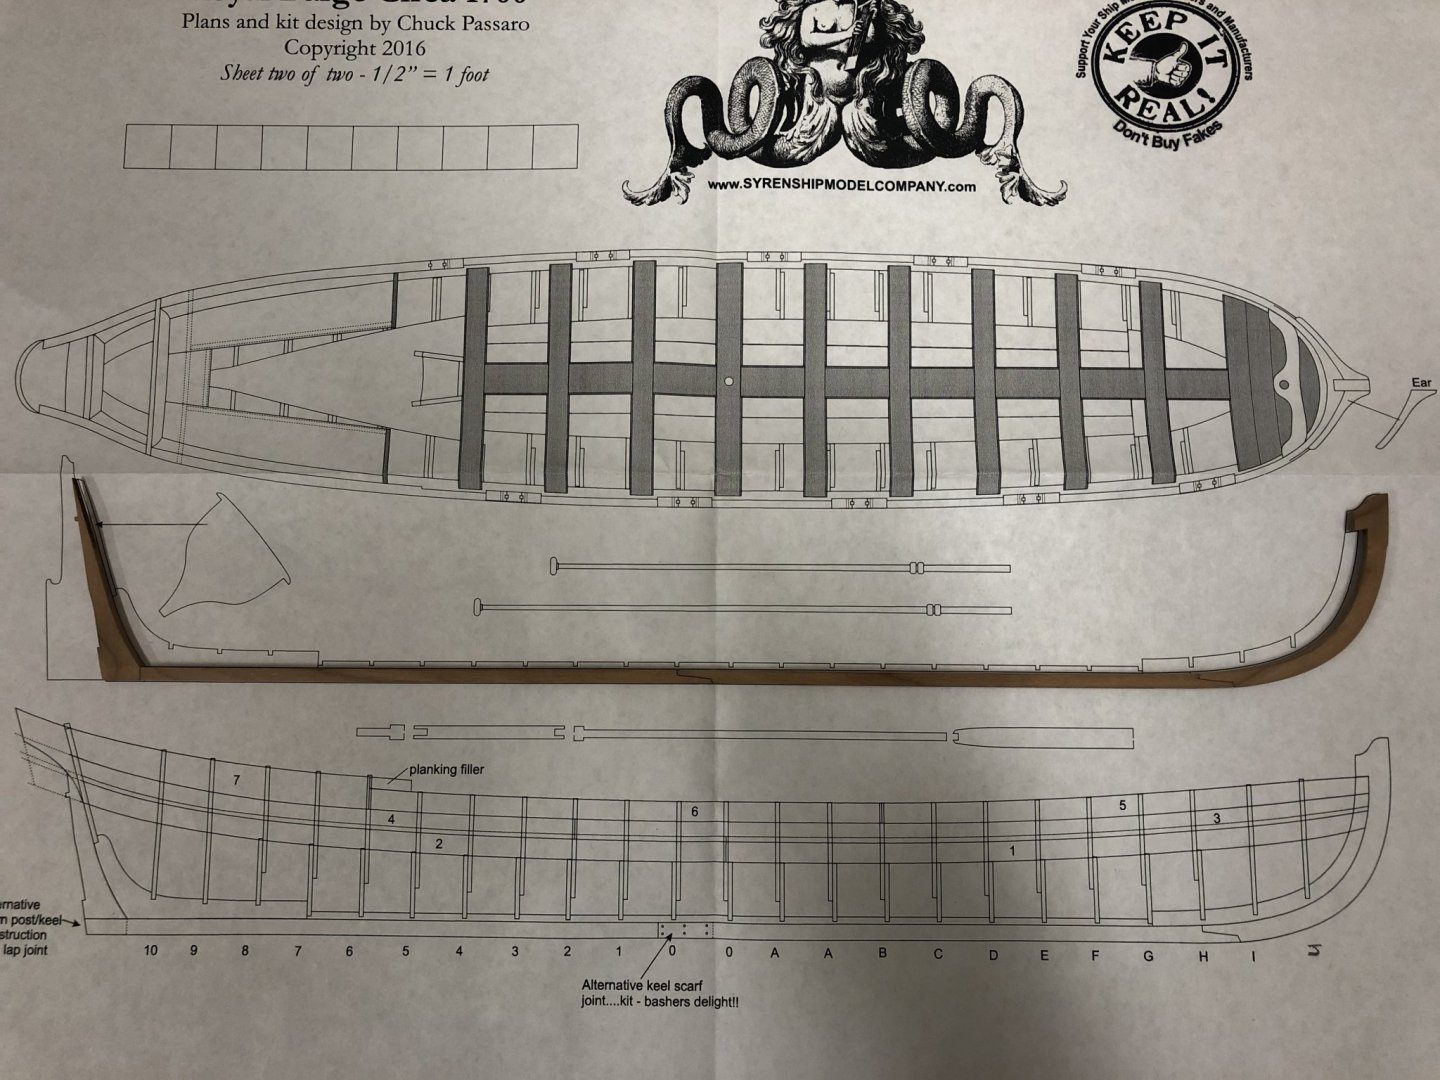
Welcome aboard Bob, and thanks for the interest from all: The upside of social distancing and resting in place is that there seem to be a few more hours in the evening with no commitments. The remaining keel sections have been installed which is a little bit of a relief as it should provide a little more strength, especially at the sternpost. The instructions indicate the thin center keel section is a little oversized and can be trimmed at the aft end. I'm a little concerned that for some reason I needed to shorten this to the extent that the slot for the frame is noticeably narrower than others, which will surely require some attention before frames can be attached (center of 3rd picture below). Open to suggestions on how this slot should be widened (centered, widen forward or aft). Its very difficult to get a sense of size from isolated photos, and it must be said that this barge at 1:24 is far from small. In fact, from stem to stern its nearly exactly the same length as His Majesties sloop of war Snake, but significantlymore susceptible to damage..

-
Great recovery, one important lesson is that most problems are fixable if you have the courage and ingenuity to try. The second is recognizing that problems will occur and not getting frustrated. Looking good!
-
Or you may want to stretch to the hardback edition, a new copy going for $989 on Amazon...
-
Its nice to get a sense for the shape of the hull. I suspect the Cruizer instructions are also rather meagre given this is an older kit, there are plenty of other logs to help you over a couple of the questions that seem to come up with all the Snake/Cruizer builds, so feel free to ask questions.
-
Well, this could be interesting 🙂 Definitely want to follow along.
-
Great start, looking great and very clean so far, based on how you're approaching this kit I'm sure you'll have no difficulty with something a little more complex in the future.
-
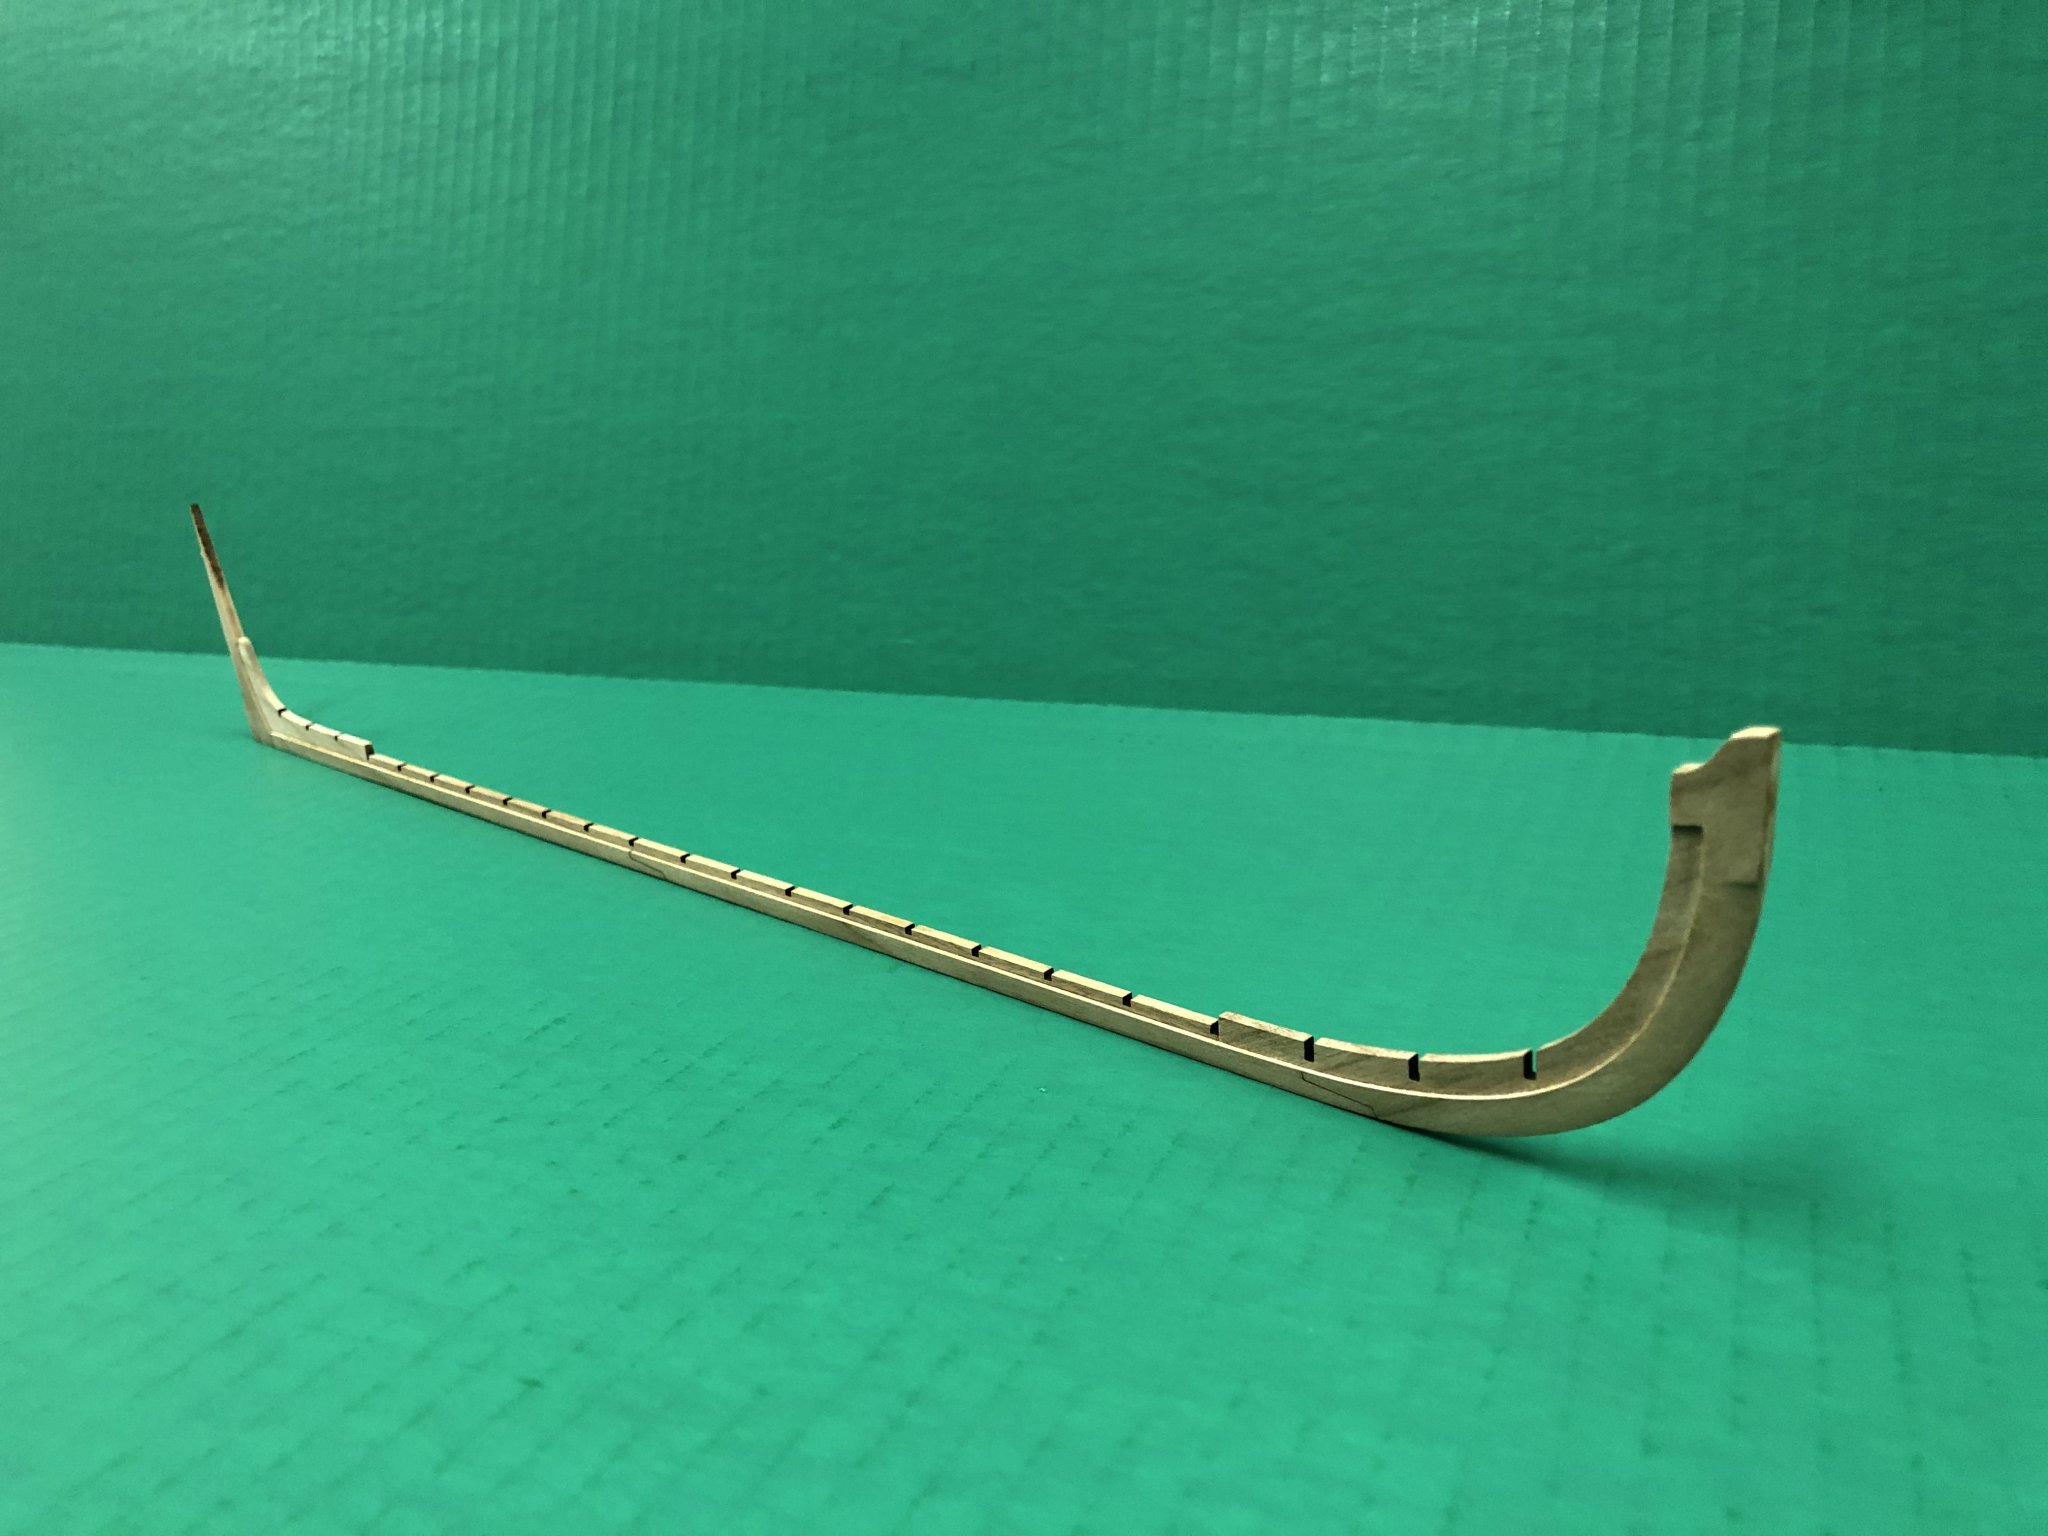
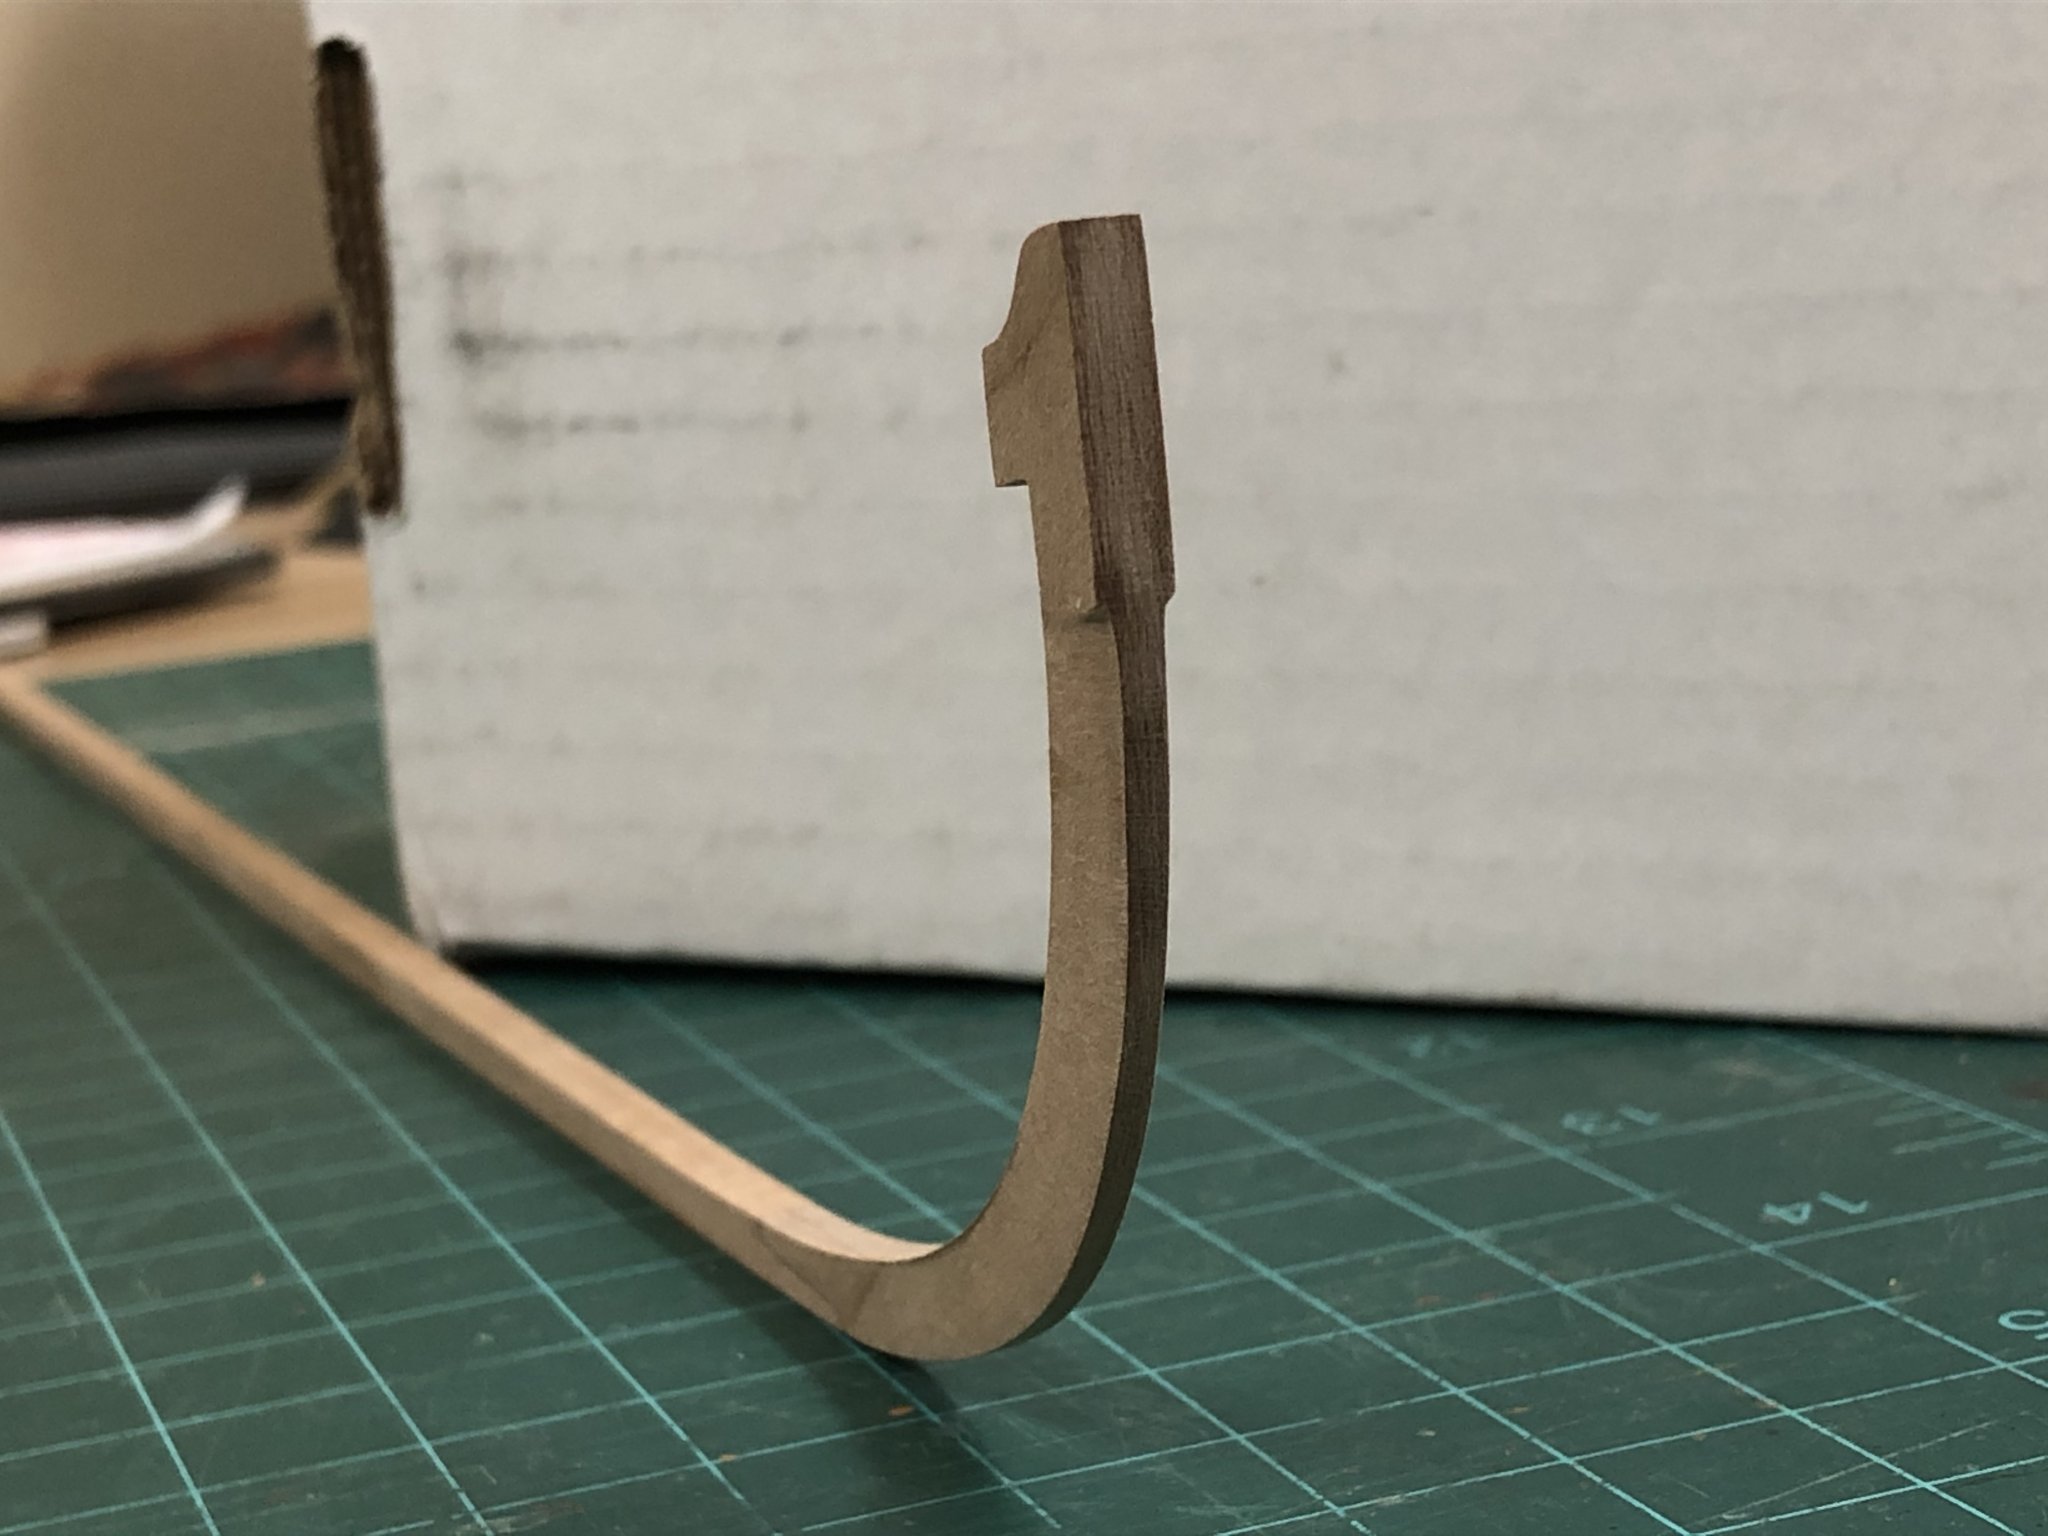
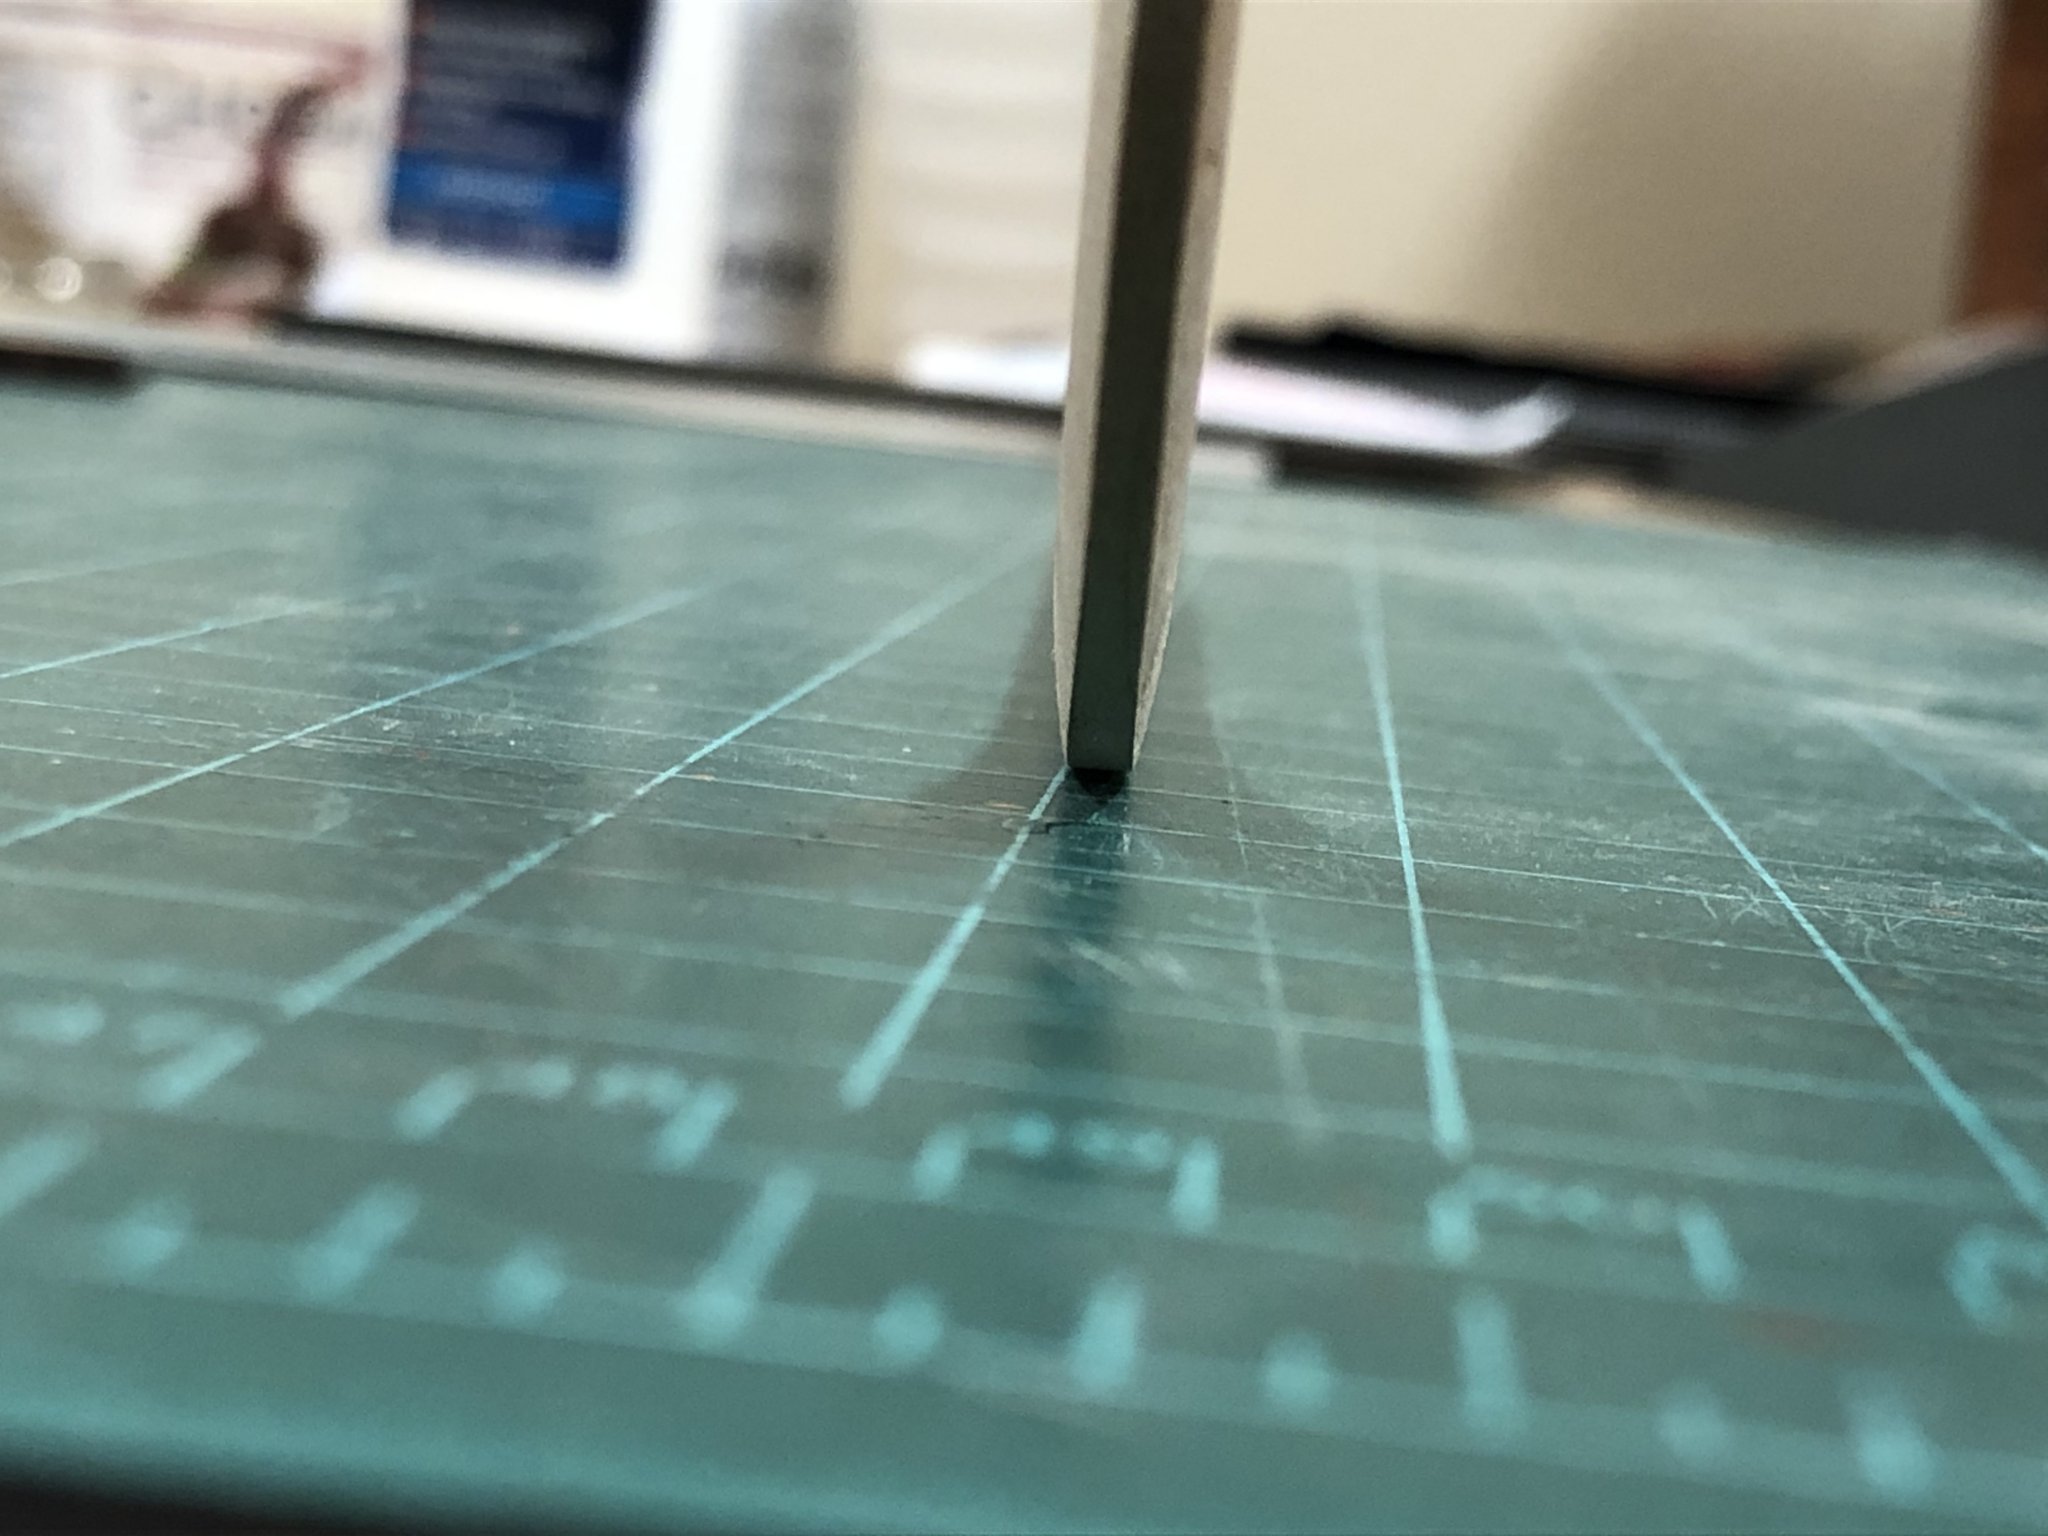
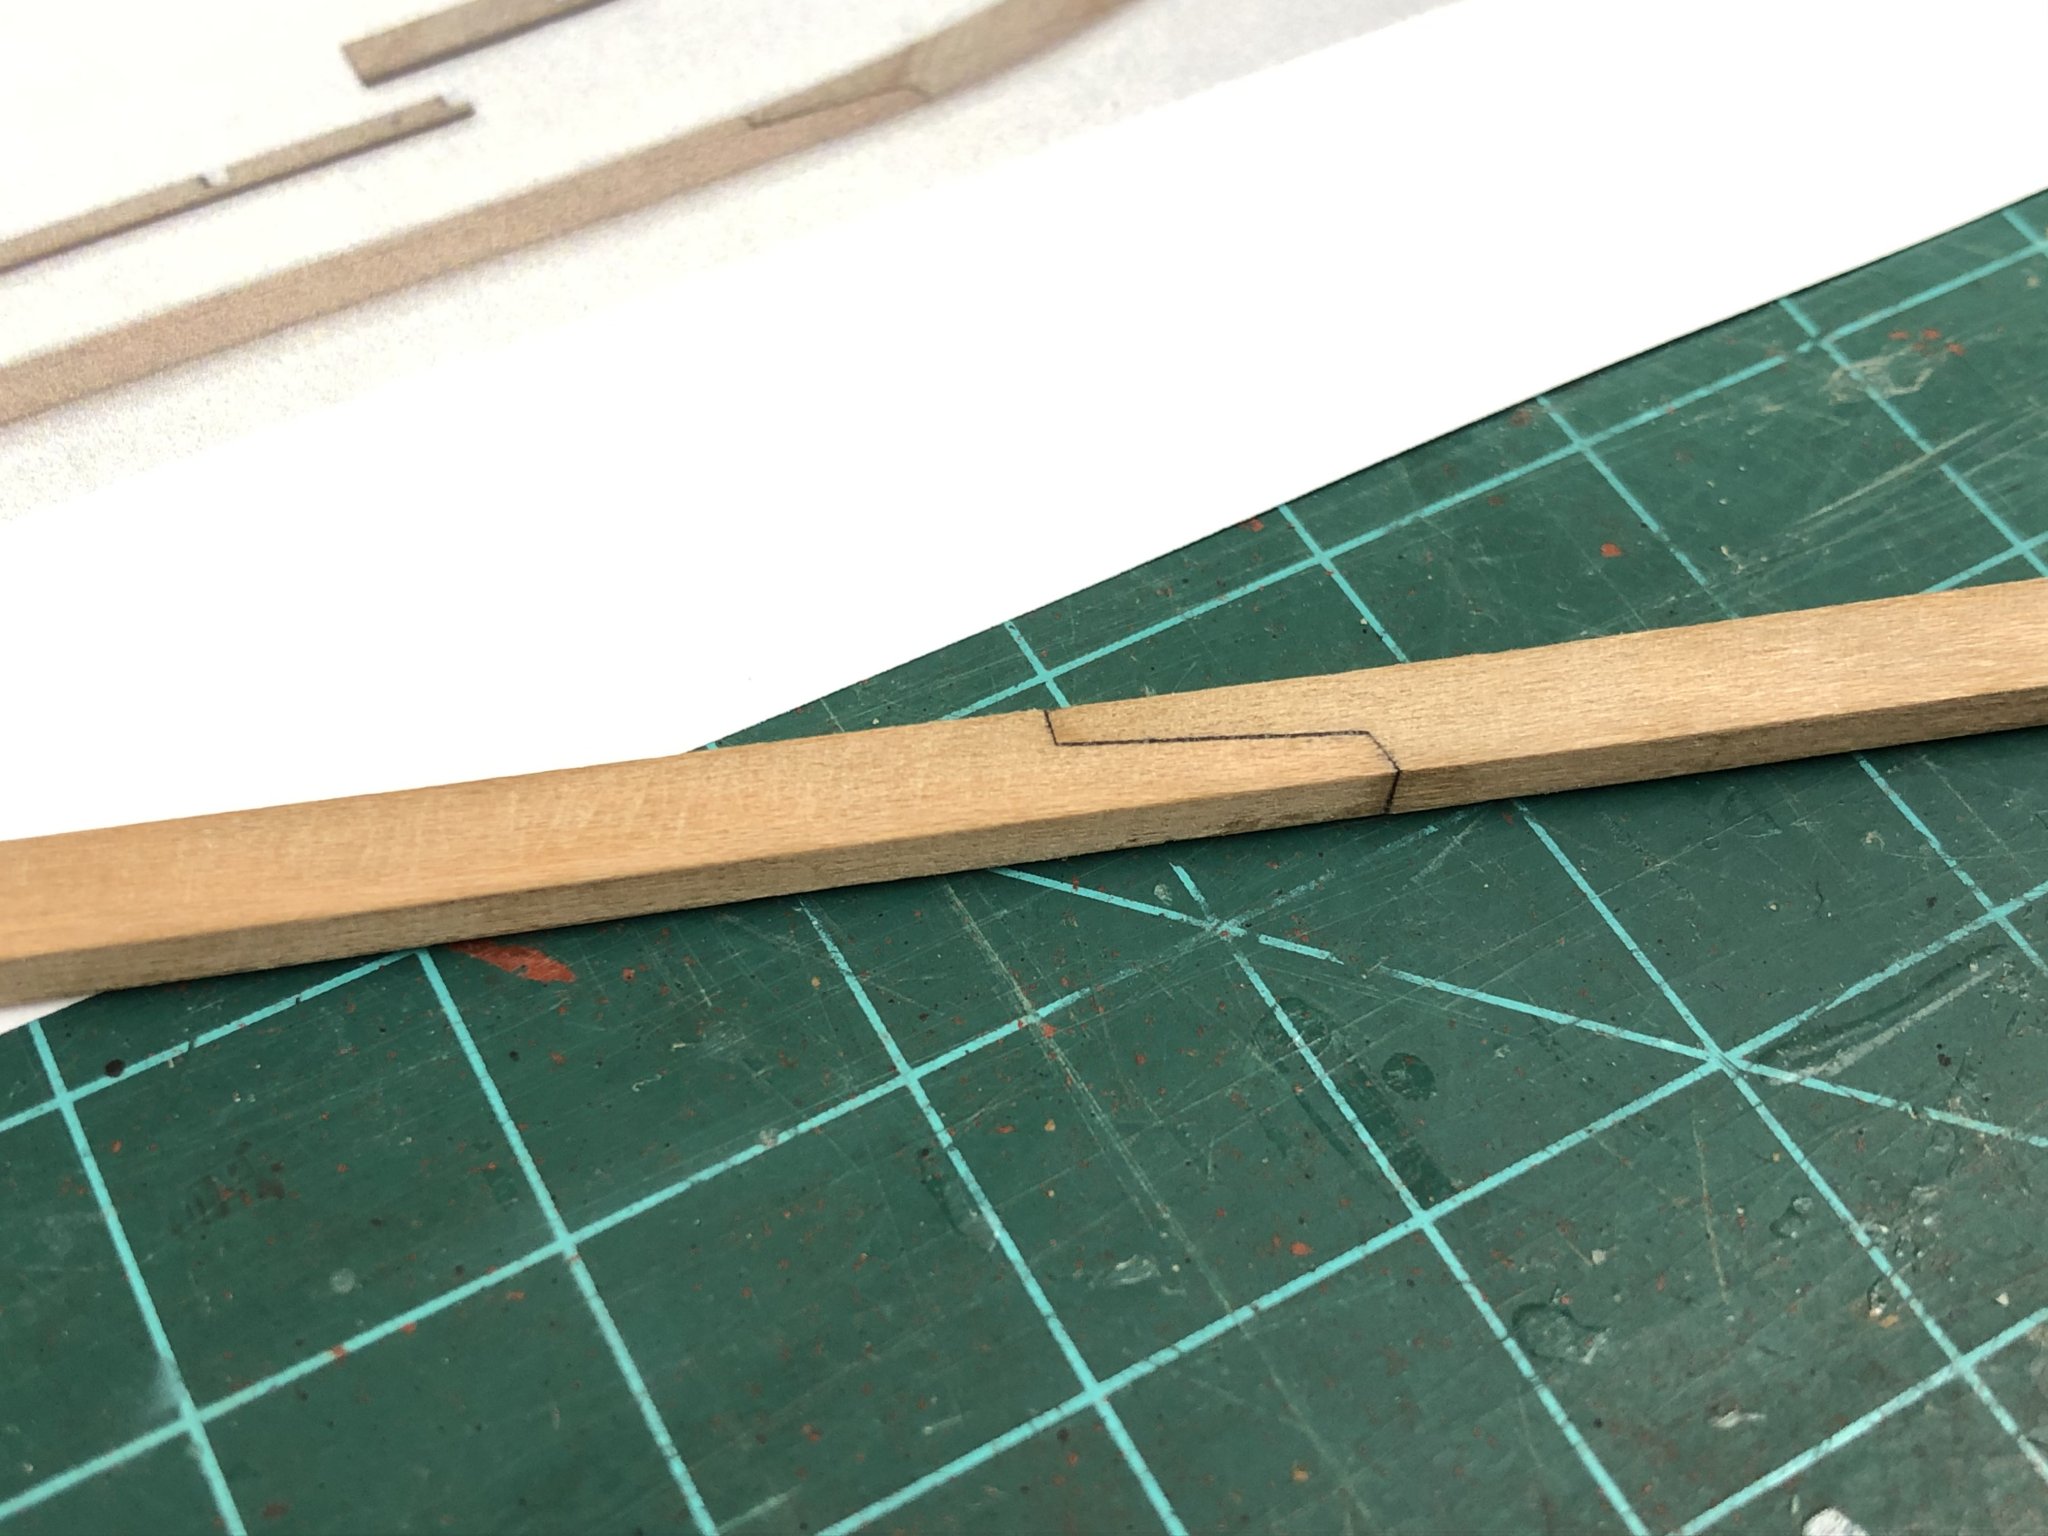
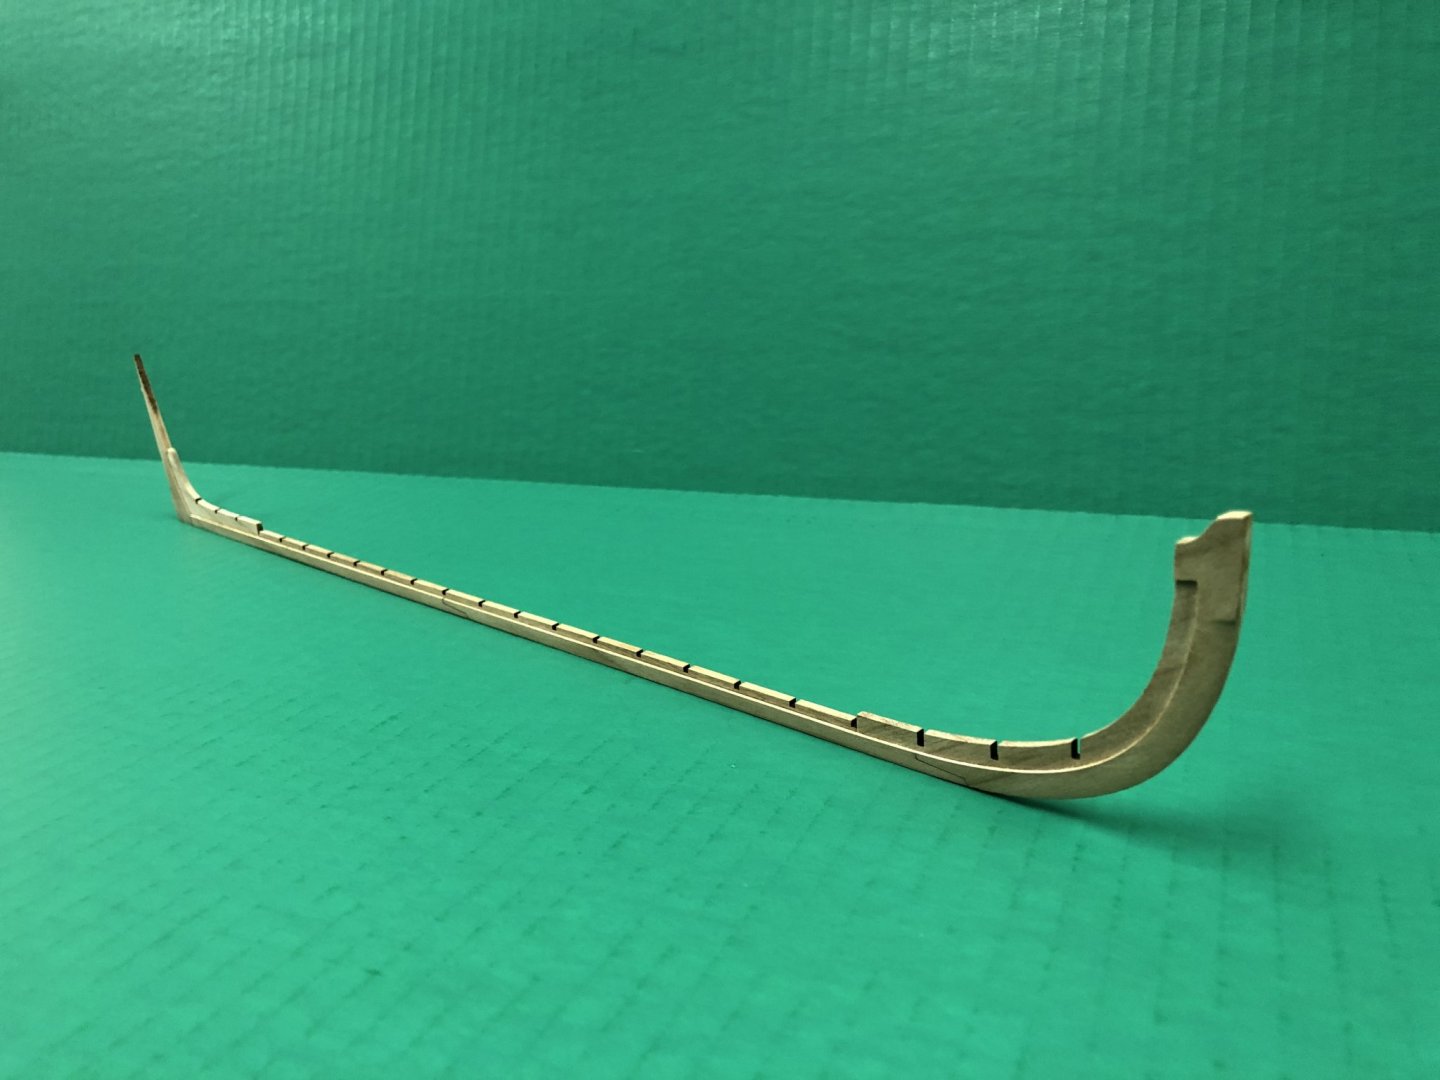
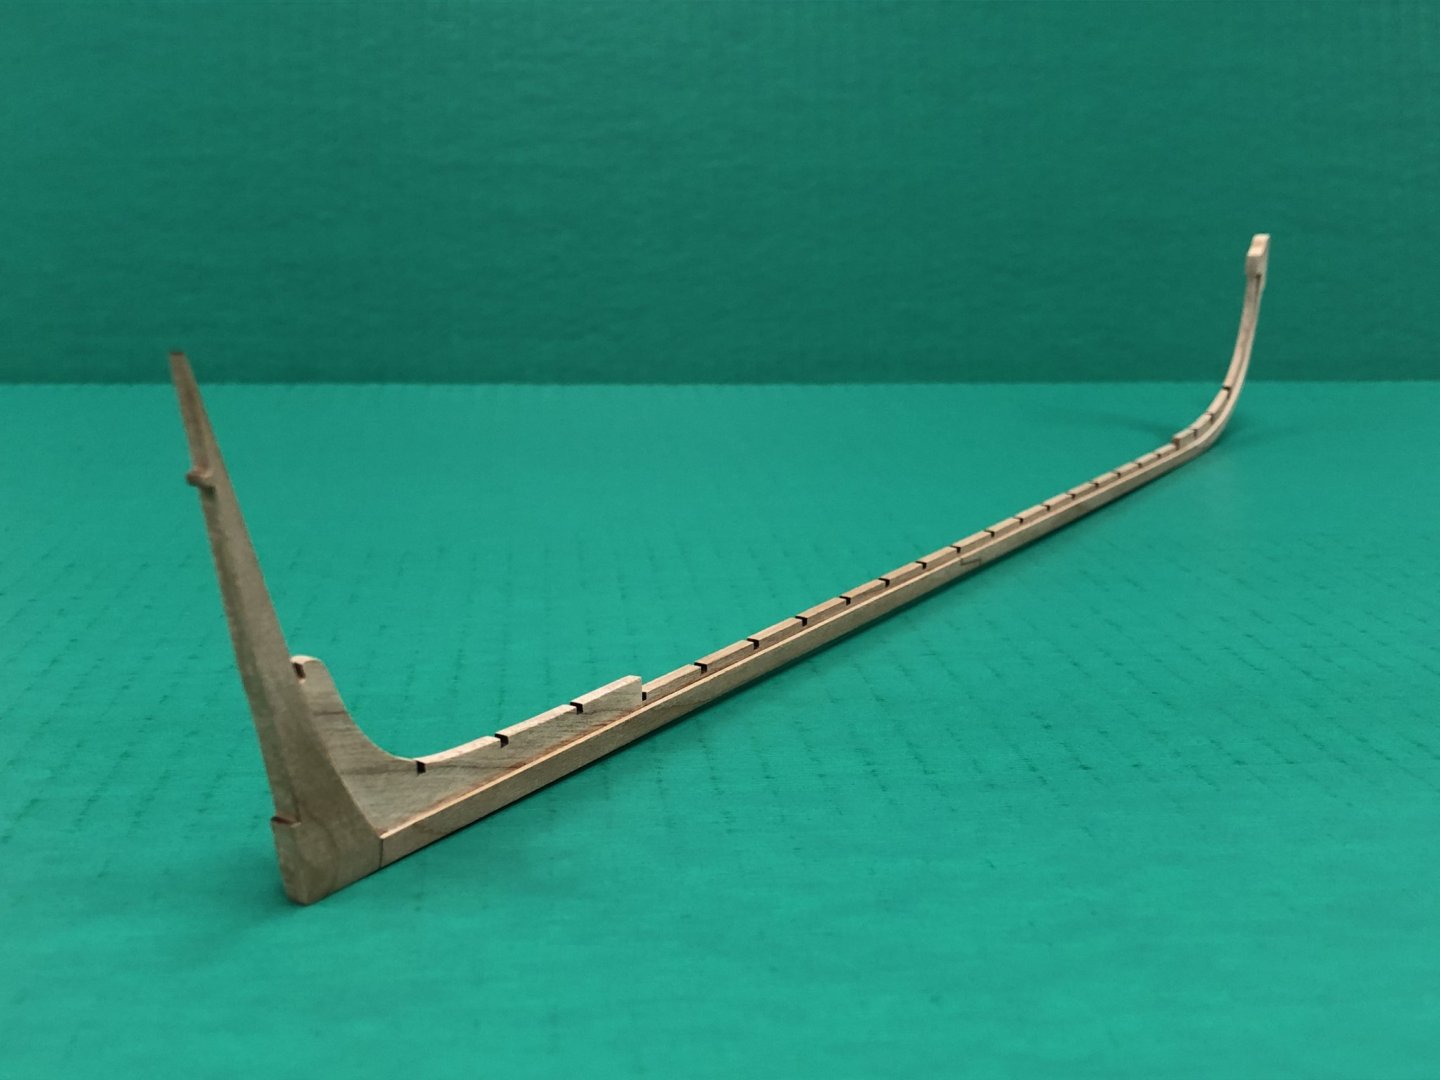
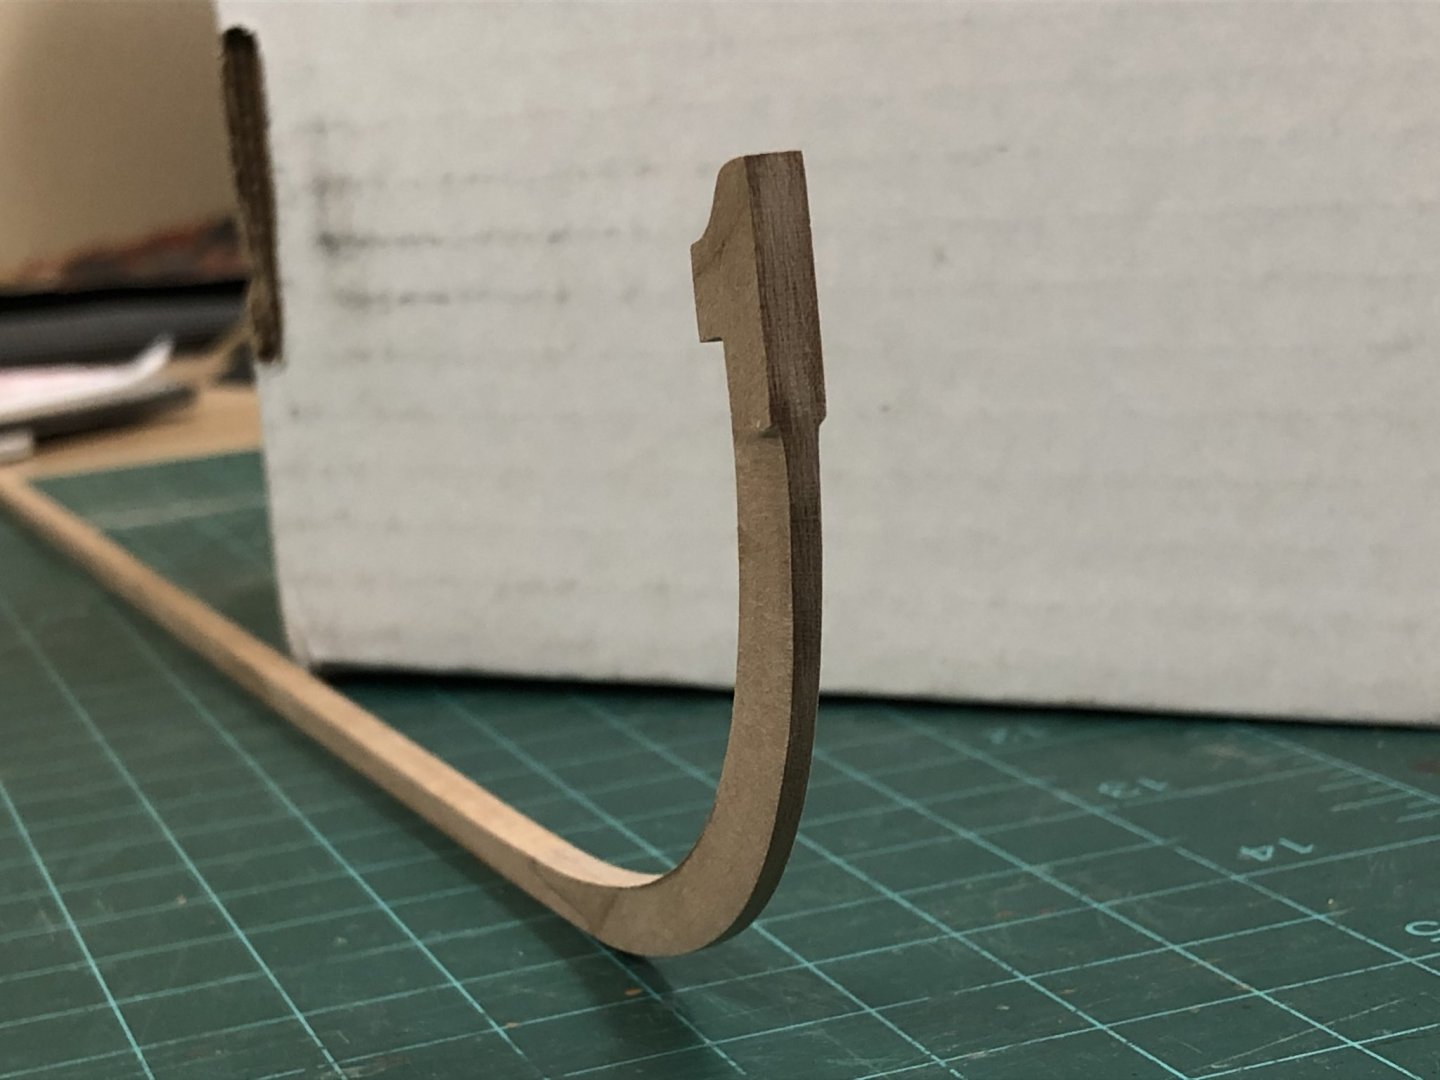
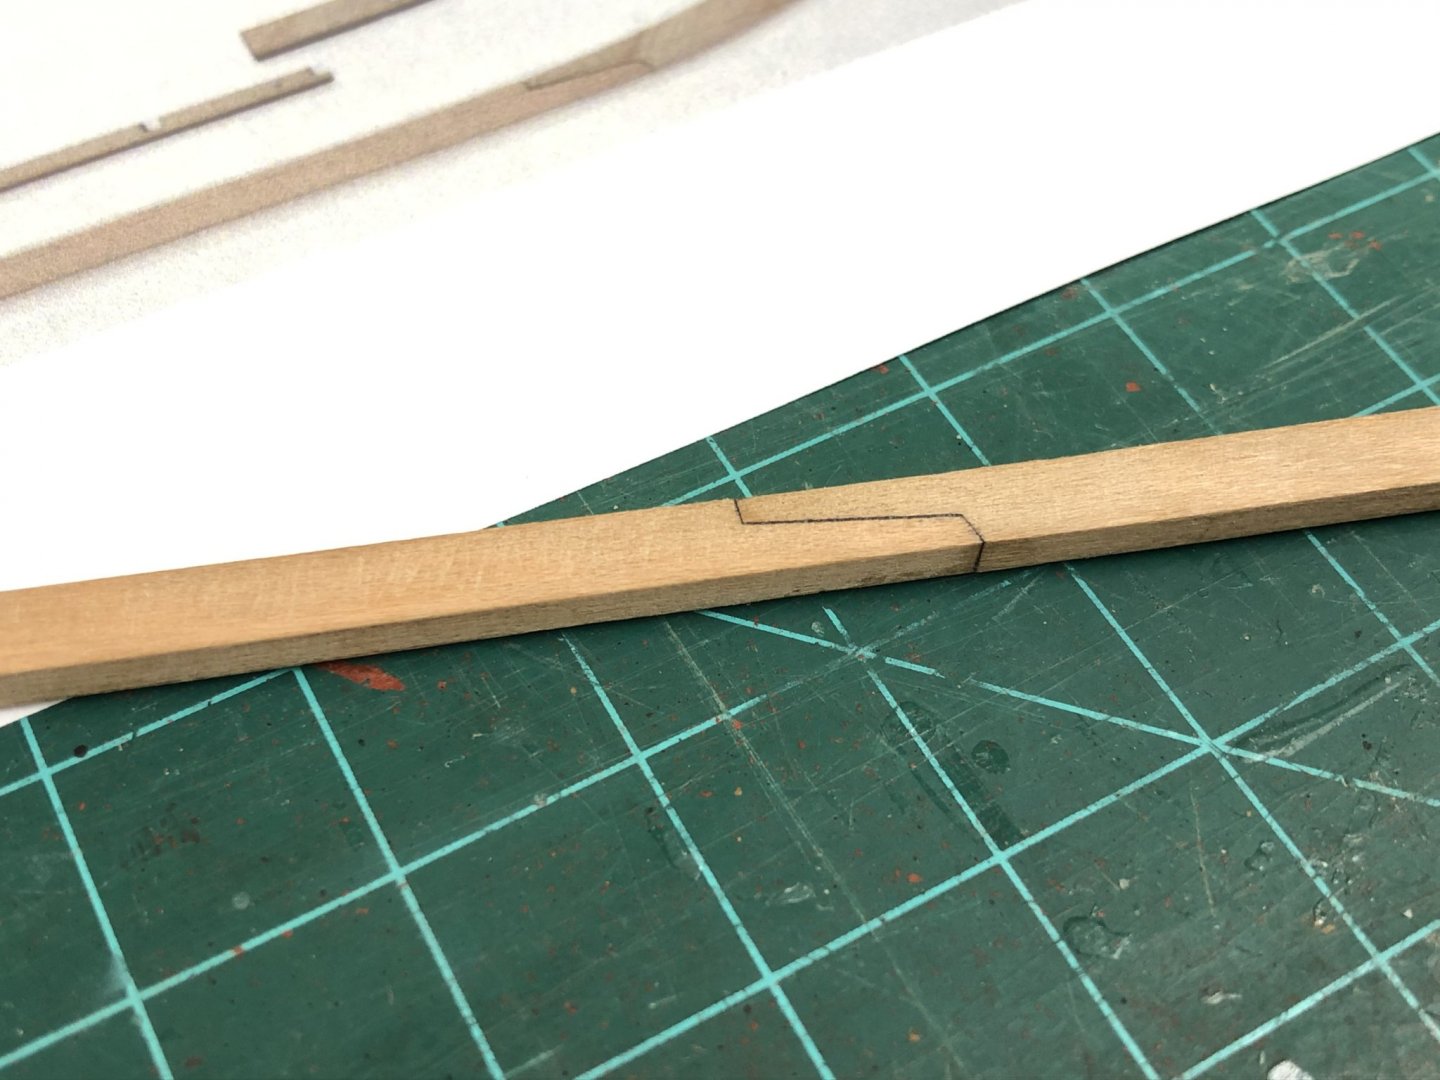
Keel Assembly: Firstly I want to recognize Chuck for providing amazing customer service, I'll get into details below, but suffice to say I needed a replacement sheet sent, not because it was defective, but because I messed up. There was no charge for the replacement, great support! The keel pieces have had some preliminary shaping done to them and been assembled, this was pretty much a weekends work (for me). The plans were used to establish the various joint angles of the bow and stern post while the glue set as there is a little play in these. This is my first time working with cherry, and so far it seems a pleasure being easy to shape with sanding sticks. Small guide holes have also been drilled as indicated on the plans for future mounting. MEA CULPA - Despite clear warnings in the instructions, I was worried that the scarf joints as supplied were not sufficiently 'tight', primarily due to the edges not being perfectly 90deg because of the laser cutting through the wood sheet. To try and 'correct' this the various faces of the scarf joint were gently sanded until these seemed much tighter. Big mistake!!! The result was that some of the length of the joint was lost before I knew it, and as a result, the keel was too short. No option but to restart... With the replacement parts in hand, the scarf joints received some VERY minor tweaking to fit and plenty of glue to ensure that any joint gaps would be filled. Once dry and cleaned up, the results are very satisfactory, which is all down to the precision of the pre-cut parts. Pencil was used to darken the face of the joint. The keel requires to be tapered, narrowing by about 1/5 of the keel width at the bottom on each side, this profile also follows around the stem (but stops short of the top where the profile remains square). This has been roughly shaped at this point and will need to be fine tuned once the other structural keel pieces are glued in place to make the whole assembly stronger. The stern post also requires some subtle shaping. Narrowing slightly at top, dictated by transom, and also narrowing at the bottom to match the rest of the keel. Apologies, these aren't the best photos...
-
Looking good, those close up shots show off your really fine planking Vane, well done. You seem to have got some really sharp square corners which makes all the difference.
-
Good choice BE, there was a less standardization of the flag of St Andrew, with colour even varying significantly today. Going with your selection will give a more period feel right off the bat. Interested to see how you tackle this. The proportion of the size of the Jack is interesting and seems odd. Given this would only be flown in harbor/at anchor, it seems way oversized compared to the Harbour Ensign. I'm assuming both would have been flown from a staff (?)
- 335 replies
-
- 2
-

-
- alert
- vanguard models
- (and 1 more)
-
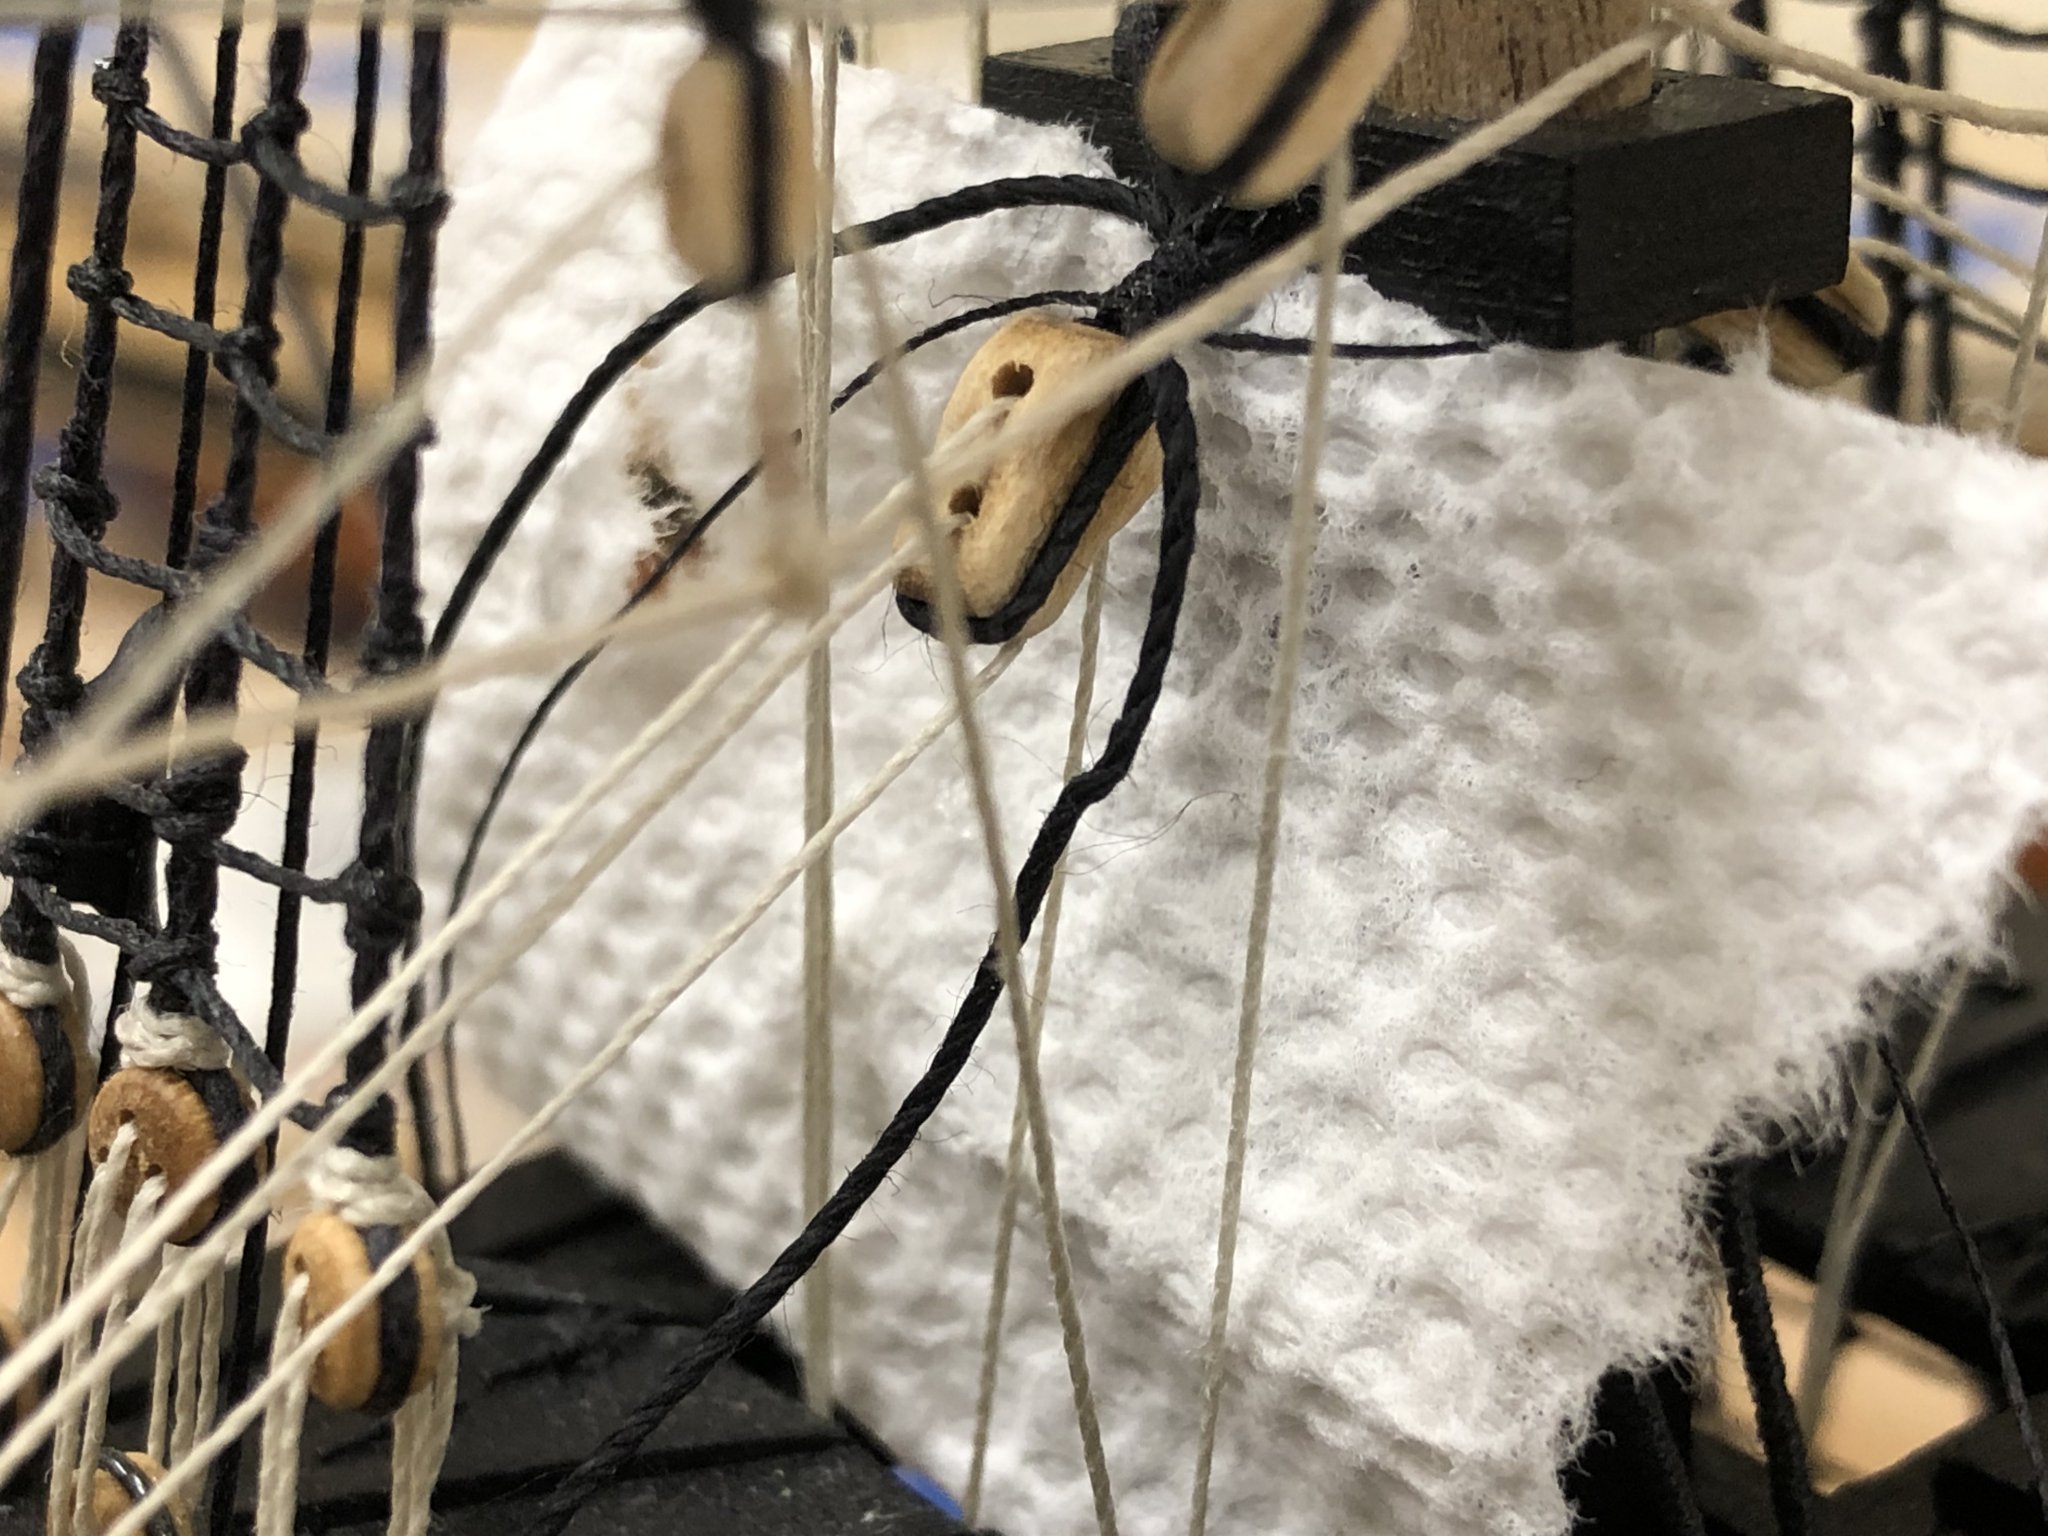
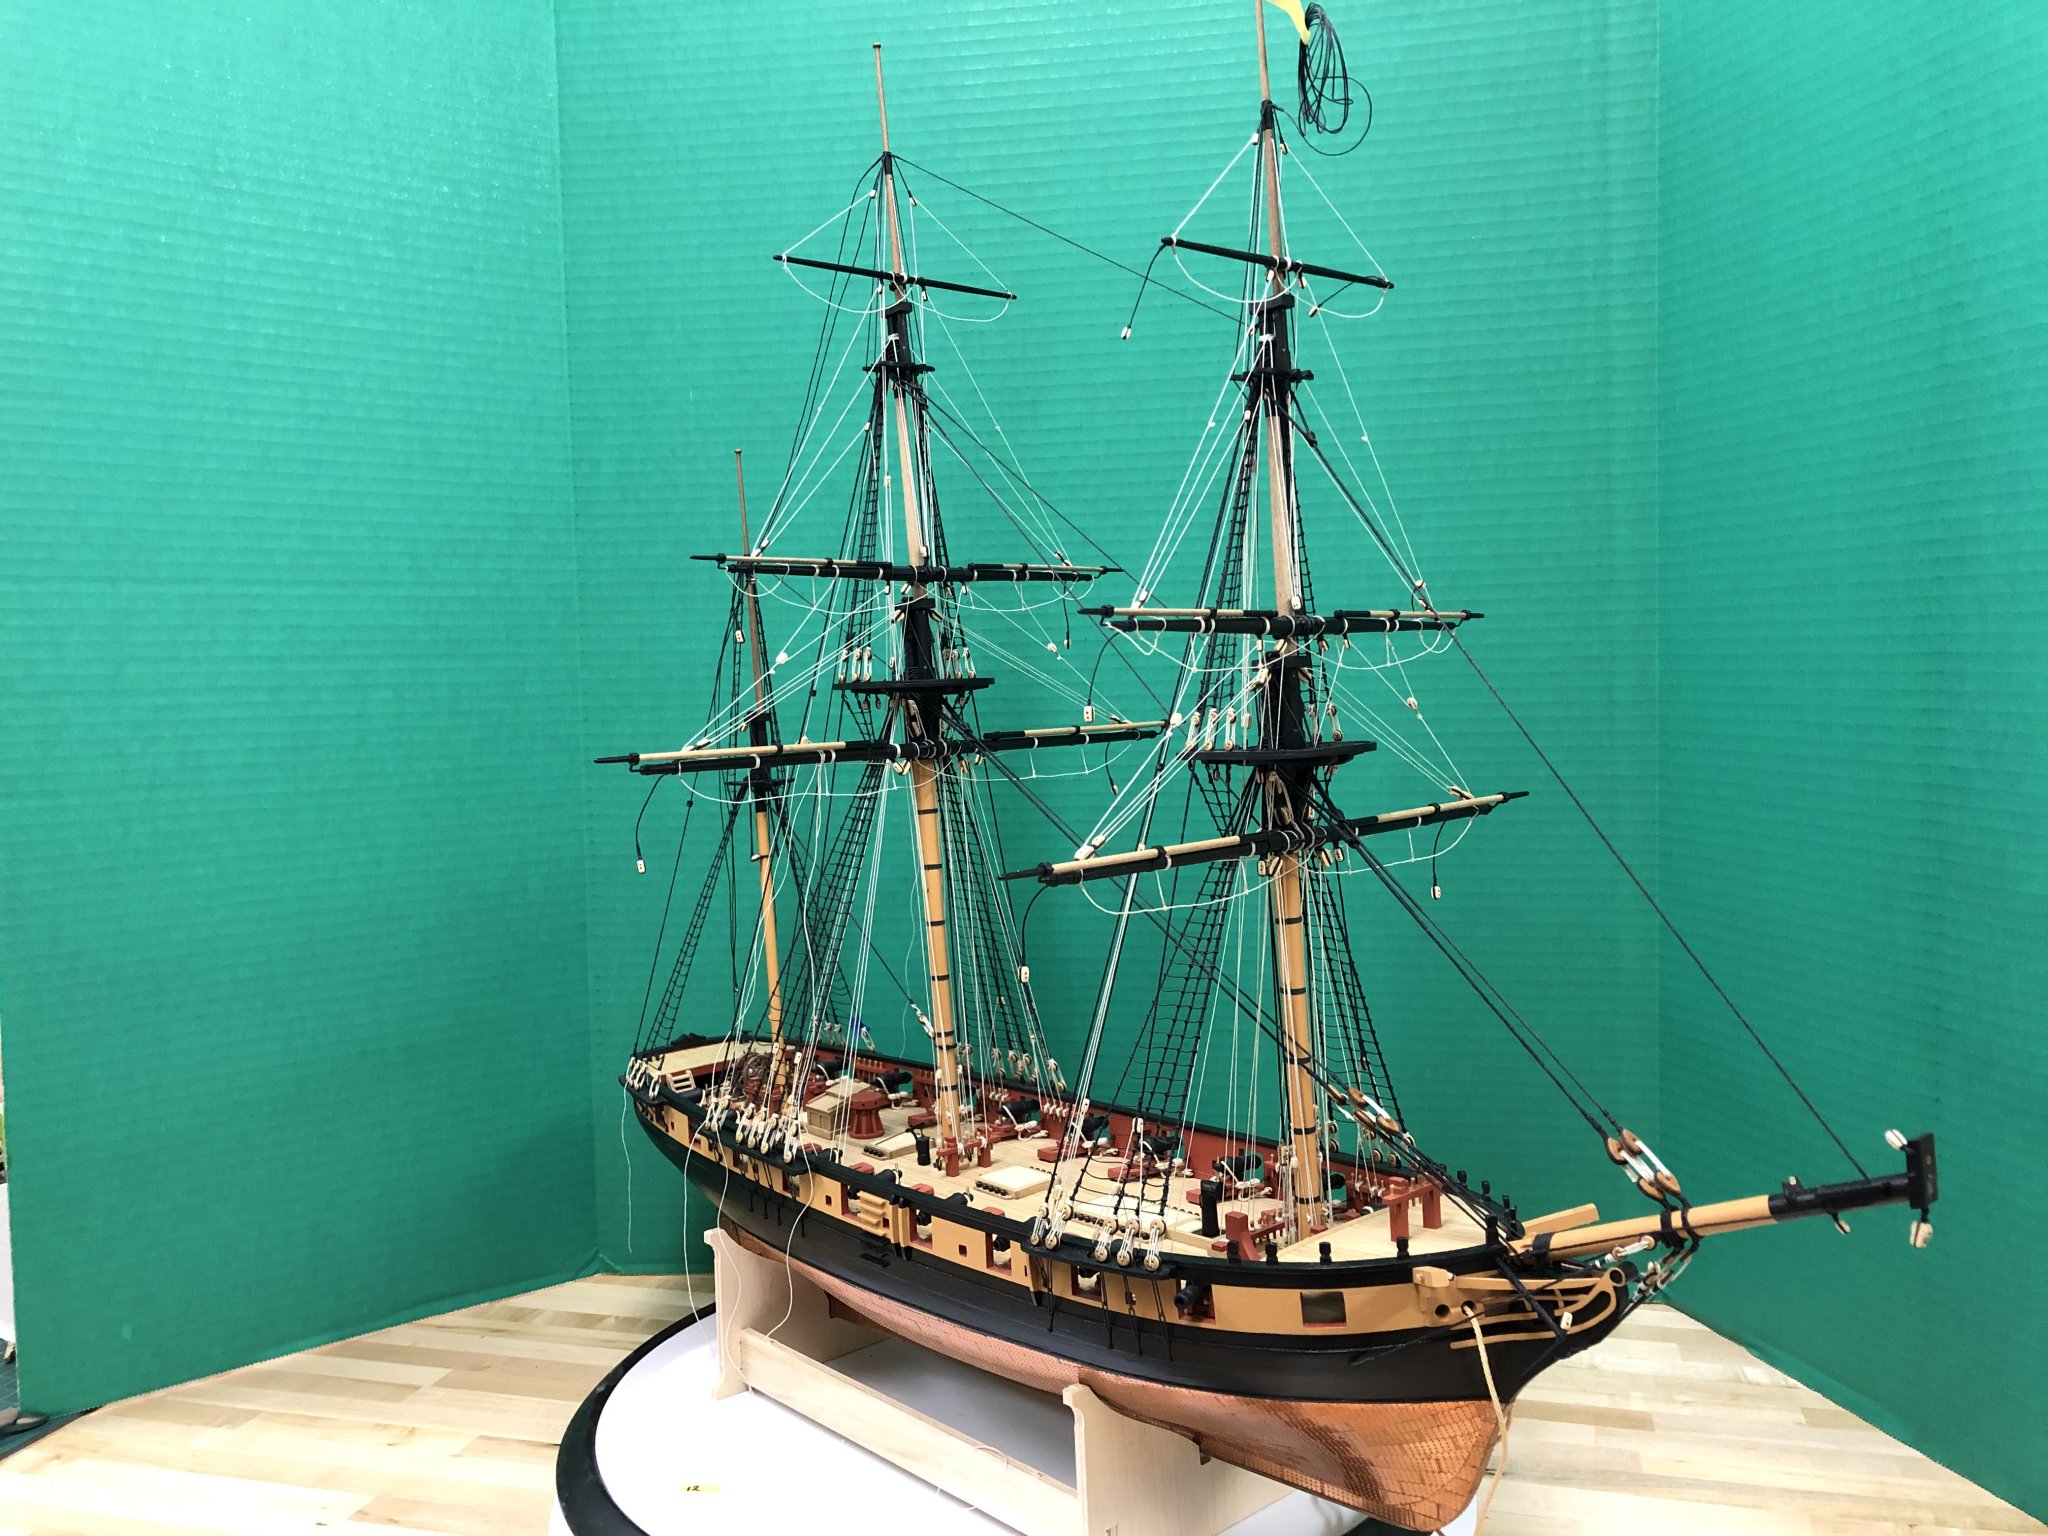
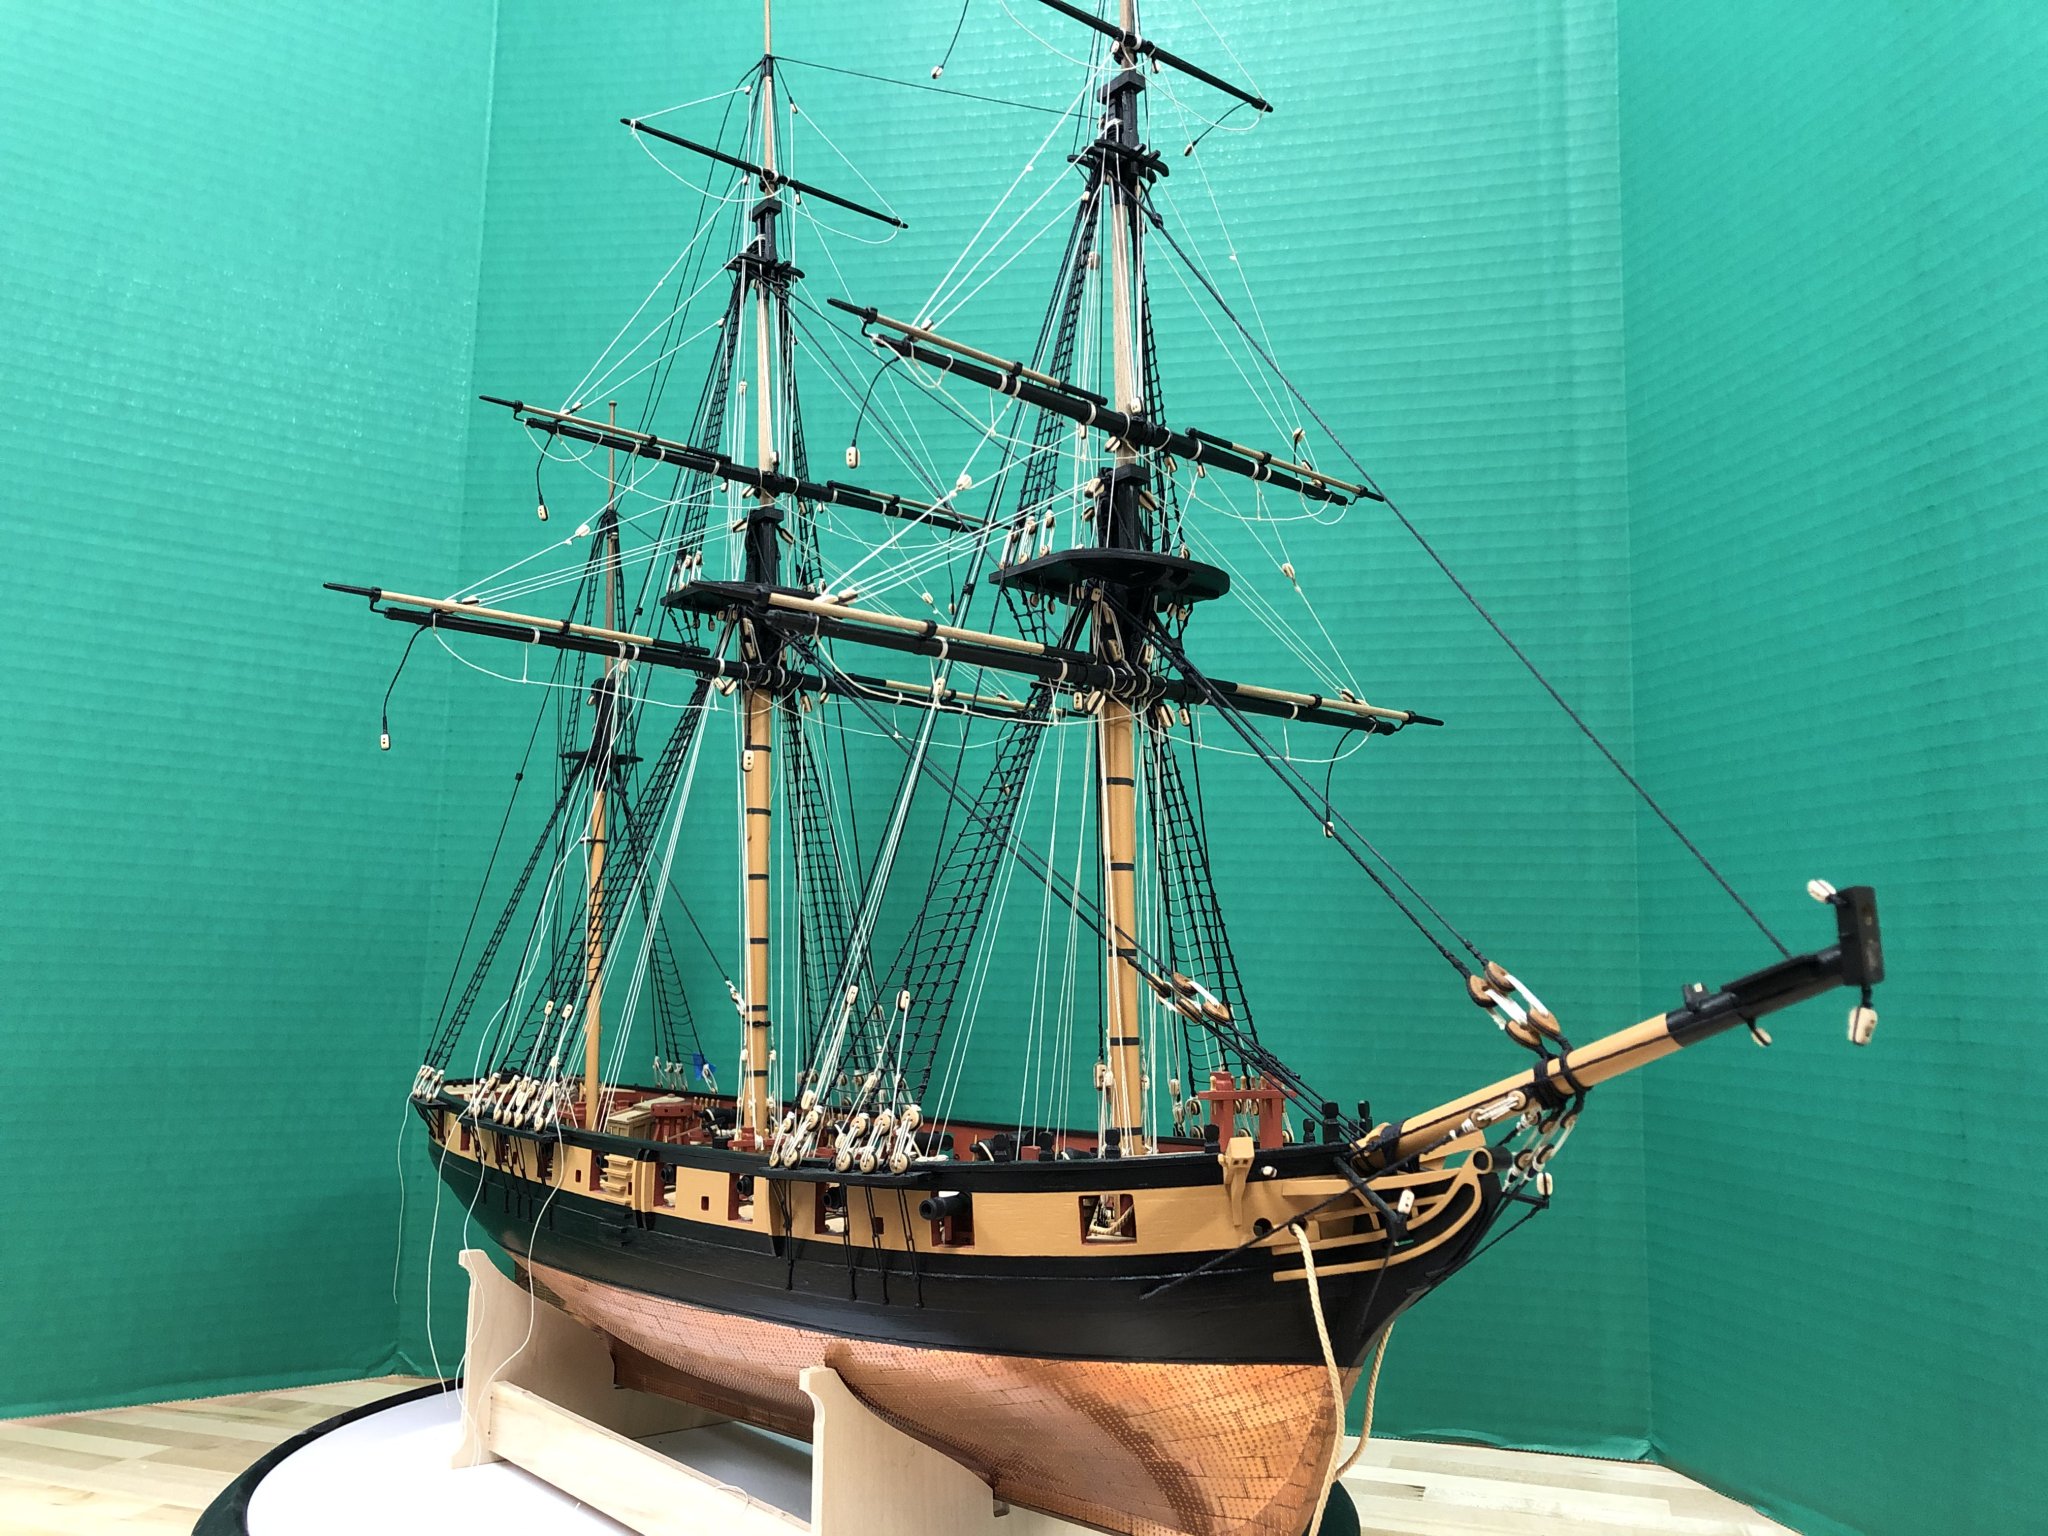
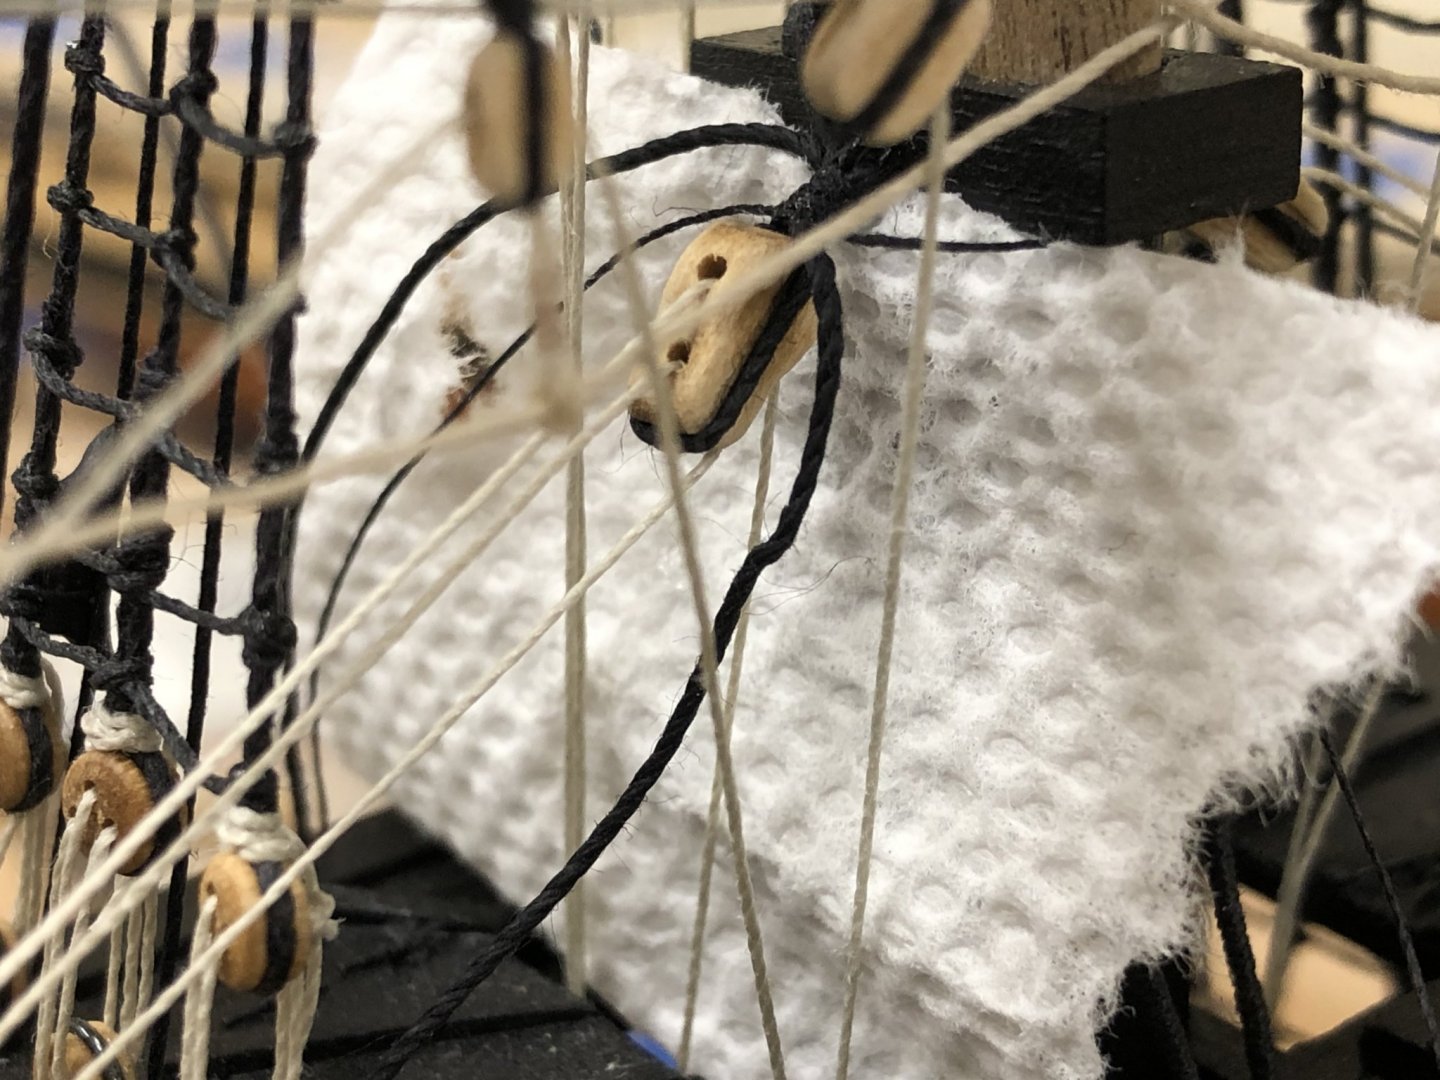
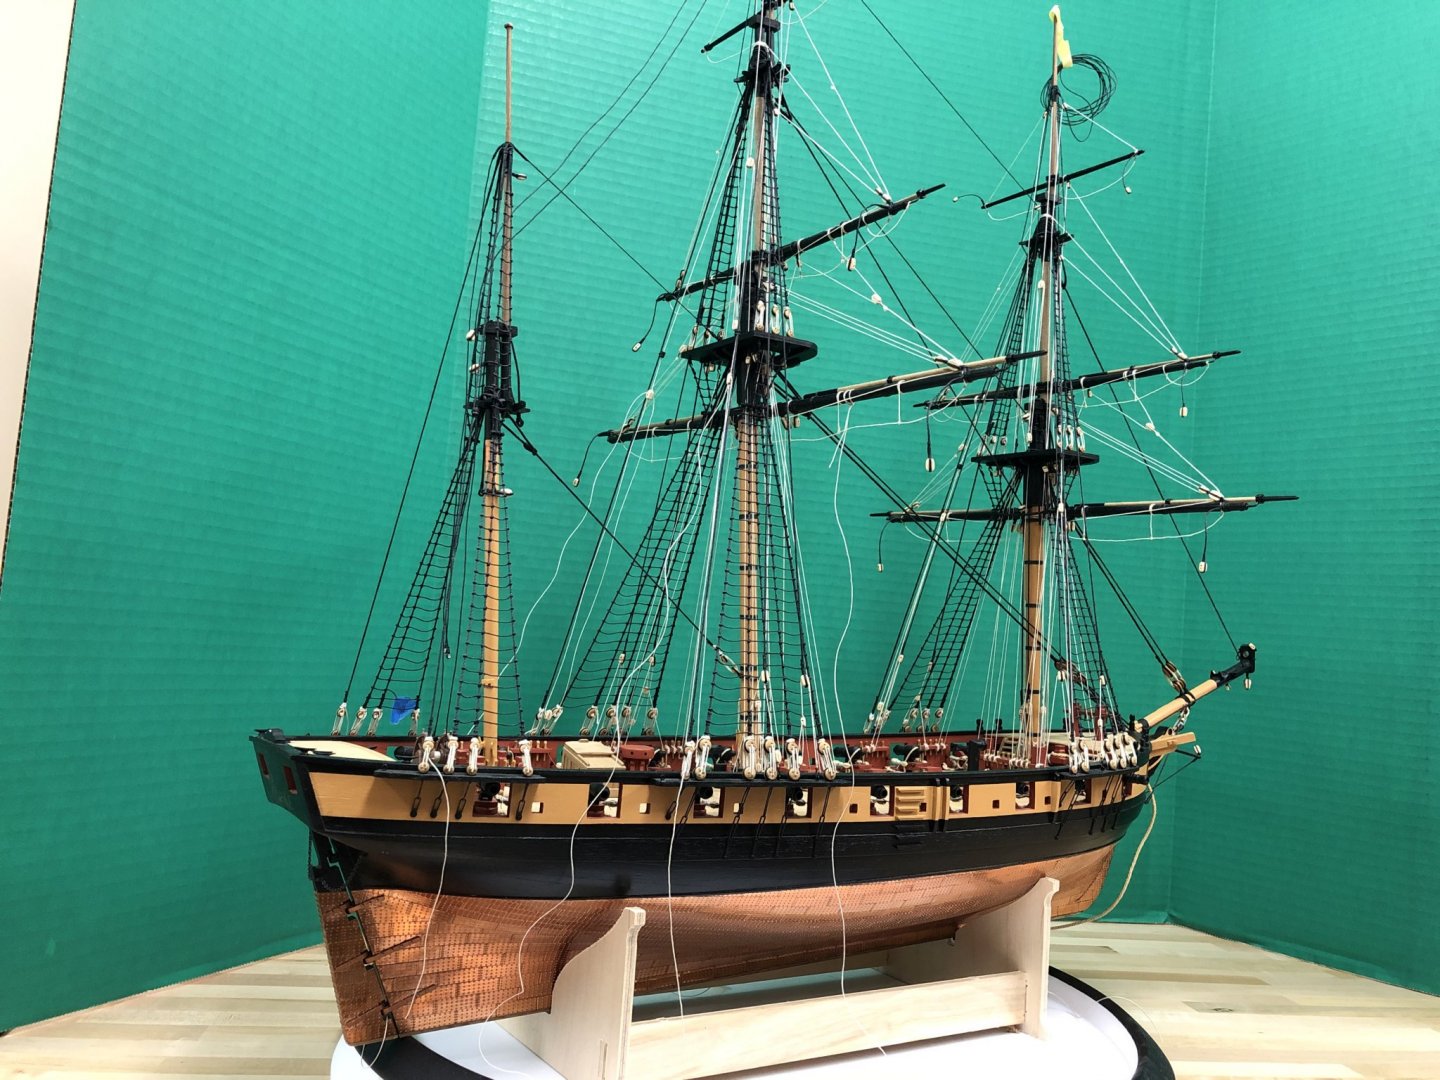
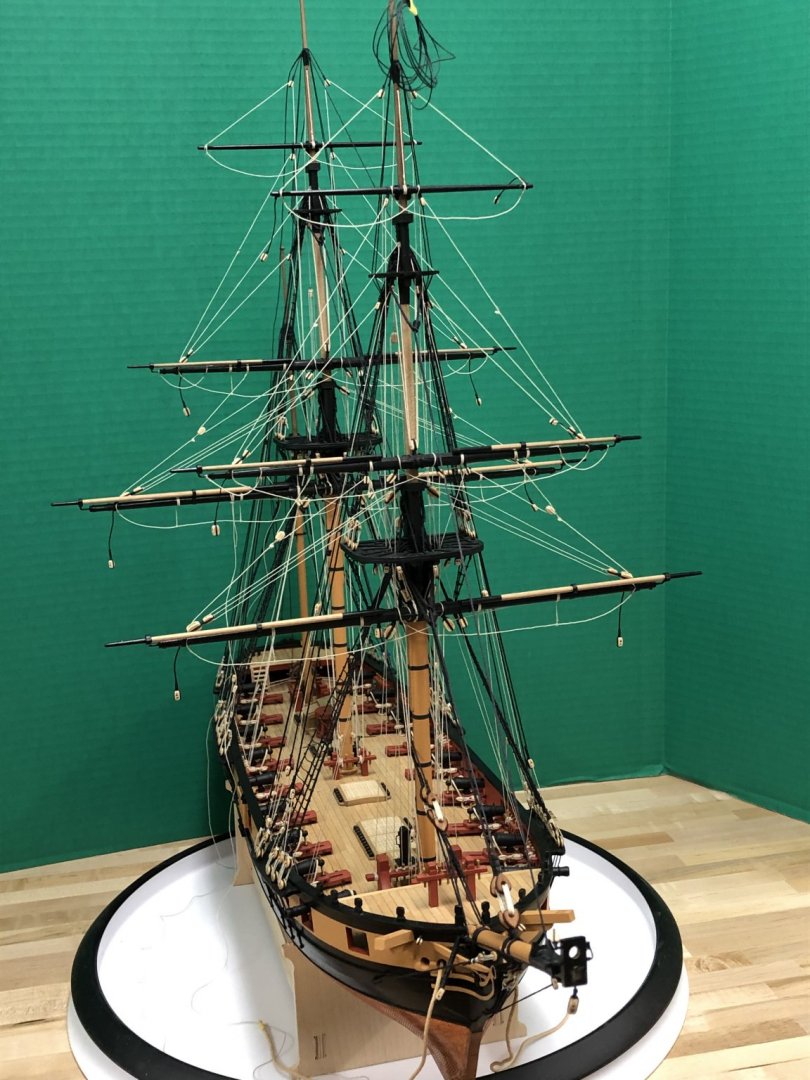
Greetings all, Really is time I got back to finish Snake, time just flies, and incredible that my last update was July 2015! . Firstly, she's been staring at me from across the room and I can't avert my eyes any longer from embarrassment with her so neglected. Secondly, I feel I really need to finish her to be able to hold my head up on this forum by having actually completed something, and thirdly, there are some things I need to contemplate on 'Jason' and skills to hone before I move forward. I'll be honest, it was a little bit of a challenge getting going again, there are many things about her that I'm not too happy with, but recognize that this is still a first build using kit supplied parts so just need to be happy with it. One trick I've found to reduce 'fuzzies' is simply to use a brush to stroke warm water onto the line. I've tried bees wax, but from my experience it just seemed to result in dandruff! So what exactly has been done: Rigging on the foremast has completed for now to include the sheets and clew-line Main mast yards are installed and similarly completed (some lines that belay outside of the line of the main shroud are being left for now to give more room to access the mizzen mast area) Much rework has been done in the completion of the above tasks, which certainly slowed progress, including: Re-rigging many of the horses in situ, trying to give them a little more 'slack' Definitely a case of 2 steps forward and 1 step back picking this back up. The dexterity needed to navigate around the increasingly catch prone pointy bits eluded me, and for every yard rigged it seemed I had to re-strop a block that slipped loose as a result of unwanted contact with a spar or line. Thankfully nothing wooden has broken. Putting a positive spin on this, it definitely required honing of skills - the most aggravating and challenging fix was probably the violin block for the fore mainyard lift (photo below). This was re-stropped in situ and required keeping the existing lines suitably taught and navigating around the existing rigging- despite some rather salty language, this was honestly a bit of a boost after recognizing that if that was possible, pretty much anything can be fixed. (Seizing black thread around black line against the black woodwork proved too much for the eye...) Finally where things stand. I'm standing by the decision to rig starting with forward masts and moving aft, going from lower to upper. Suspect next up will be the spanker and gaff before installing the cross-jack.


- 800 replies
-
- 16
-
-
- snake
- caldercraft
- (and 1 more)
-
That's looking really good Jesse, love the look of your model and flags are definitely in keeping.
- 1,306 replies
-
- 3
-
-
- syren
- model shipways
- (and 1 more)
-
You've managed to get a really nice sag in the ratlines there Bob, something to aspire to!
- 421 replies
-
- 1
-
-
- caldercraft
- granado
- (and 1 more)
-
Looking good Vane! Your right, boxwood is so much better than walnut to work with, and very nice planking job. One question, it looks like you have the planking on the stern fascia going vertical. Its the second Speedy build where the builder has done that and curious if its in the instructions? Considering that the frames would be vertical, the planking would need to be horizontal like the counter. The square tuck correctly has the planking vertical. Probably very fixable now if you wanted to, not sure how visible it is though in person.
-
Michael, that looks great, looking forward to moving my QAB forward as well soon so I can follow in your footsteps 🙂
- 221 replies
-
- 1
-
-
- queen anne barge
- Syren Ship Model Company
- (and 1 more)
-
I was expecting an Italian joke to pop up here, but it didn't directly, so no more need be said...
-
Very ingenious solution to the mast hoops, they look great.
- 1,039 replies
-
- 1
-
-
- ballahoo
- caldercraft
- (and 2 more)
-
Hi Eamonn, Please share pictures of the main boom to which you are the main boom expert, may come in handy as about to go there myself, or indeed any pictures of progress as long as they involve pins and clamps 🙂 All the best
- 1,039 replies
-
- 1
-
-
- ballahoo
- caldercraft
- (and 2 more)
-
Hi Stergios, wondering if you are still progressing on Snake? Looking forward to seeing some more updates. I'm setting myself the goal of finishing mine within next 3 months or so...
- 1,144 replies
-
- 2
-
-
- snake
- caldercraft
- (and 1 more)
-
Having nearly finished Snake (been on hiatus for a while) and determined to finish, in retrospect I think I should have gone with 'Cruizer' for among the following reasons: Copper plating is not an easy out, its time consuming in of itself. You could always add it to a Cruizer model by buying separately if you desire. The masting and rigging is slightly less involved, 2 masts vs 3 - Snake is my first build and Cruizer might have been slightly simpler to get head around trigging and also less repetition
-
Mark - where does one buy mica for this purpose?
-
Hi Vane, catching up a bit here. I think you absolutely made the right decision, personal opinion of course. I feel even a less than perfect deck gives a better look than a 'perfect' laser etched version, nothing like doing it yourself. And I can relate to your concern for Diana, most definitely is time consuming. 'Jason' is on hiatus right now as I'm struggling to find some decent maple wood for the quarterdeck and fo'c'sl - my experience was the same as you - the maple I had to use for the upper deck required sanding pretty much every strip, and even when that worked out, there was some odd pitting on the deck surface that I just couldn't eradicate completely. BTW - she's looking great!
-
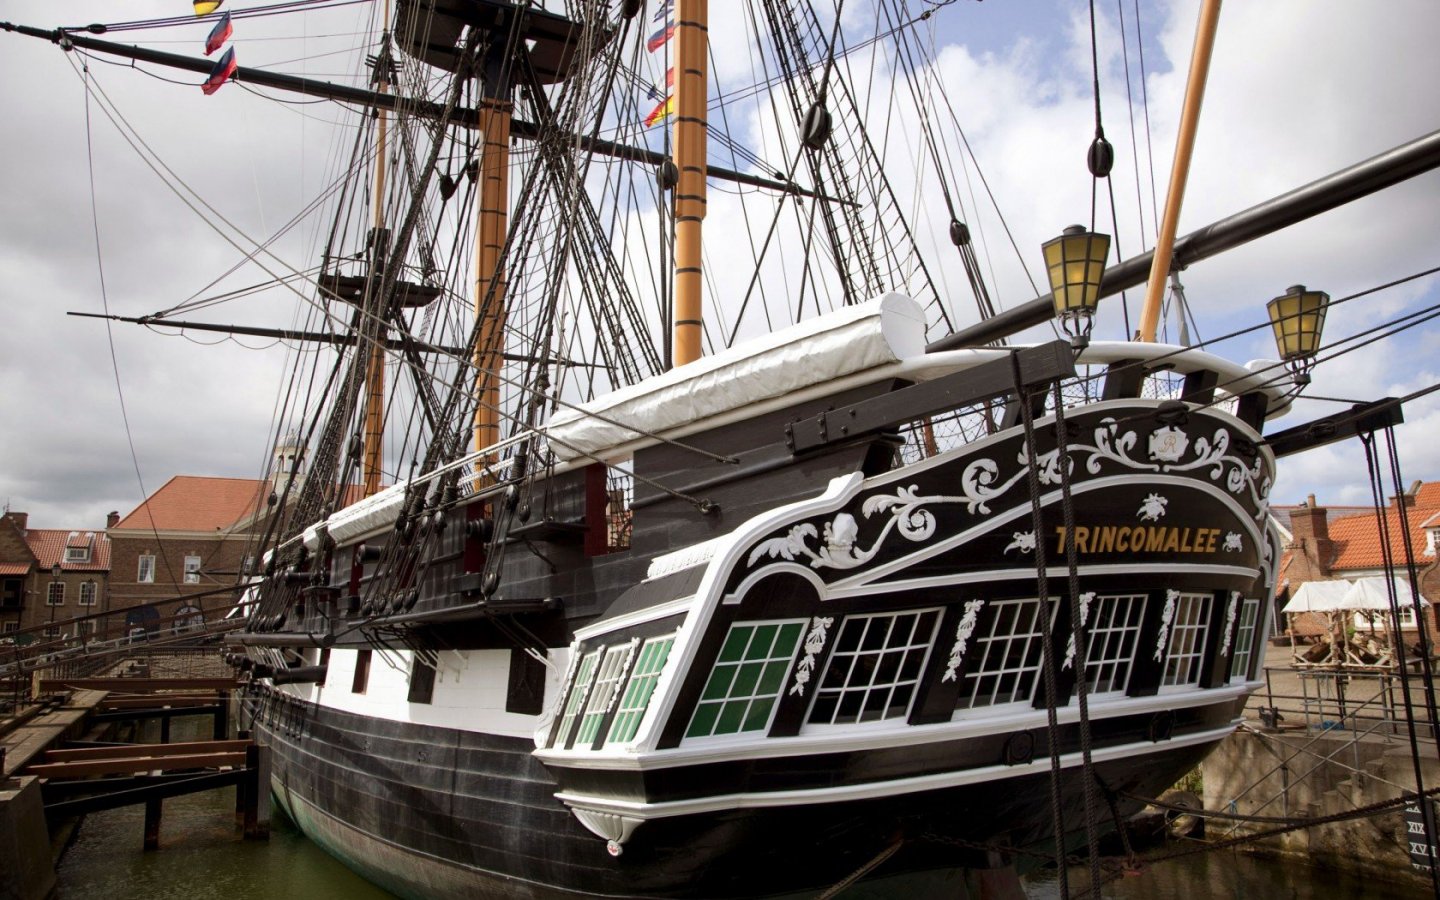
Mark, this is a good question. I know its a different period but Trincomalee clearly shows dummy lights, in her case painted green. It would seem odd to me to put glass in front of the wood as I can't see any purpose to it, and it was very common during this period to paint windows on houses with black background and simulated white frames to represent windows to maintain the symmetry in Georgian architecture - often windows were filled in to respond to the 1696 'window' tax - I jest not! Interestingly, the fore and rear light in the side gallery are similarly false. I suspect it is model makers whimsy to panel these with simulated glass for aesthetic purposes.