Landlubber Mike
-
Posts
4,543 -
Joined
-
Last visited
Content Type
Profiles
Forums
Gallery
Events
Everything posted by Landlubber Mike
-
 Just want to say that this is looking very cool. Thanks for sharing, hope you don’t mind me following along.
 -
Looks great David. The counter block took me quite a while to put together, lots of curves and angles. For the stern generally, it seemed to me that the transom, etc. have very subtle curvatures. Take your time to get the framing right to ensure that you can capture those curves. That's a cool protractor - very helpful for this hobby I'm sure! If you have questions, I have lots of pictures that I've accumulated over time (including from a trip to Mystic). John (Texxn5) has a great website with lots of pictures as well: http://www.charleswmorganmodel.com
- 145 replies
-
- 1
-

-
- model shipways
- charles w. morgan
- (and 1 more)
-
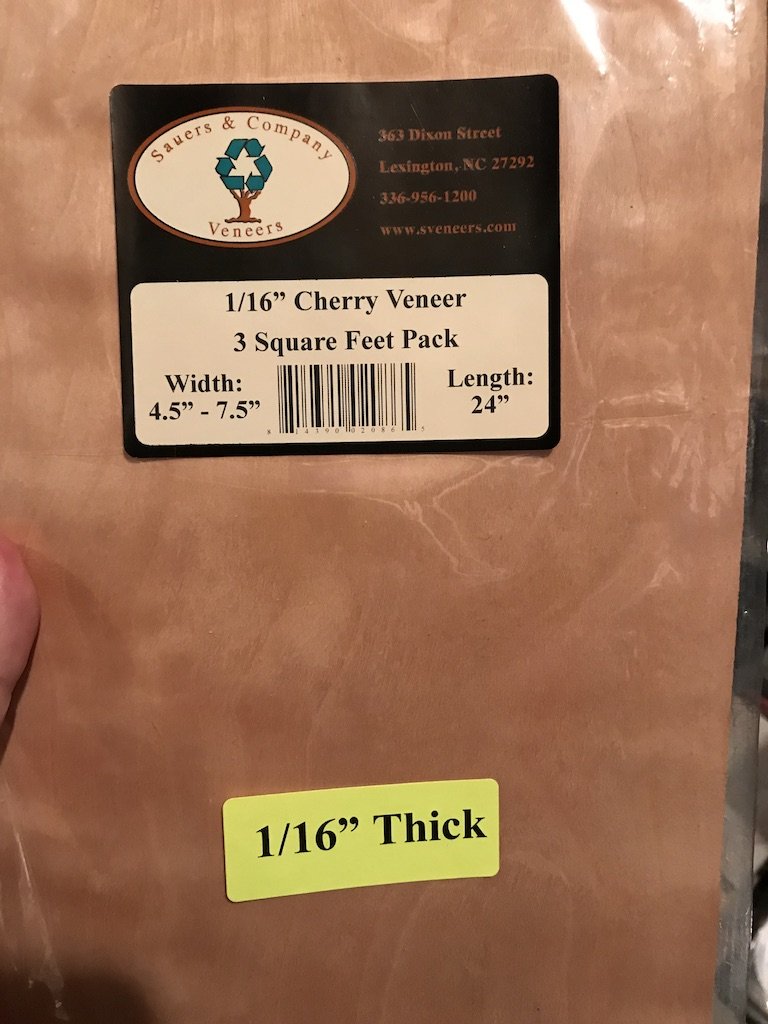
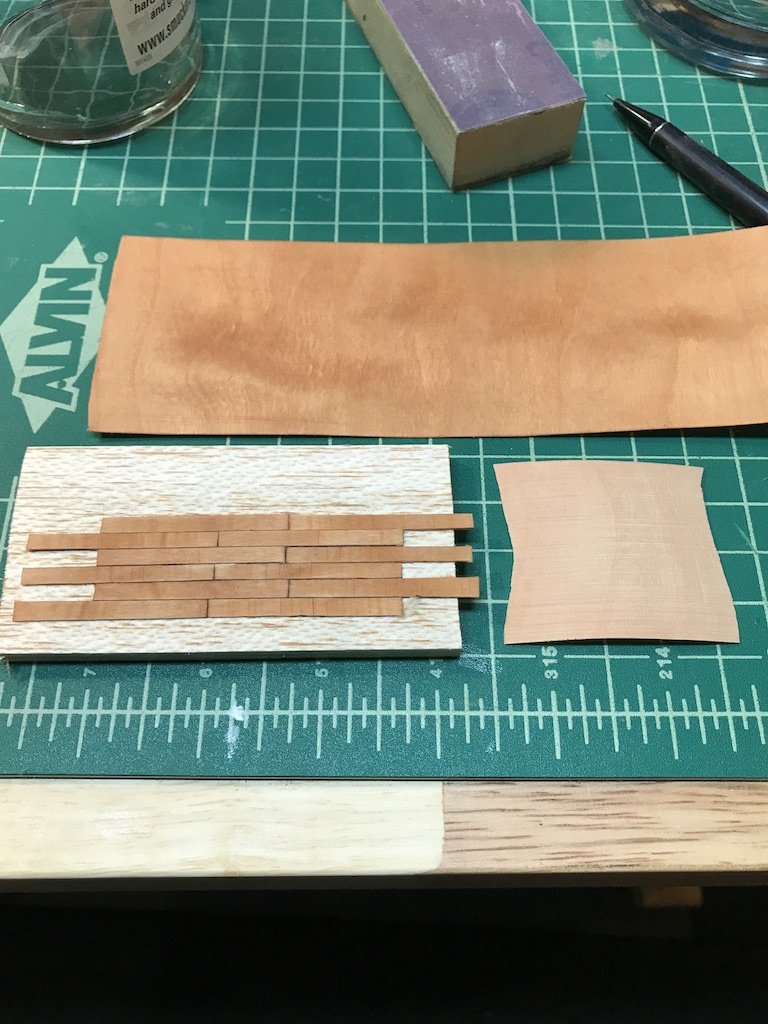
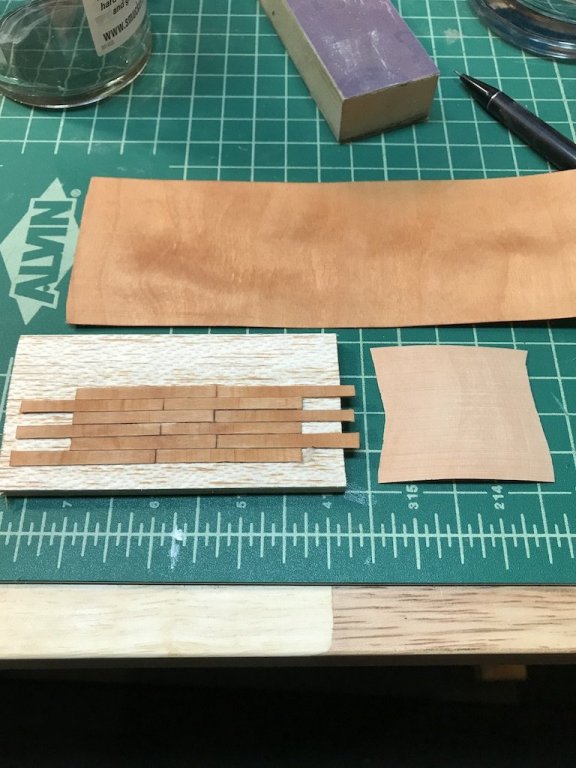
Thanks everyone! I'll keep an eye out on for how it handles drilling and cutting. It seemed to do ok on the quick test planks I cut on the table saw, though I noticed it did have a tendency to chip the wood at the entry point of the saw. At the current thickness of 1.5mm, it seems to hold up ok. Getting it down to 0.5mm was a different story though, as it curled, cracked, etc. I'll probably try to keep it at a width no less than 0.75mm. Gregory, love the model, very nice! I too am a fan of natural wood. And good eye on those sample planks - I do believe I cut them across the grain with the small sample piece I cut off the sheet.
-
This company also offers dyed veneer sheets as well. The colors looked really nice. A potential option if one wants to avoid paint. I know some kits come with dyed strips (my Corel Unicorn kit, for example, came with strips already dyed black). https://sveneers.com/wood-veneers/dyed-wood-veneer/ Given the flexibility, seems like this kind of material is a great option as opposed to fighting wood that doesn't want to bend. One issue perhaps is that these veneers are normally on the thinner side.
-
I picked up some cherry veneer from Woodcraft a few months ago. One of the packets is the typical reddish color, the other is almost a golden orange color when oiled. I'm thinking of using the latter for the upper hull and decking of my La Renommee build which contrasts nicely with the dark walnut I picked up from Crown Timberyard - here are some pictures: Is there any issue with using "veneer" material for models? The stuff I bought is very flexible, almost like thick paper. To give some idea, I sanded it down in my Byrnes thickness sander and it started curling around the roller at around 0.5mm. I'm used to wood that you have to heat/soak etc. to get bends, but this stuff is almost too flexible. What I can't tell is whether the sheets are crimped with micro-cuts to help with flexibility or not. Seems like I can sand out the machining marks to get a smooth finish so I'm tempted to use it as it's the color I have been looking for. Any tips or experiences with using similar products? Just want to make sure I'm not missing anything before laying down the first deck planking. Thanks!

-
Nice choice David, it’s a great subject and a nice kit. Looking forward to following along.
- 145 replies
-
- 1
-
-
- model shipways
- charles w. morgan
- (and 1 more)
-
Looks great David. I’m impressed not only with the build, but also how quickly you can progress at such a high level. My Pegasus will be done by 2025 😳
- 126 replies
-
- 4
-
-
- fly
- victory models
- (and 1 more)
-
Vince, I've been off MSW for the past couple of months but came across your build and wanted to say that I love the sails. Did you use the sail cloth that came with the kit? I just realized my LAR kit came with sail cloth, and I might just use it if it's the same stuff you are using.
-
Amazing carvings, great work! You probably mentioned this before but can I ask what wood you are using?
-
This has been a real interesting log to follow Hubac. Love your attention to detail and have been learning a lot!
- 2,699 replies
-
- 2
-
-
- heller
- soleil royal
- (and 9 more)
-
Great work BE, nice to catch up on your build. Always nice to have a shipwright assistant with a critical eye to keep you at your best.
- 574 replies
-
- 3
-
-
- cheerful
- Syren Ship Model Company
- (and 1 more)
-
Very nice job! Seems like a very challenging part of the build that you are handling quite well! Looks like you have Thanksgiving dinner being delivered to your front door? How convenient!
- 467 replies
-
- 1
-
-
- fly
- victory models
- (and 1 more)
-
Wow I can’t imagine packing up a big model like that. Nice job and good luck! Are you showing it? Or did you sell it?
-
Great start SkipW - this is a really fantastic kit of a gorgeous ship. Hope you don't mind me following along. There are a lot of us that built or are building a Swan class ship, so feel free to reach out with any questions.
-
I was thinking of buying those bricks for the tryworks on my Charles Morgan. I'd love to hear your thoughts on them!
- 331 replies
-
- 1
-
-
- nuestra senora del pilar
- occre
- (and 1 more)
-
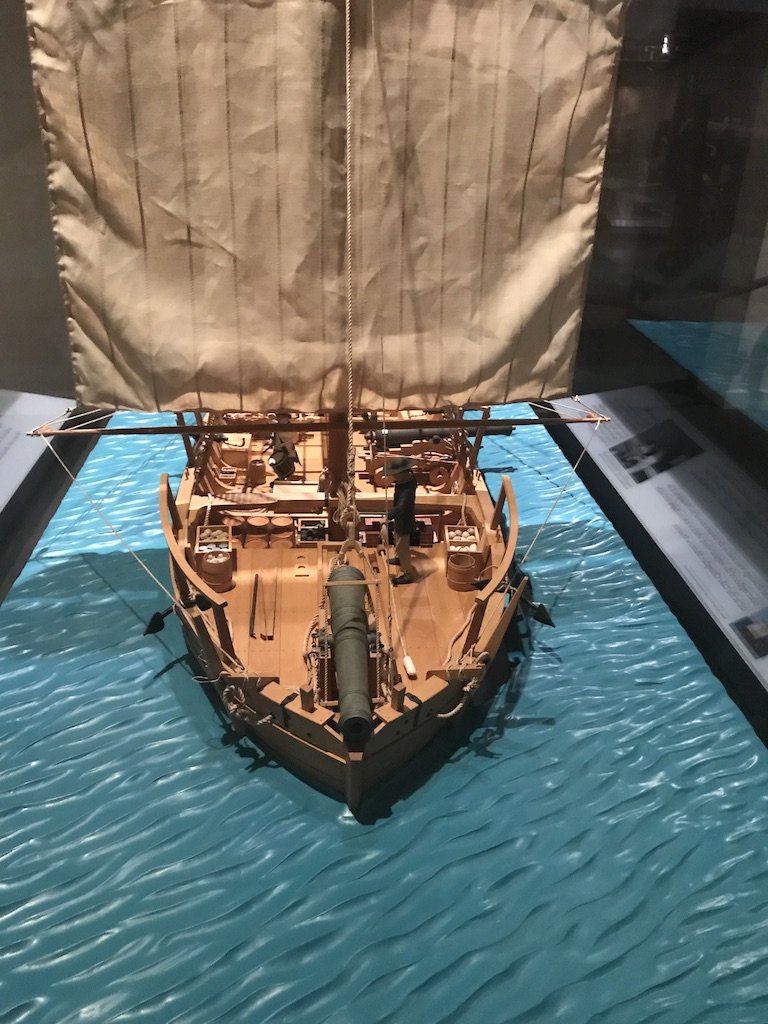
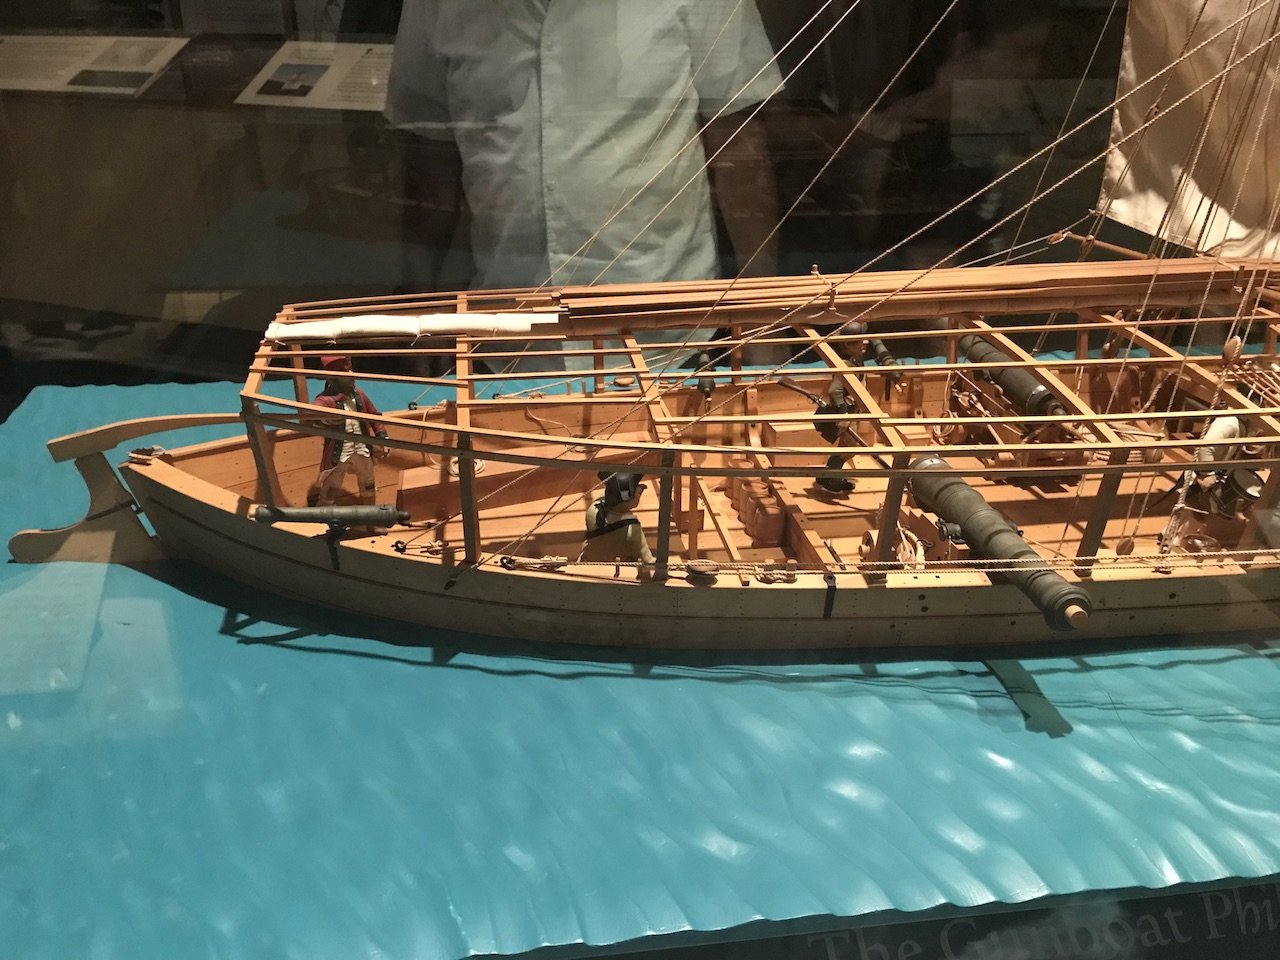
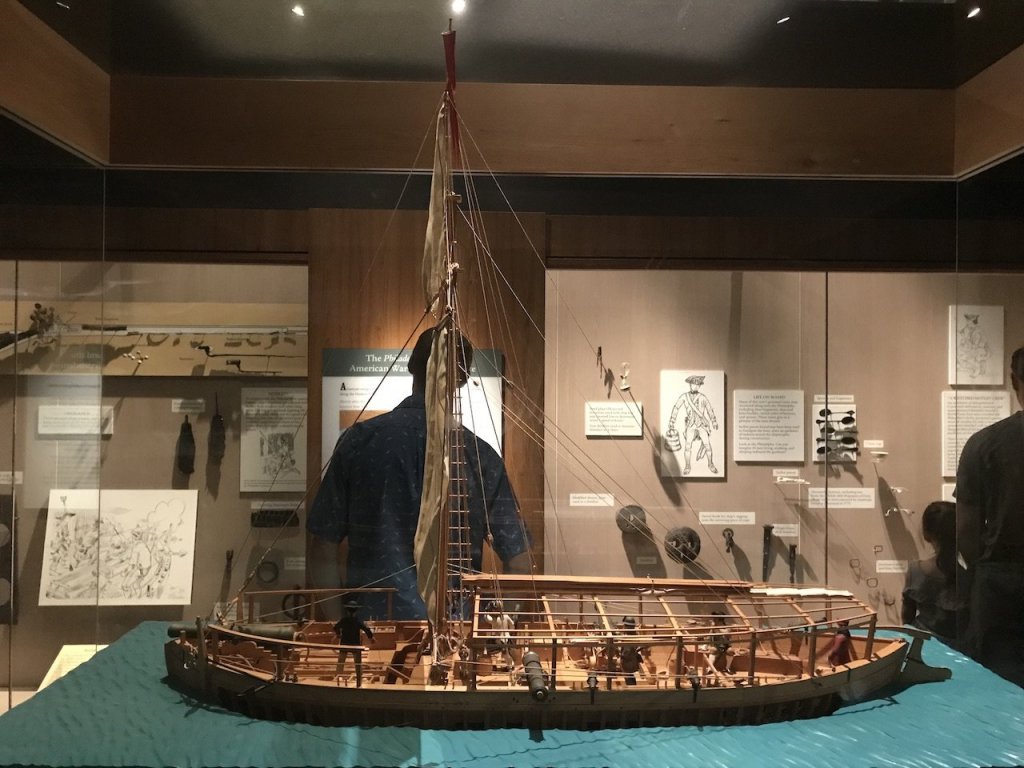
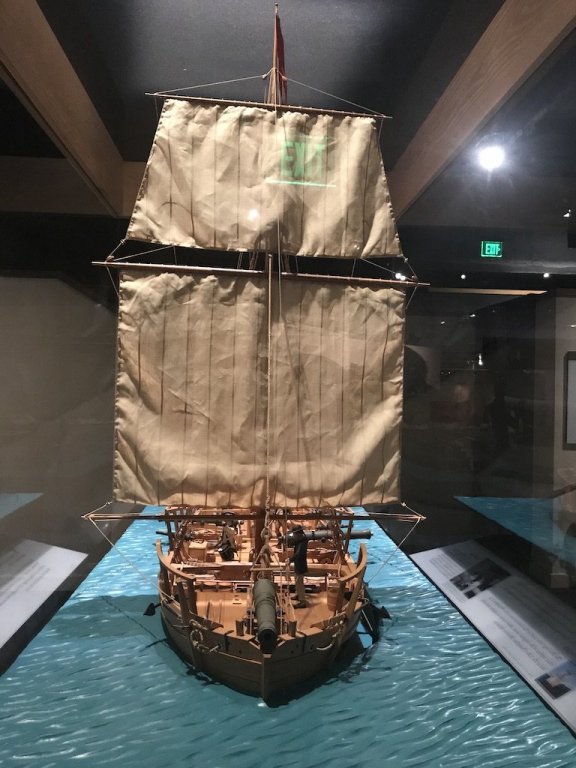
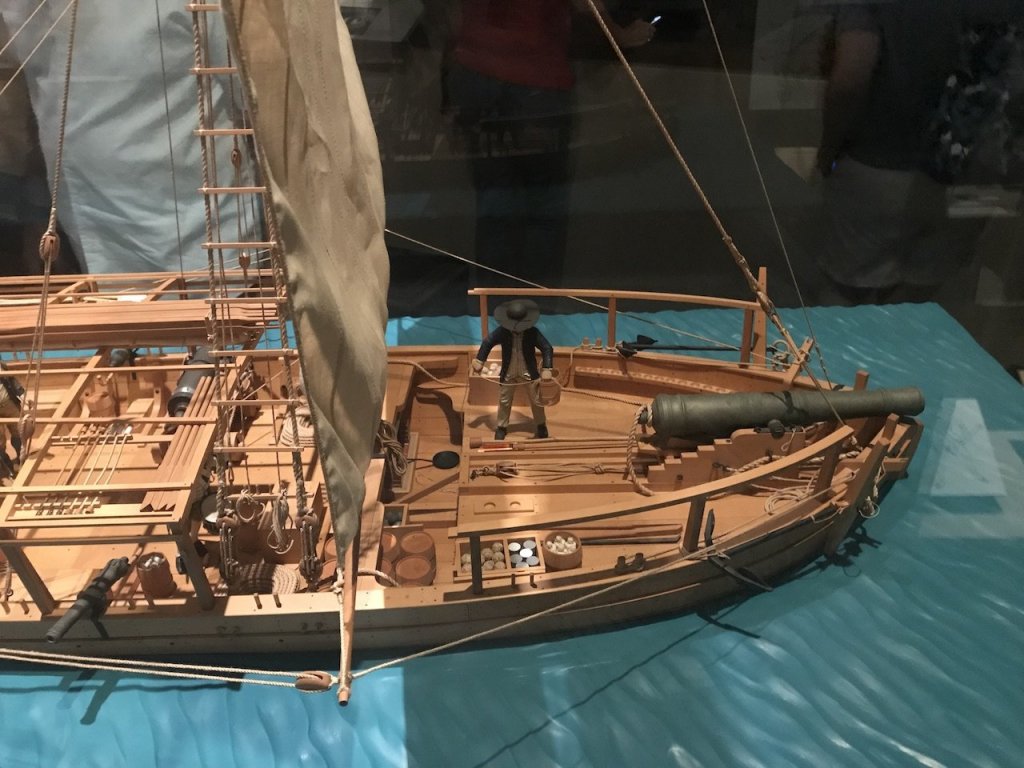
Here are pictures of the model that was displayed alongside it:


- 228 replies
-
- 8
-
-
- gunboat
- model shipways
- (and 1 more)
-
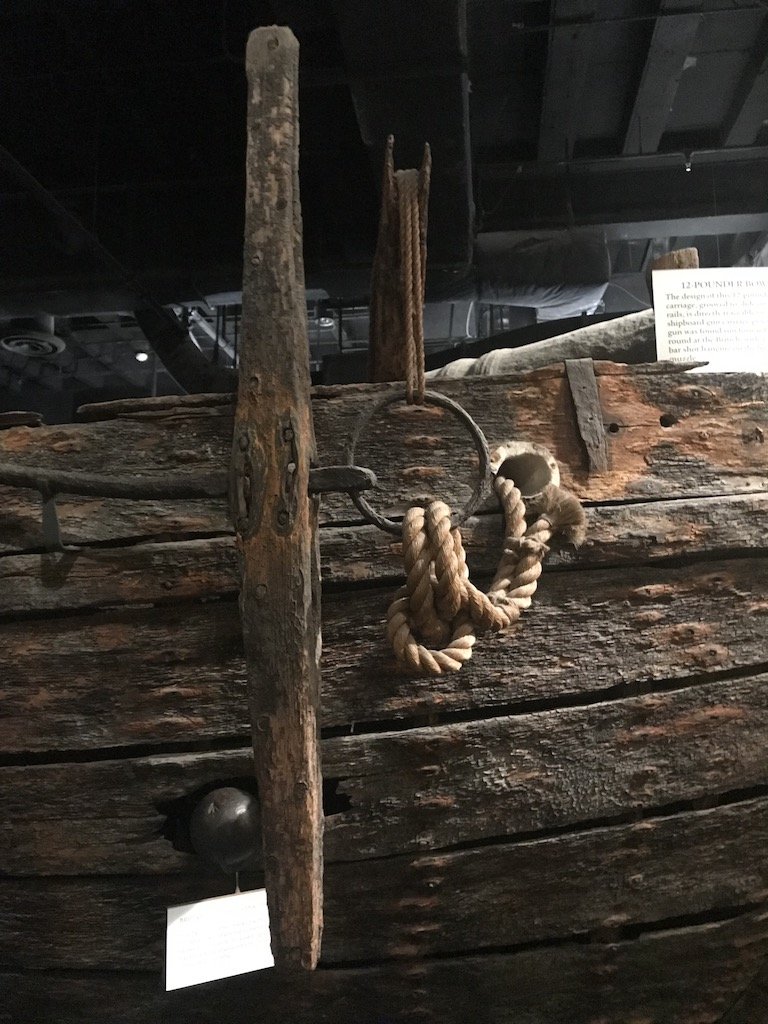
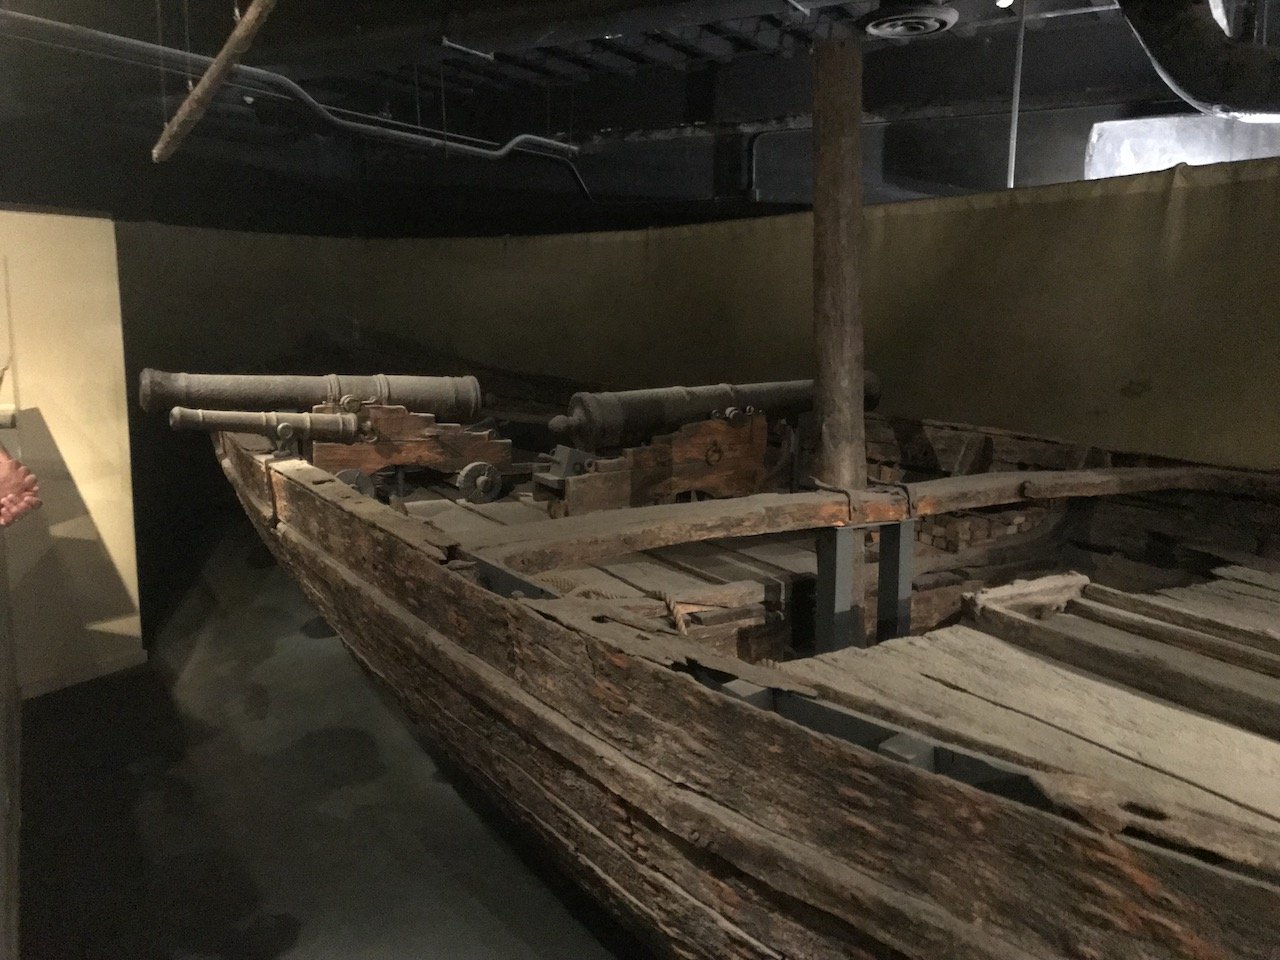
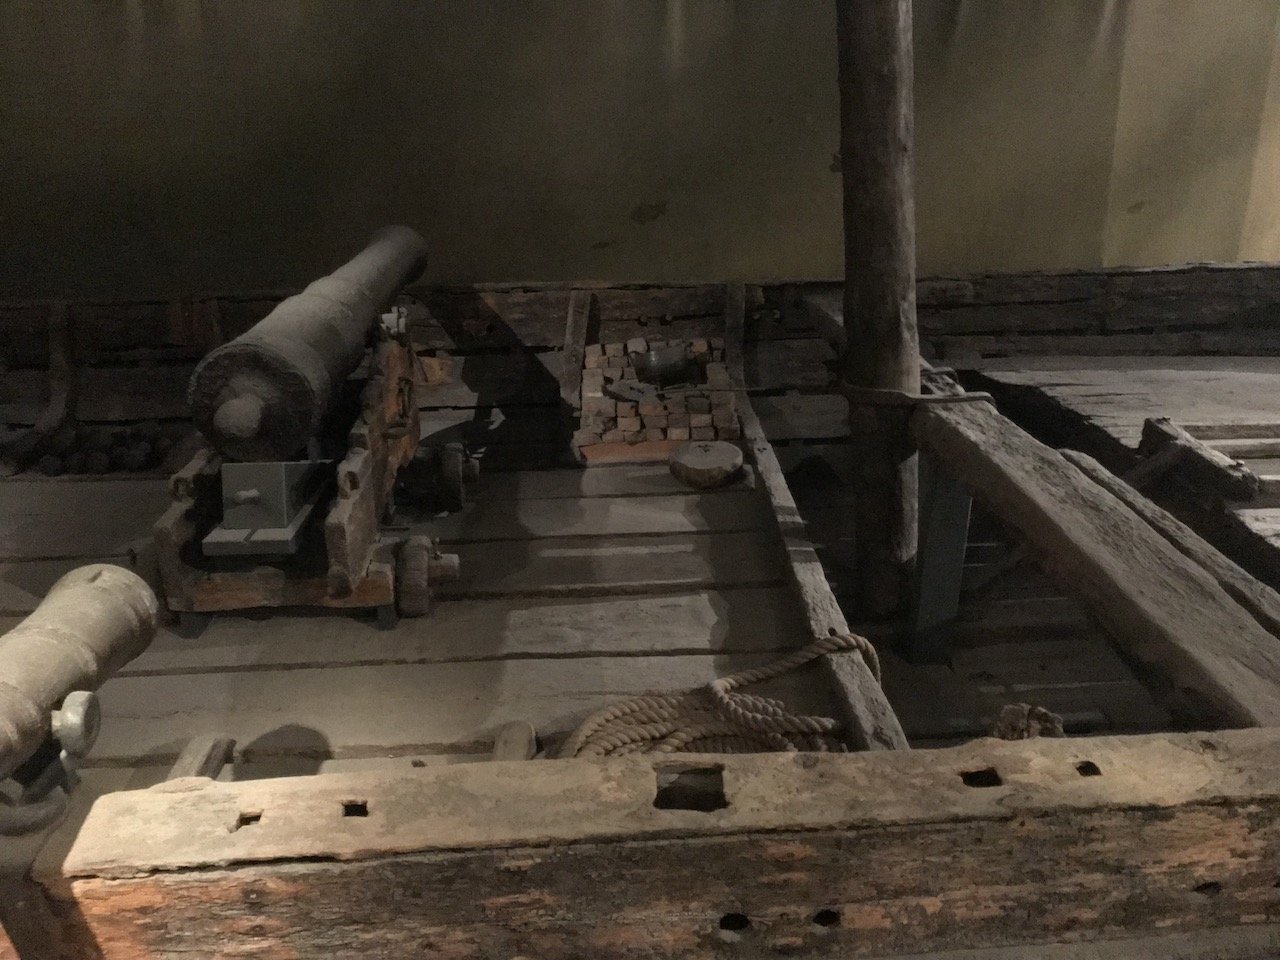
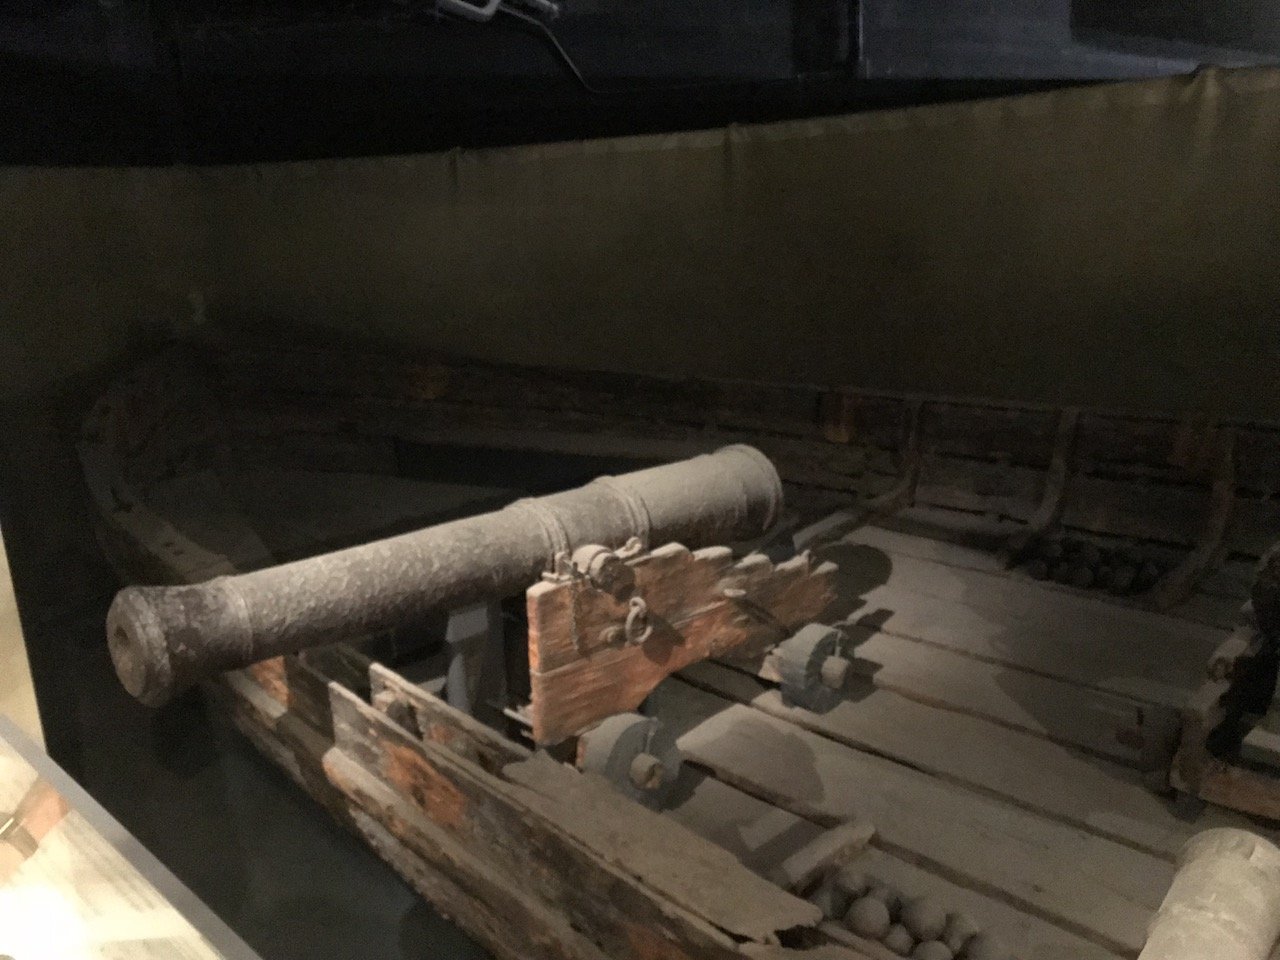
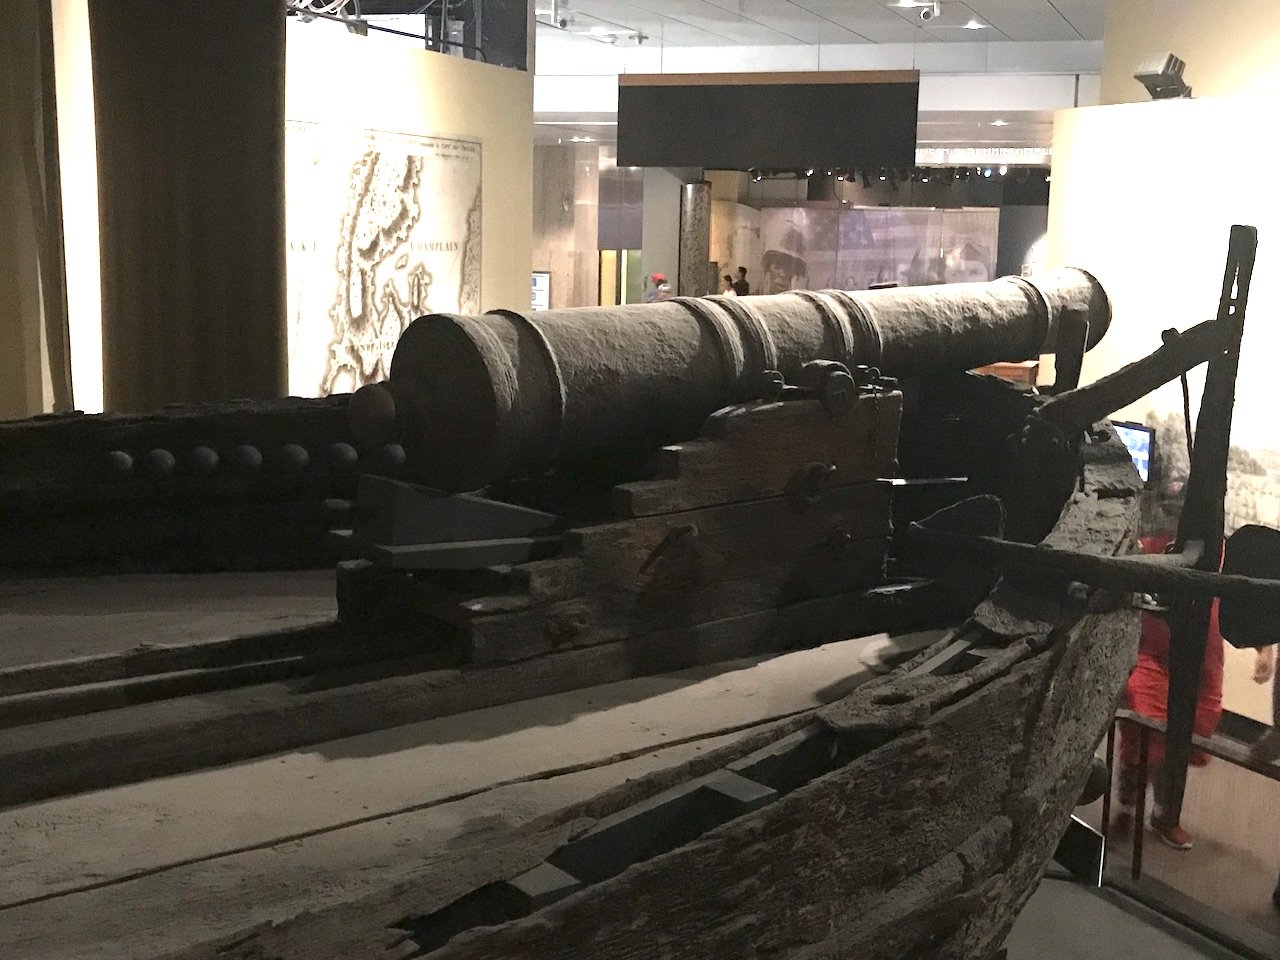
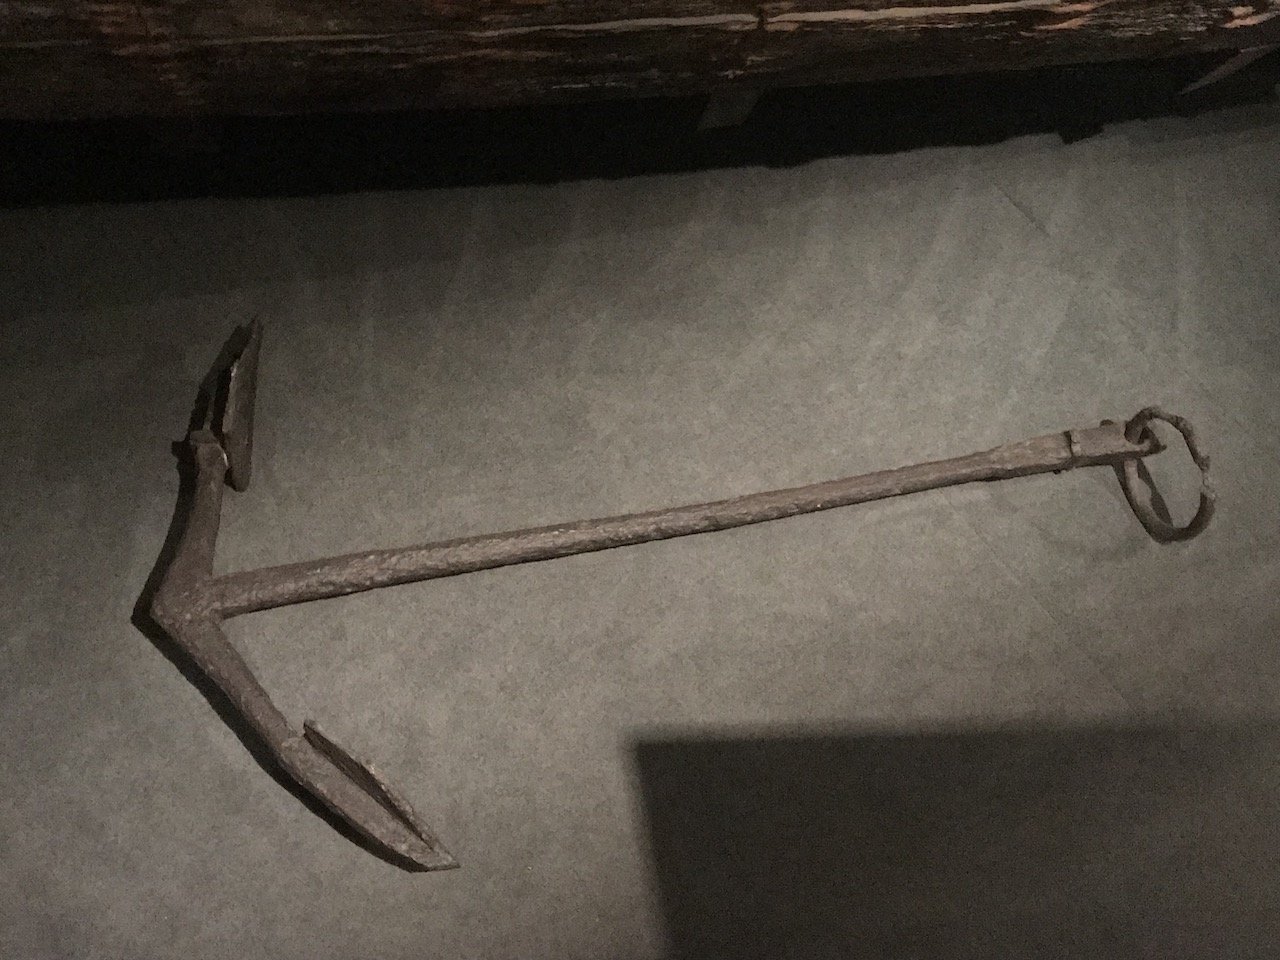
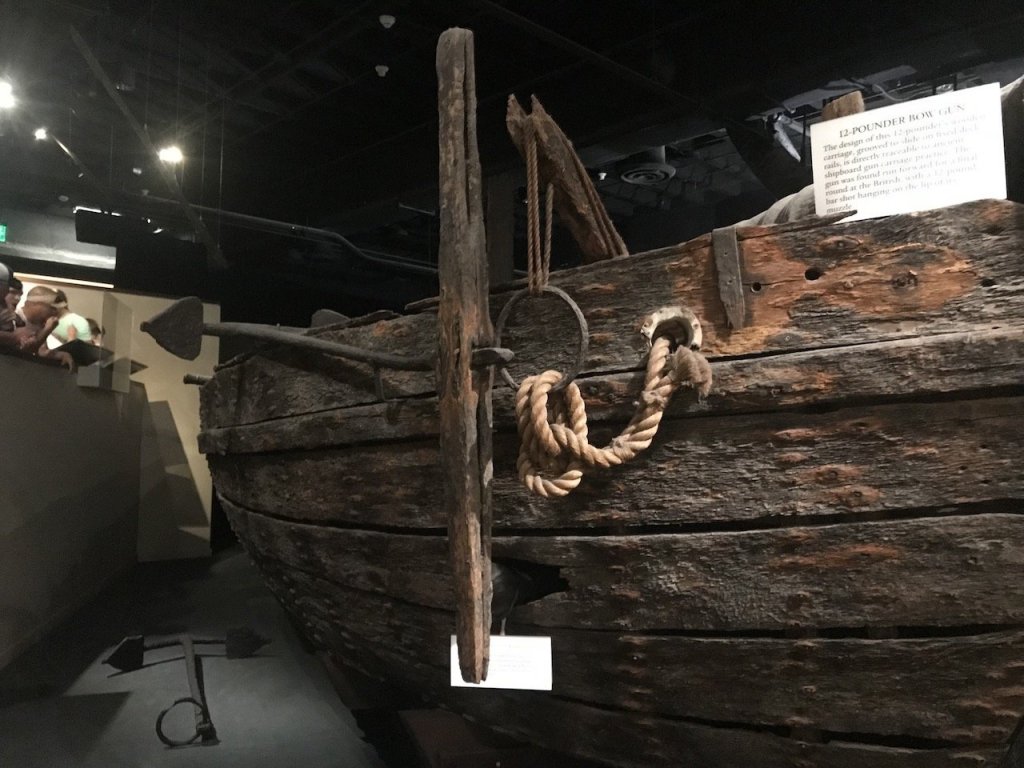
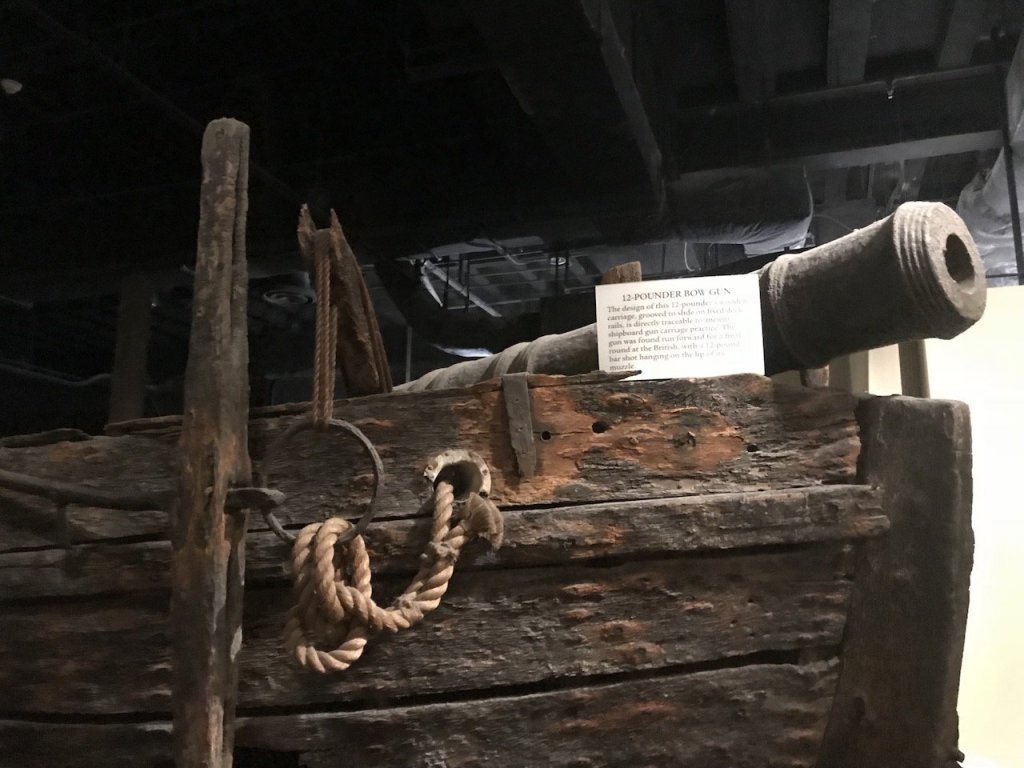
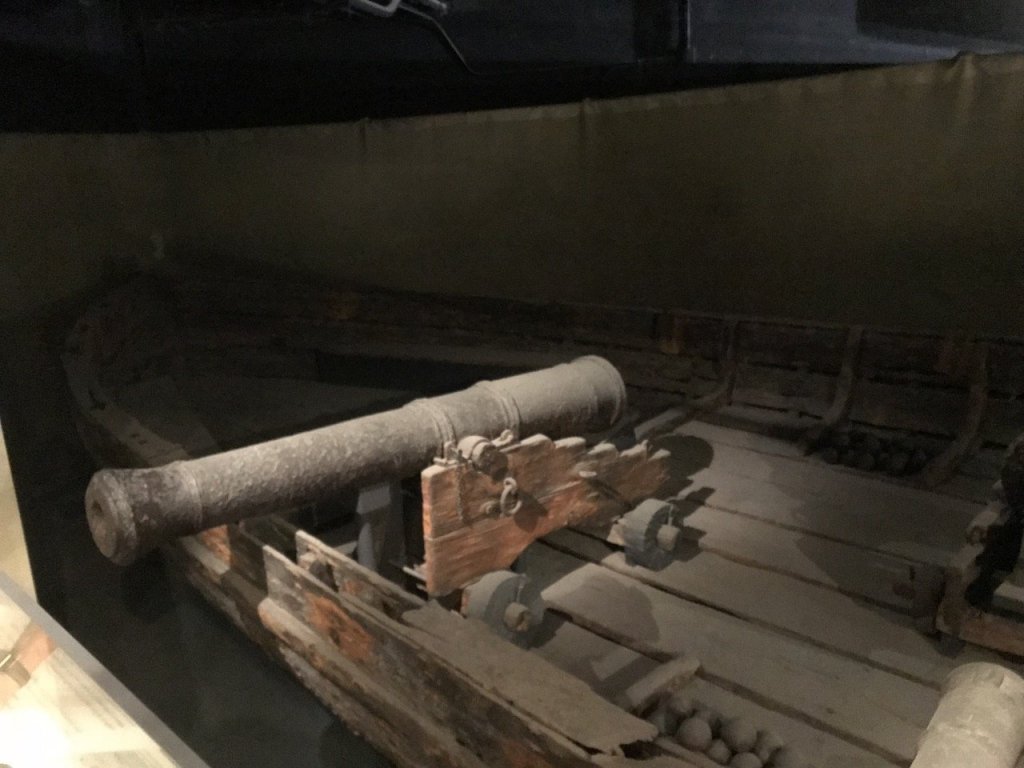
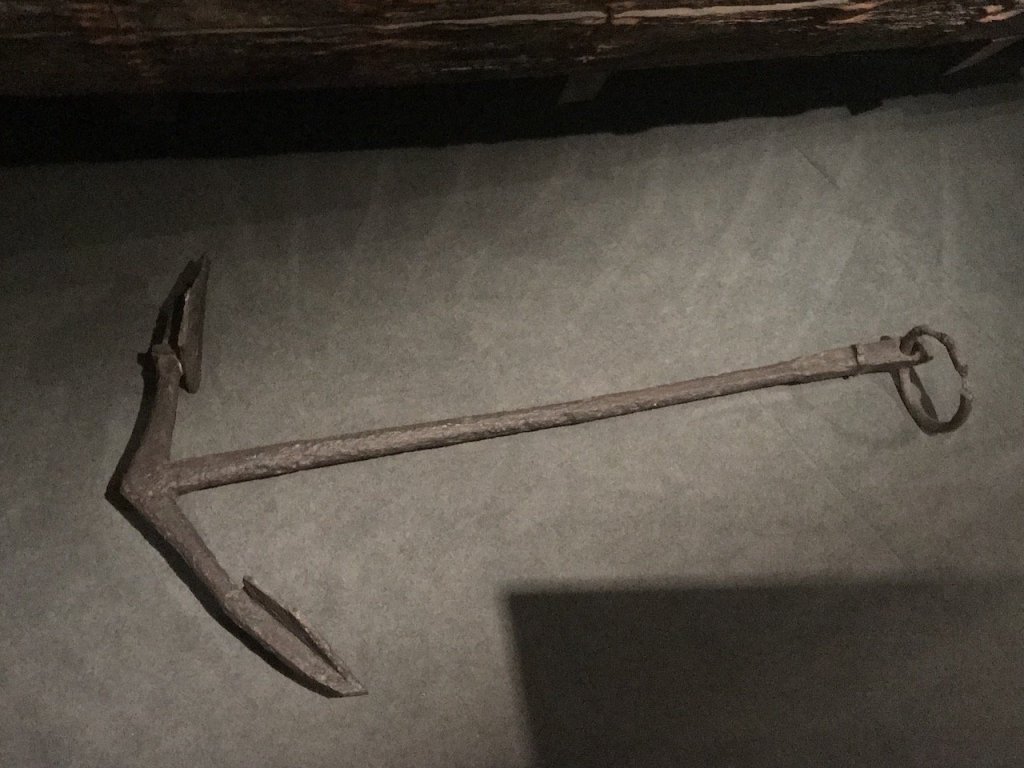
Sure thing Elijah - here are the photos I took. The lighting wasn't great, and I had to change the exposure of the cannon at the bow, but here are the pictures. If you want me to send them directly to not clutter your log, let me know. Cannon shot that sunk it:


- 228 replies
-
- 8
-
-
- gunboat
- model shipways
- (and 1 more)
-
Really nice work Elijah! My daughter and I went to the Smithsonian American History museum earlier this week and saw the Philadelphia. I took a few pictures and can send them if you’d like.
- 228 replies
-
- 3
-
-
- gunboat
- model shipways
- (and 1 more)
-
Beautiful work Igor - I agree with John, you are a true master! Thanks for sharing your build and techniques!
- 131 replies
-
- 6
-
-
- bottle
- the old man and the sea
- (and 1 more)
-
Clare, just wanted to add that I'm enjoying your build and learning about these unique vessels. Very cool subject, and your work and techniques are outstanding.
-
I know the feeling. I have three and after a day of work and then coming home to my real job and getting them fed, bathed and in bed, often times it’s hard to find the energy to work on my models.
-
Just wanted to let folks know that I ordered some wood from Jason at Crown Timberyard and the wood and service were outstanding. Jason spent quite a bit of time answering questions and making recommendations, which I greatly appreciated. For those that remember Jeff at HobbyMill, my experience with Jason was very similar. So a big thank you to Jason!
-
Hi Peter, really nice start! Looks really great! On the first planking, one tool that I found really helpful is this spike insertion plier from Micromark which is used for model trains: https://www.micromark.com/Spike-Insertion-Plier Rather than hammering in the pins, I just add a bit of glue to the bulkhead and the binding edge of the plank, and then use the plier to insert the pin through the plank and into the bulkhead. It's super quick and easy, and there is no need to push the pins all the way flush. As long as a bit of the pin is in the bulkhead, I've found that the pin will hold the plank against the bulkhead while the glue dries. Then, after the glue has dried, I go ahead and remove the pins (either with the plier or even by my own fingers) and many times can re-use them. Just wanted to pass that along as I found that to be much better than hammering pins all the way. There are other "pin pusher" devices, but I've found this spike insertion tool to be the easiest by far.
- 37 replies
-
- 1
-
-
- pickle
- caldercraft
- (and 1 more)
-
Looks great Nick! The King would be proud