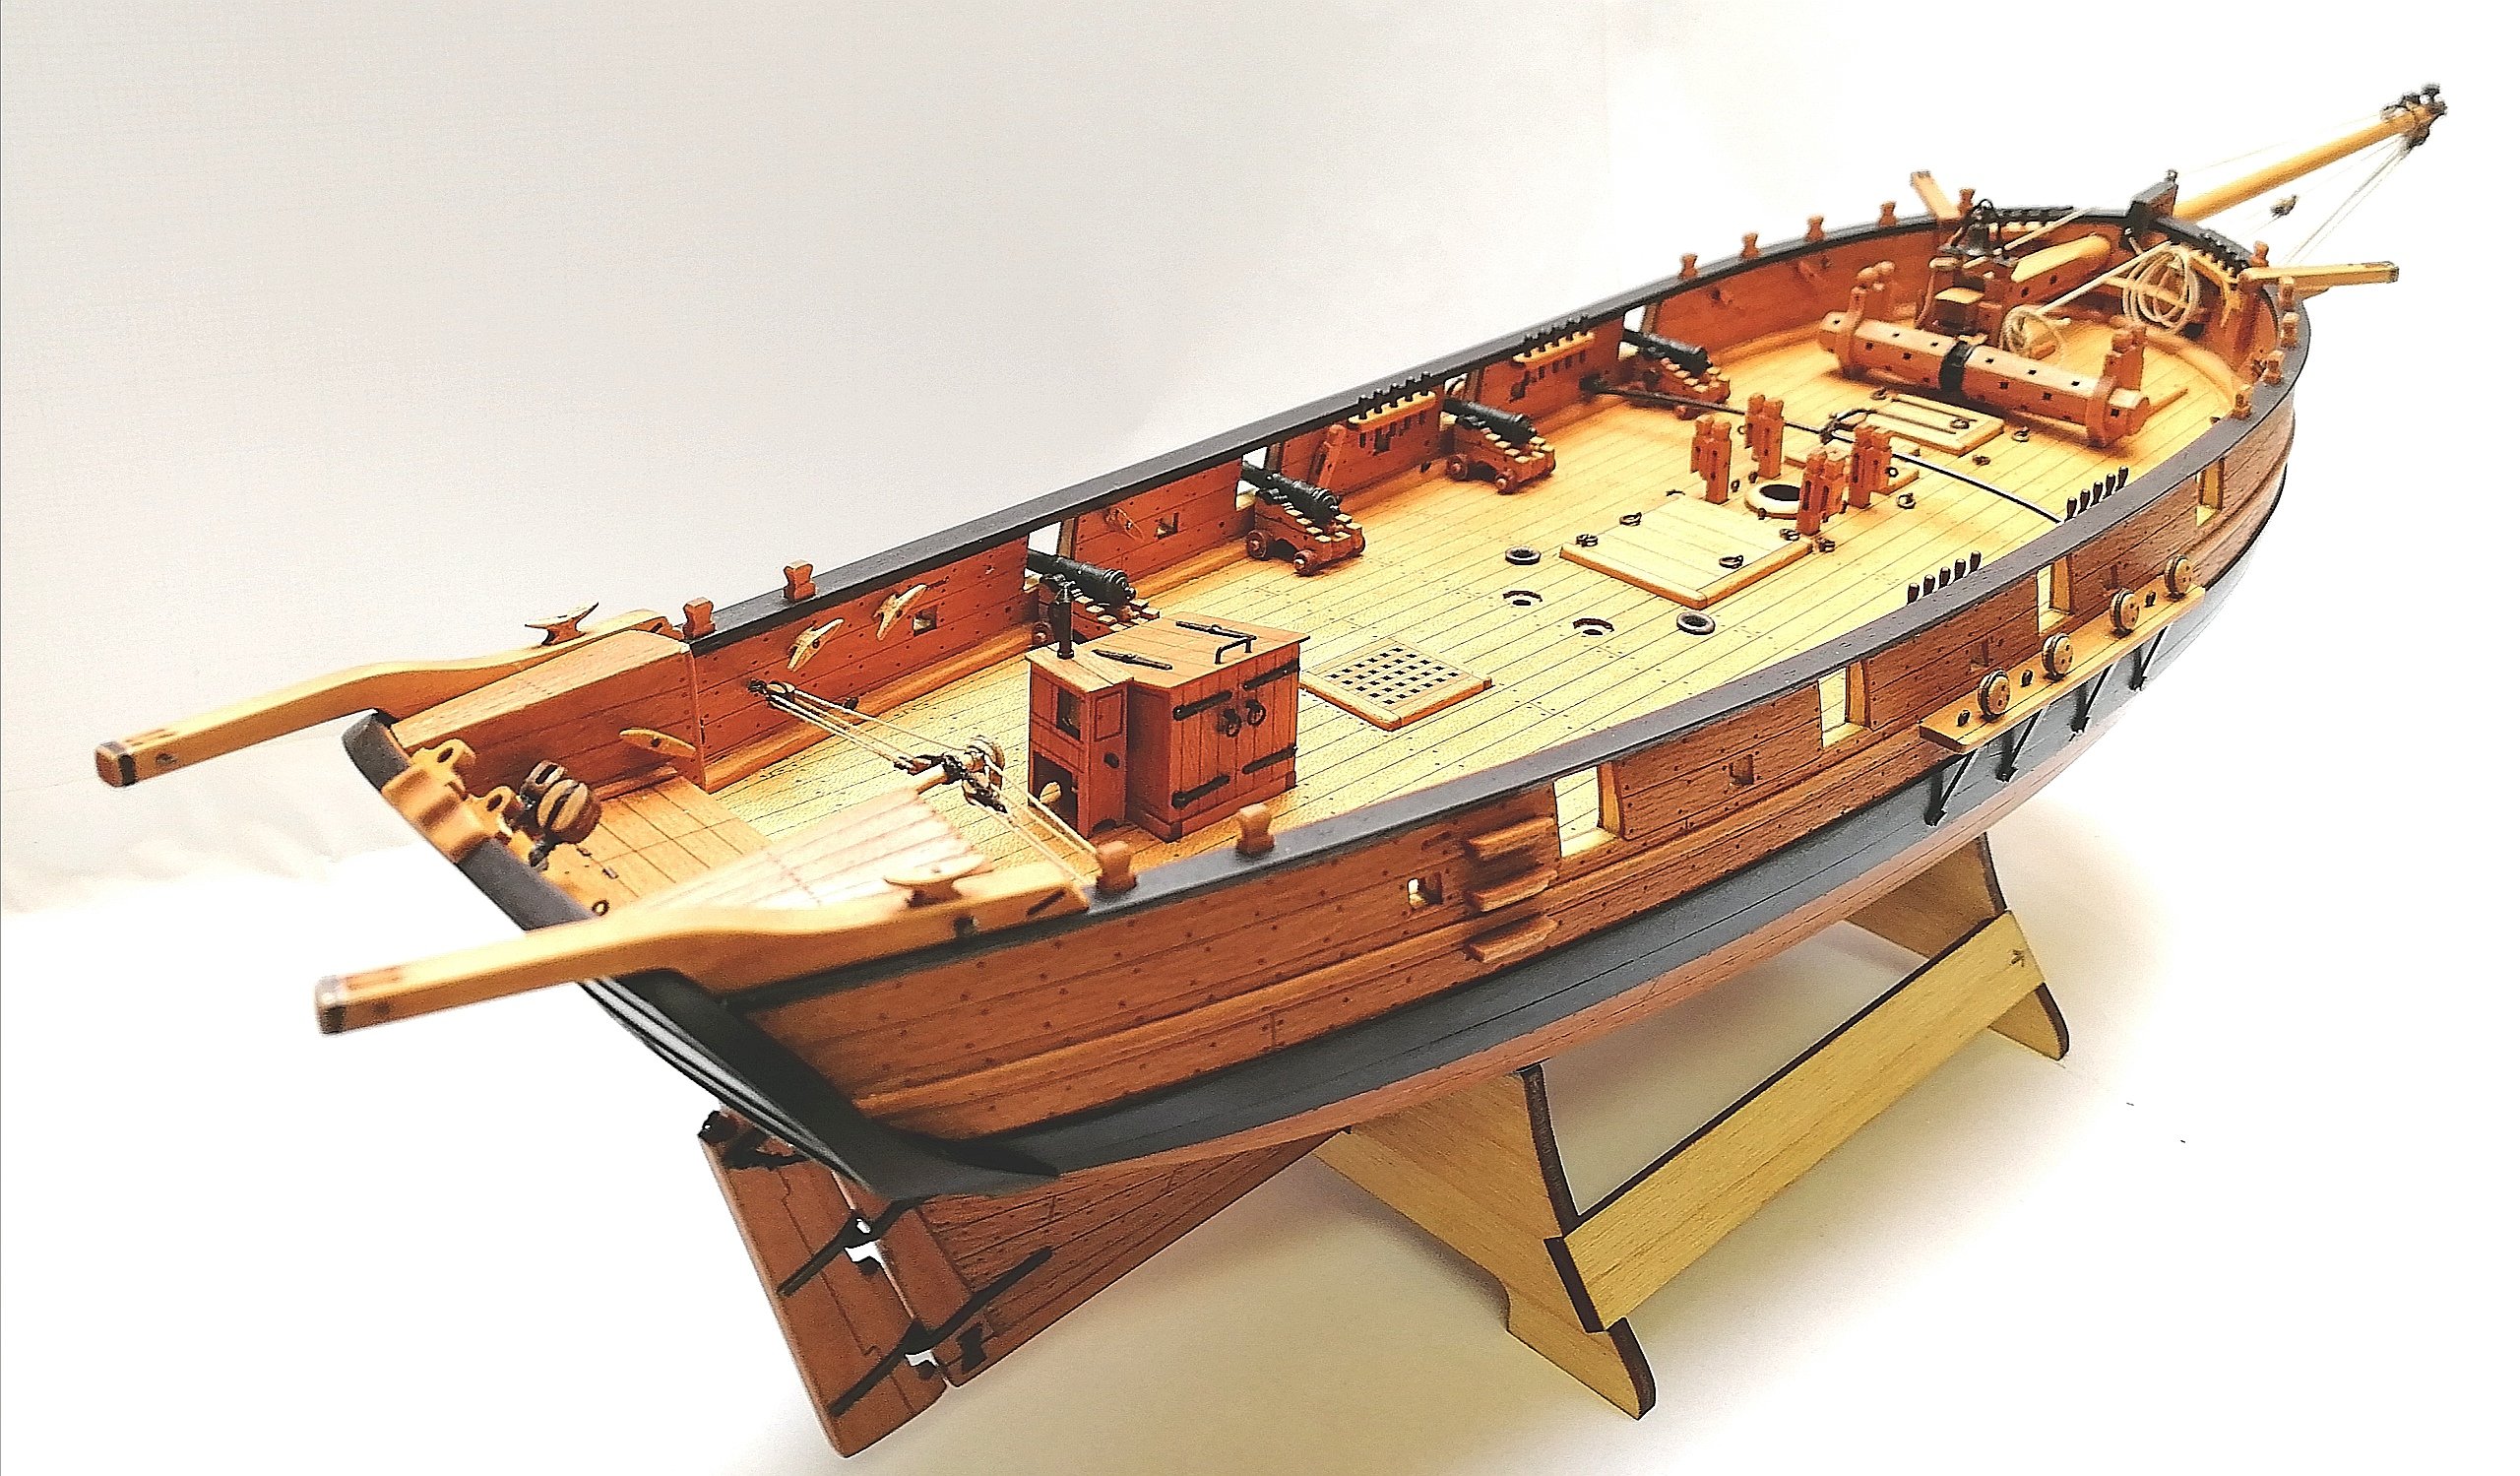
Peta_V
-
Posts
351 -
Joined
-
Last visited
Content Type
Profiles
Forums
Gallery
Events
Posts posted by Peta_V
-
-
-
41 minutes ago, James H said:
My only struggle so far was the three-piece black veneer cap over the transom area. Thee veneer was so thin, that even with soaking and nipping, it kept splitting. Those short lengths have to do acrobatics by bending in different directions.
Yep, that wasn't easy step. But still somehow doable.
-
-
Thanks Jim!
Thanks also for all the comments and likes. It keeps me motivated.
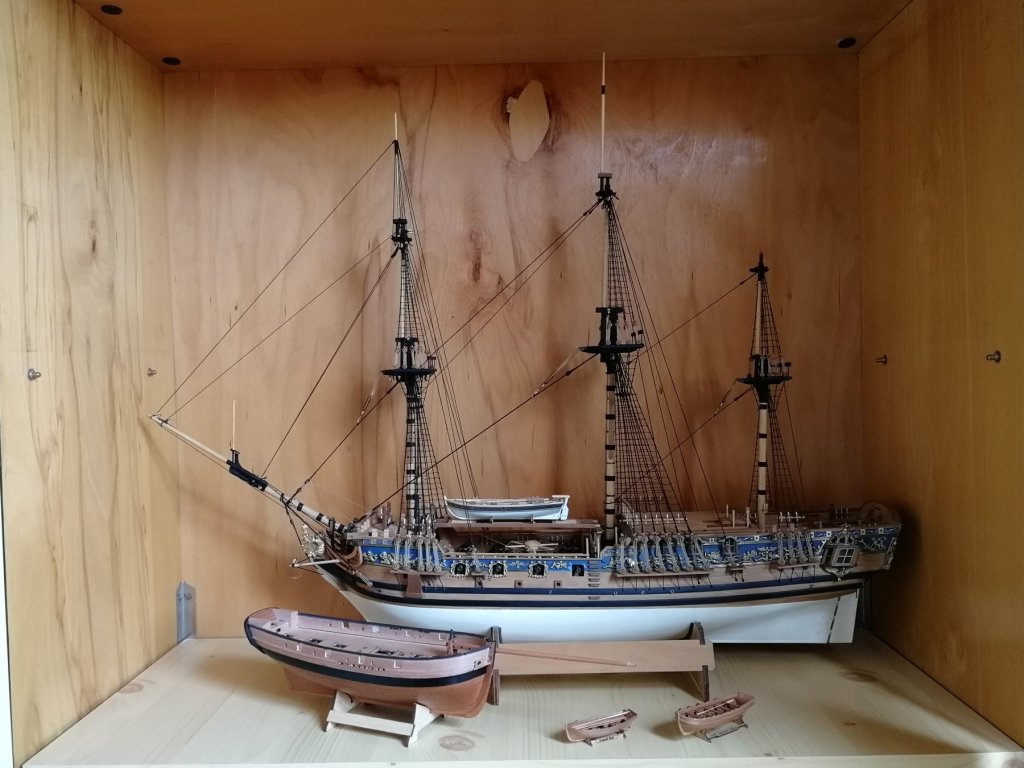
It starts to look really great, I love the shape of the ship and all the wooden and brass details. Truly enjoyable built. I'm little bit afraid what I will do after AVOS and RC. Hope MK will release some new gem!
-
- GrandpaPhil, hexnut, JpR62 and 13 others
-
 16
16
-
@ccoyle thank you. Each person different feeling. Personaly I like more less colours on the model.
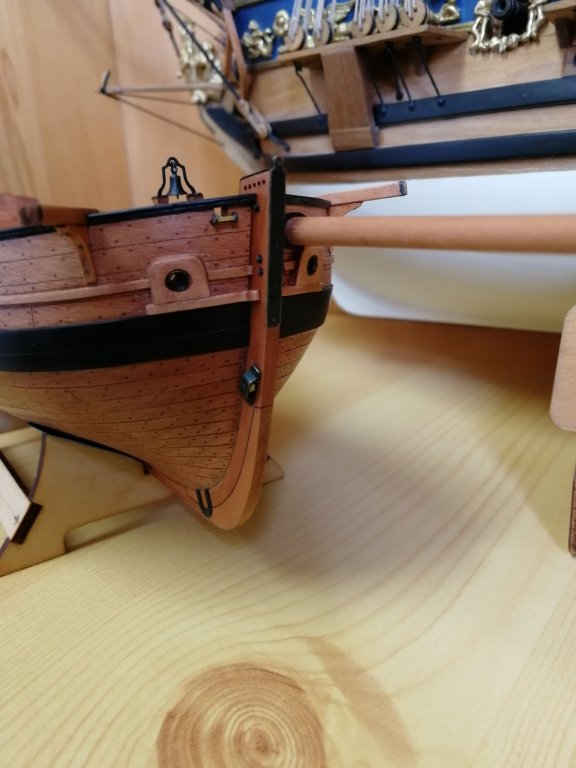
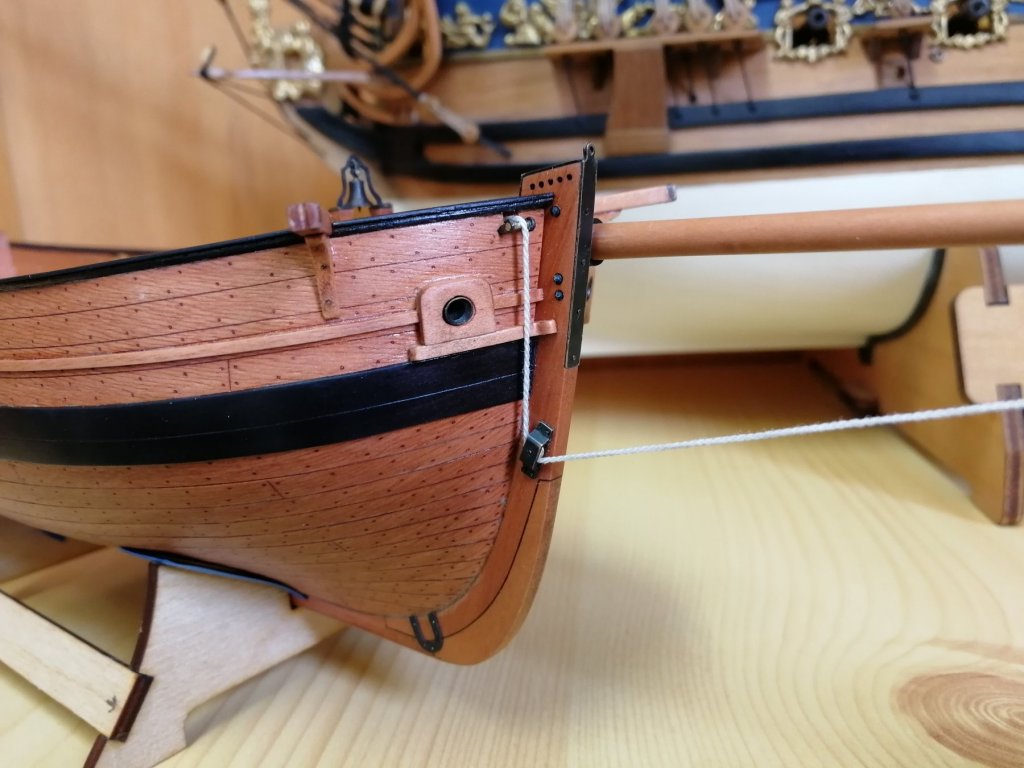
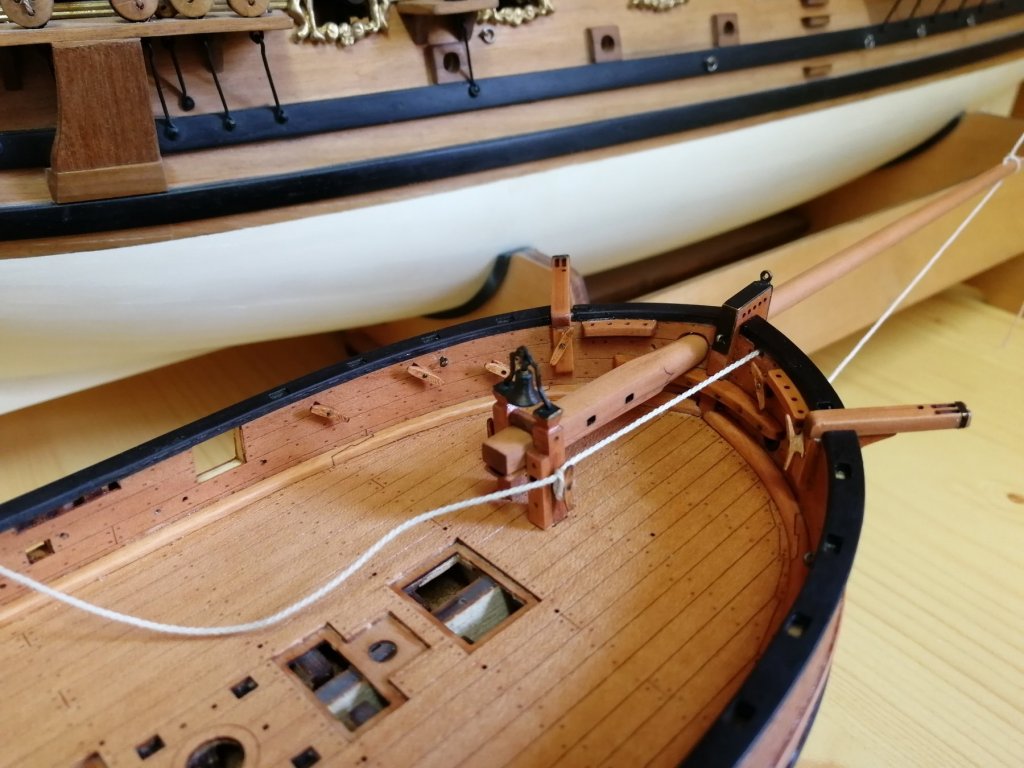
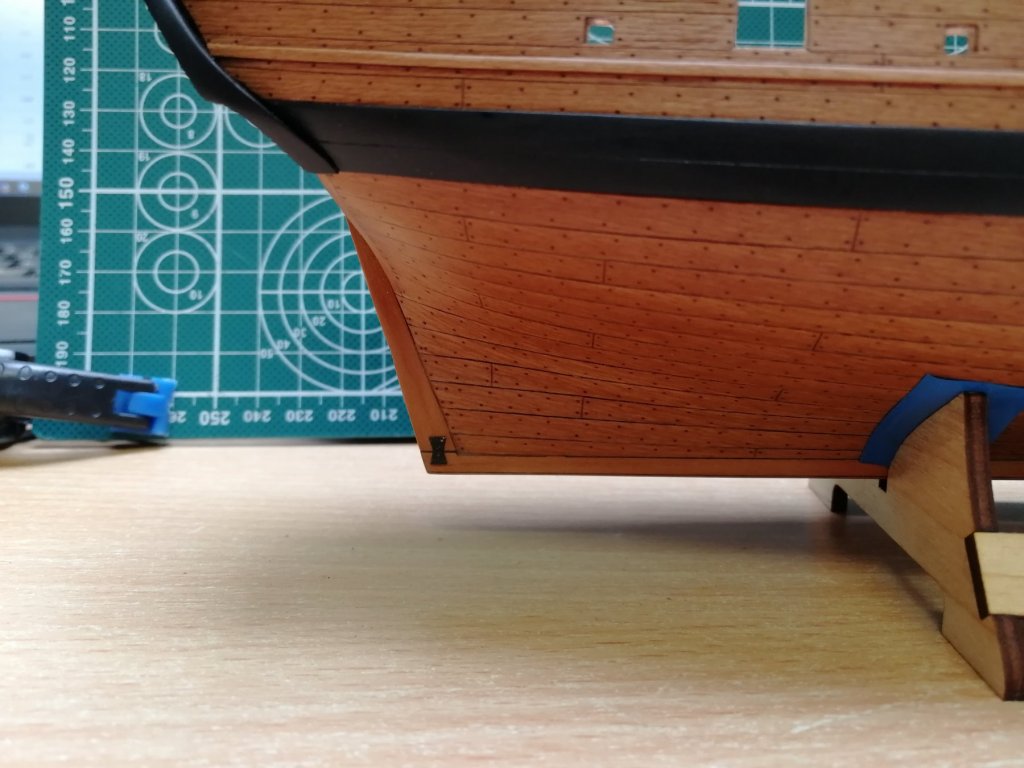
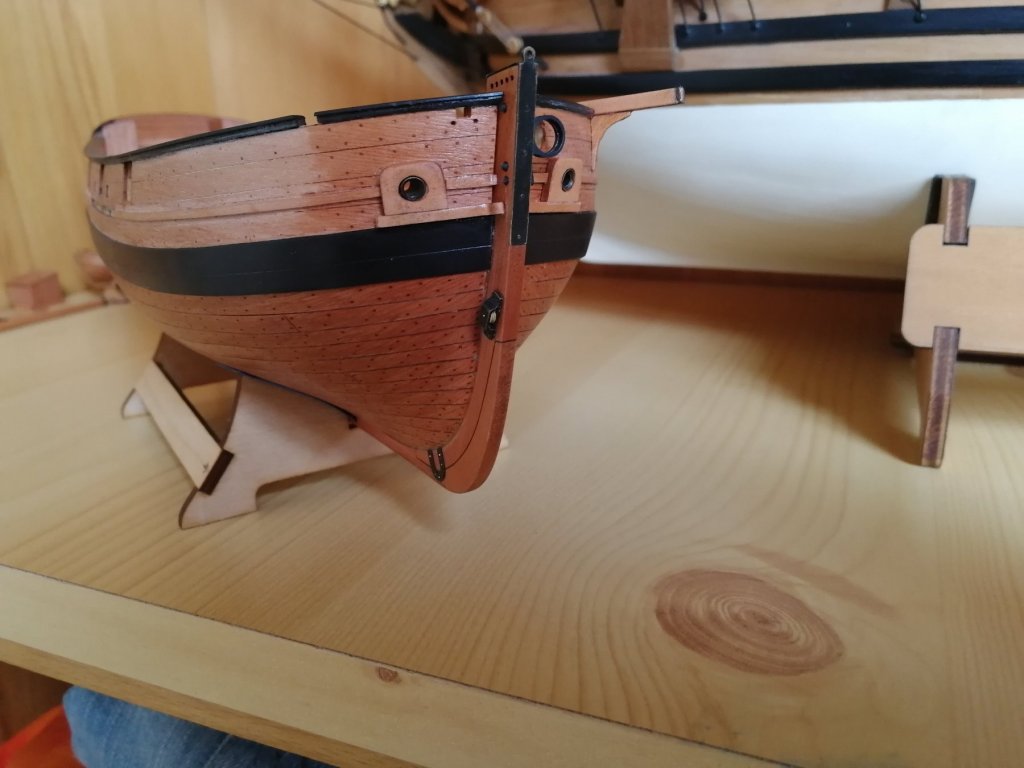
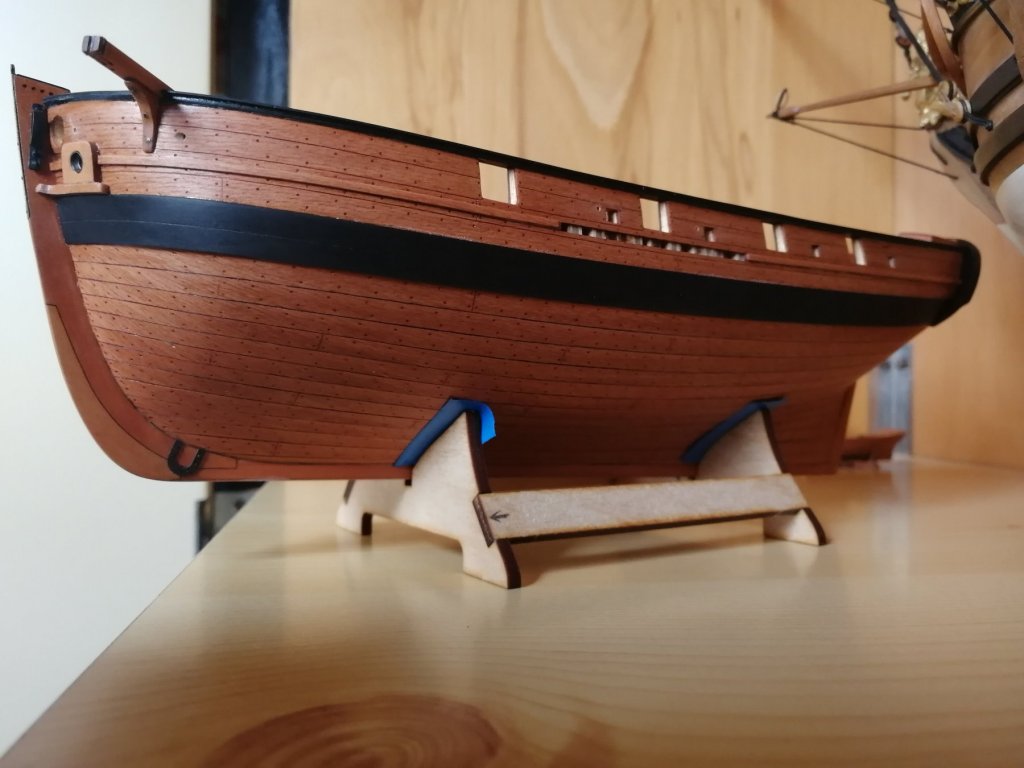
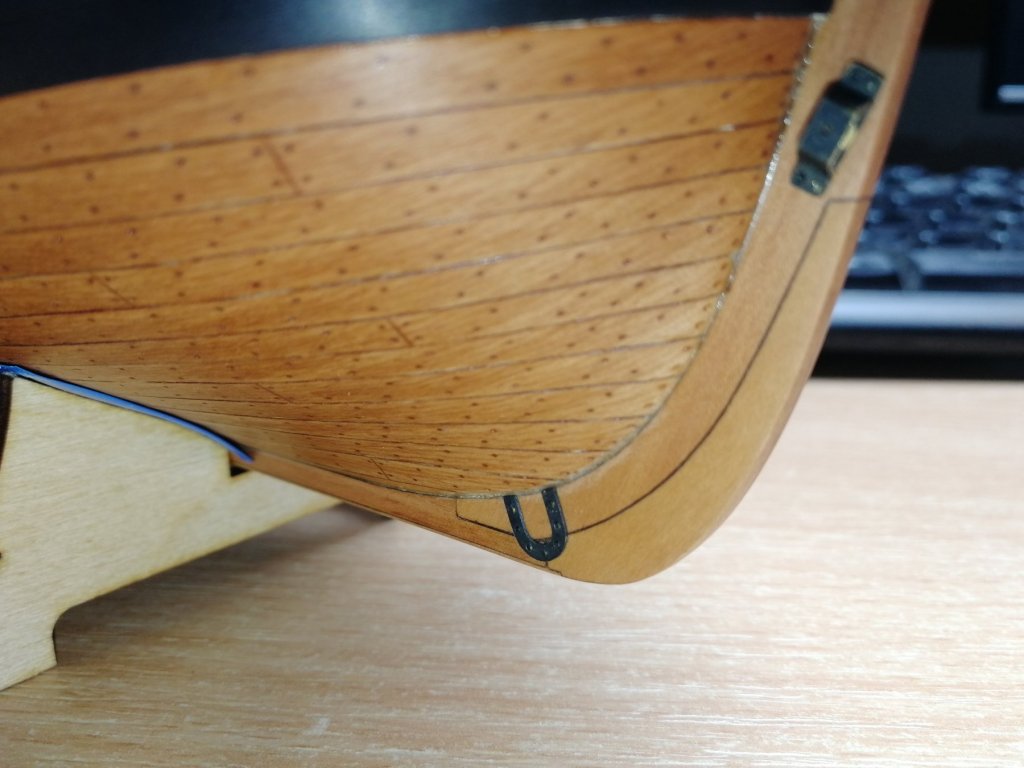
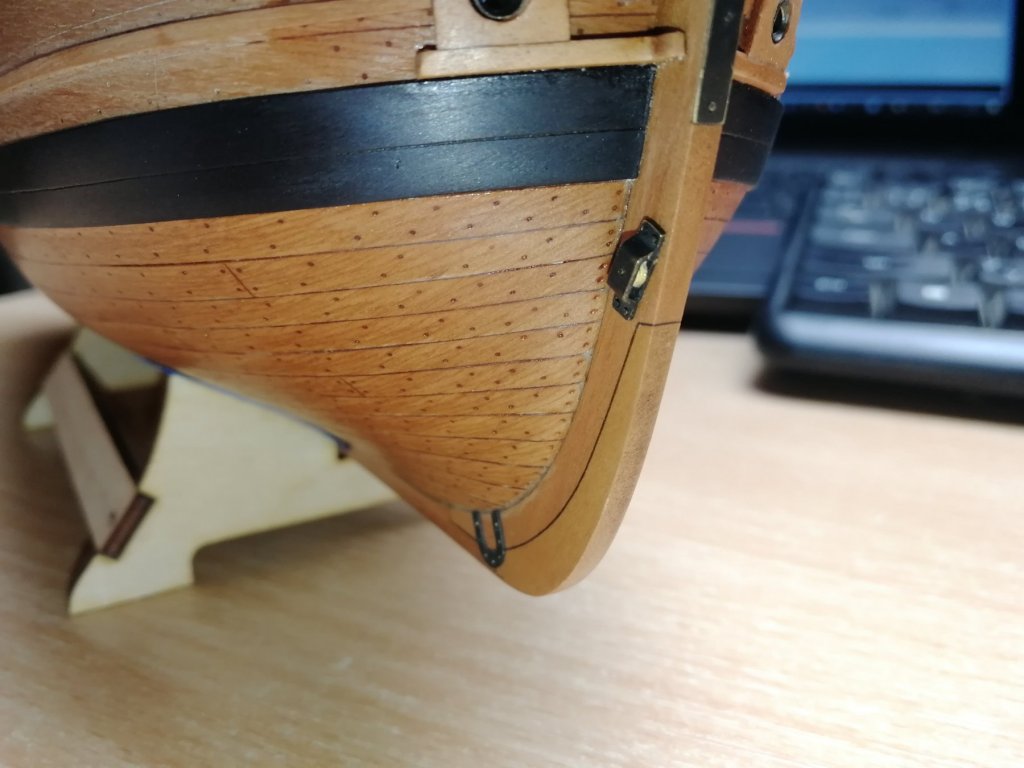
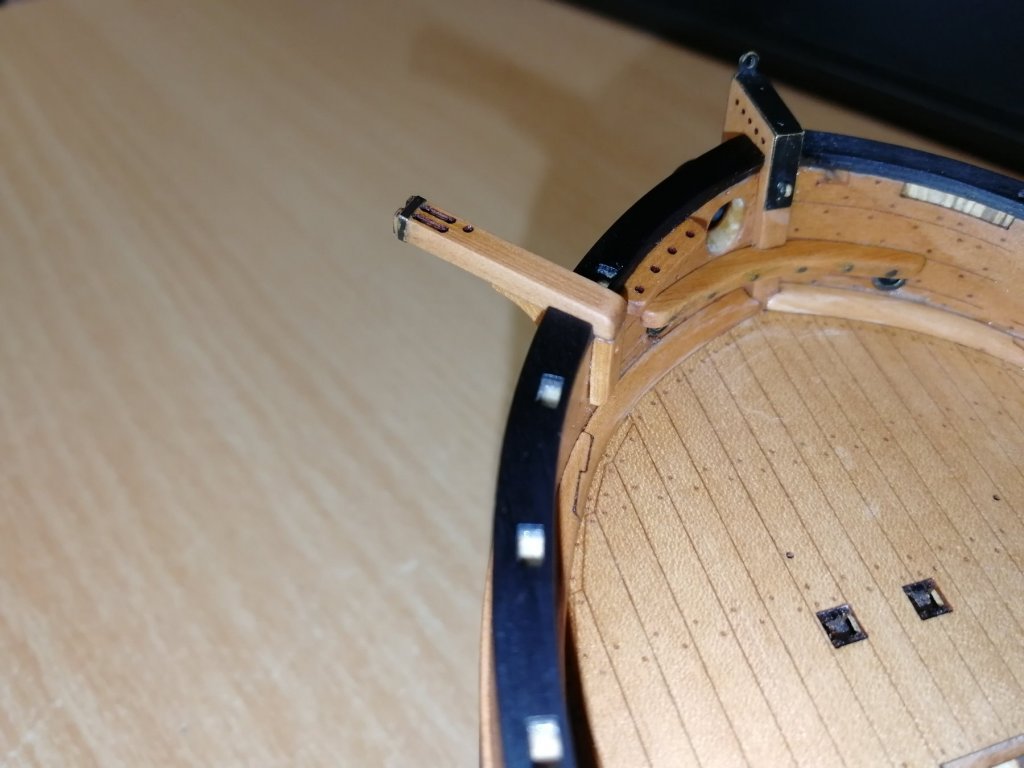
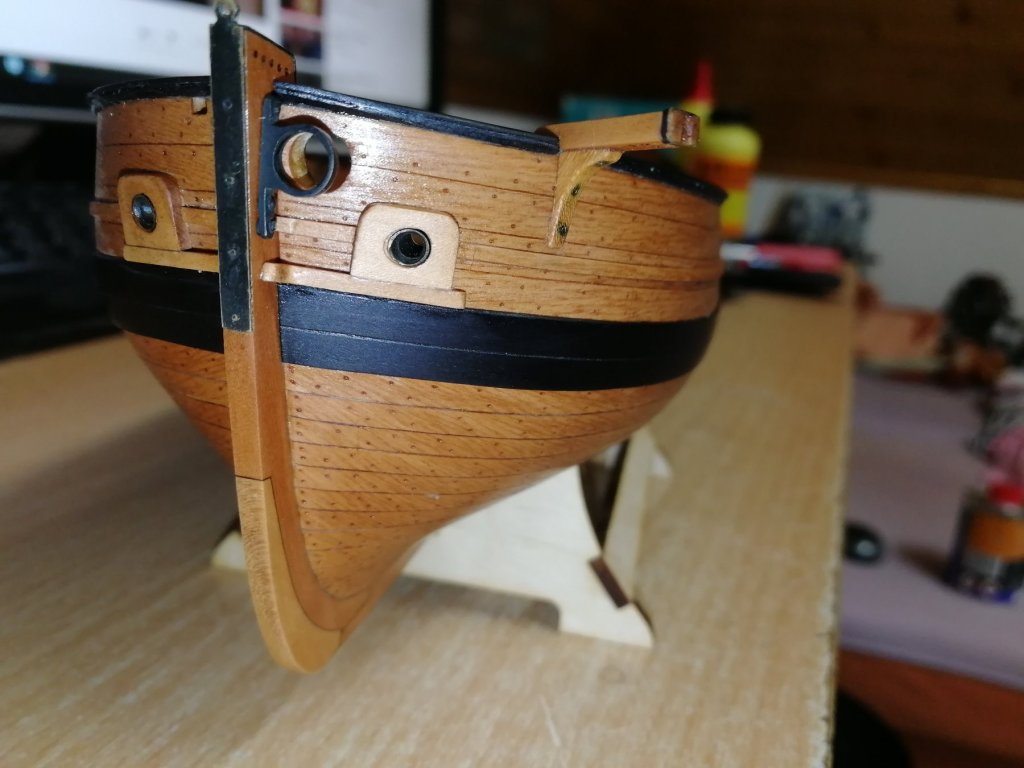
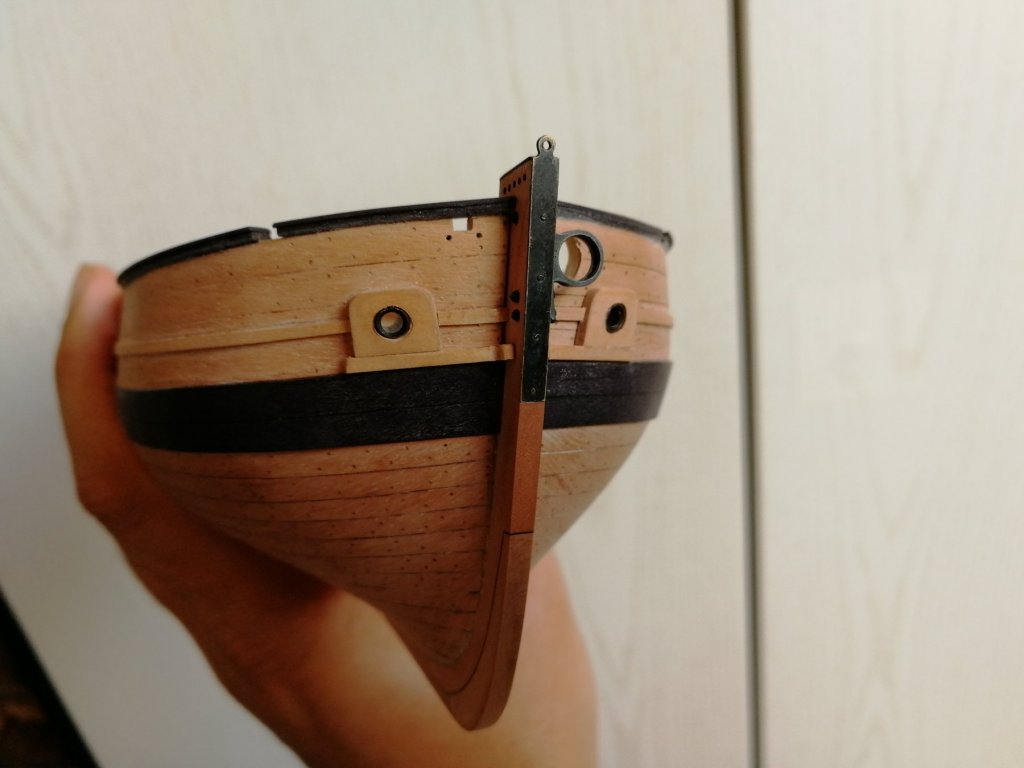
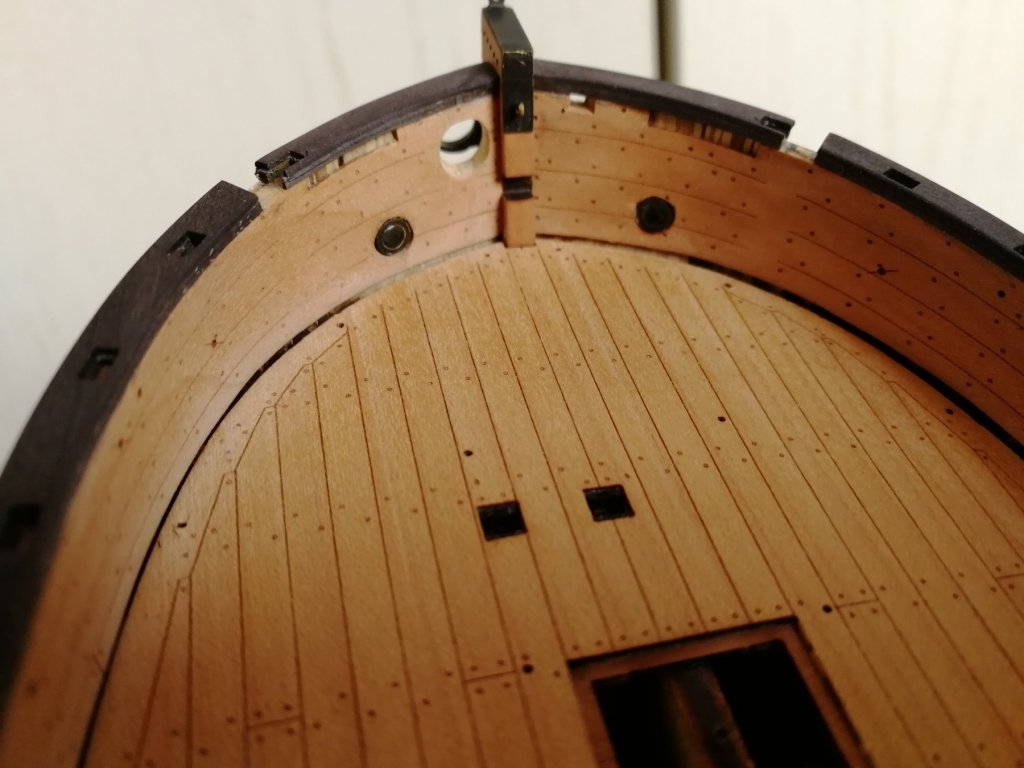
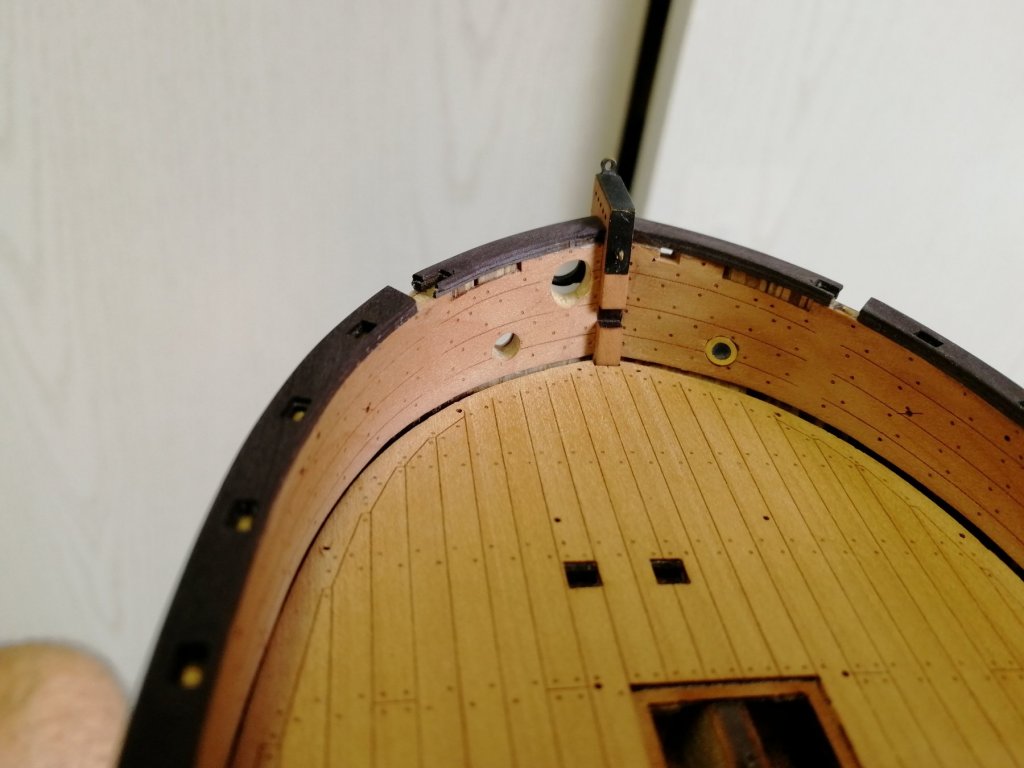
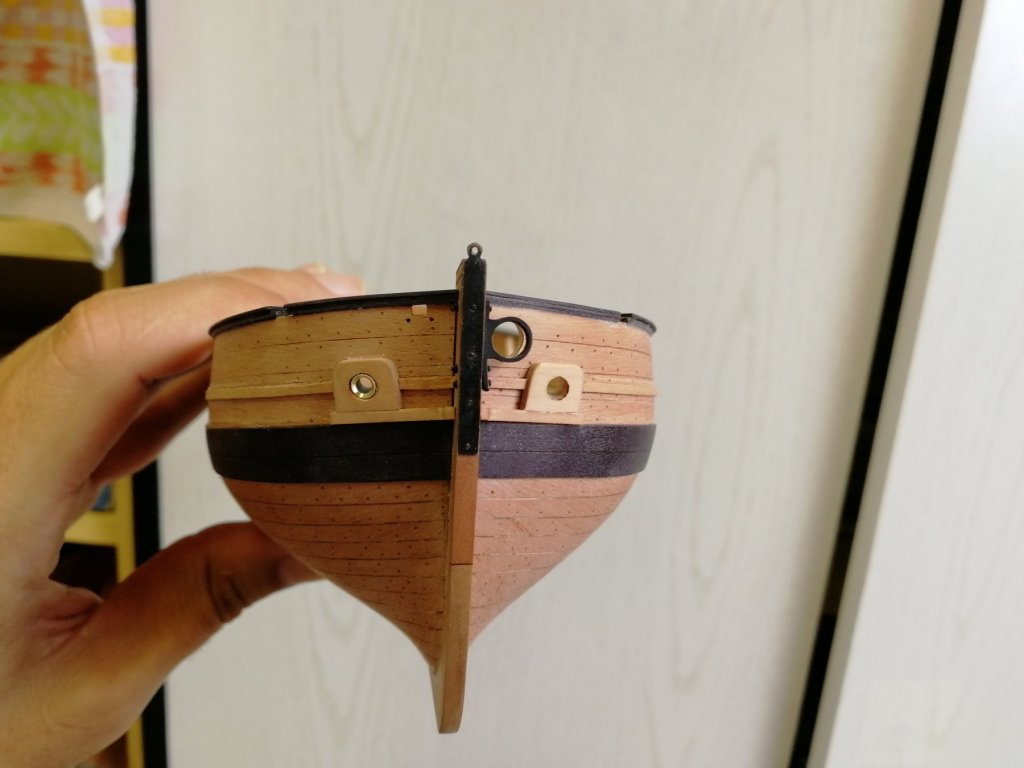
As parts became smaller and smaller the progress slows Down as well. I have installed few cleats (they are laser cut from the side and also from above so it is shaped very well I only had to remove the char). I have assembled the pulley on the bow from 3 photoetched parts and add the horseshoes to the keel. All is blackend with "brass black".
- marktiedens, muratx, JayCub and 16 others
-
 19
19
-
-
-
6 hours ago, James H said:
Looking amazing. I love the warmth the oil has given to the pear planks and the deck.
I suspected you might need to finish the surface after oiling with the grain raising a little. Something I'll watch out for on mine.
Thanks man.
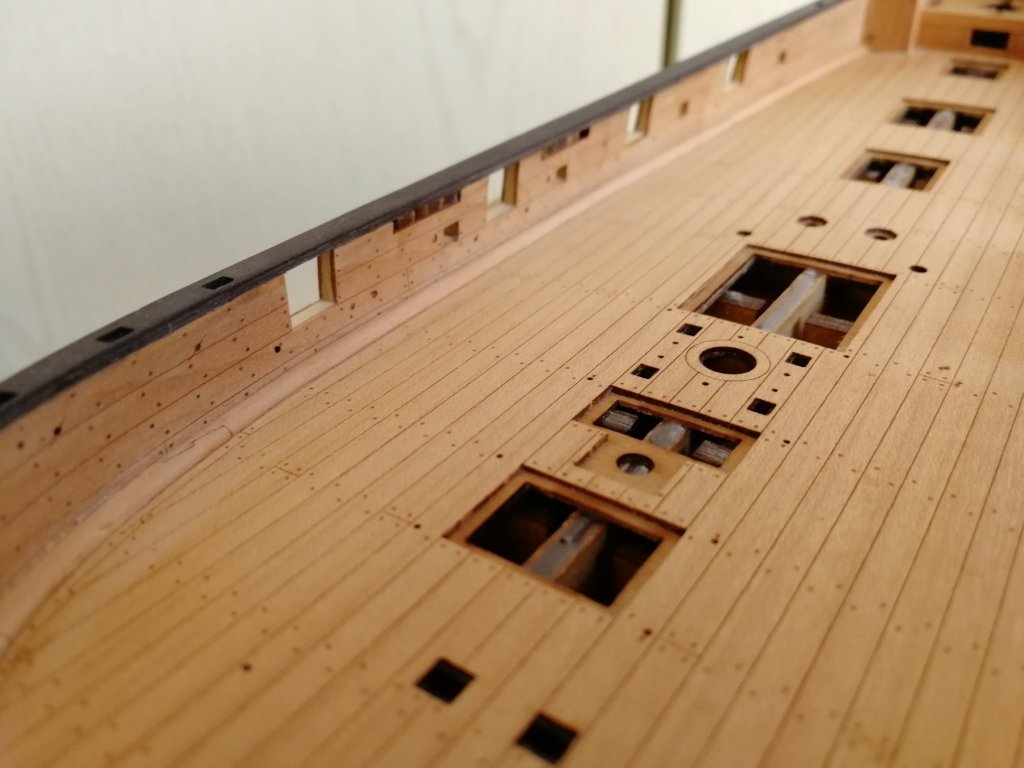
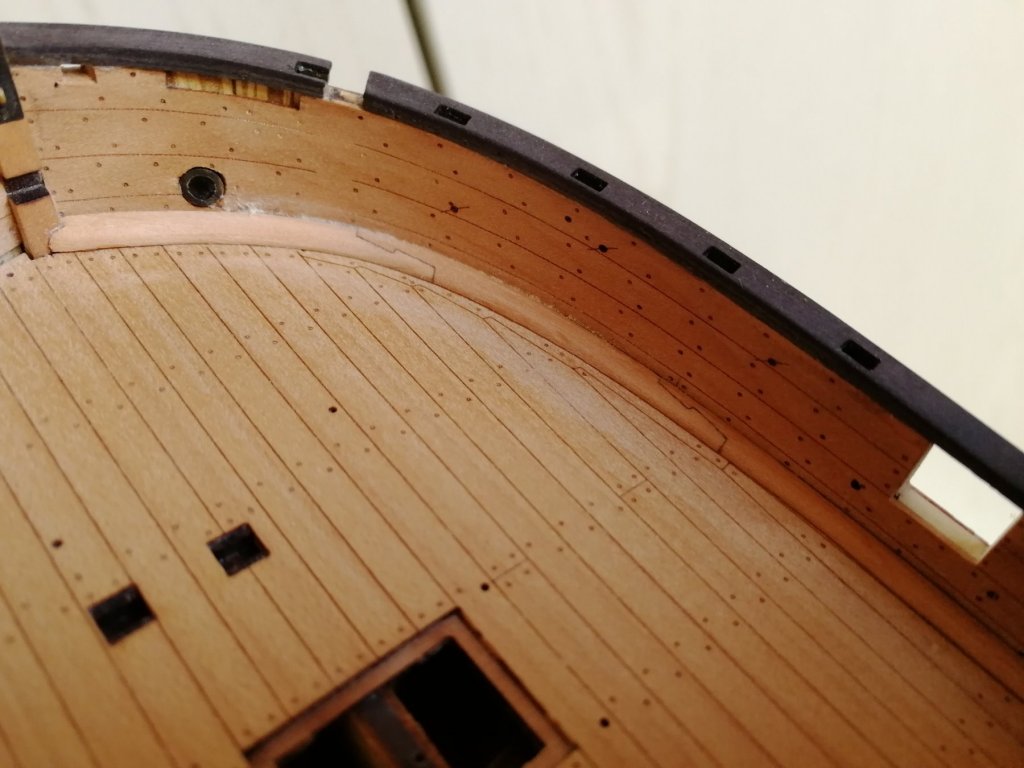
I did that on the hull bellow the wales. After oil send to the very smooth and give very thin layer of oil again and directly také off the remains of the oil with a cloth. It makes nice surface. That is why I decided to put oil now inside before There are many conners which will be not easy to access with cloth. Hope it was good decision. It is my First time dealing with a oil finish. So it is a try! But So far si good. Love the result.
-
-
-
-
1 hour ago, Dubz said:
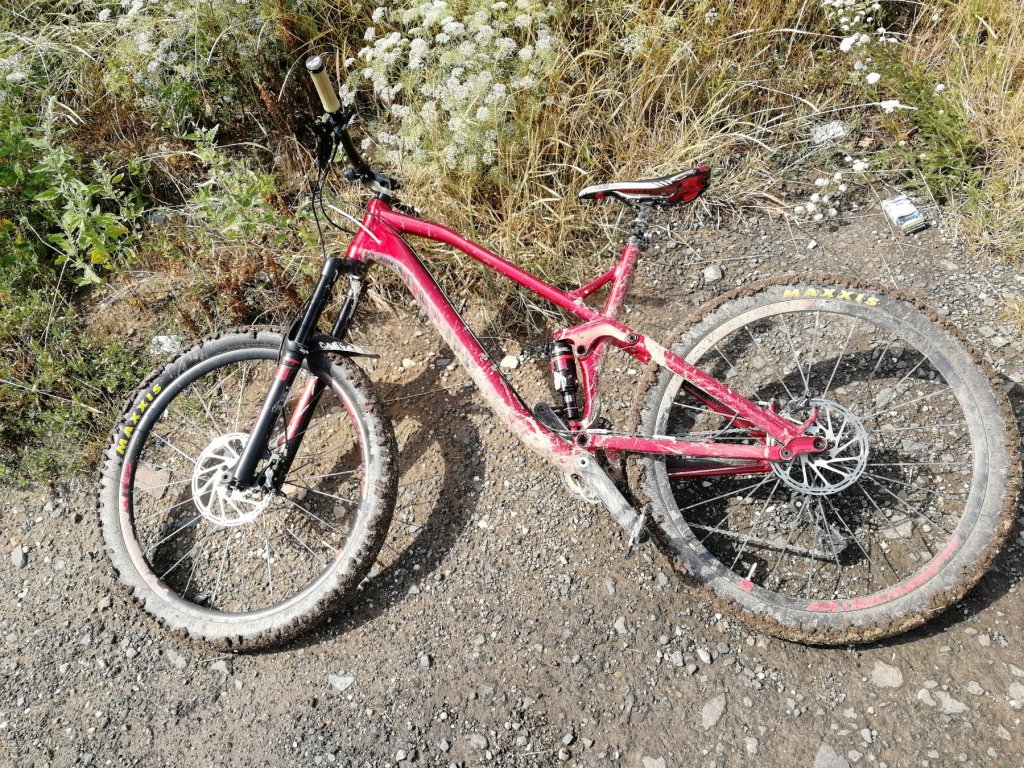
Nice Bike! 🙂
Thanks man,
Similar to the AVOS kit, so much fun for the money 👌It performs quite well: https://photos.app.goo.gl/yVfKFMD55SNsMc386
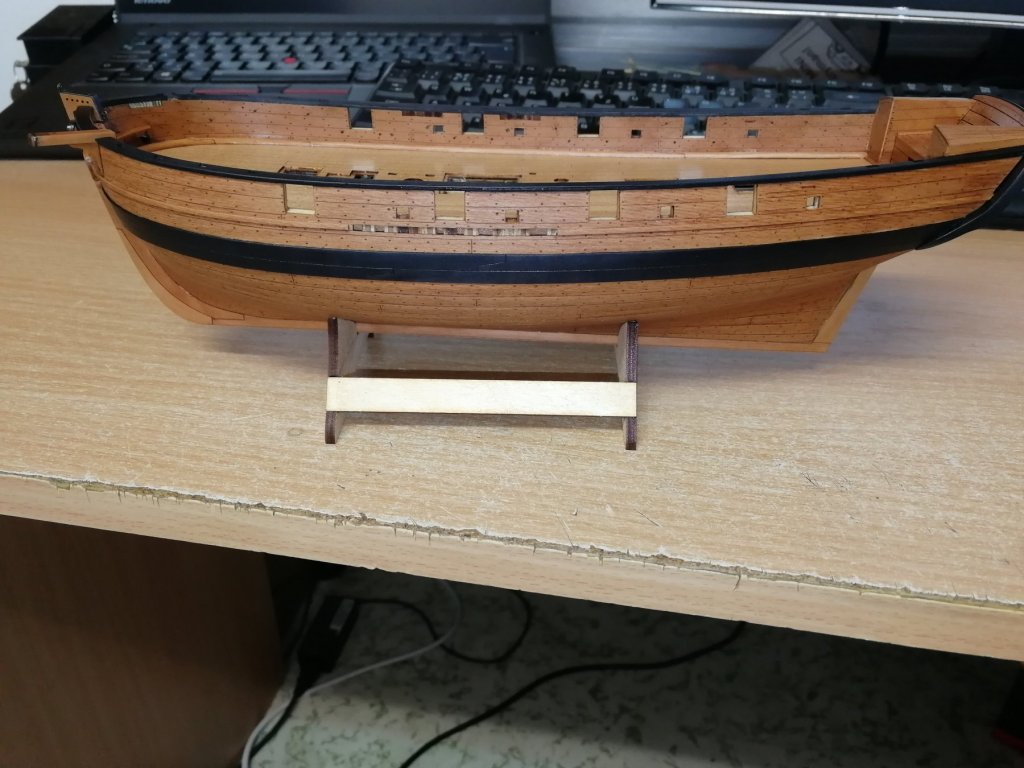
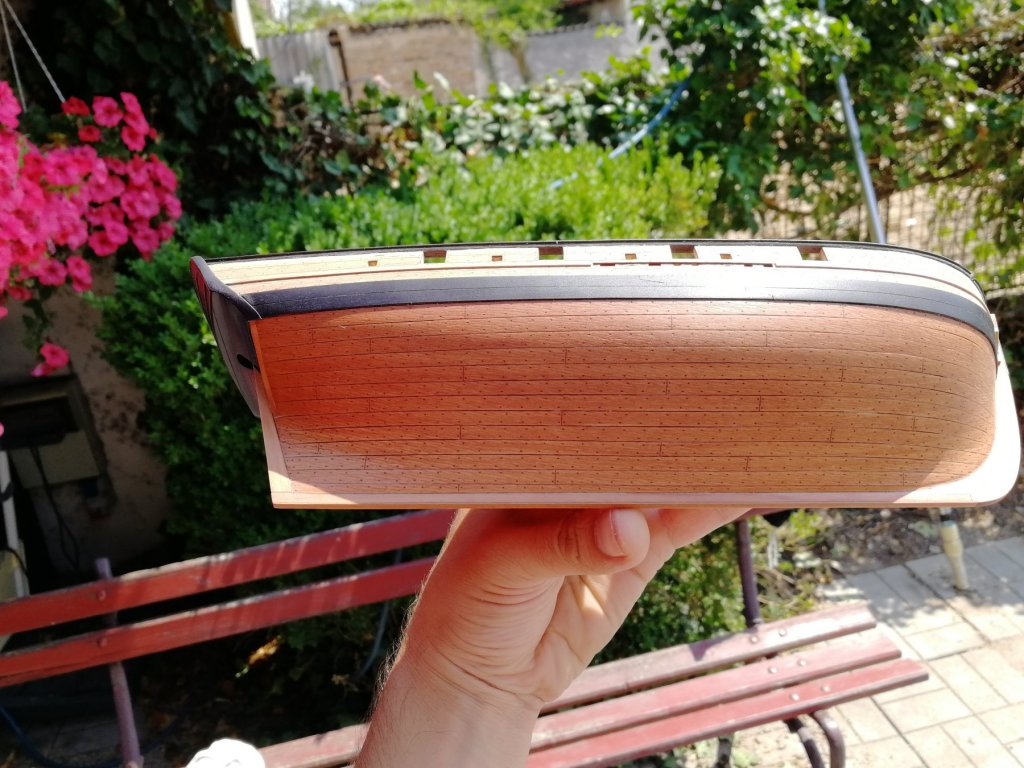
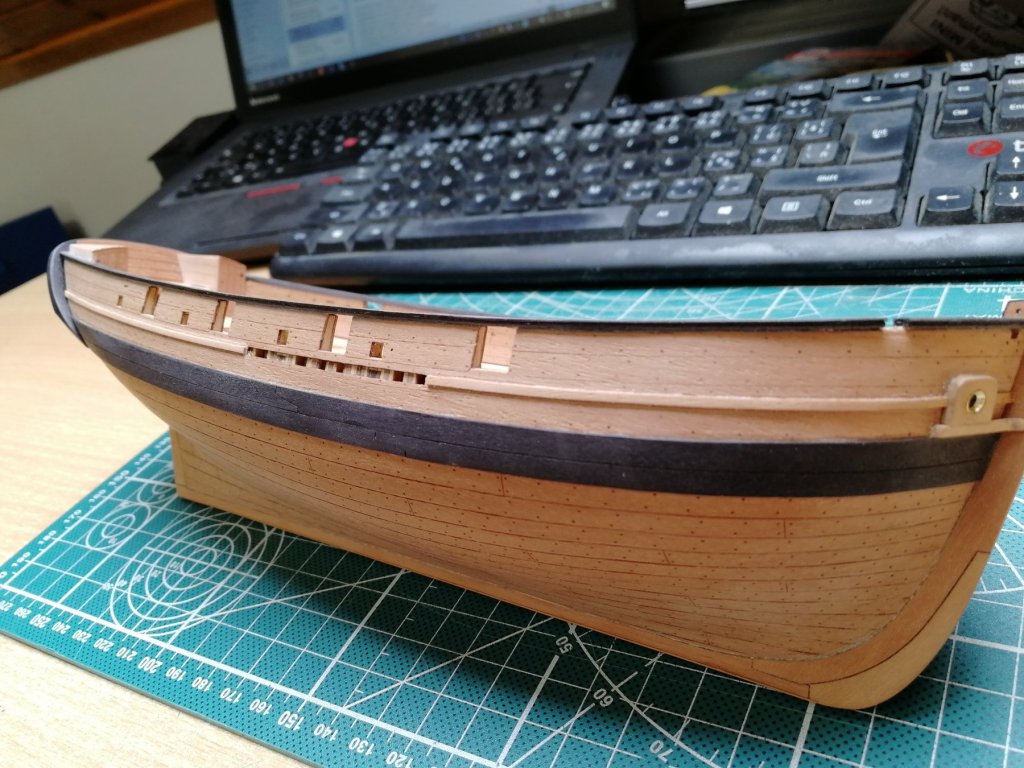
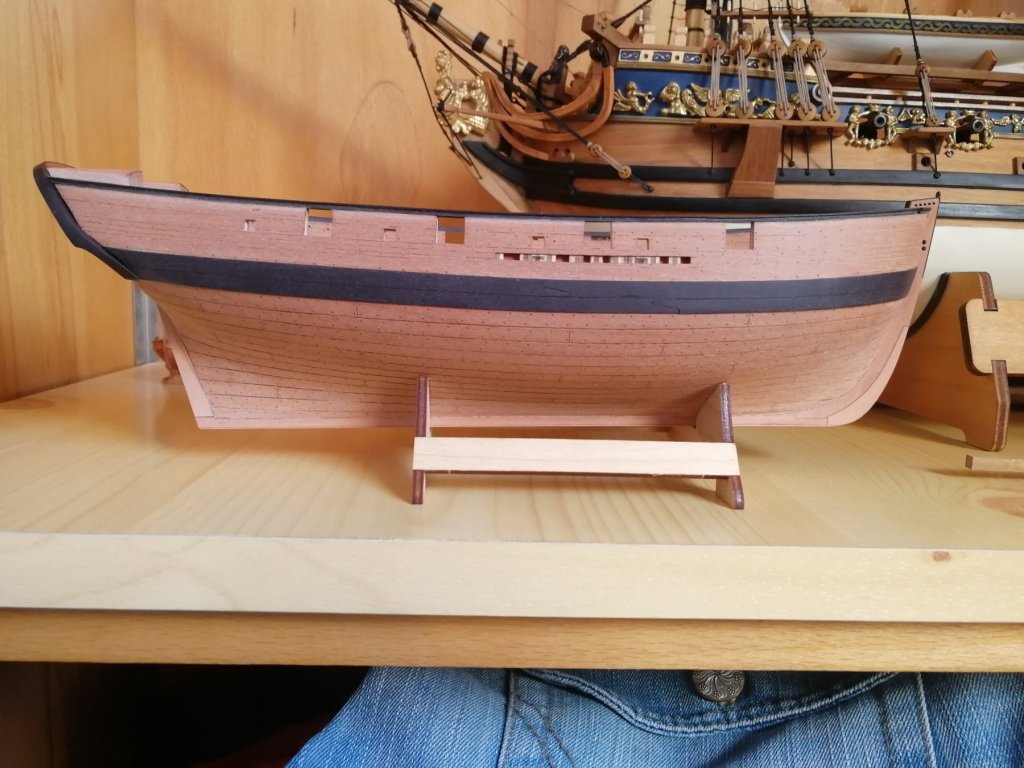
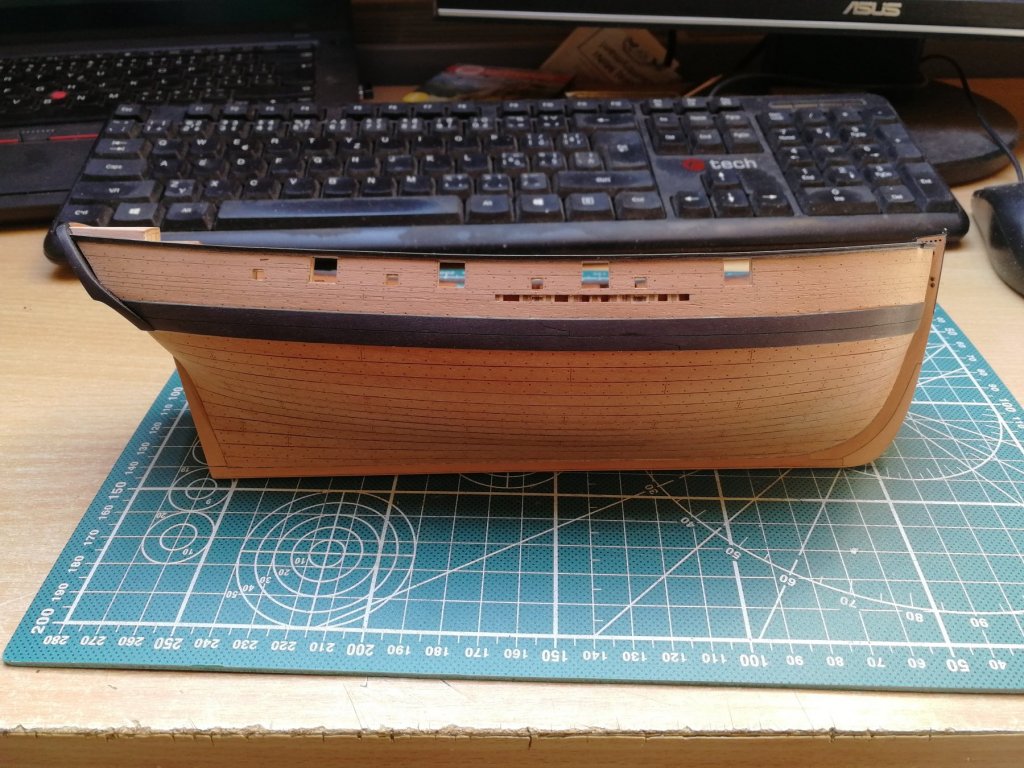
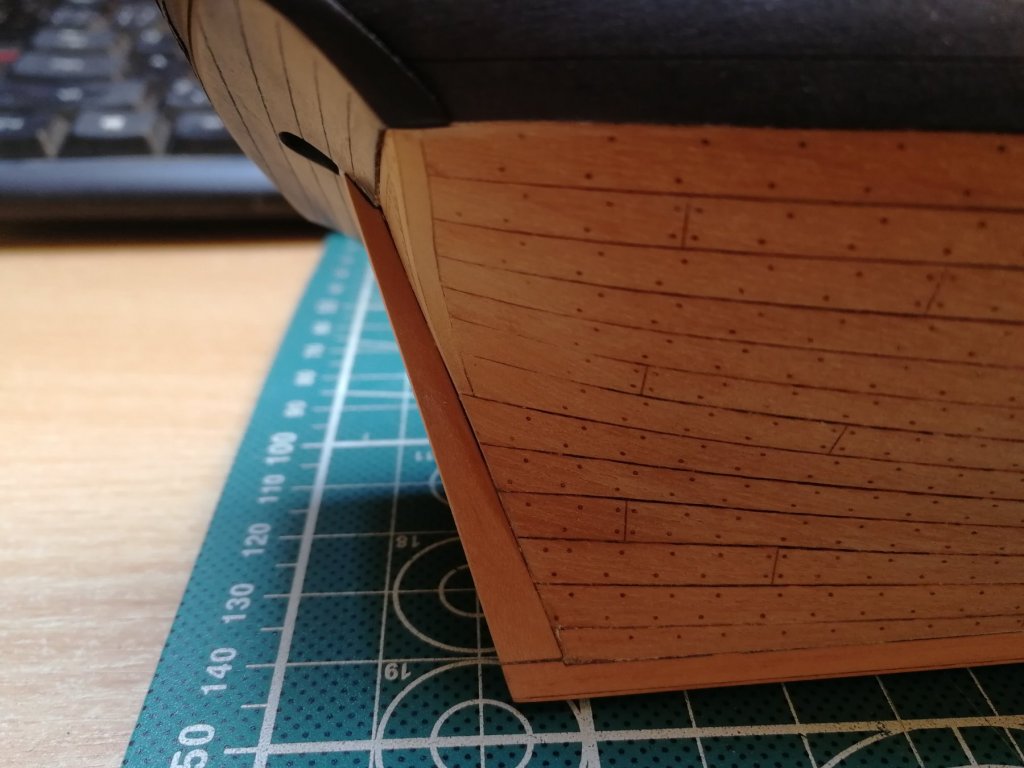
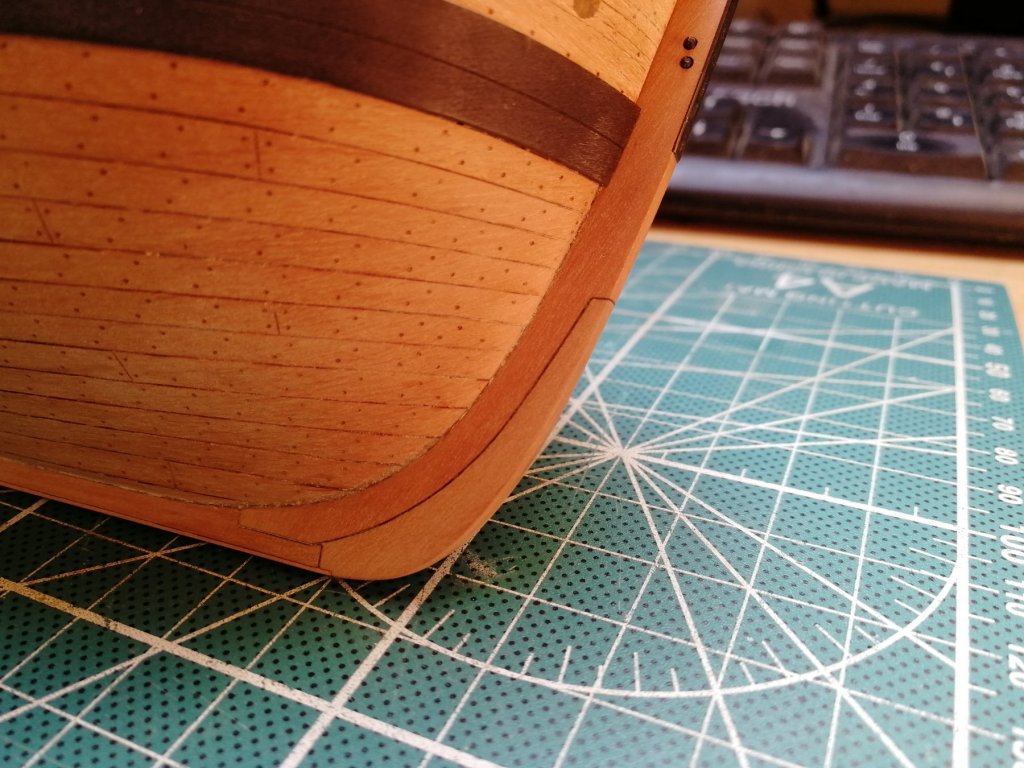
But back to AVOS. I was not completely happy with the surface after oil, it was not smooth enough. I have sanded it again with 800 1200 1500 grit to get really smooth hull and apply thin layer of oil again, right after the application I have removed the accessed oil with a rug and polished it. That result makes me happy now.
- BenD, paulsutcliffe, etsinko and 11 others
-
 14
14
-
-
I hate those pictures! In the most possitive way. It makes me take my ships and throw them away. Simply beautyful! 👌
- Ponto, EJ_L, billocrates and 3 others
-
 6
6
-
2 hours ago, Mirabell61 said:
beautiful look Peta,
I noticed on the pics ( your Post # 96, 97 and others) that some of the laser burnt treenailing had faded away a bit due to sanding in bow and stern area...
how did you manage to make them visible again ? great job !
Nils
Hi mate,
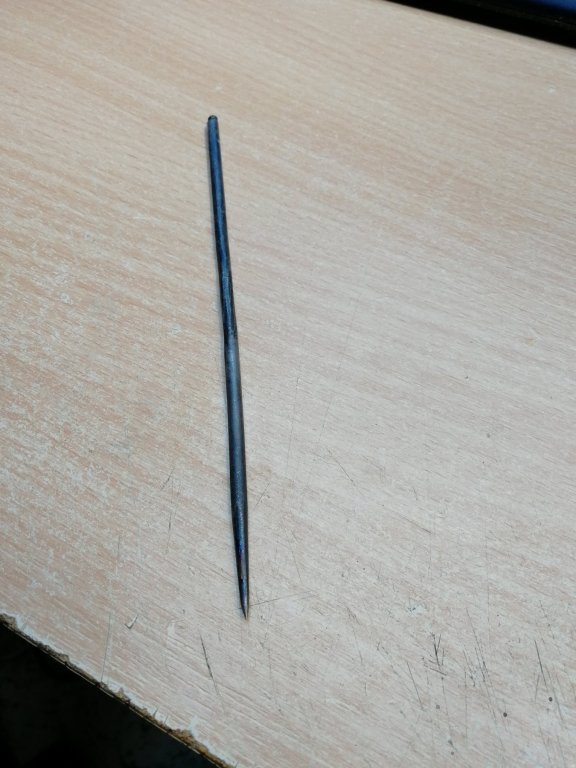
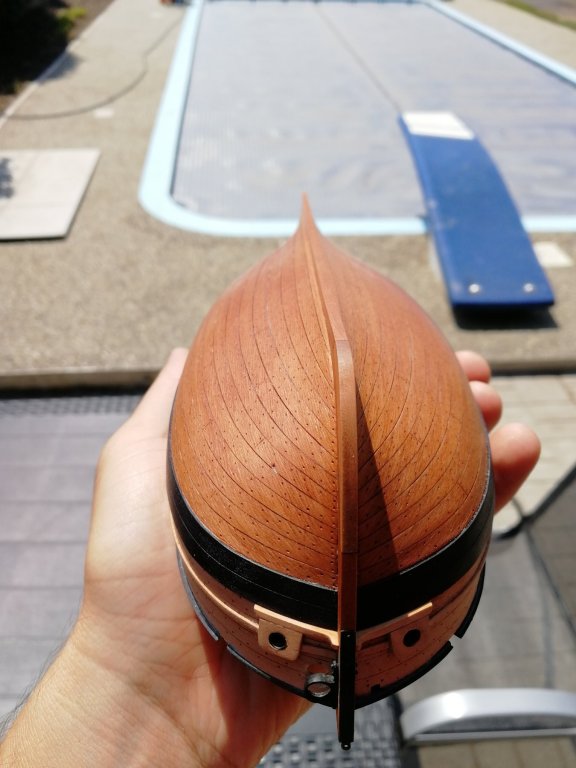
It turned out (again) that the simpliest solution is the best! I Just take something what is called in my language "prubojnik" and do the holes There. Mega perfect it matches the laser very well.
All the hull after oil! Looks awesome
- GrandpaPhil, BenD, marktiedens and 16 others
-
 19
19
-
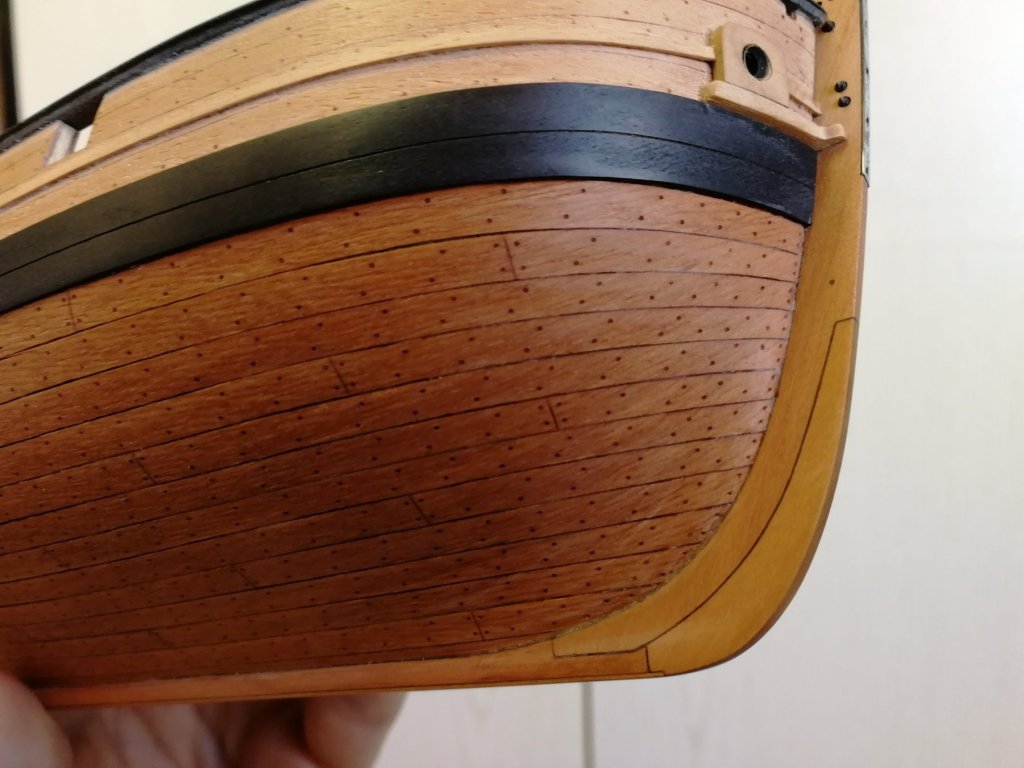
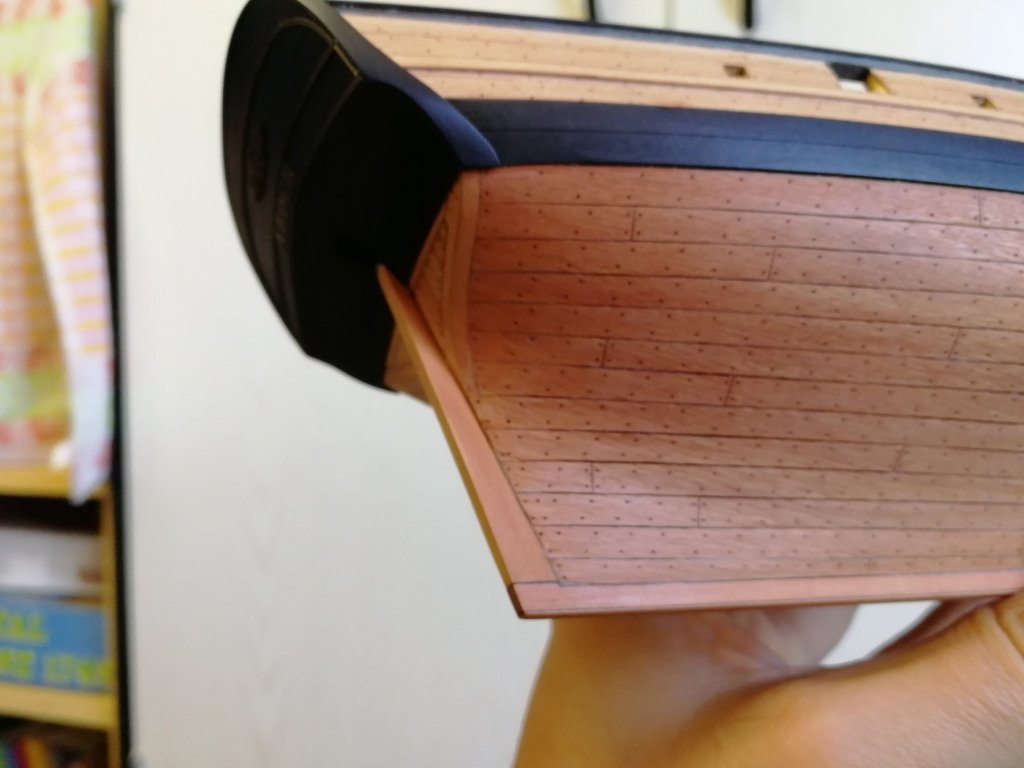
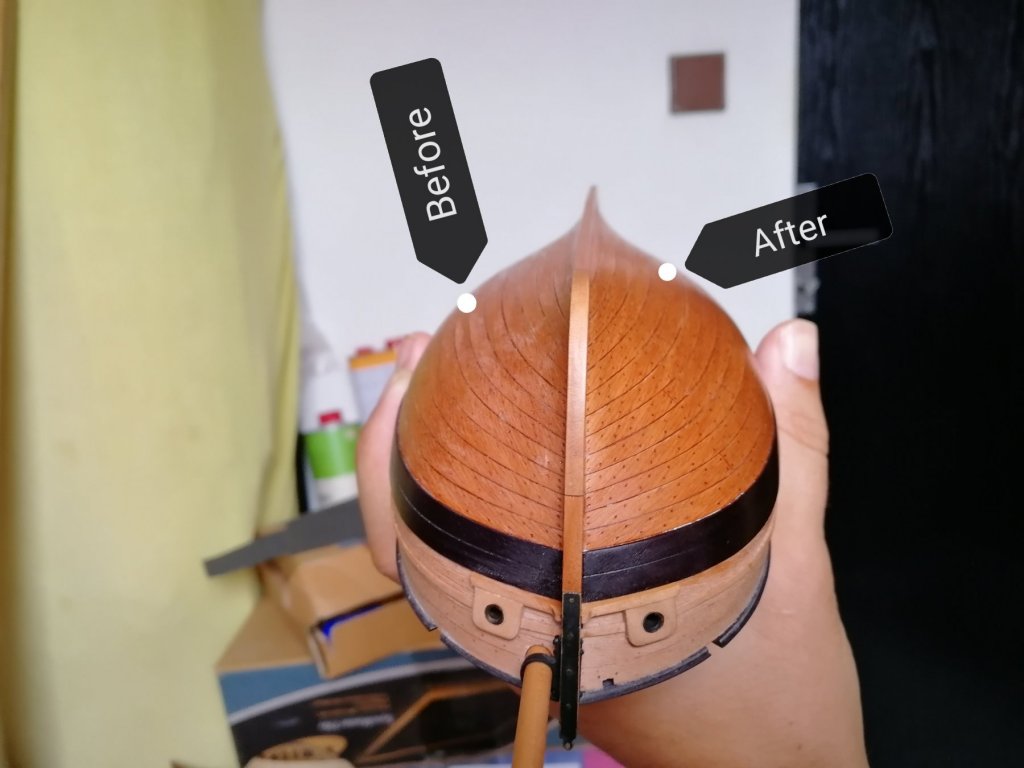
Could not wait and as the lower part of the hull is finished I soked one half with First Layer of the oil! How cool is the colour? I'm living it. The hull before oil was sanded with 400, 600,800 First Layer of oil with 1200 and the second will be with 1500. Will see if I add 3rd....not sure.
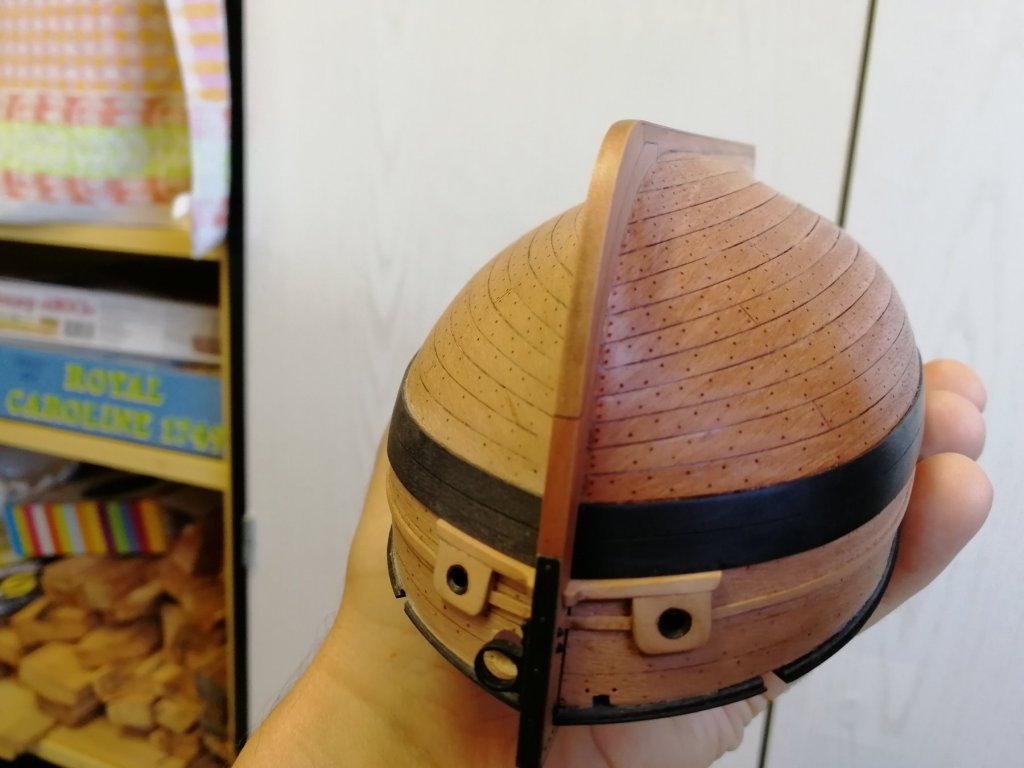
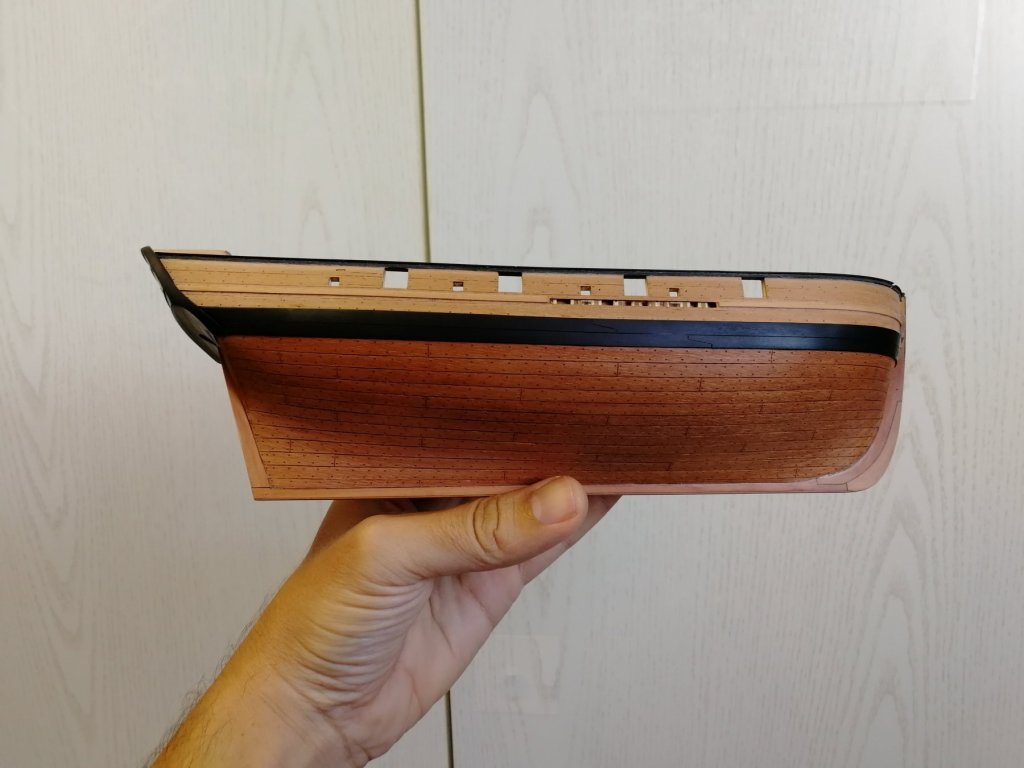
Plus also the restoration of the treenails in the bow and stern section. Turned out better then expected. So happy about the result!
-
- JayCub, muratx, Ryland Craze and 10 others
-
 13
13
-
12 hours ago, yvesvidal said:
Should you not have a hole under the latrines, or are they using buckets?
Yves
I have no idea. History was always big trouběmle in the school and I'm not a big fun of research as well . Here I believe guys from MK and quoted what was in instructions. (the big vessels have latrines ať the bow section without roof)
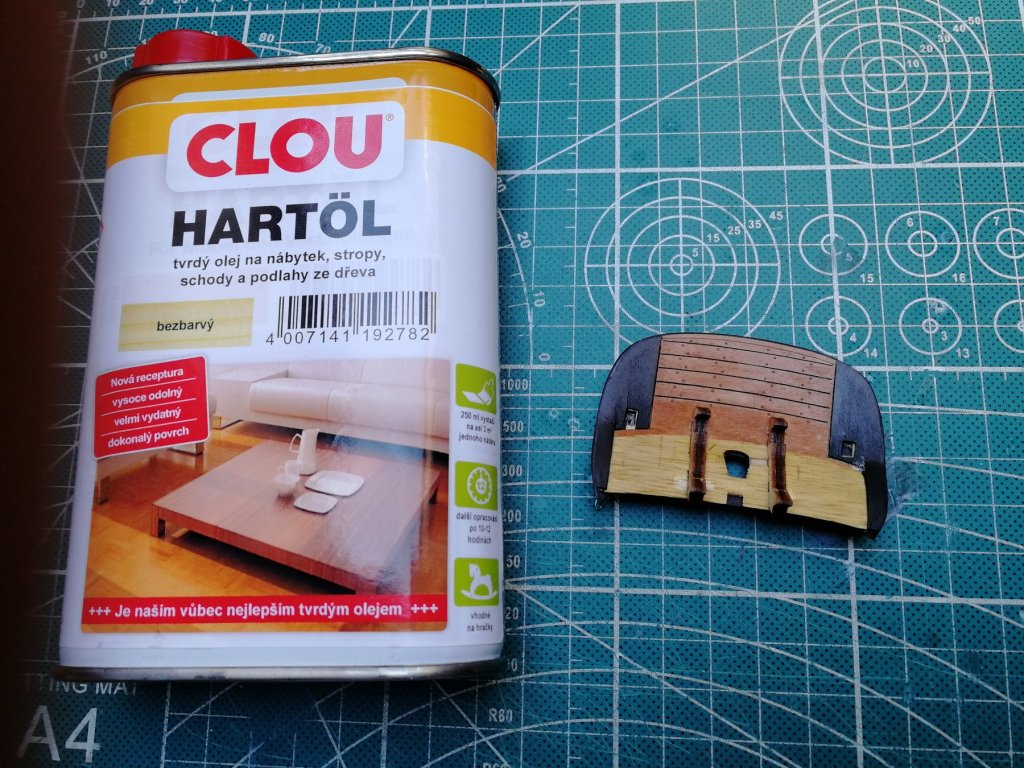
I hope not. It is some Hard oil and the testing pieces (and the taffrel and bowsprit looks pretty good) matt, like a silk tone and after 2 layers smooth as Hell!
This is what I have bought. Not a long go and I'll use it to the hull. Pretty excited (and scared) in the same time💣
- coxswain, Jolley Roger, James H and 3 others
-
 6
6
-
Thanks a lot guys for a kind words. I'm really glad you like it.
I can't wait how the planking will look like after oil🧐 Should be really nice colour!
-
- JpR62, Heronguy, Beef Wellington and 16 others
-
 19
19
-
-
-
I like your photo story. Very nice! Great work
- James H, chris watton, mtaylor and 1 other
-
 4
4

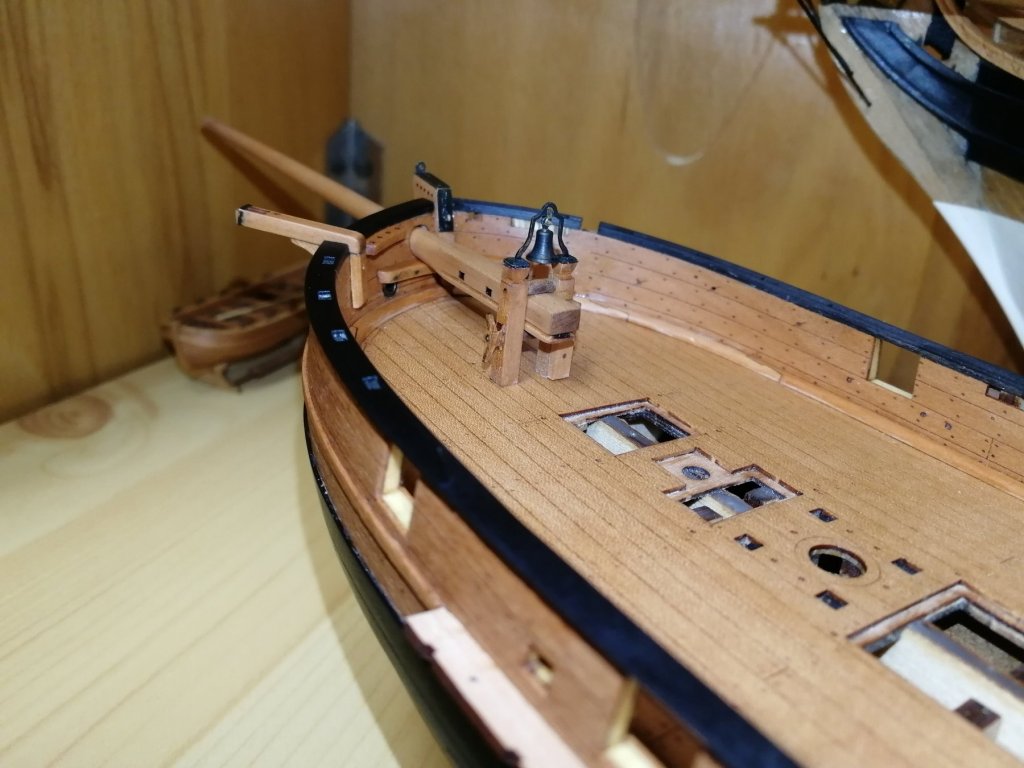
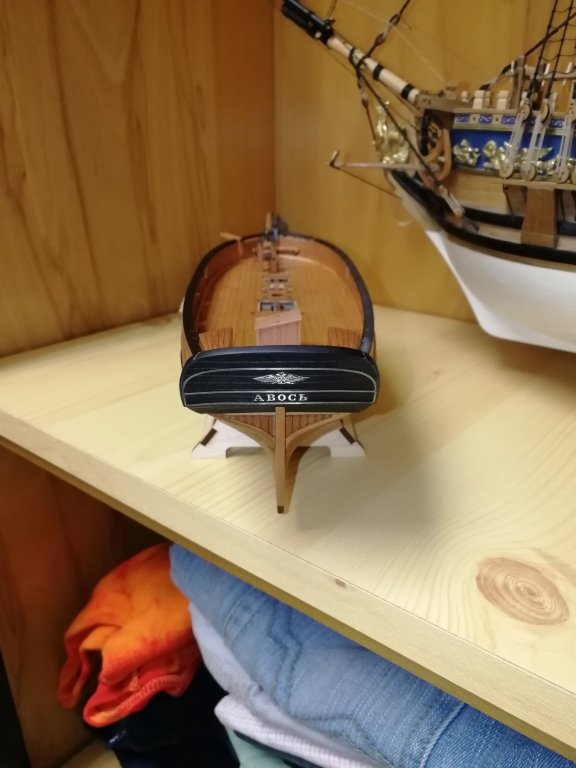
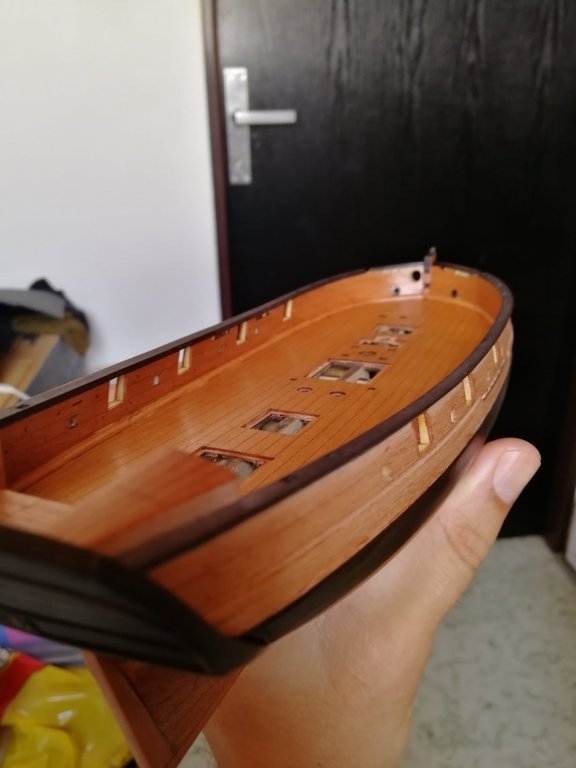
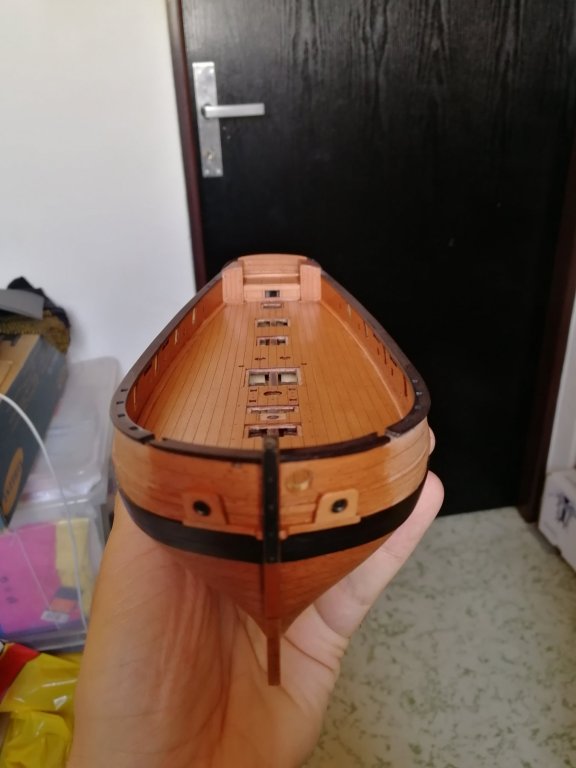
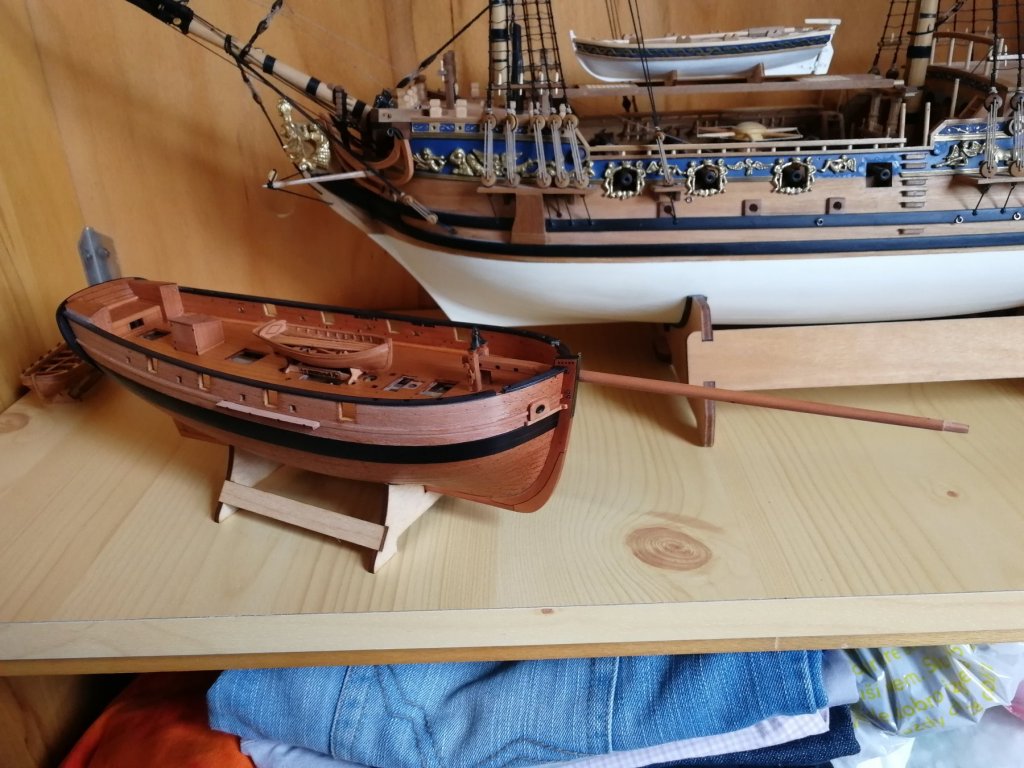
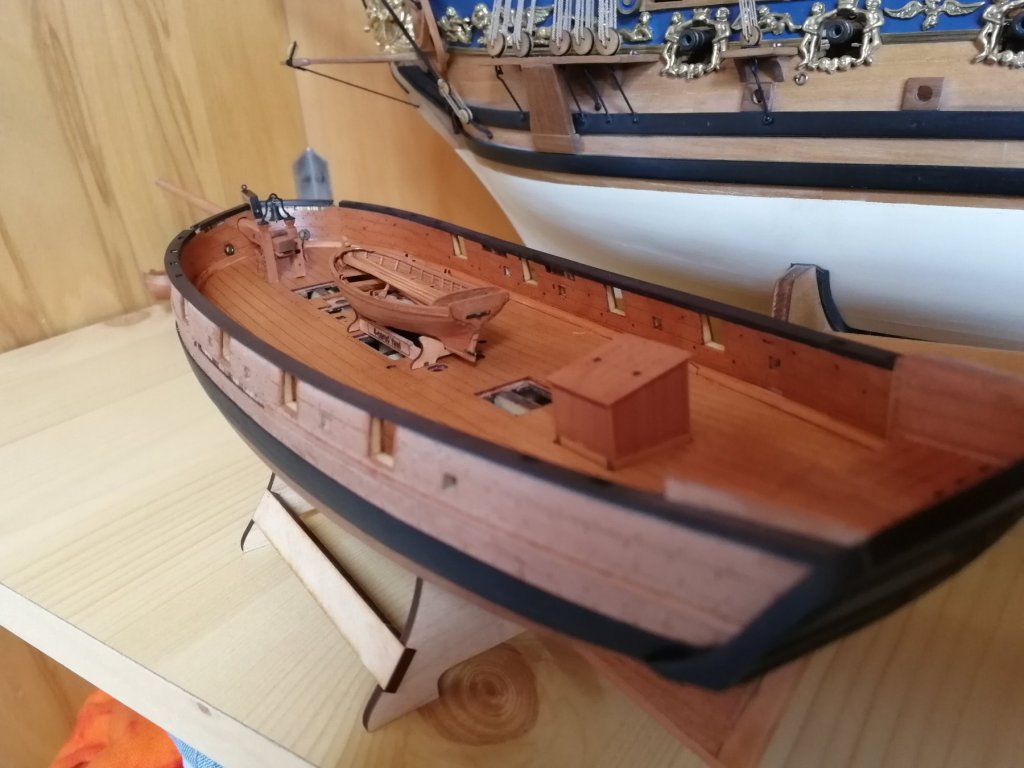
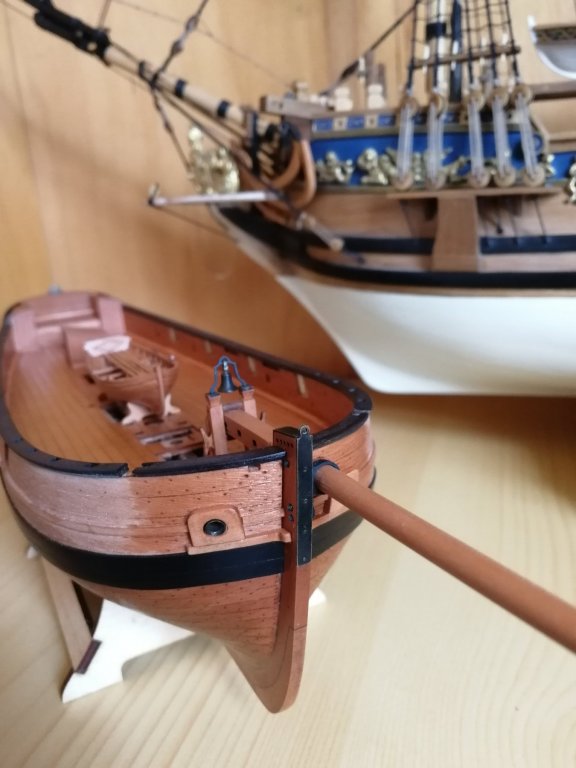
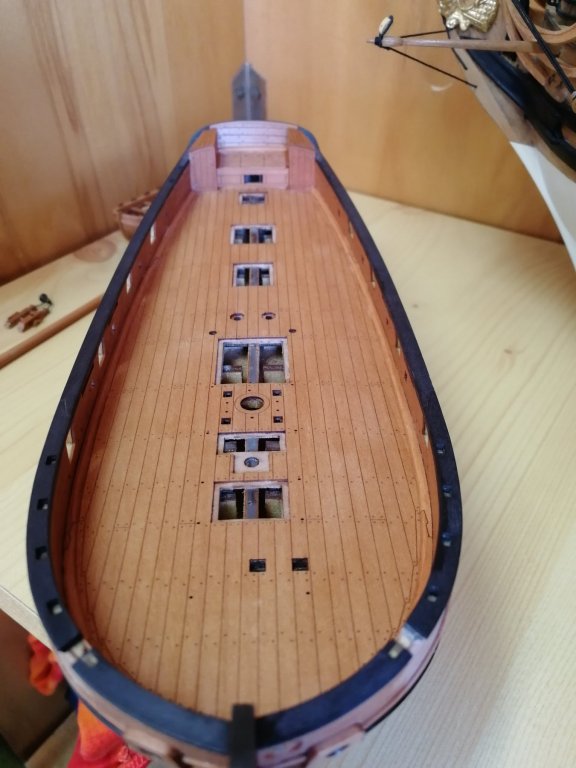
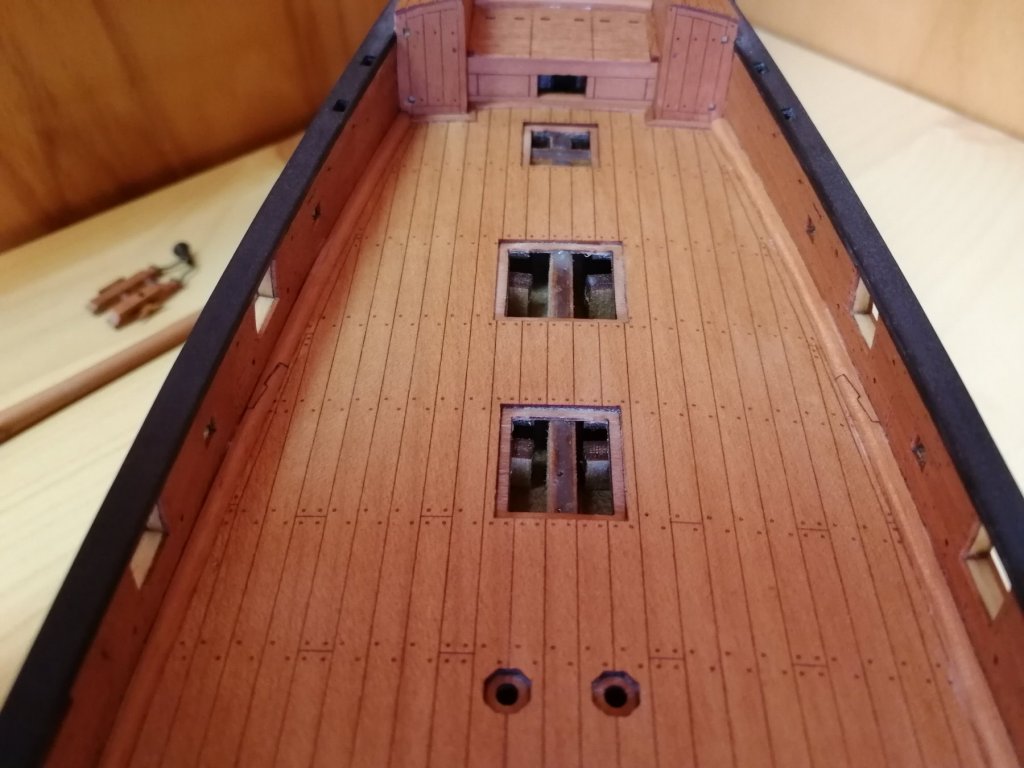
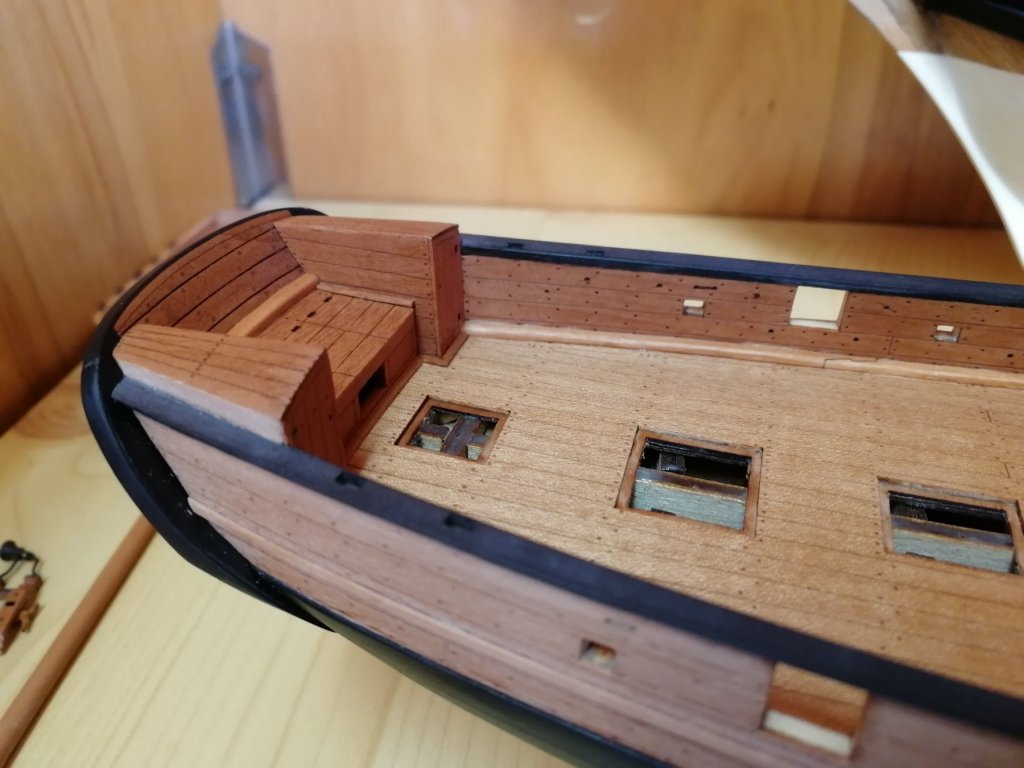
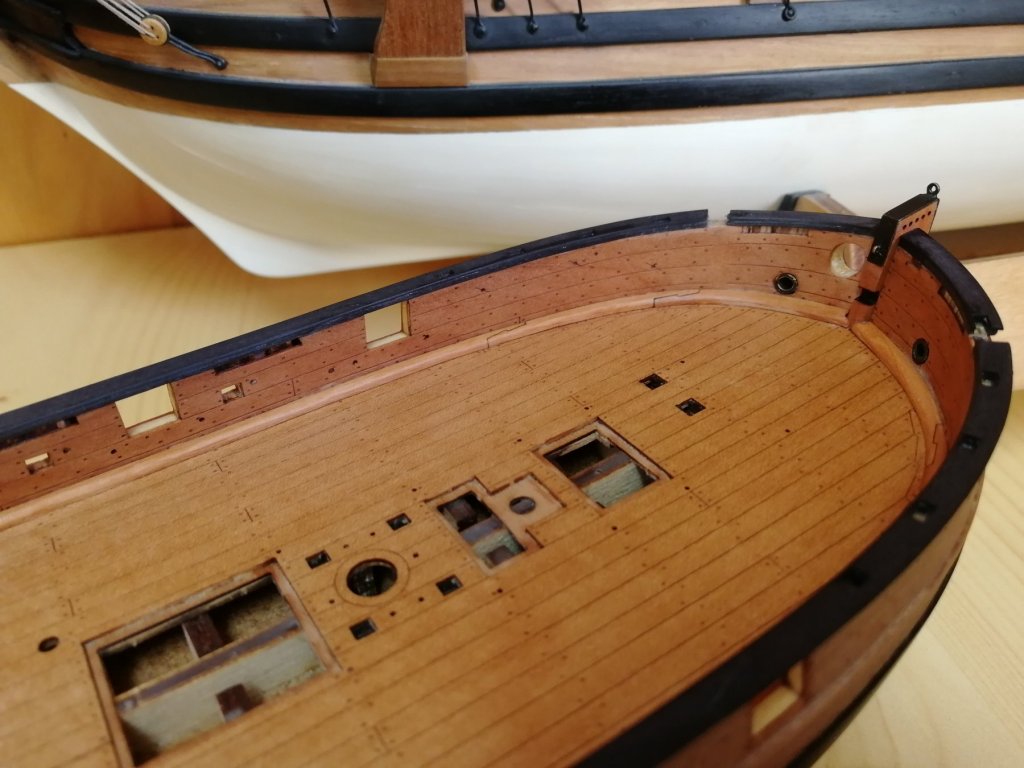
AVOS by Peta_V - FINISHED - Master Korabel - scale 1/72 (exclusive kit) - Russian tender
in - Kit build logs for subjects built from 1801 - 1850
Posted
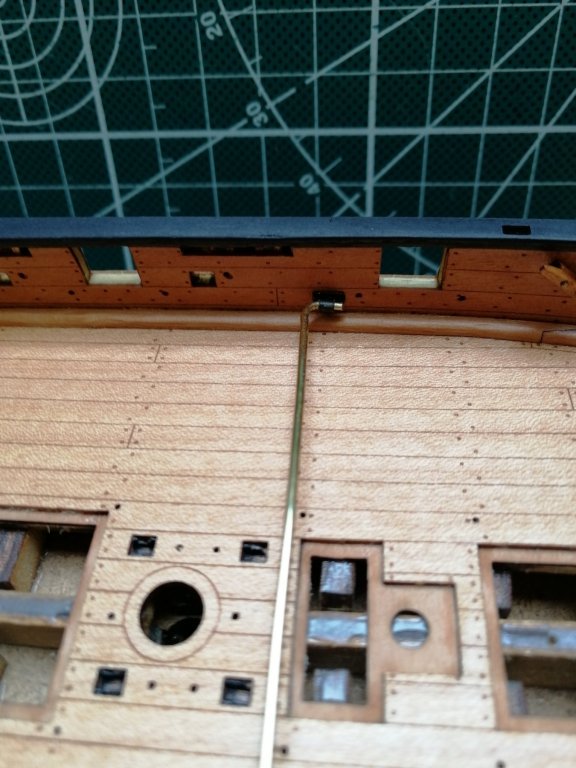
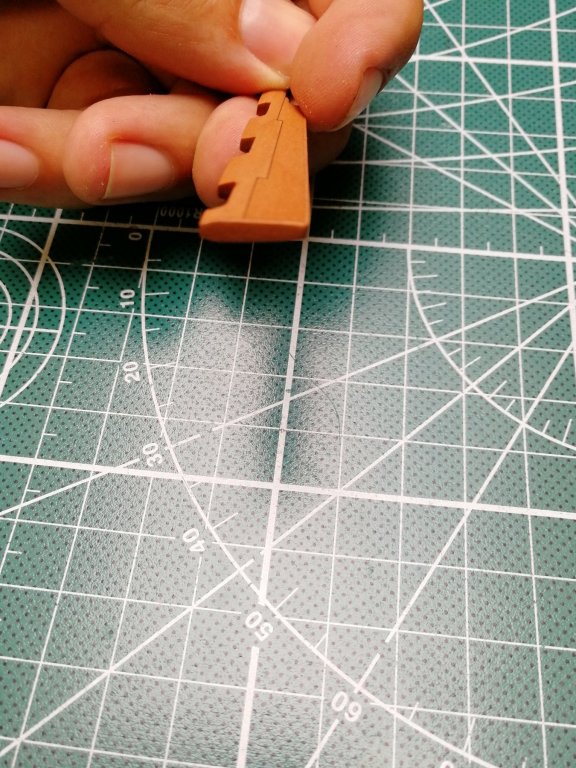
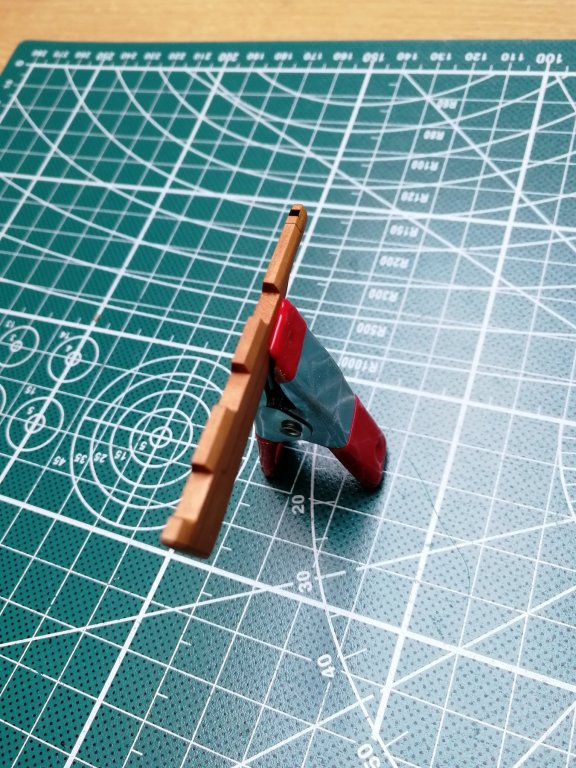
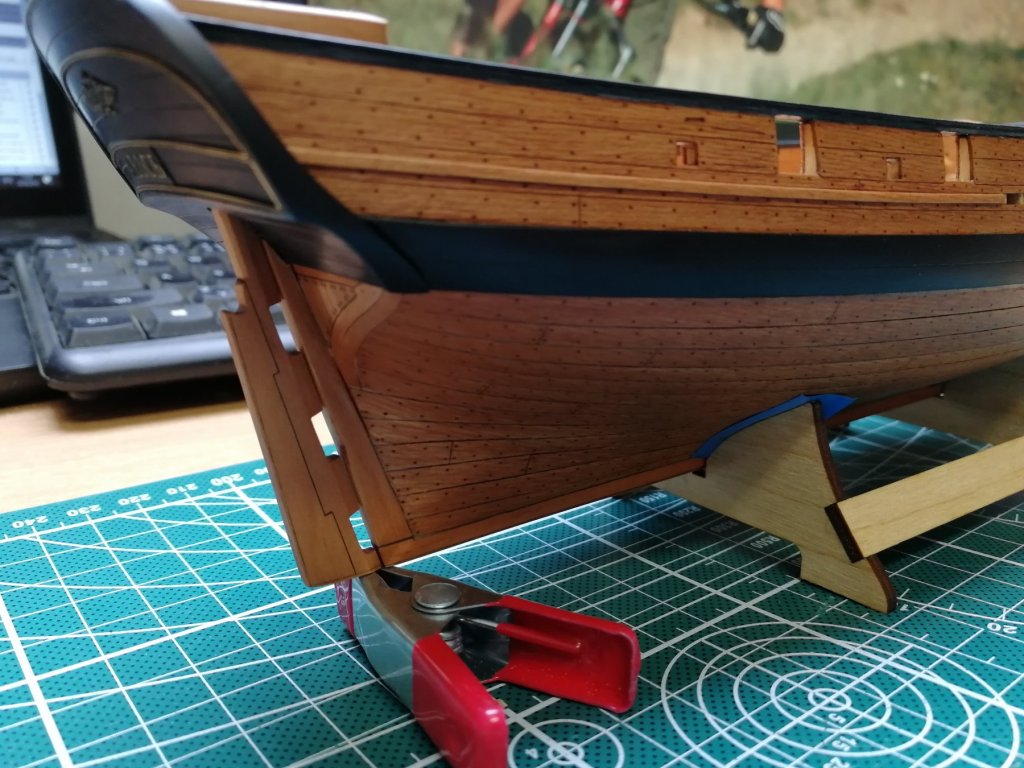
Rudder. You start from the photoetched part that needs to be bent to create a "hook". I have then silversolder the edges and smooth it with file. Blackening and the irons are ready.
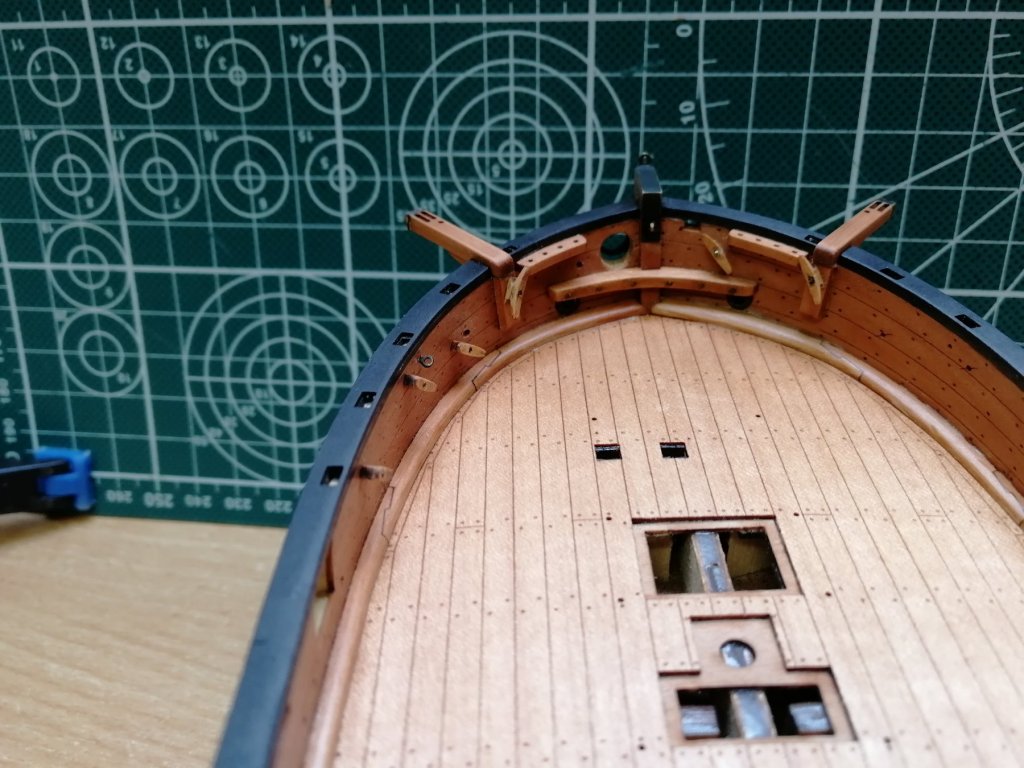
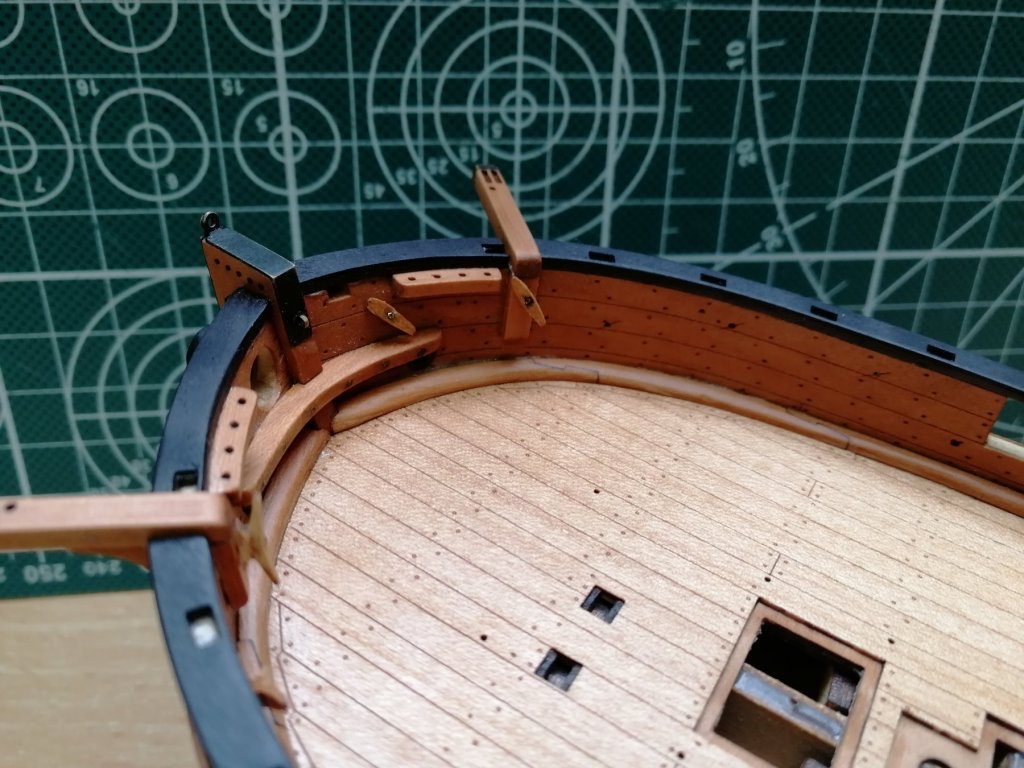
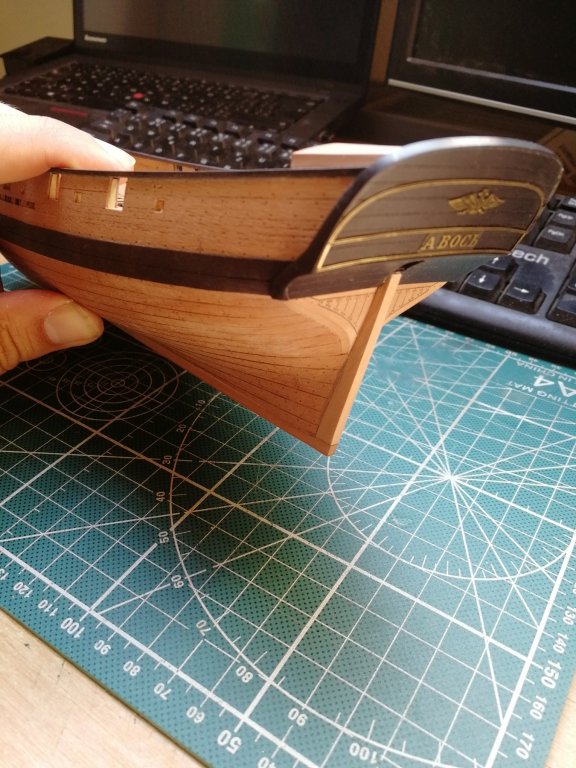
I have added the eyebolts and decoration of the transom
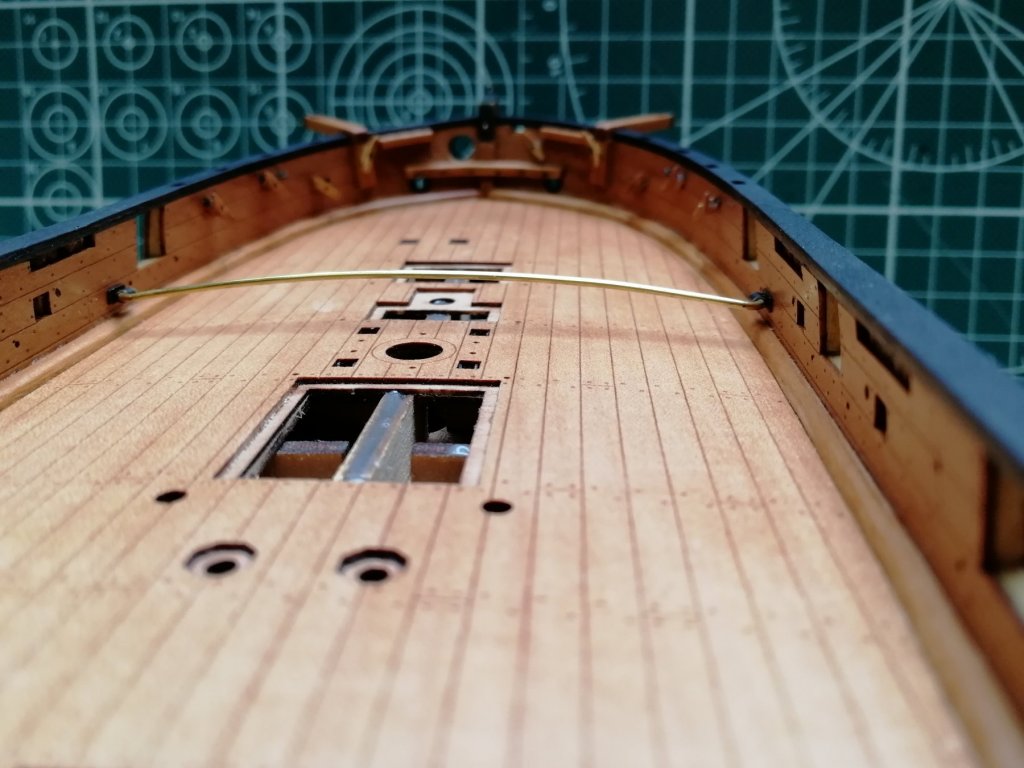
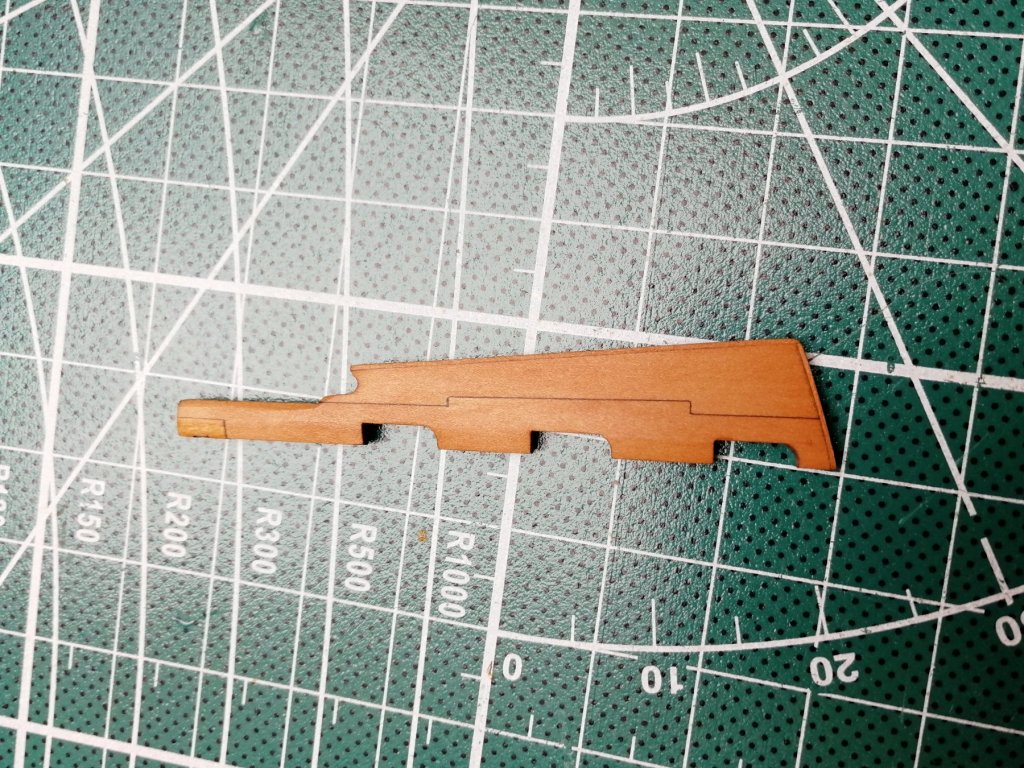
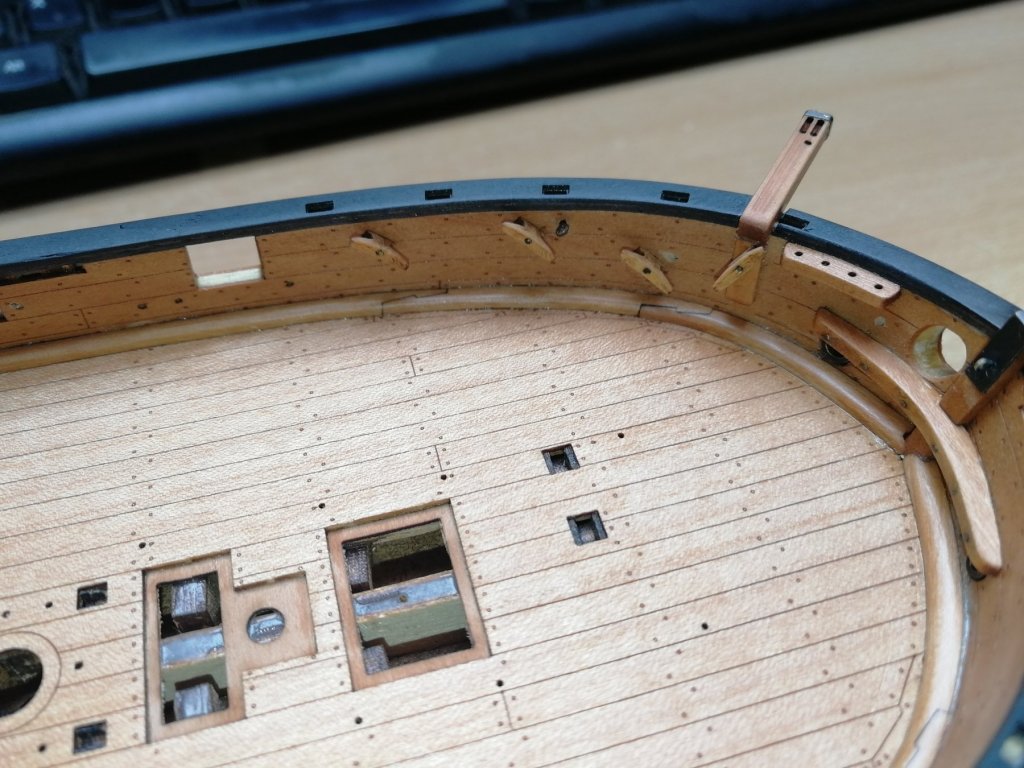
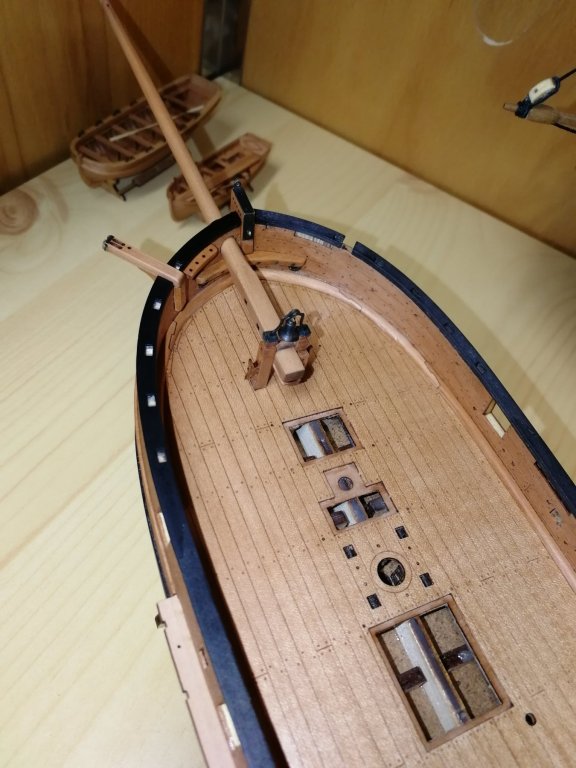
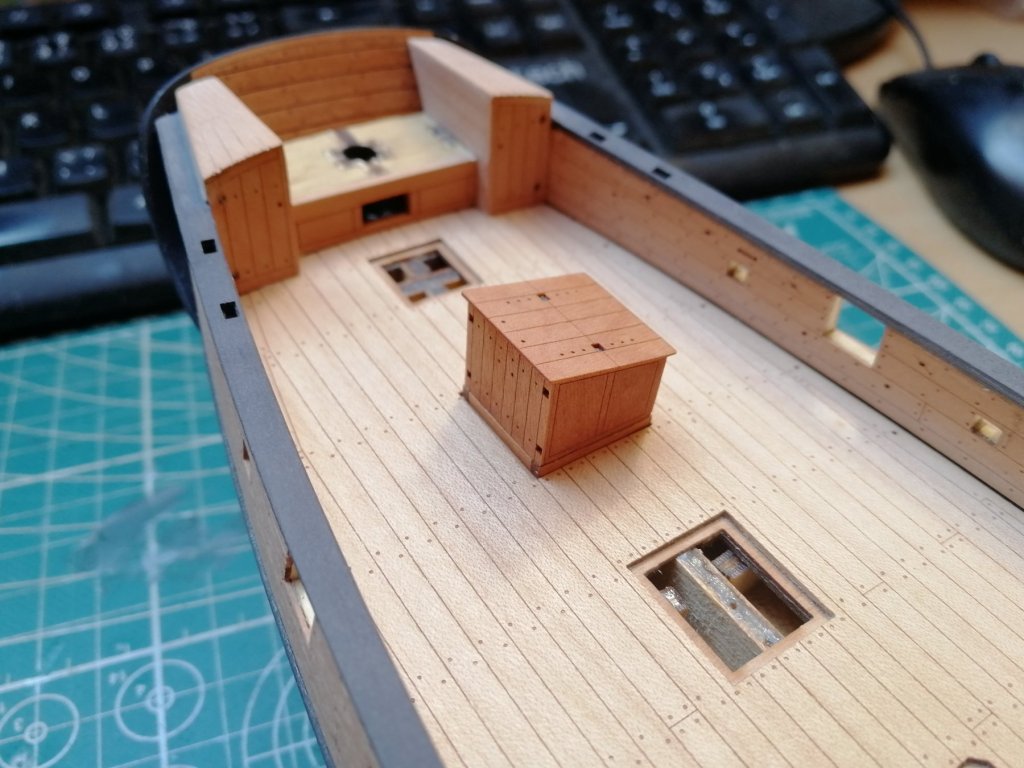
And starting preparations of the deck furniture