

Peta_V
-
Posts
351 -
Joined
-
Last visited
Content Type
Profiles
Forums
Gallery
Events
Posts posted by Peta_V
-
-
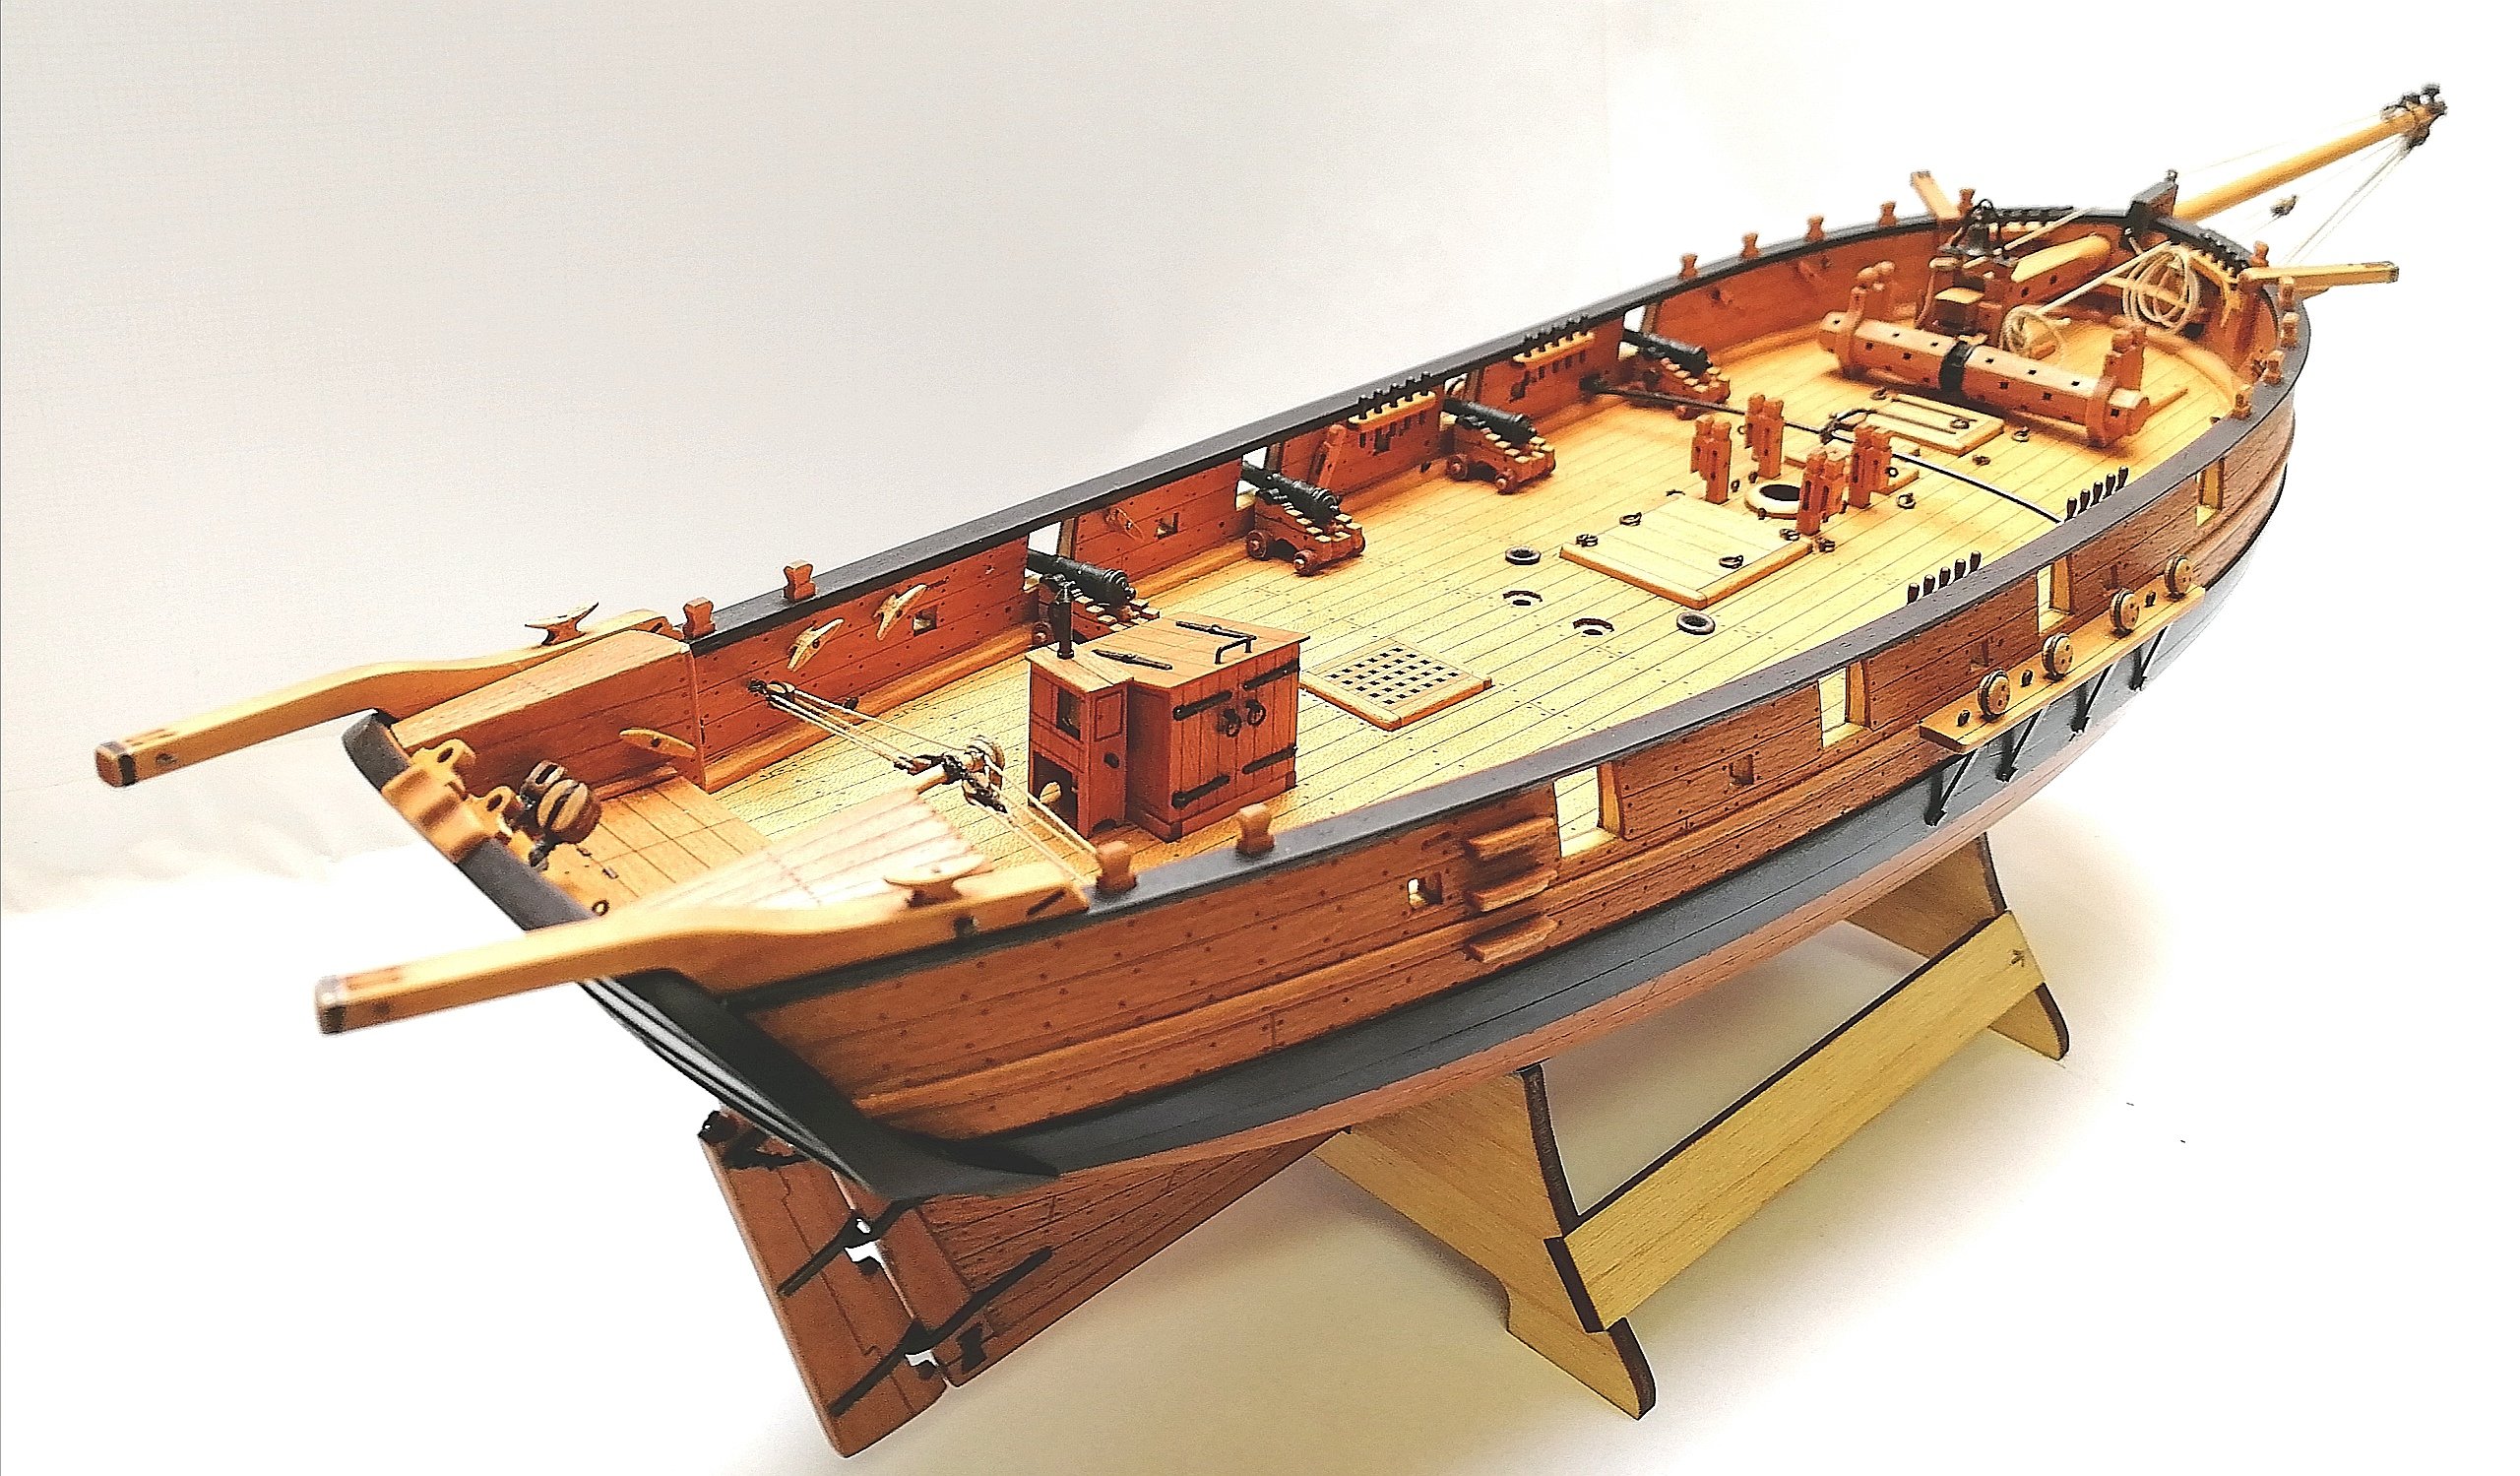
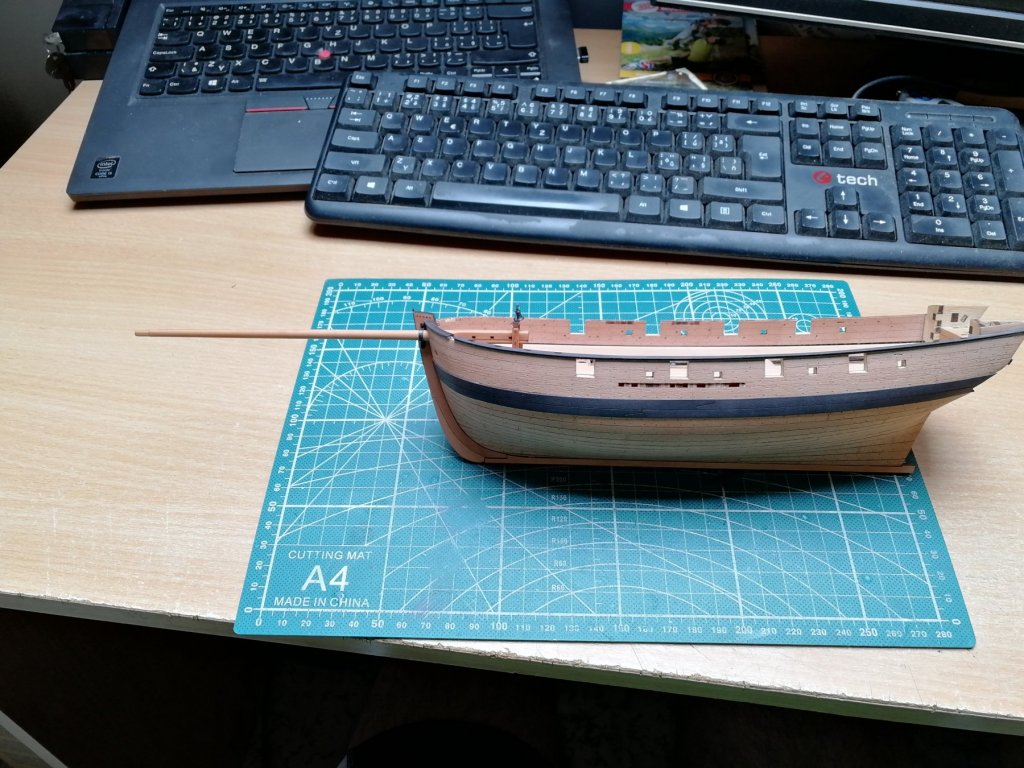
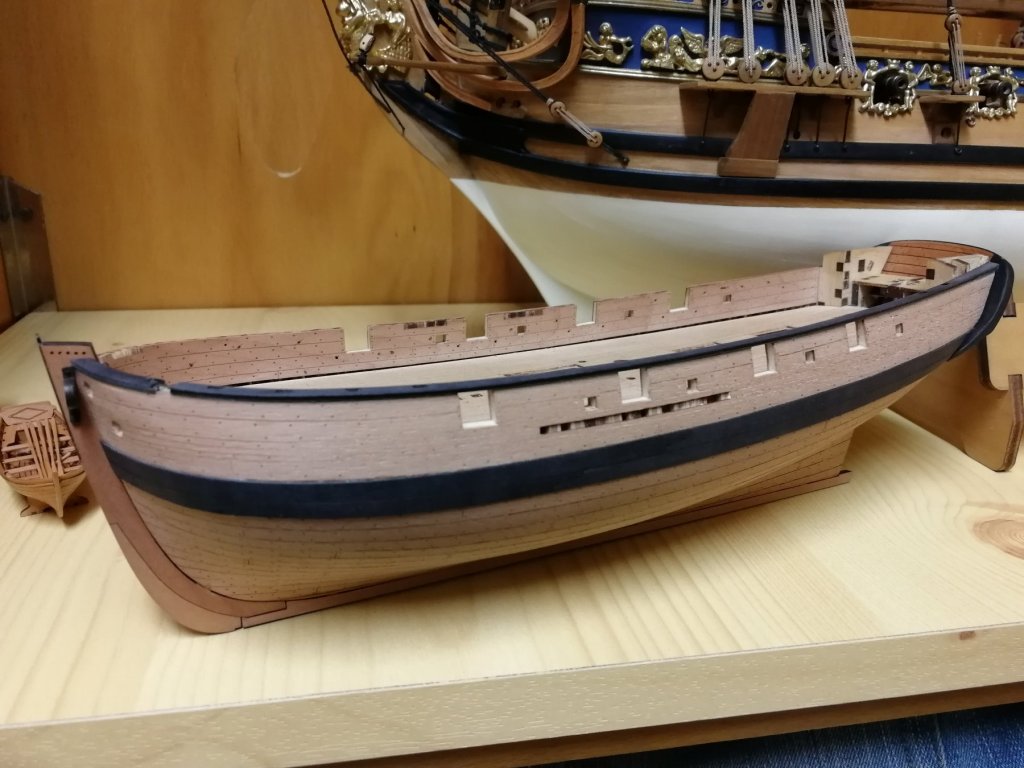
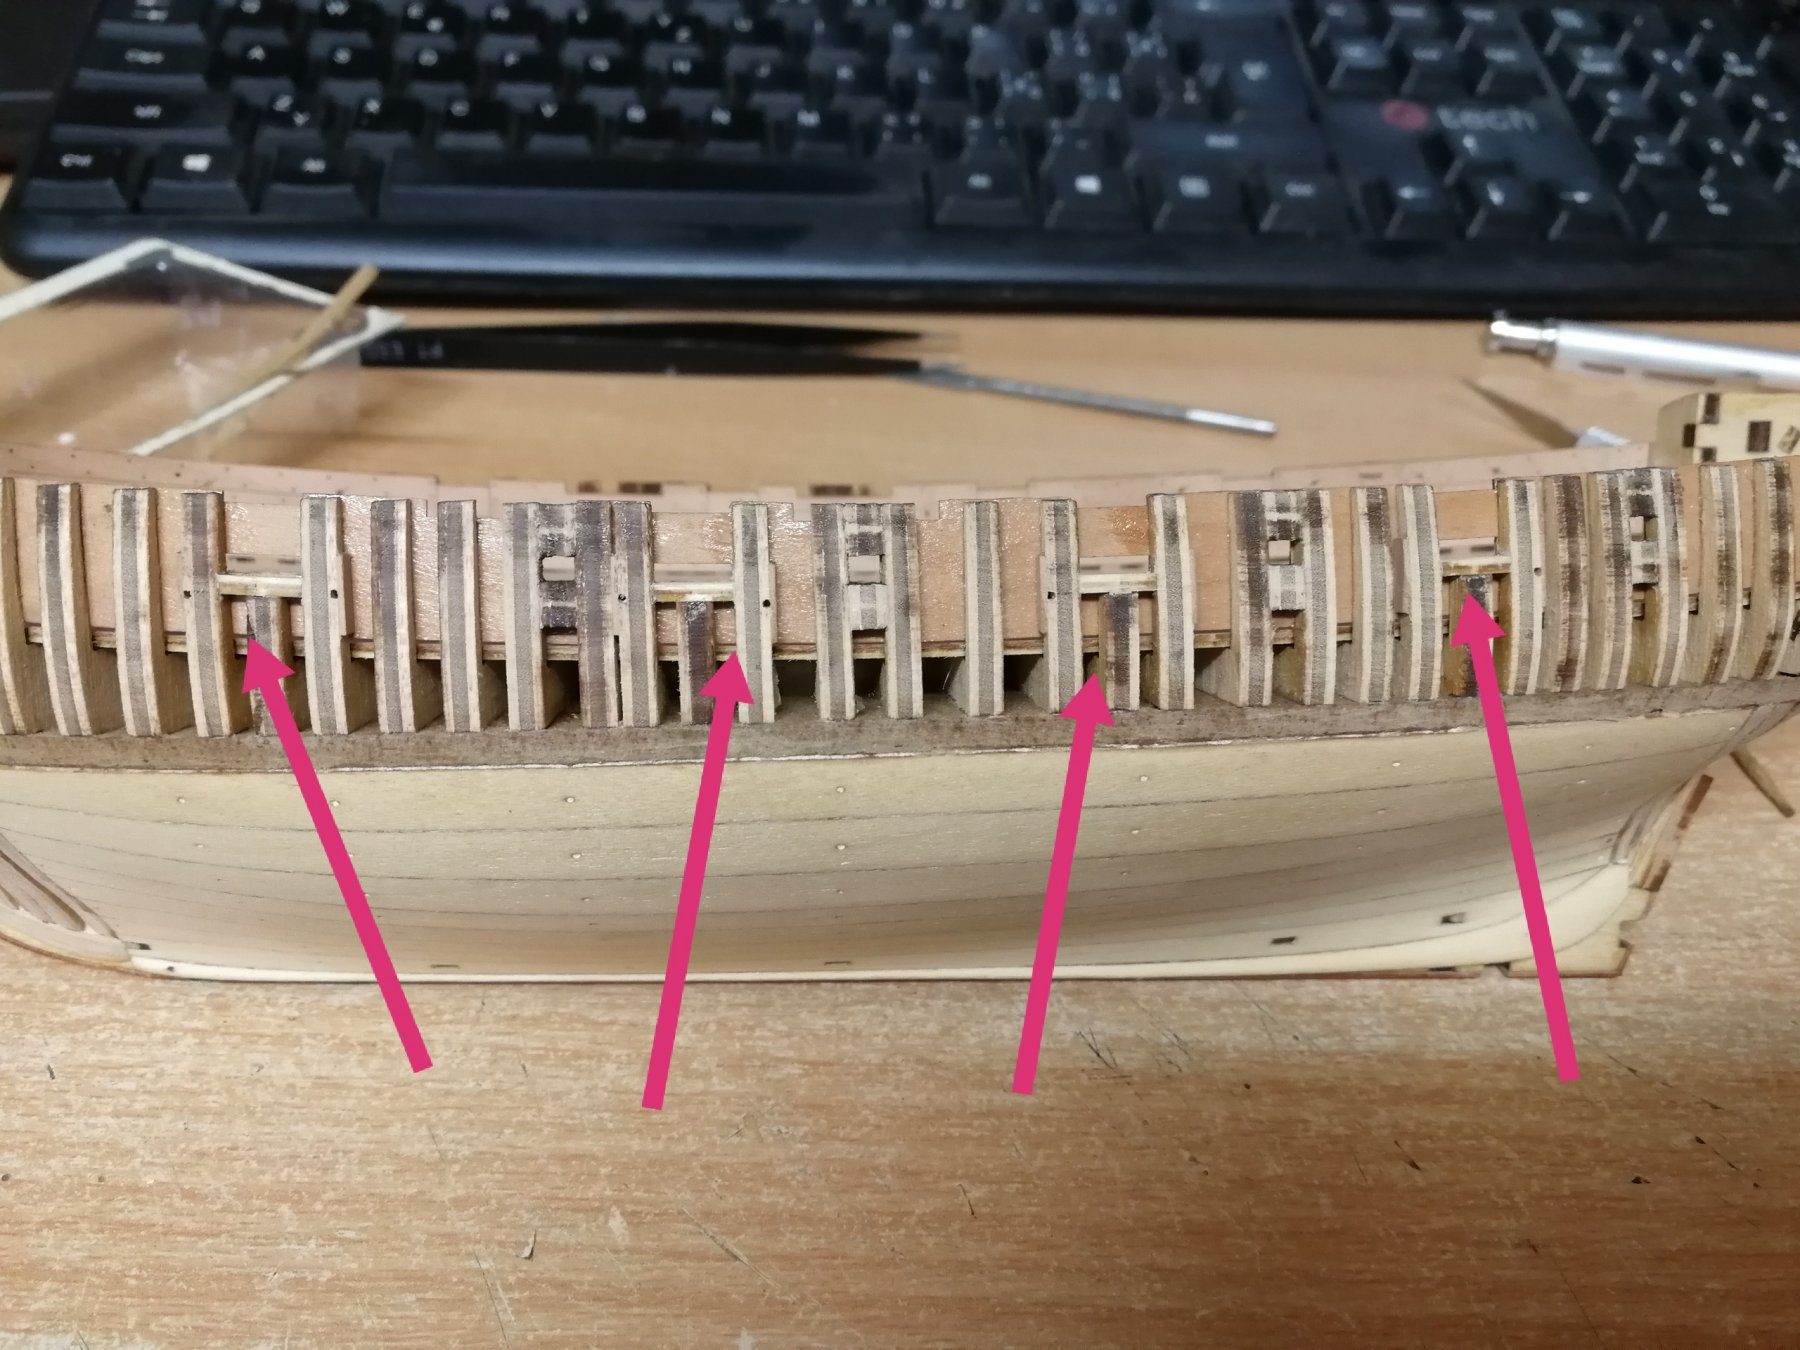
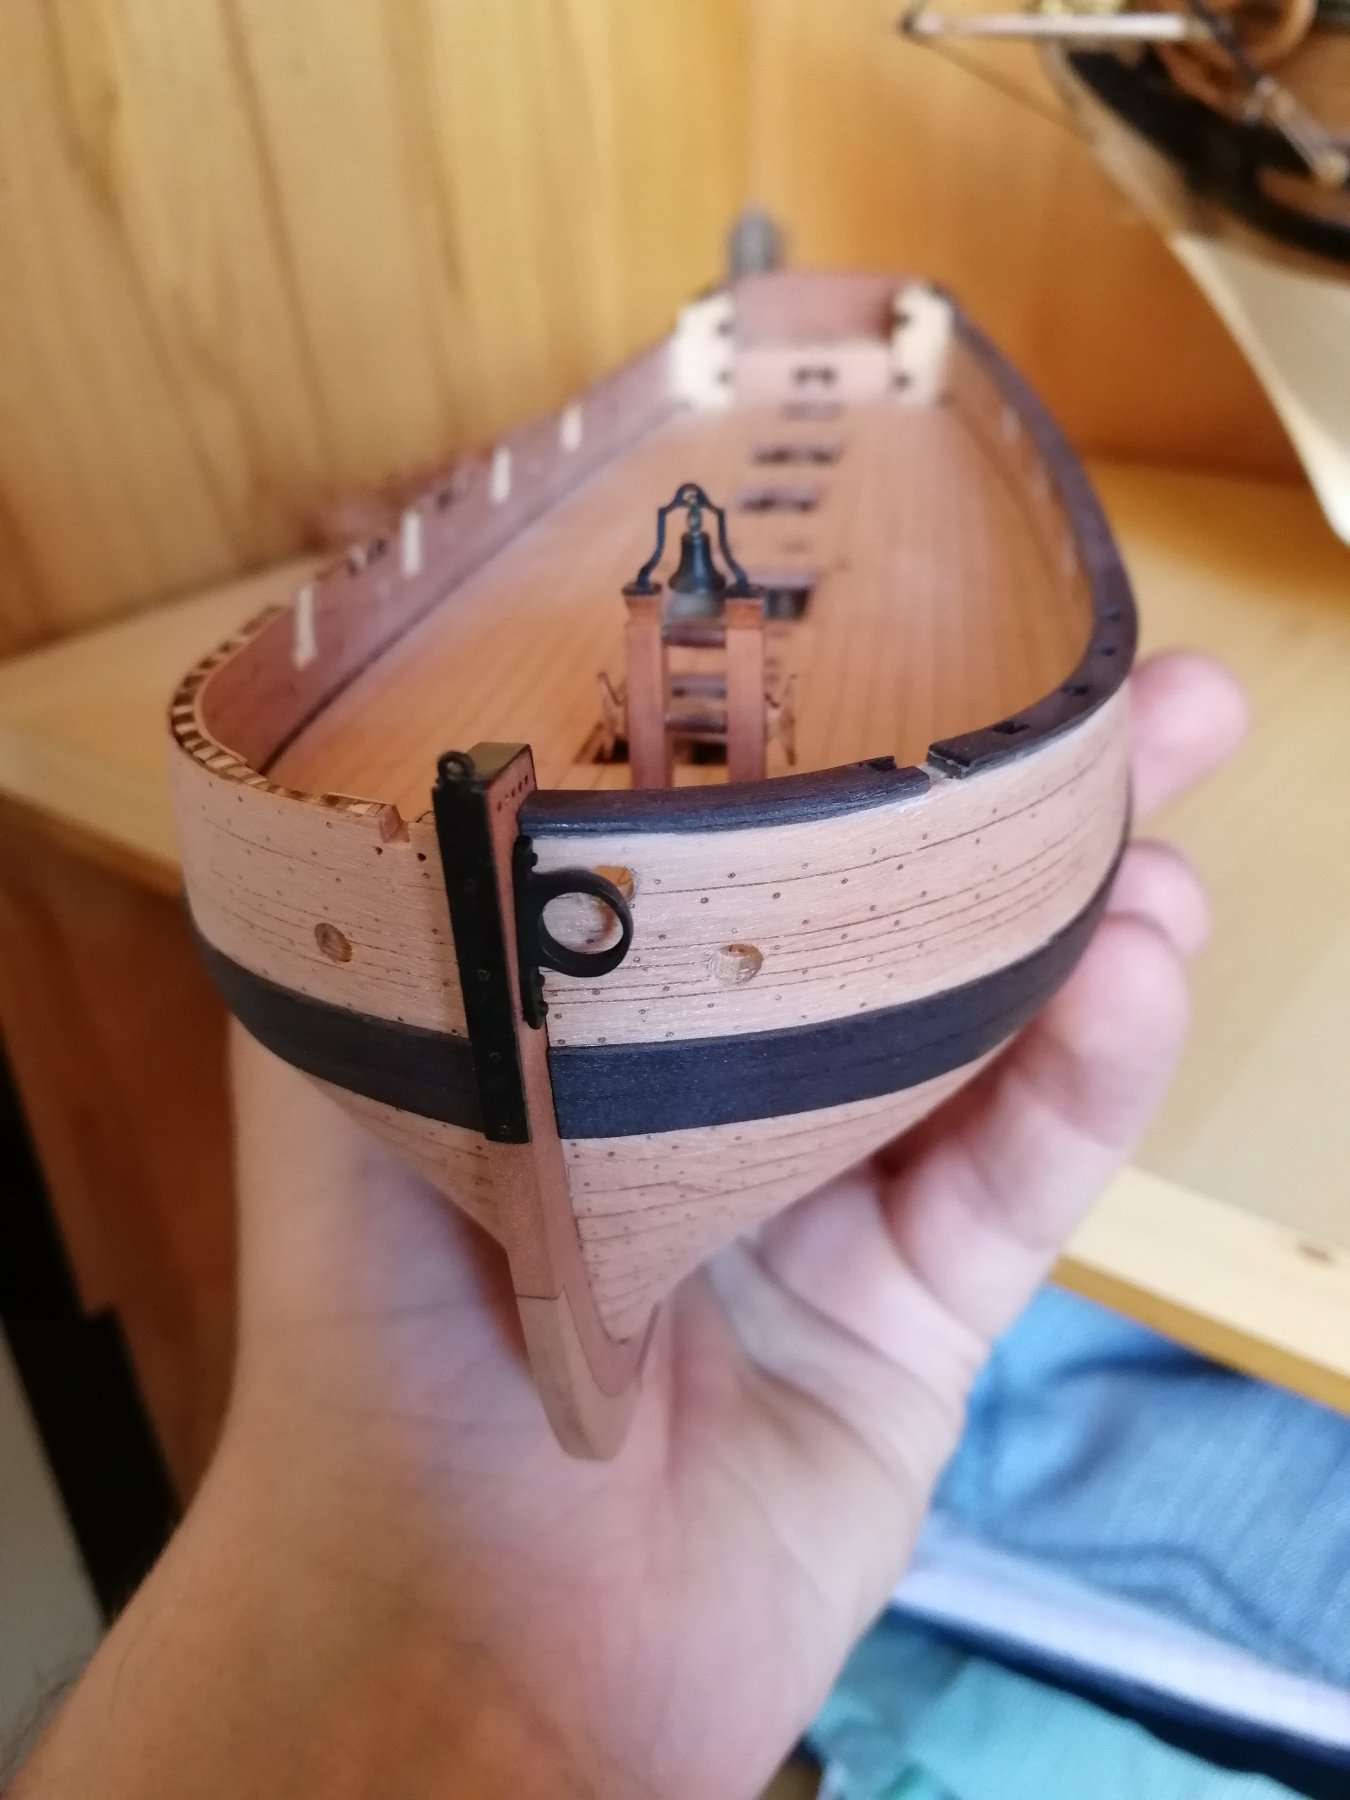
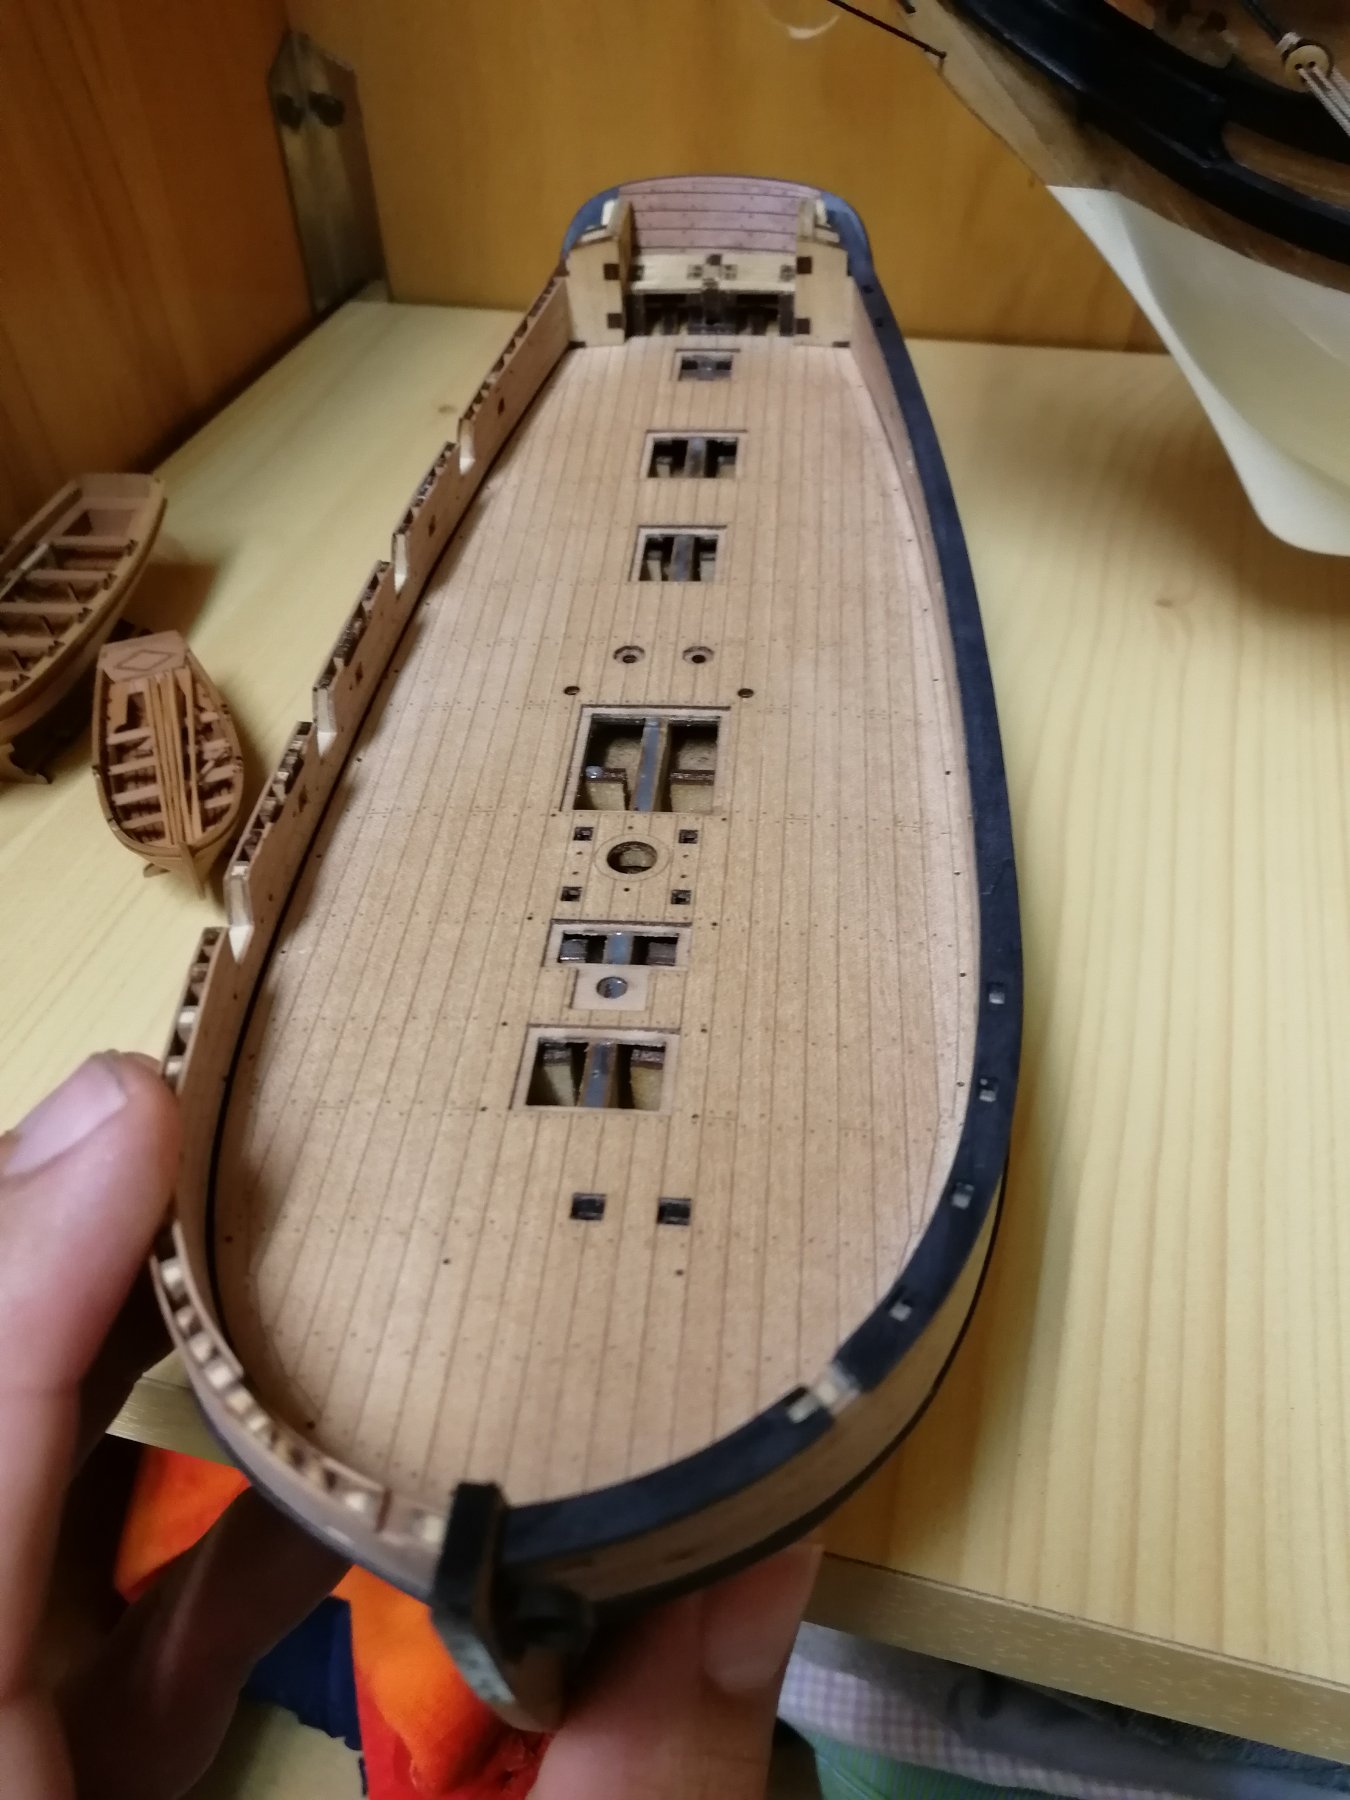
Second bulwark rail in place, it needs the final sending still. I have started planking the deck furniture. First latrine under the planks.

- BenD, Mirabell61, etsinko and 14 others
-
 17
17
-
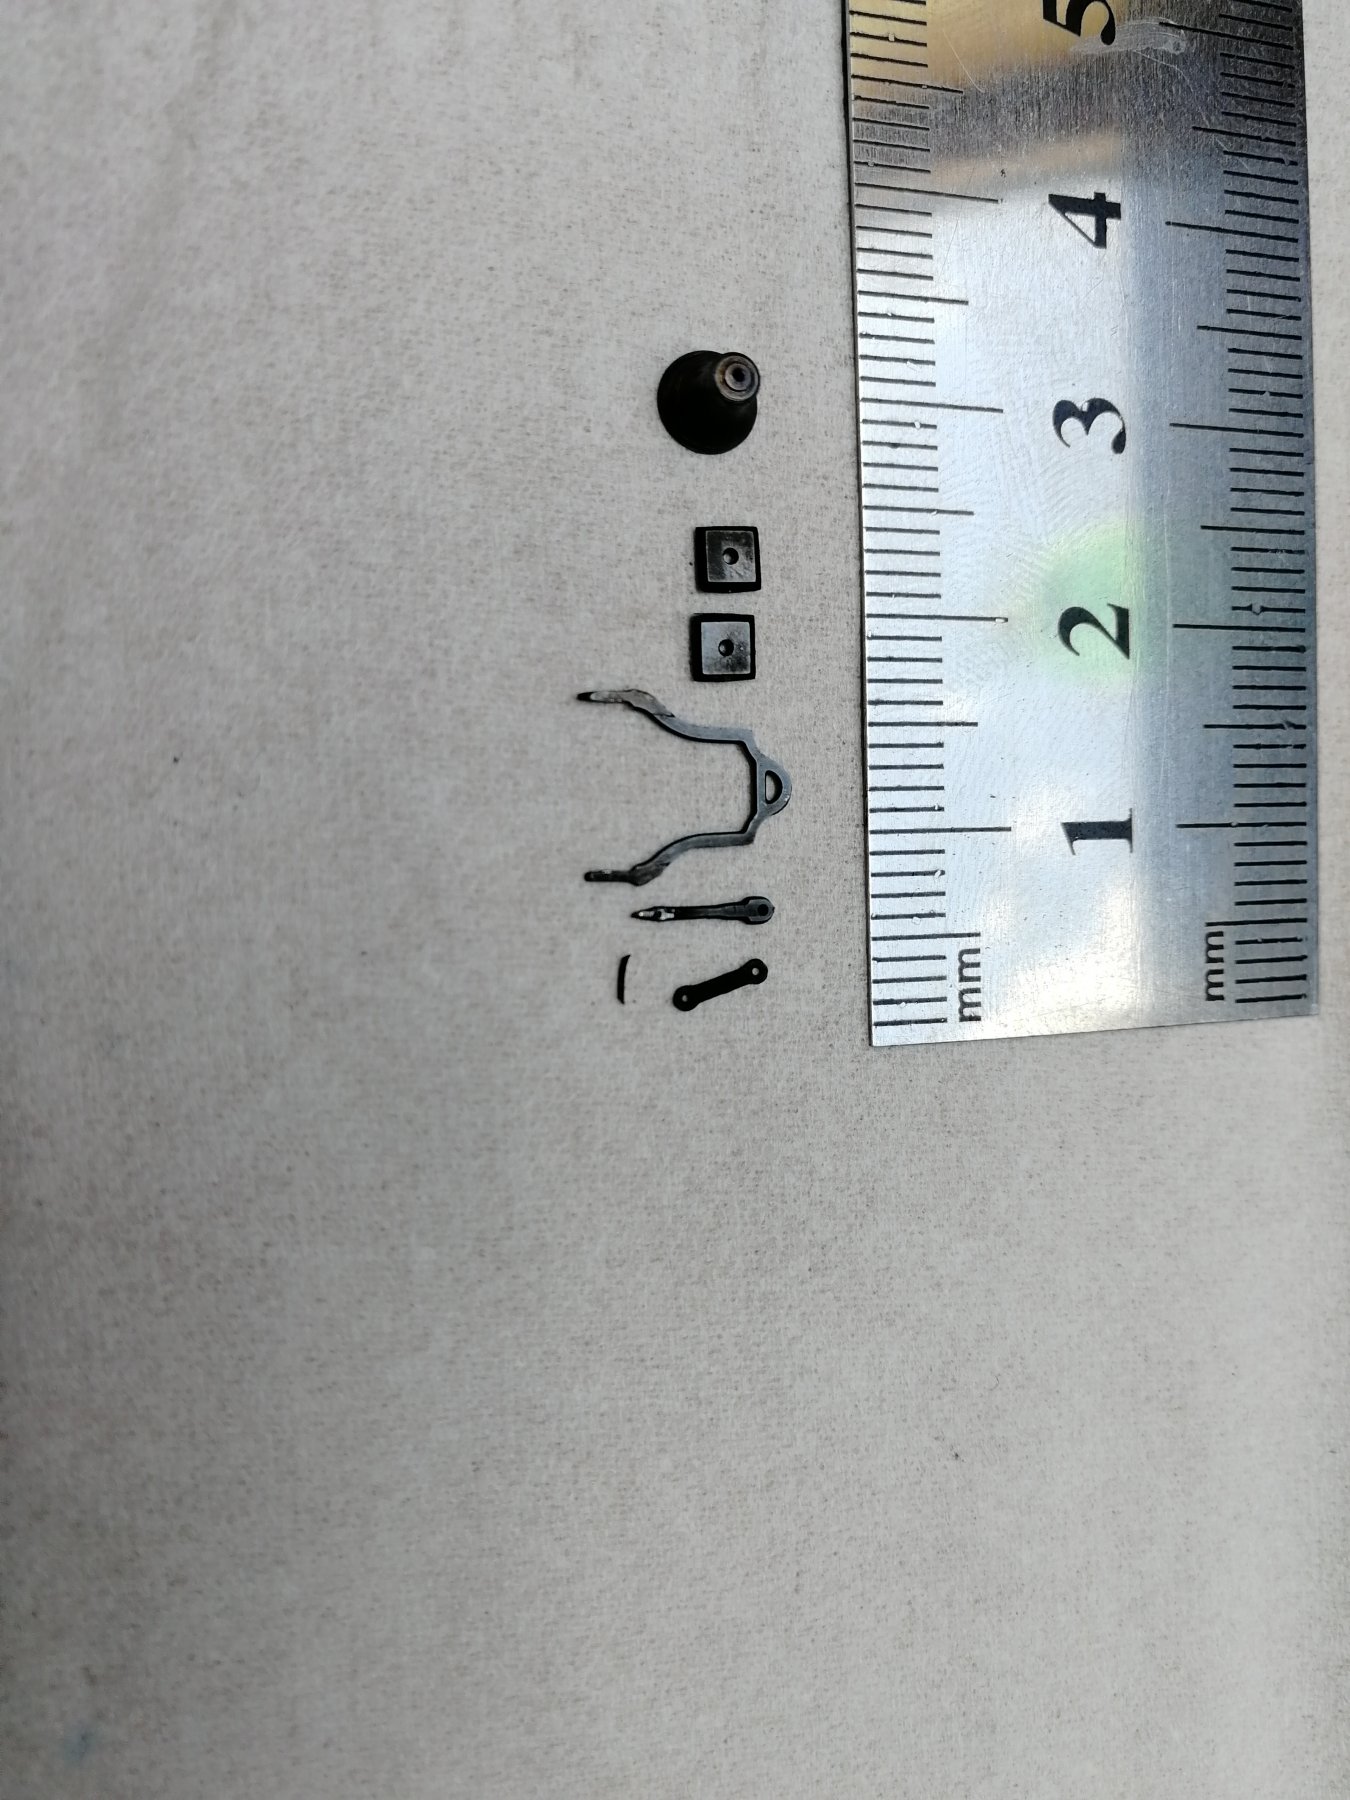
@DPK I completely got your point and agree. The complexity of the build is quite high and it is more and more dificult once I'm coming to the details.
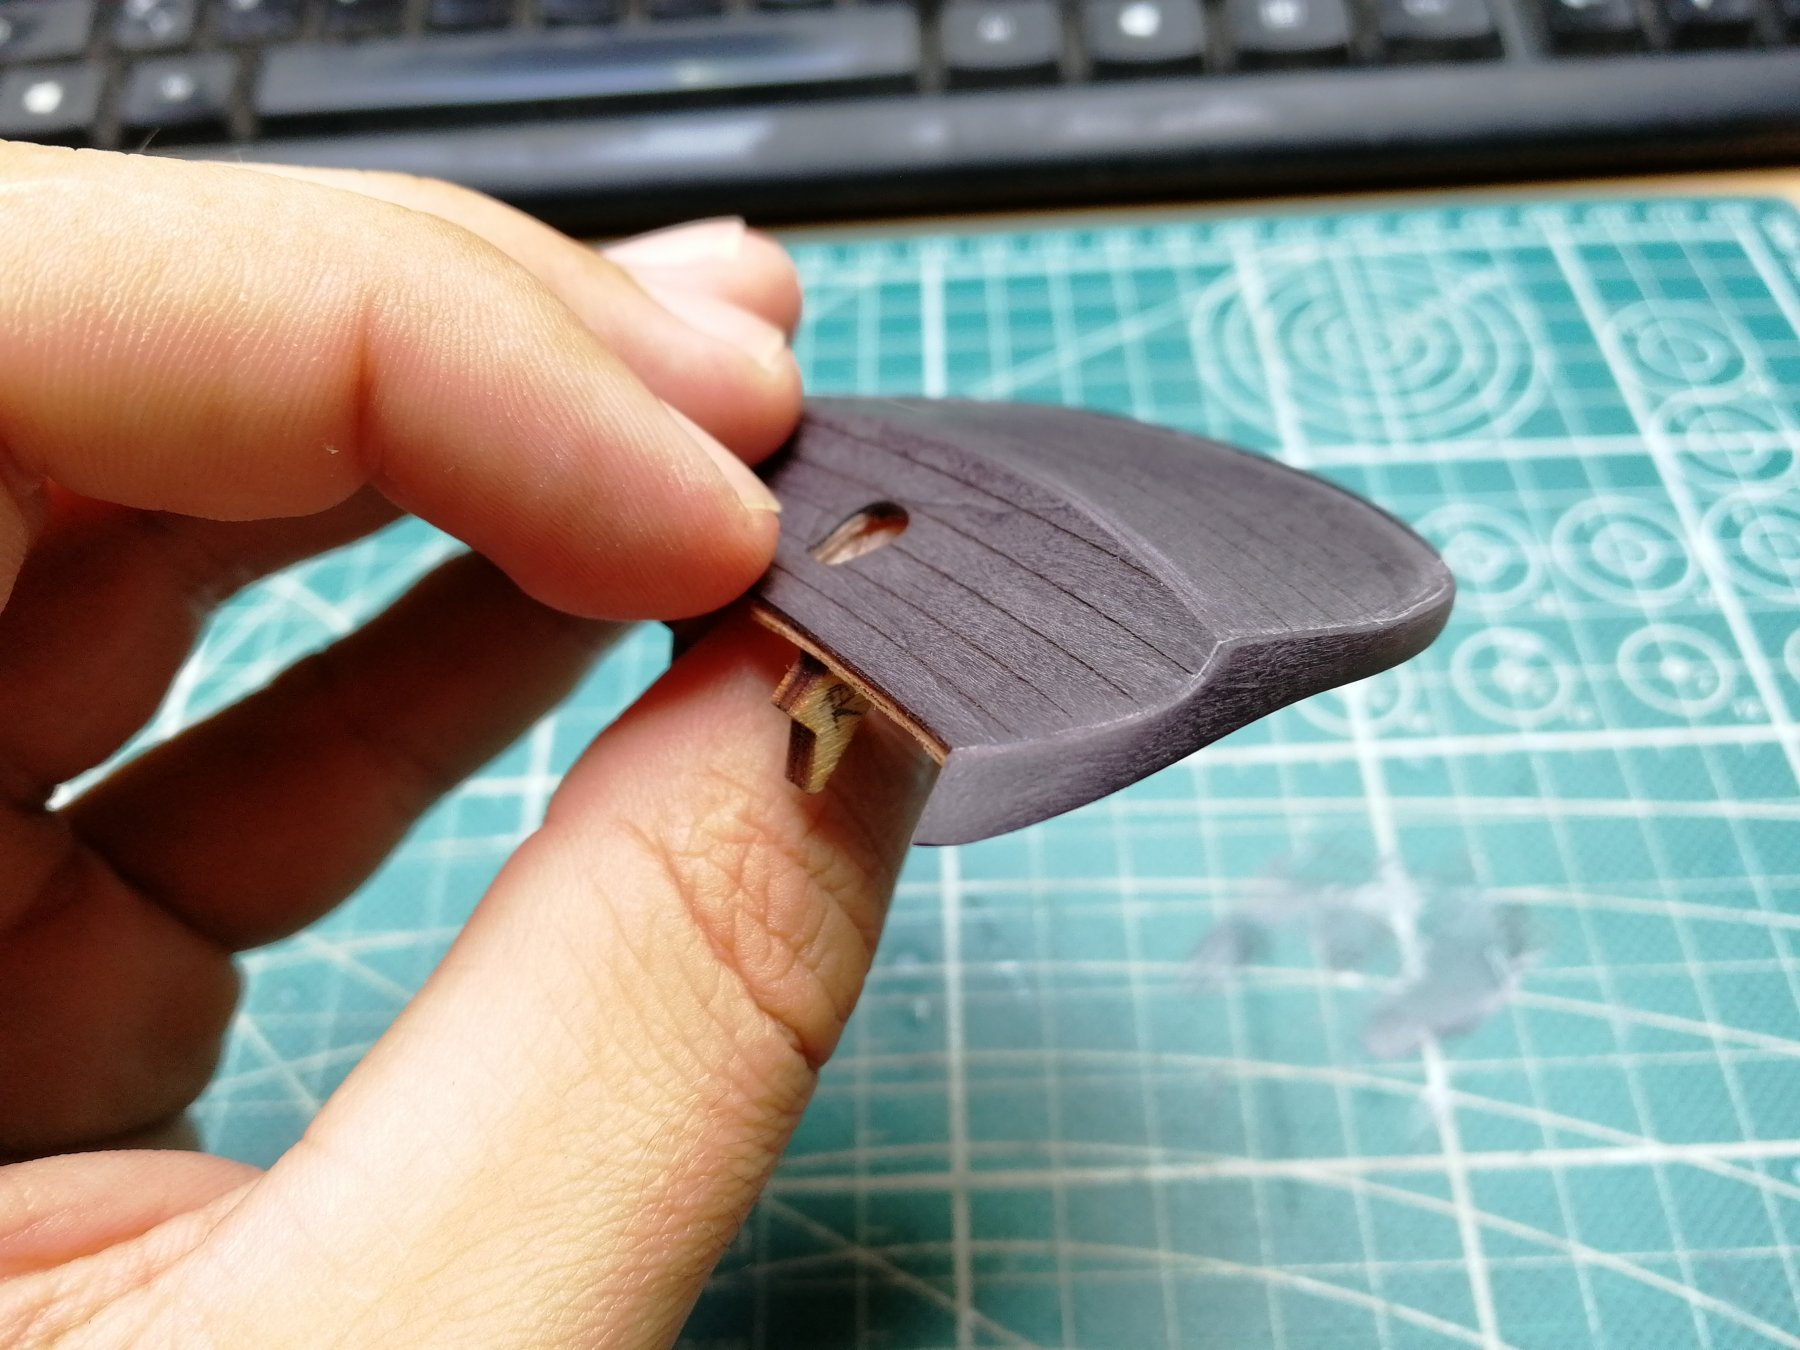
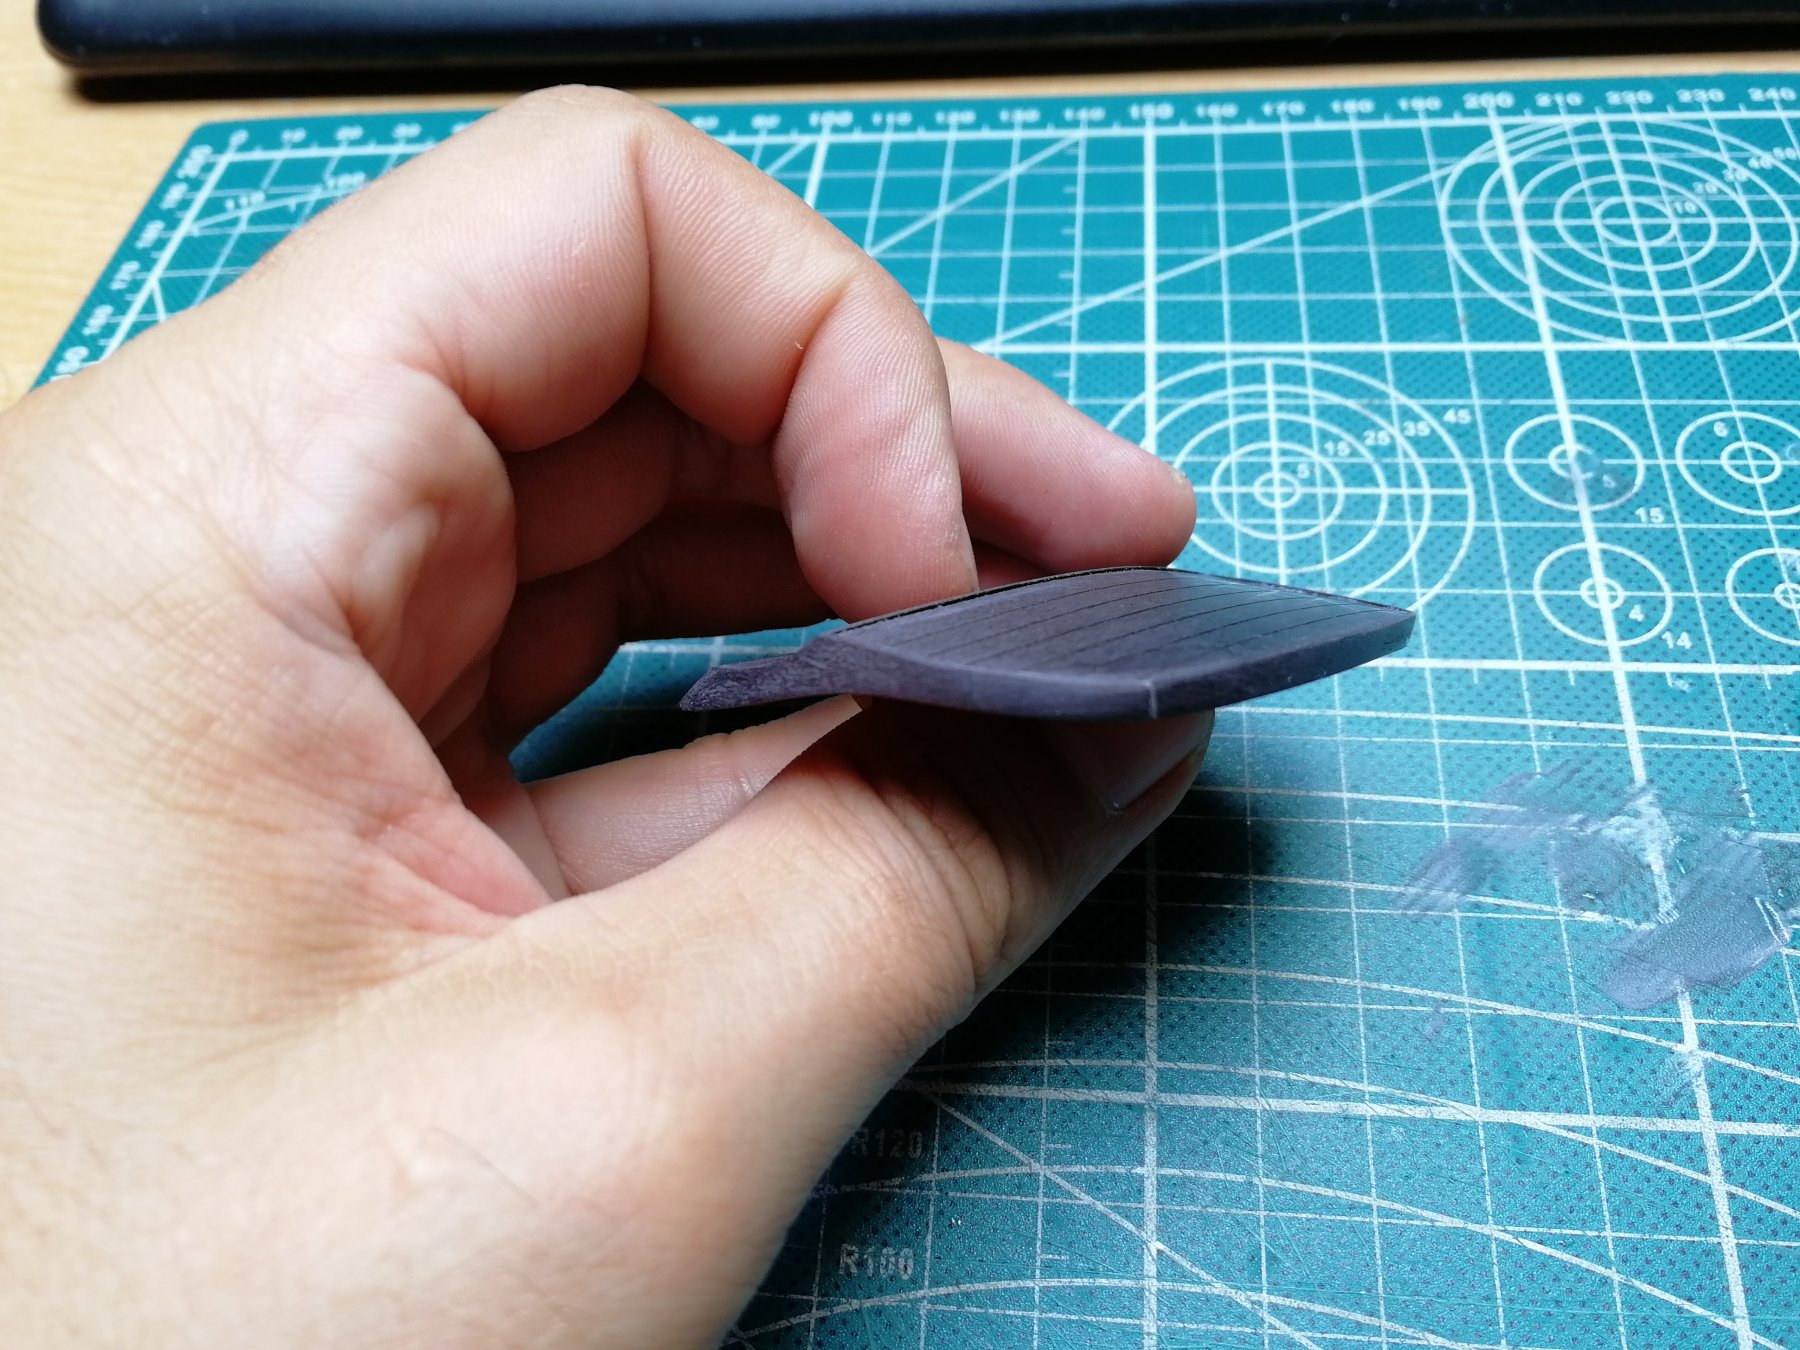
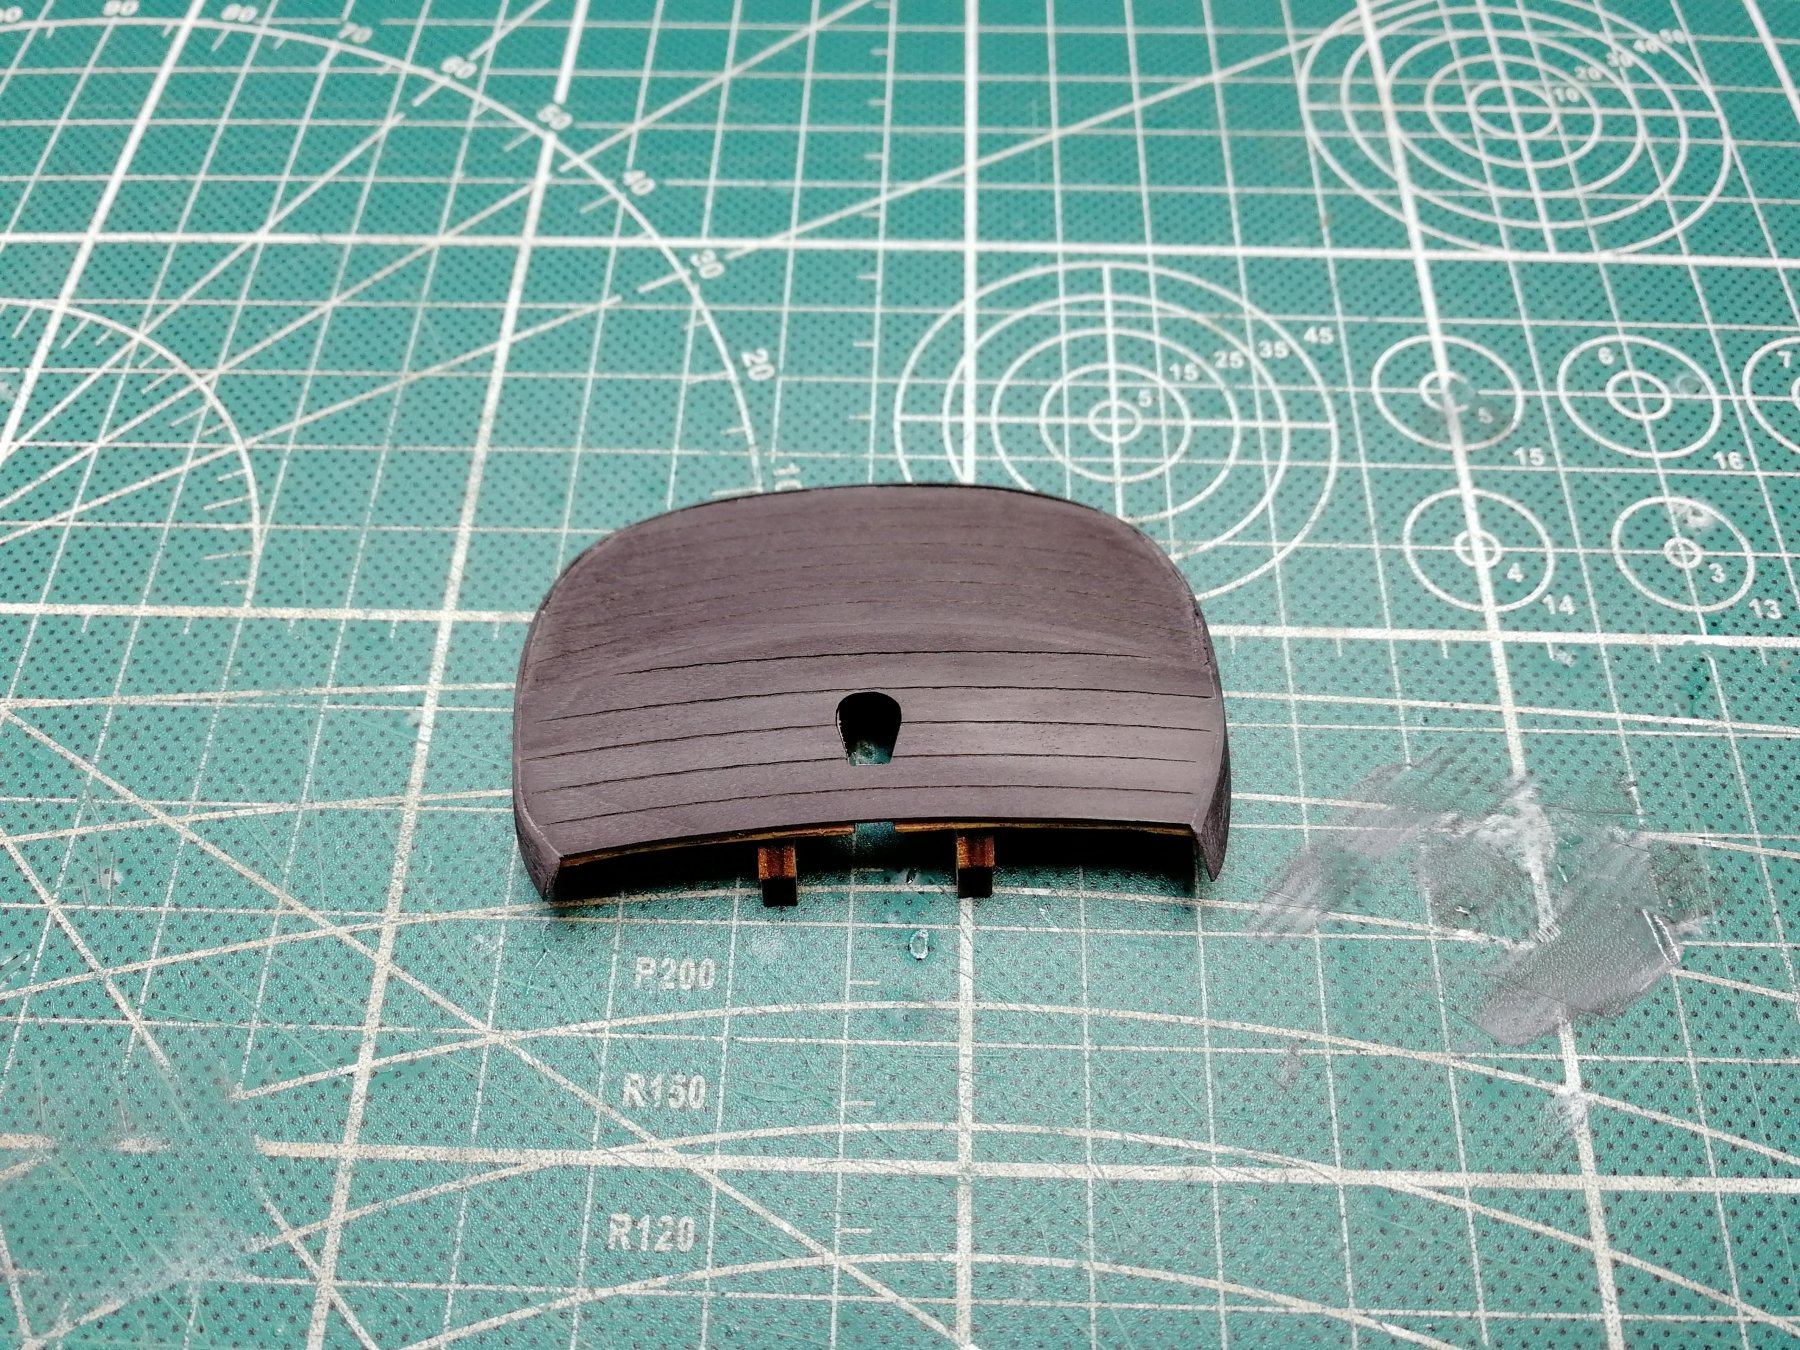
I have one more question.... It is on more placnes but now I'm about to finish latrine and they have knobs, if I rememder correctly the number it should be 44 and 45 from photo etched plate. Both are full circles. It is meant to cut one circle and solder again or how should I progress There? If I do solder I would use the rounded wire instead of that part. Thanks for the advice!
Btw thanks a lot about compliment regarding the build. Much appreciated!
PetaV
-
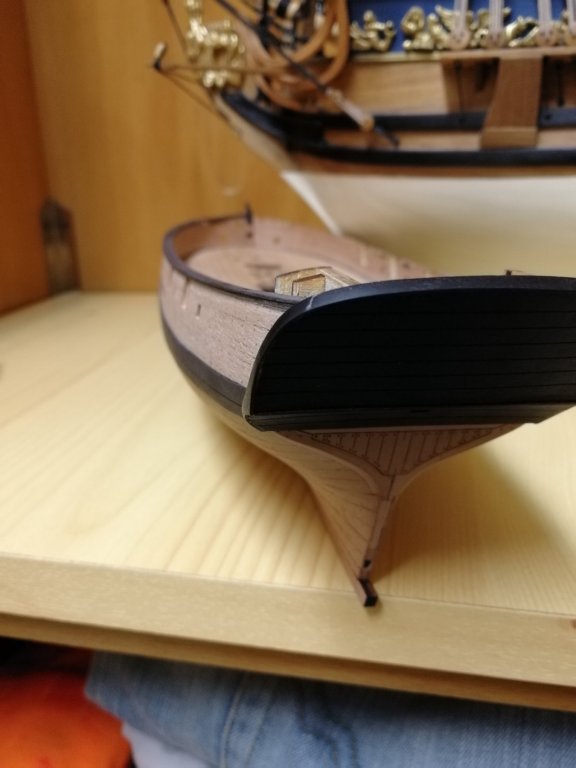
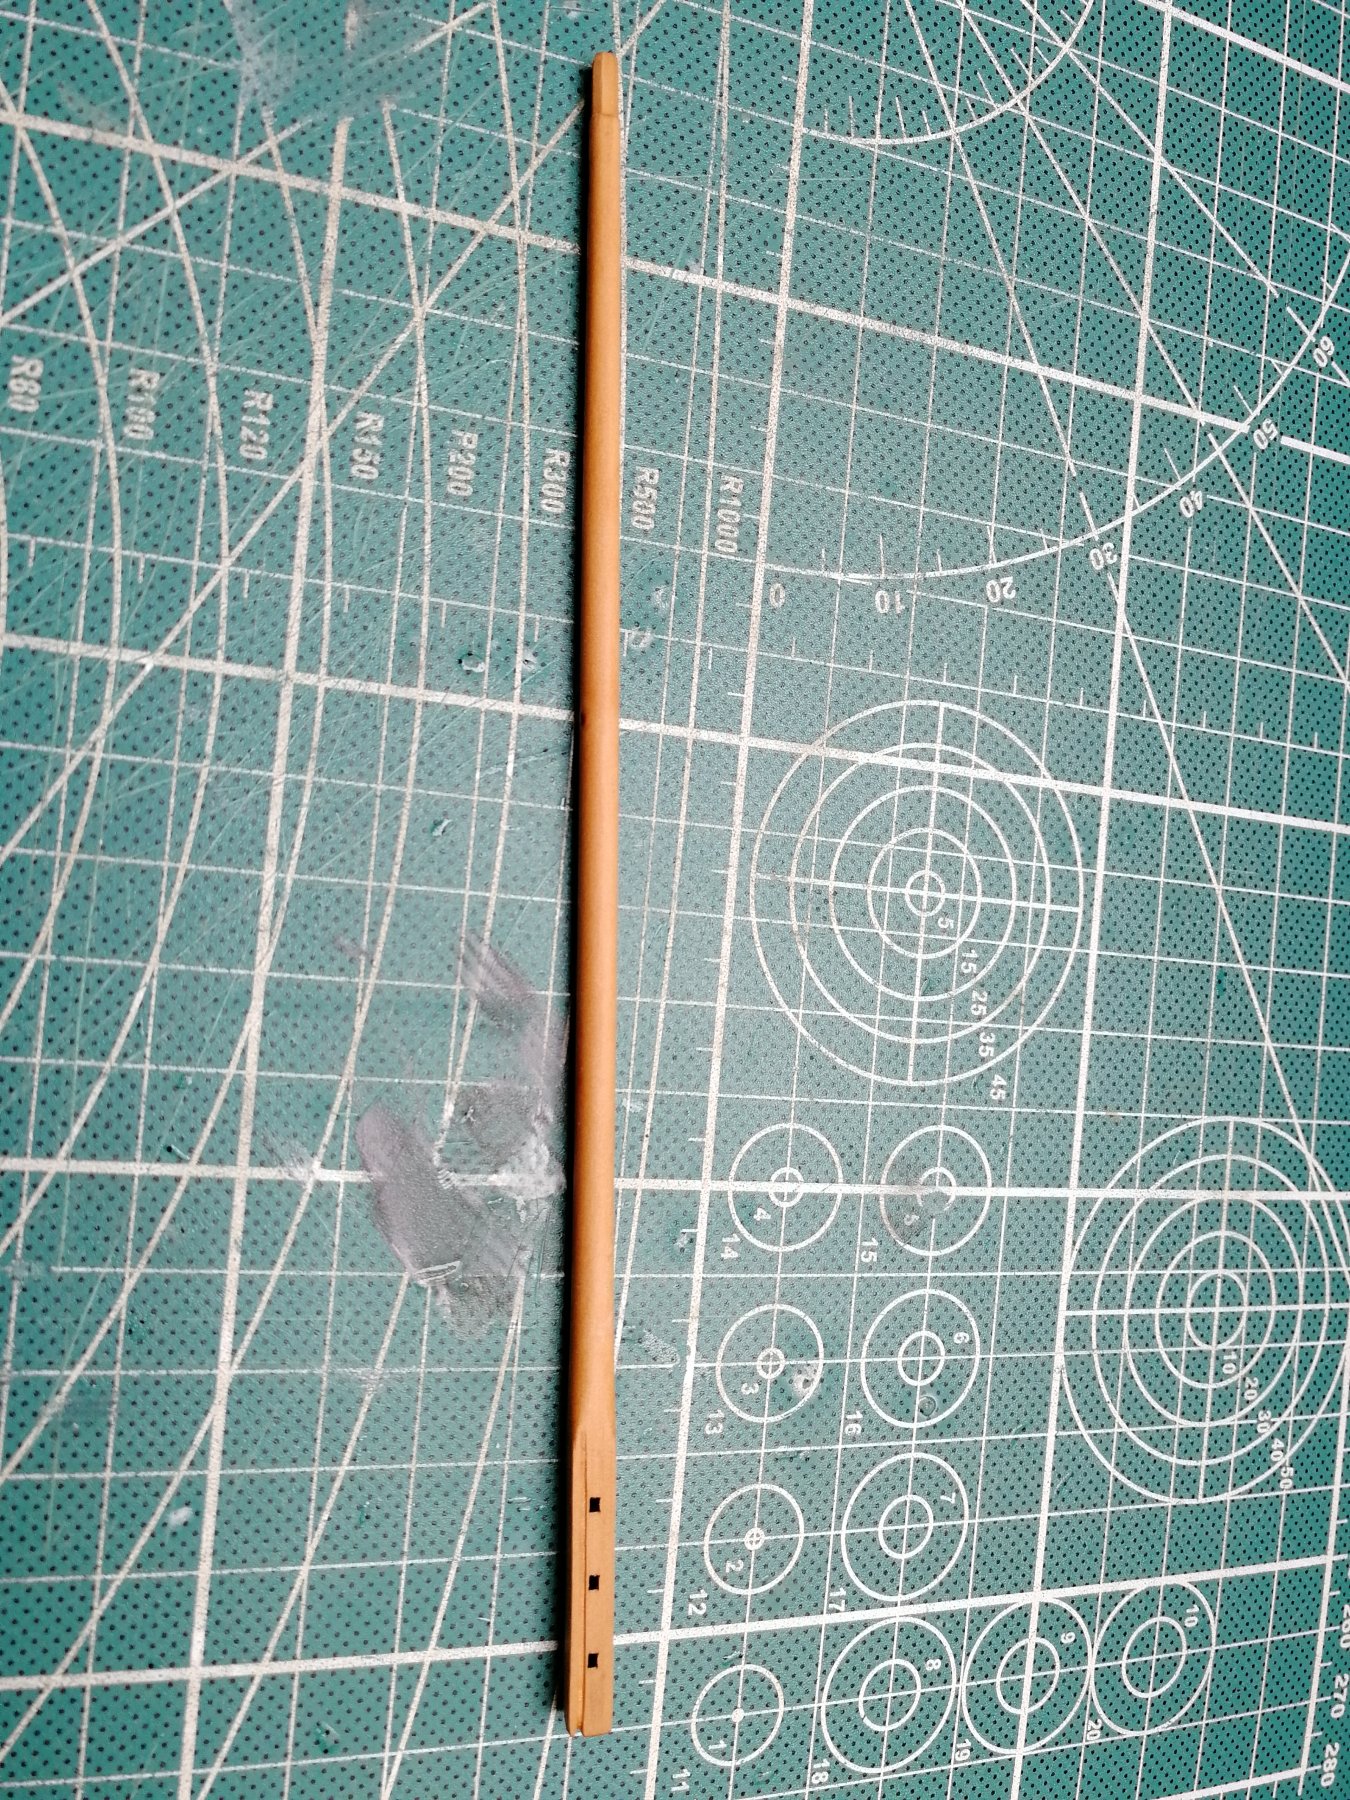
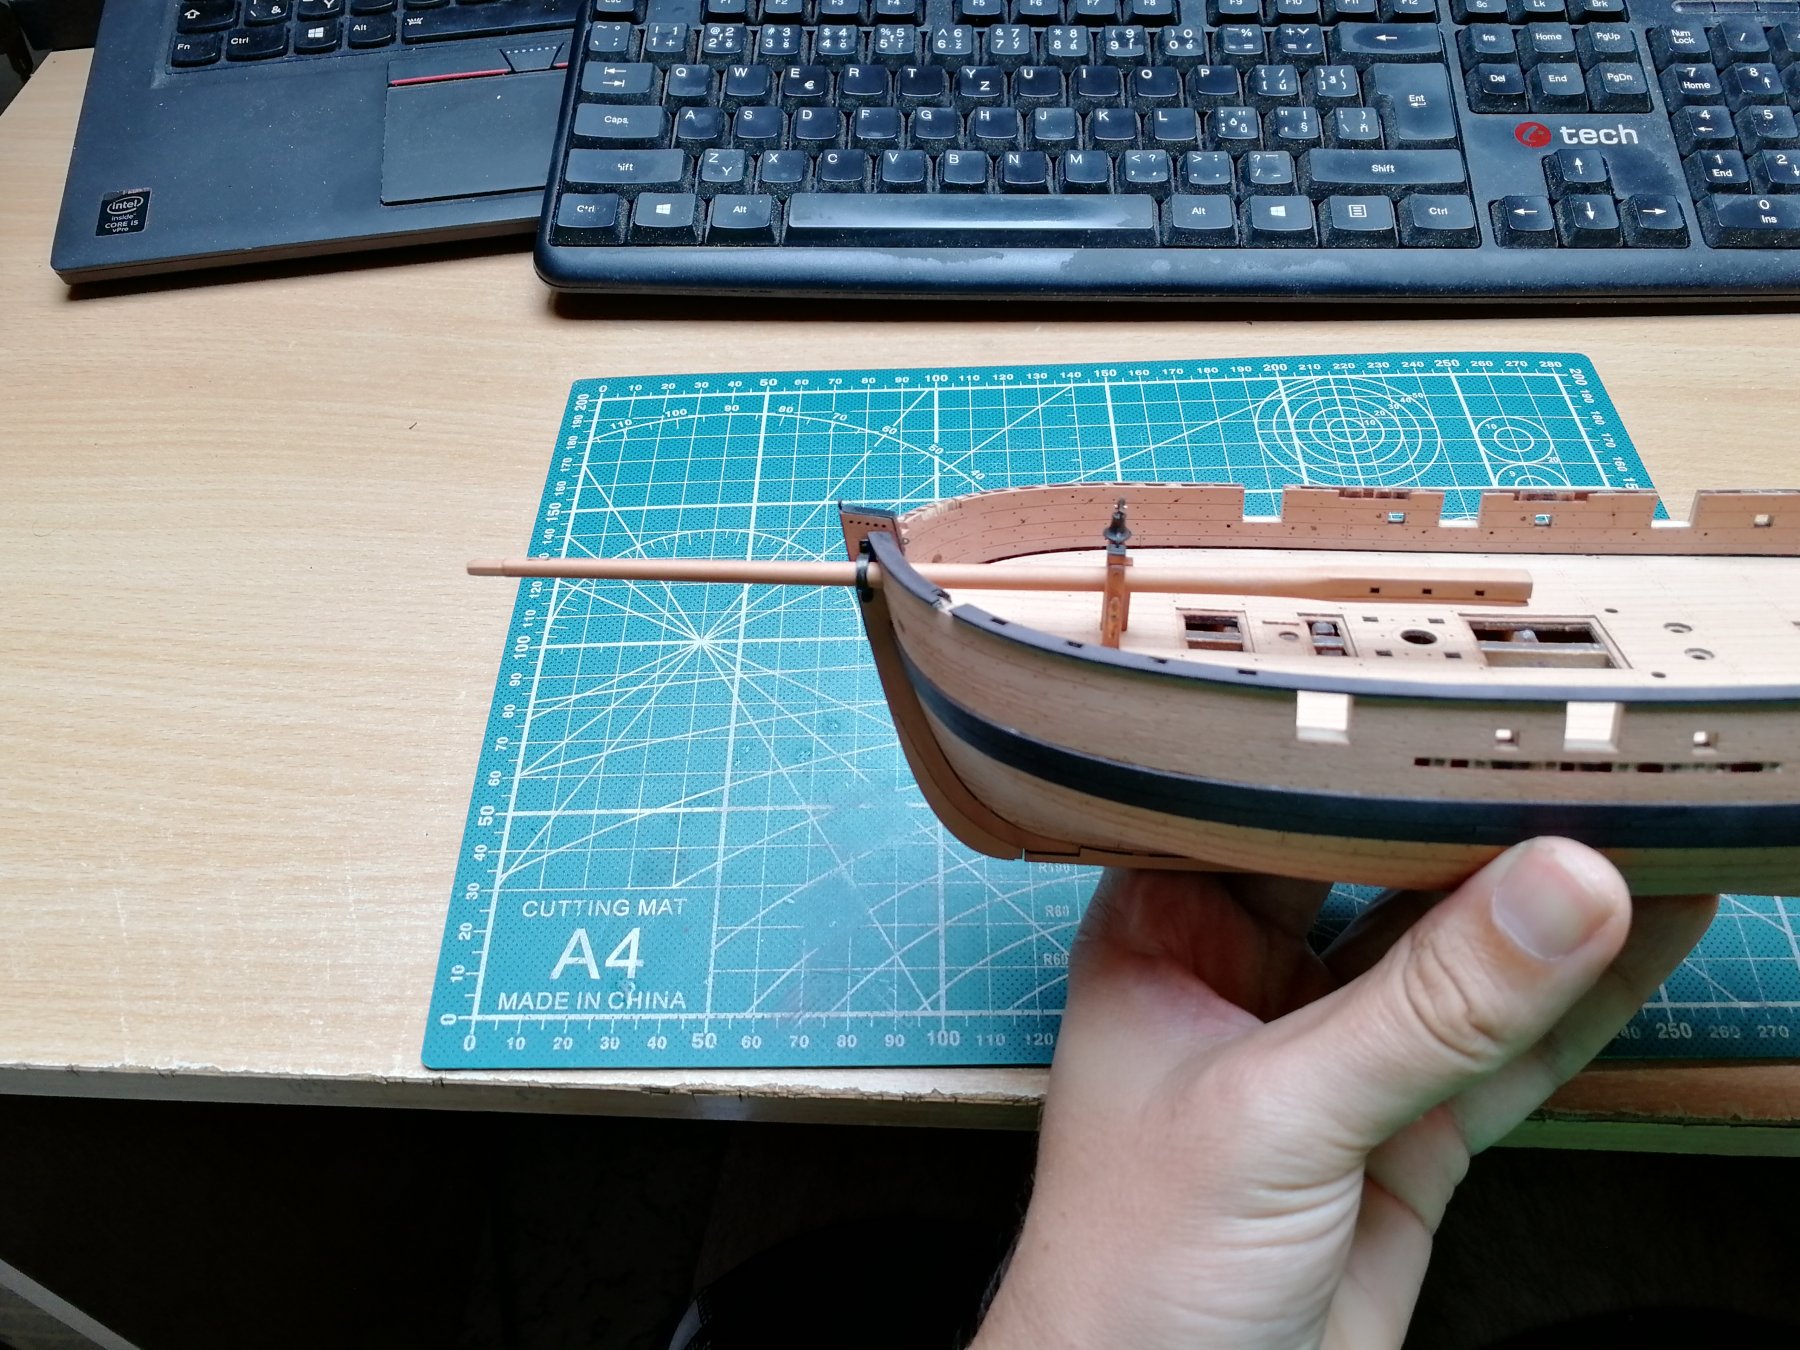
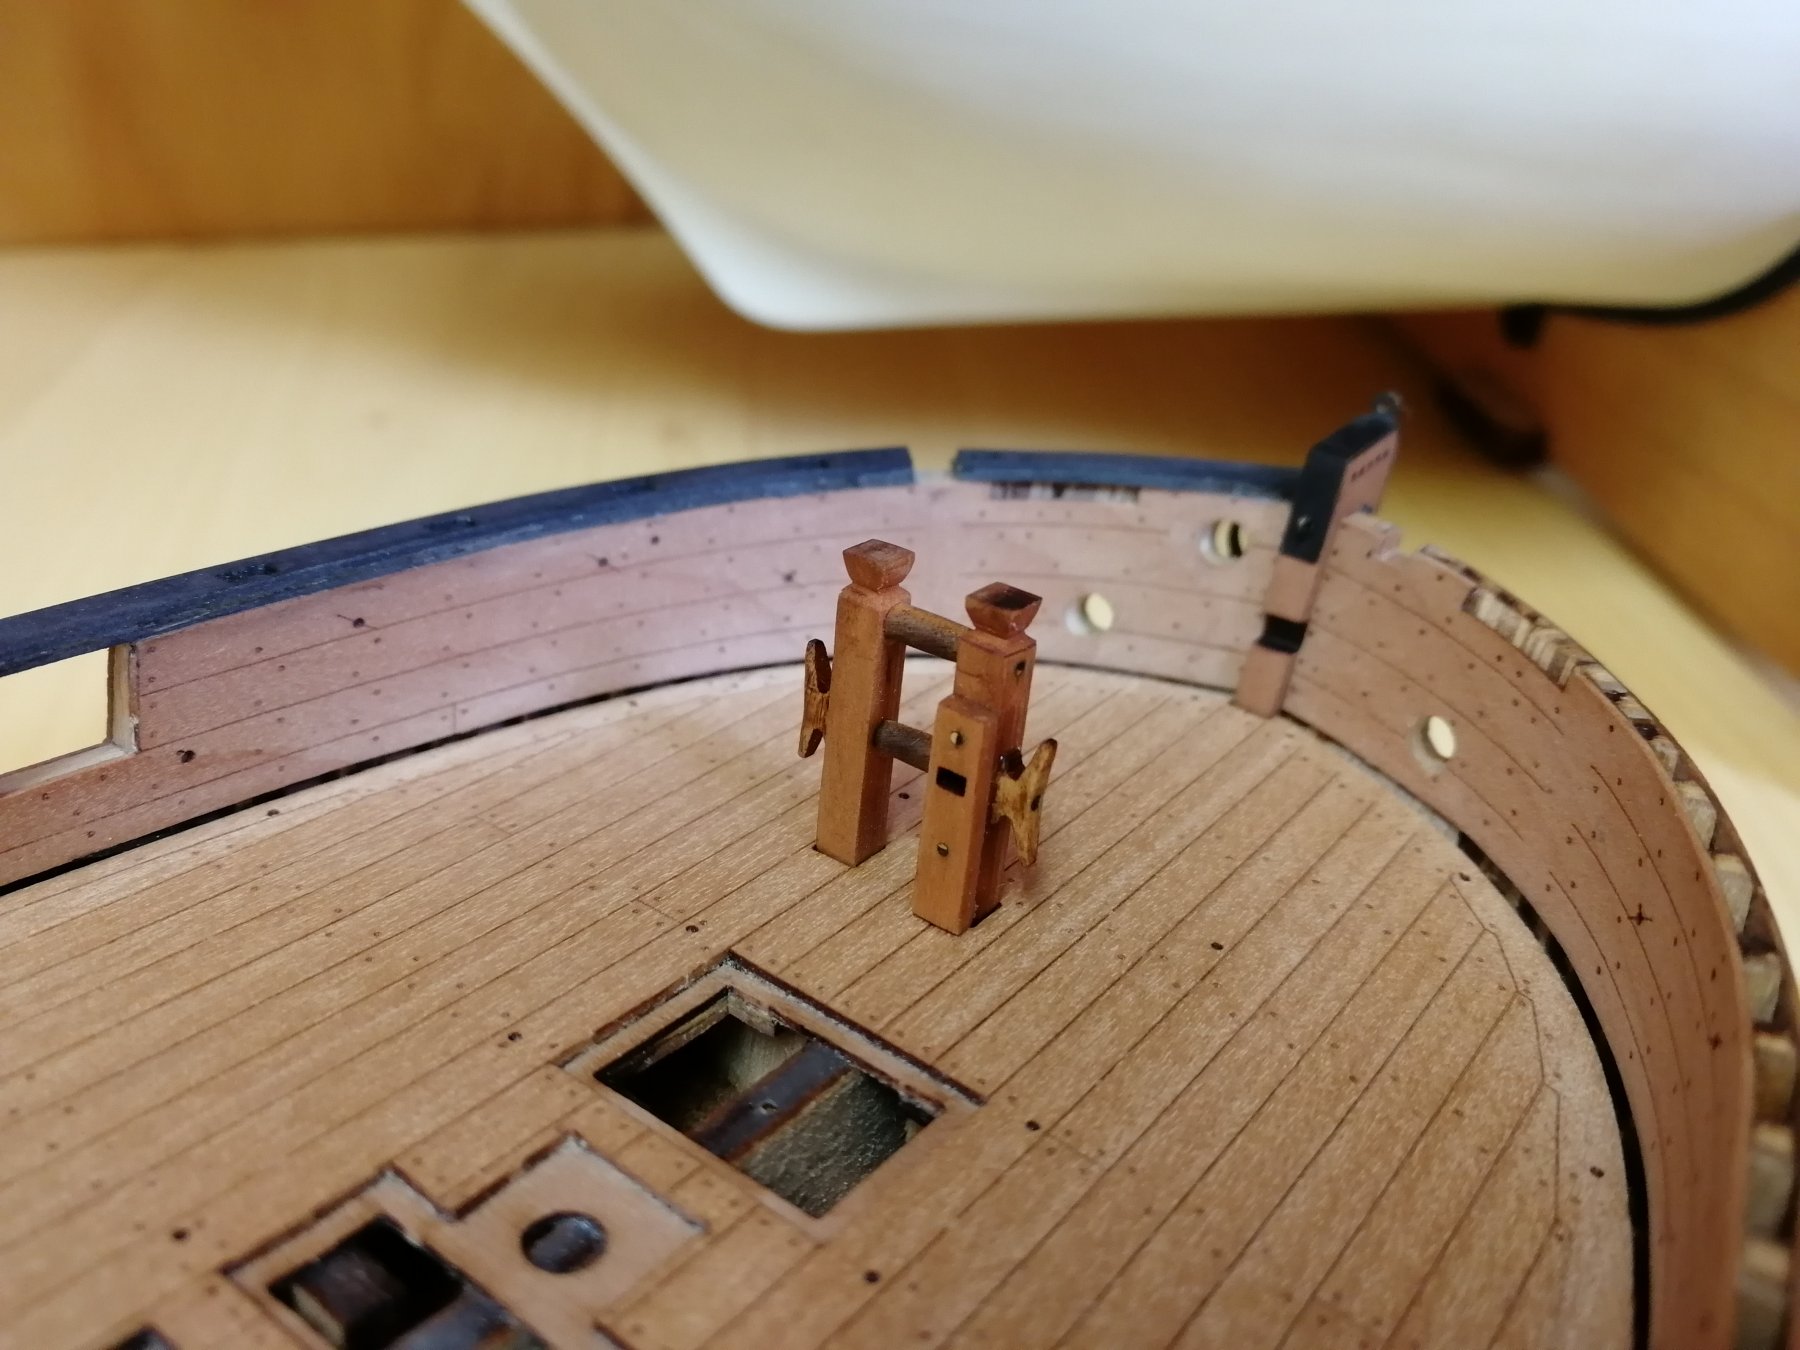
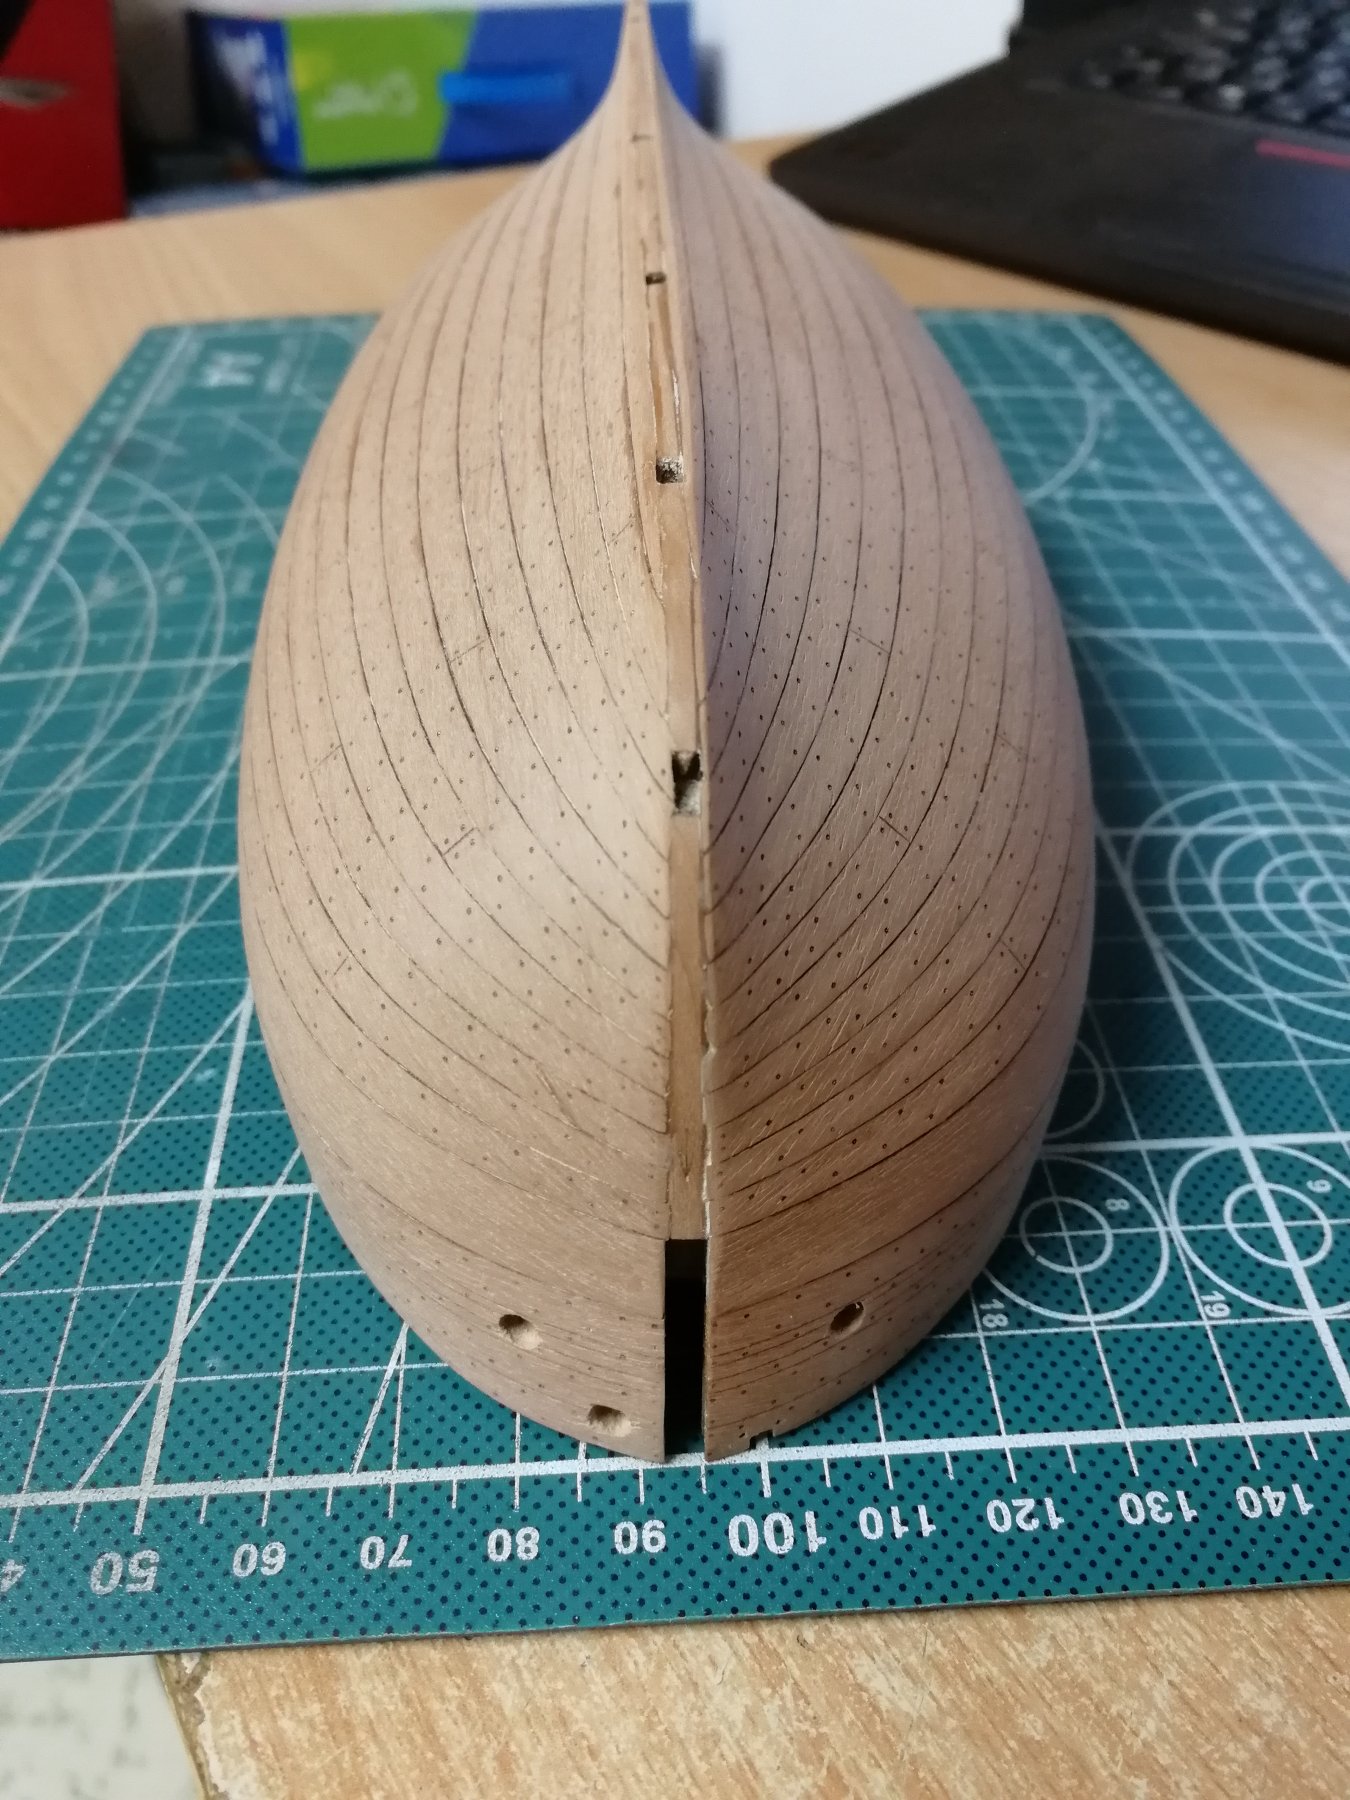
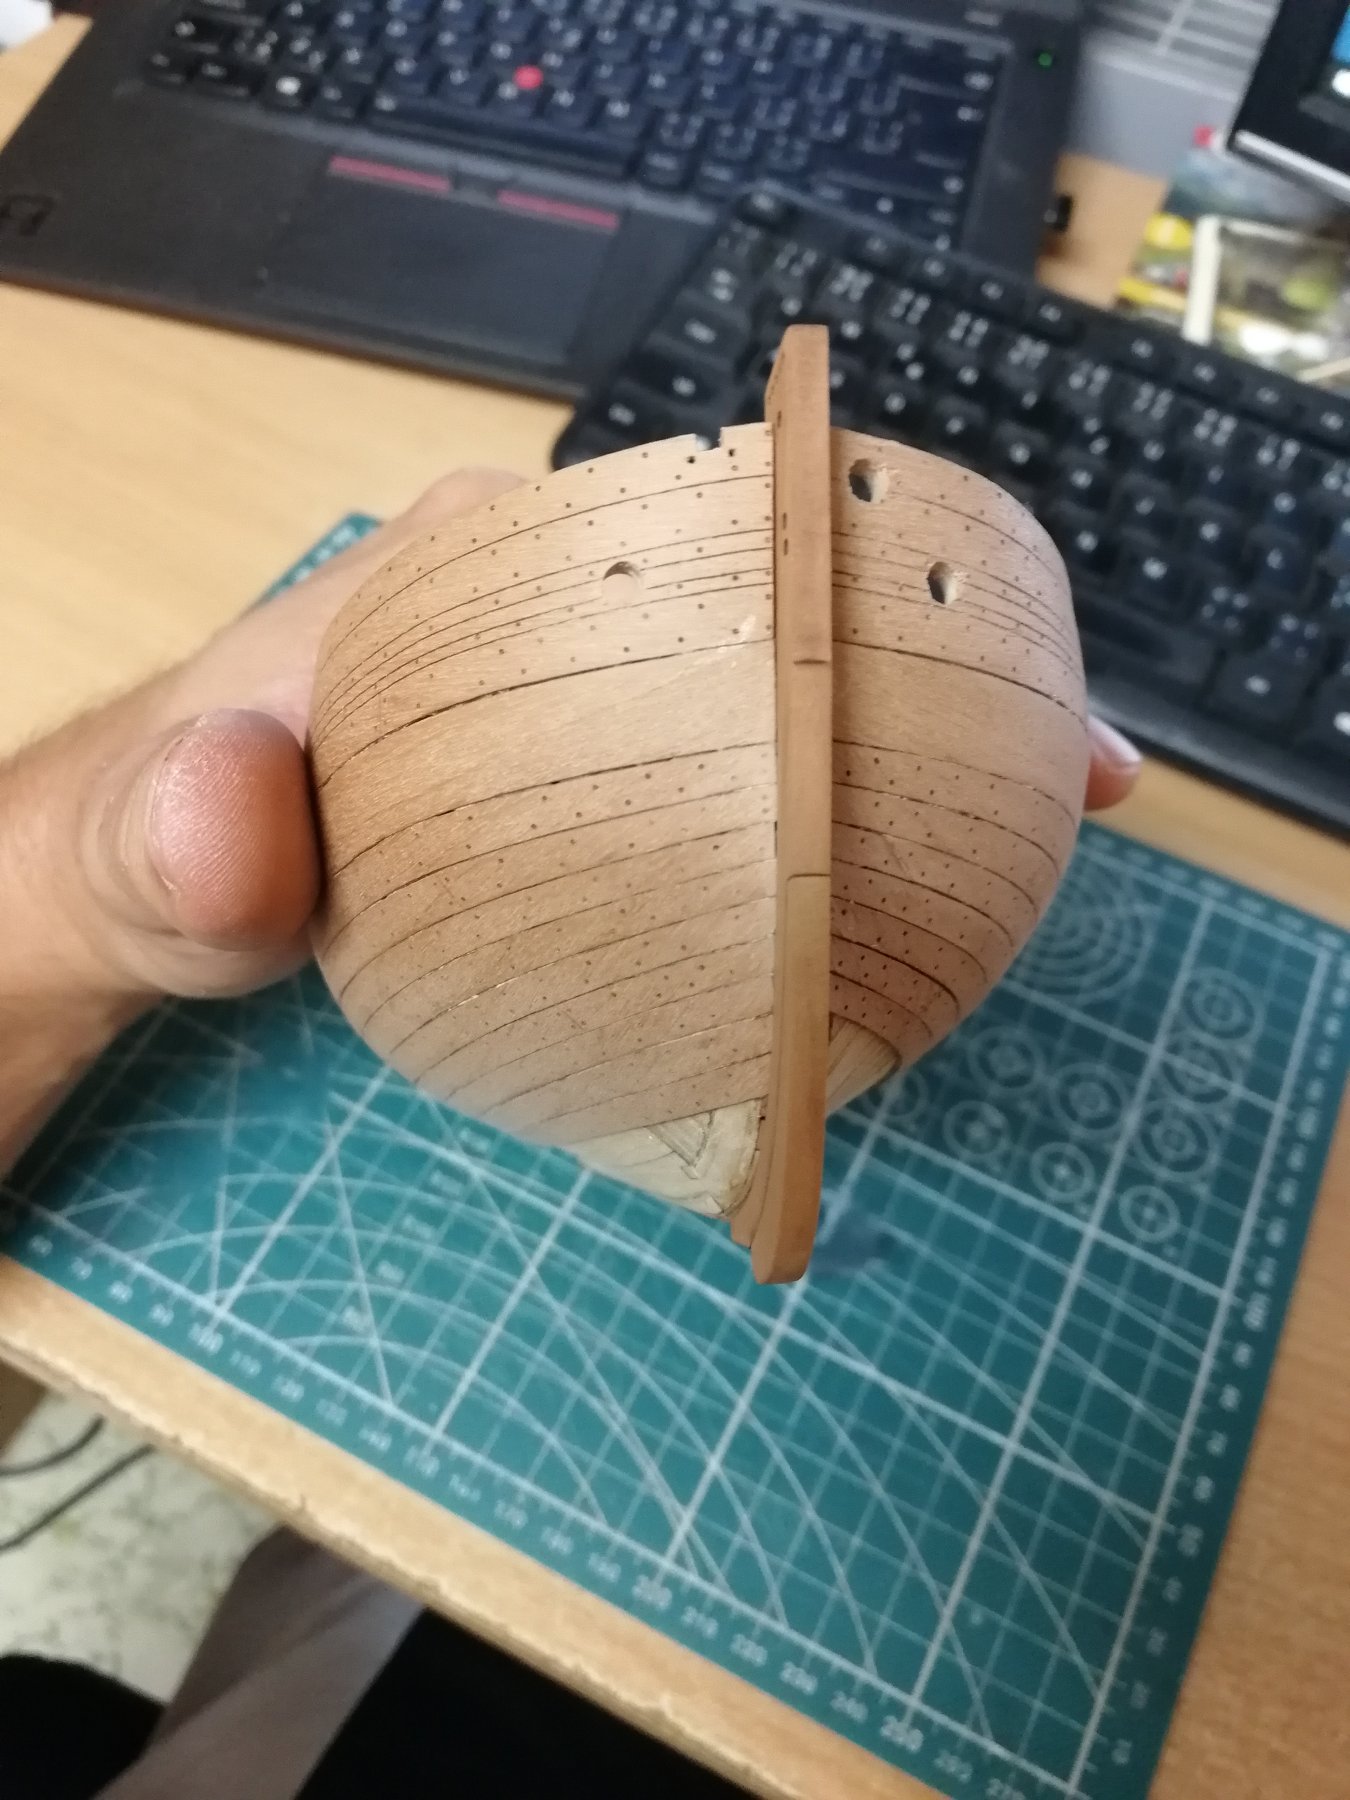
Bowsprit. It is carved from square stock. Lot of sanding again.

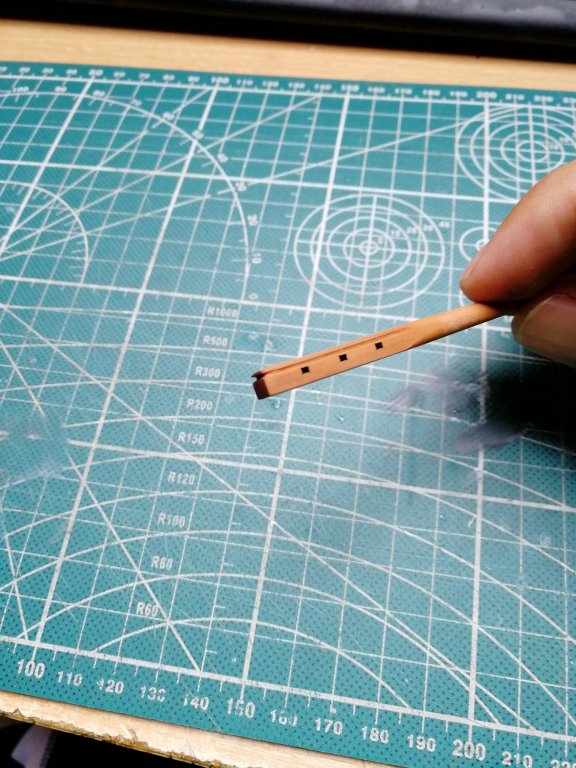

I had to enlarge the hole in the bow to meet the dimension of the bowsprit. It took me while to get the right dimension and also right direction as bow sprit has to go through 3 holes that needs to be aligned.
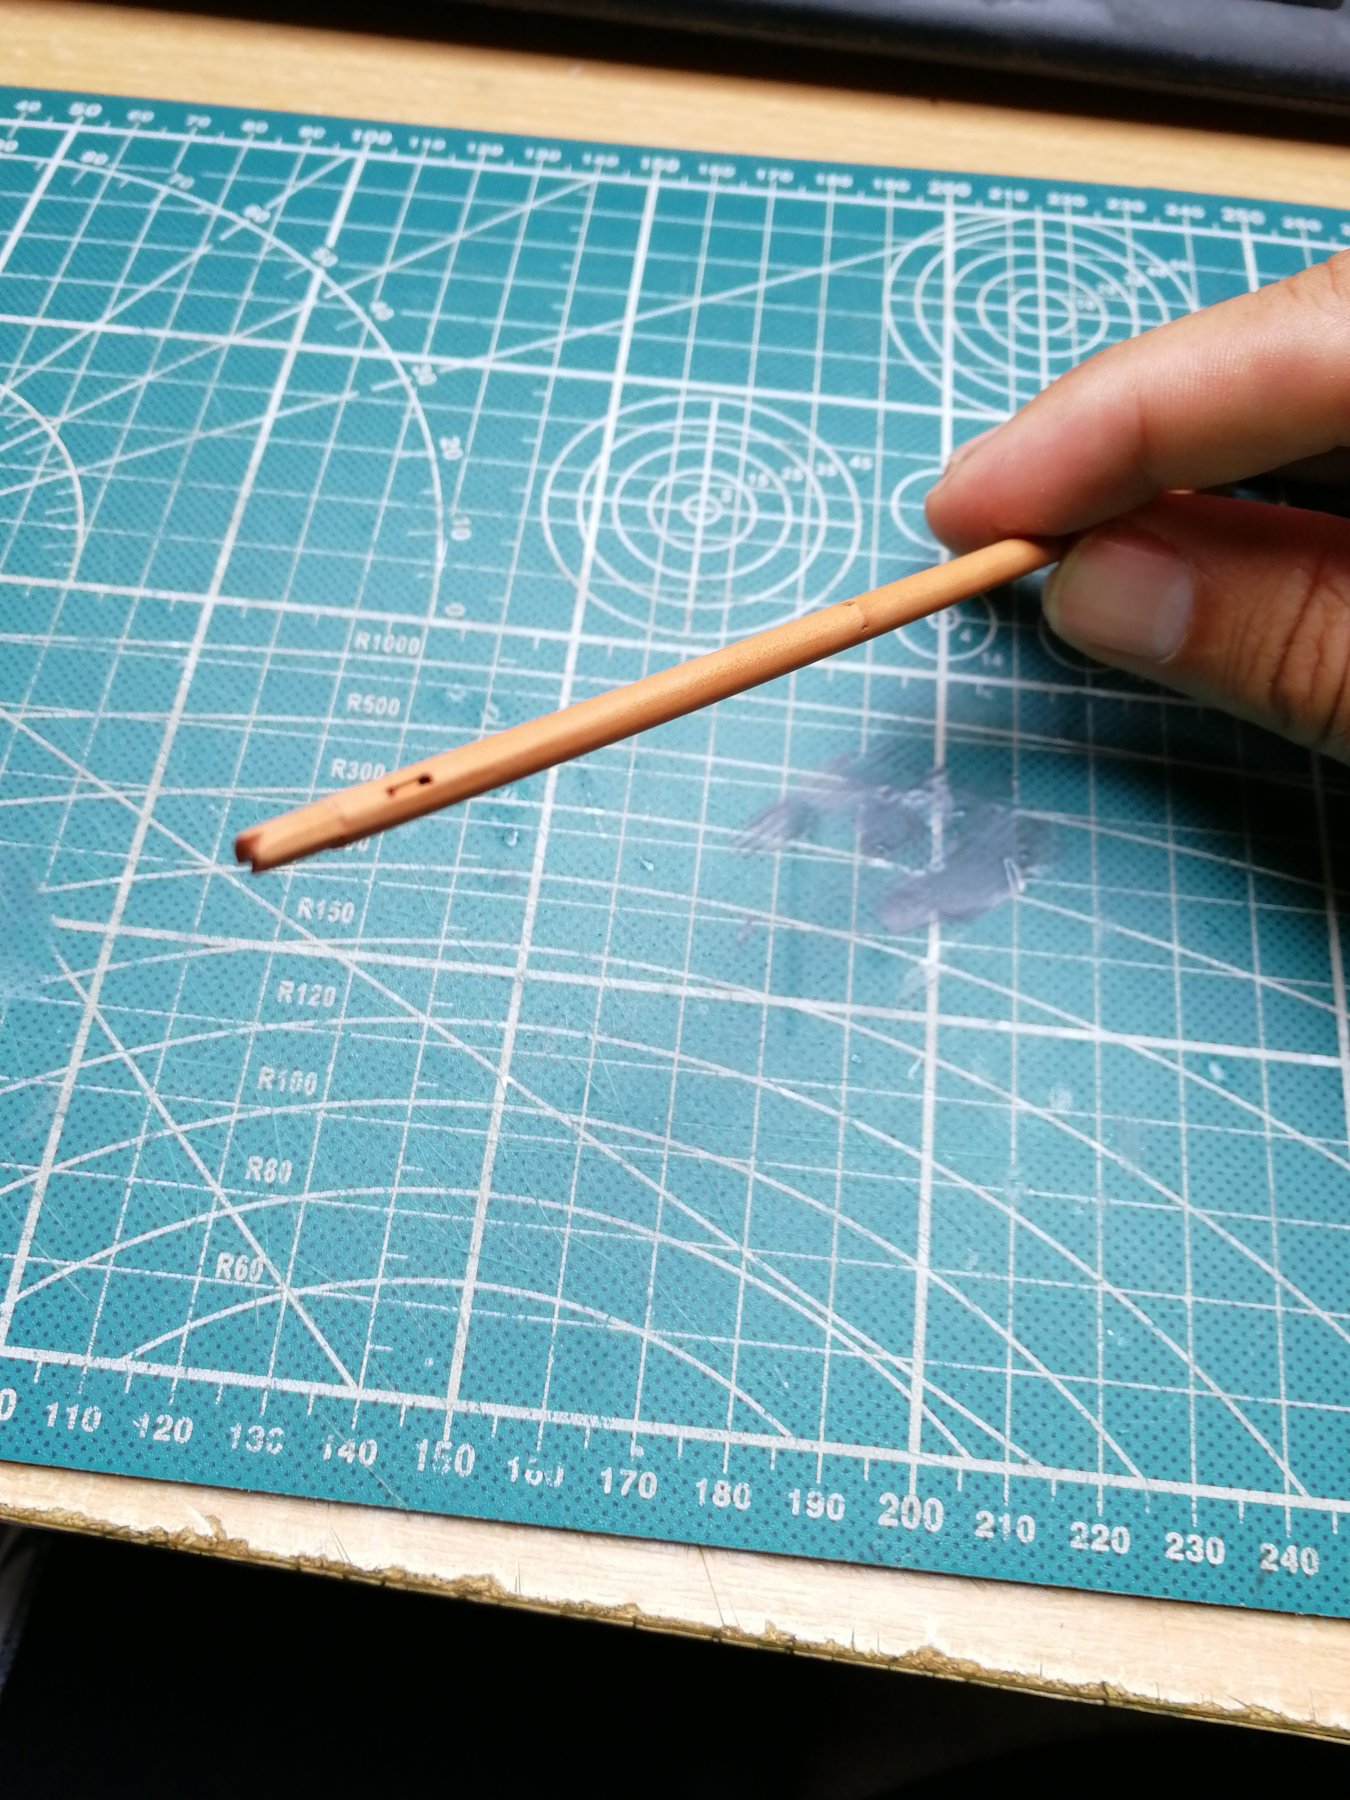
Once all is aligned the bowsprit can go through the bitt - > to the hole in the bow - > to the bowsprit yoke on the stem
To its final position

Quite a task I have to admit. Still I think I need to adjust the height of the bitt as the bowsprit points litlle bit down!
-
-
-
Hi Jim.
Seeing your progress I have one idea how to make an improvement. Unfortunately for me it was too late when I have noticed it

It is regarding inner structure of the gun and oar ports. In the kit this is done from plywood which for an eye is distracting as it has different lighter colour
This should be fairly easy to improve and make it from pear as well so all is in same kind of wood.
Instead of those parts I would use some spare pear wood from the kit.
 There is enough for that. And you would also need to adjust the respective frames. I would cut of the thin top layer of plywood and replace it with pear veneer (again enough screp wood in the box). I think this is fairly easy to do and it will look great on the model! Perhaps you could consider it since you are still OK to do this. I have noticed too late when I have the bulwark planking glued in place
PetaV
- GrandpaPhil, mtaylor, Dutchman and 7 others
-
10
-
-
-
This is something and a half! I would love to see this beauty with my own eyes. I still can't believe this is possible to create! You are TRUE MASTER mate! So inspiring. CONGRATS
-
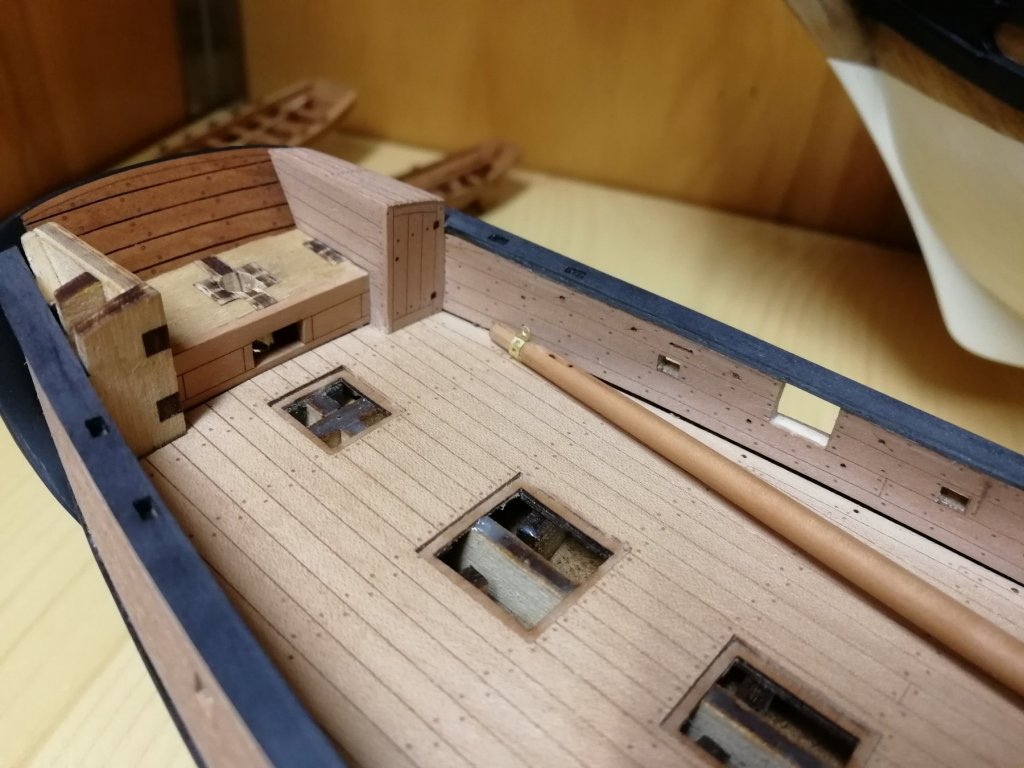
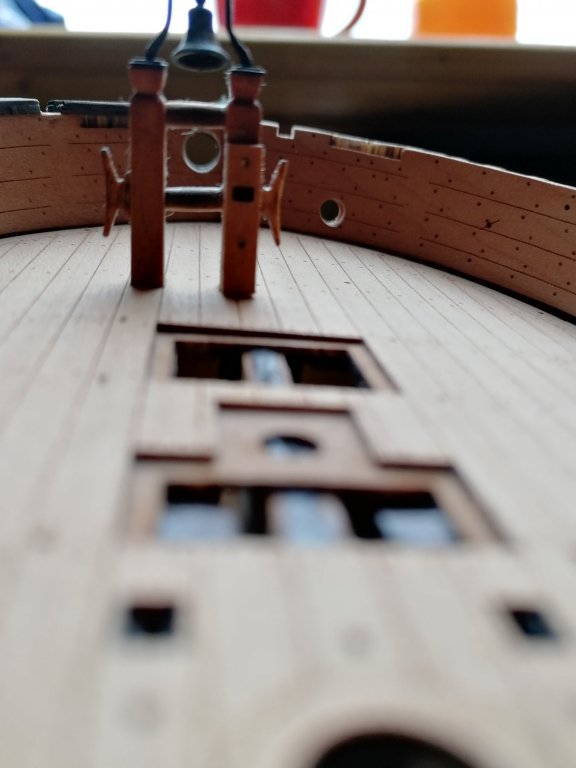
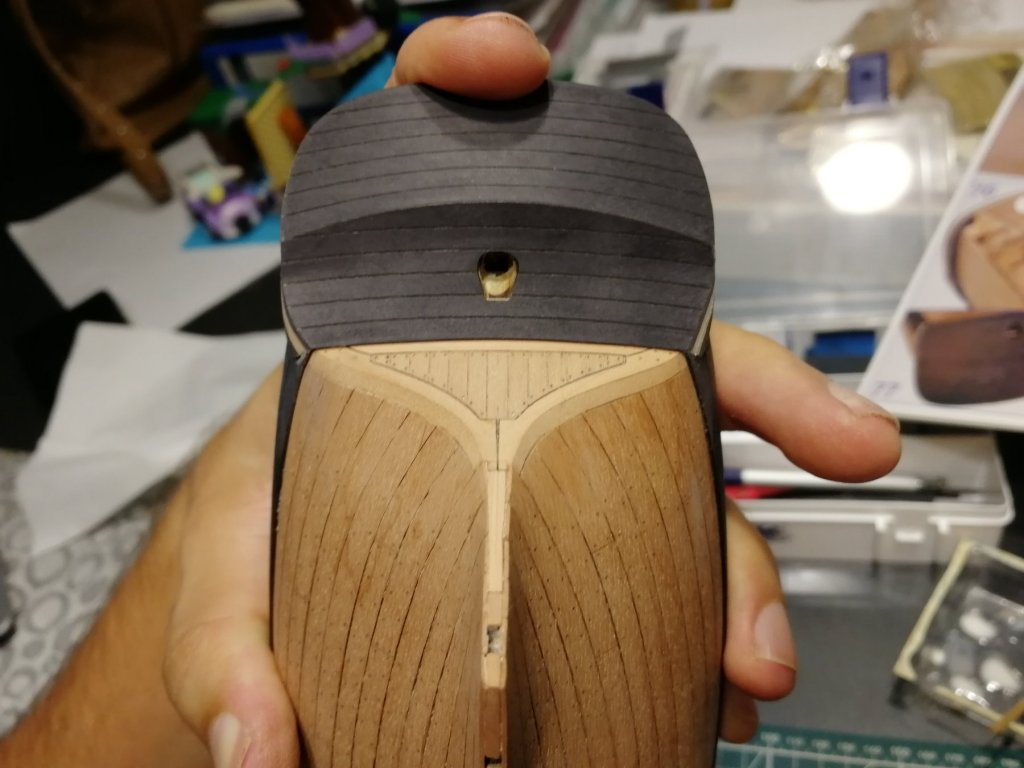
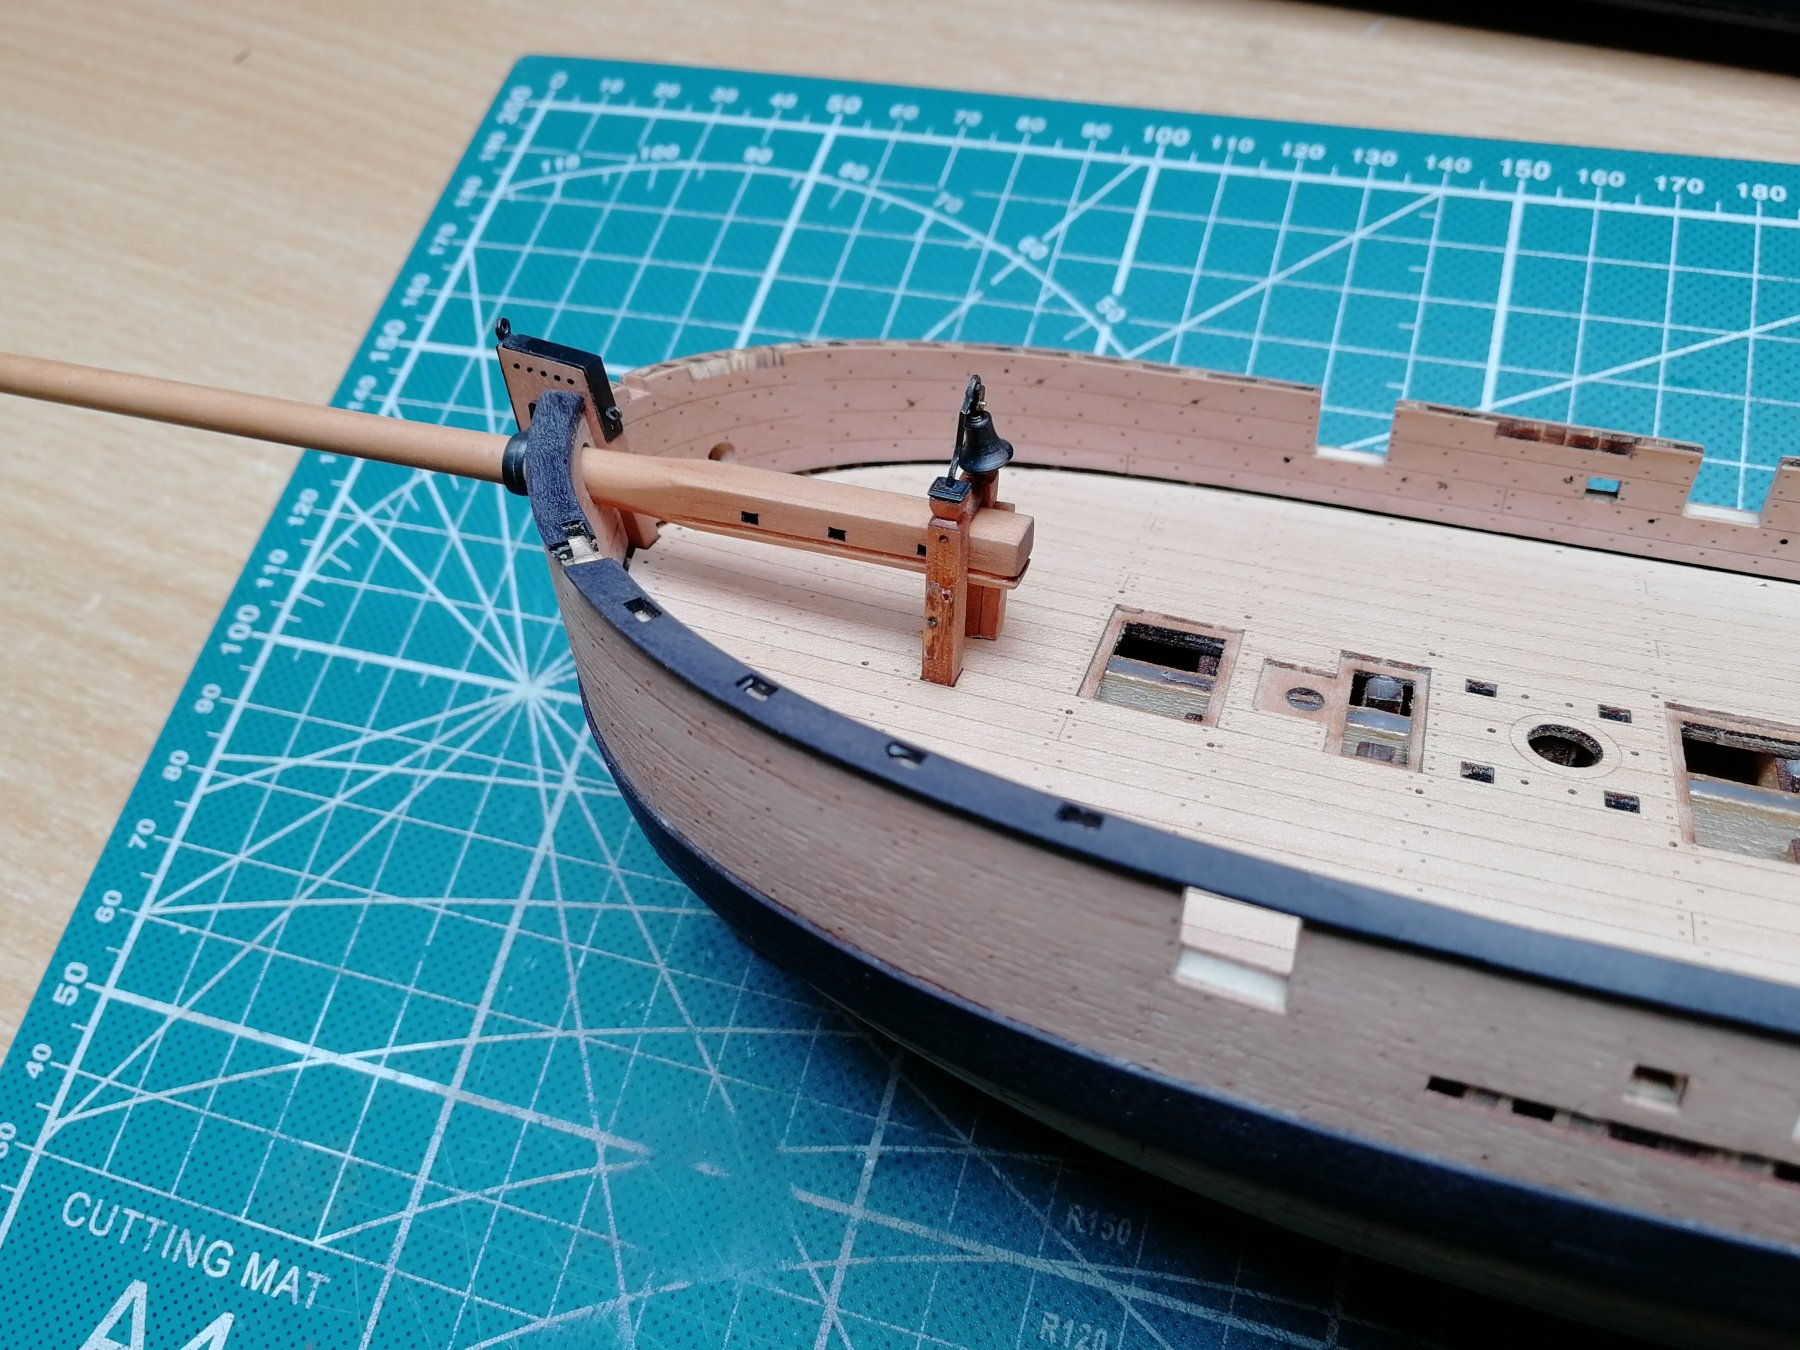
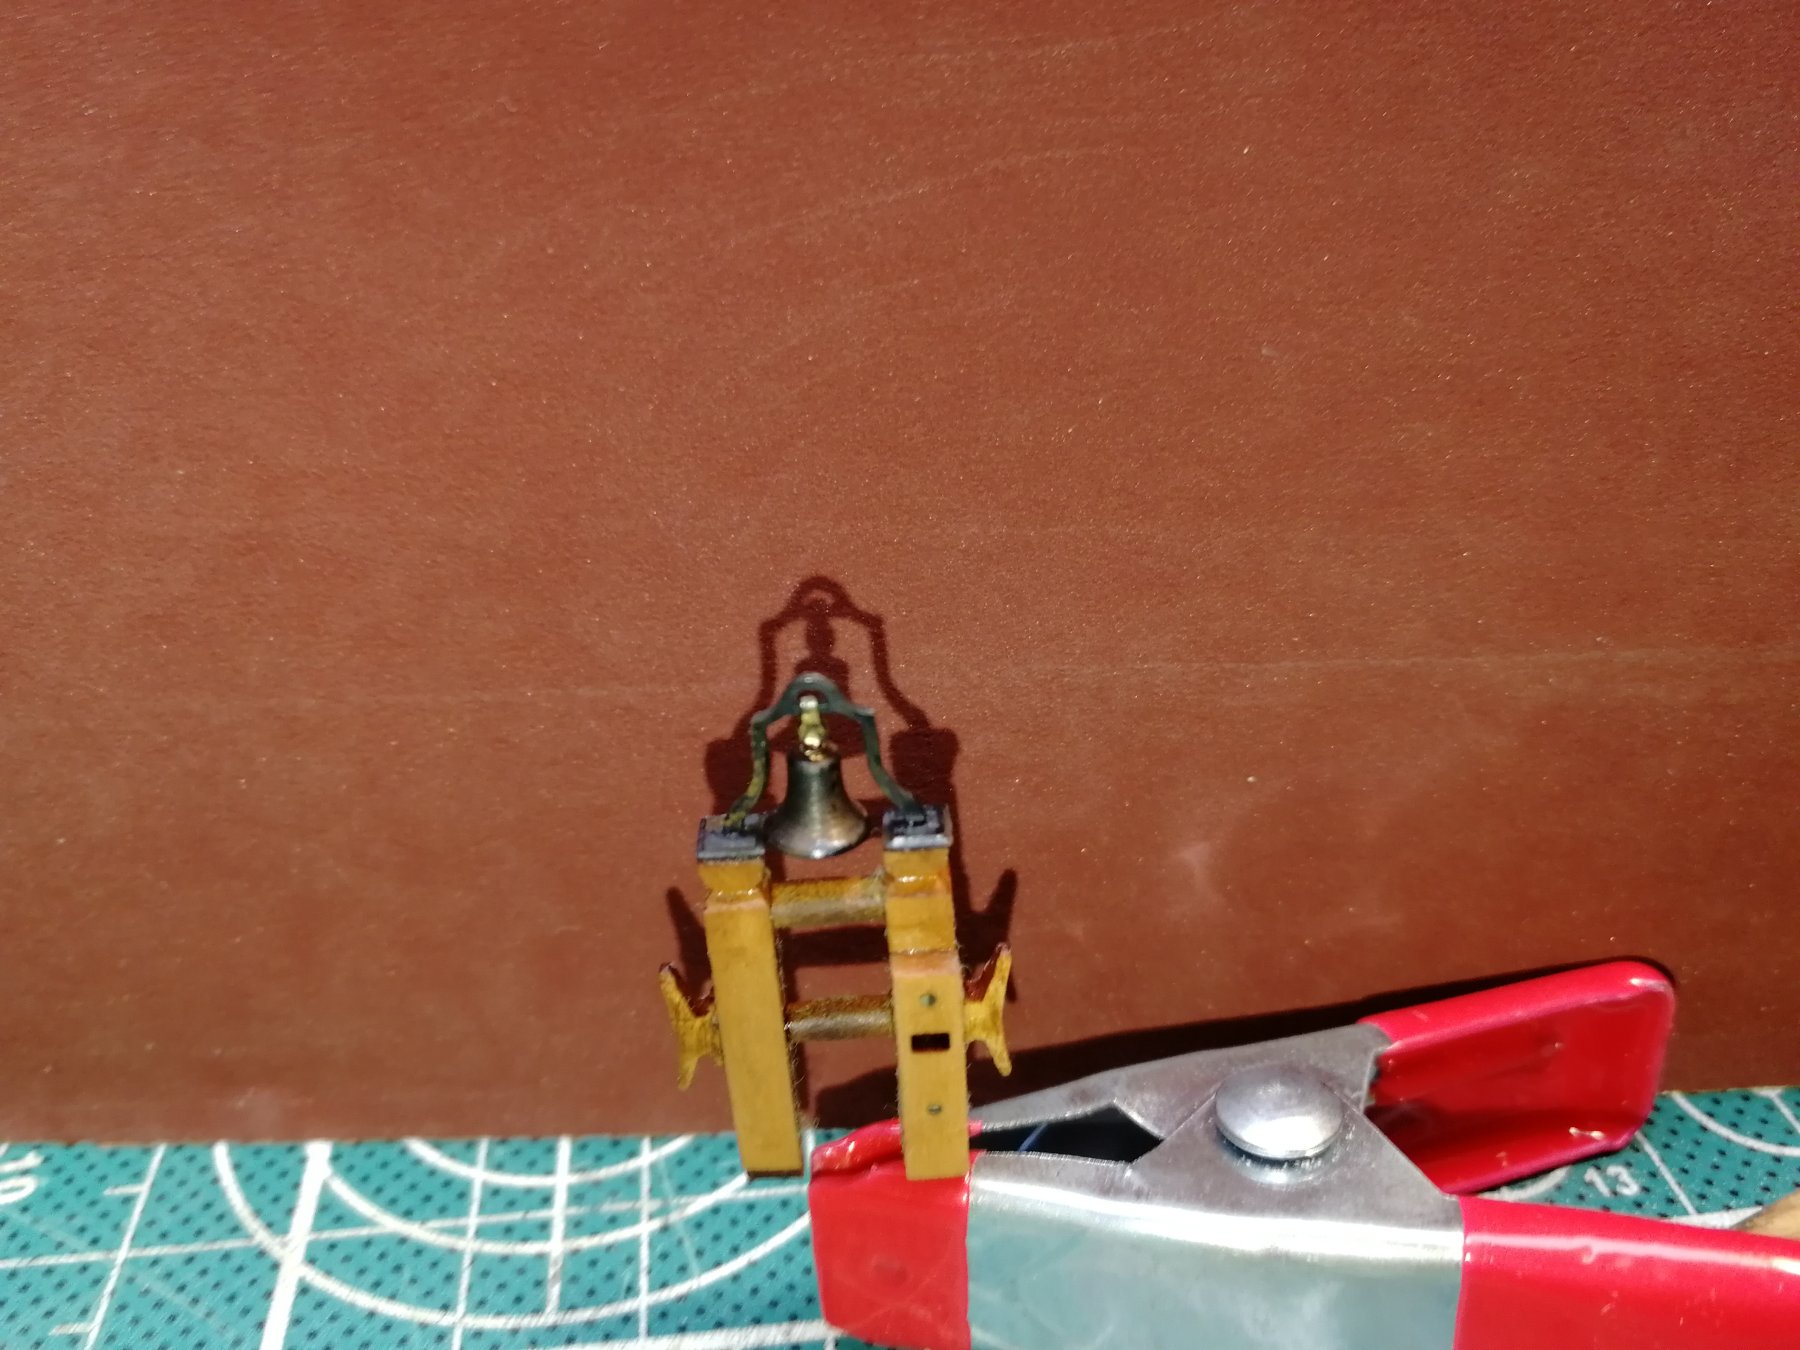
Things are starting to get really tiny. Bowsprit bitt. There will be also bellfry on it.

- Ryland Craze, BenD, riverboat and 10 others
-
13
-
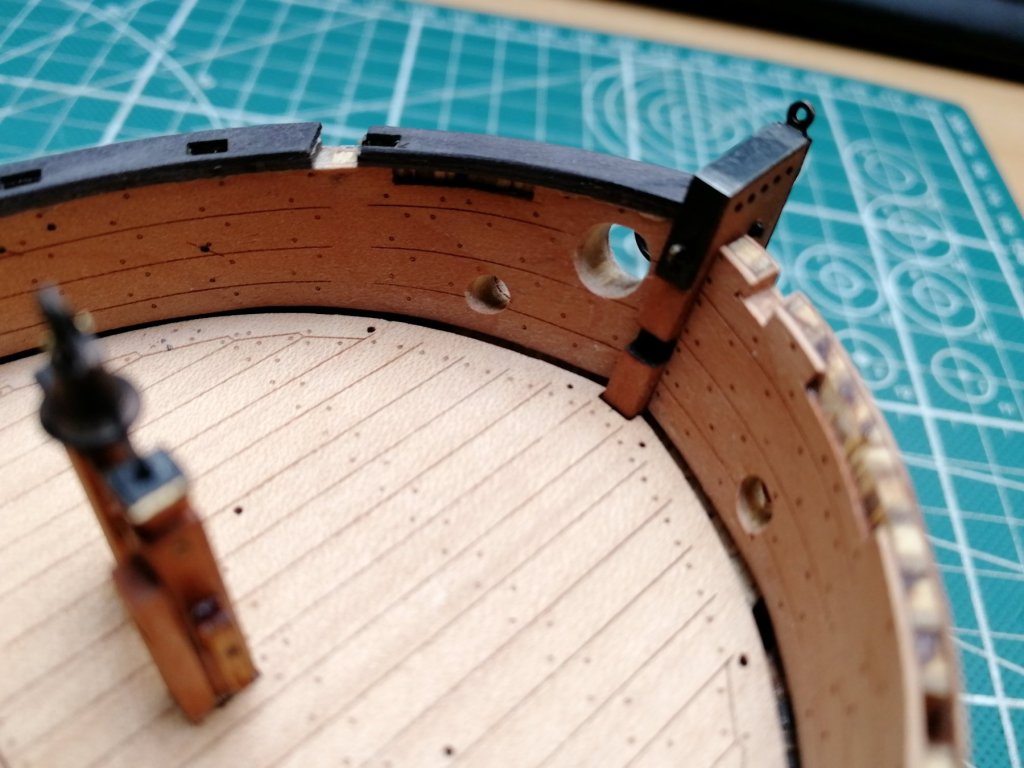
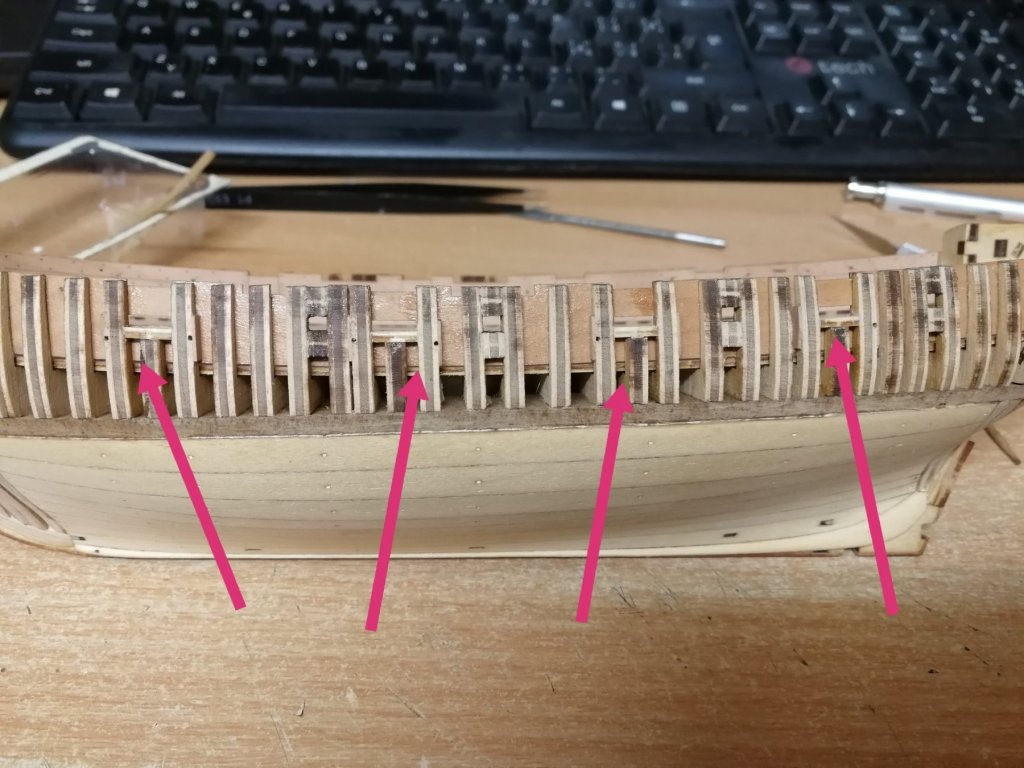
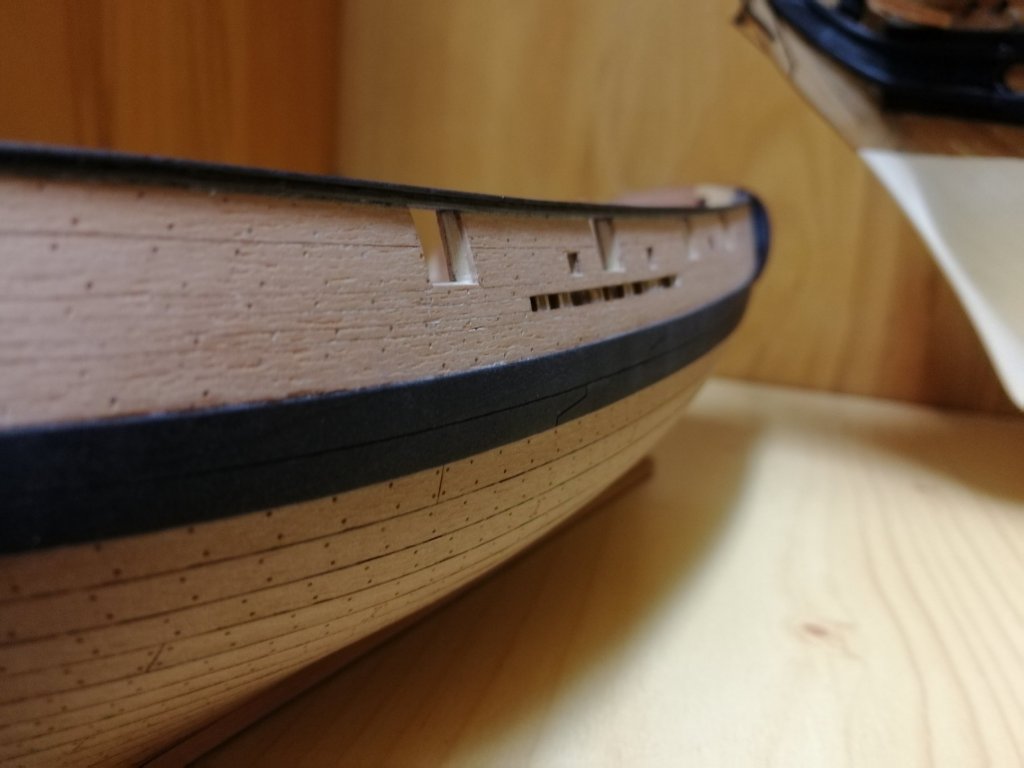
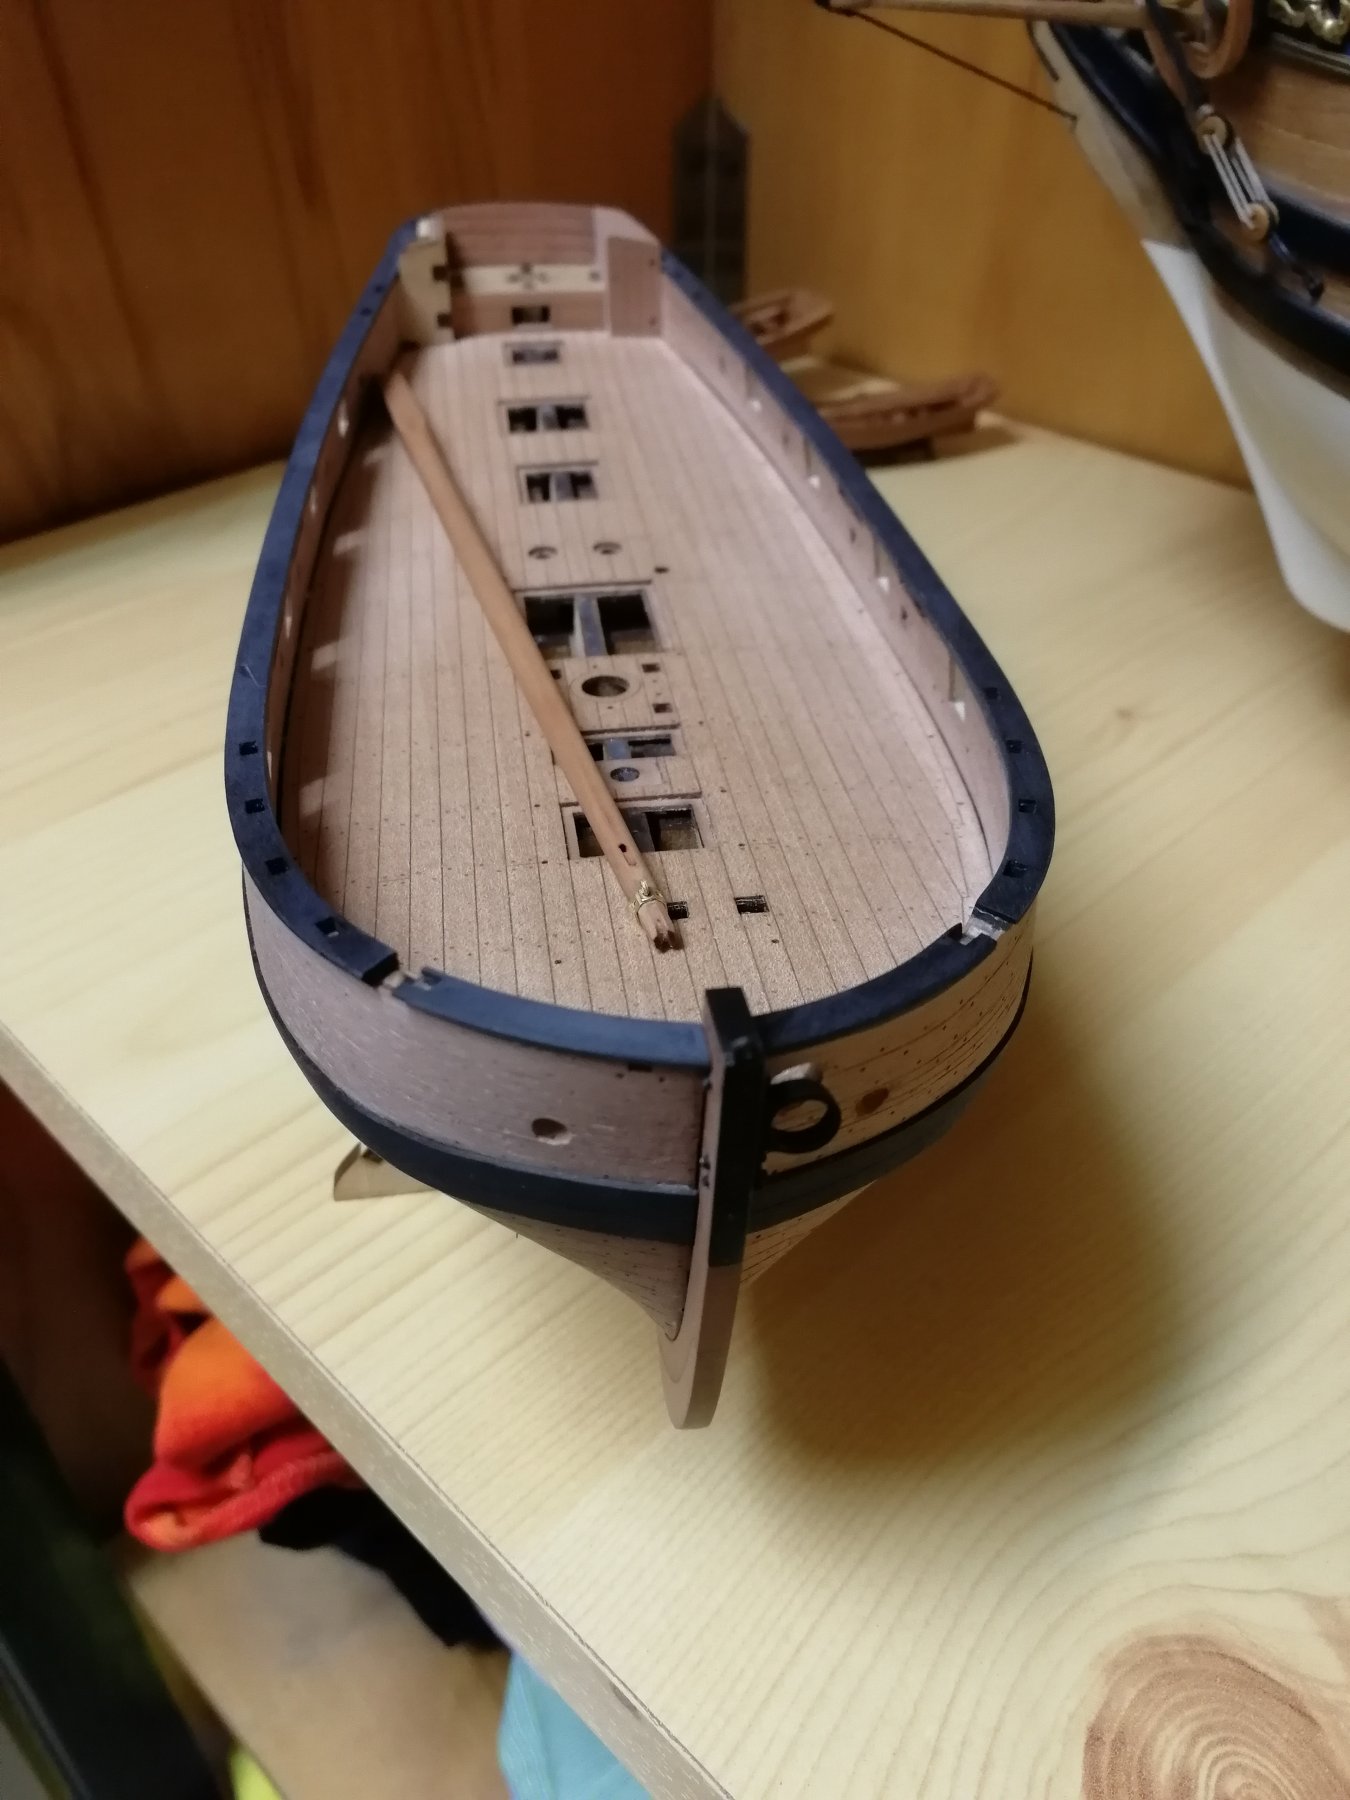
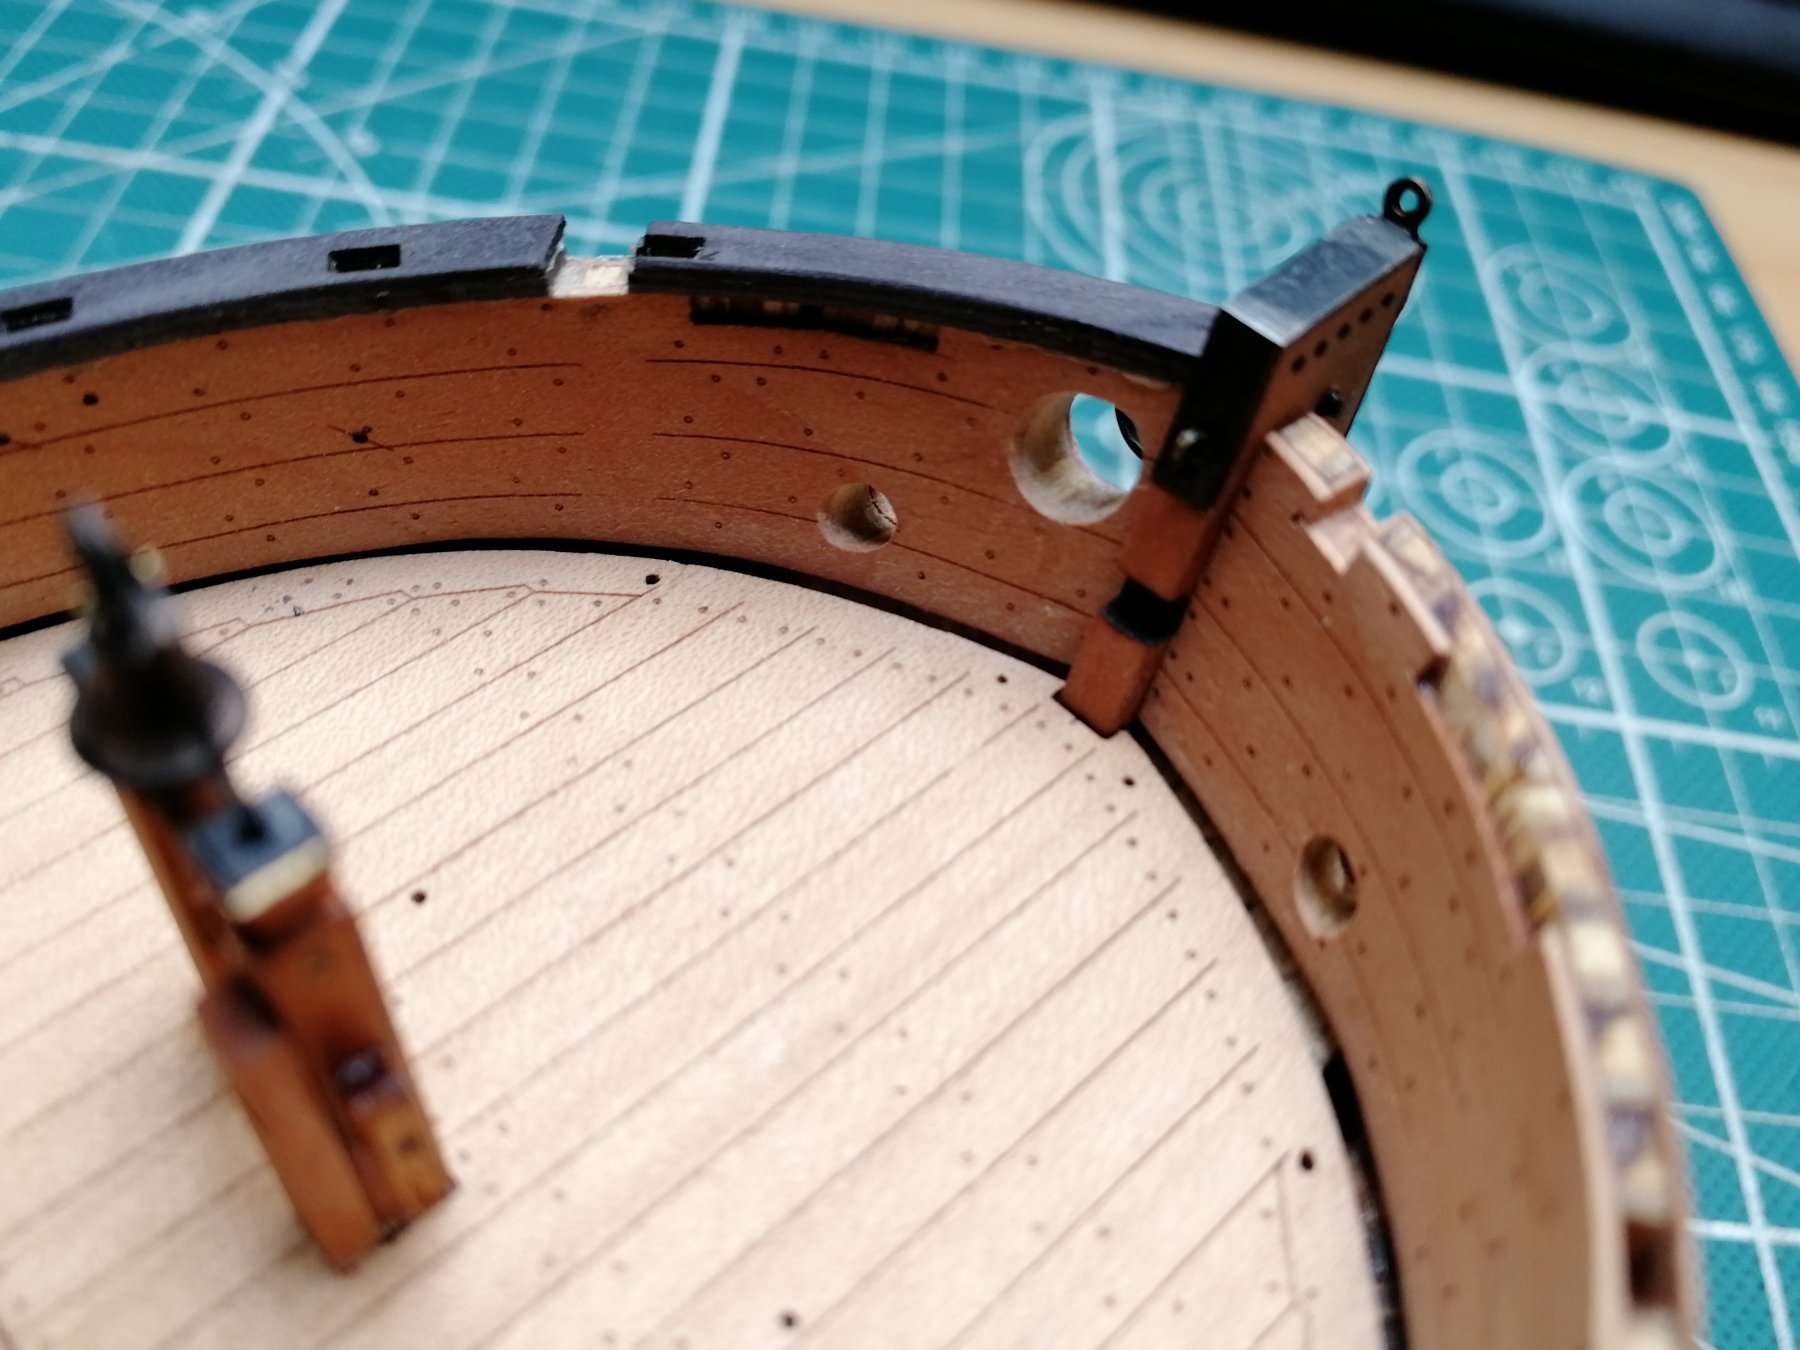
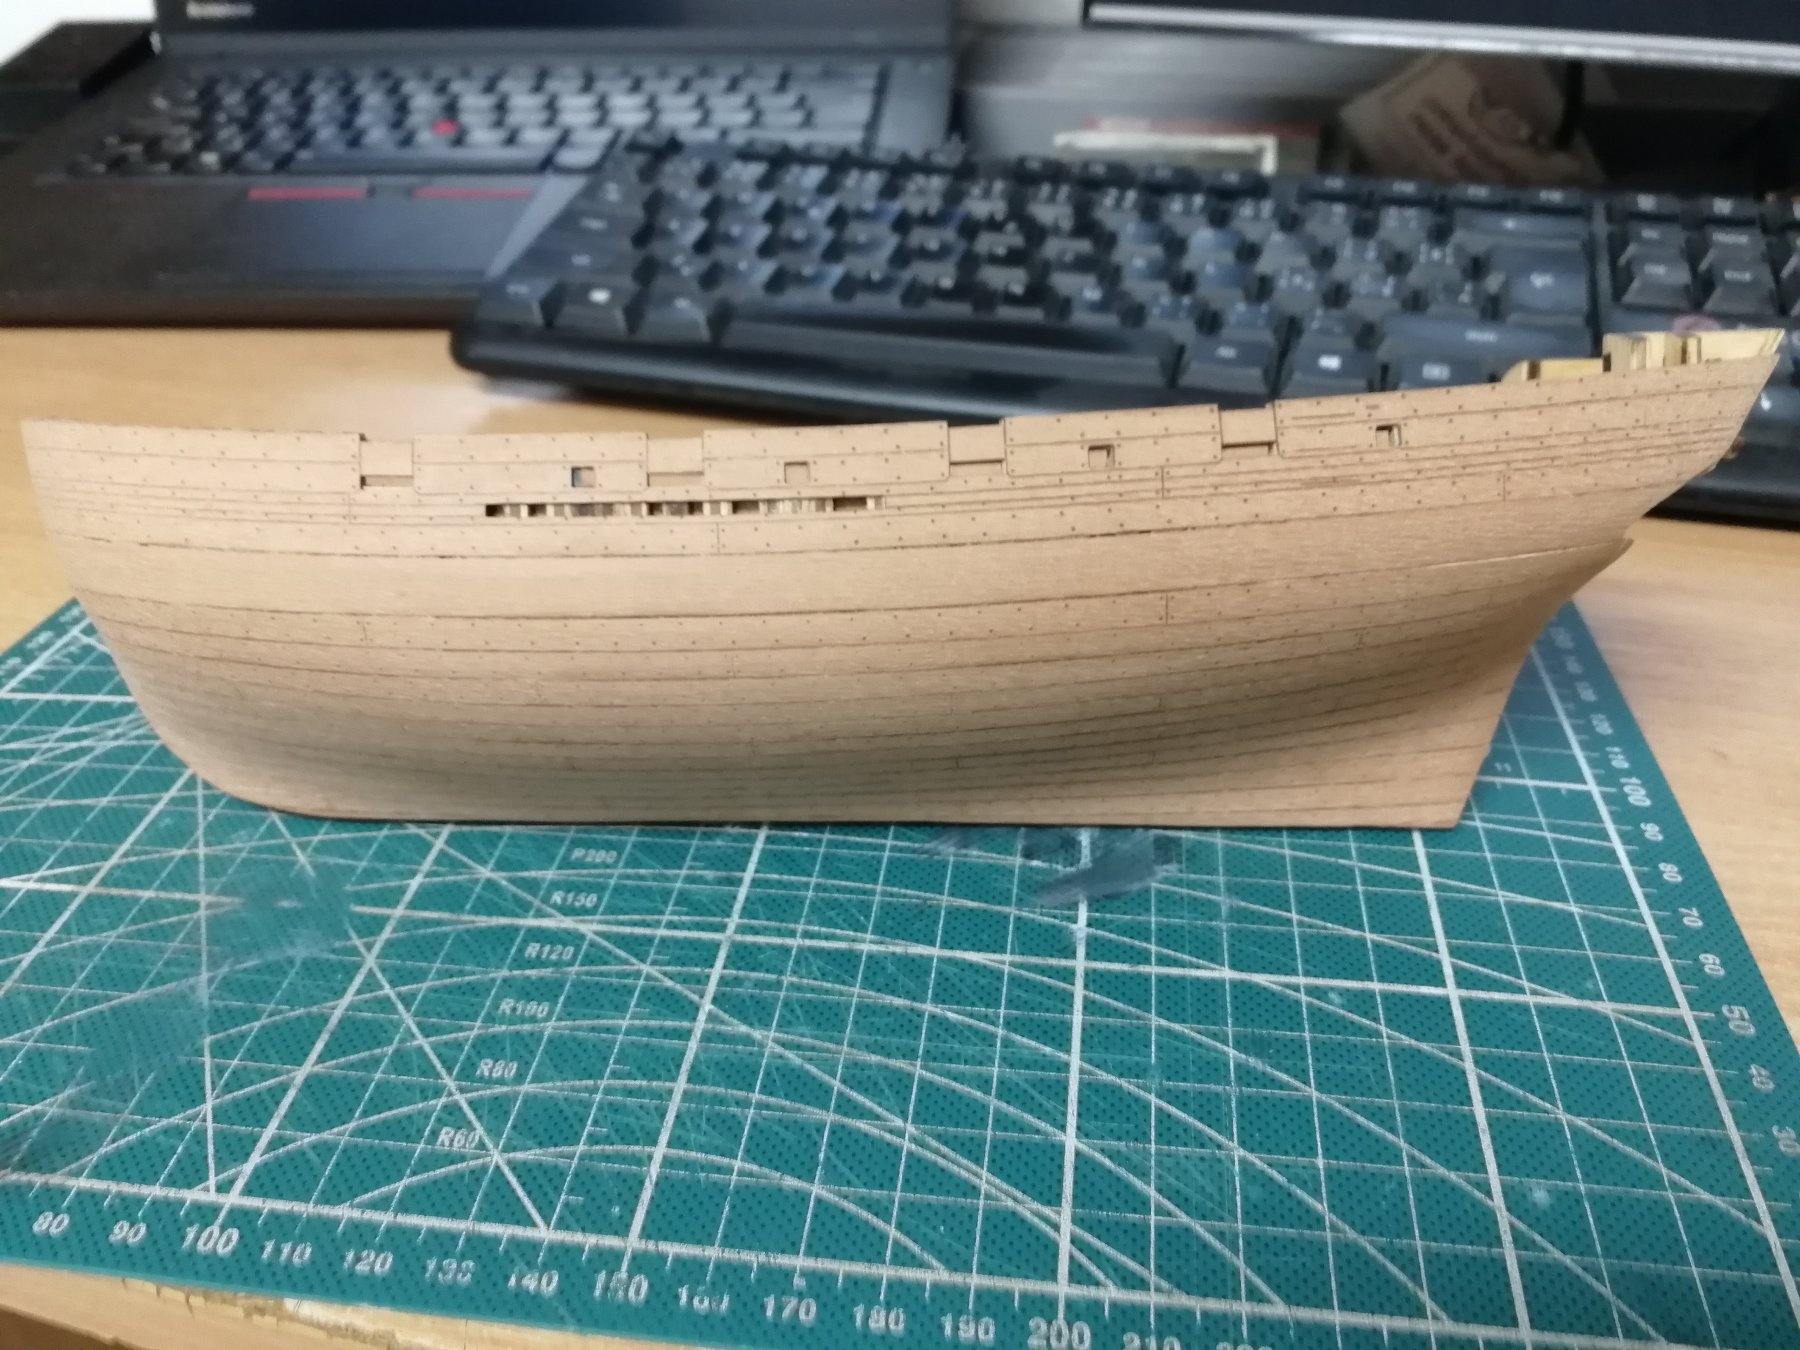
Before instalation of the bulwark rails I had to clean and smooth the gunports and oar ports
The rail is made from 2 layers and each layer has 3 pieces of black wood. Again everything fits perfect which I guess should not surprise me anymore
")

- GrandpaPhil, yvesvidal, Katoom and 17 others
-
20
-
-
Ohh man... Please protect her and show where you (and if possible others) can enjoy! It would be pitty to let such a impresive model "Die" 👏
-
Congrats! It is a Master piece 👌
-
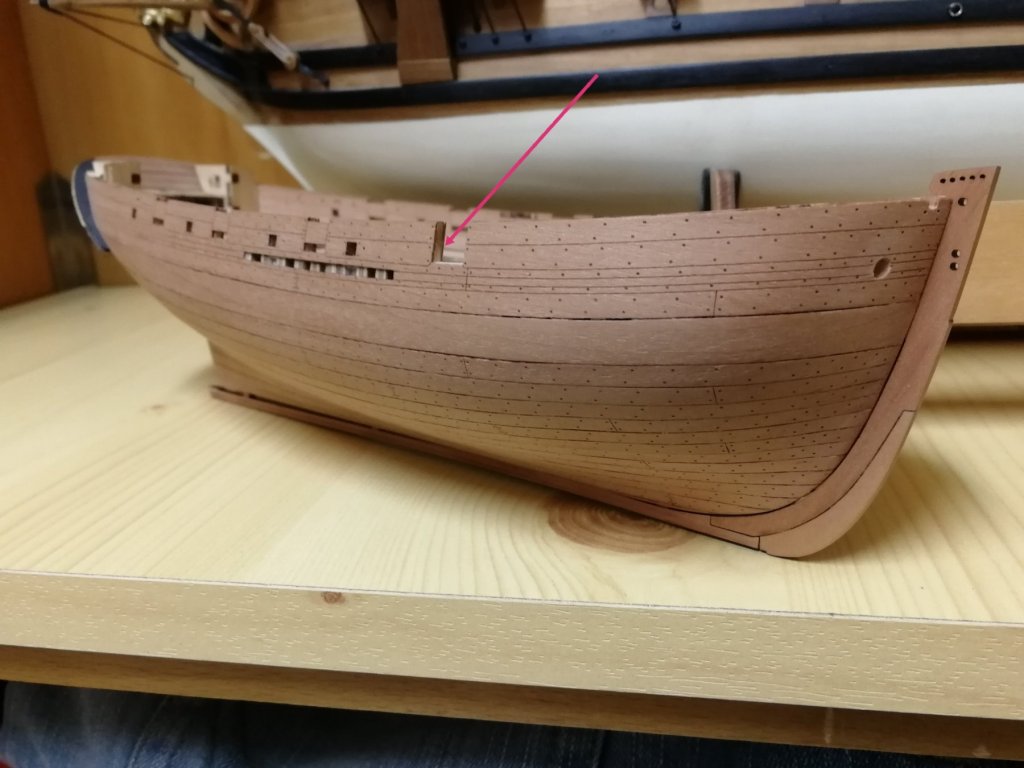
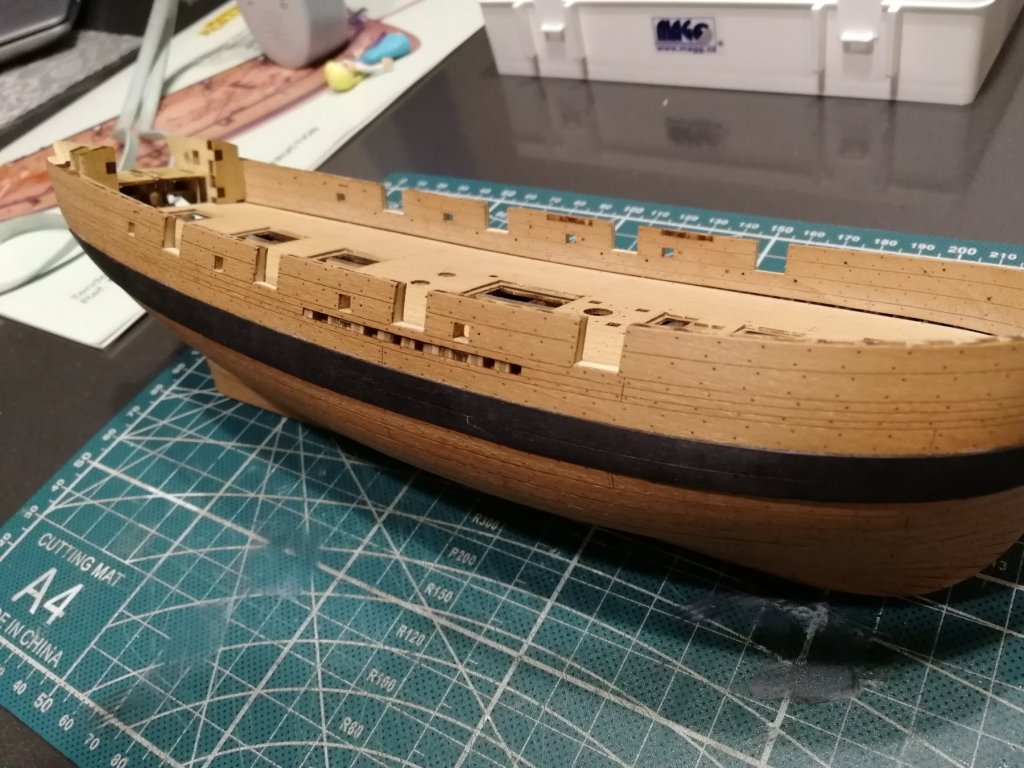
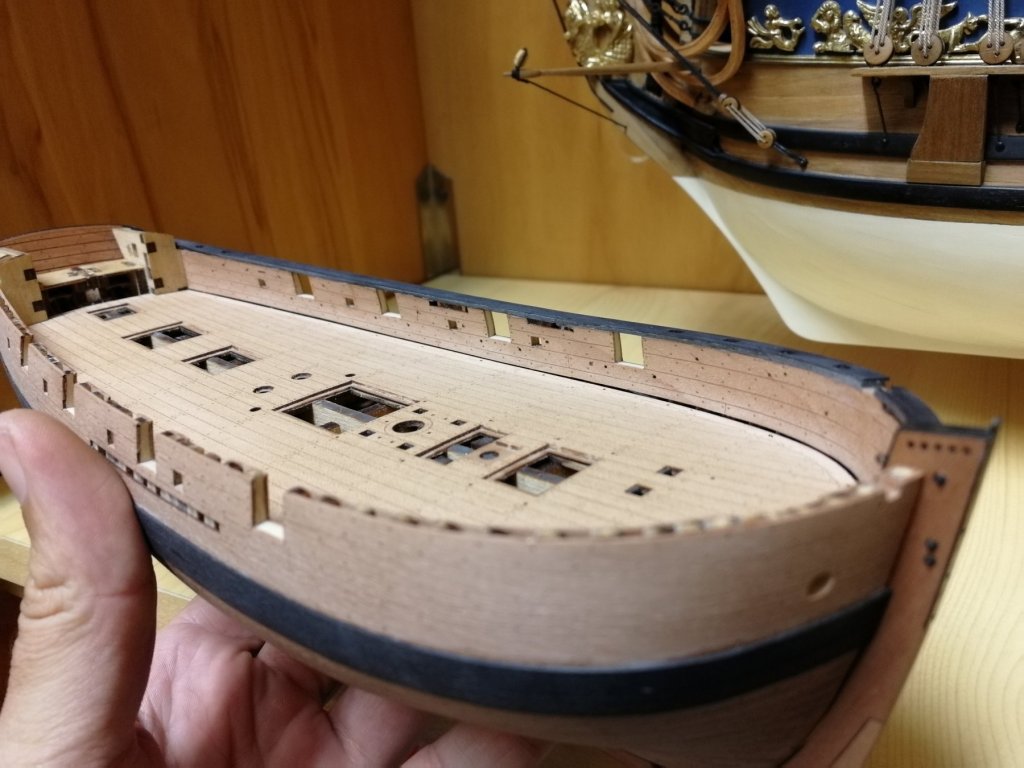
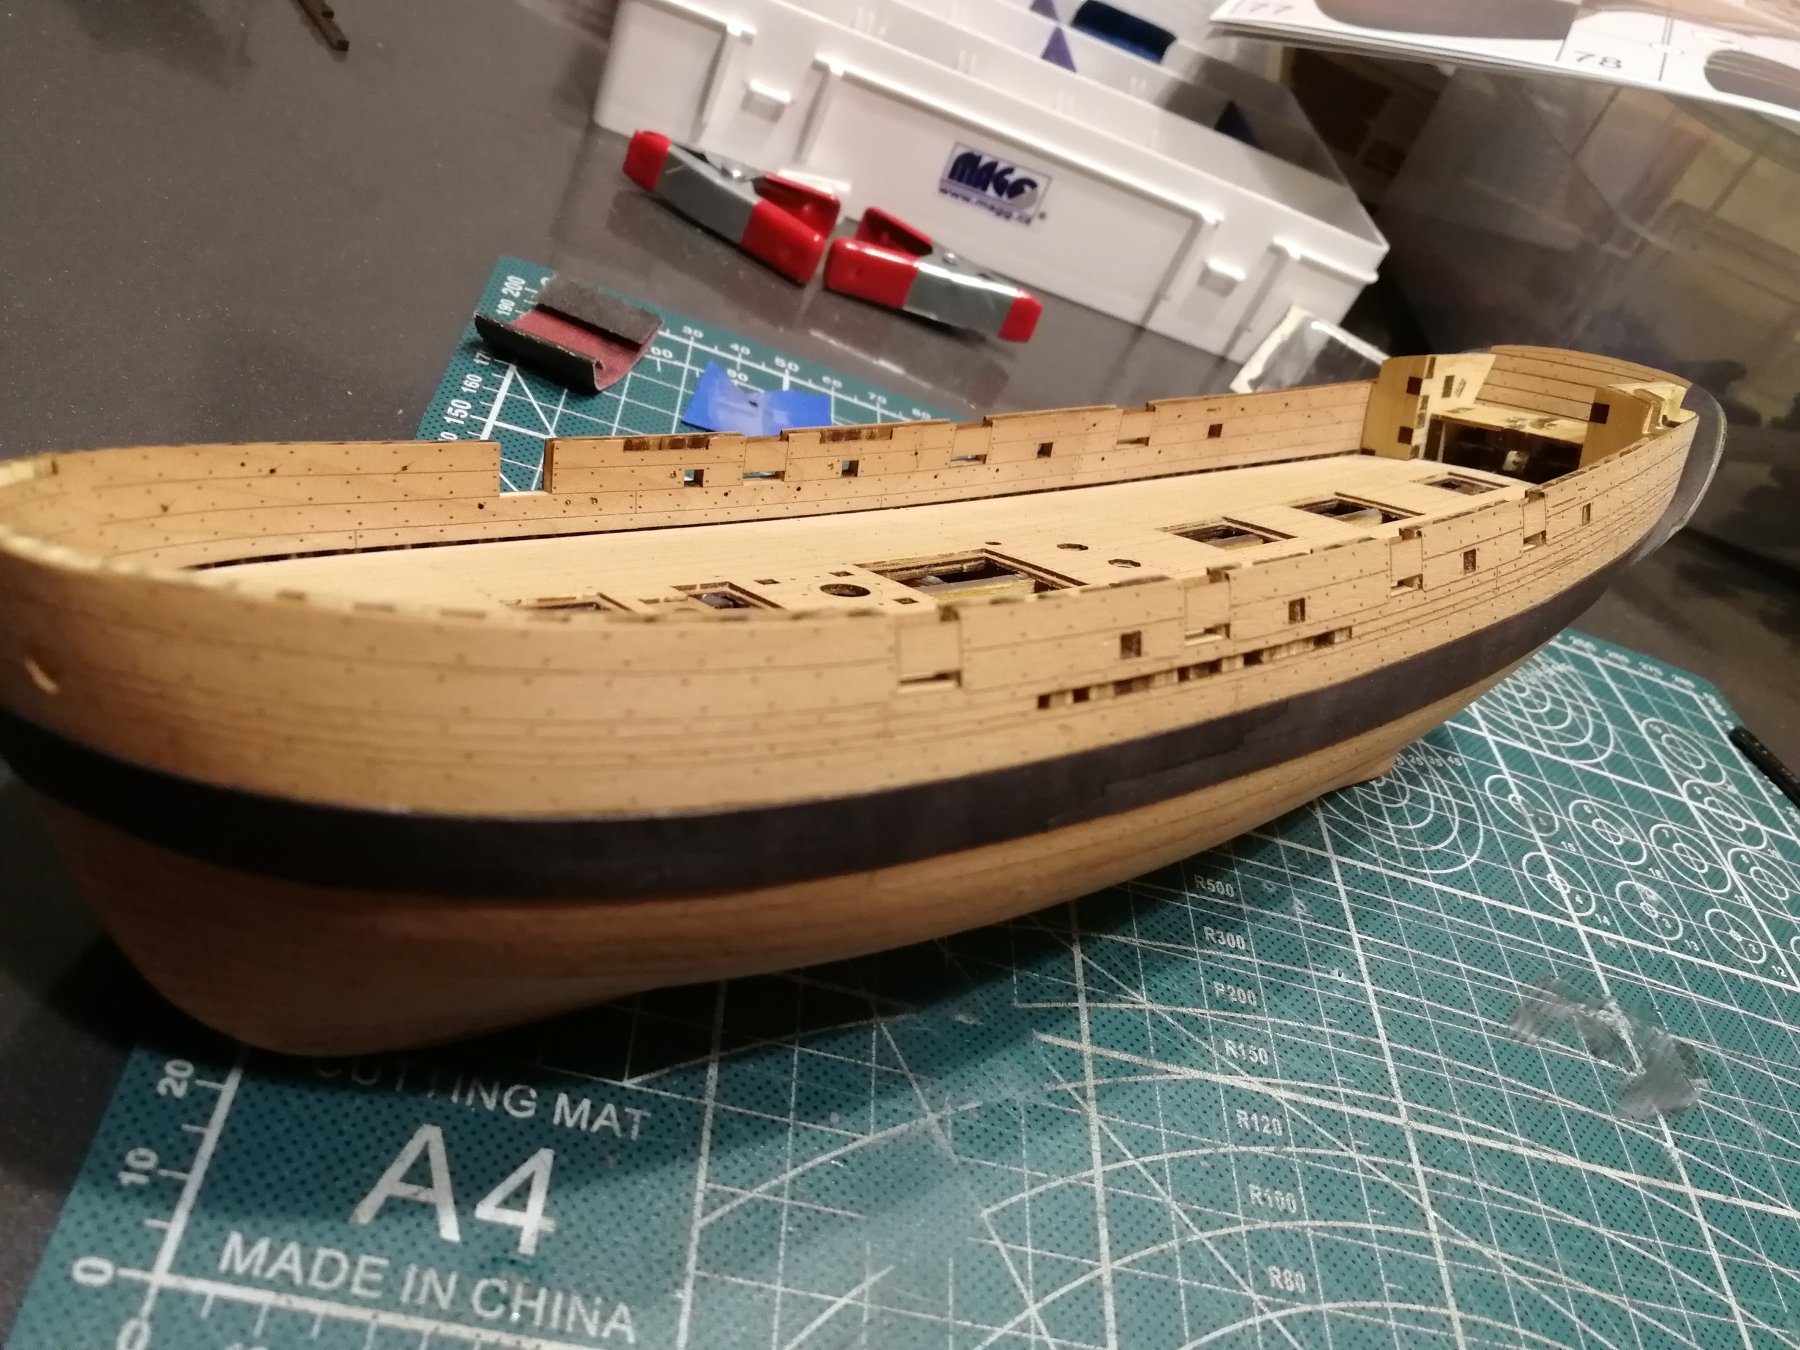
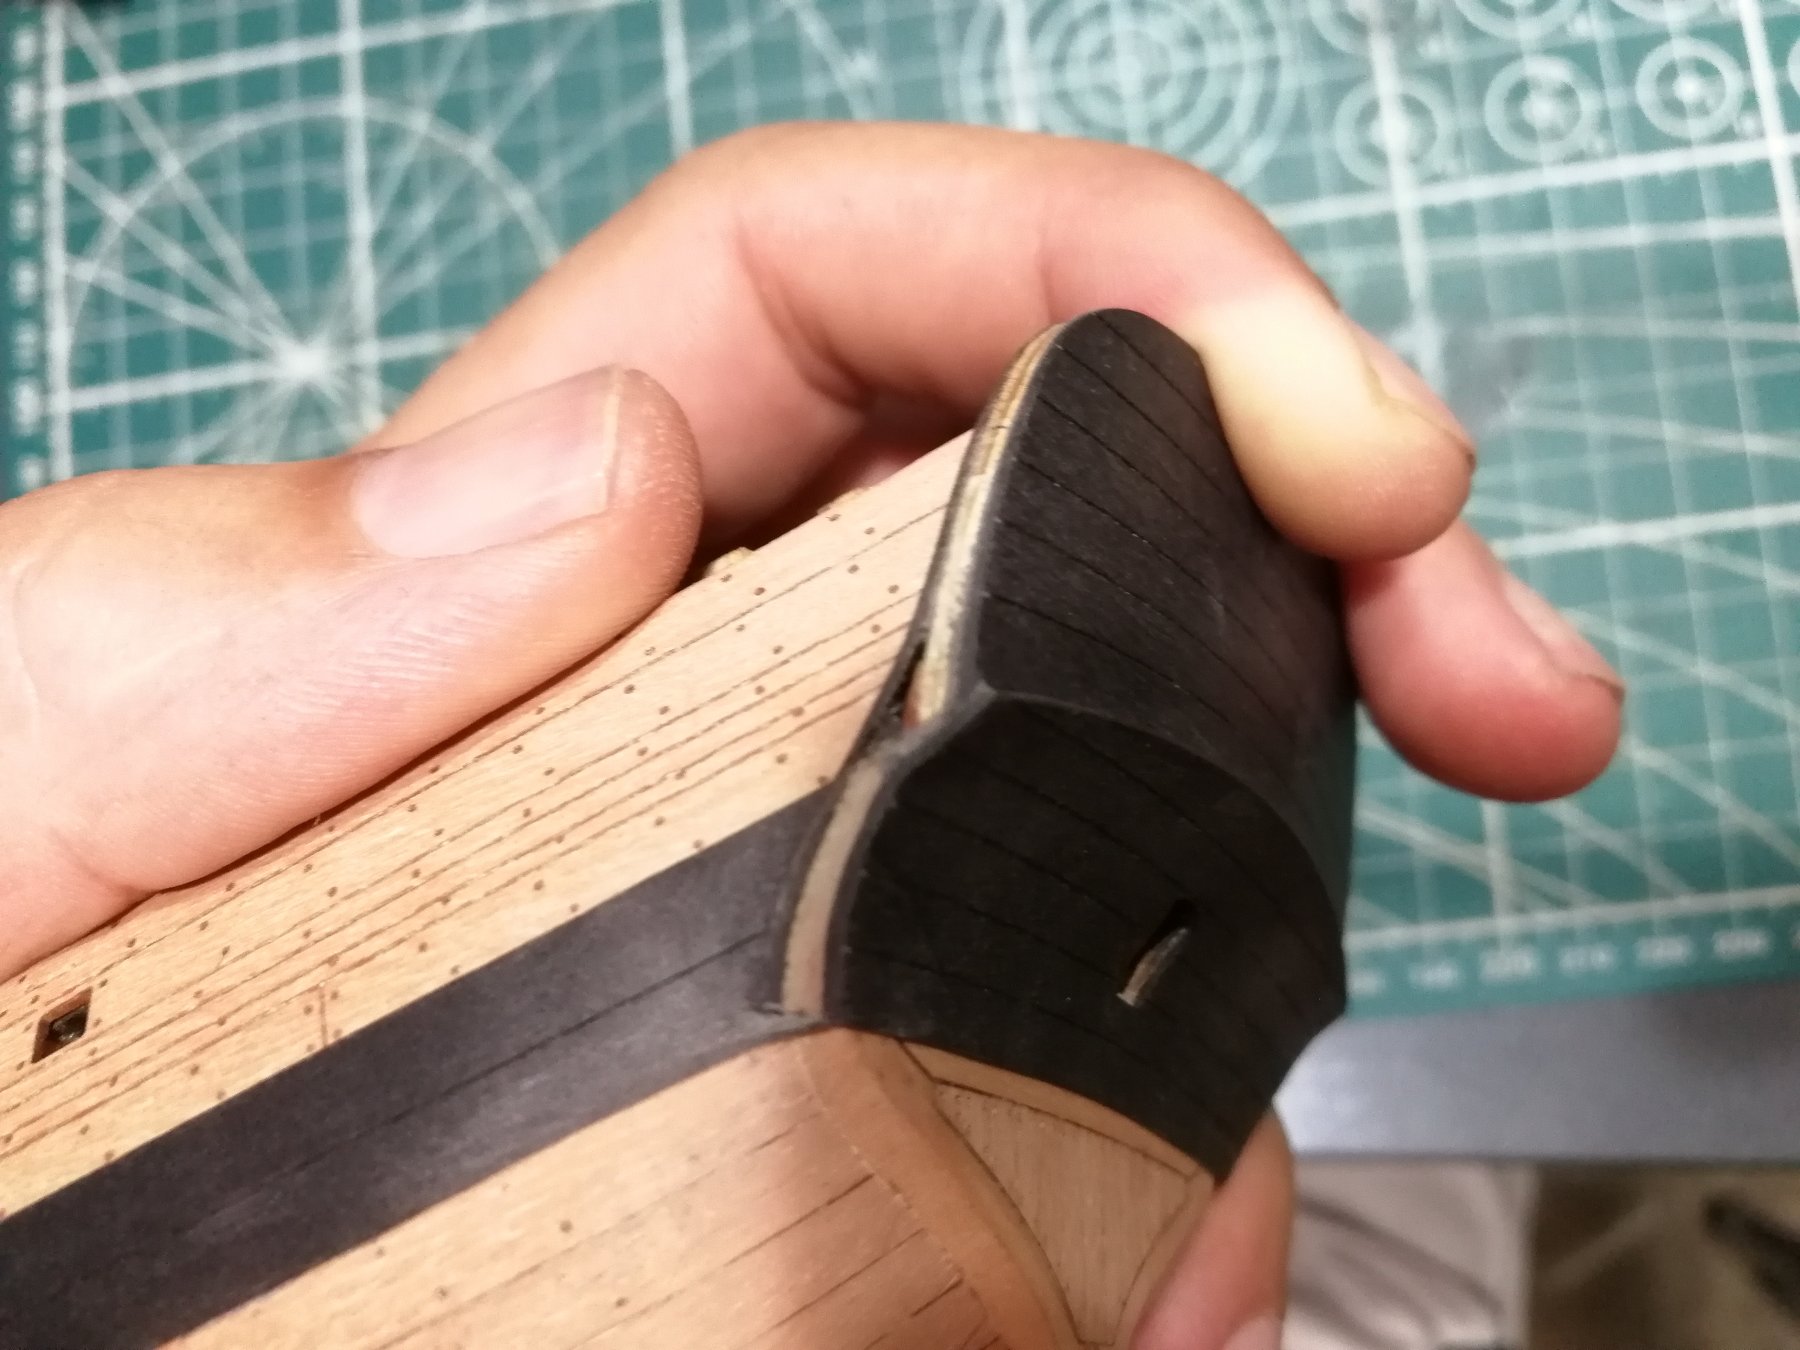
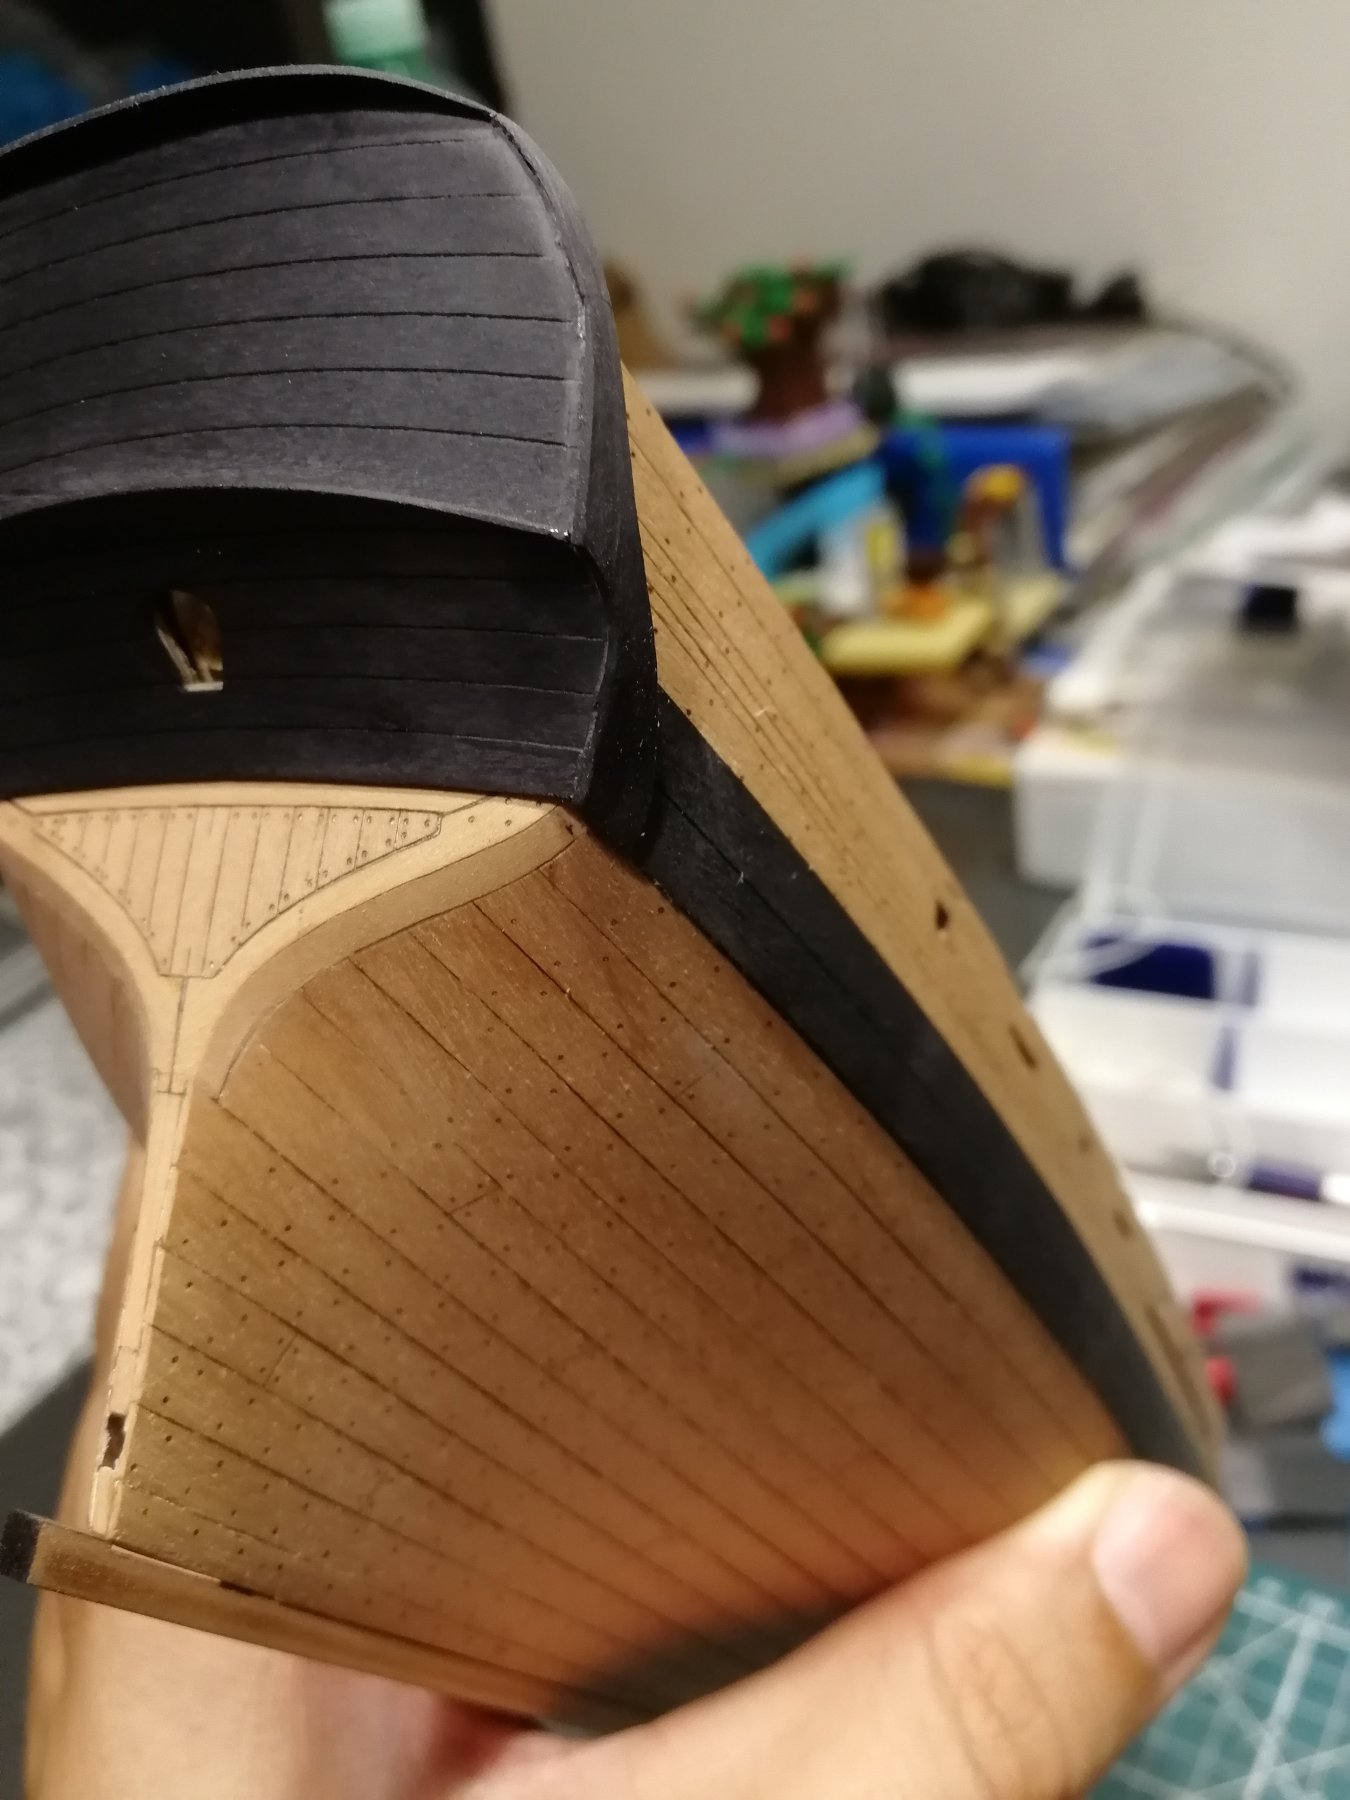
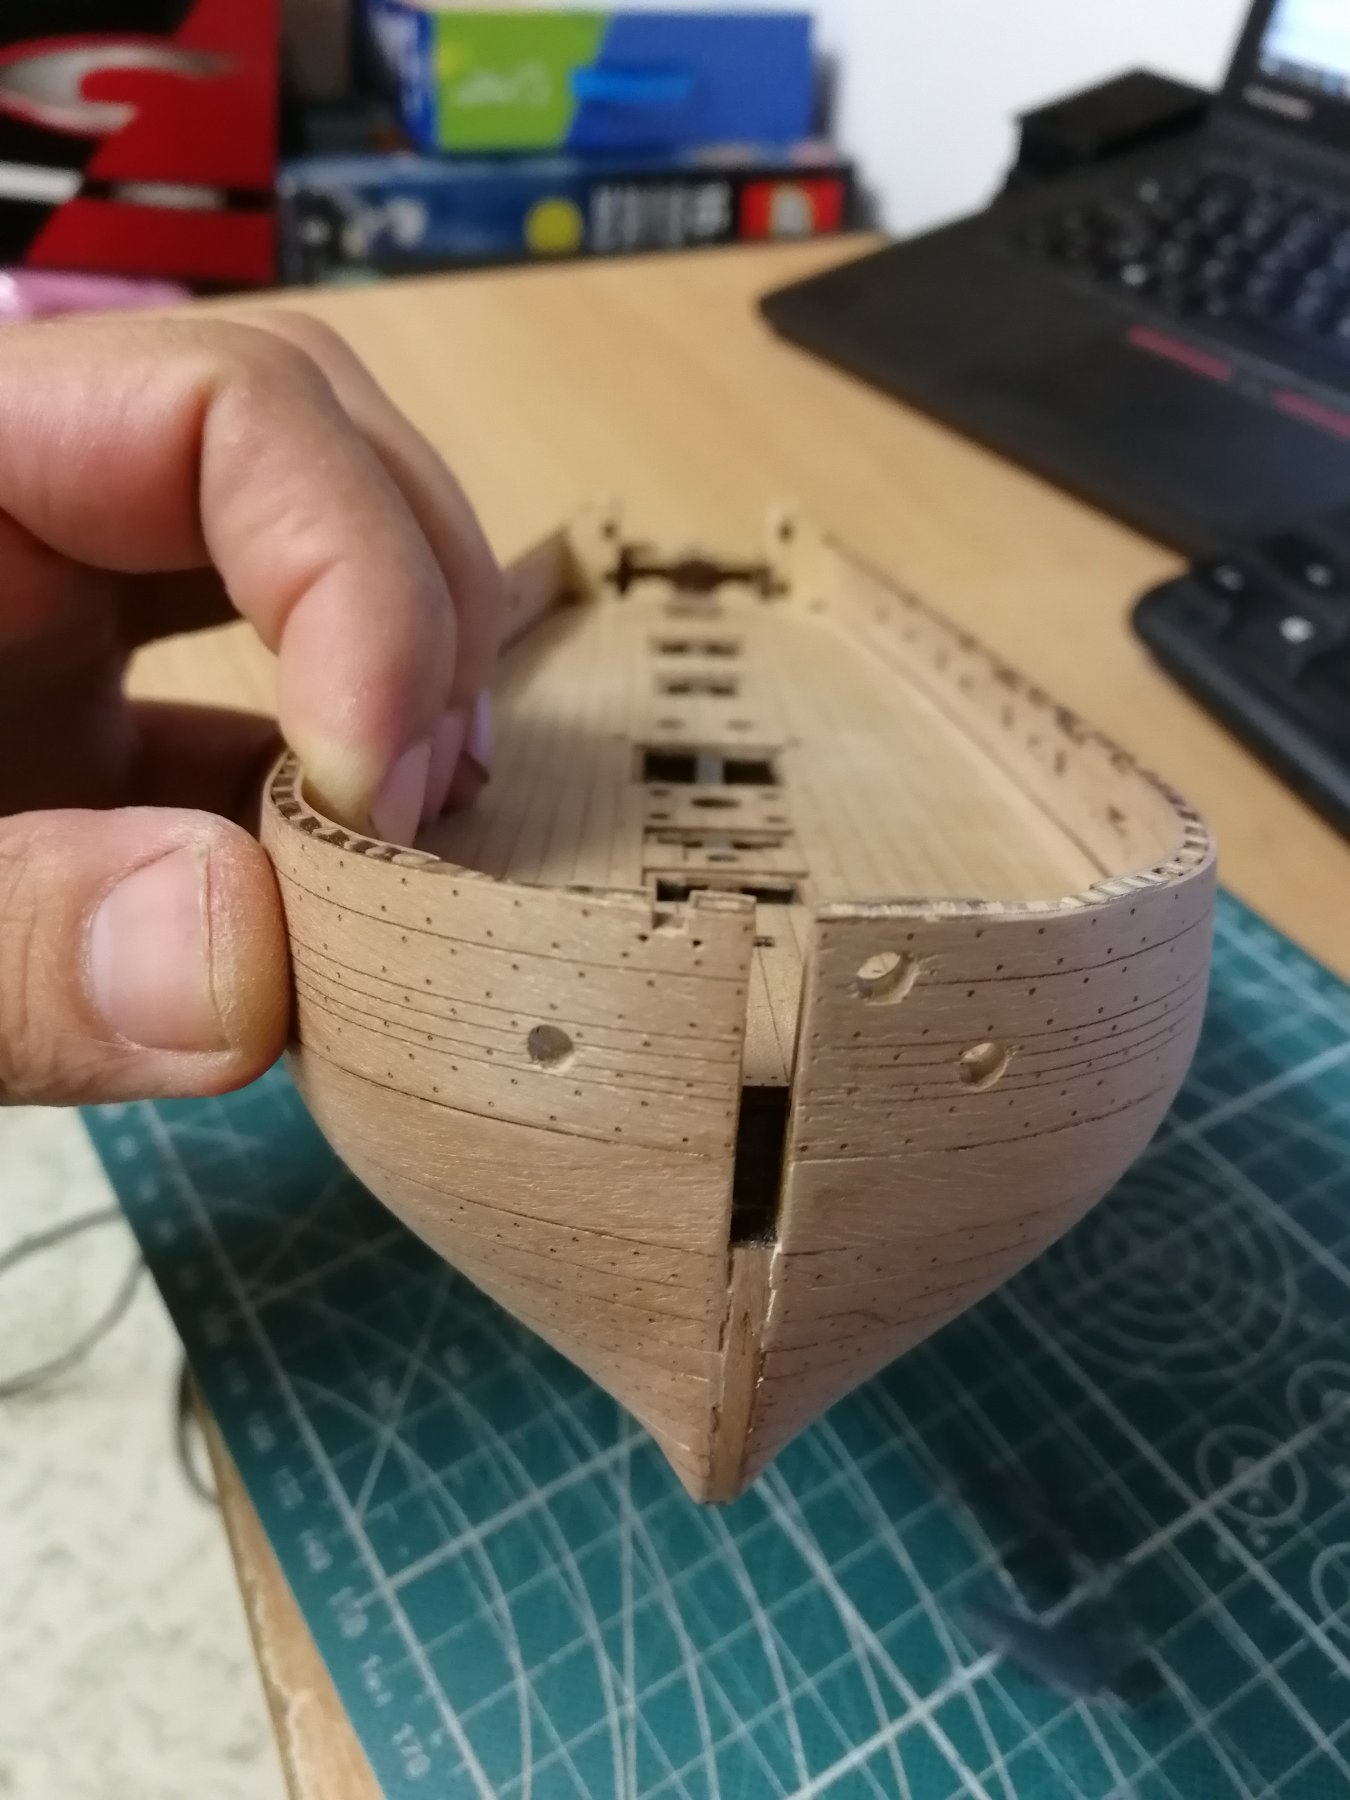
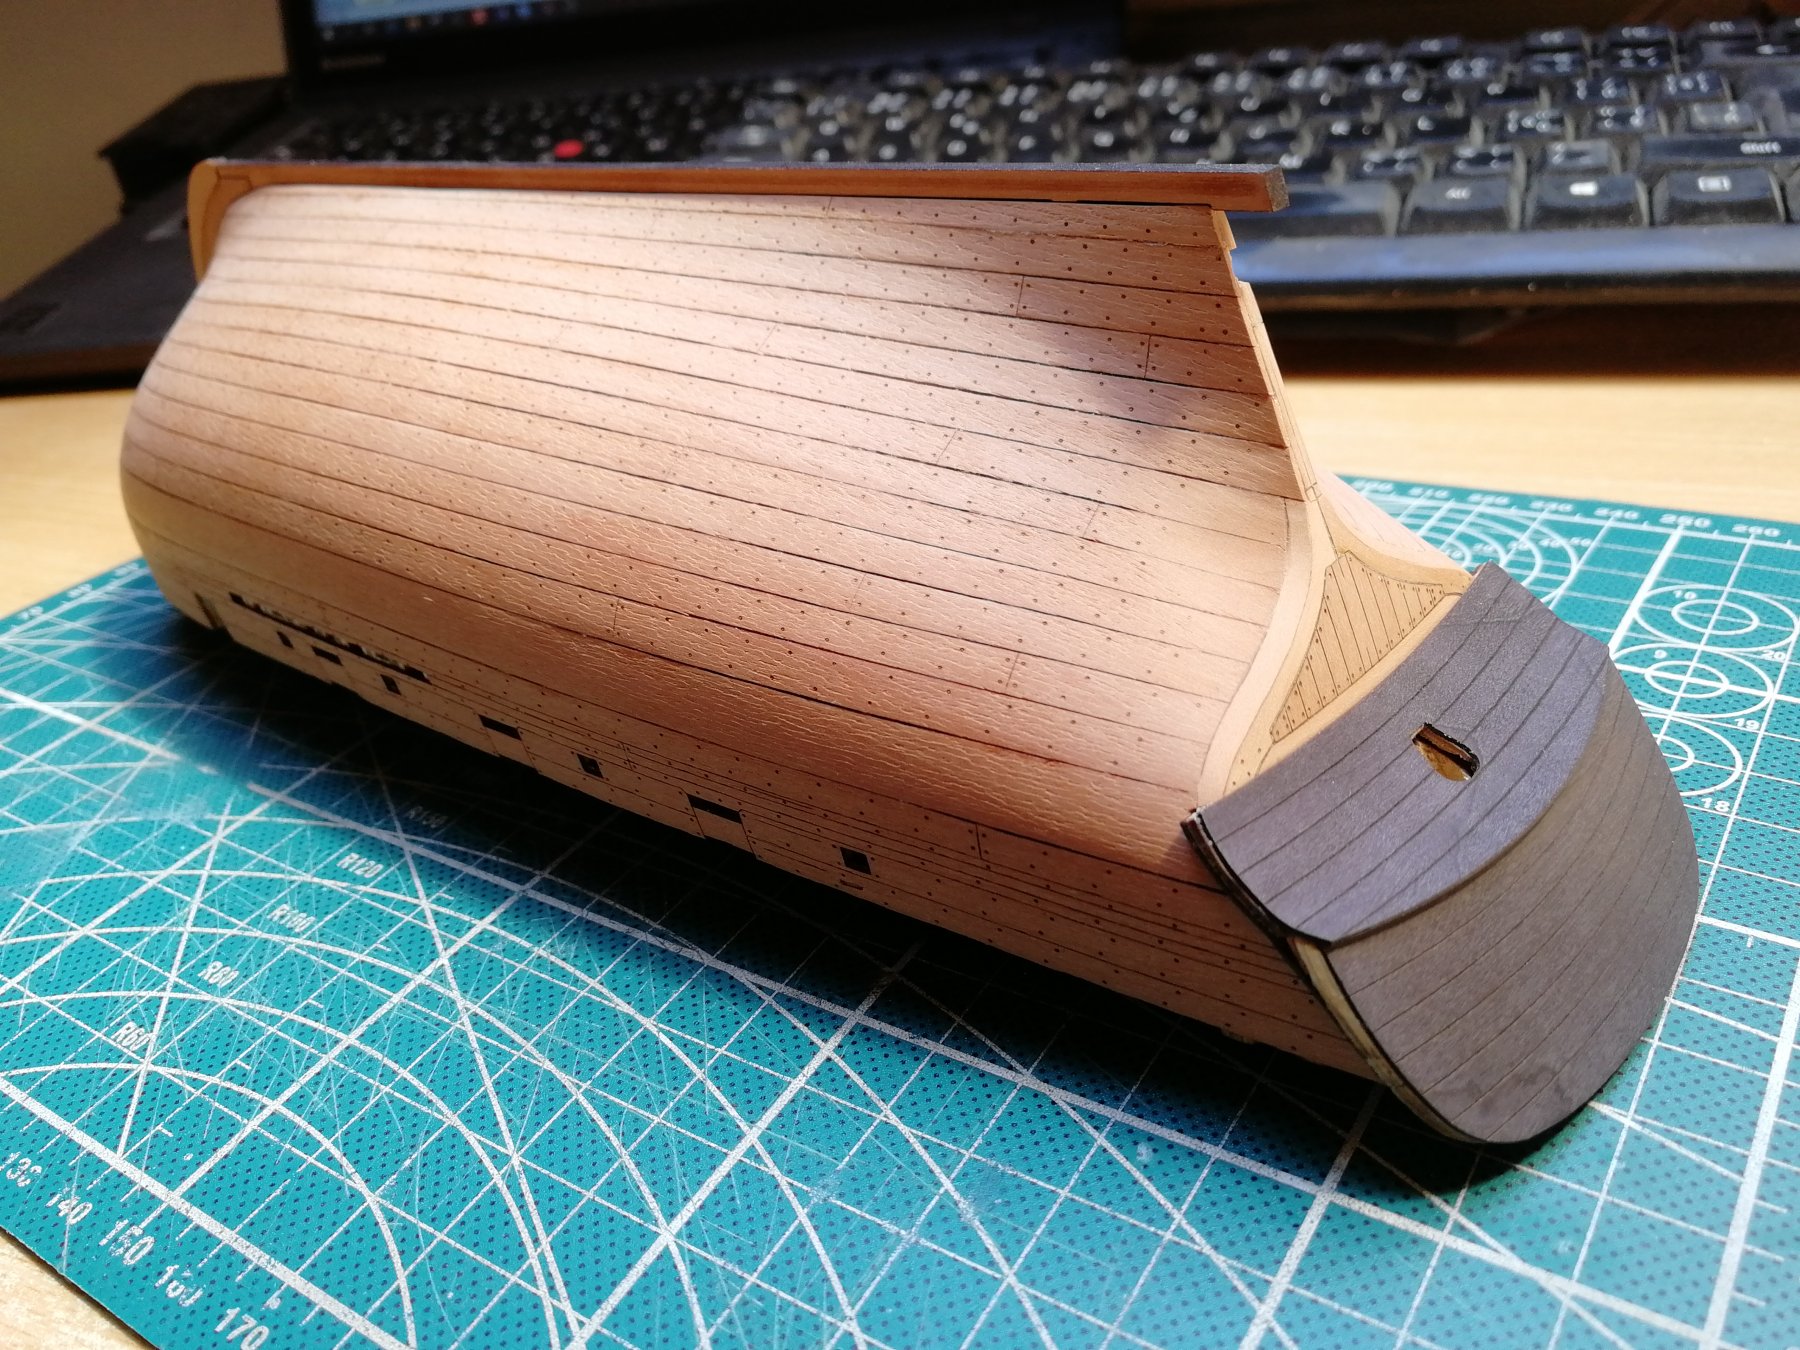
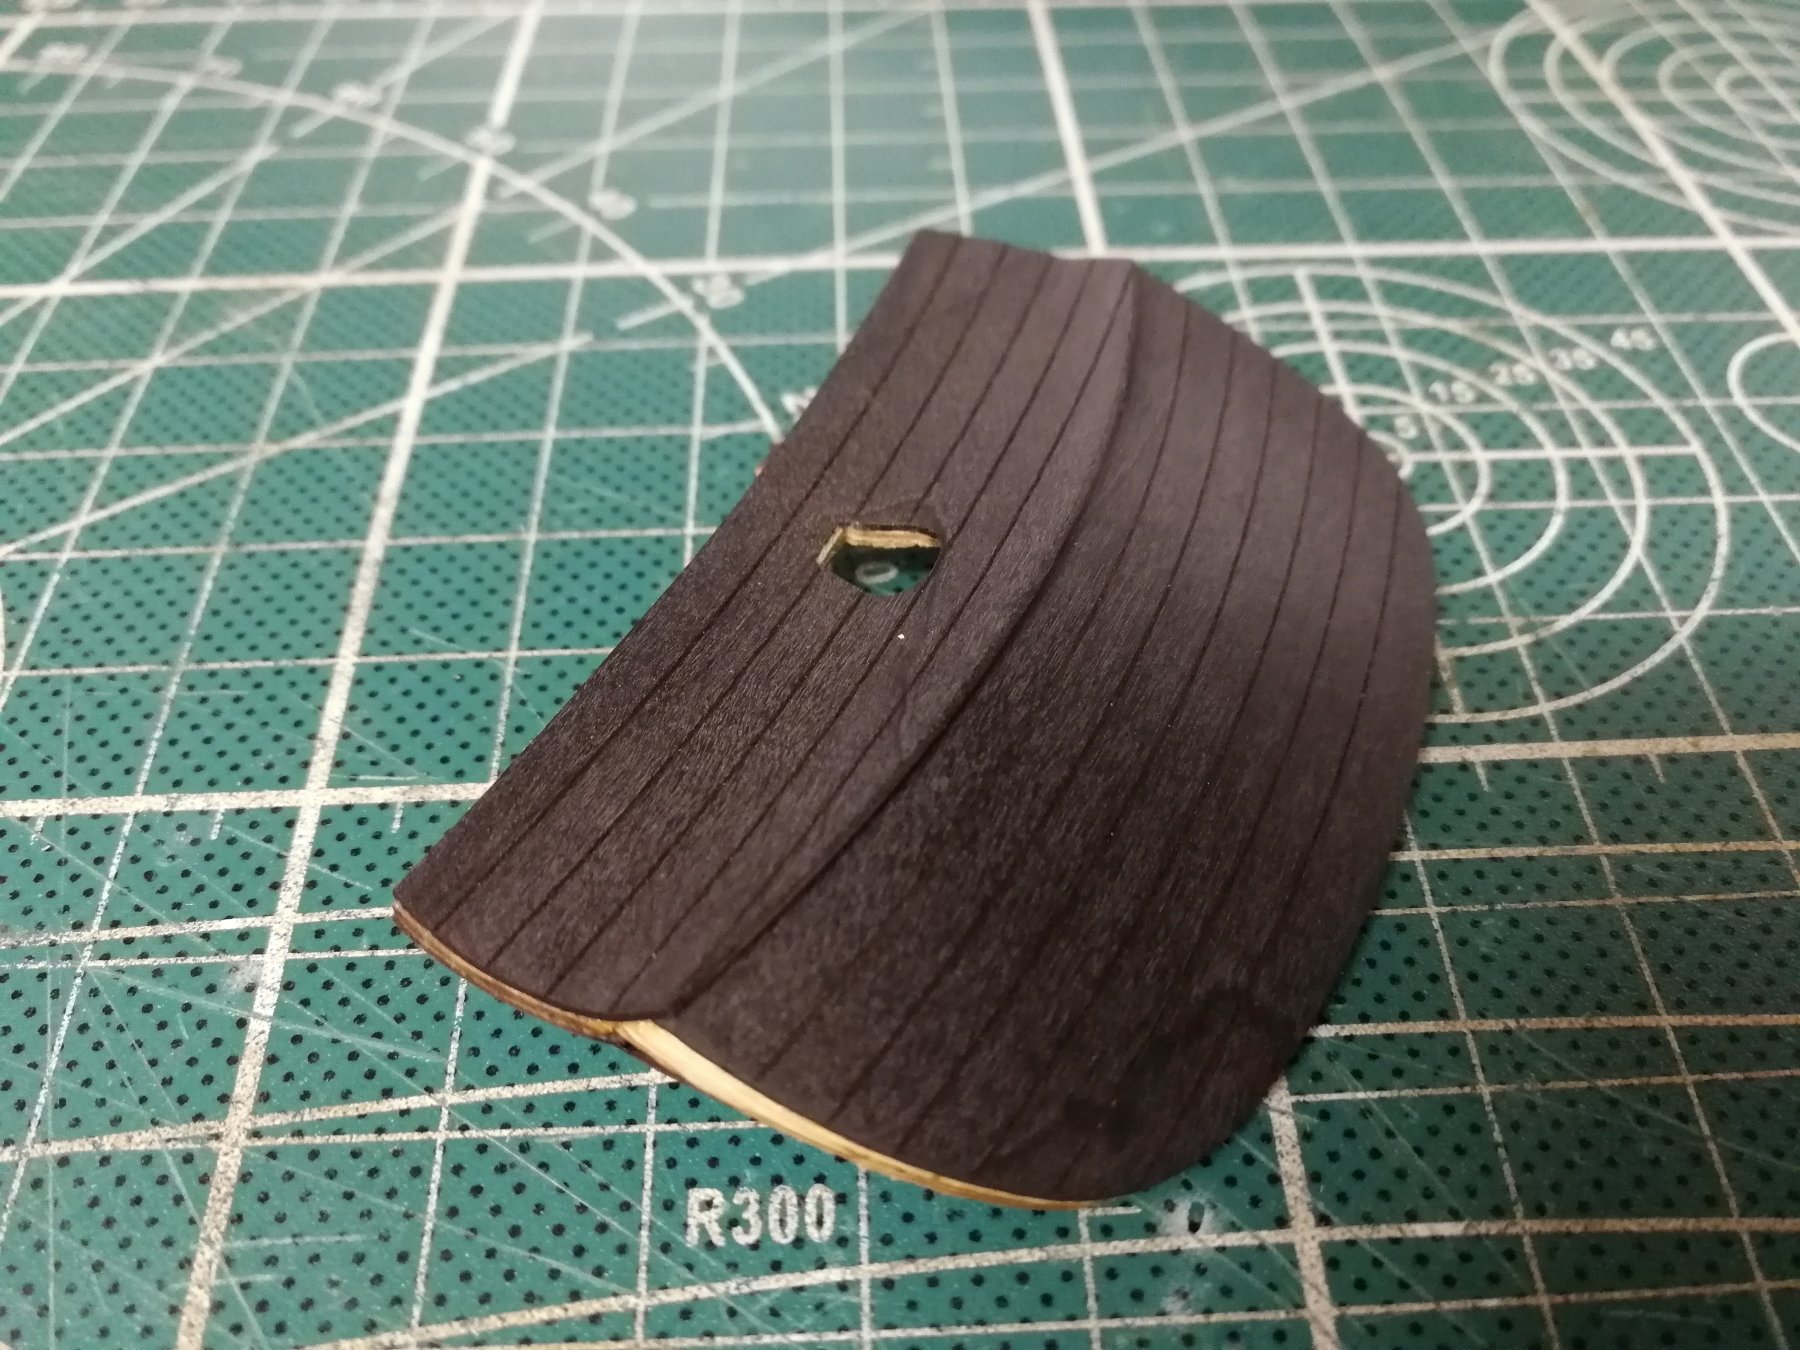
Today I finished the wales and started finishing the taffrel with counter. This is propably most dificult part of the ship.
First you have to cut the correct shape to wales so the counter fits without gaps. Second you have to shape the counter so it meets flush with the wales. Third the edge of the tafrel and counter can be planked. It is not easy 🙄I glued all the parts of rail but it needs a lot of sending still.


- hof00, coxswain, chris watton and 14 others
-
17
-
-
Rocket start! You will catch me very soon with this pace👍 Very happy to see another AVOS build!
- lmagna, chris watton, Canute and 2 others
-
5
-
4 minutes ago, etsinko said:
Hi Peta_V,
The beauty of this method is that no superglue is required. I really takes a few seconds for melted PVA to become solid. And on top of that you can melt it again with hot iron if you need to adjust your planks.
Sounds very good! 👌
-
Hi Etsinko,
Interesting technique, Just this morning I was preparing the wales and thought it would be hard to glue and do not mess the surranding planks with glue residual. This might solve my problem. I will for sure try out. Thanks.
So far I use only PVA glue for planking and sometimes superglue where the plank did not stick 100% (which would be not possible using for wales).
-
Good luck with the build. Have a fun👍
- mtaylor, James H, chris watton and 2 others
-
5
-
-
-
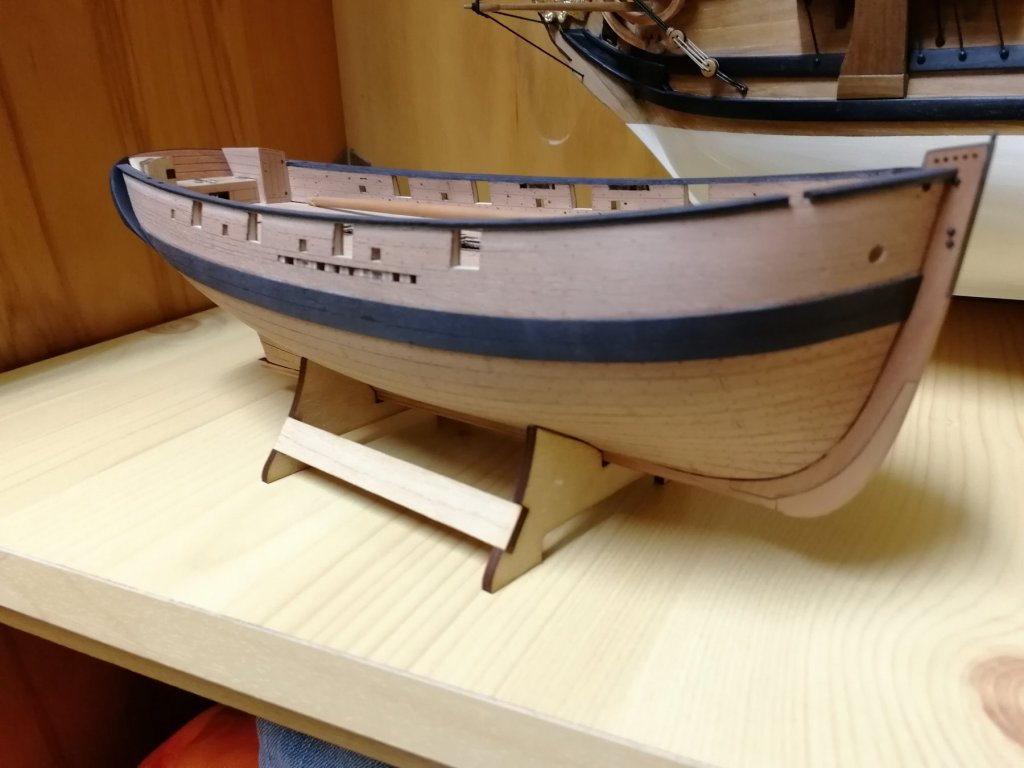
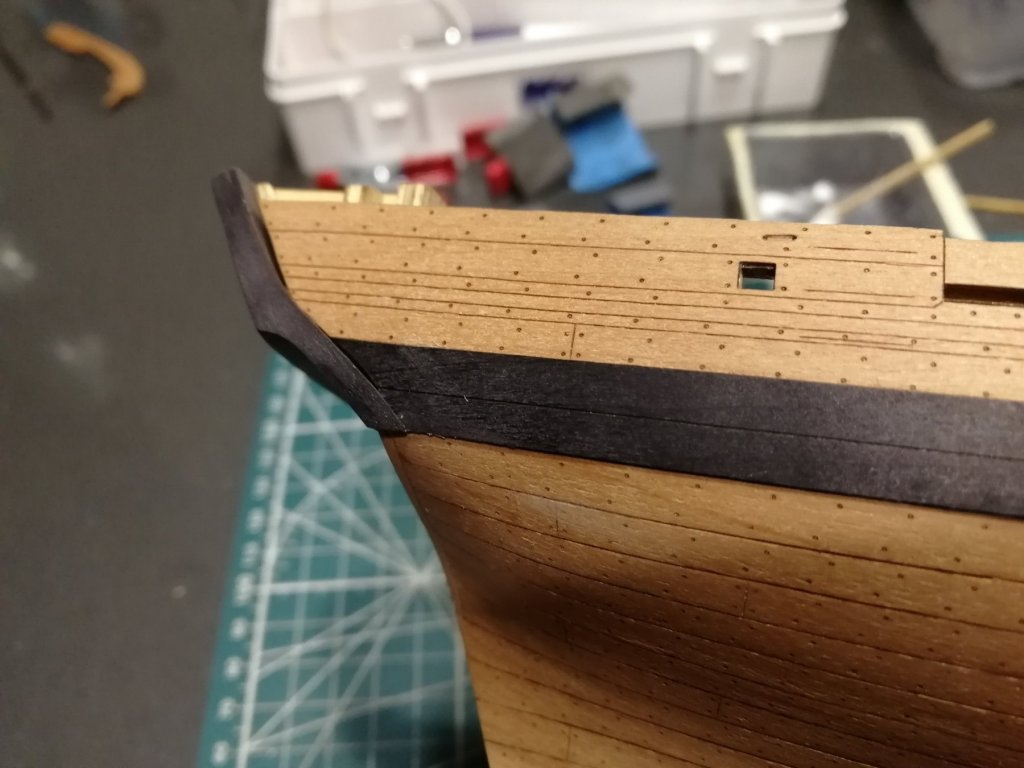
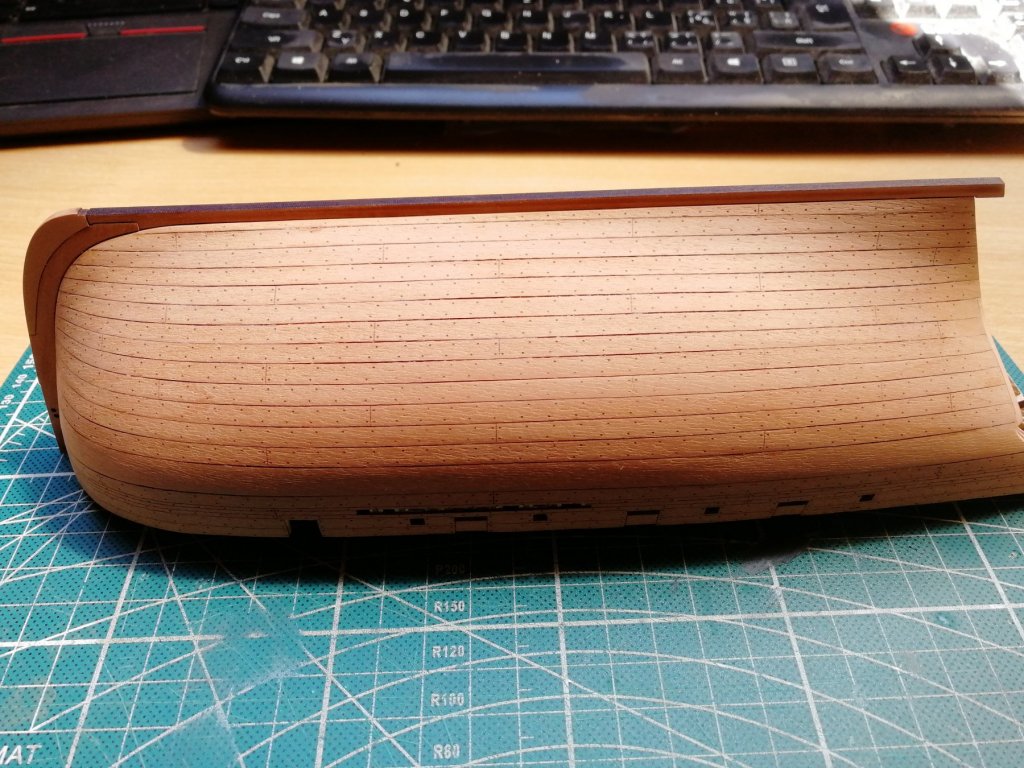
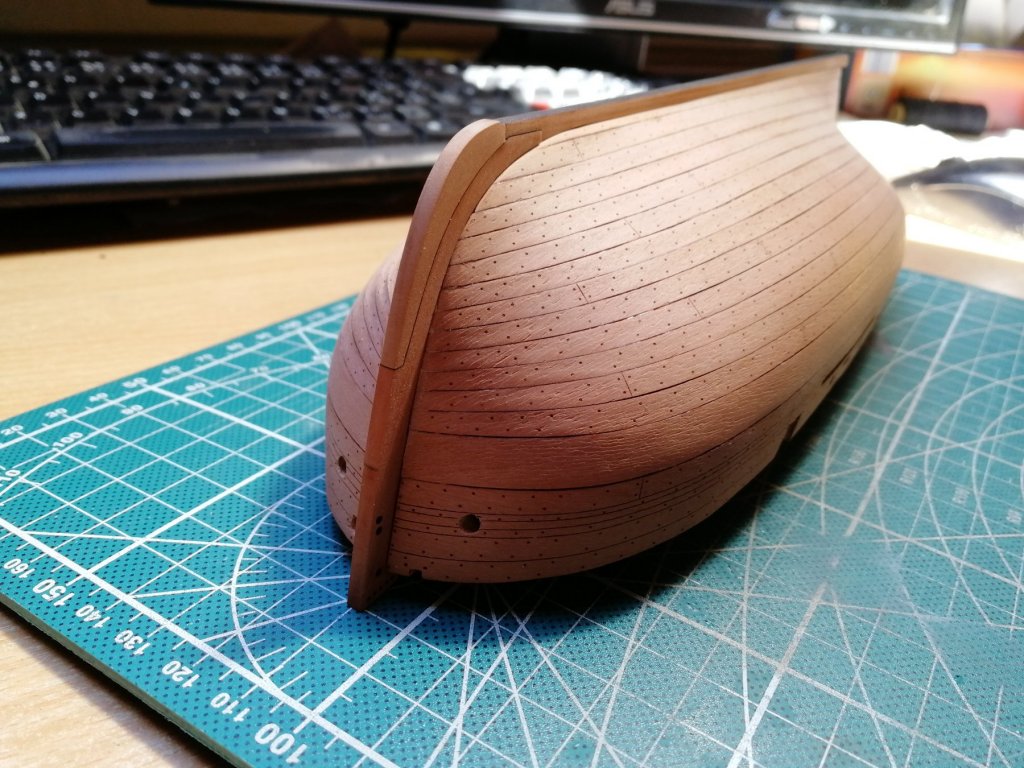
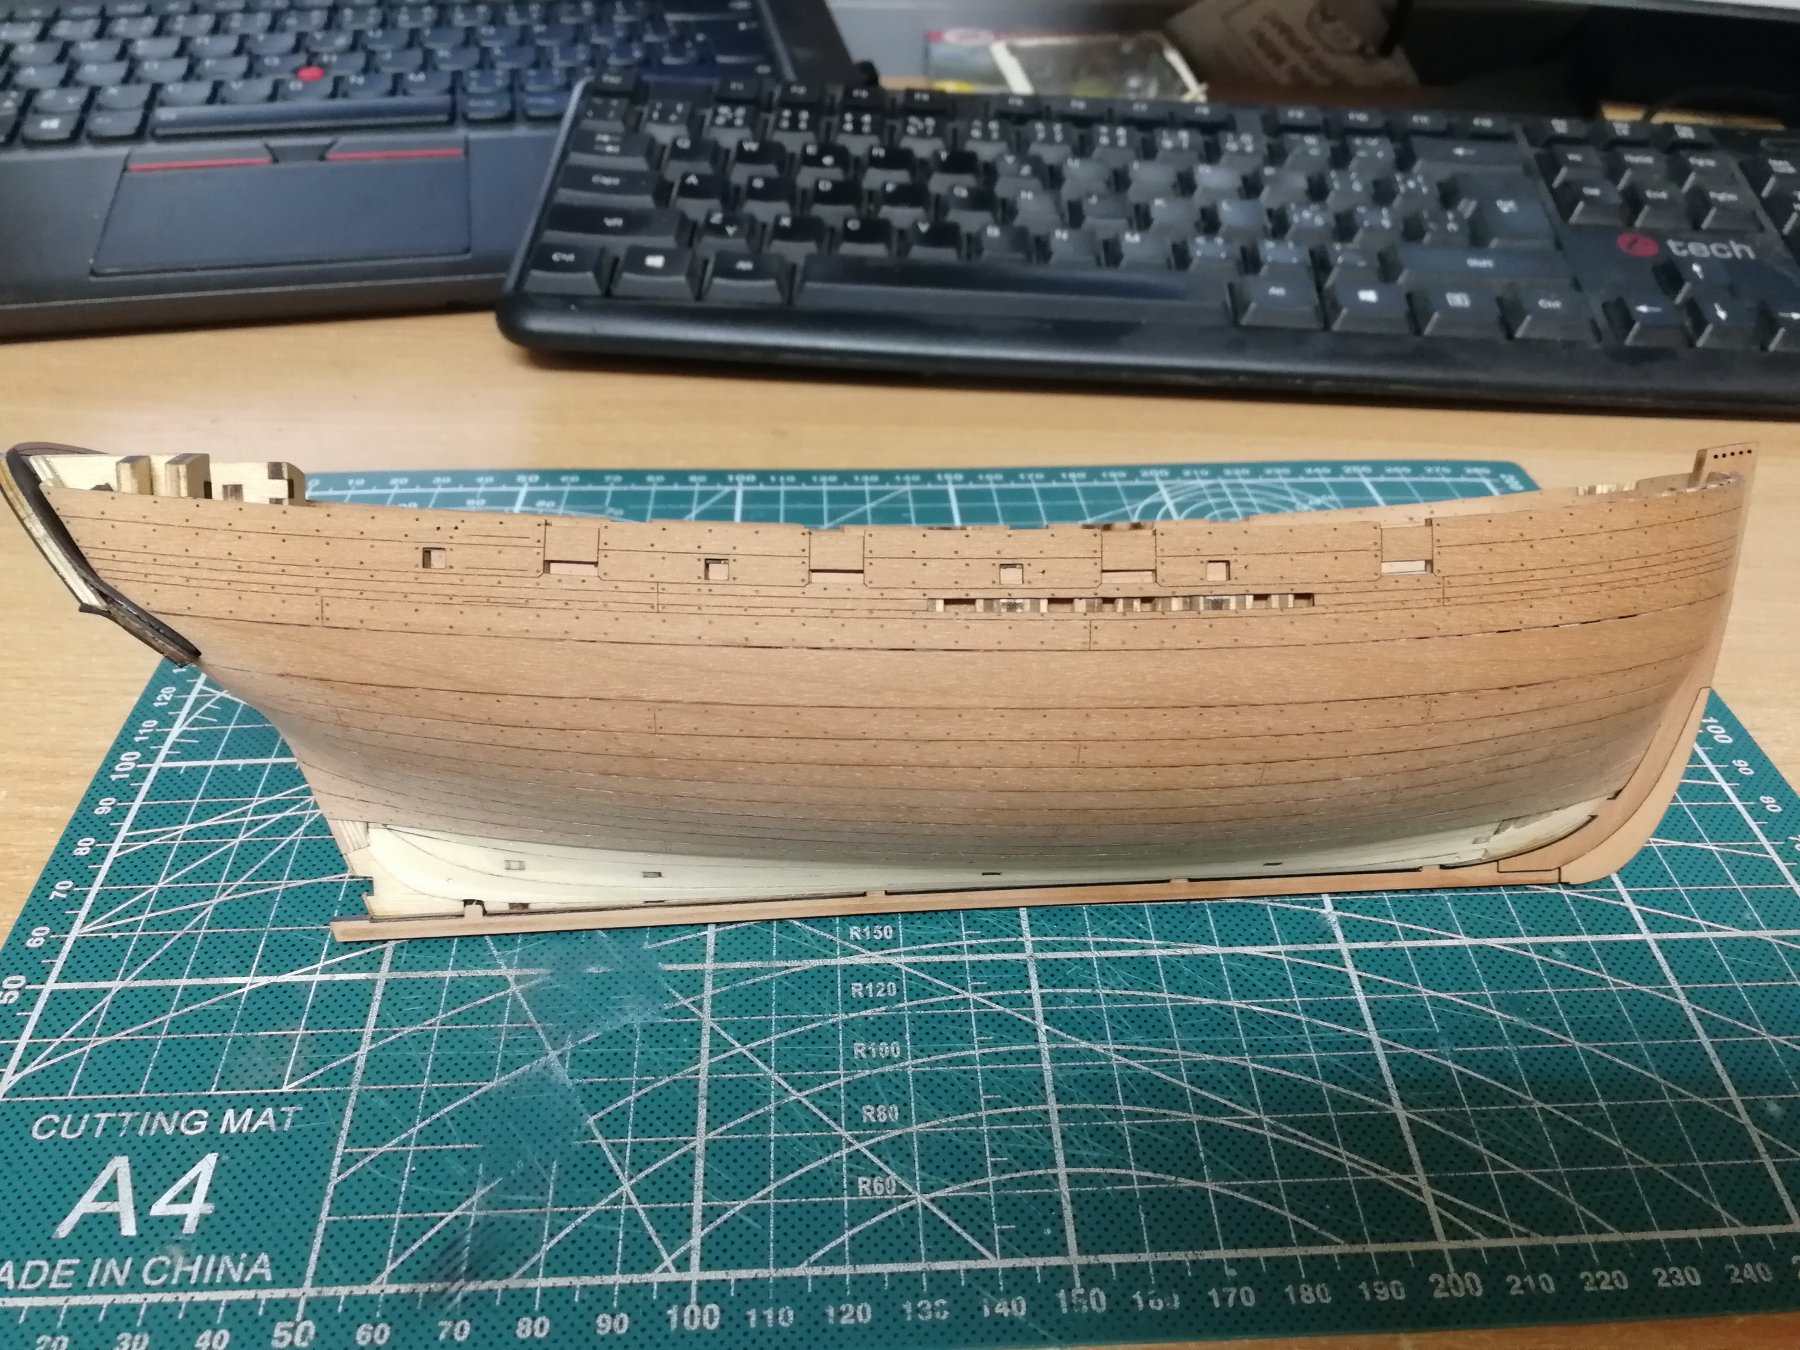
Half of the hull already covered with pear.


My Shipyard
- BenD, greenstone, John Cheevers and 15 others
-
18
-


Le Gros Ventre by marsalv - FINISHED - 1:48 - POF
in - Build logs for subjects built 1751 - 1800
Posted
Precision itself 👌