Louie da fly
-
Posts
7,993 -
Joined
-
Last visited
Content Type
Profiles
Forums
Gallery
Events
Everything posted by Louie da fly
-
Hi Daryl, You might like to look at this, it gives a good rundown on models suitable for beginners. Just be aware that unfortunately Artesania Latina is no longer in business, though apparently there are still AL models out there if you're prepared to look. Start a build log when you do begin your build. It's a great way to get help and advice (and encouragement!). And it would be nice to see some photos of your dory.
-
 Just out of interest, Chris, what does the kit have in the way of fixings for the lower end of the shrouds? I've just been looking at this in relation to another "cog" build at Rather interesting. It appears deadeyes didn't evolve until sometime in the 15th century.
- 179 replies
-
- 3
-

-
- shipyard
- wütender hund
- (and 1 more)
-
Good to see you under way on your build, Nelson. There are a lot of Viking ships among the build logs - and not just kits; there are some amazing scratch builds as well. Before planking, read everything you can in the build logs. And perhaps do some practice planking before you commit yourself to doing it on the model itself. Clinker is fairly difficult, especially with planking following the curved stem and stern posts. Good luck with it, and have fun!
-
Hi Kim, The instructions for starting a build log for a kit are here: Looking forward to seeing yours for your pinnace. By the amount of experience you've had, it should be a pleasurable log to follow.
-
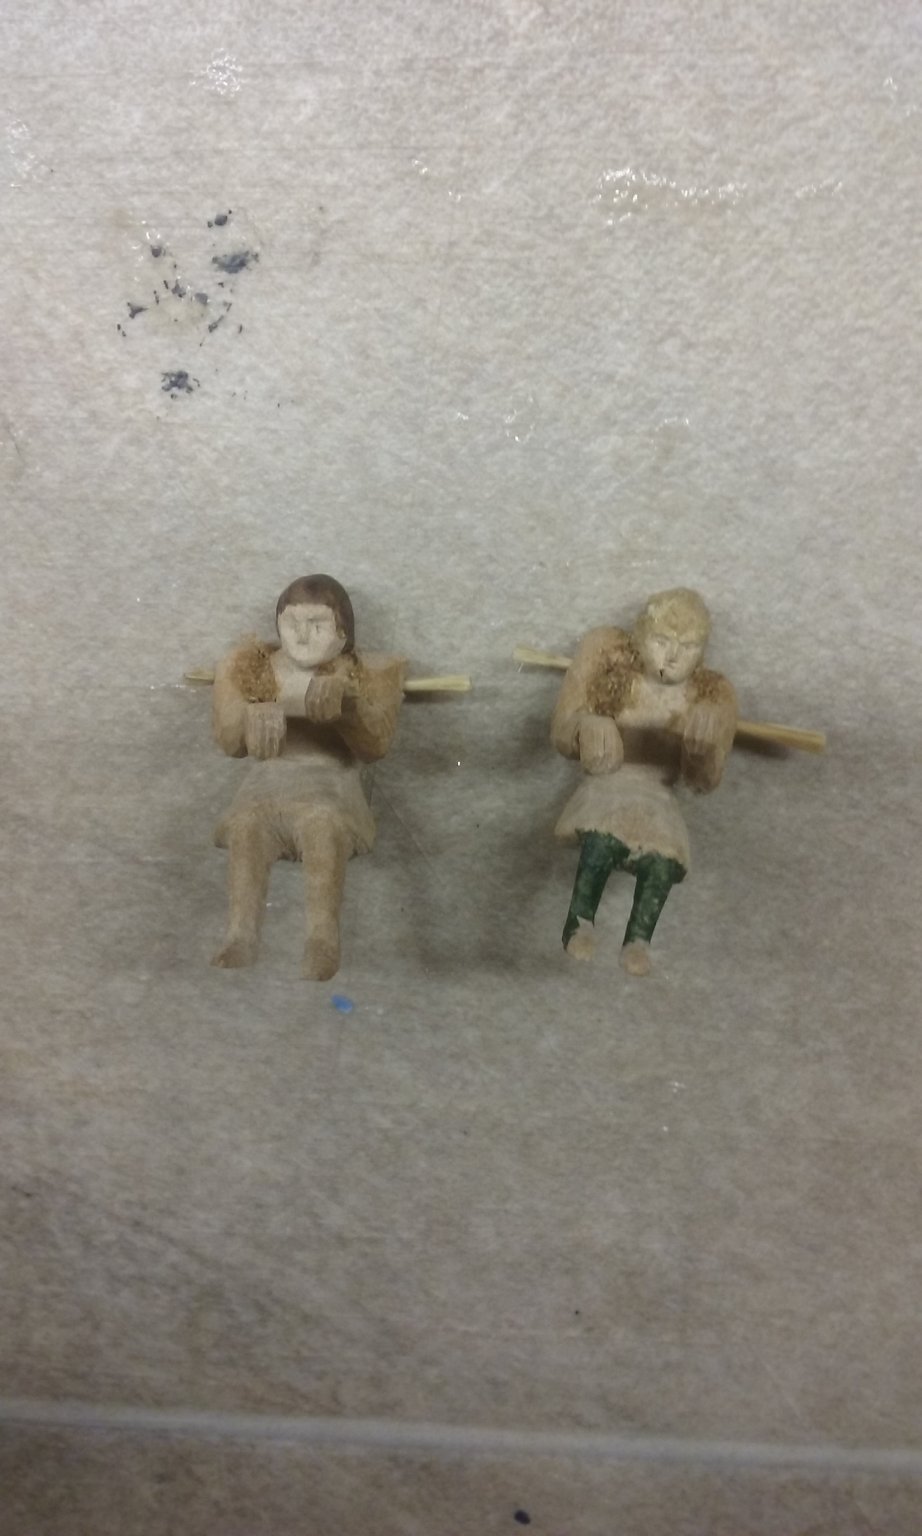
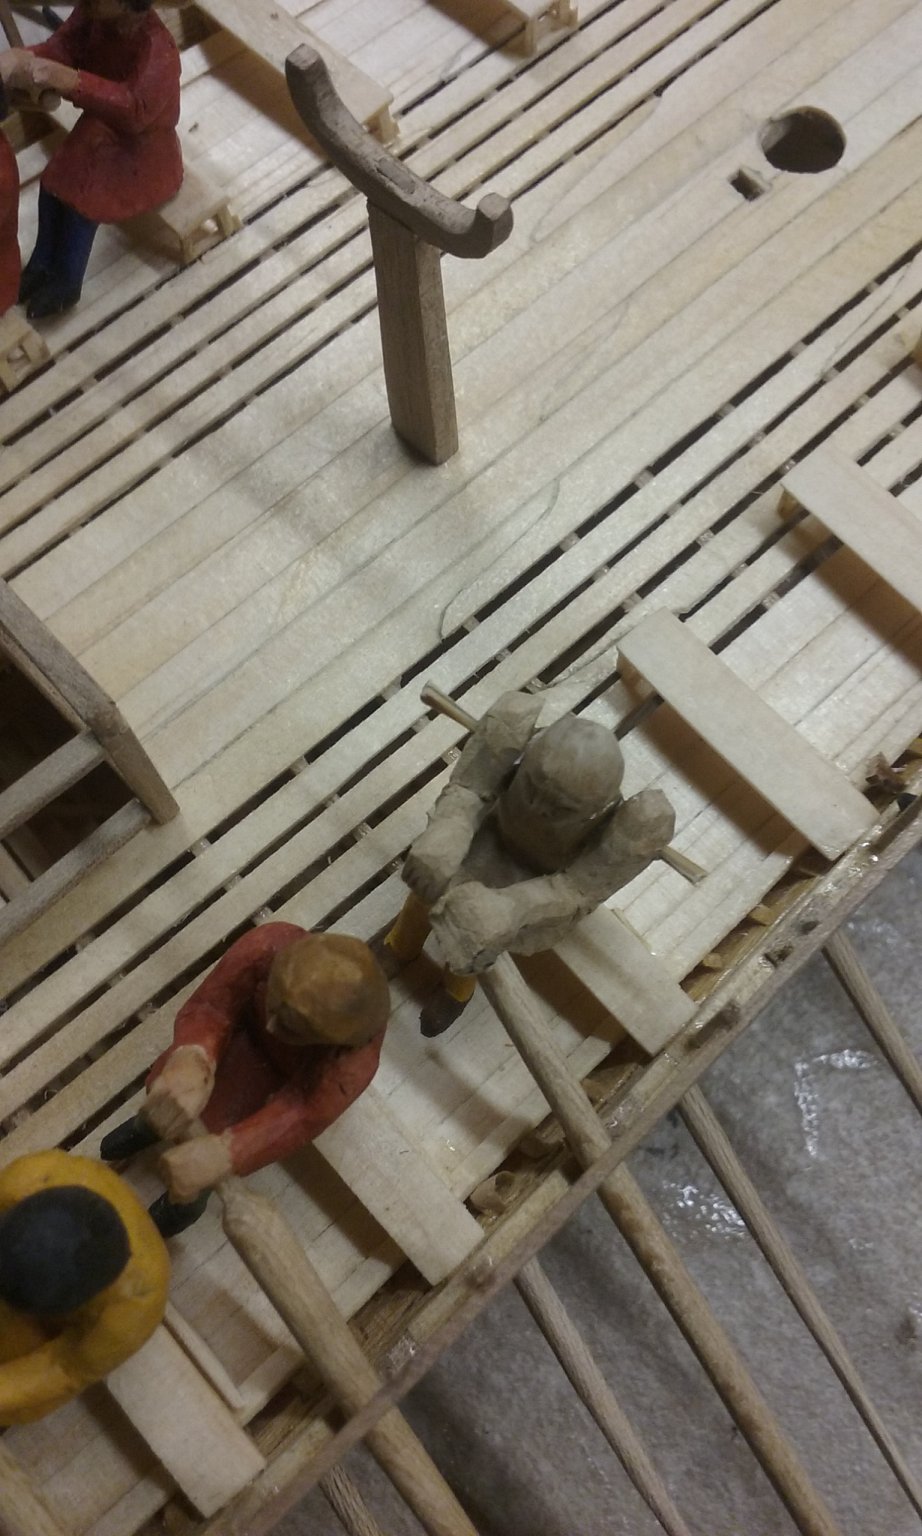
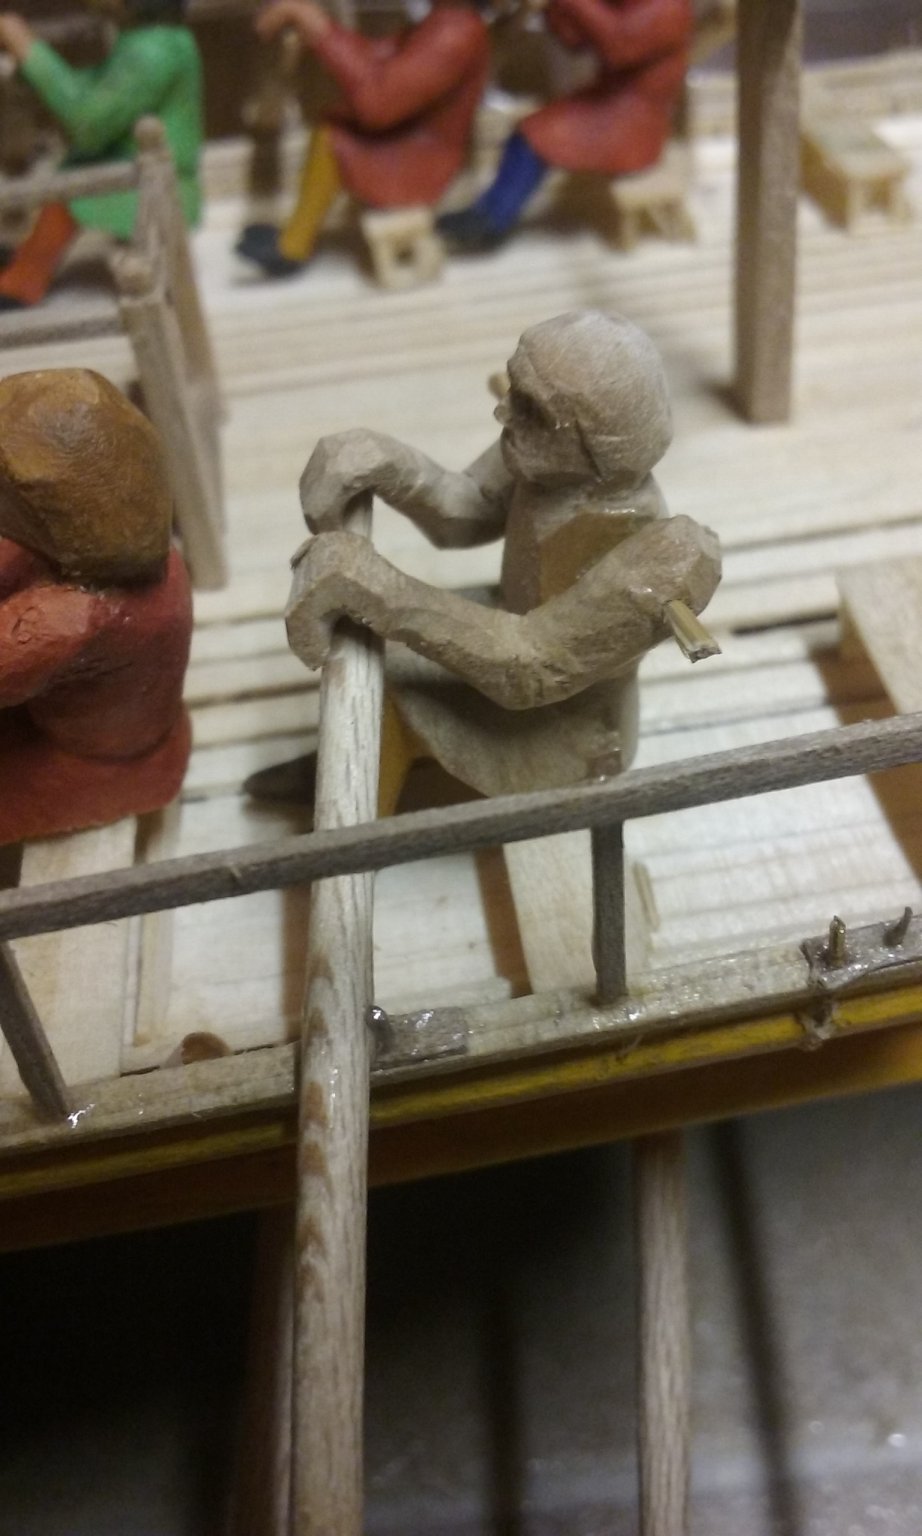
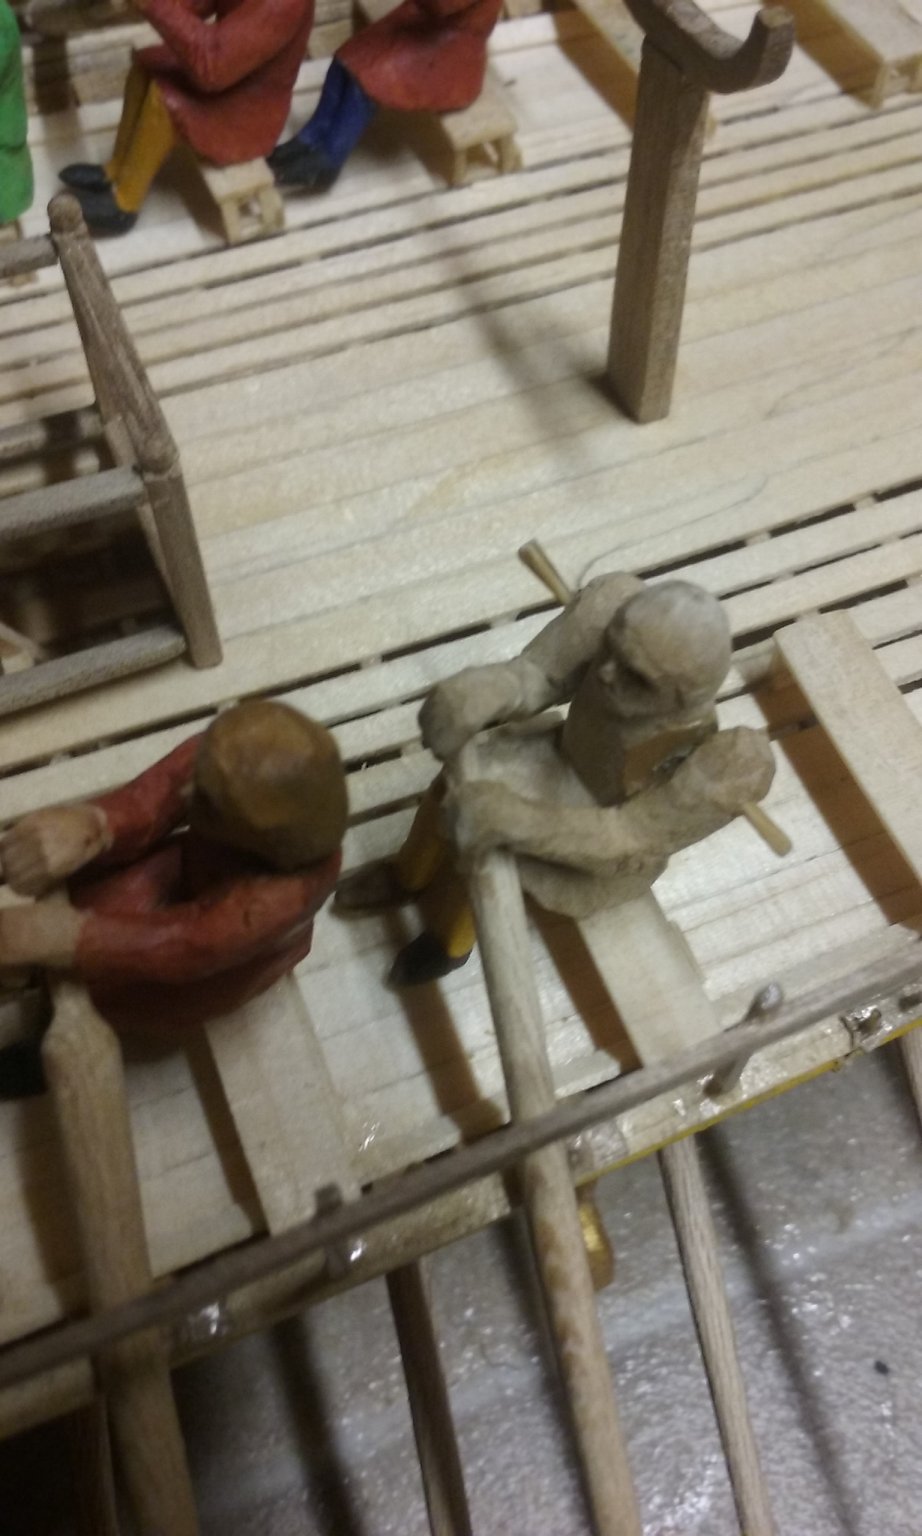
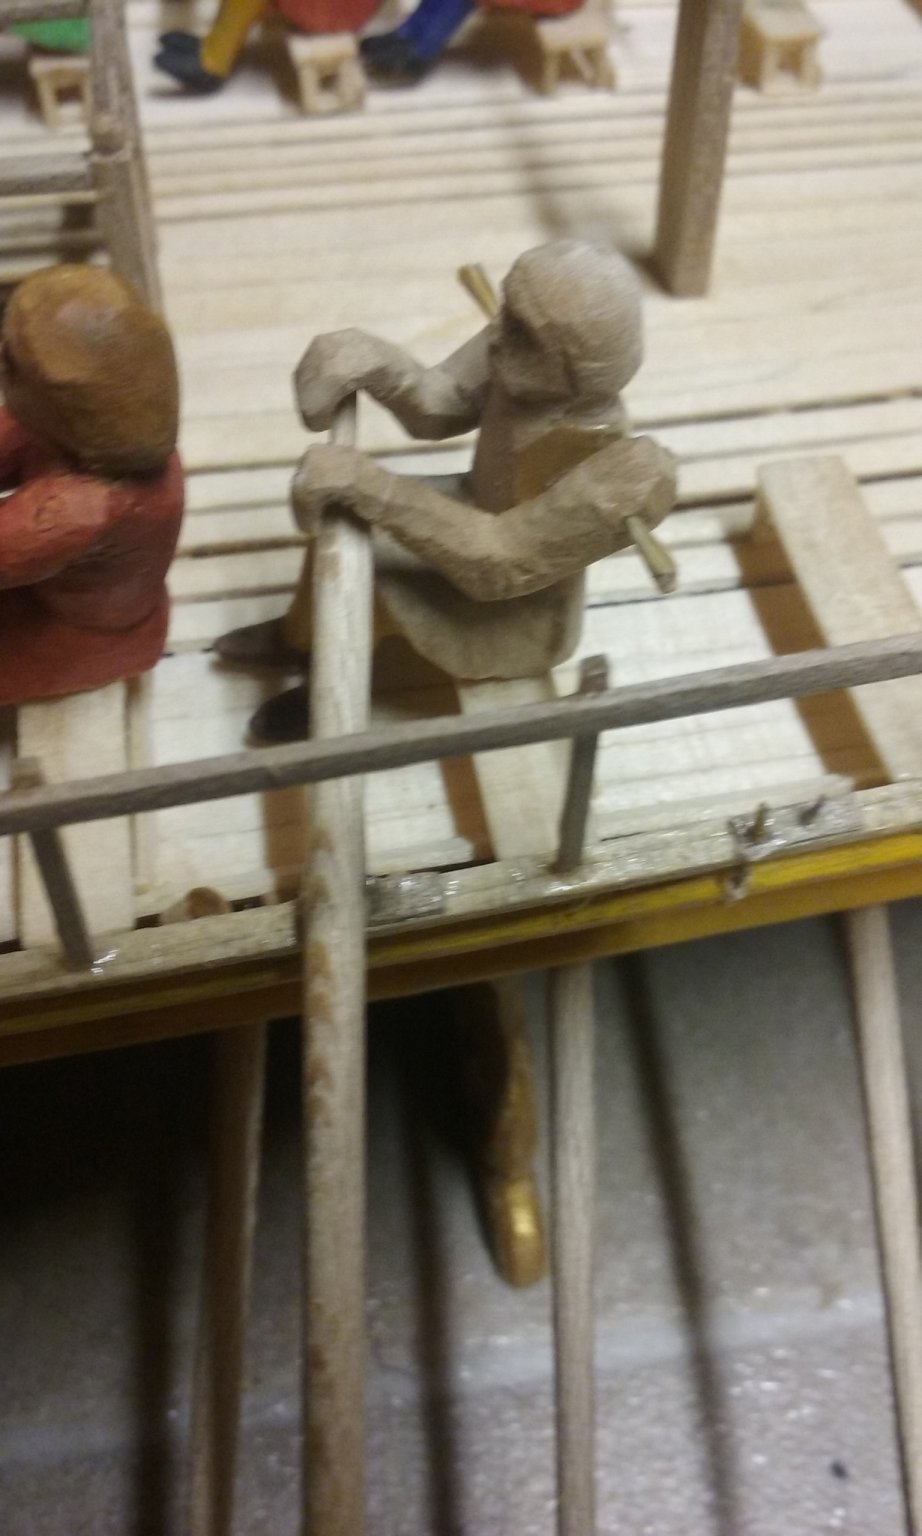
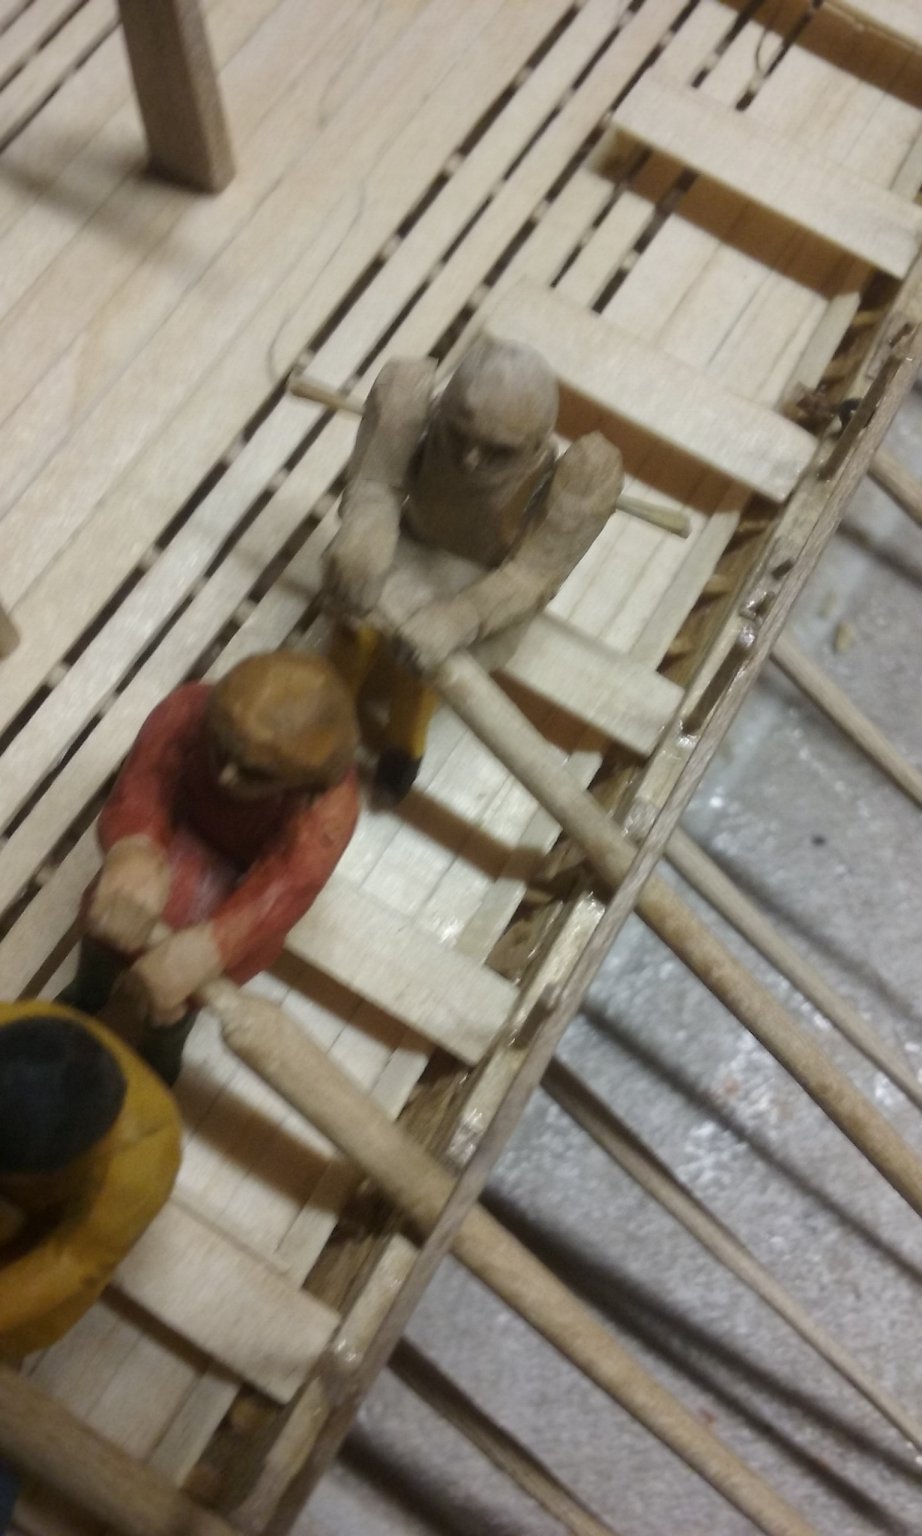
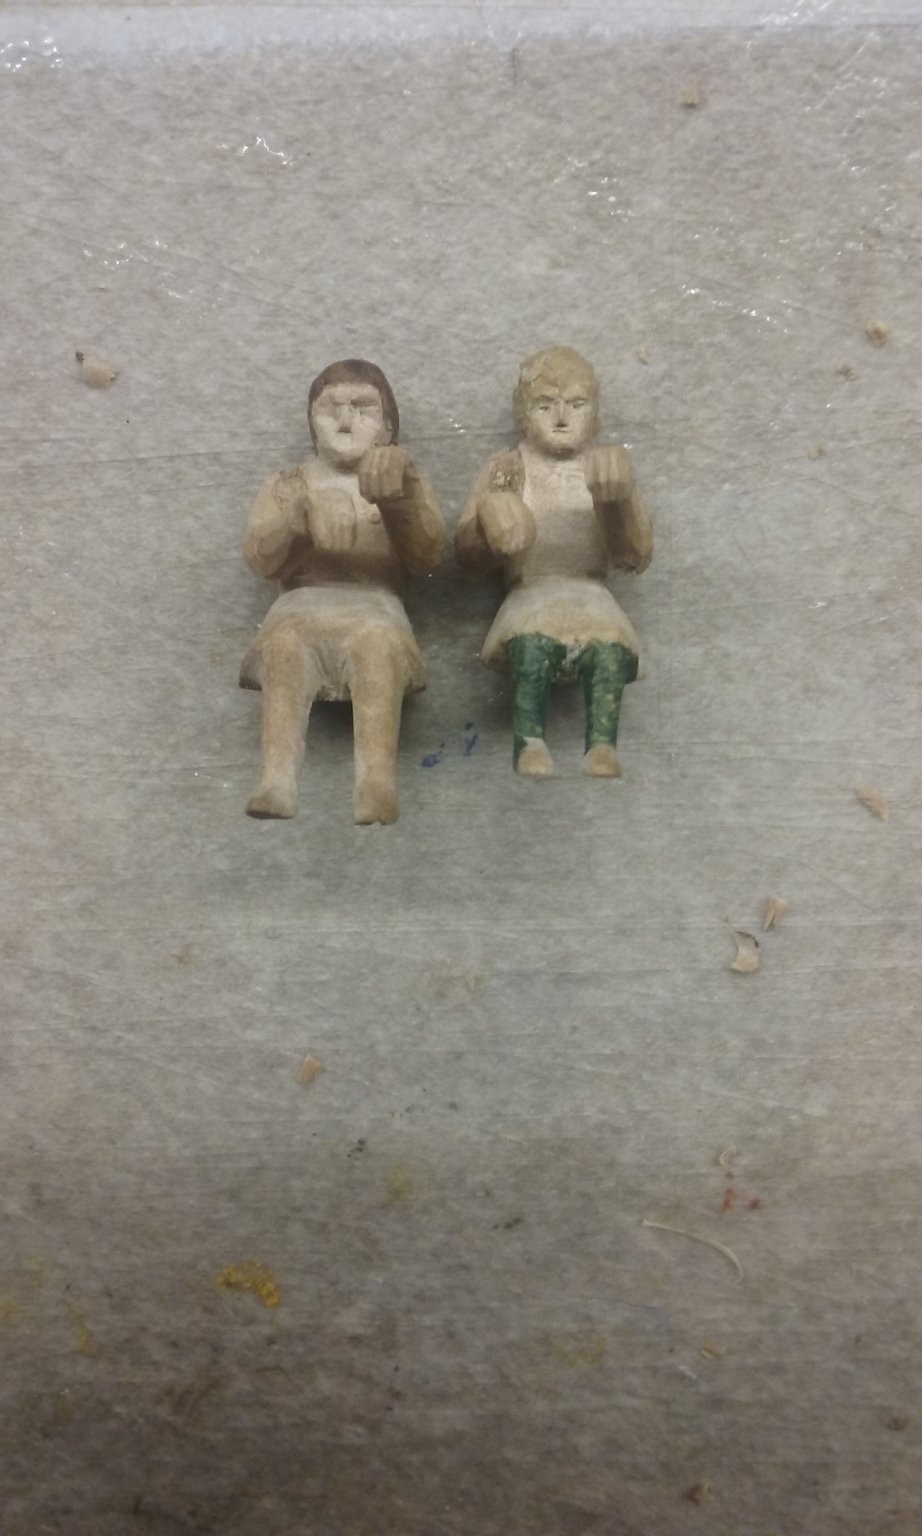
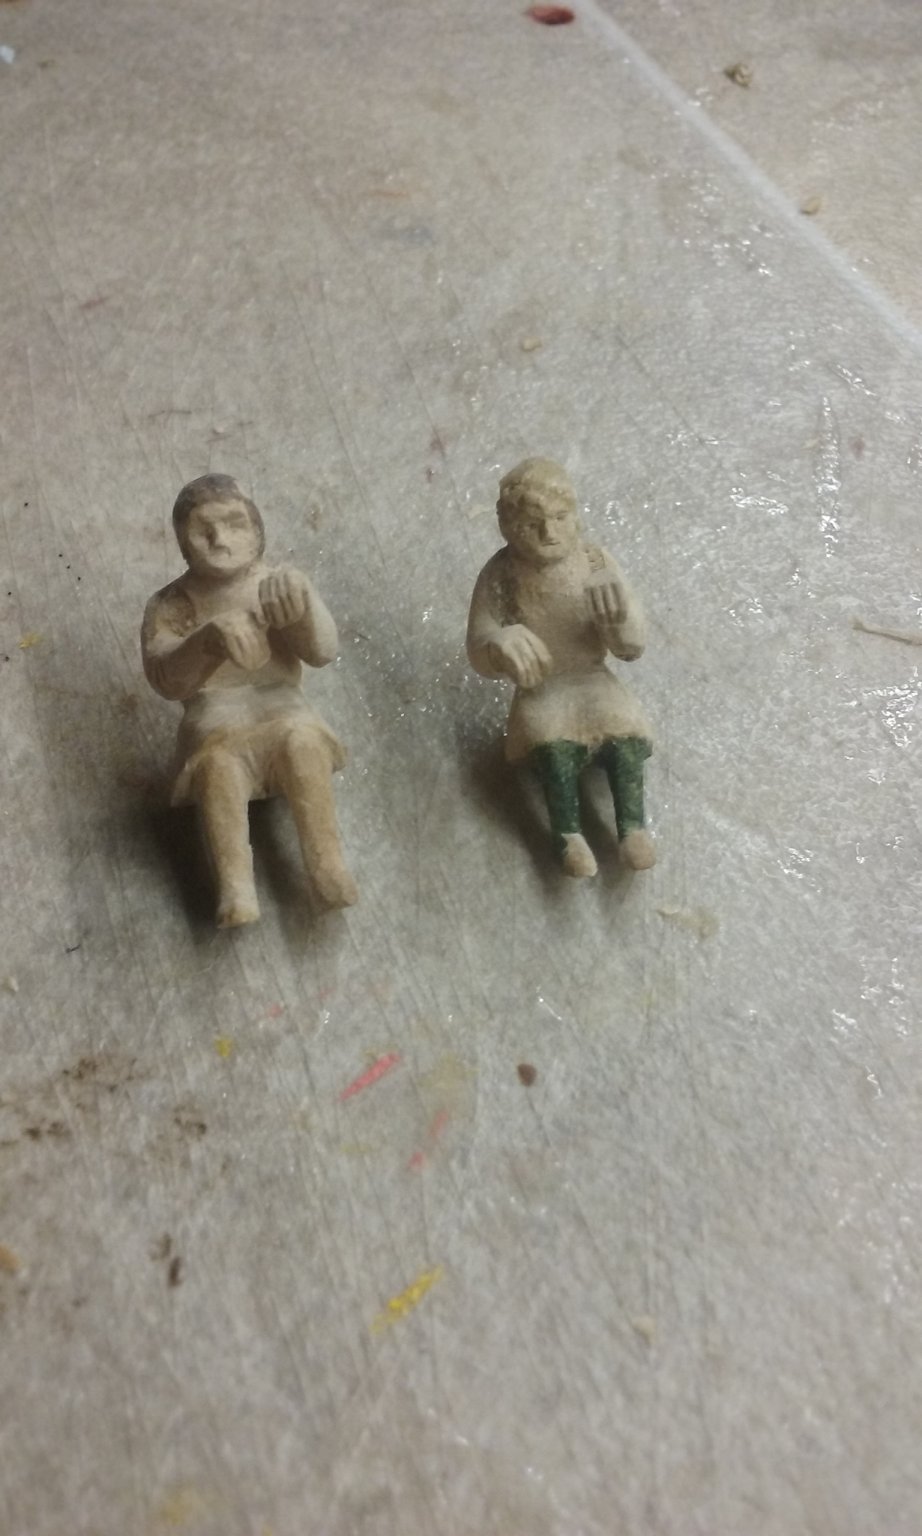
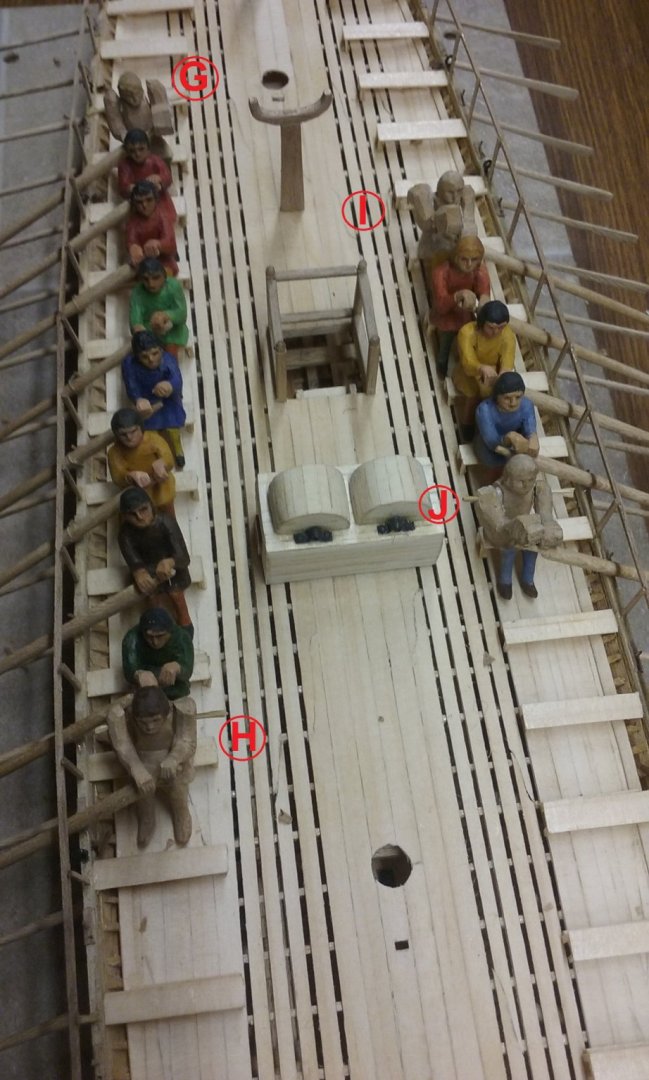
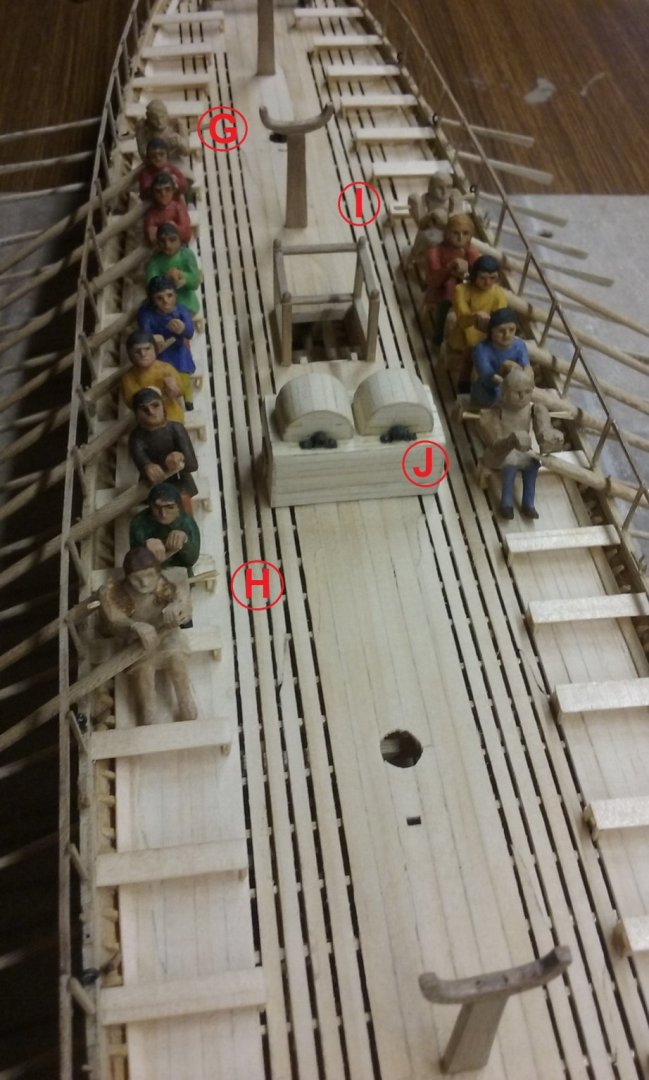
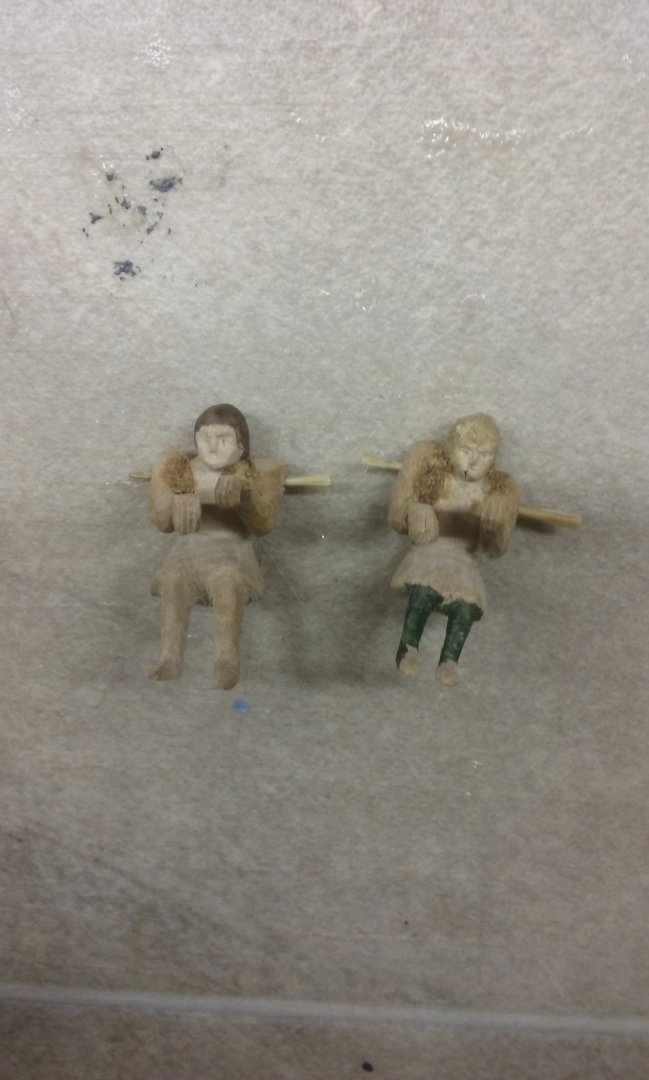
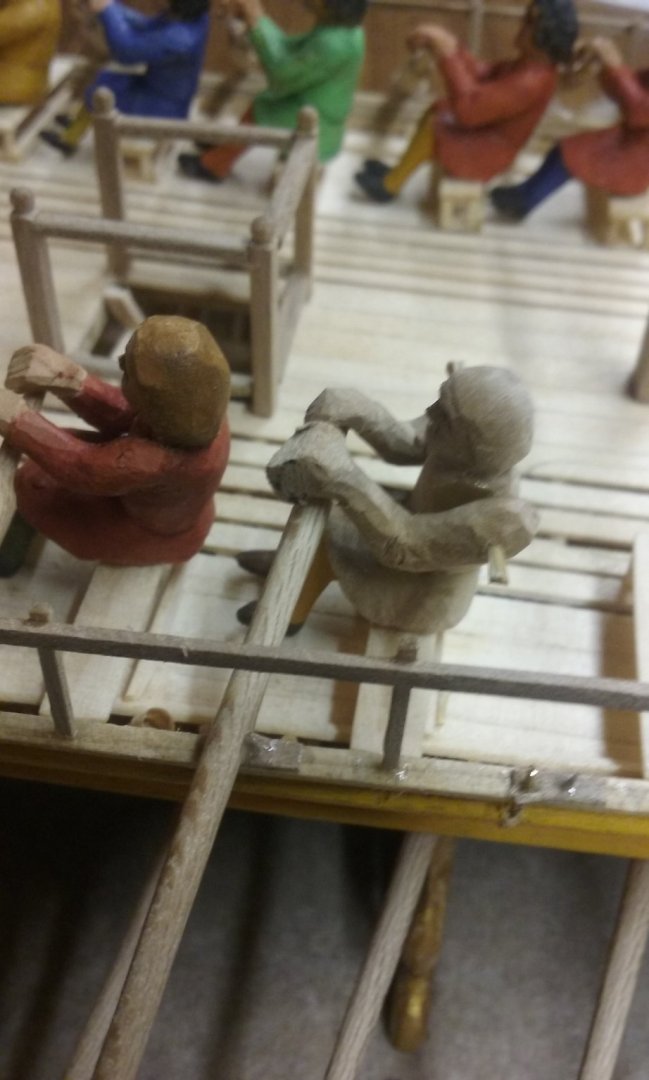
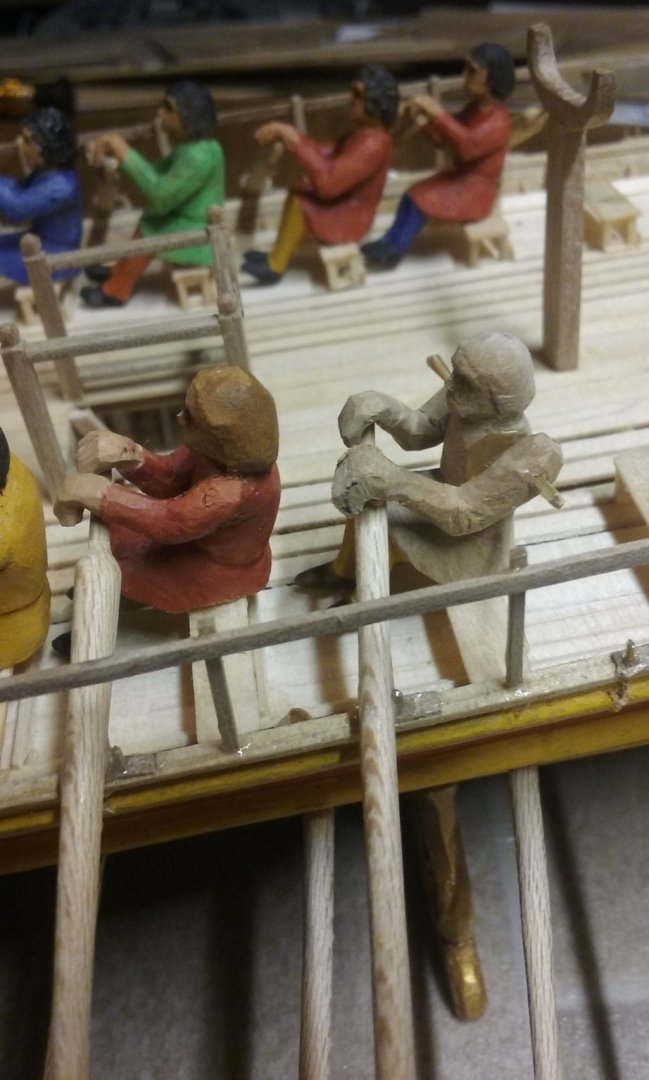
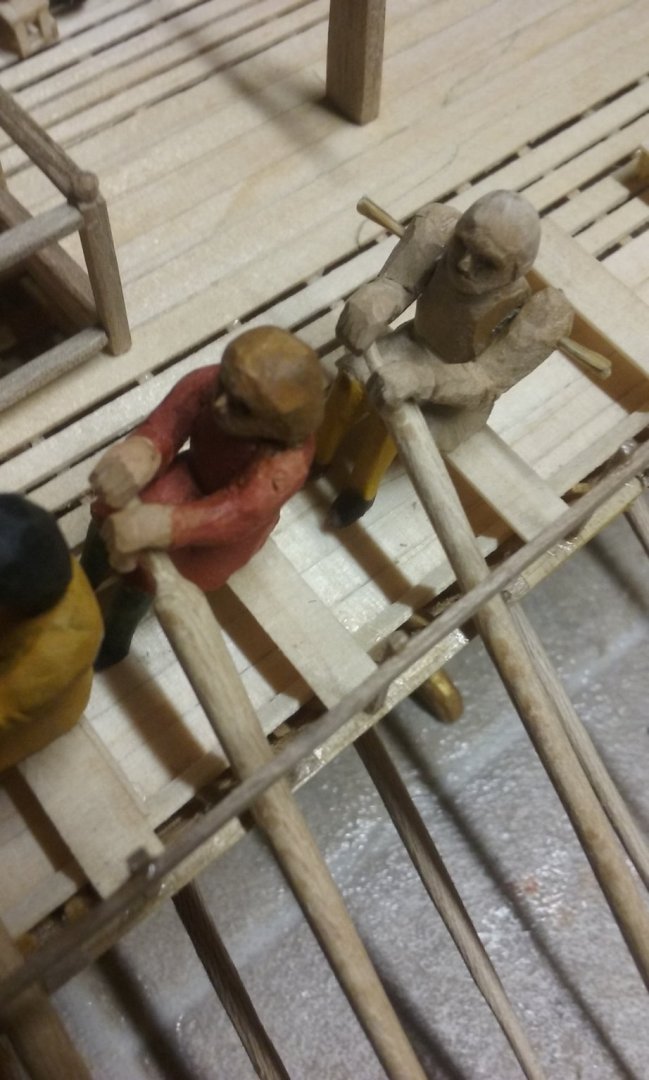
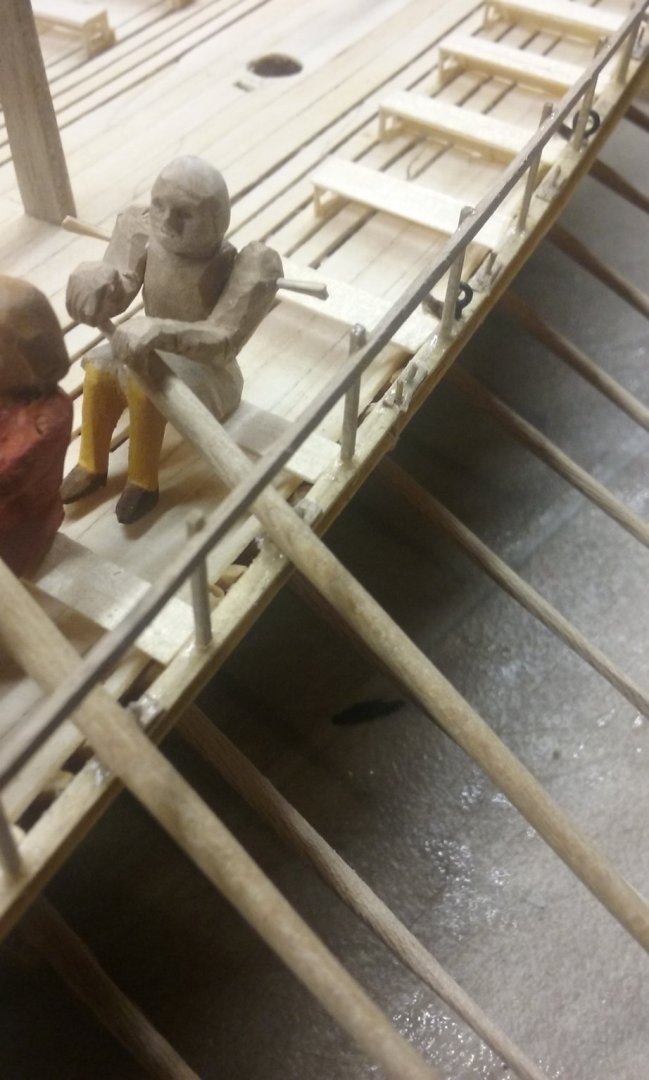
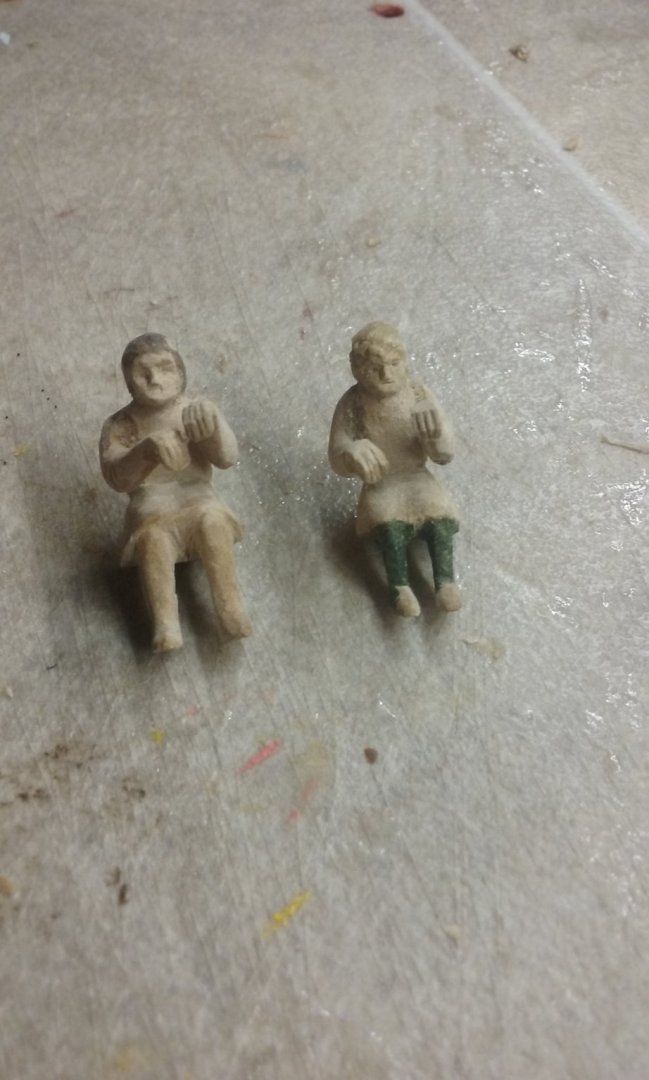
More work on the oarsmen. Two new guys added (figures I and J), and figures G and H have had their hands carved to shape to fit the oar handles and arms glued in place. Here's the process I use to get the hand to fit the handle (Figure I - left hand - the right is already done). Rough cut: the hand is just a squarish block of wood - at this stage I work out where I have to carve the hollow the oar handle will fit into. Note the arm is pivoted on a friction-fitted bamboo pin at the shoulder, which allows me to remove the arm to work on it and also to swivel it down into its final place when I've finished shaping it. Next, after taking the arm off, carving the hollow and replacing the arm. Then doing it again to get it closer still to the the shape I need: A bit of shaping of the hand itself: More shaping of both hand and arm, and cutting a demarkation line at the cuff between sleeve and hand And adding grooves to show the fingers. Not a perfect work of art I'm afraid, but they do the job well enough (and I'm making a ship model - the figures are just for atmosphere). And here are Figures G and H with their arms swivelled into place and glued in position. I've put wood filler in the gaps between arm and body. Note the enormous shoulders (and upper arms) which are then trimmed to shape once the glue and filler have dried properly. And here they are sanded and ready for painting.


-
Hello from the San Francisco Bay Area
Louie da fly replied to ChuckJ's topic in New member Introductions
ChuckJ, I would recommend you restore this model. The more I look at it the more I like it. It'll take quite a bit of work, and it's not perfectly historically accurate, but it has the sweetest lines and would amply repay the work you put into it. And if you do, make sure you start a build log for it. There are quite a number of "restoration" builds going on at the moment (I'm doing one myself!) and if you type "restoration"into the search bar at the top, and then click on the tag "restoration" (you could also try the word "restoring") you'll get all the builds of that type, which should give you a good idea of the things you'll need to do to return this beauty to her original glory. By the way, I would disagree that she's the Ark Royal in particular - I think she's meant to be just a "generic" late Elizabethan galleon. -
Welcome, Kimosubby. I like the name - visions of the Lone Ranger sprang immediately to mind . . . Any chance of some photos of your builds? And perhaps you could start a build log for your armed pinnace.

-
I've put this build on hold for the time being - I'm putting all my efforts into the dromon build at the moment, trying to get all the oarsmen completed. Once that's done I'll be able to do some more on the Great Harry.
- 740 replies
-
- 5
-
-
- Tudor
- restoration
- (and 4 more)
-
Matthias from Berlin, Germany says Hello
Louie da fly replied to victory78's topic in New member Introductions
Nice work. I can see you used the technique "cut away everything that doesn't look like the captain" -
Yes, quite an attractive model, too. If you want to see the best research I've seen on Elizabethan period galleons, hie thee to Backer's Pelican/Golden Hind build at
-
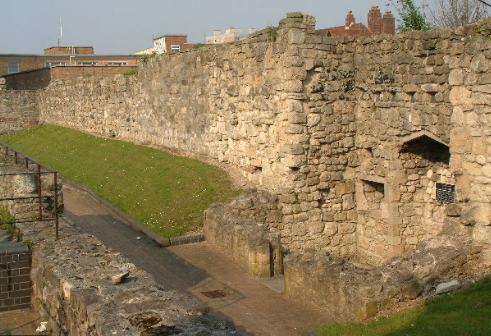
Very appropriate! If the building had been repaired at any time you'd find all kinds of bodgy work. Having seen quite a few mediaeval stone walls, many of them had pretty rough stonework. This photo is of the Land Walls of Constantinople (modern Istanbul). The tidy stuff at the right is a modern reconstructed wall. And below is a section of wall at Southampton, UK.

-
Hi Jonathan, I'd say the main concern with those pieces you've glued at right angles at the bow is that the grain is running at right angles to the grain of the planks and it will show, particularly if you're planning to stain rather than paint. I don't understand why these planks are so much shorter than they should be, but you might be best re-doing. If you do, I'd suggest you keep those two planks either side in position but cut them considerably shorter and offset their ends to suggest that they end at different frames, as was done in planking on real ships of the time (full size planks were normally about 20 feet long, but the ends were offset so they didn't all have joins at the same frame - there's a good photo of this at What kind of glue are you using? PVA (white) glue can be dissolved using isopropyl alcohol (isopropanol, commonly known as rubbing alcohol), and I'v been told (though I haven't tried it myself) that nail polish remover will dissolve CA (superglue). Other than that, your planking looks good. From your photo it looks like though you followed the kit's instructions for your first planking (with that sudden transition near the bow between the planking below and above the waterline), but you're doing the second layer of planking as was done on real ships (as in the photo in the link above). Well done, sir! Overall, going well. Keep it up - you're going to ed up with a model to be proud of.
-
Hey, Bensid - did you ever finish Charon? The log seems to have just come to a sudden halt about two and a half years ago. I lost trace of it, but I was looking forward to seeing it complete. Now that the buildlogs have been re-organised it was visible again. It would be really good to get an update - particularly if there's a video available
-
Ah, I hadn't realised they were part of the kit. In this case, it looks like the route you're taking is the best possible. It's just a shame they didn't use cotton thread.
- 195 replies
-
- 1
-
-
- lady eleanor
- vanguard models
- (and 1 more)
-
Great idea, Sam! And she's looking really good!
-
Not a problem, but if you have any photos of the intermediate steps between the completed hull and the previous post, that would be great. She looks very good.
-
Beautiful work, Ekis. I know this is a ship modelling forum, but your work is fantastic. And there seems to be a small but growing group of members coming up with architectural builds in the "Non-ship builds" section.
-
Hi PJ. Have a look at the second-last page of my dromon build log (the link is in my signature below). All the carved crewmen are made of pear wood. The colour values might not be perfect, but you can get some idea from the post of June 25. The oarbenches are made of radiata pine (thanks, Bunnings!), so though the oarsmen are a little darker they are certainly not red or grey. There is a certain amount of colour variation between different bits of wood, but generally that colour is pretty reliable. Now if you can just find someone with a pear tree . . .
-
Hi Miguel, Perhaps the best thing you can do is start a new thread in "Discussions for Ships' Plans and Project Research. General Research on Specific vessels and Ship Types", asking if anyone can help provide plans for your model. Perhaps someone has already made this model and still has the plans, and can supply them to you. Good luck with it.
-
As someone already addicted (and currently doing a restoration of a ship I made when I was a teenager) , every time I see one of these I think to myself "A bit of cleaning, some repair - that could look pretty damn good". I find restoring a model very rewarding -changing it from something dirty and damaged to something worthwhile. Start a buildlog and show us what you're doing - it'll give other members the opportunity to give help,advice and guidance on your journey of restoration. If after you've finished you find yourself addicted - well you're not alone
-
Hello from the not so sunny Spain.
Louie da fly replied to Jandrus's topic in New member Introductions
Well, there's one theory shot down in flames . I'm looking forward to seeing your Beagle log. -
Yep, the buccanner galleon is late 16th to early 17th century, the time of Sir Francis Drake, Hawkins, Raleigh etc. I'm not familiar with the model, but others have commented favourably above. It will take time and you'll hit the occasional problem, but the people here are very helpful and supportive, and with a bit of patience and persistence you should end up with a very attractive and rewarding model. Yes, do start a build log. It's the best way to get feedback, advice and help. (And we do like seeing photos!) Welcome to MSW and to the new adventure!
-
If you're really unhappy with the stitching and the permanent marker doesn't do the job, perhaps you should consider making a new suit of sails and sew them with cotton? Sometimes it's better to do over than to live with something you're not happy with. Another idea - get thread that's already the colour you want, and sew the sails after you've dyed the fabric? Good work on the wheel, and I do like your skipper - I always find a figure or two (or in my case over 50!) adds a lot to a ship model. What's he made of? The whole build is looking good. A very atractive model.
- 195 replies
-
- 1
-
-
- lady eleanor
- vanguard models
- (and 1 more)