


Ryland Craze
-
Posts
1,569 -
Joined
-
Last visited
Content Type
Profiles
Forums
Gallery
Events
Everything posted by Ryland Craze
-
 Glad to see you start a build log. You have made good progress. I will be following your build and look forward to your posts.
- 54 replies
-
- 2
-

-
- cheerful
- Syren Ship Model Company
- (and 1 more)
-
Byrnes machinery dust collection
Ryland Craze replied to Bill Hill's topic in Modeling tools and Workshop Equipment
I use my shop vac hooked up to an adapter that you can purchase at Lowes and Home Depot. I trimmed the short edge flush with the flange.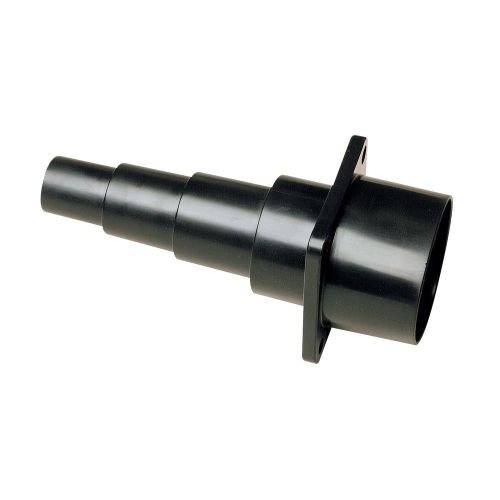
-
Nice job on your QAB. The carvings really set the model off.
- 48 replies
-
- 5
-
-
- queen anne barge
- Syren Ship Model Company
- (and 1 more)
-
Many modelers make their sails out of silk span. This is the material that is used to cover model airplane wings. You can purchase it from BlueJacket Ship Crafters. Nic, the owner of BlueJacket, did a seminar at a recent NRG Conference on how to make sails out of silk span. There are many articles and videos on the internet that show how it is done. The end result is very realistic and to scale.
-
Thanks for sharing your build with us. Your craftsmanship is outstanding. I look forward to seeing more.
-
Beautiful build. I love both the wood work and the brass work.
-
Jonathan, Any more progress on this build? You have done an excellent job on this model and your build log is very informative.
-
Excellent build. Are you planning to mast and rig this model?
-
I enjoyed your website. You have a lot of information on it.
- 138 replies
-
- 3
-
-
- glad tidings
- model shipways
- (and 1 more)
-
Olha, What a fantastic build log. I have enjoyed your videos as well as the pictures in your build log. You have done an excellent job on your Pinky and I hope you will display it at the Northeast Joint Clubs Conference and Show next April. It is held at the Port N Starboard banquet hall at Ocean Beach Park in New London. In addition to your excellent modeling skills, your photography skills are also excellent.
- 138 replies
-
- 3
-
-
- glad tidings
- model shipways
- (and 1 more)
-
Welcome to Model Ship World Dale. There are a lot of Armed Virginia Sloop build logs on this site. You can find them by using the "Search" function at the top of this page. Her is a link to a short AVS build log that was one of my favorites:
-
Welcome to Model Ship World and you are off to a good start on your Prince. You made the right decision on using individual planks for the deck. You did a really good job on the 1/600 scale Prince. I love the colors you used and cannot wait to see what you do with the 1/60 scale Prince.
- 29 replies
-
- 1
-
-
- constructo
- prince
- (and 1 more)
-
Very nice job on your Virginia. It is hard to believe this is your first model.
-
Sorry to hear this. I am glad that all occupants got out safely. There is a wealth of knowledge on MSW that will help you when you pick a kit to build.
-
Wow! You are a very skilled modeler. I love your work. It reminds me of some of the homes at Colonial Williamsburg. I cannot wait to see the work that you do on ship models.
-
Good job on painting the hull. You are learning a skill that will come in handy for this and future builds.
-
I agree with the above comments. You have picked a good model for your first build and you will find a lot of support here on Model Ship World. I look forward to following your build.
- 38 replies
-
- 3
-
-
- vanguard models
- fifie
- (and 2 more)
-
Very clean and crisp looking model. Excellent job on coppering the hull. You are well on your way to creating a very nice Syren.
- 950 replies
-
- 1
-
-
- syren
- model shipways
- (and 1 more)
-
Welcome to Model Ship World Patrick. I would be interested in seeing a build log of your New Bedford Whaleboat as I am always interested in seeing alternate ways of building ship models. You may have something in your build log that will help other modelers on their builds. I would also like to see some pictures of your miniature historic buildings.
-
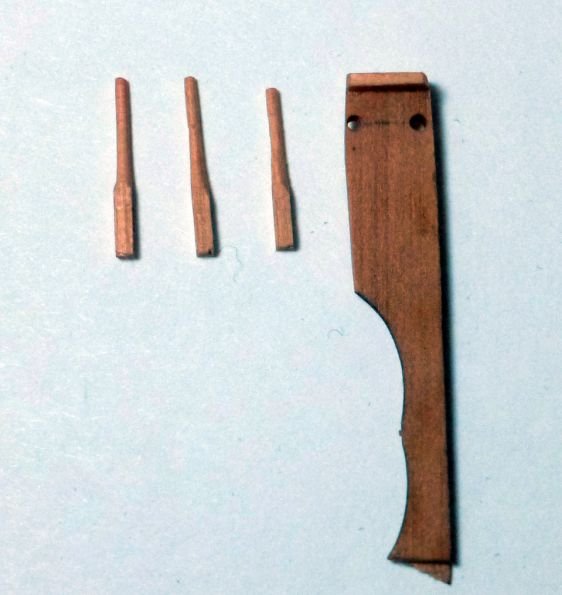
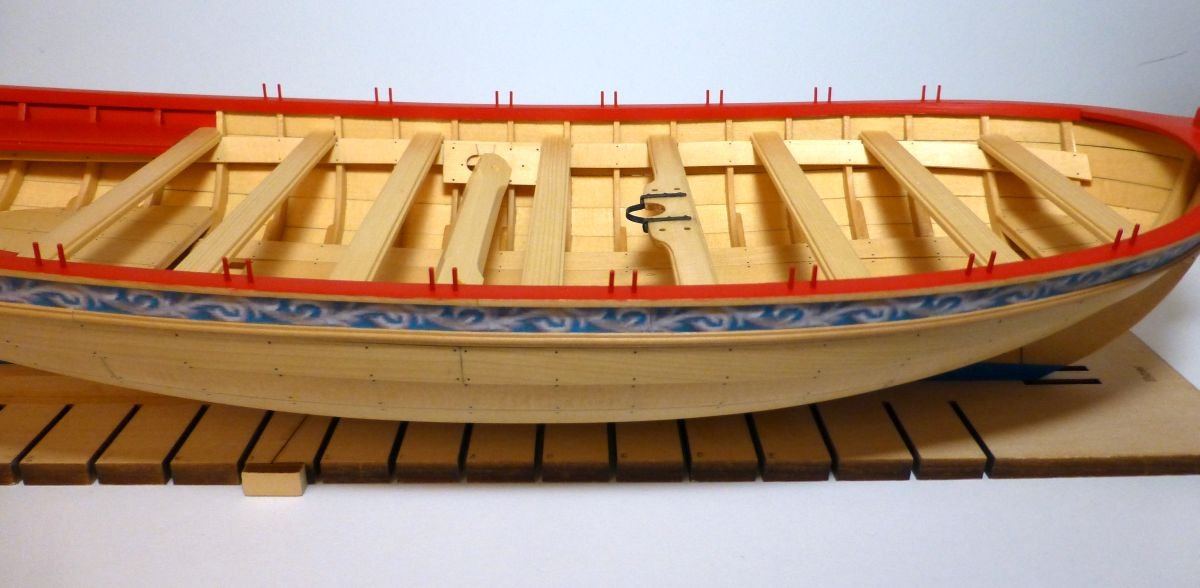
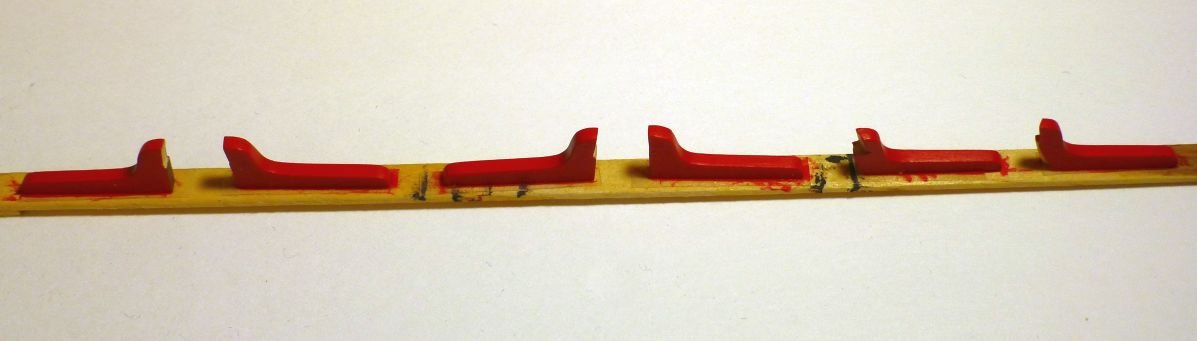
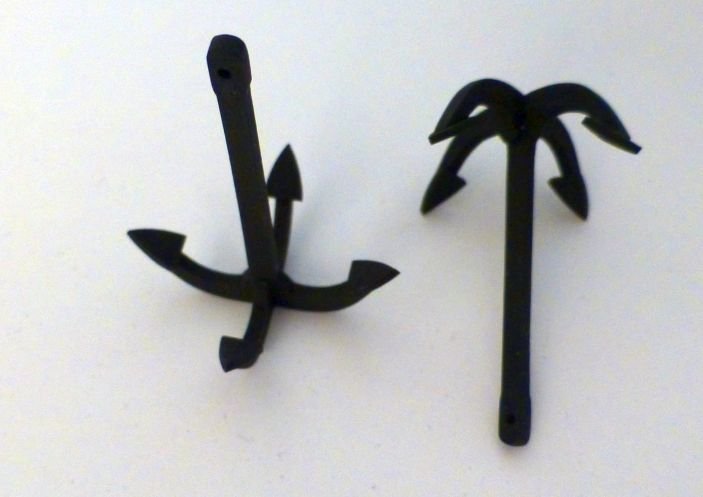
I have been working on my Medway Longboat at a snails pace and thought that I would post my progress to date. I shaped the laser cut knees and decided to paint these off of the model. I used some double sided tape and placed them on a scrap piece of wood for painting. Later, I will glue them to the thwarts and touch up the paint. The next item was the mast thwart ironwork. I used the supplied brass to construct this. I used Blacken It to blacken the brass. It worked really well, but when I installed it on the thwart, I somehow chipped a portion of the blackened part. Since it was glued to the thwart, I could not remove it. I tried to re-blacken it on the thwart, but had no success. I then painted it with some Floquil Grimy Black paint. The next step was to turn the thole pins using my dremel and install them on the cap rails. I turned six more than what I needed and picked out the best of the lot to install on the model. After turning them. I ran them thru my Byrnes draw plate to make sure they were all the same size. I made a jig from some scrap wood to drill the holes for the thole pins so that I would have consistent spacing between the pins and also from the edge of the cap rail. You can see the lip that I put on the jig in the picture below. I took the locations for the thole pins from the plans and marked the location using a thin strip of masking tape. I sighted the leading edge of the masking tape through the hole and drilled the first hole. I placed a thole pin in the hole on the jig into the cap rail and this held the jig while I drilled the second hole. I glued the thole pins in pairs and used my electronic calipers to insure that I had a consistent 3/16" height. Here is a picture of the model with the thole pins installed. The last thing I did was to make the grapnels. This was a fun little project and they turned out a lot better than what the fuzzy picture shows. My camera would not focus properly on the black grapnel on a white background. I just have to make the windlass handles and turn the four belaying pins and I will be finished with Chapter 4 of the instructions. Then it is on to the masting and rigging portion of the build.
- 263 replies
-
- 16
-
-
- Medway Longboat
- Syren Ship Model Company
- (and 1 more)
-
Congratulations on completing your Lady Nelson. You did an excellent job on this kit and I liked the modifications you did. I am glad this kit helped to rejuvenate you back into ship modeling after a short absence. I can not wait to see what you do with your Cheerful build.
- 55 replies
-
- 1
-
-
- lady nelson
- victory models
- (and 2 more)
-
I thought I was seeing double in the picture of the two hulls. I could not "like" that post. Removing the laser char has never been a favorite chore of my builds. Your Cheerful is back on track nicely and I look forward to seeing more progress.
- 778 replies
-
- 4
-
-
- cheerful
- Syren Ship Model Company
- (and 1 more)
-
Your reworking of the parts is an improvement over the kit supplied parts. This makes the difference between an average model and an exceptional model. Keep up the good work.
- 55 replies
-
- 3
-
-
- lady nelson
- victory models
- (and 2 more)
-
Don, Congratulations on completing your Longboat. You did a great job on building it and I look forward to following your Winchelsea build.
- 46 replies
-
- 1
-
-
- medway longboat
- Syren Ship Model Company
- (and 1 more)
-
Thanks for your comment, Captain and also for the tip on getting clean painted edges. I enjoyed your AVS build log and it is one of the best constructed AVS models that I have seen.
- 263 replies
-
- 4
-
-
- Medway Longboat
- Syren Ship Model Company
- (and 1 more)