HOLIDAY DONATION DRIVE - SUPPORT MSW - DO YOUR PART TO KEEP THIS GREAT FORUM GOING! (Only 24 donations so far out of 49,000 members - C'mon guys!)
×


gjdale
-
Posts
4,891 -
Joined
-
Last visited
Content Type
Profiles
Forums
Gallery
Events
Everything posted by gjdale
-

Are those electric plank benders worth it?
gjdale replied to Spaceman Spiff's topic in Modeling tools and Workshop Equipment
I have always found a steam iron (after soaking the planks) to be a very successful way of bending planks. Probably best not to use the Admiral's good iron though! These days I use a miniature travel steam iron - it works a treat. -
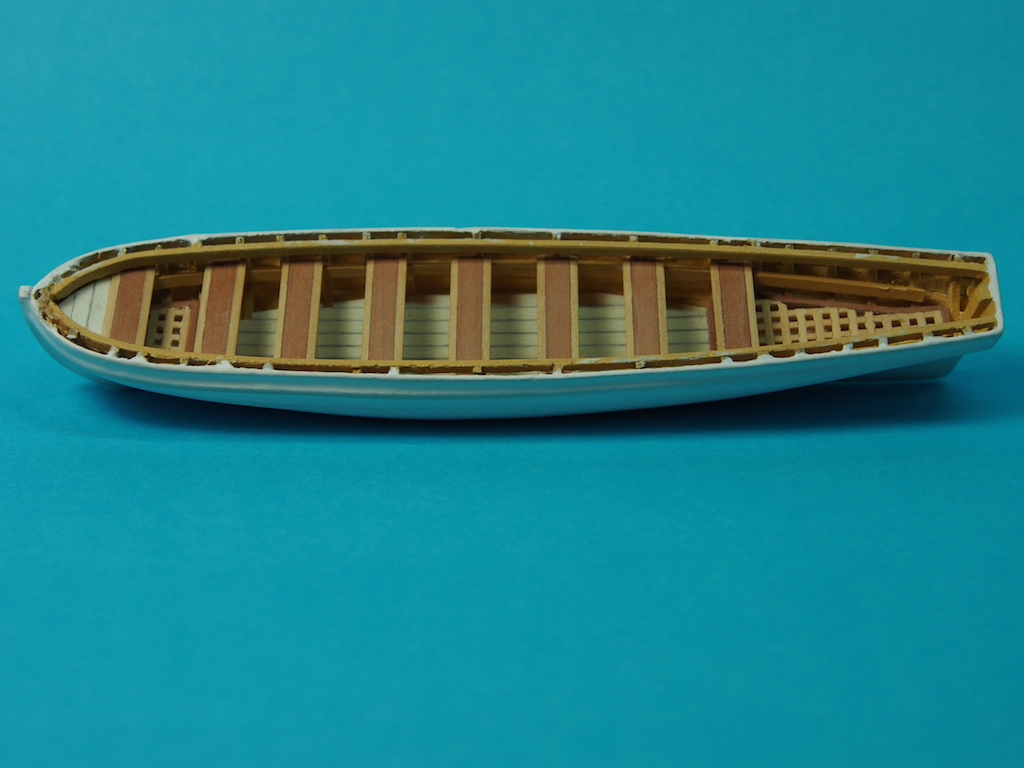
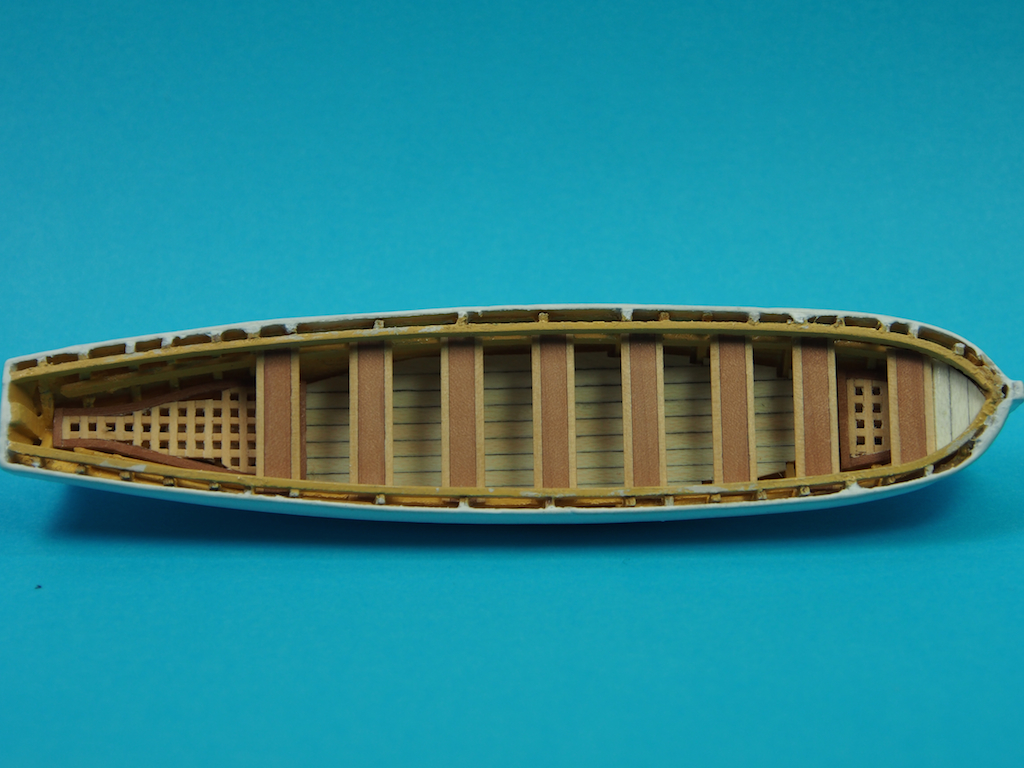
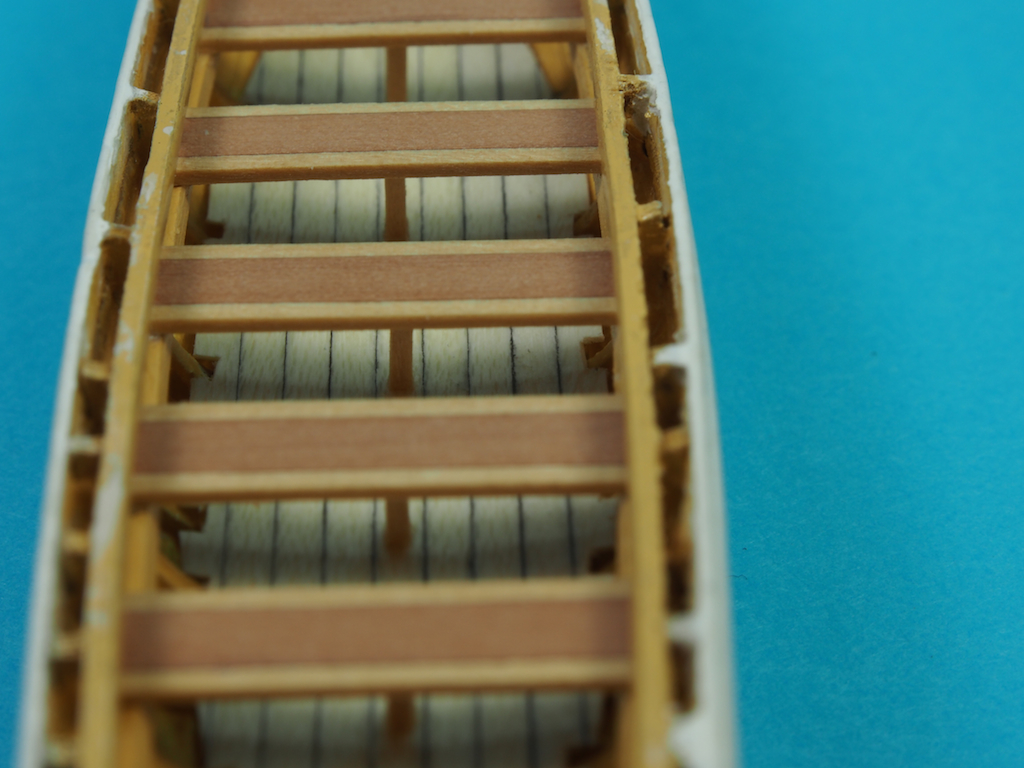
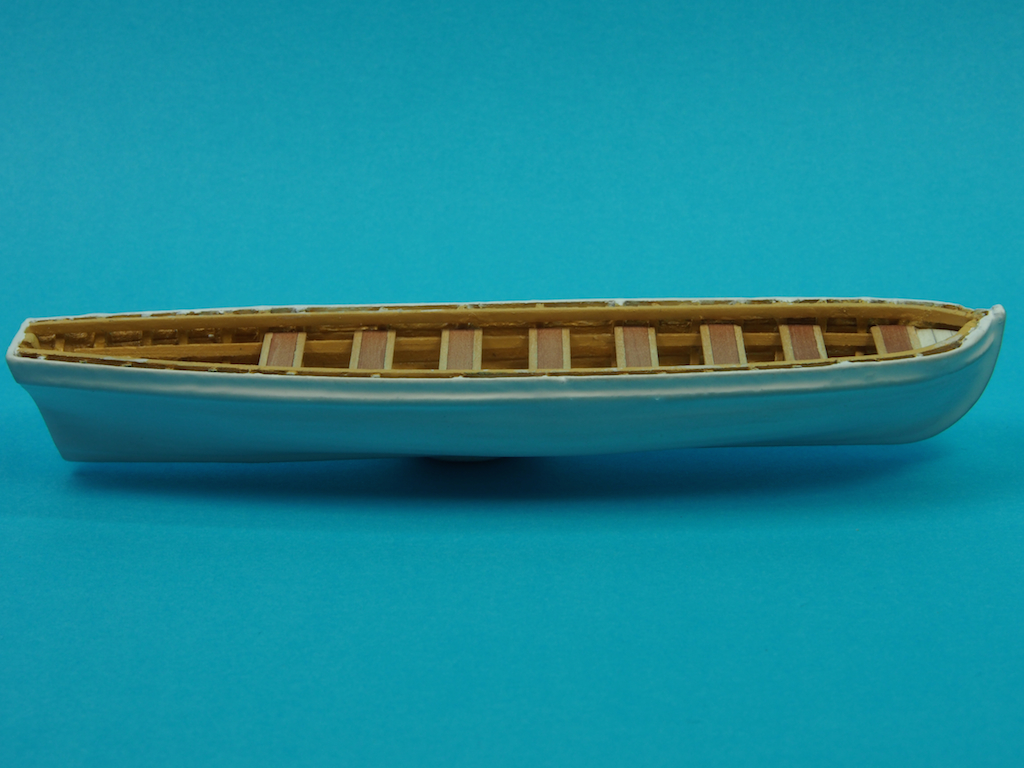
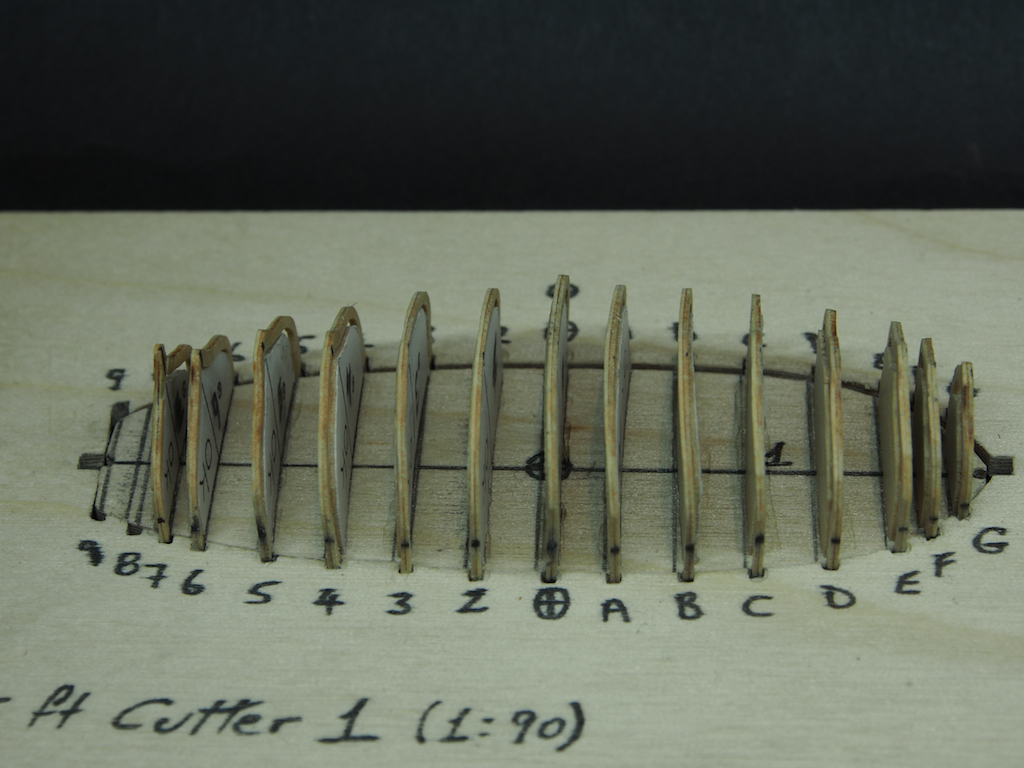
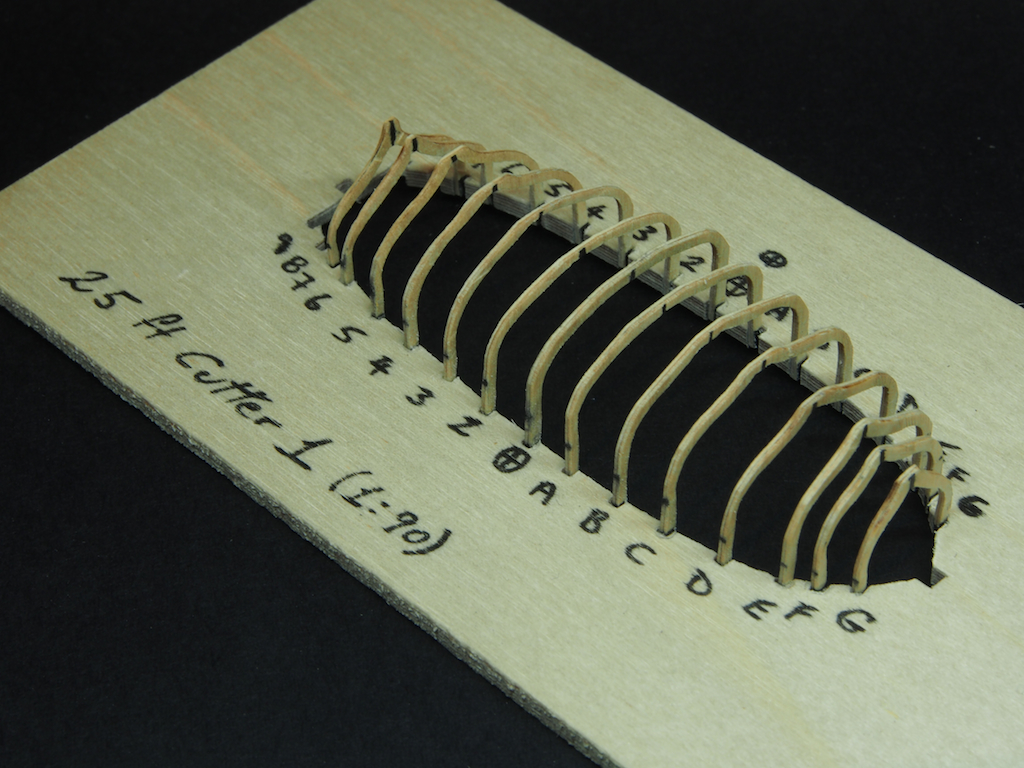
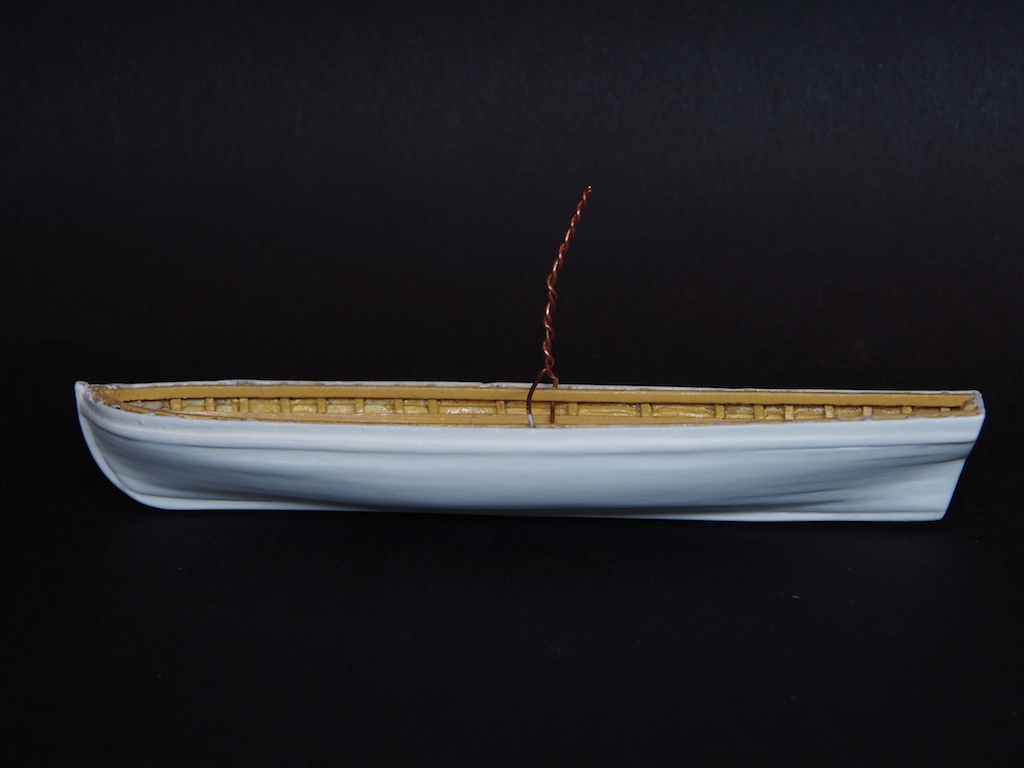
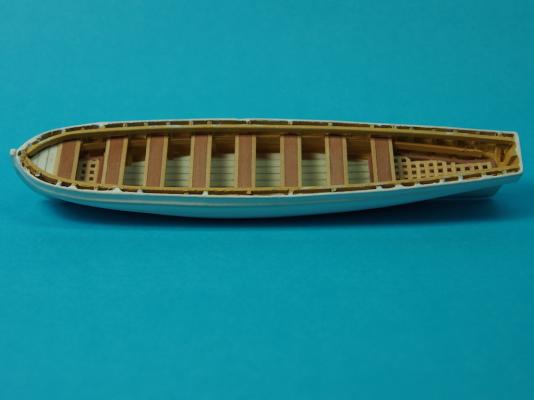
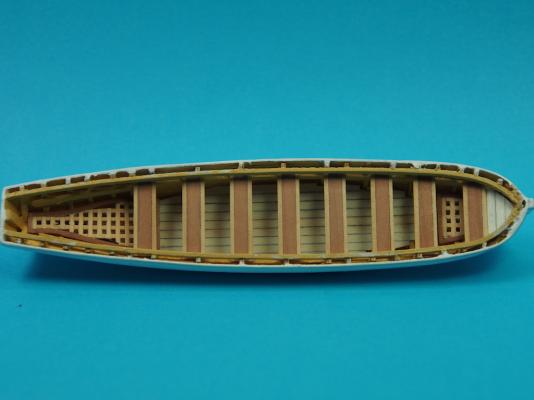
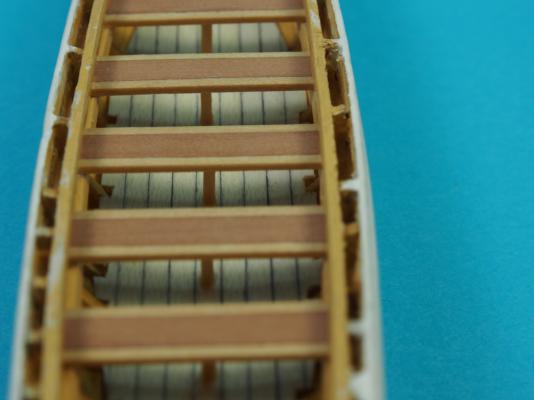
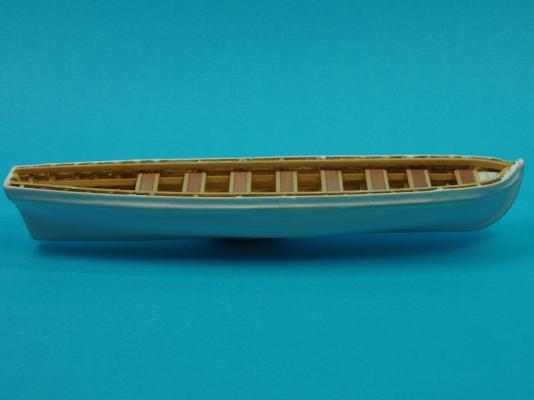
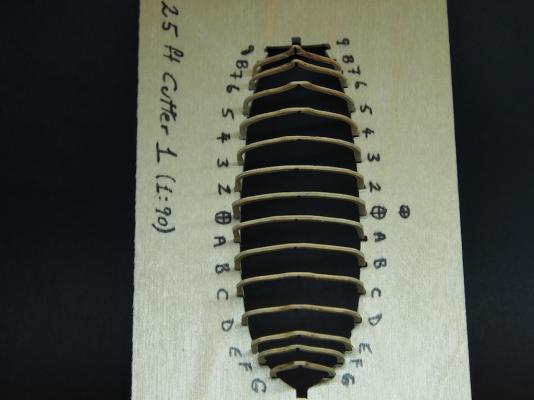
Thank you one and all for all the very generous comments and praise - it really does help me to keep going when I start to question my sanity! Thanks also to all the "likes". Rafterrat - not sure I understand your question re blocks. What do you mean by "running the blocks to the yards"? If you could you try asking the question in a slightly different way, I may be able to answer it for you. I don't believe there are any tricks - just a lot of patience and perseverance. I used Longridge as my main guide through the process. Sherry - you better start getting that extension ladder out............. Ship's Boats continued: After a week or so of painting, I am finally able to continue with the Pinnace. Today I installed the Thwarts, which are made of 1/32" x 3/32" Pear, trimmed with 1/32" x 1/32" Boxwood (same as the Launch). There is also a 1/32" x 1/32" Boxwood stanchion supporting the centre of each Thwart except the forward most and aft most ones. There were no particular difficulties in installing these. Still experimenting with photography, so here's today's efforts to keep you-know-who happy: A couple of overviews of the Thwarts in place: This shows the supporting stanchions. I could swear they were perfectly aligned when I viewed them with the naked eye! Here's a side shot that shows a little of the exterior painting. I'm quite pleased with the end result - it is silky smooth to the touch and yet it is still possible to make out the planking. Finally, I have progressed the framing on the two 25ft Cutters. They are both now at the same stage: Next up, Stern sheets for the Pinnace and then Caprails. At some point soon, I'll have to start planking the Cutters, and yes folks, we're going to have a crack at clinker planking!

-
That sounds a very sensible approach Bob and clearly it works very well - at least in your hands!
-
Nice to see an update from you Clare. I hope the custom laser cutting works out for you.
-
Hi Jack, Thanks for the welcome. I'm sure a topic on photography would be welcomed, especially if it focused (pun intended) on how we can improve our model and work-in-progress photography. I think there are a lot of folk here who would really appreciate some advice from someone with as much expertise as you clearly have. If you were to also make that a Q & A opportunity, even better. I realise though that this would be saddling you with a fair bit of extra "work" that might detract from your own modelling time, so only do it if you're comfortable with the idea.
-
And that's unlike any other weekend in the UK, how exactly Kevin?..................
-
Hi Jack, I've only just stumbled across your log. What a lovely job you're doing on this model - really first class workmanship! I've gotta agree with you about the Byrnes saw - a work of art and a joy to use. His other machines are equally good. I love your photography snippets too. You're clearly a man of many talents and an artist's eye. I'll enjoy following along the rest of your build.
-
I'm sure Anja will be looking forward to going back to work for a rest after a couple of weeks with both Sjors and Mobbsie! One can only endure so much fun! At least she will have Mobbsie's Admiral Christine to help keep her sanity!
-
Fortunately I was wearing my Optivisor nearly all the time when doing my rigging. It saved me from the same fate on a number of occasions!
- 1,279 replies
-
- 1
-

-
- agamemnon
- caldercraft
- (and 1 more)
-
I agree - absolutely worth the wait! Looking very spiffy there Timmo.
-
Fantastic job on the brickwork Augie - but then again, should we expect anything less from you? Well done Sir!
- 2,191 replies
-
- 1
-
-
- confederacy
- Model Shipways
- (and 1 more)
-
Enjoy your vacation Anja and I look forward to seeing a resumption of your lovely Half Moon when you return.
-
Looking fantastic Mobbsie. The re-work on the topmast and royal stays looks much better - well done! By the way, nice looking blocks And when you-know-who arrives, we expect nautical pictures from the Lake District.
- 1,279 replies
-
- 1
-
-
- agamemnon
- caldercraft
- (and 1 more)
-
Fantastic Johann. Just love seeing your updates.
-
HMS Royal William by kay
gjdale replied to kay's topic in - Build logs for subjects built 1501 - 1750
Nice to see you back Kay. Looking forward to more updates of your excellent build. -
what is the ideal modelling table?
gjdale replied to AON's topic in Modeling tools and Workshop Equipment
Nicely done Alan. When do you start taking orders? -
Nice work Pops - and there's no such thing as "cheating"!
-
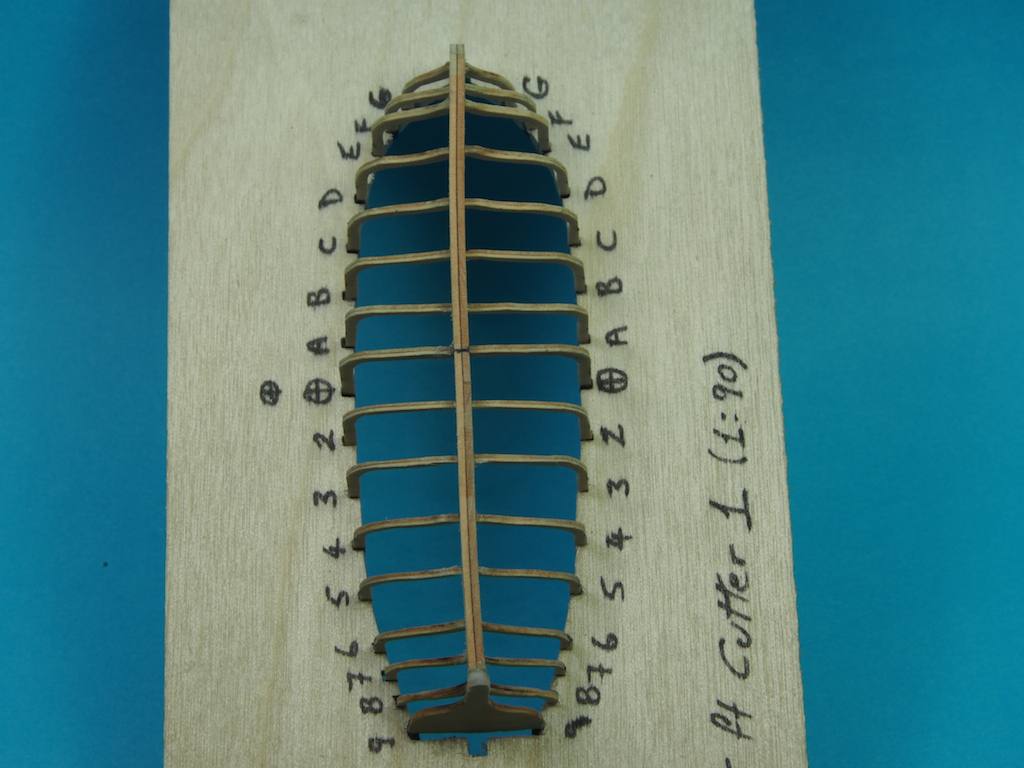
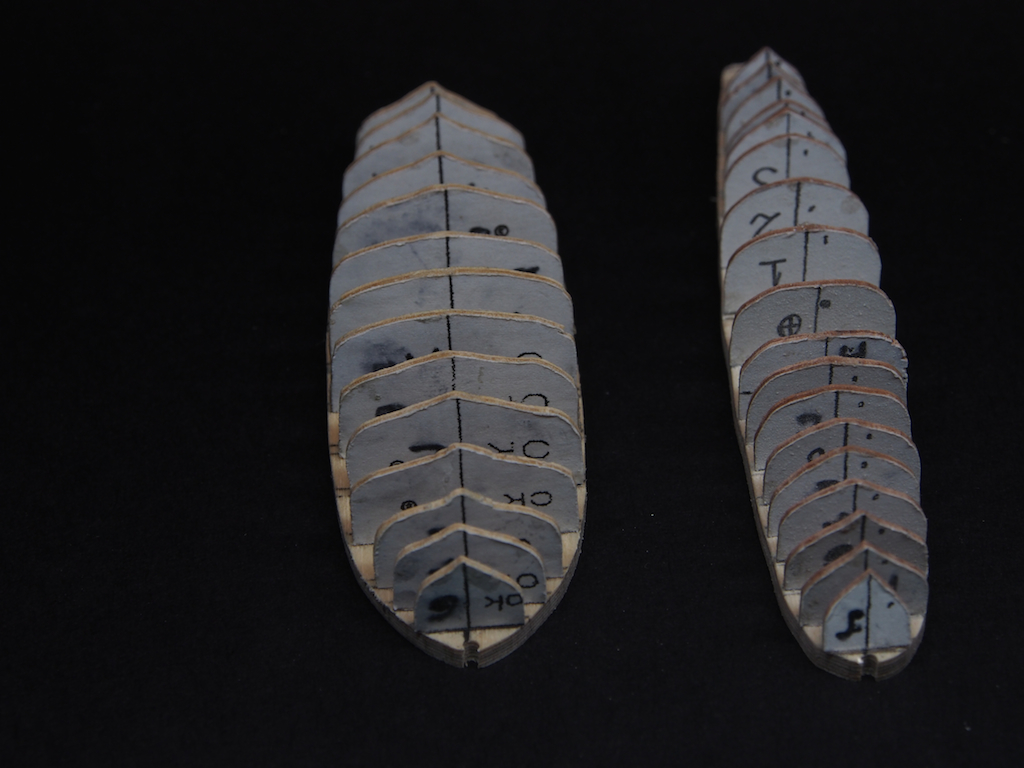
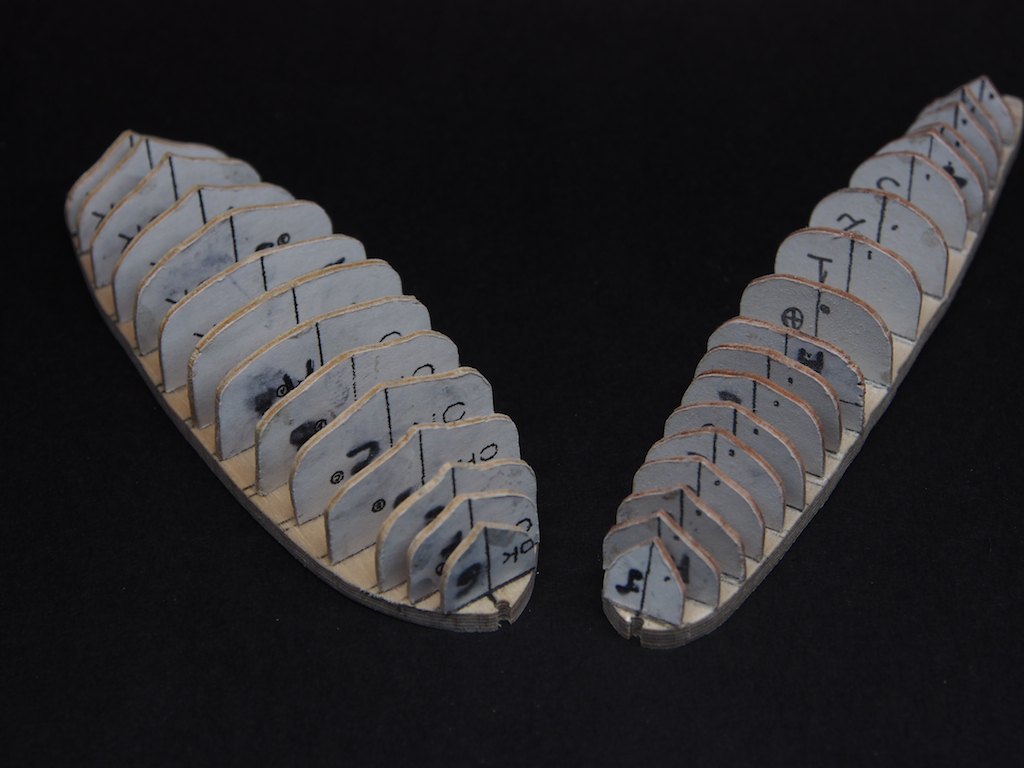
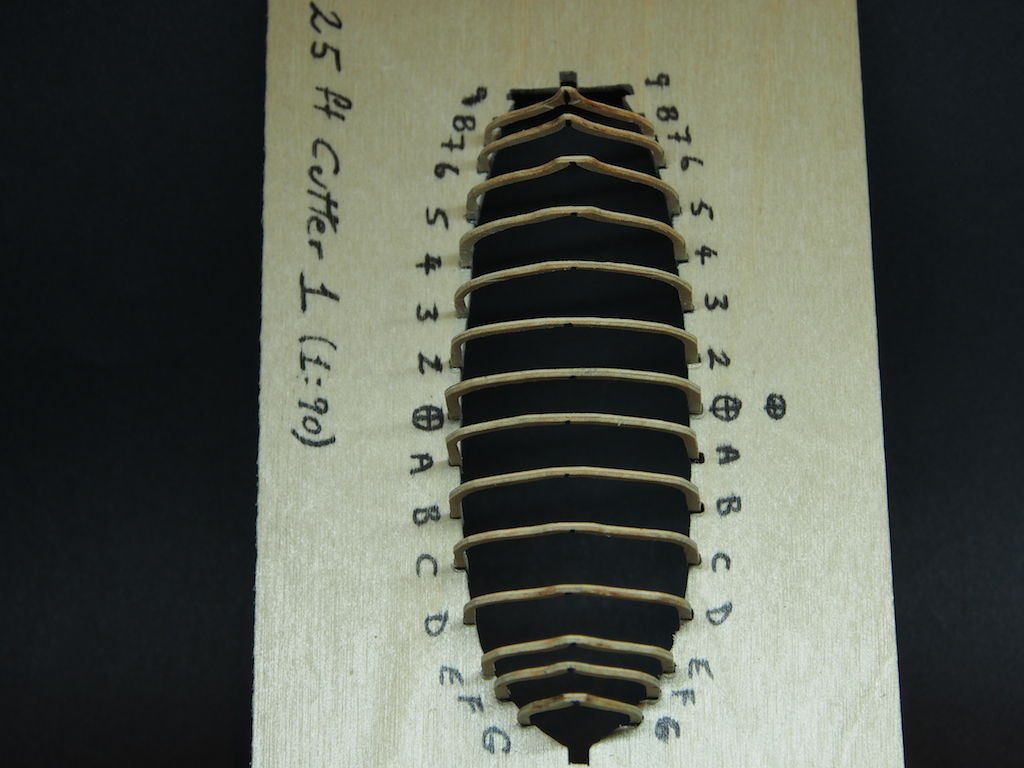
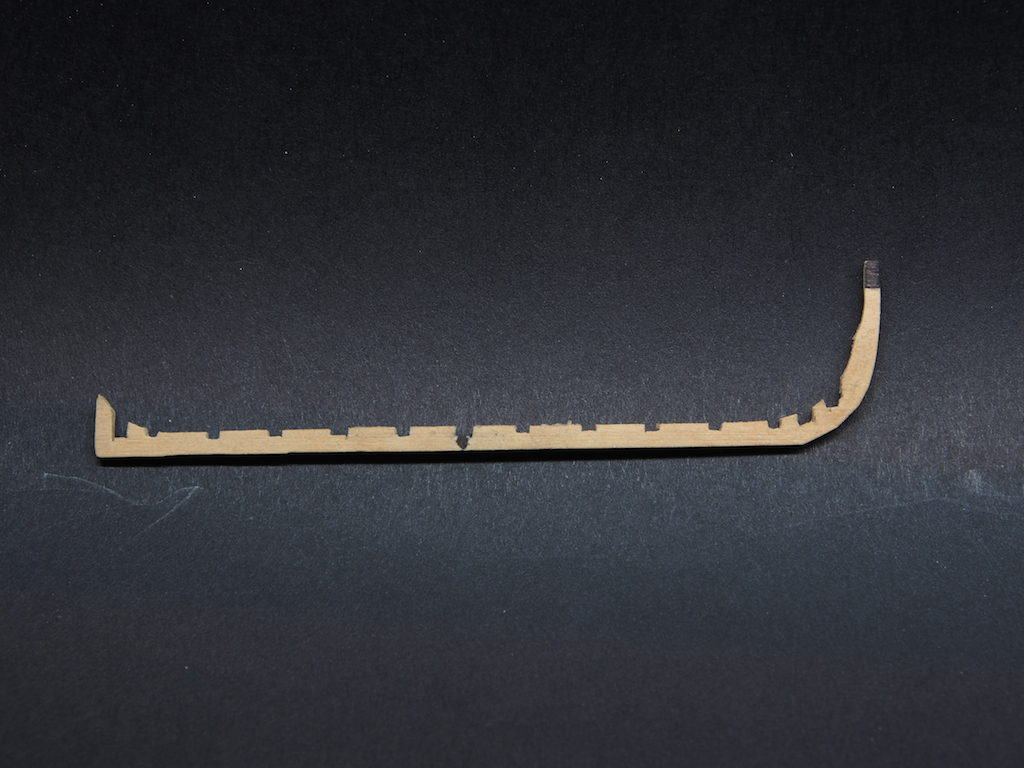
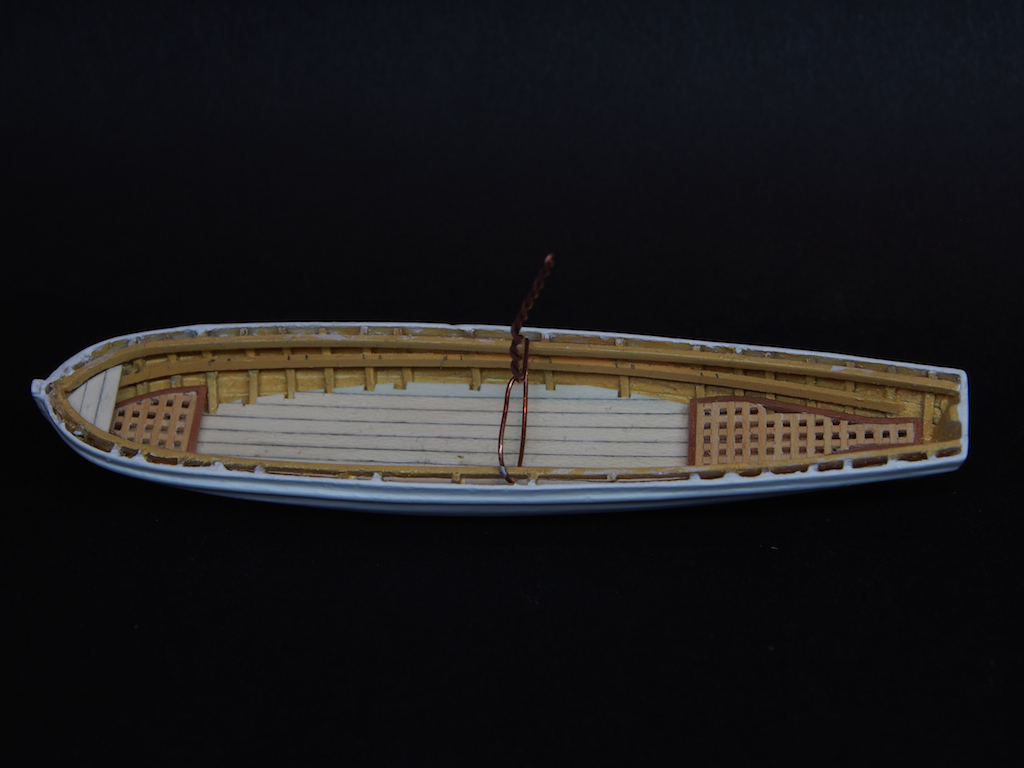
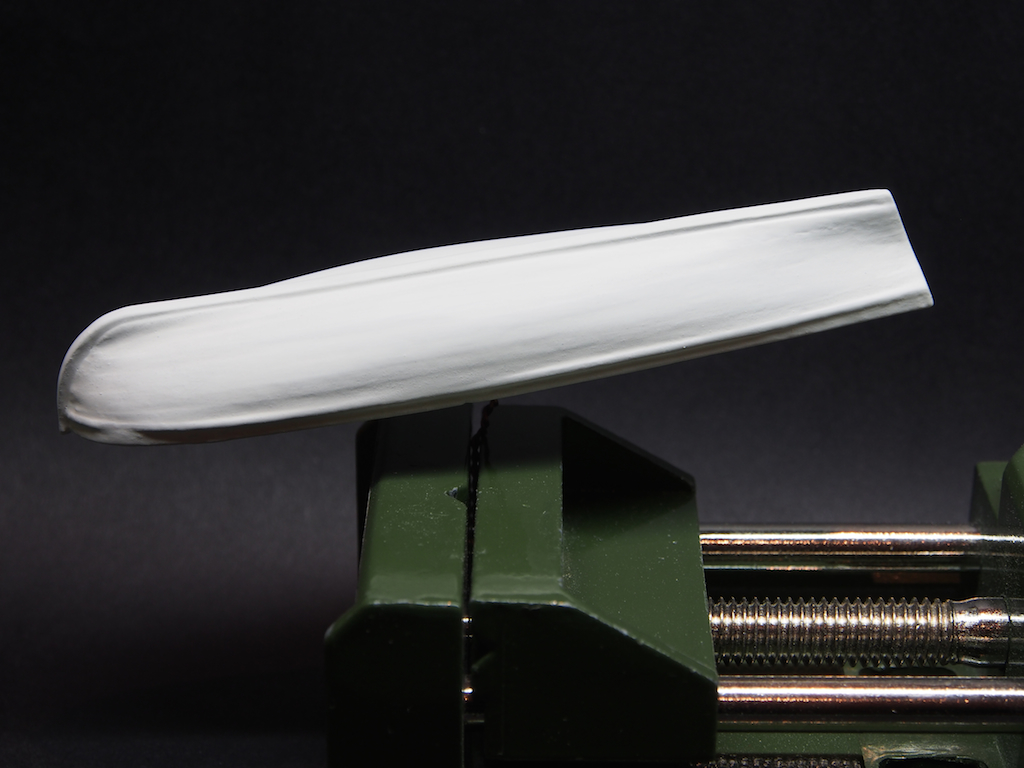
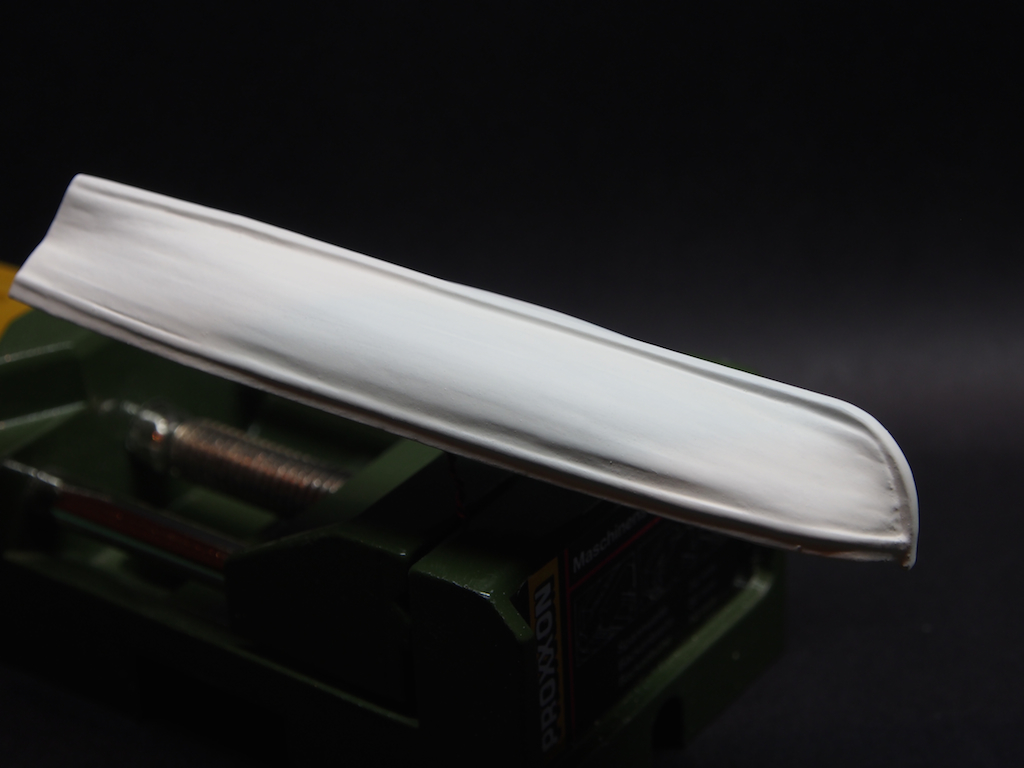
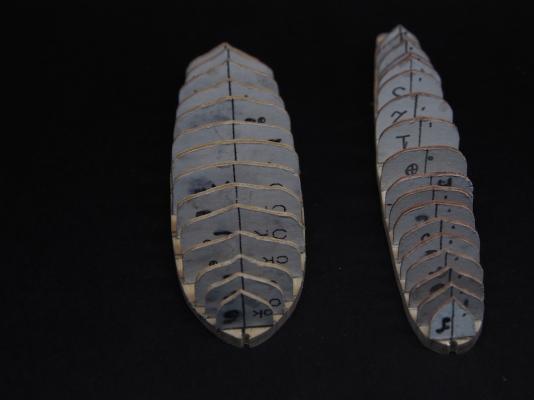
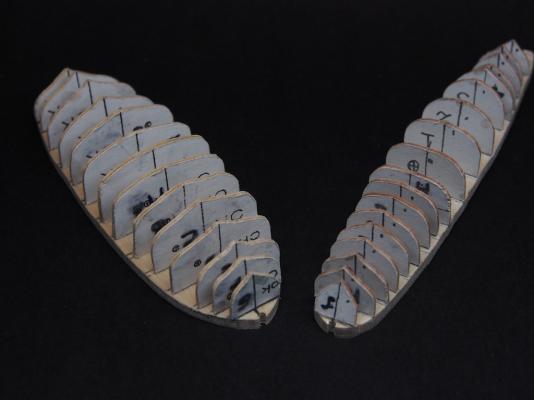
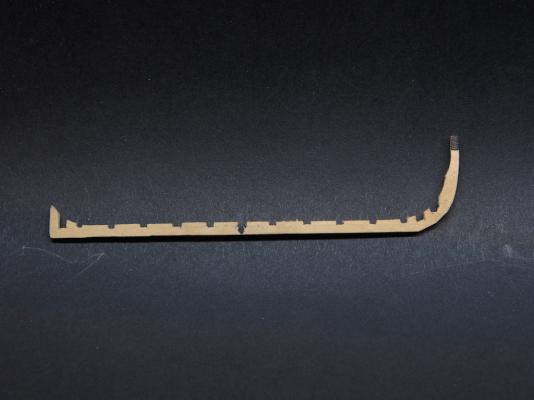
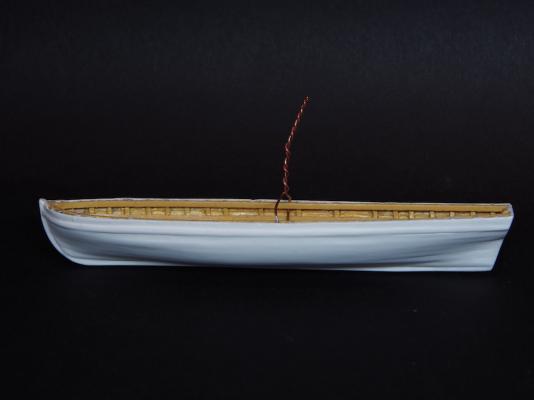
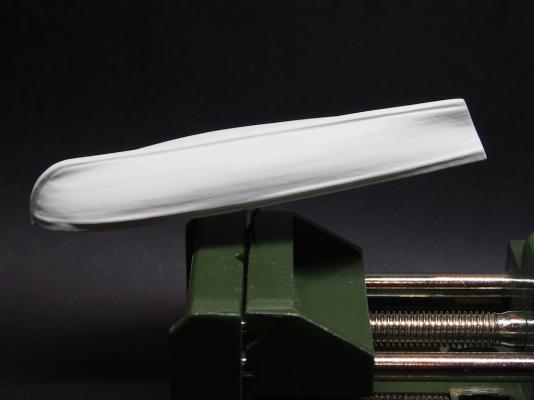
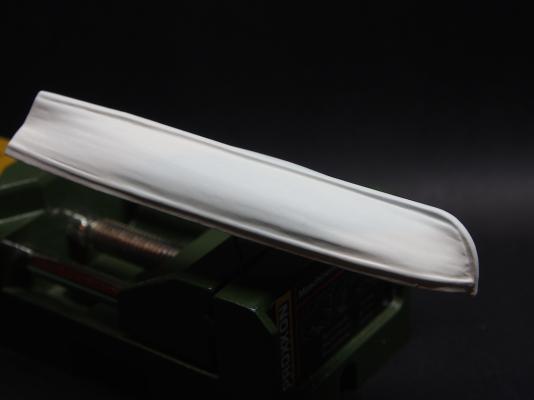
Okay, so here's the photos that I didn't get to take last night. I'm still experimenting with the photography, but the pics seem to be getting better. First up, I made a "handle" from copper wire and looped it through the gunwales to provide a handhold while painting. It also served as a holding post for the vice while the paint dried: Here is the current state of play with painting. Probably just one or two clear coats of Dull Cote for protection now: Meanwhile, progress with the Cutters (well, one of them anyway): Here's the keel: And with frames placed in the building board and frame "plugs" inserted (as per the Launch): And without the Plug: Finally, here's a couple of shots of both the Pinnace and Cutter Plugs for comparison. They are really quite different hull forms: The Admiral is giving me "the look" again, so that's it for now!!!


-
Thanks everyone for all the kind comments and also for all the "likes". mtdoramike - your model is a similar scale to this one, maybe an inch or two longer, so you should have no problem with a similar case if you choose to go down this route. Mine is 1200mm long (about 48inches) and is made from 4.5mm thick Perspex. I would have liked to have used 6mm for added rigidity, but that would have added 50% more to the already expensive cost. Short progress report on the ship's boats. I have been slowly but surely painting the external hull of the Pinnace - just applied the ninth coat. I'm thinking maybe one more coat and then a final protective coat of Dull Cote. Following others advice, I've been using very thin coats of paint. I'm using a Humbrol enamel thinned 50% with Thinner. While tedious, it does seem to improve the appearance. While watching the paint dry, I've been progressing the framing for the two 25ft Cutters. I finished cutting the keels for both today, and have cleaned up all the frames. This took quite some effort. Releasing the spot-glued frames from their inner supports required the judicious use of the isopropyl alcohol - judicious because the frames are laminated and too heavy a hand with the IPA and I might just have twice as many frames! Once separated and dry, the remaining glue residue had to be cleaned off using a needle file and a very light touch - these things are REALLY fragile. Only broke two. Once cleaned up, I started fitting the frames into the build boards. One set is complete and the other ready to fit. The Admiral kicked me out of the shipyard before I could finish the second set. Something about needing to go to sleep as tomorrow is a work day! Consequently, I didn't get time to take some pictures. Sorry Sjors I'll try to get some taken tomorrow and post them up then.
-
I've recently been thinking along very similar lines Remco. Great to see your ideas brought to fruition - looks very ship shape.
-
Just lovely Toni. A real pleasure to watch this build growing.
-
Well done on the re-do Michael. I'll bet you're much happier with this version.
-
Very nice Bob (as always).