Baker
-
Posts
4,286 -
Joined
-
Last visited
Content Type
Profiles
Forums
Gallery
Events
Everything posted by Baker
-
 Beautiful work Rodolfo. A practical question (it can also be a stupid question) If we put bolts here Then it looks like these planks are bolted permanent to the opening in the deck. How do we then open this hatch when we have to be in the hold?
 -
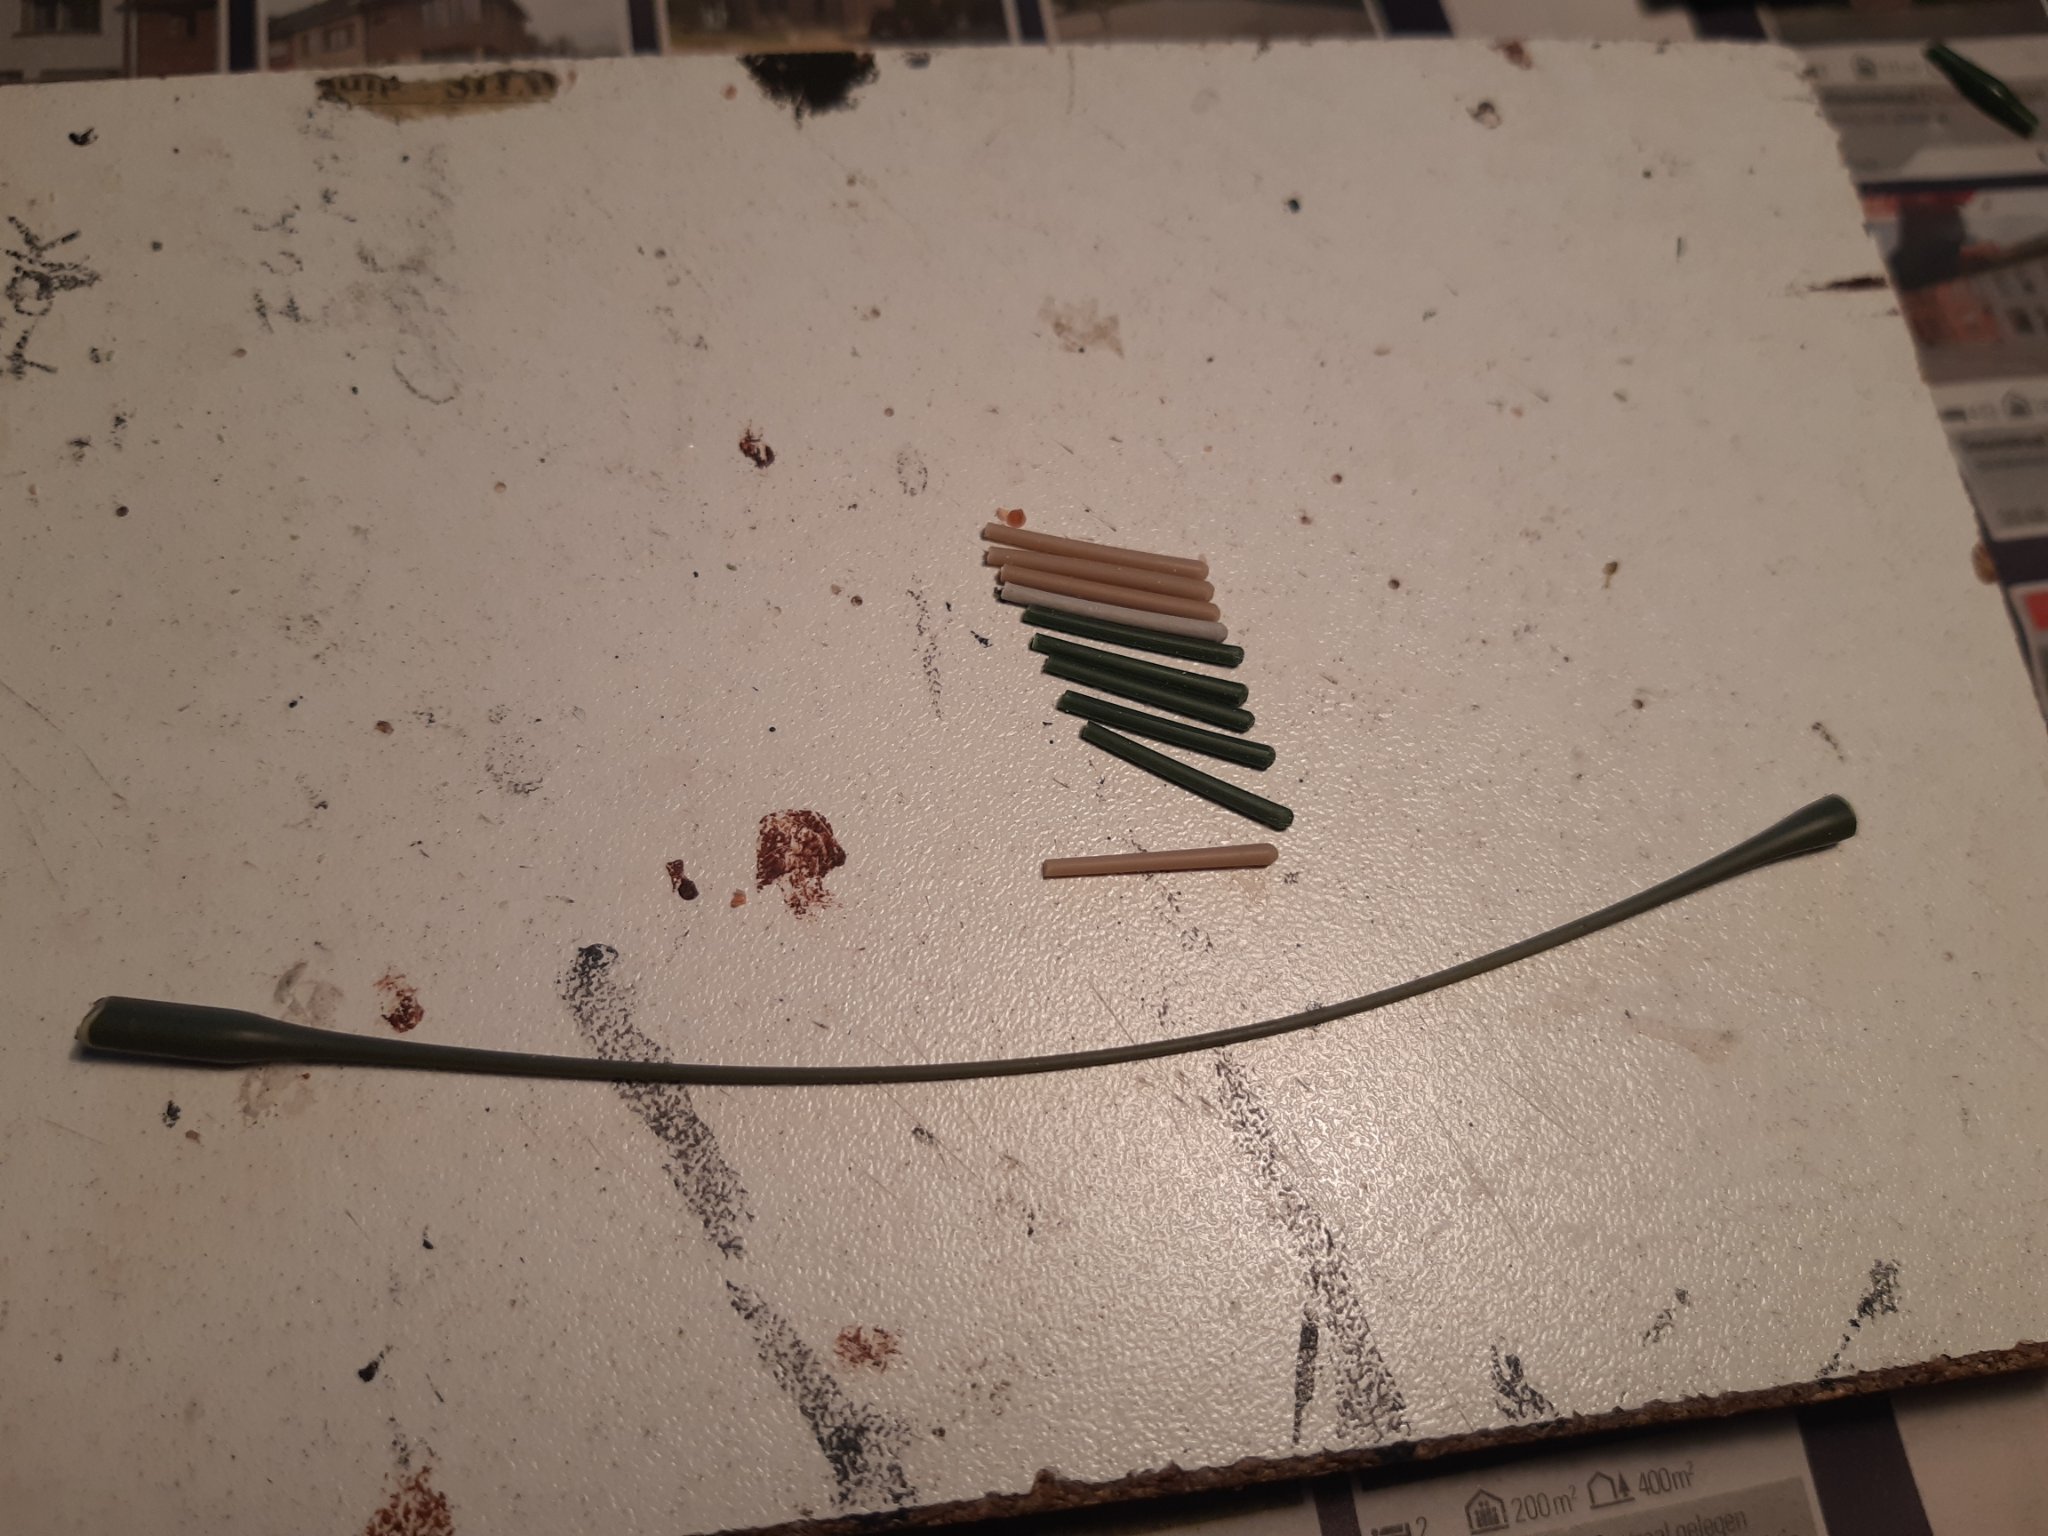
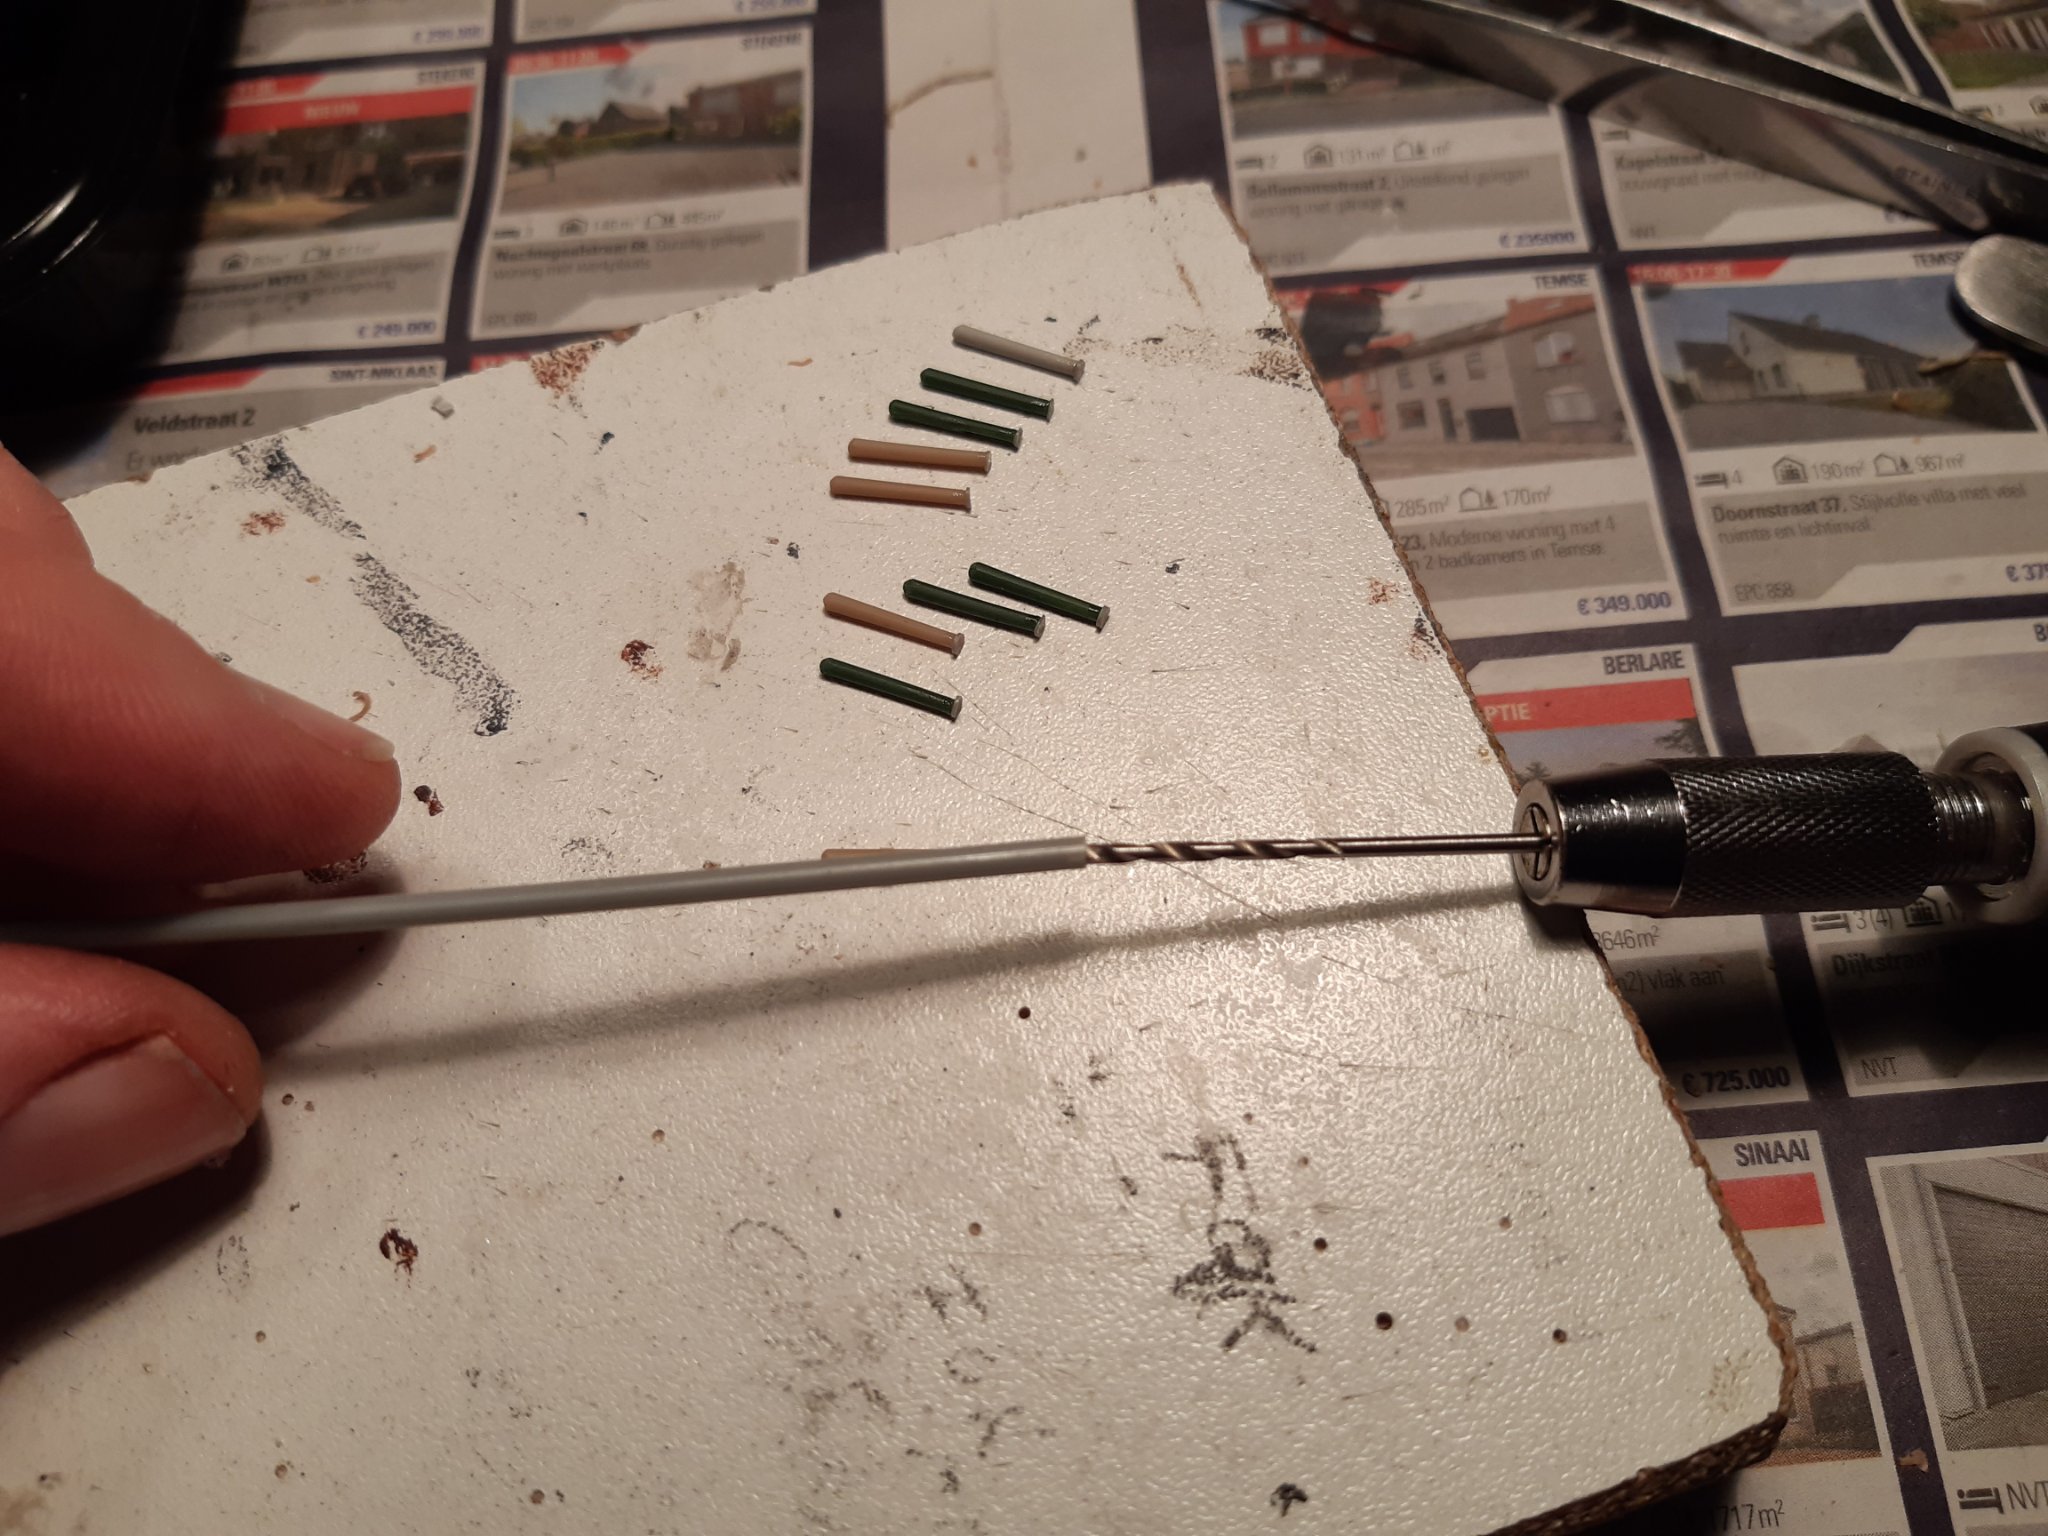
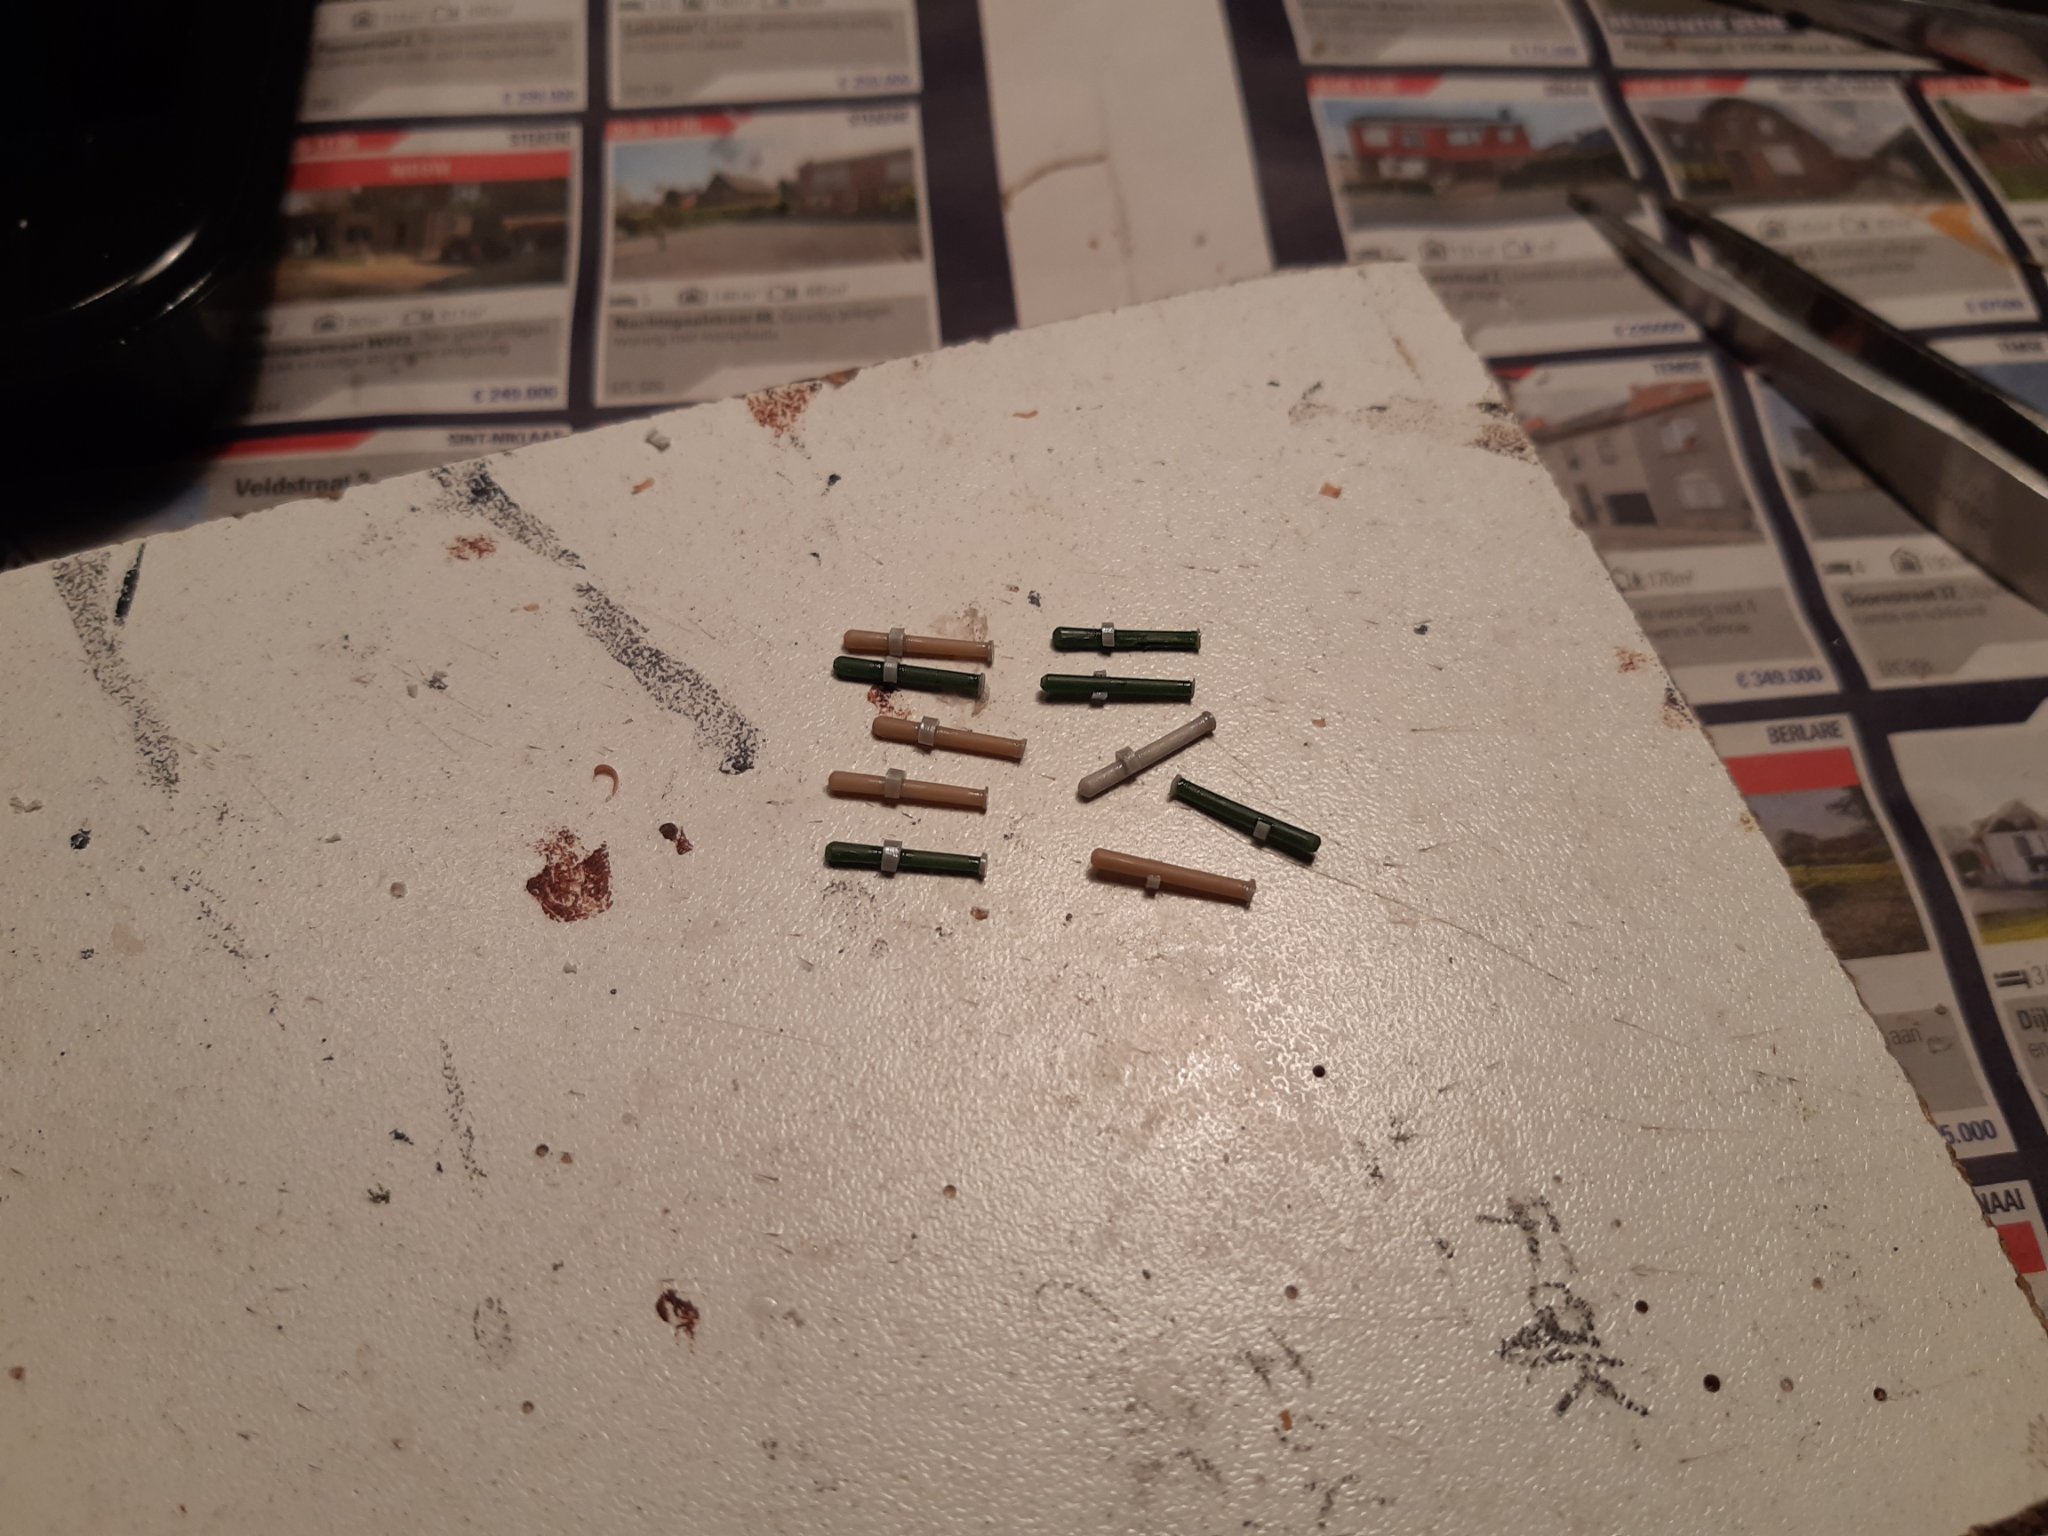
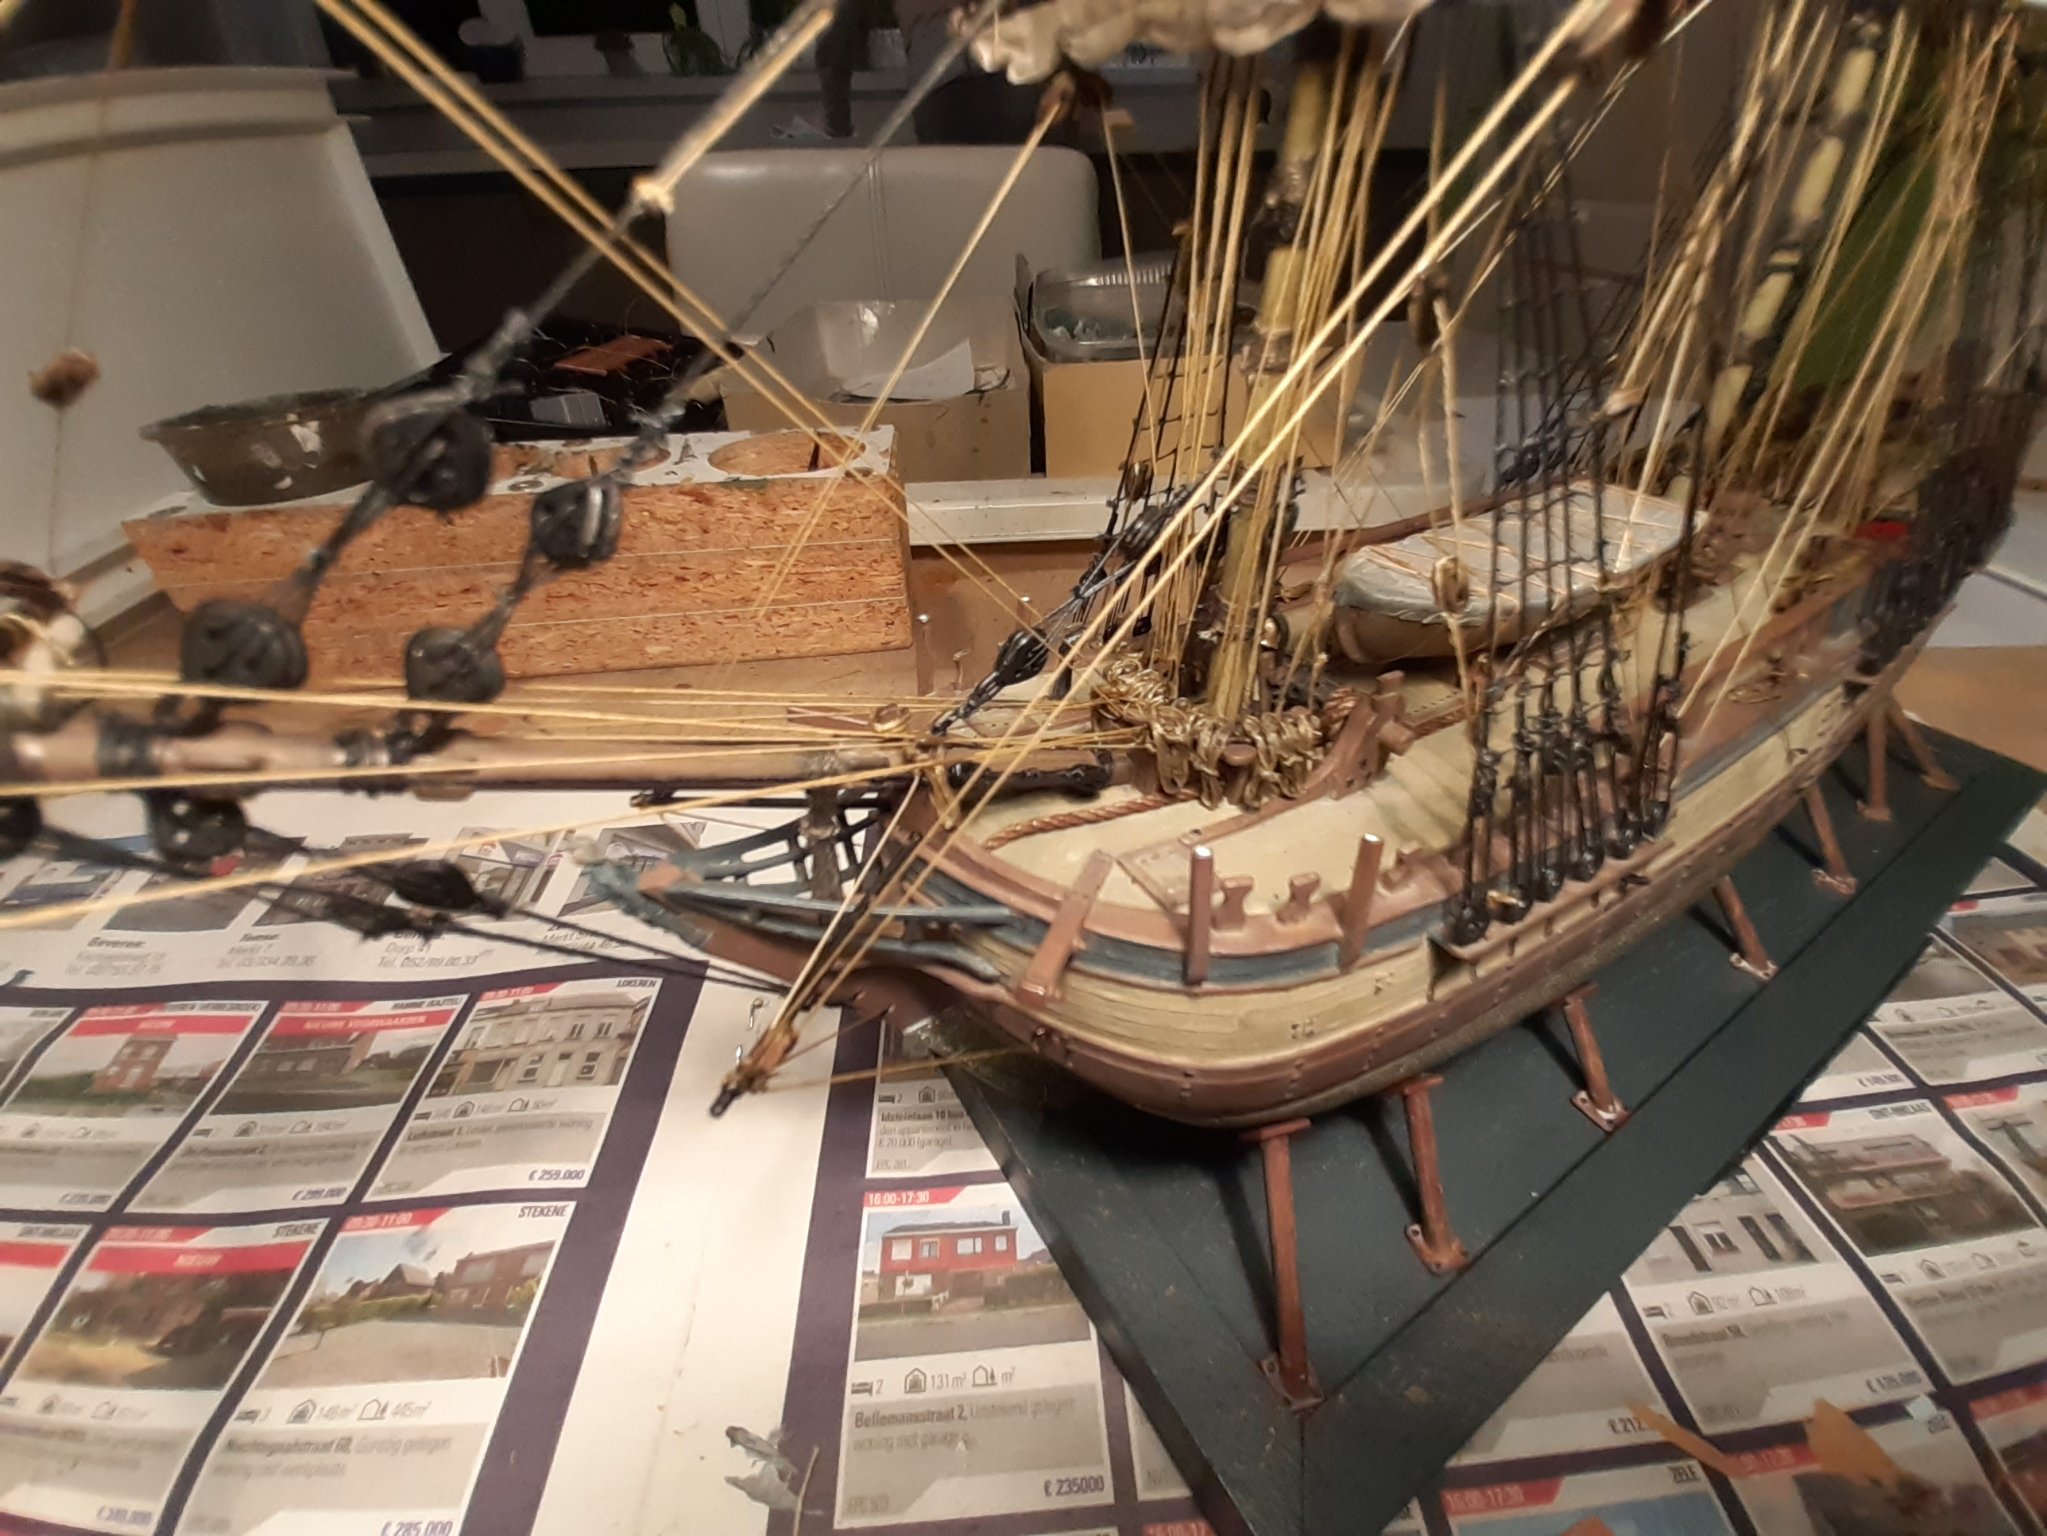
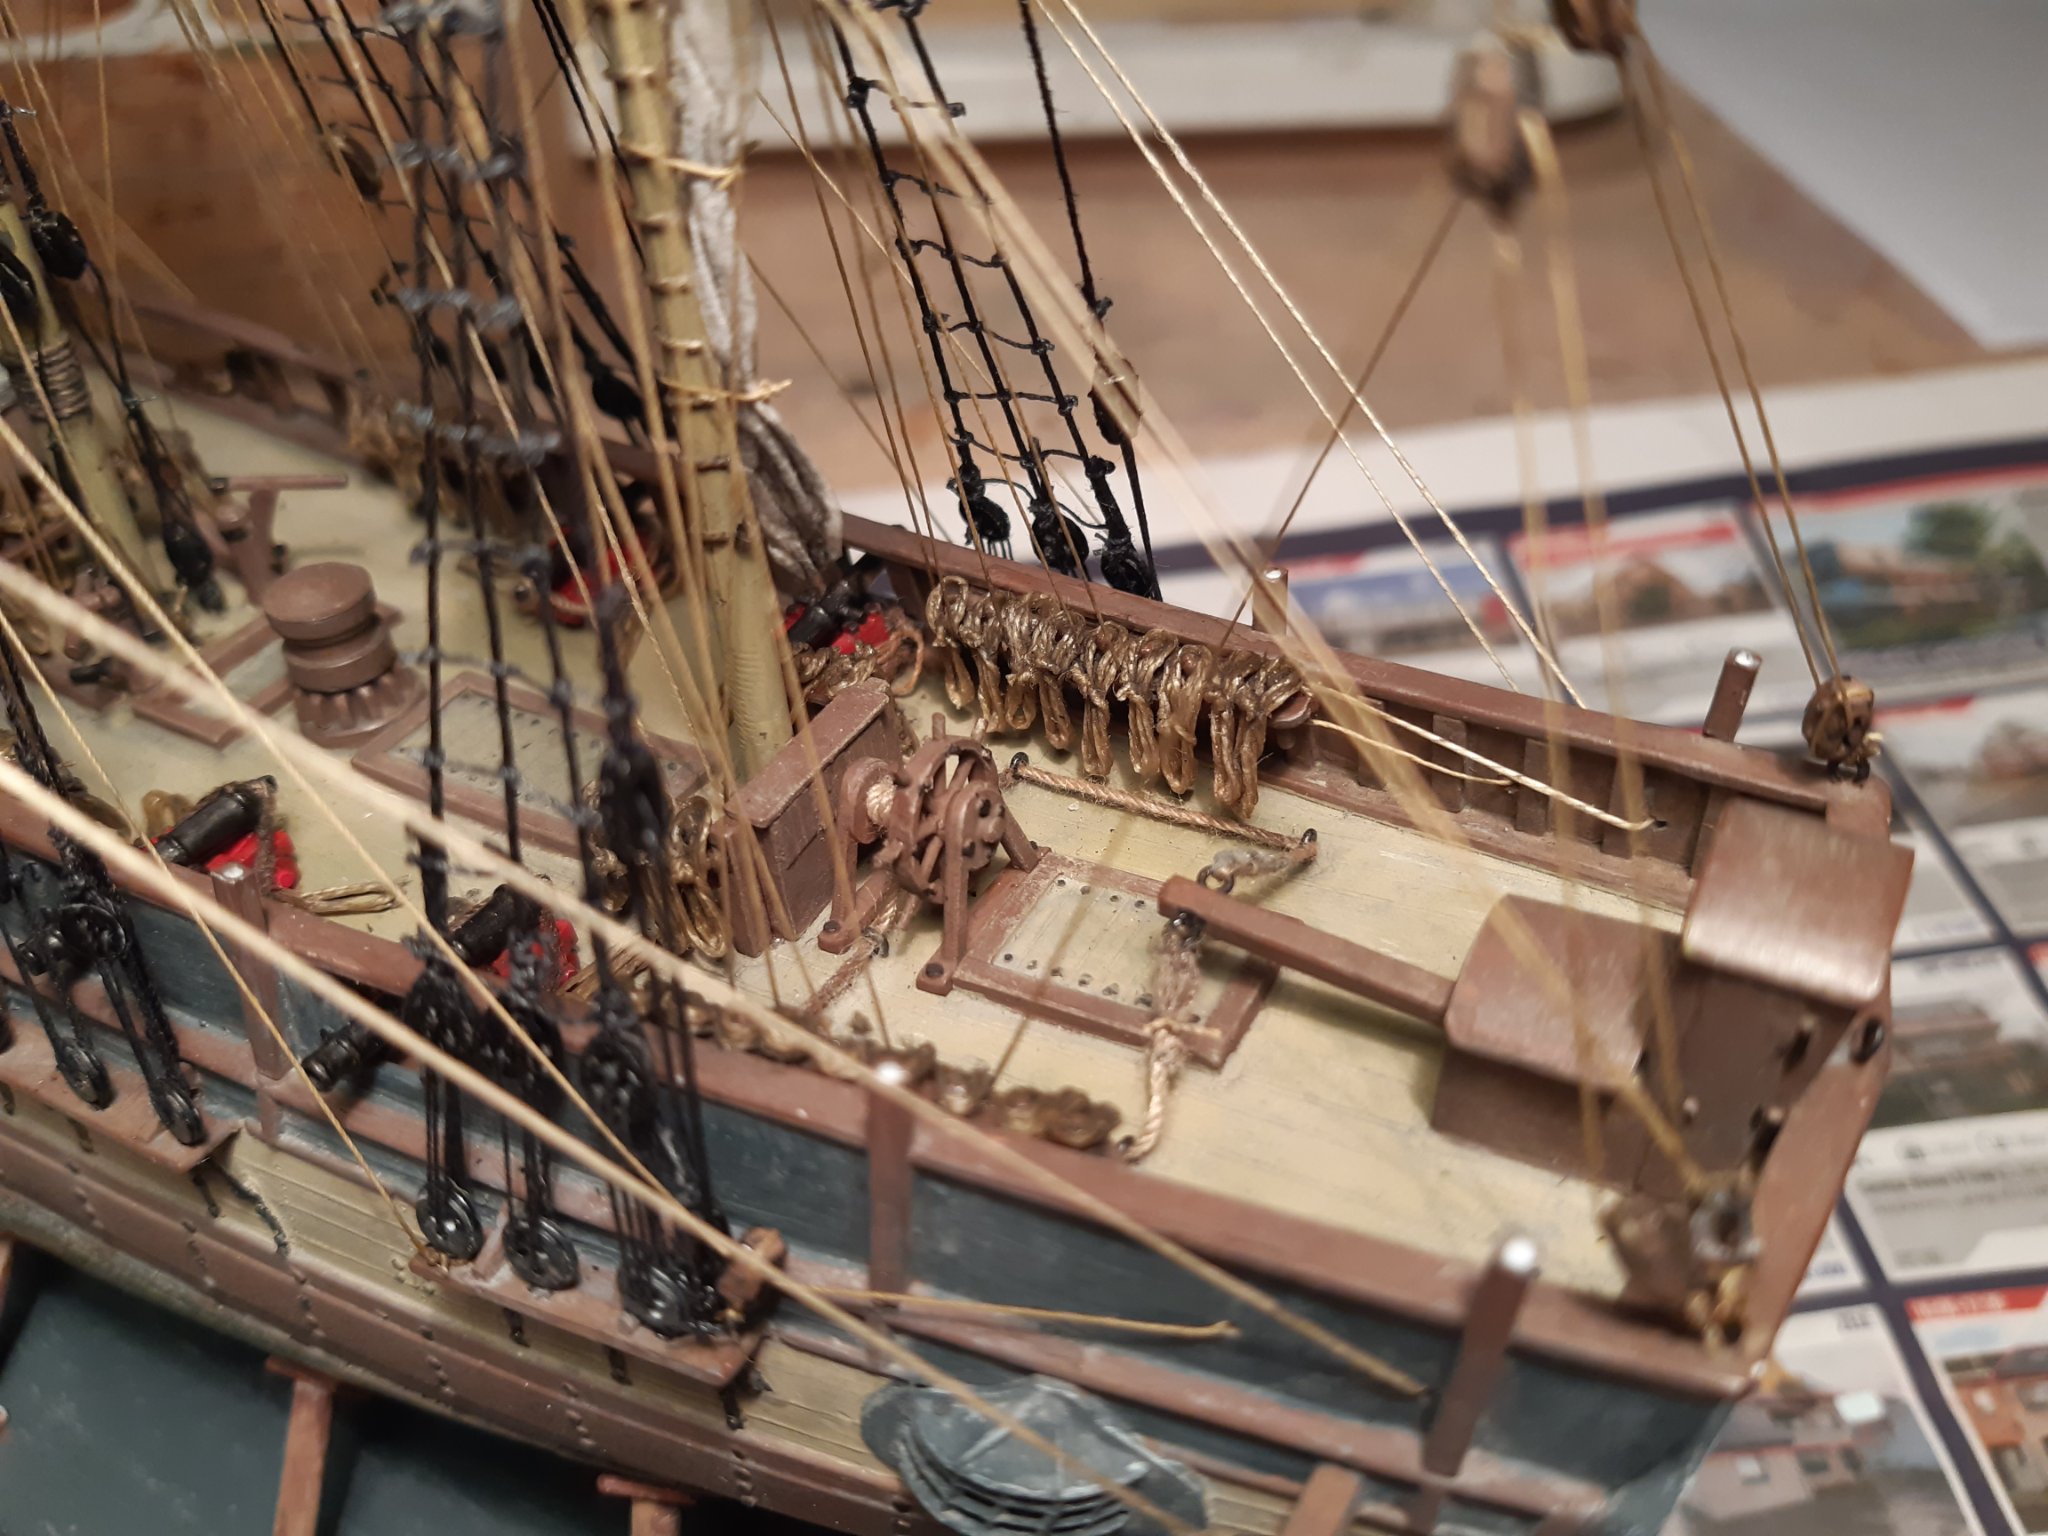
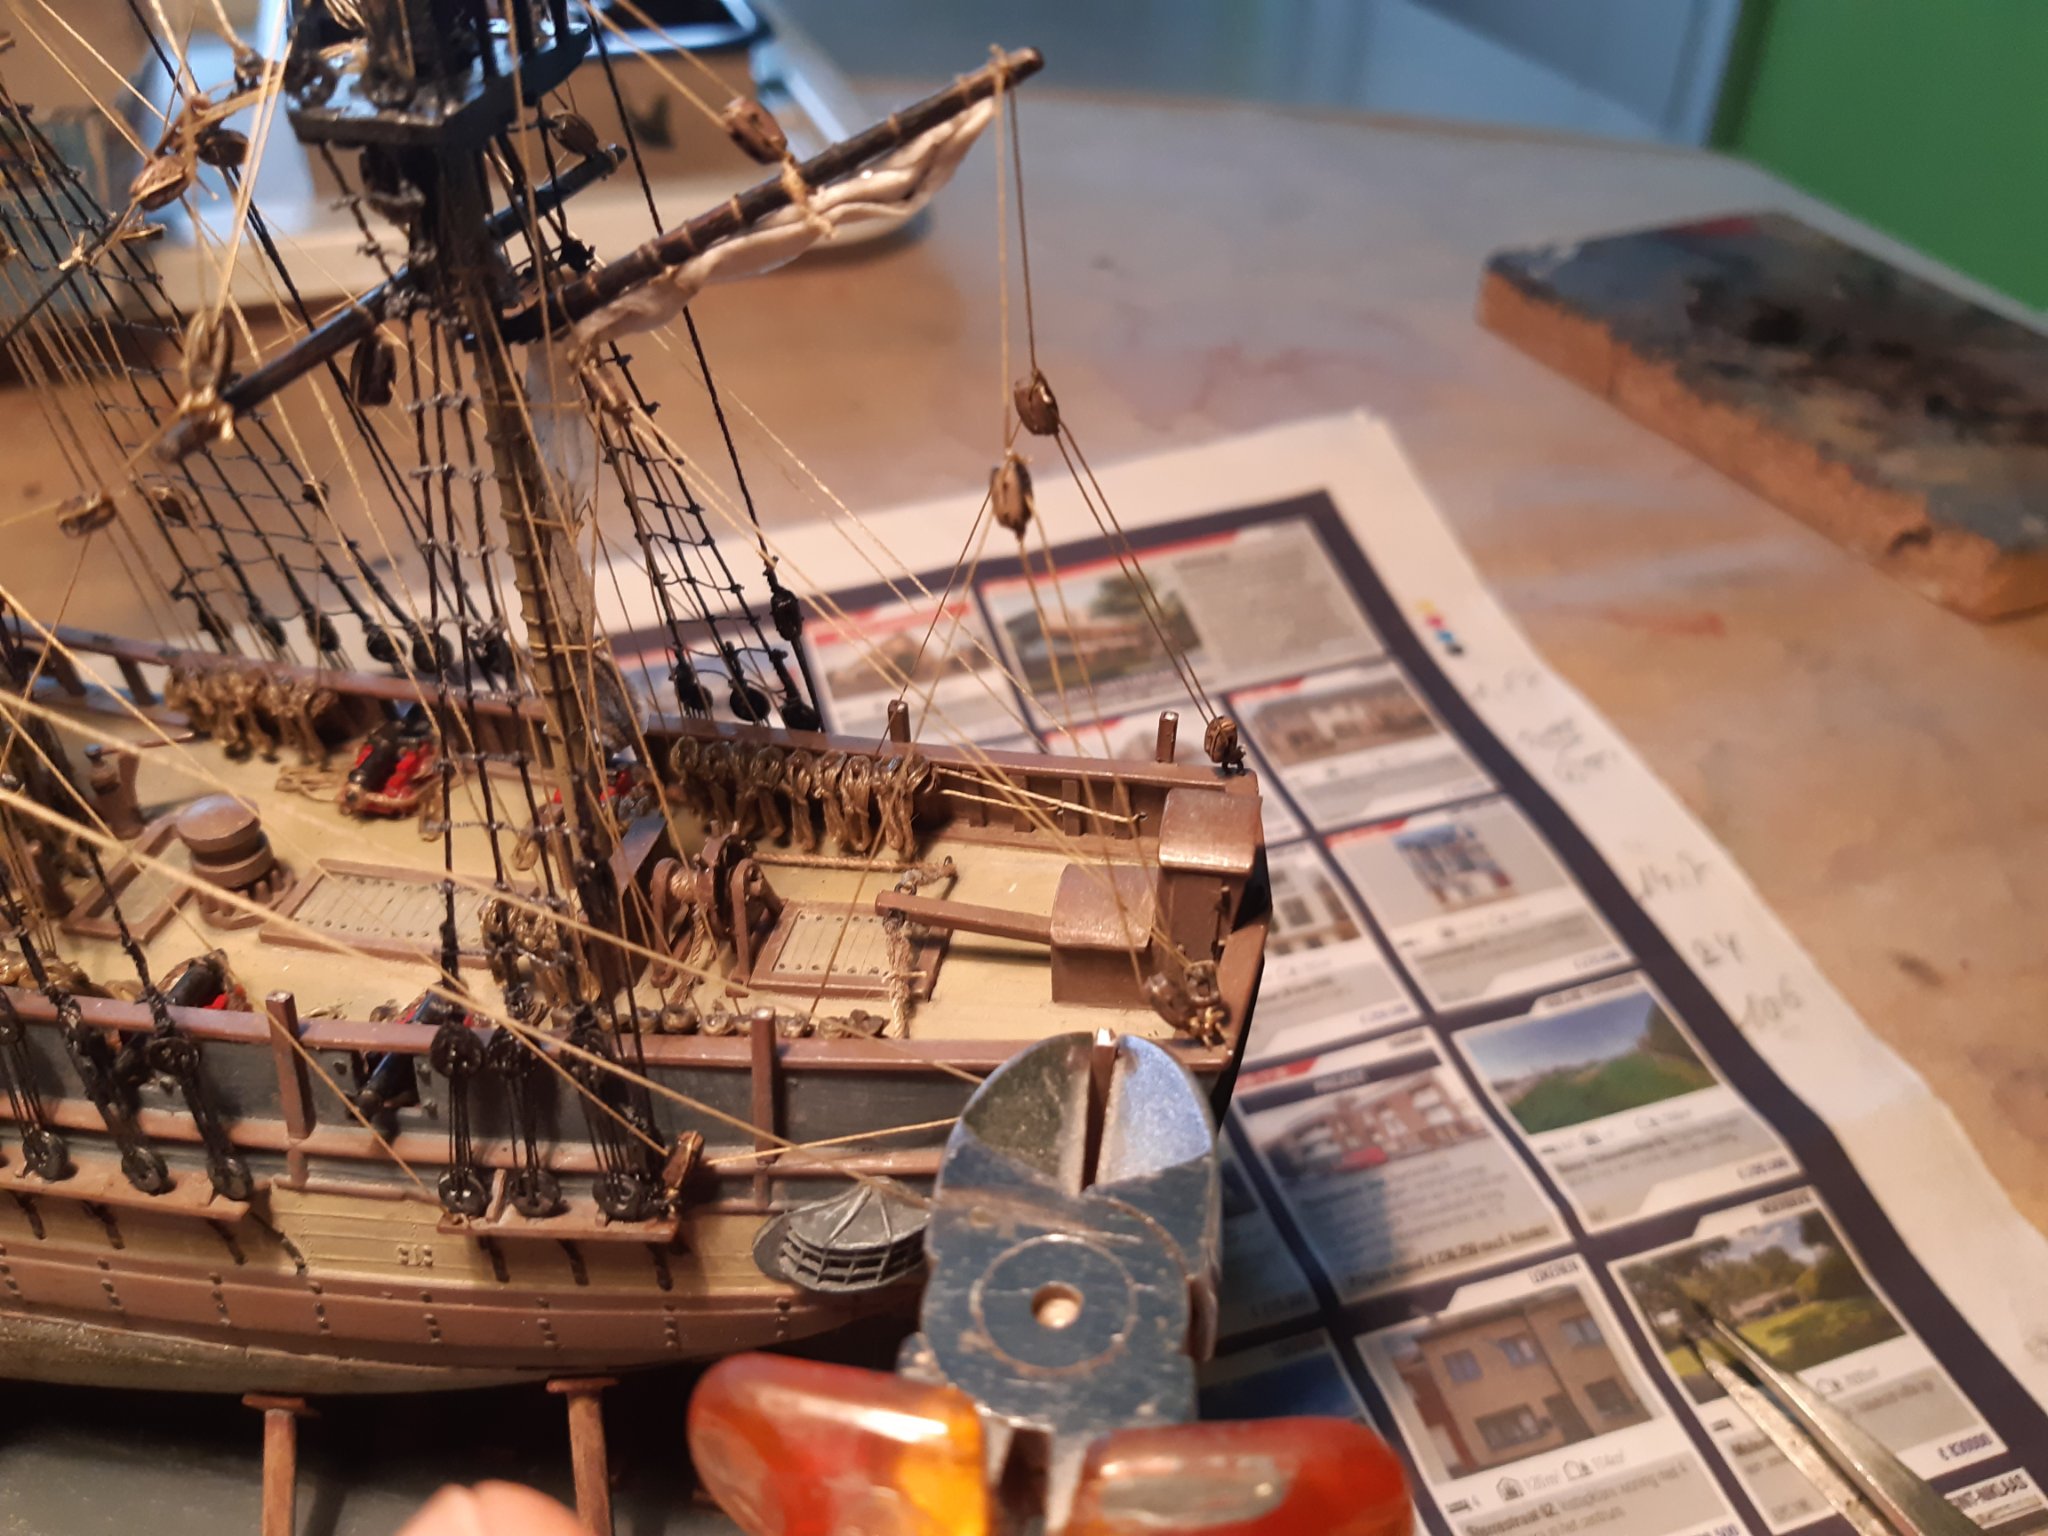
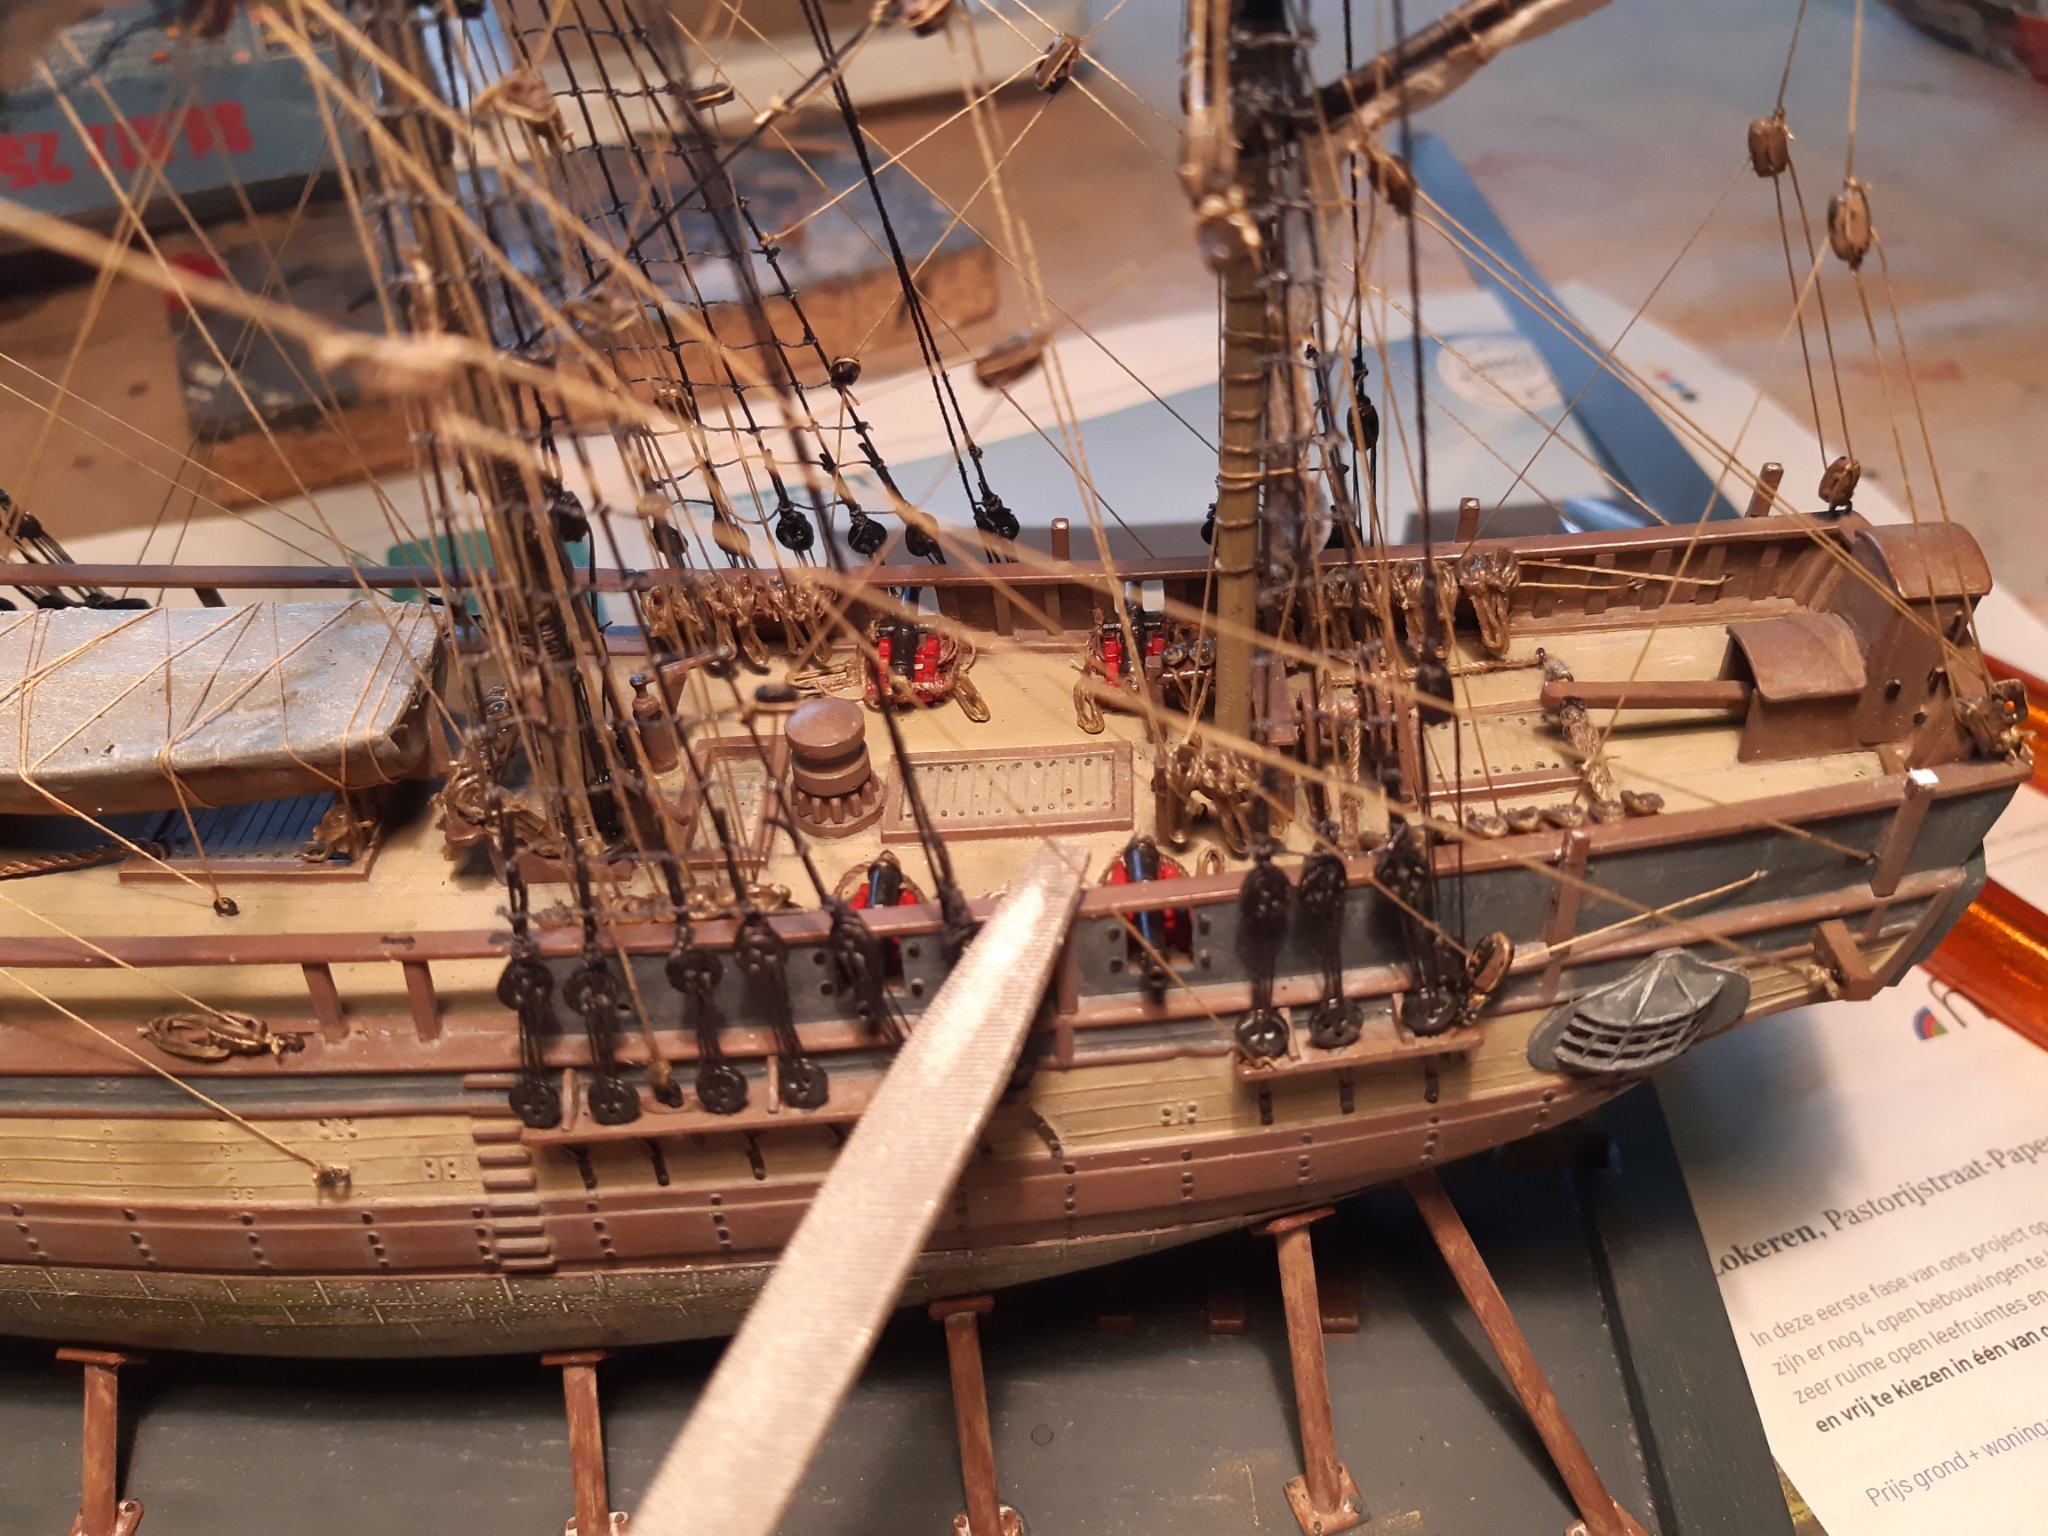
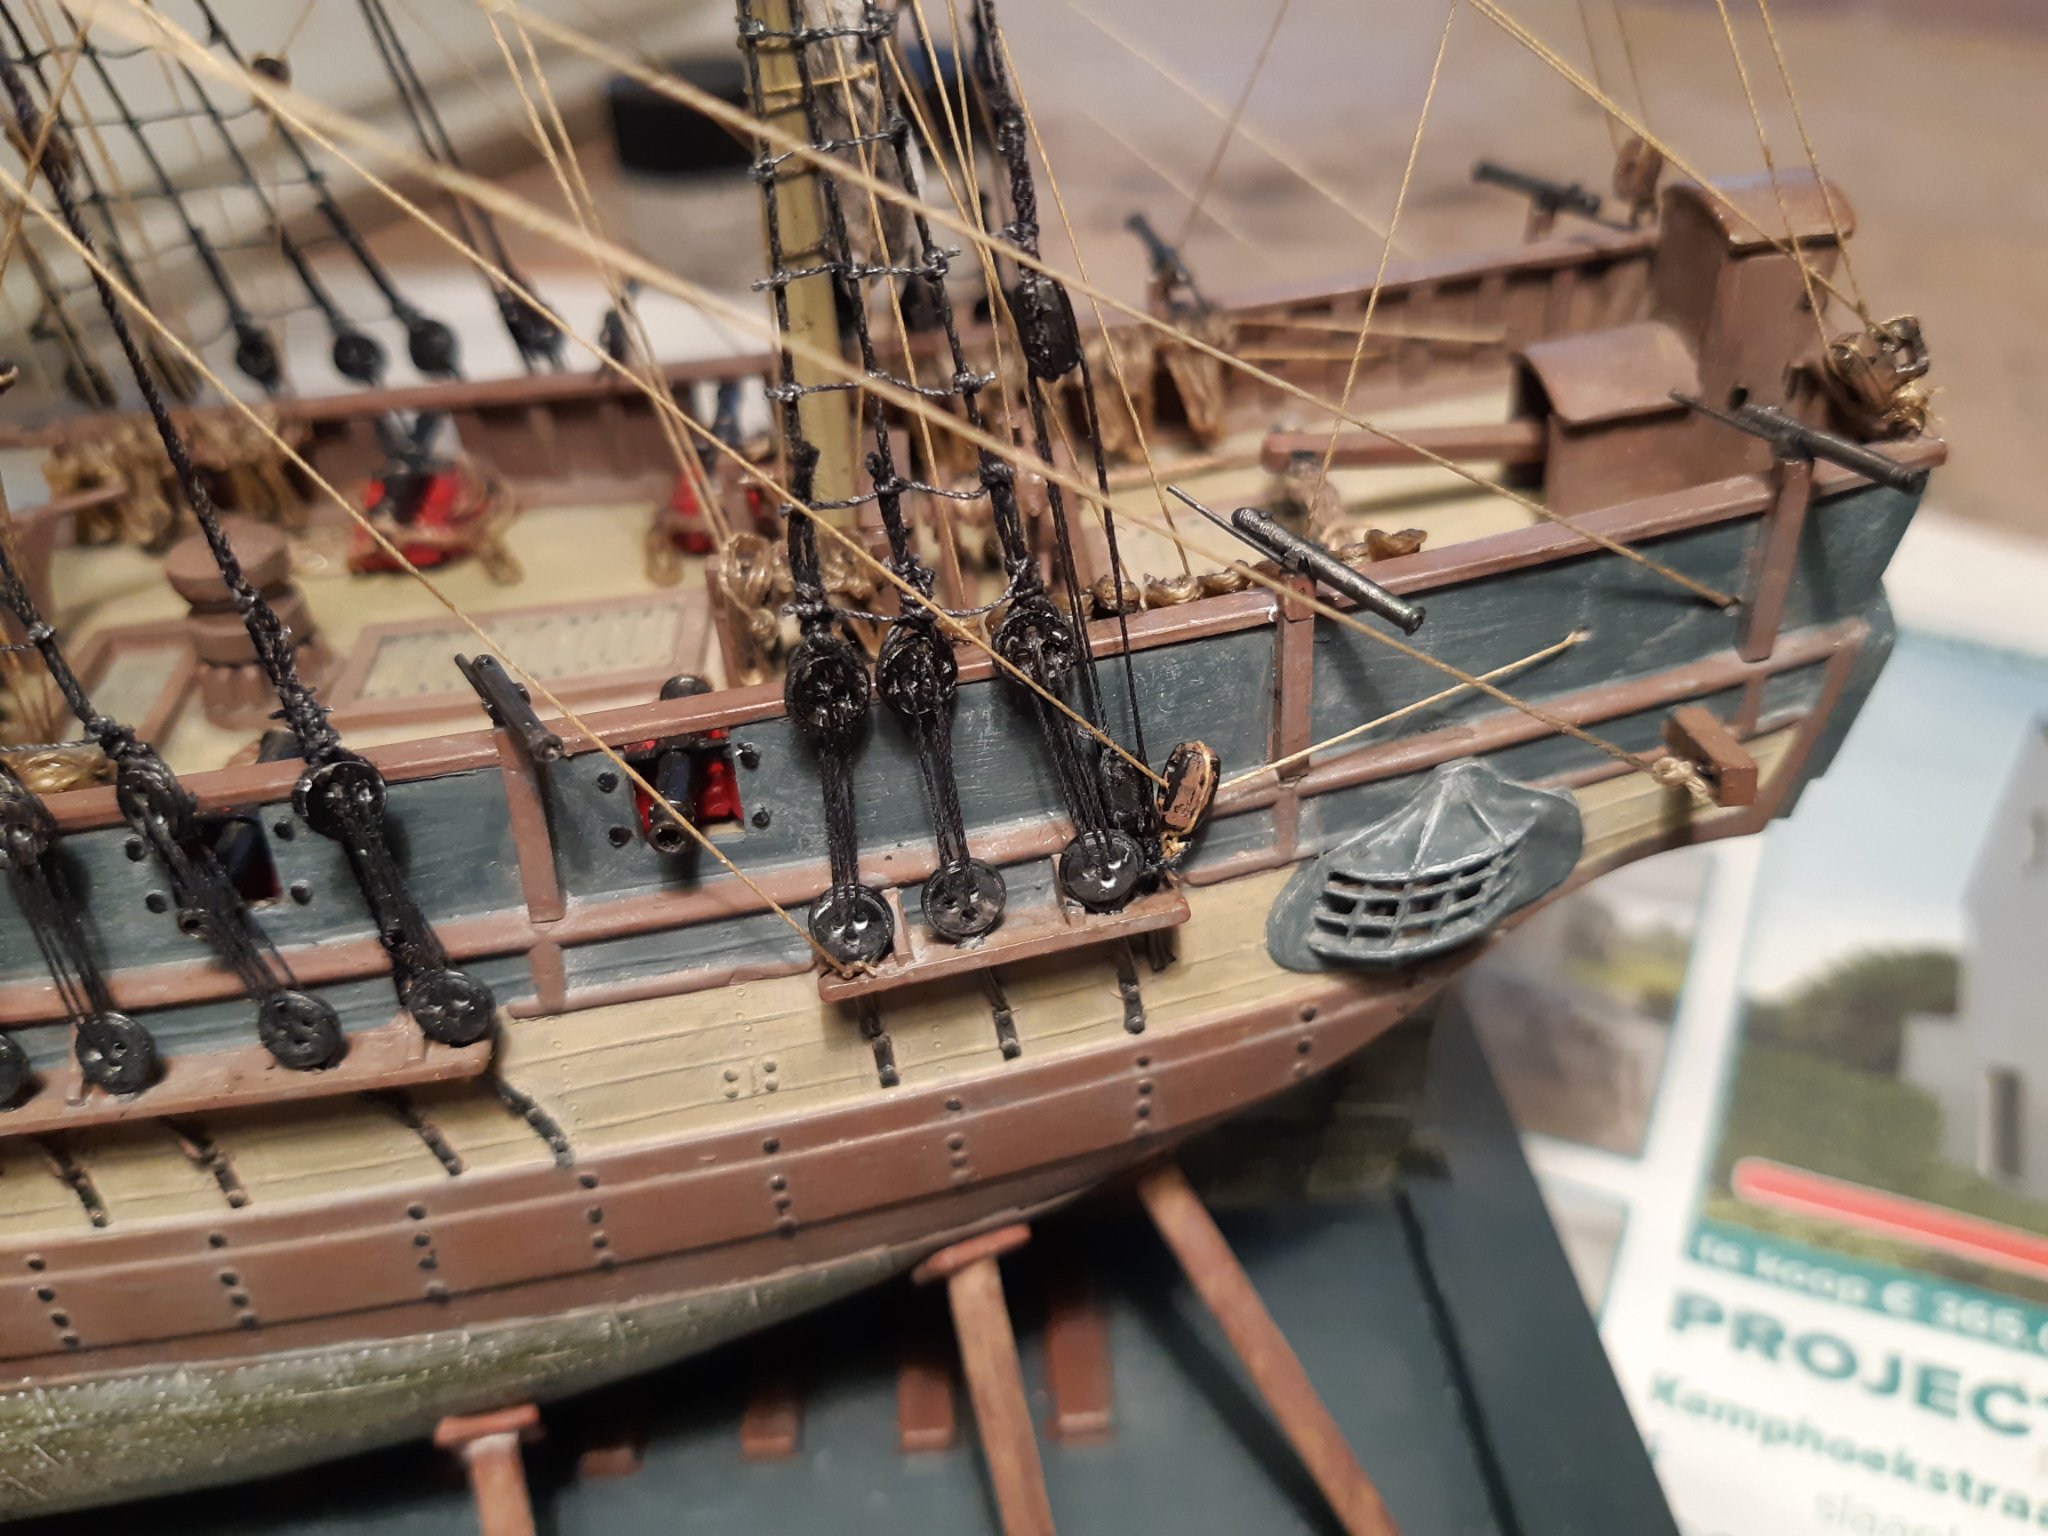
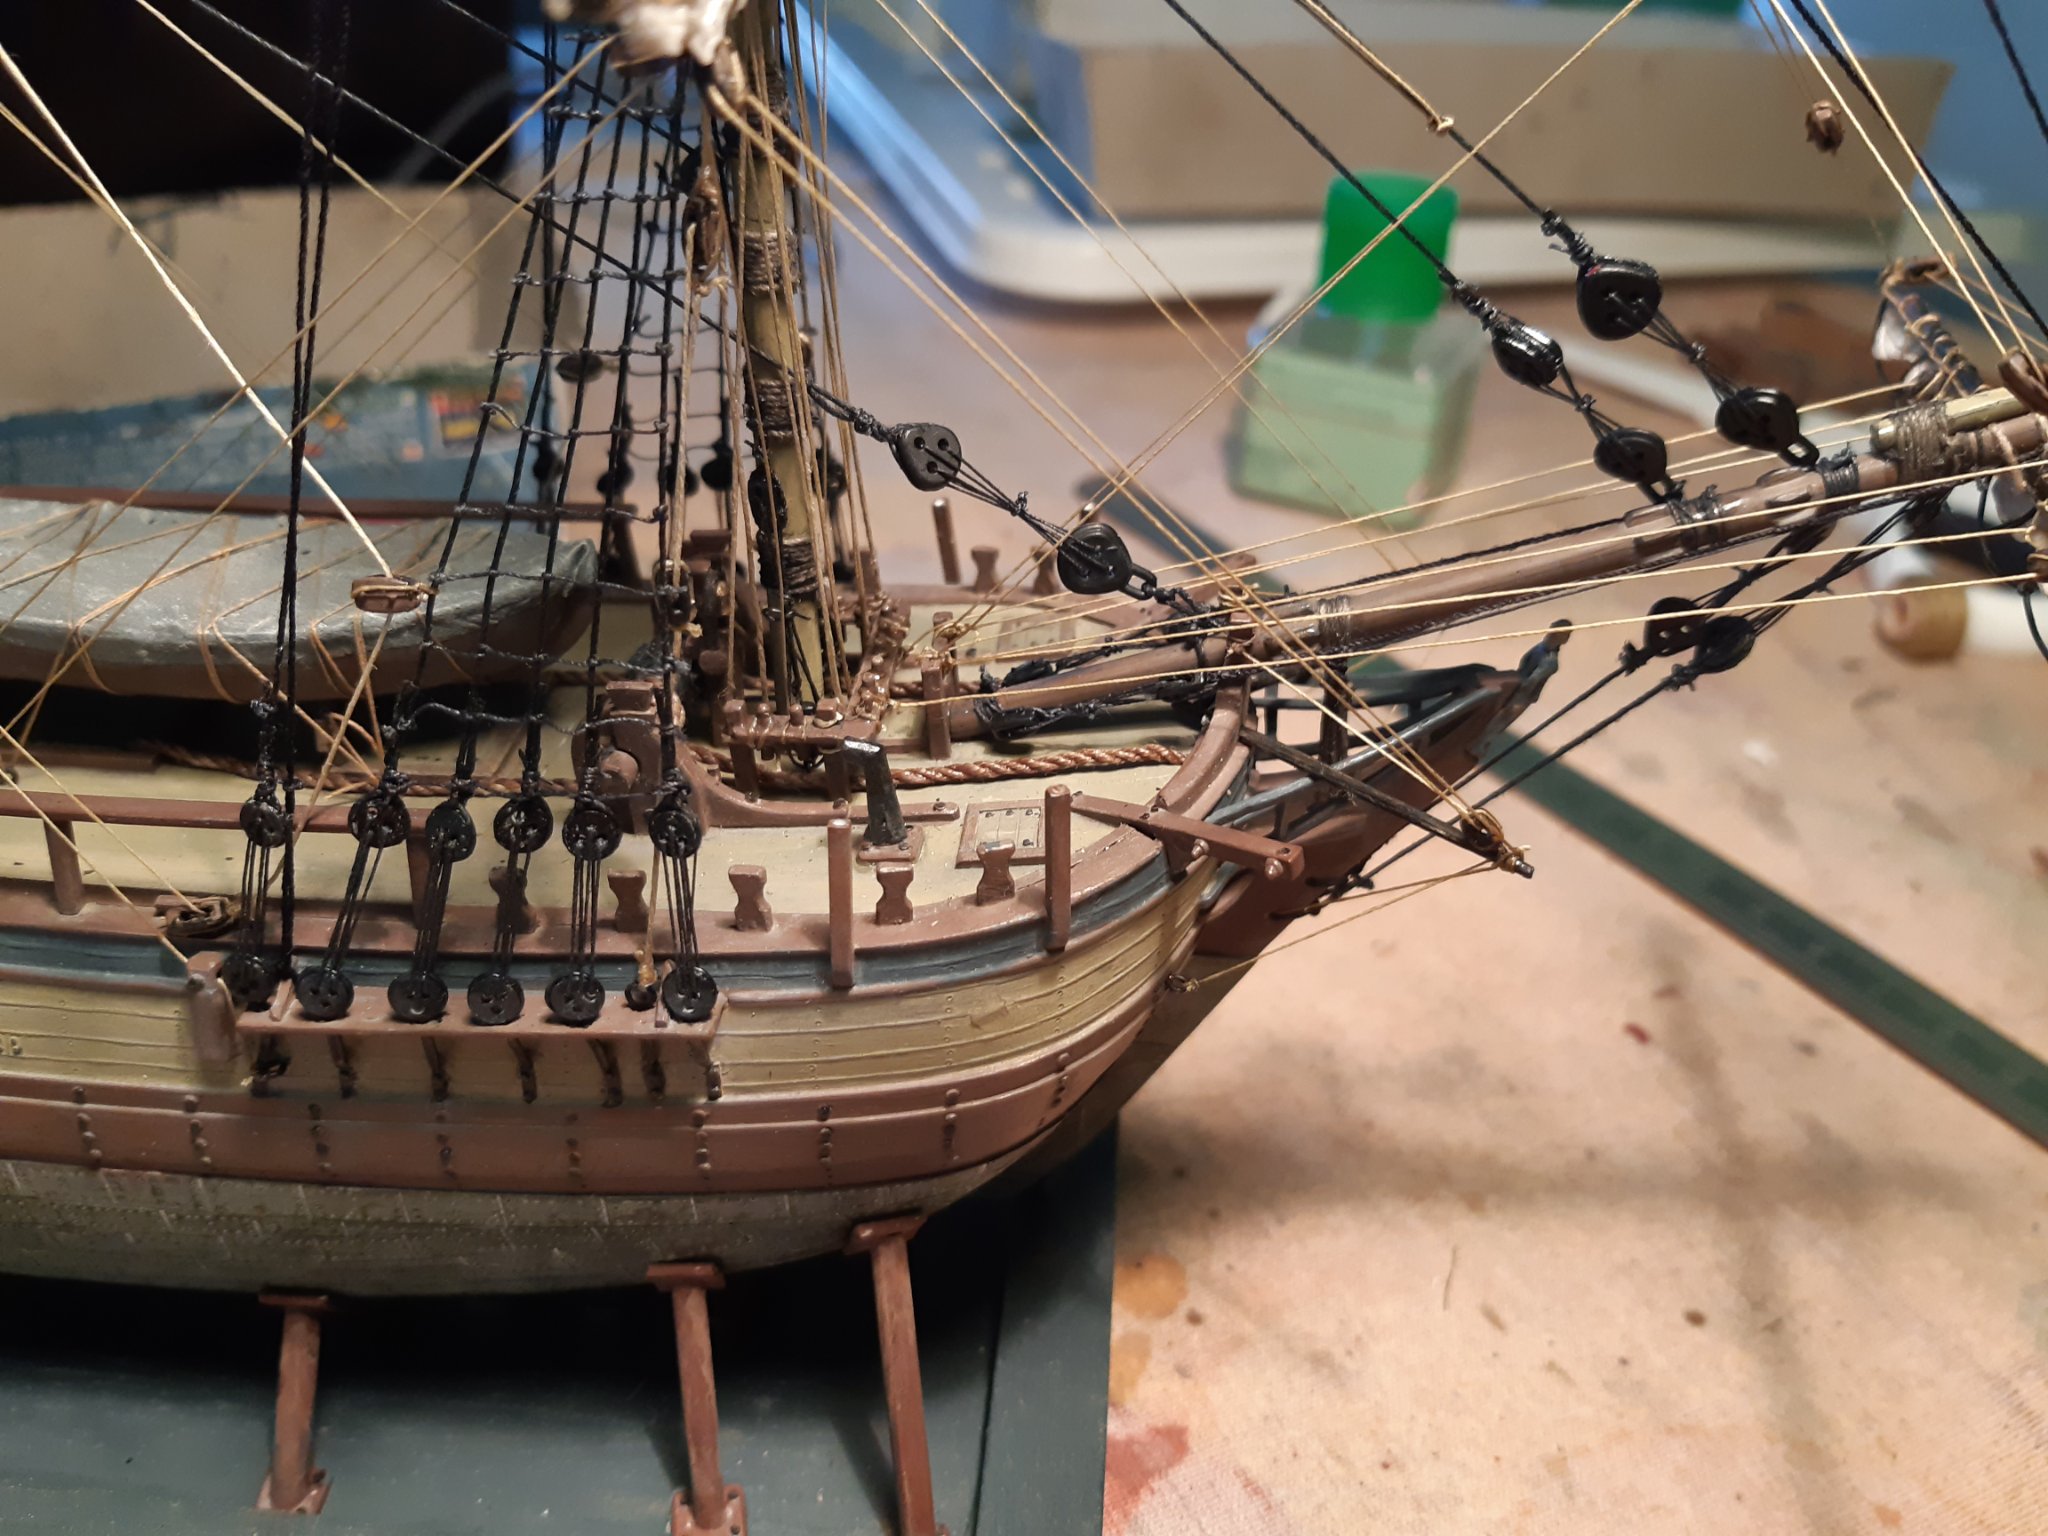
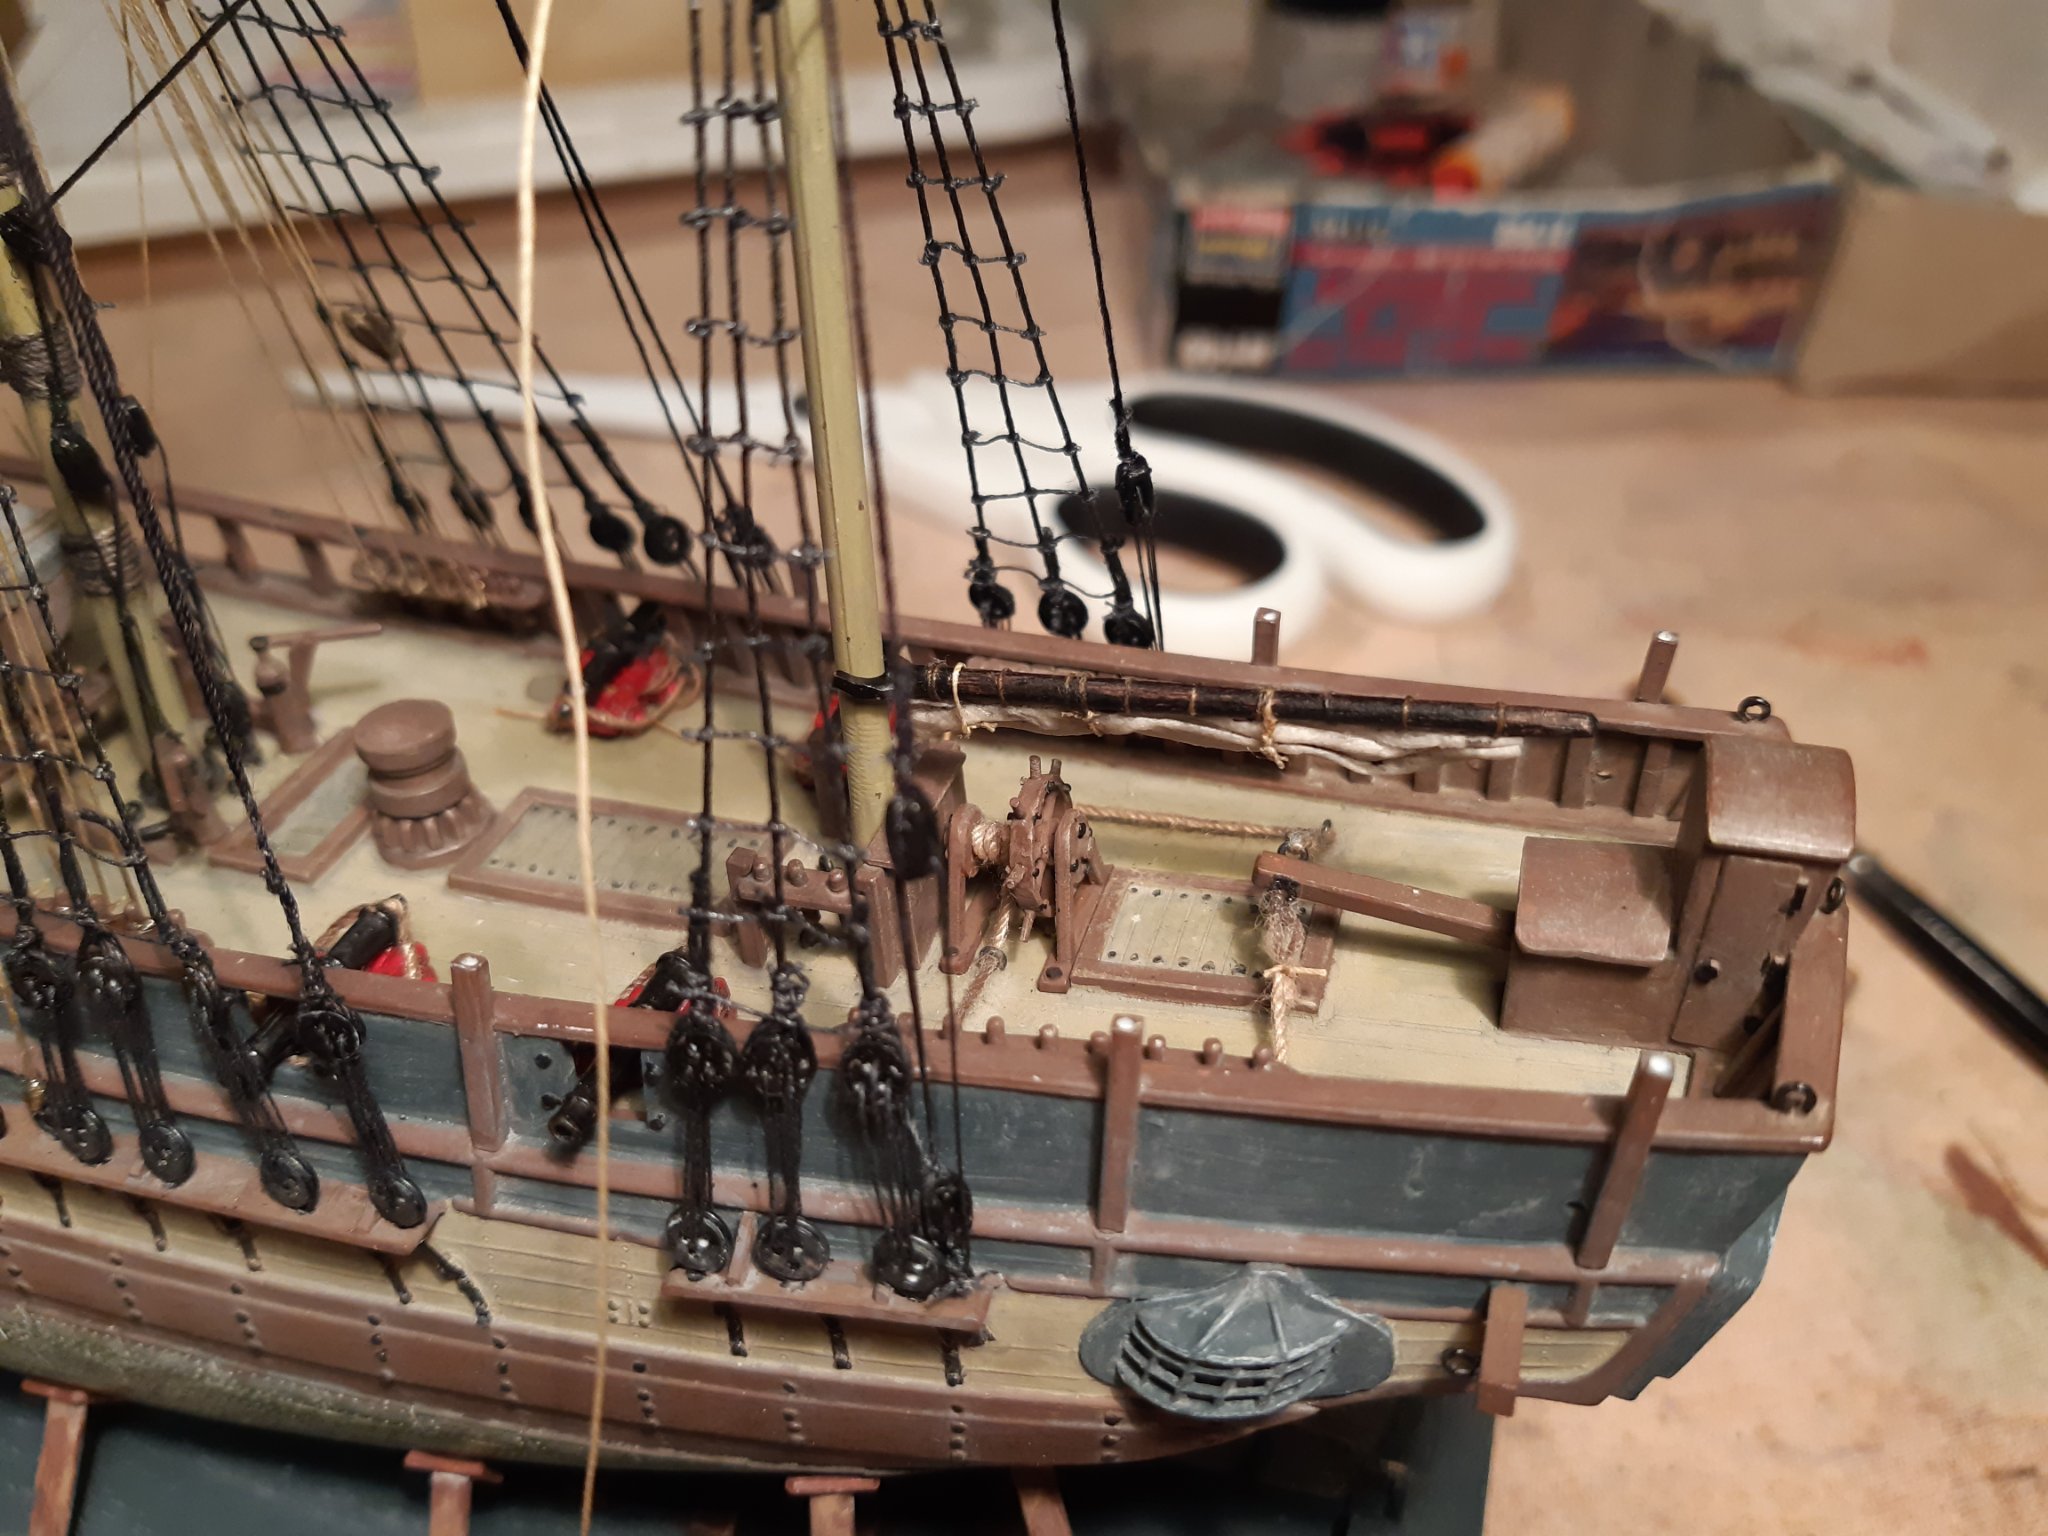
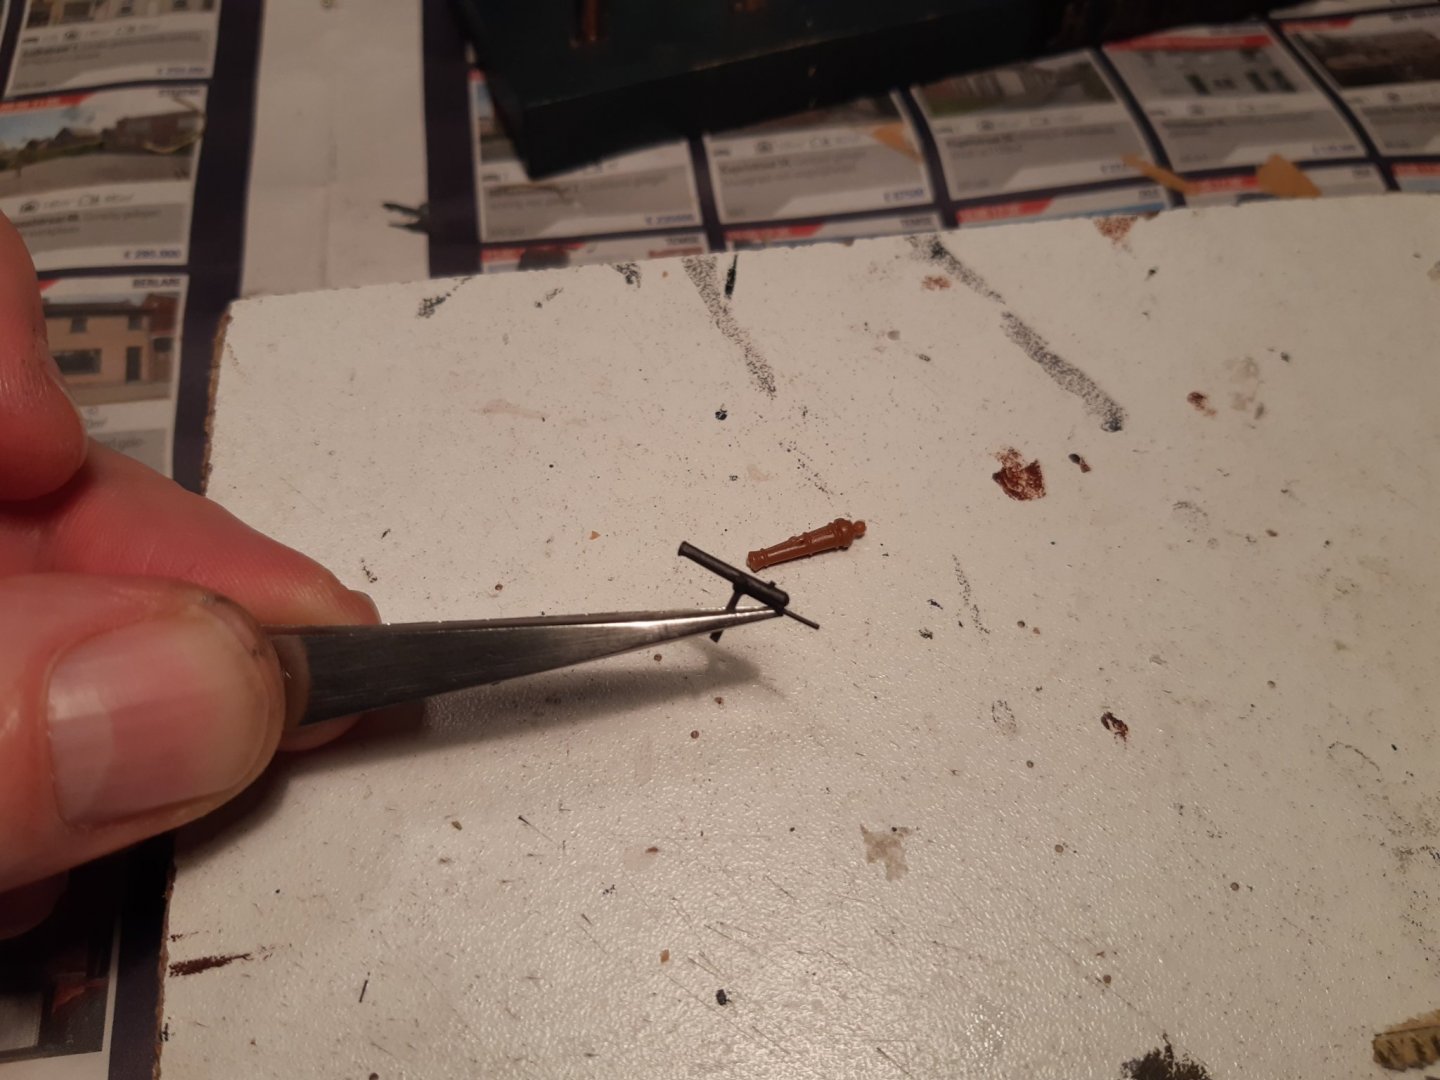
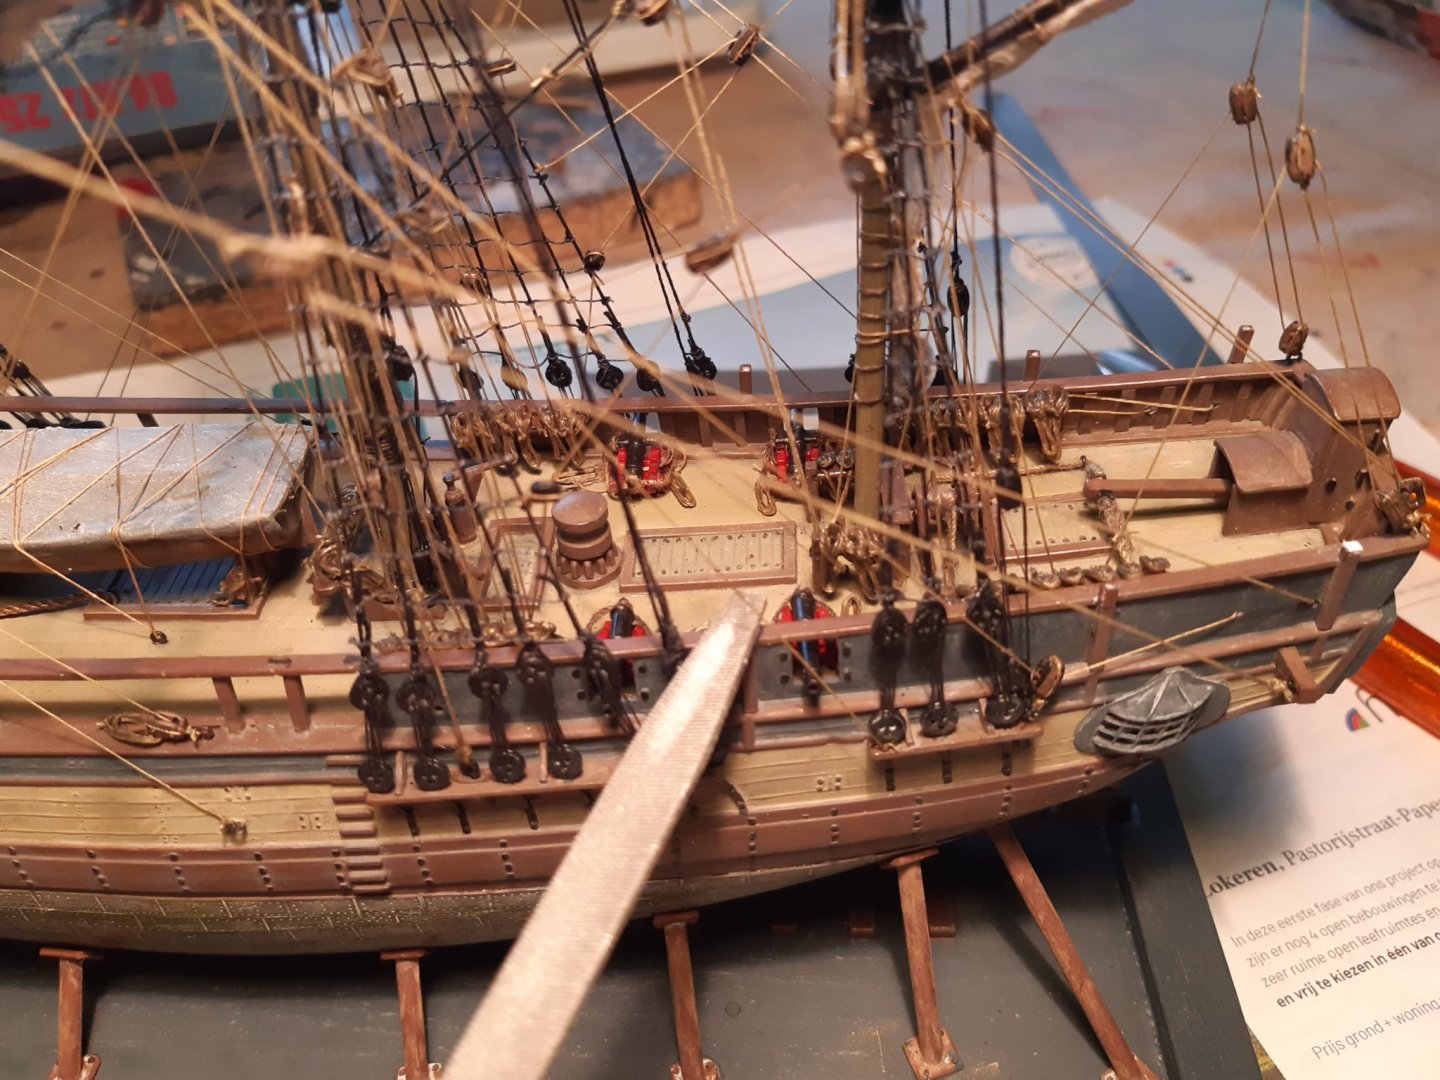
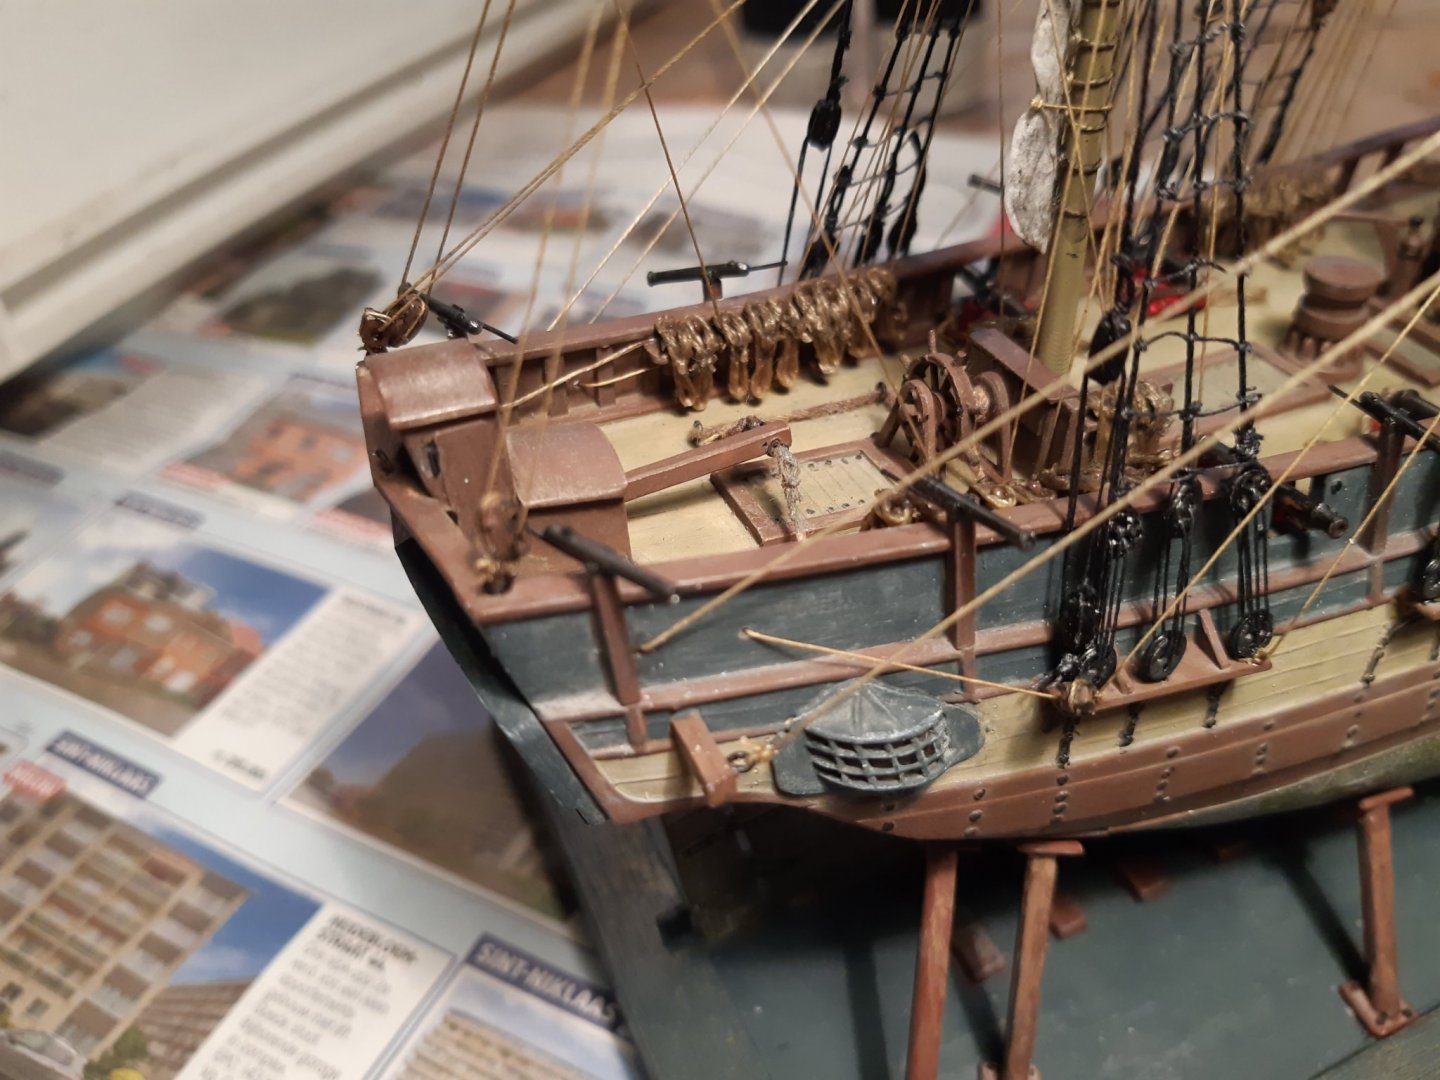
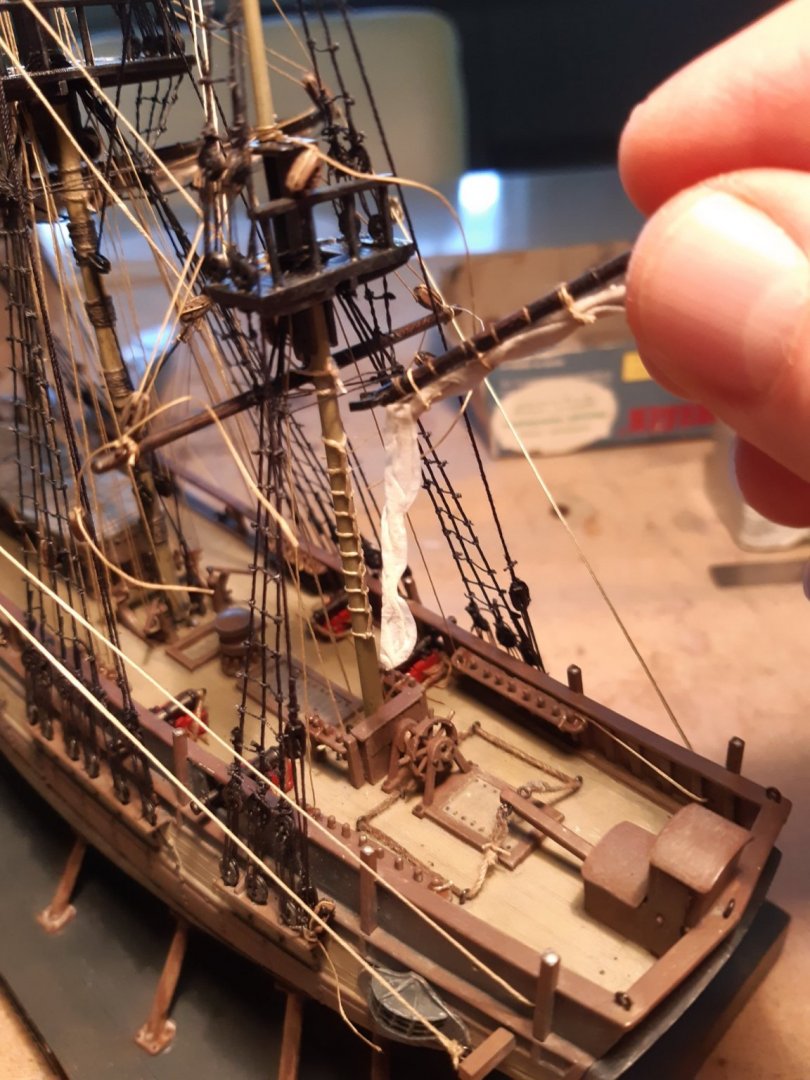
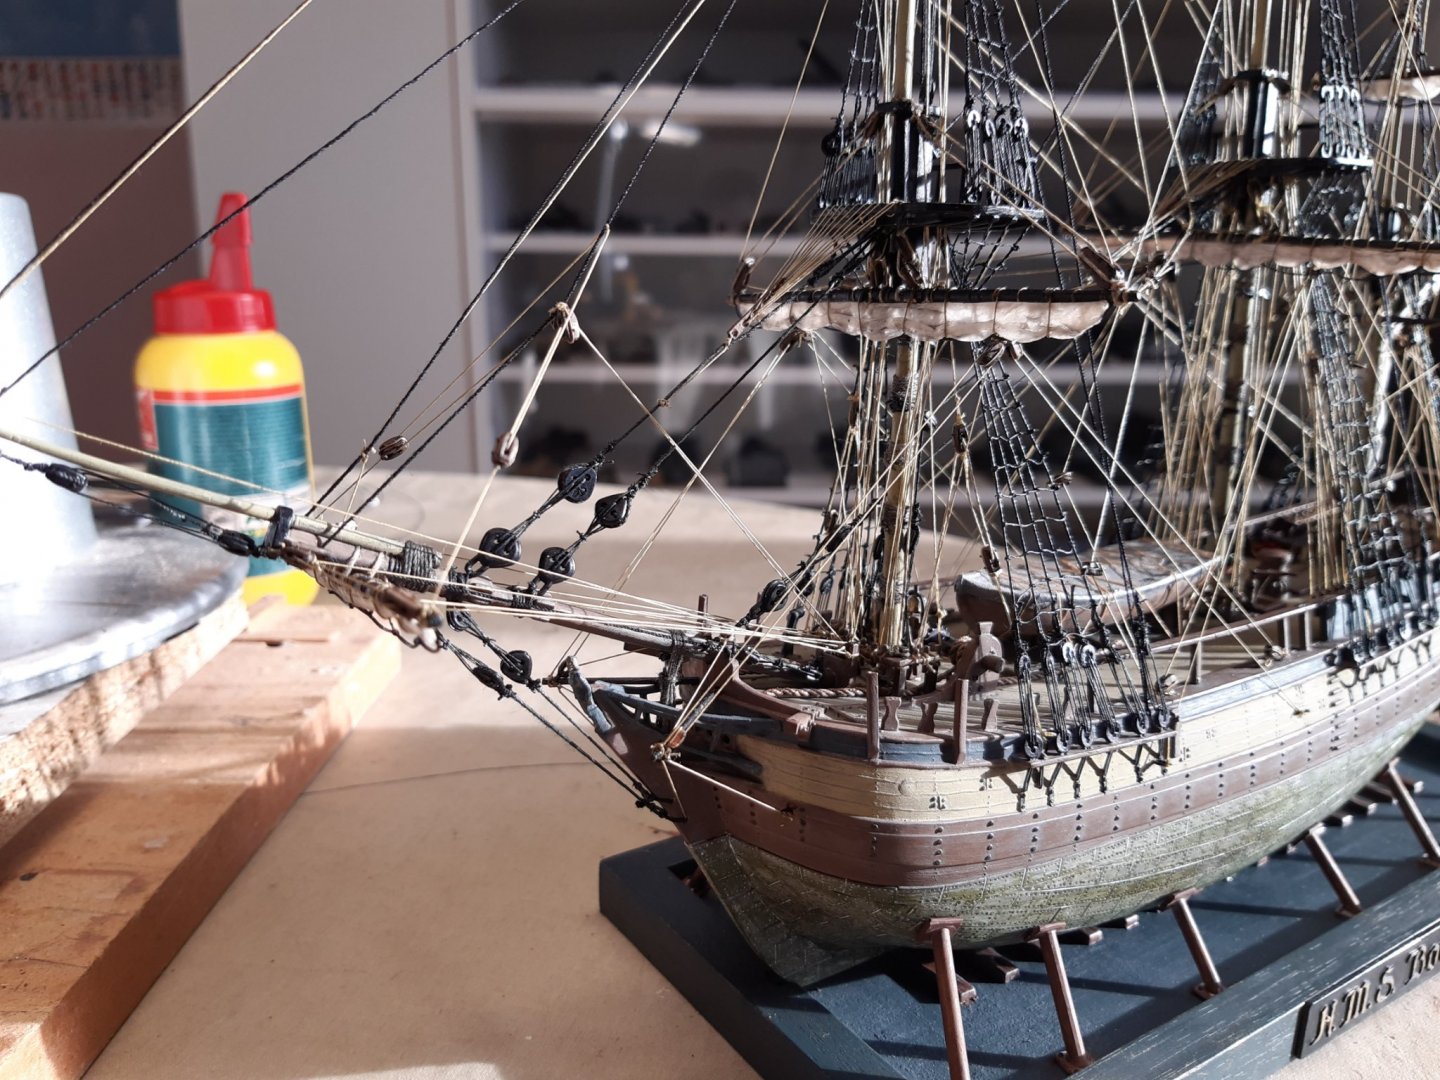
Did some extra detail (rope)on the belaying pins. These have become almost invisible, so they were made of a simple round plastic strip. New swivel guns have also been made, simple made cannons but better than the one in the kit. To have a tapered effect parts of stretched sprue are used. extra detail. Kit cannon versus home made version The swivel gun supports on the rear deck are made too high. The guns are so high in relation to a person that they are only suitable for use as AA guns... or to shoot at seagulls Delicate moments Cannons mounted and ready for action. Thanks for following, comments and likes


- 173 replies
-
- 10
-

-

-
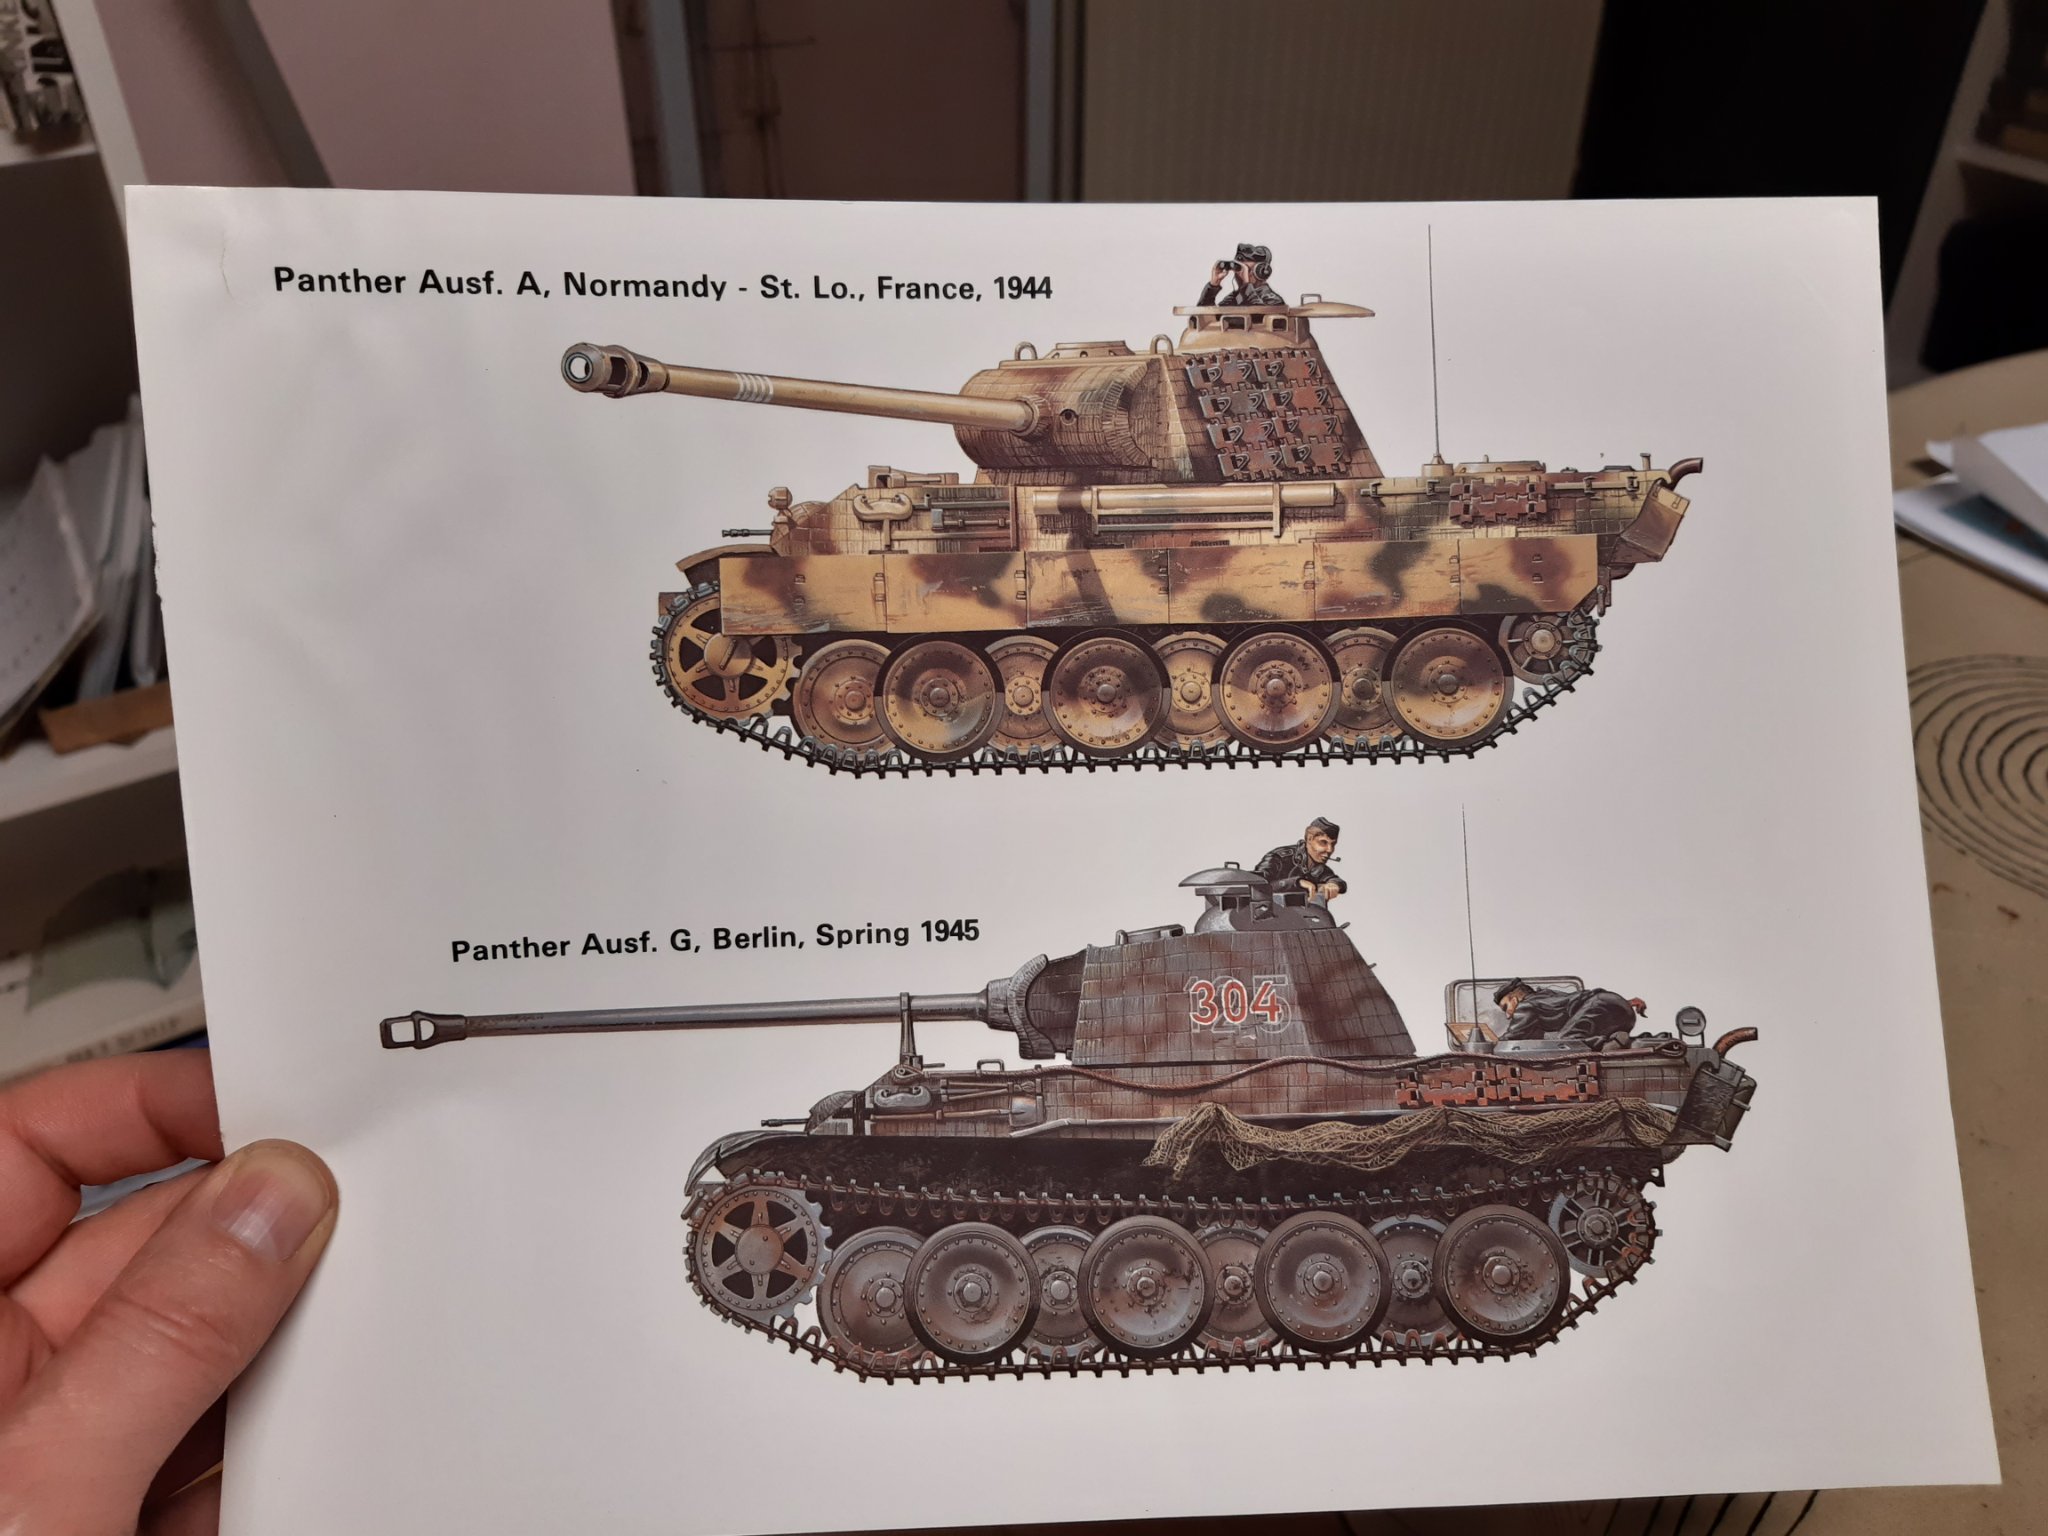
You are definitely building an A version. The hull of the G version was different and simplified to increase production. If you want to know the differences, no problem.
-
Good news. I knew I had a gray panther somewhere 👍 (this is a G version and not an A).

-
Good idea, I'm going to enjoy this too 👍 But, a Panther in Panzer Grey was a very rare thing on the European front (1944-45) (There may have been one in this color when all the sand yellow paint was used up )
-
Delahaye 135 by CDW - FINISHED - Heller - 1:24 - PLASTIC
Baker replied to CDW's topic in Non-ship/categorised builds
Another nice addition to the collection 👍. -
-
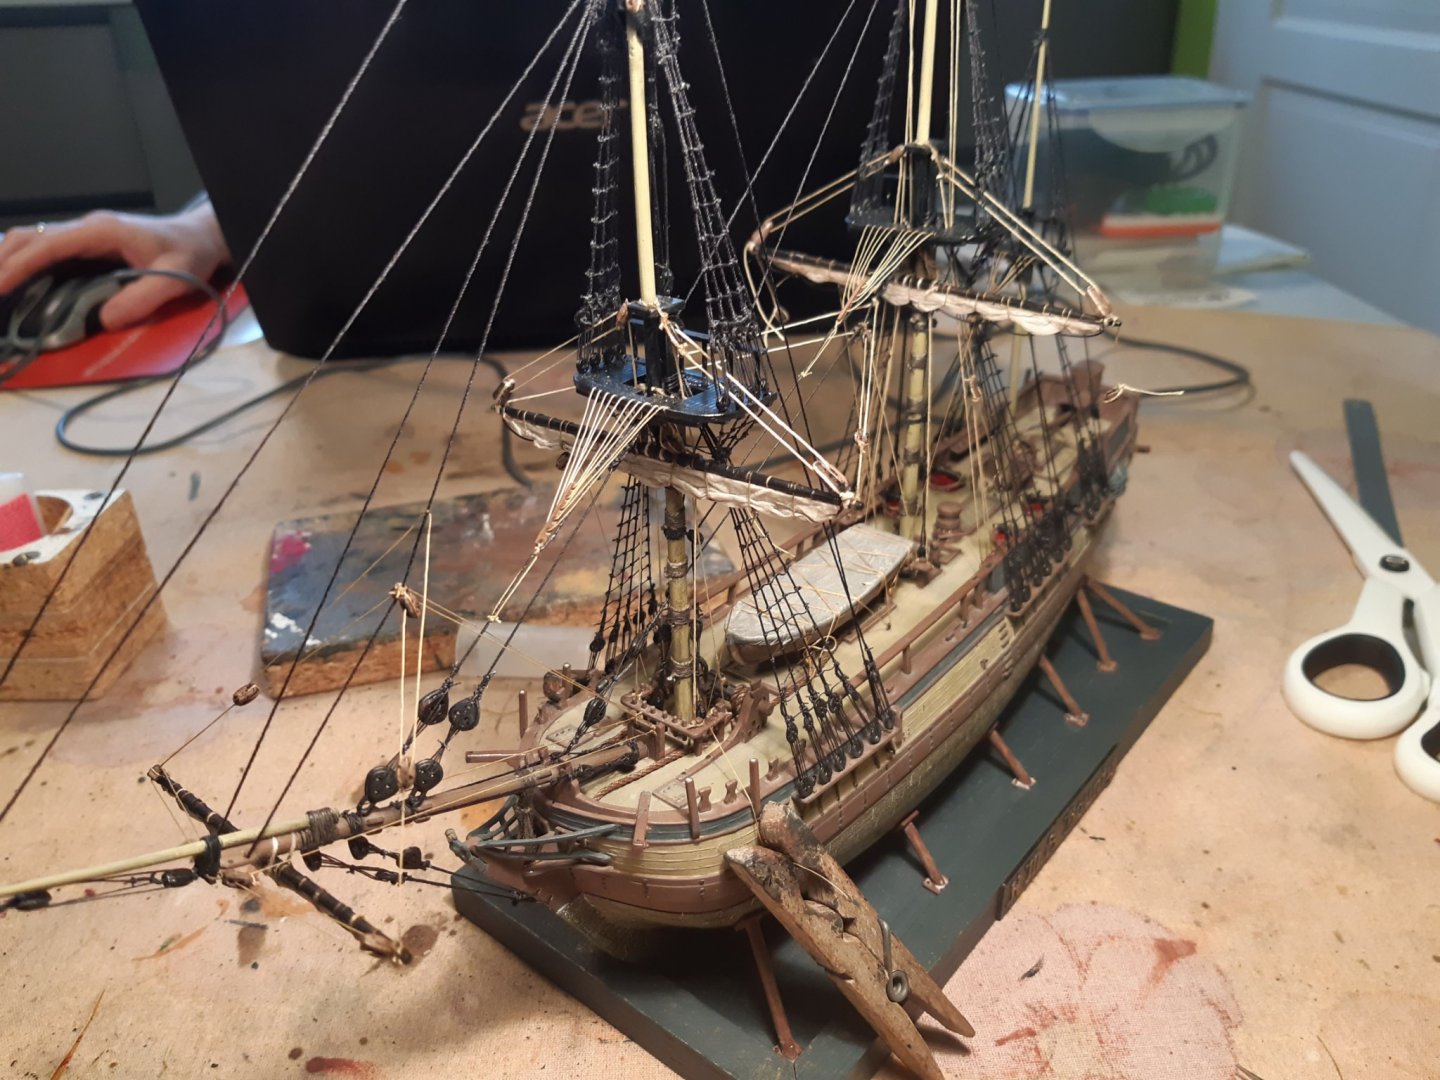
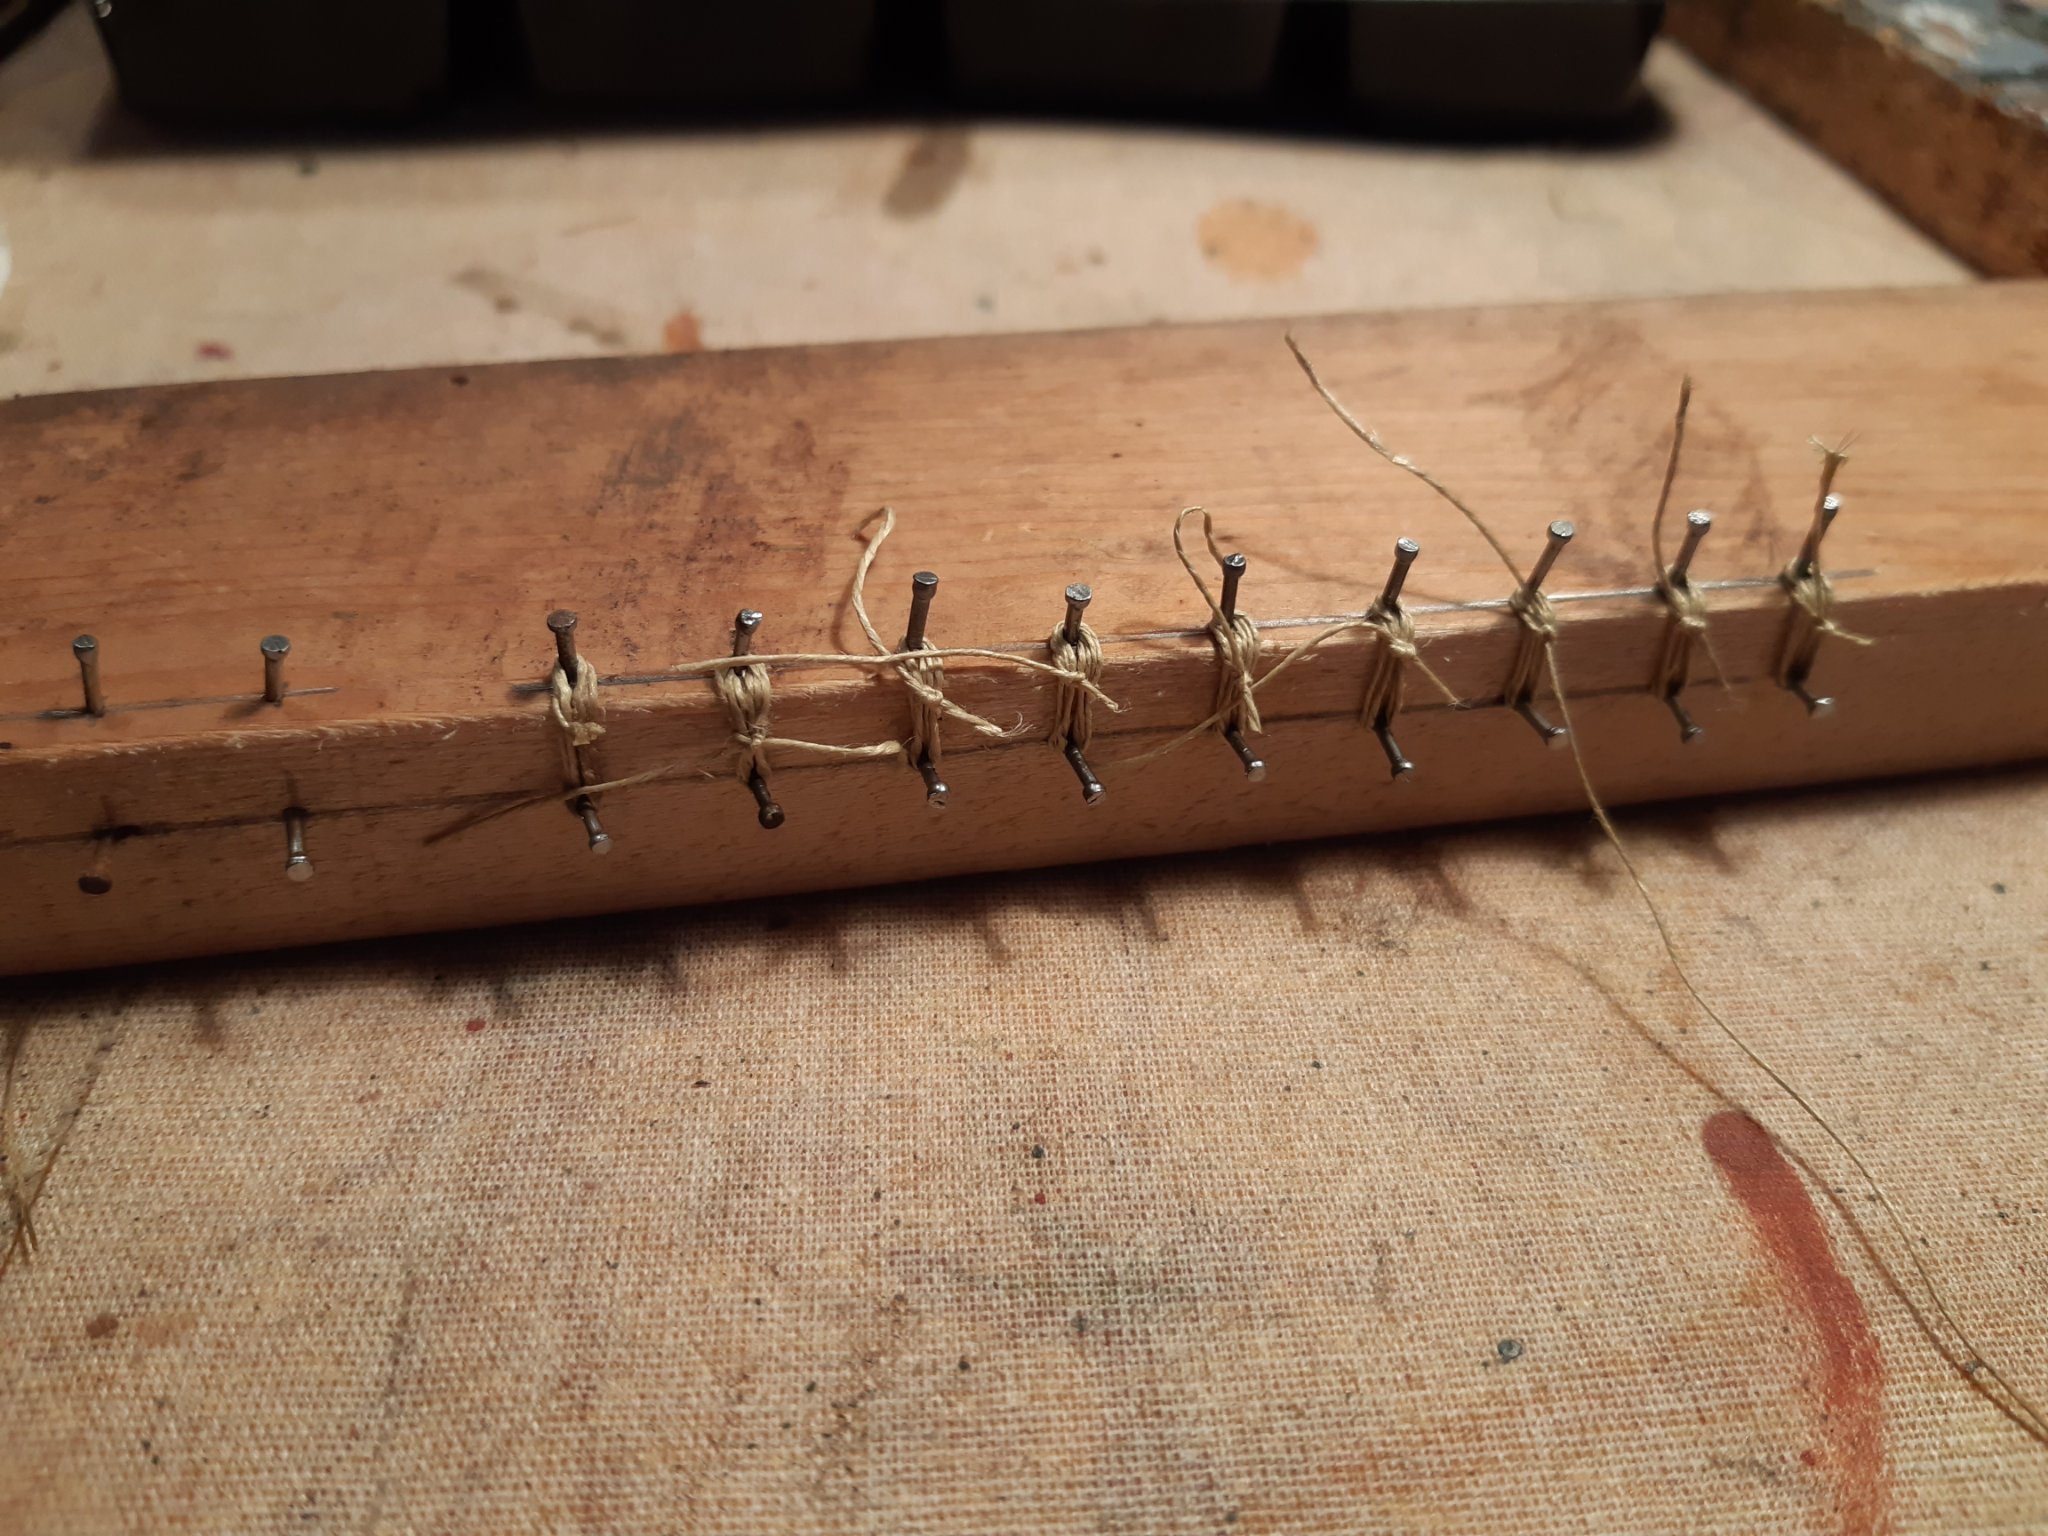
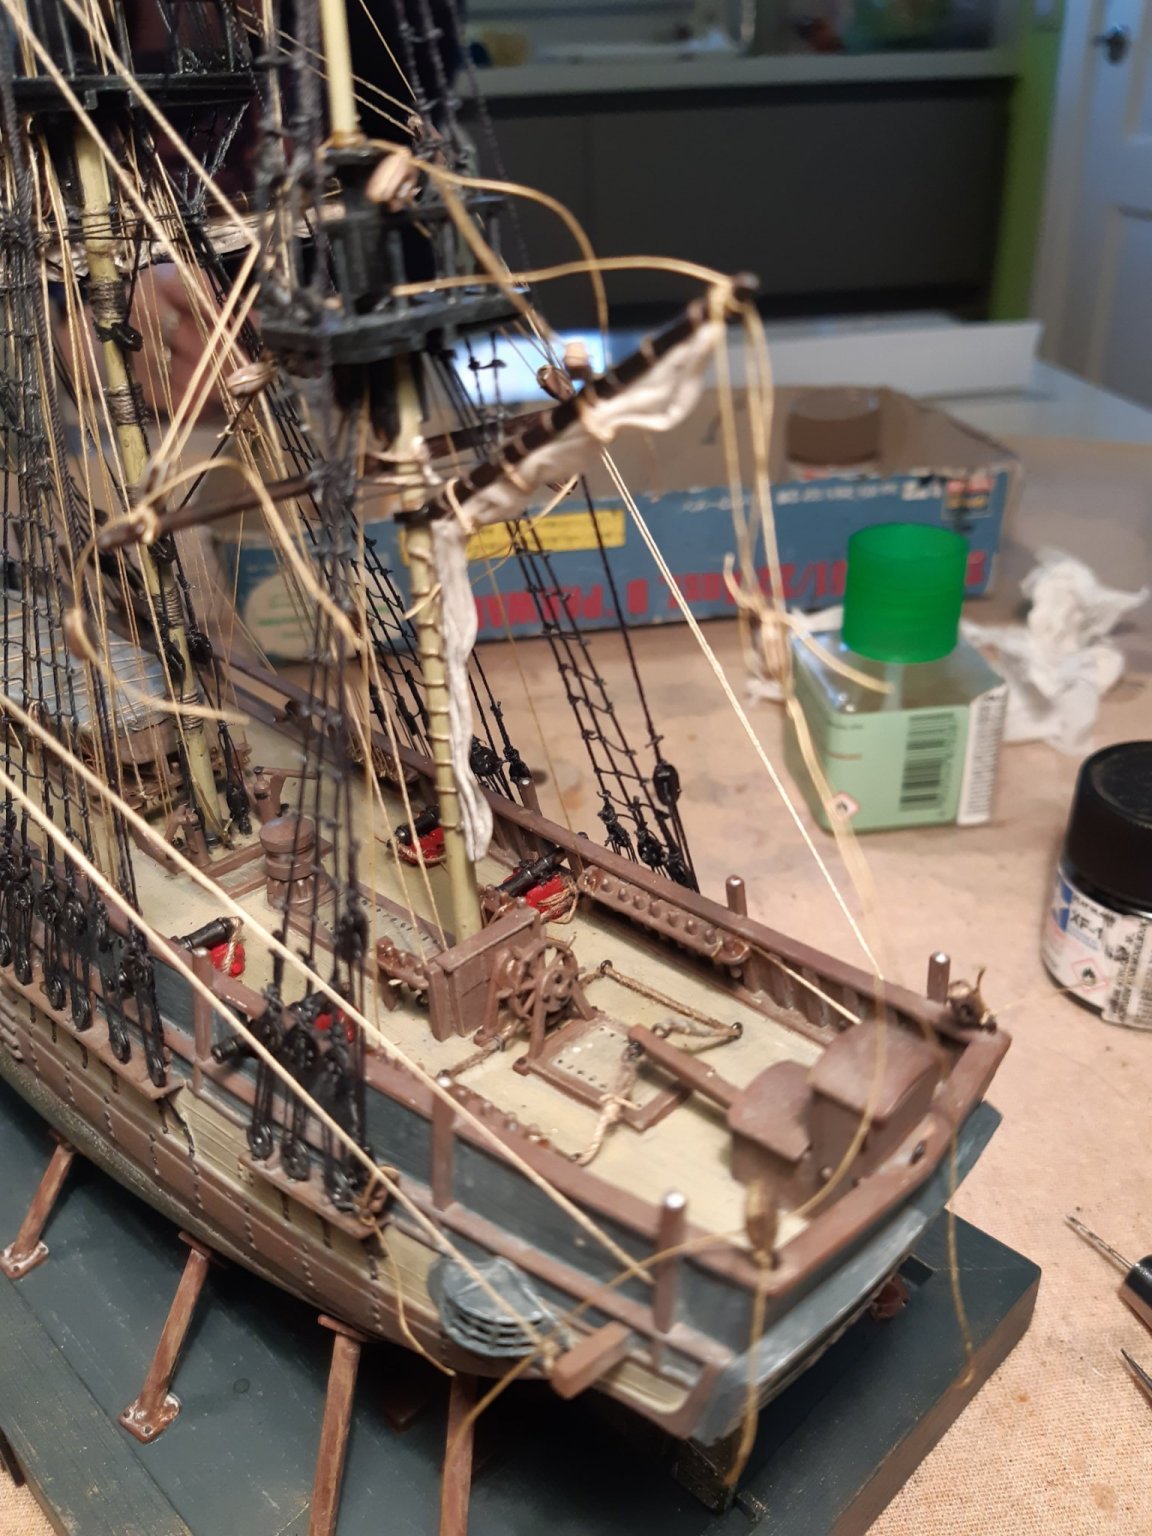
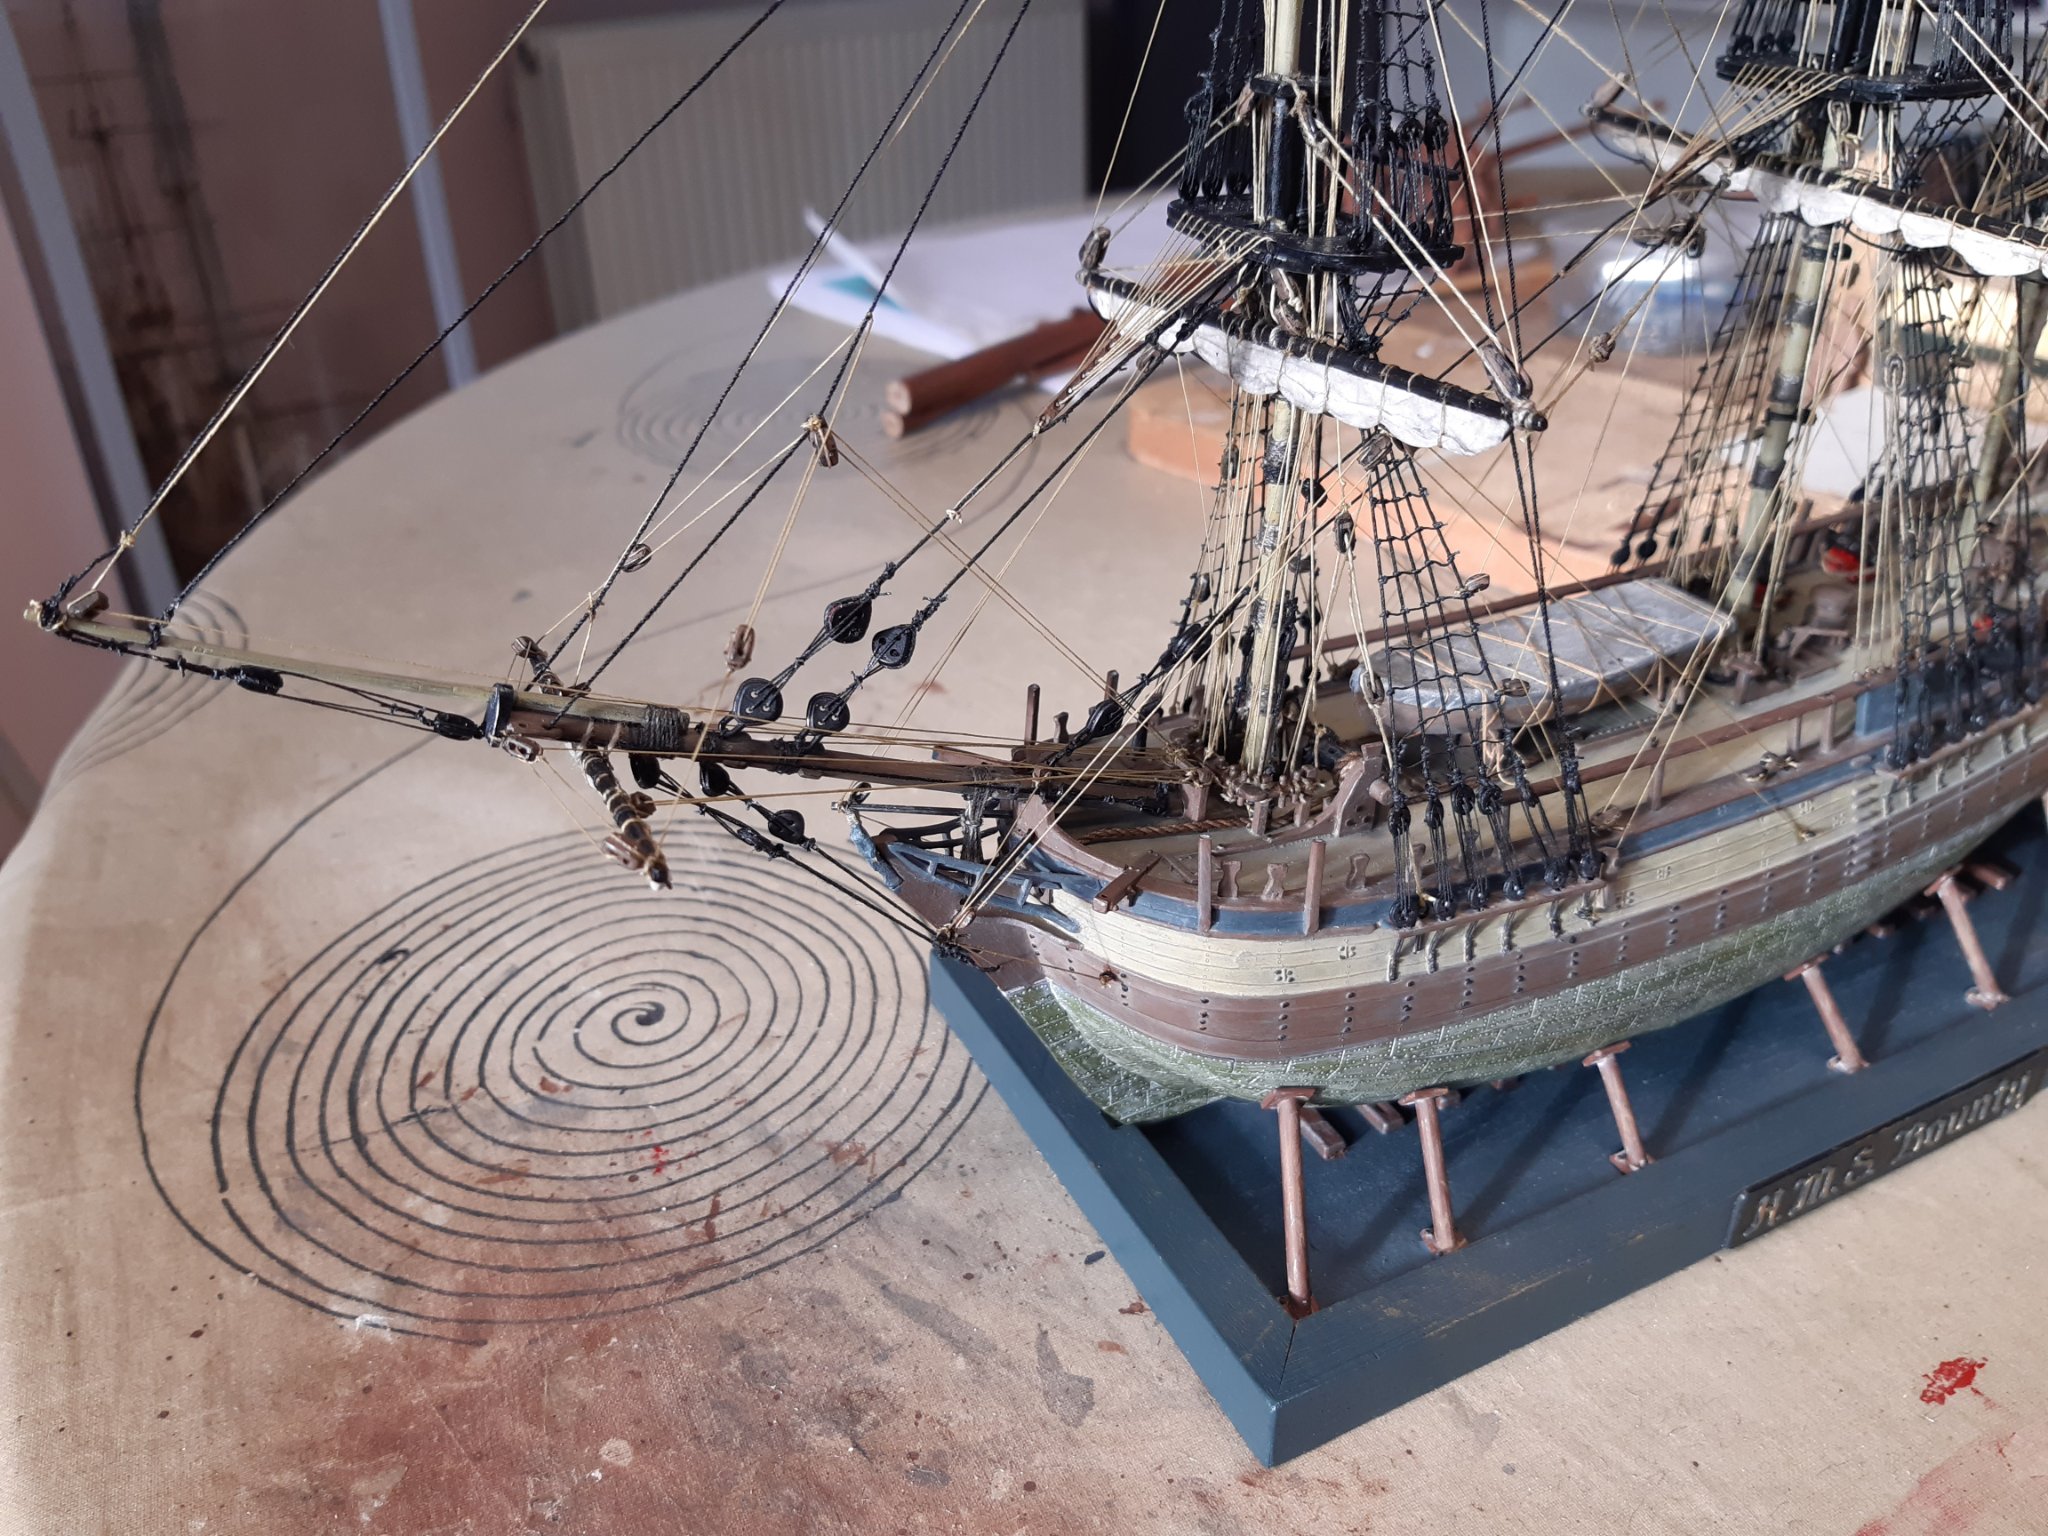
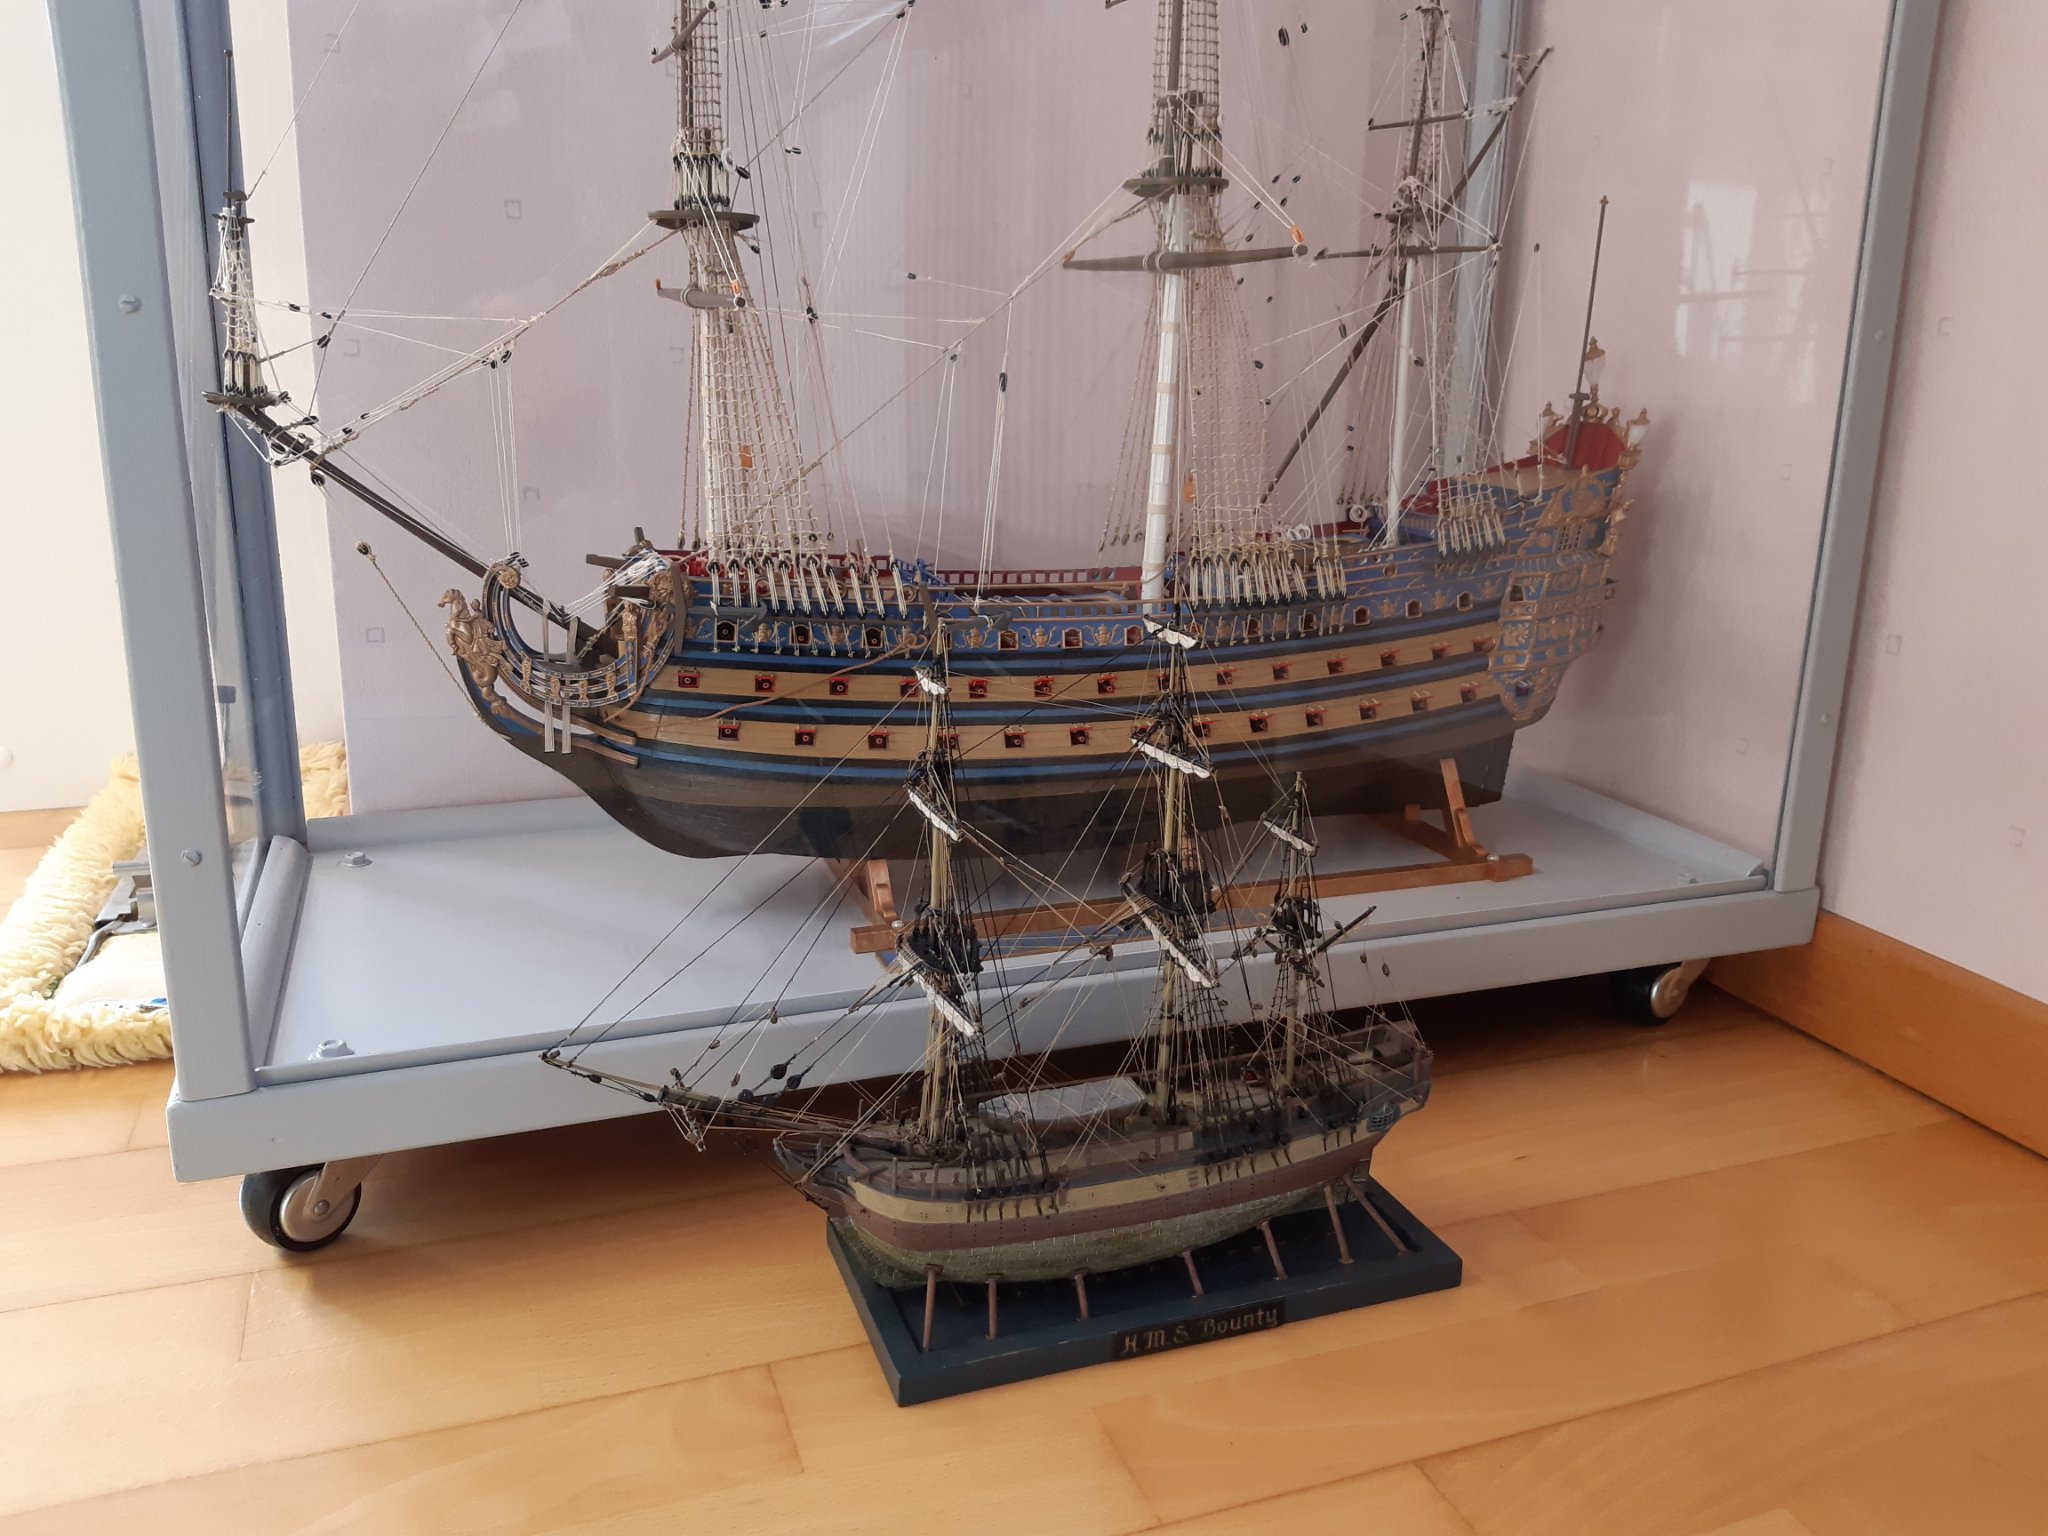
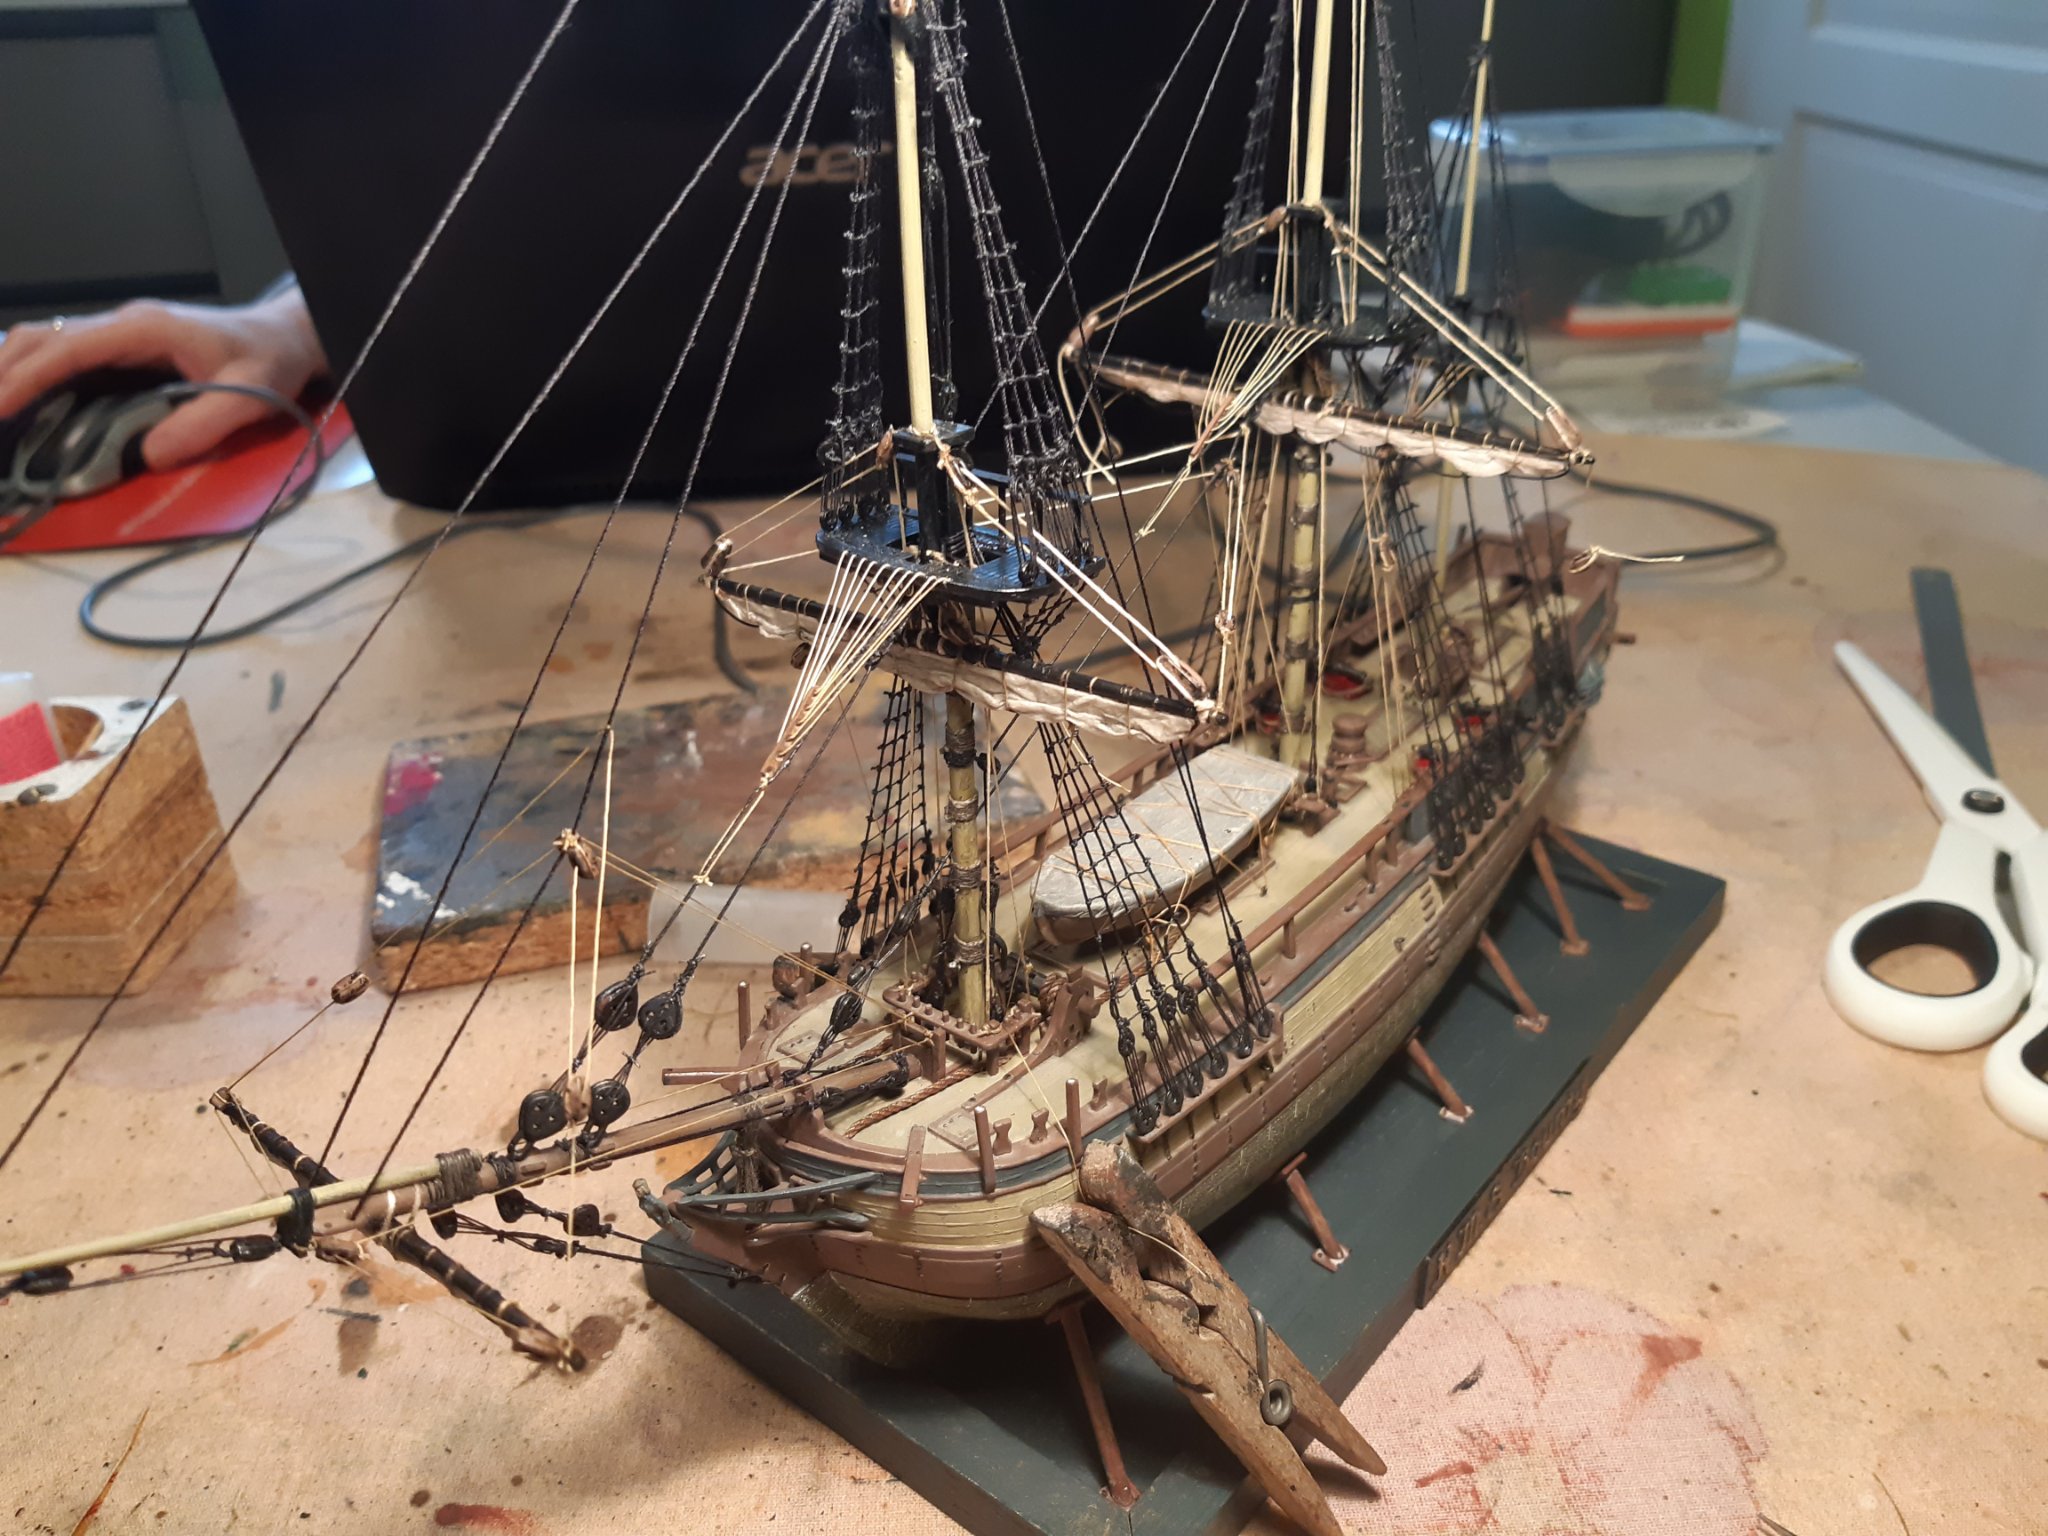
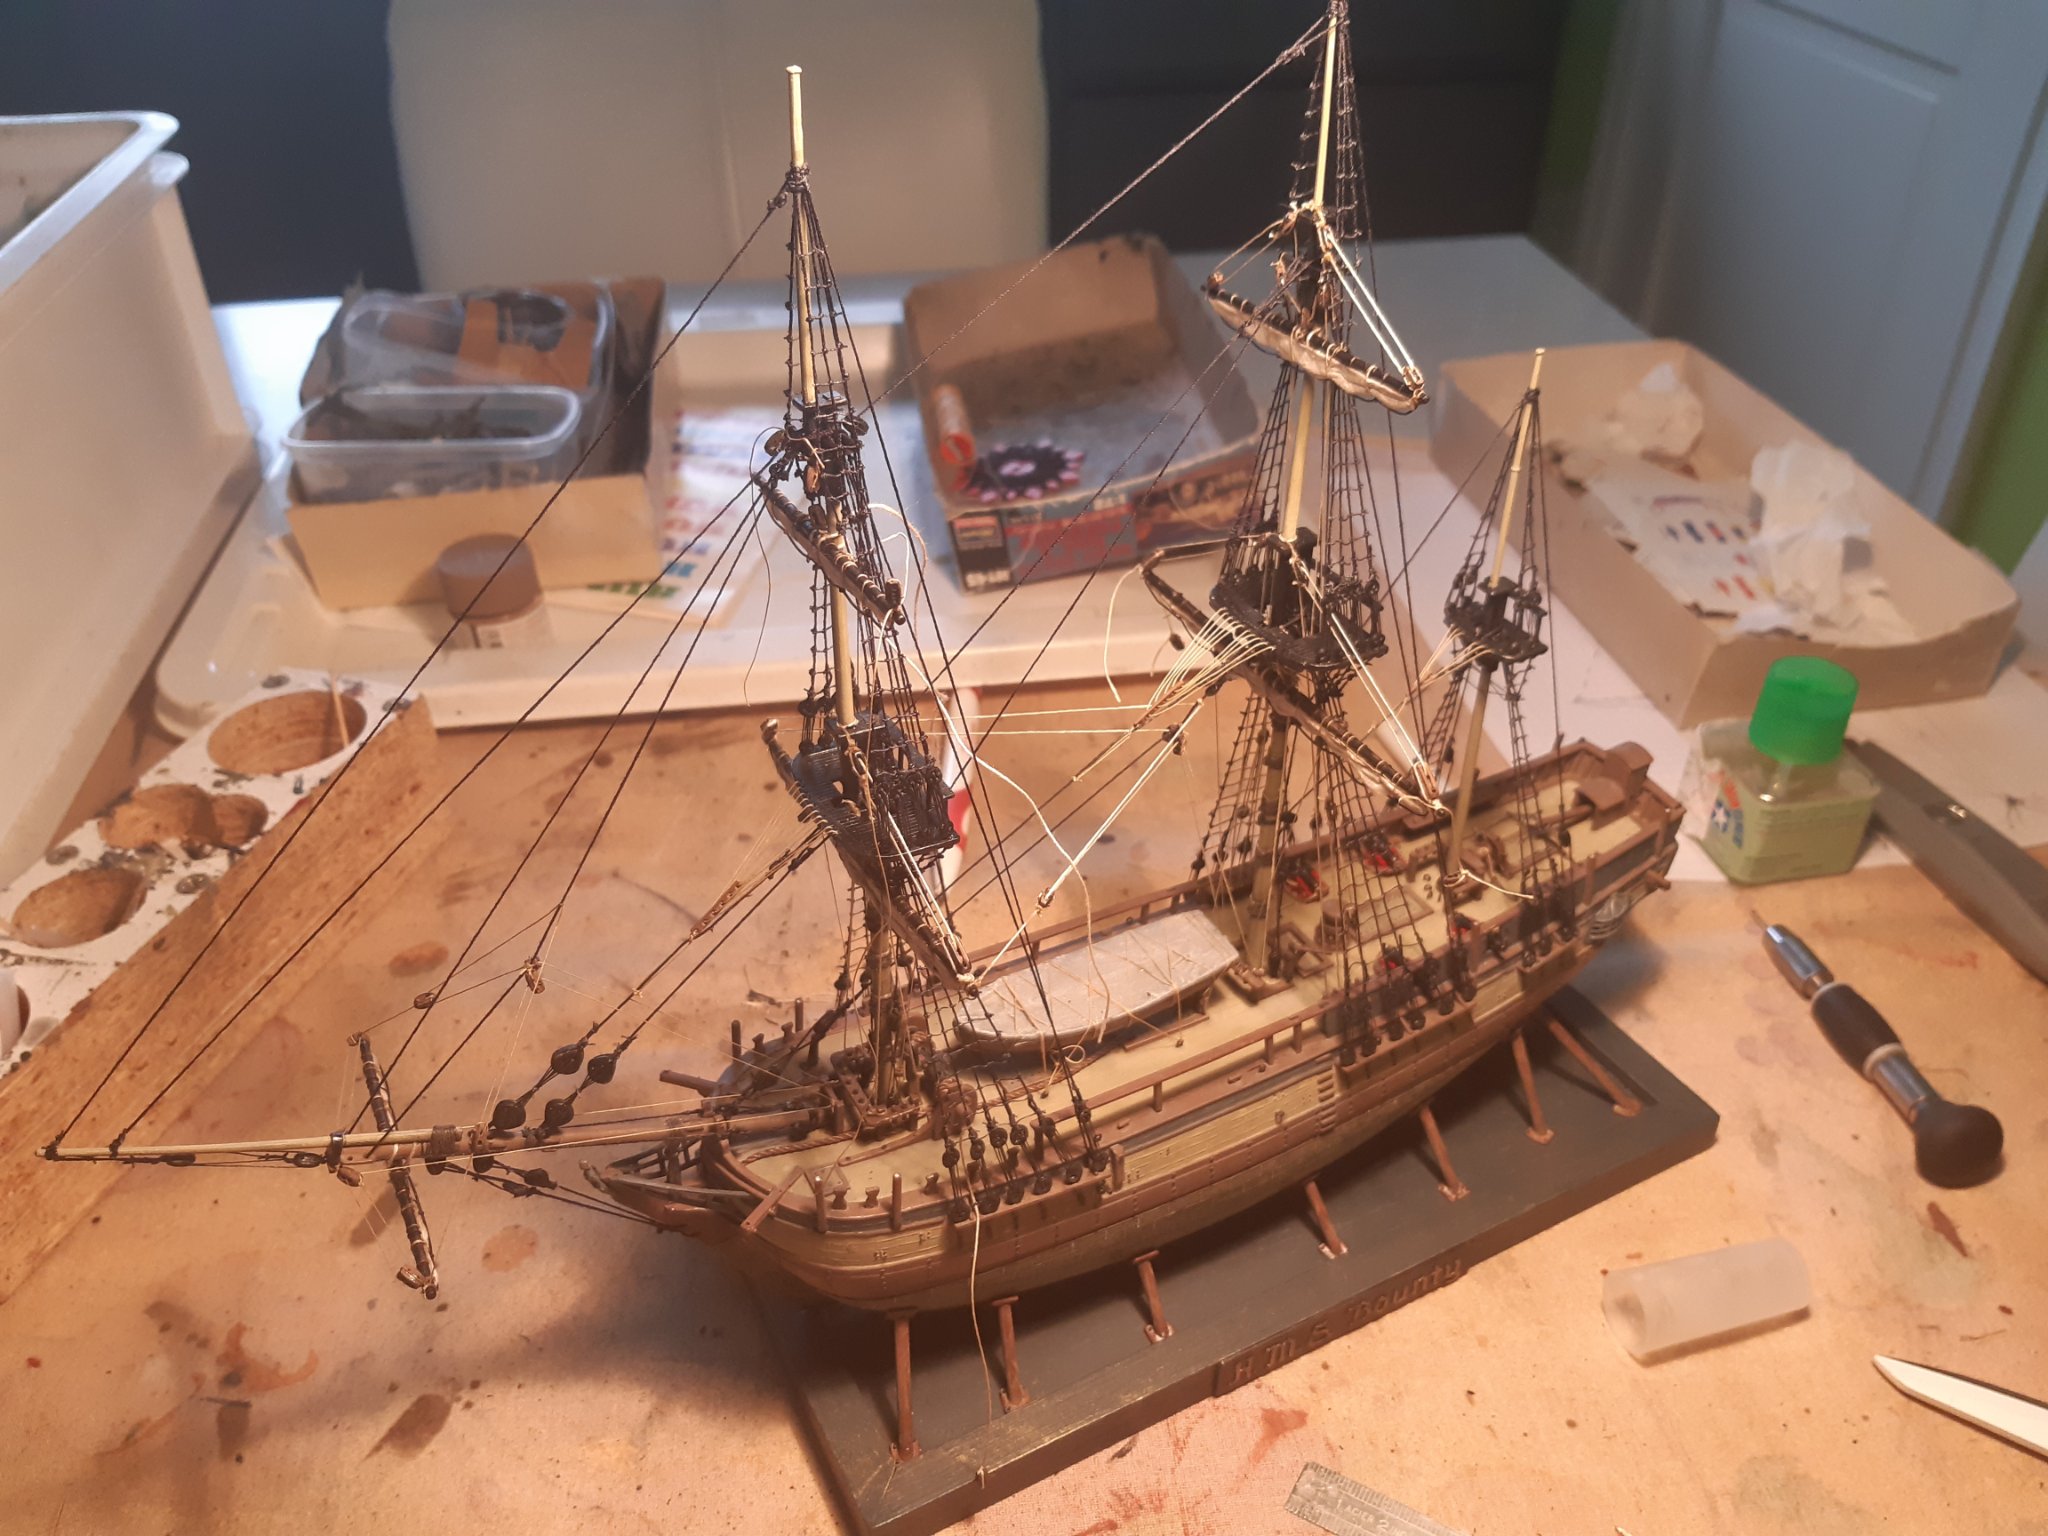
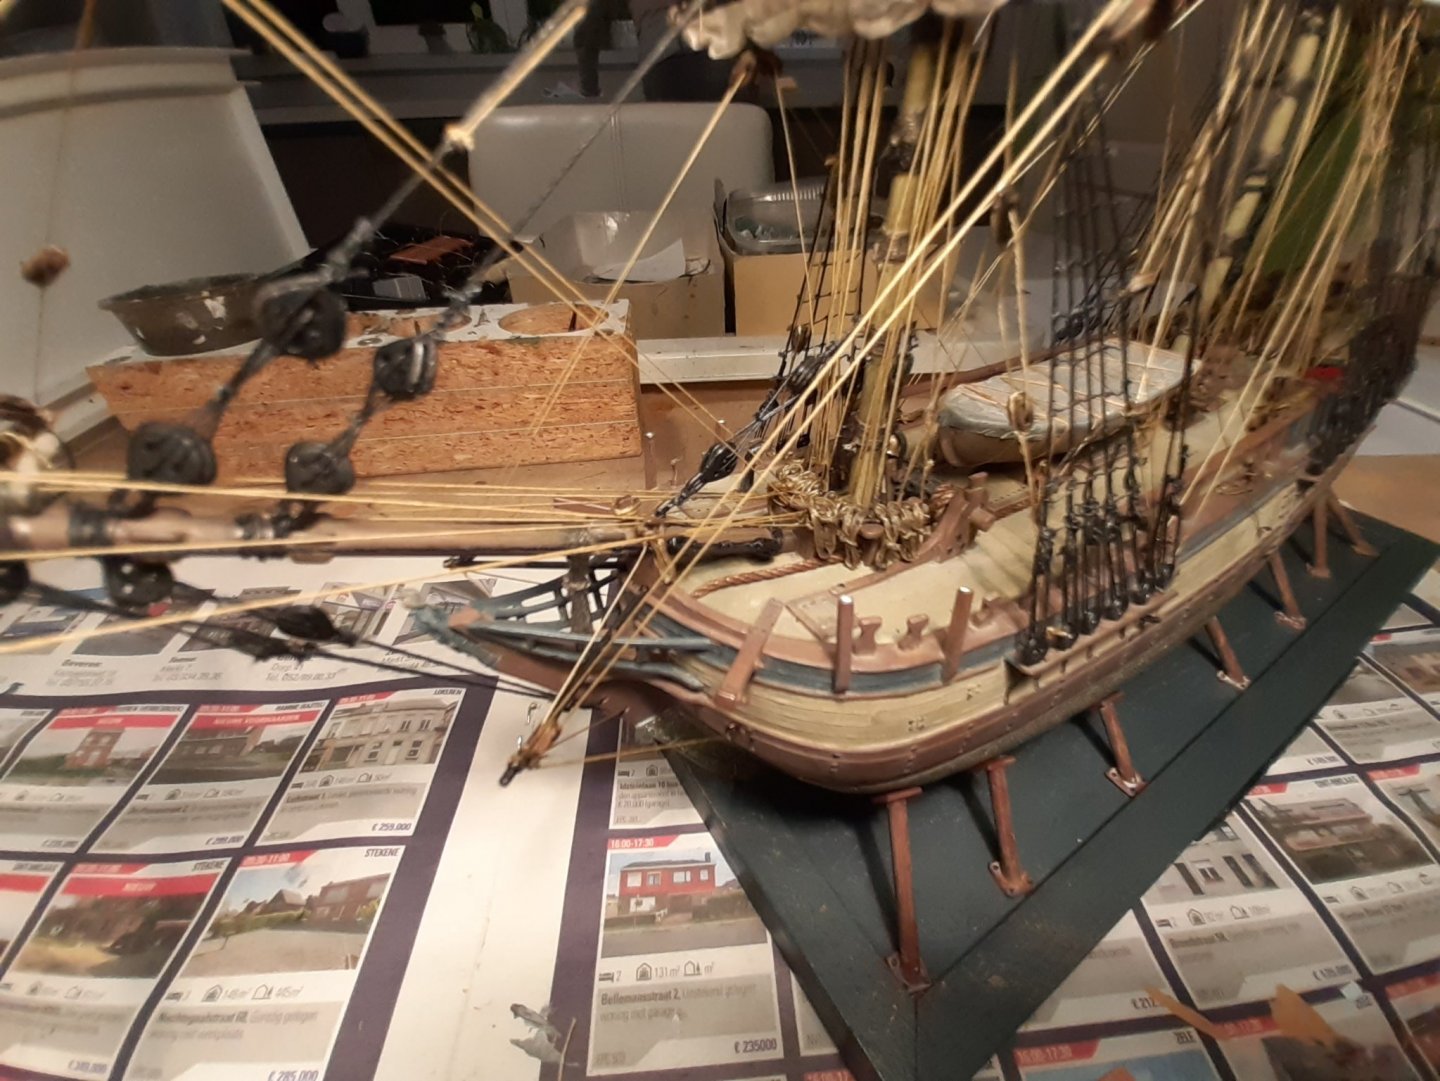
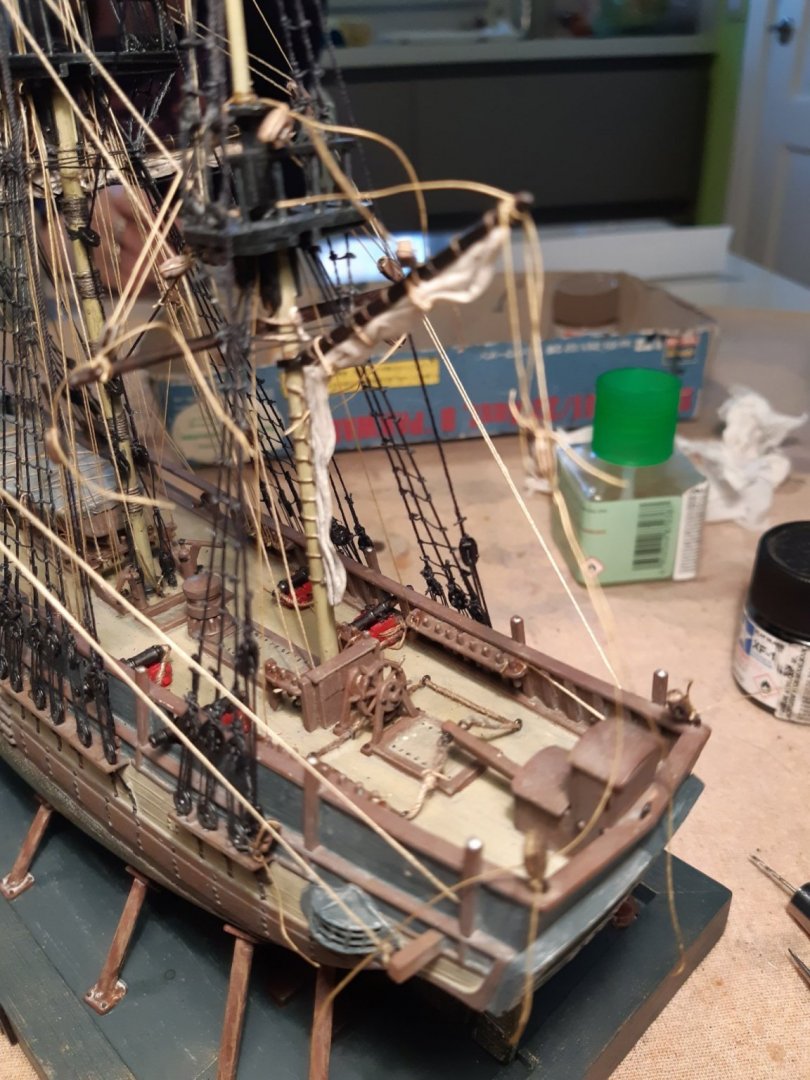
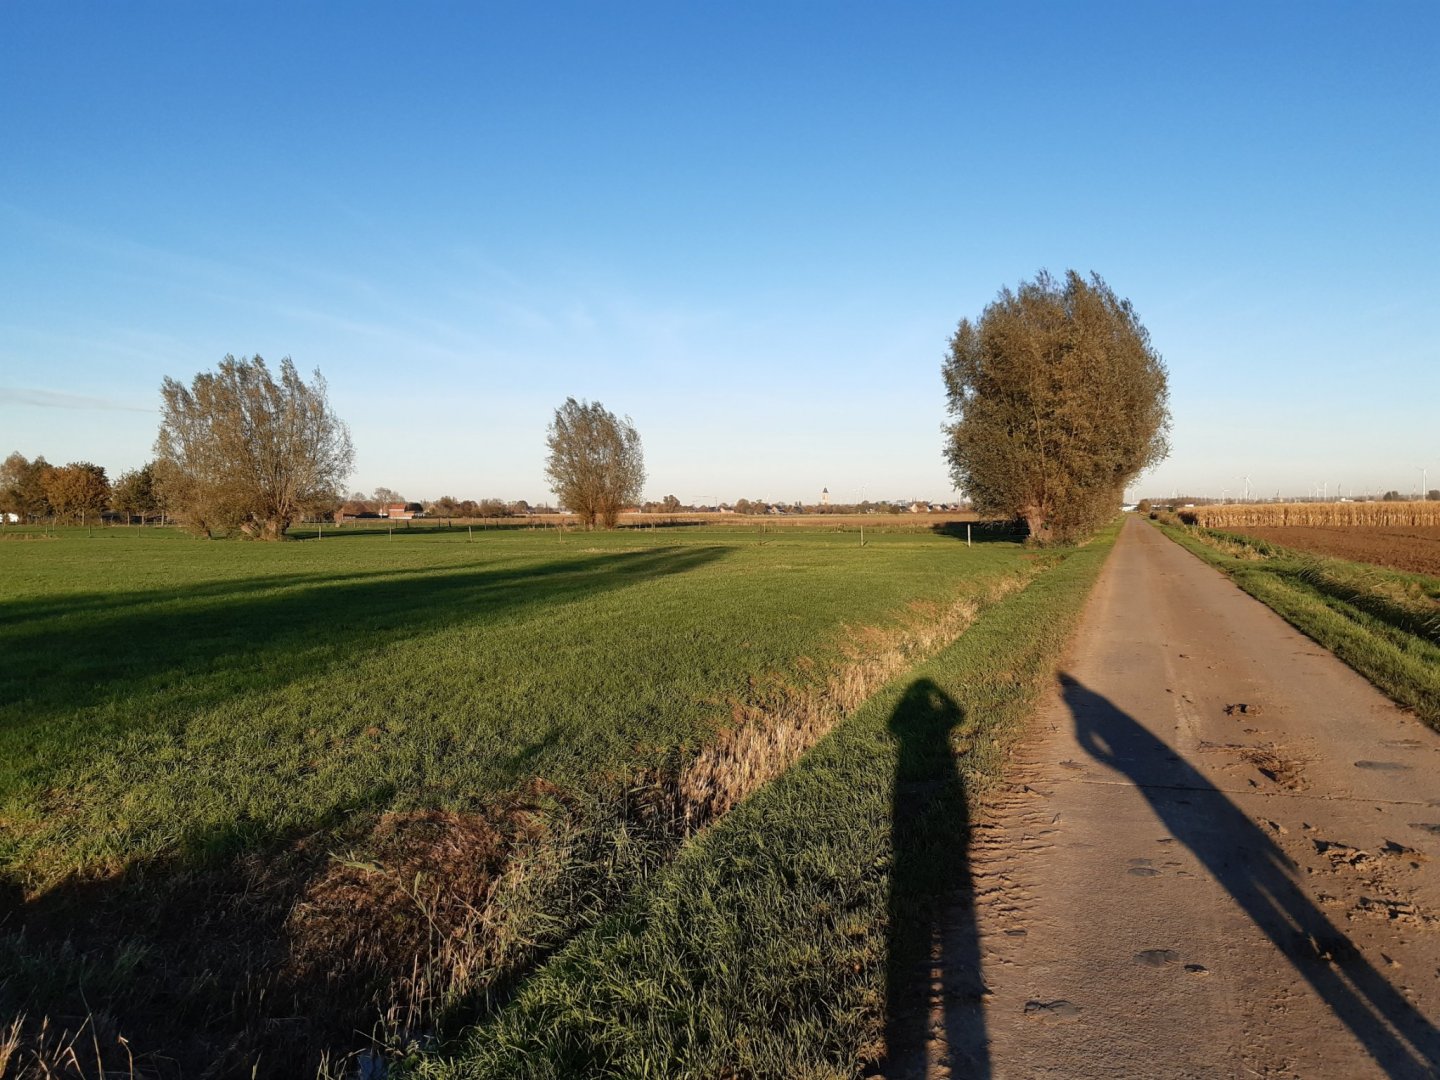
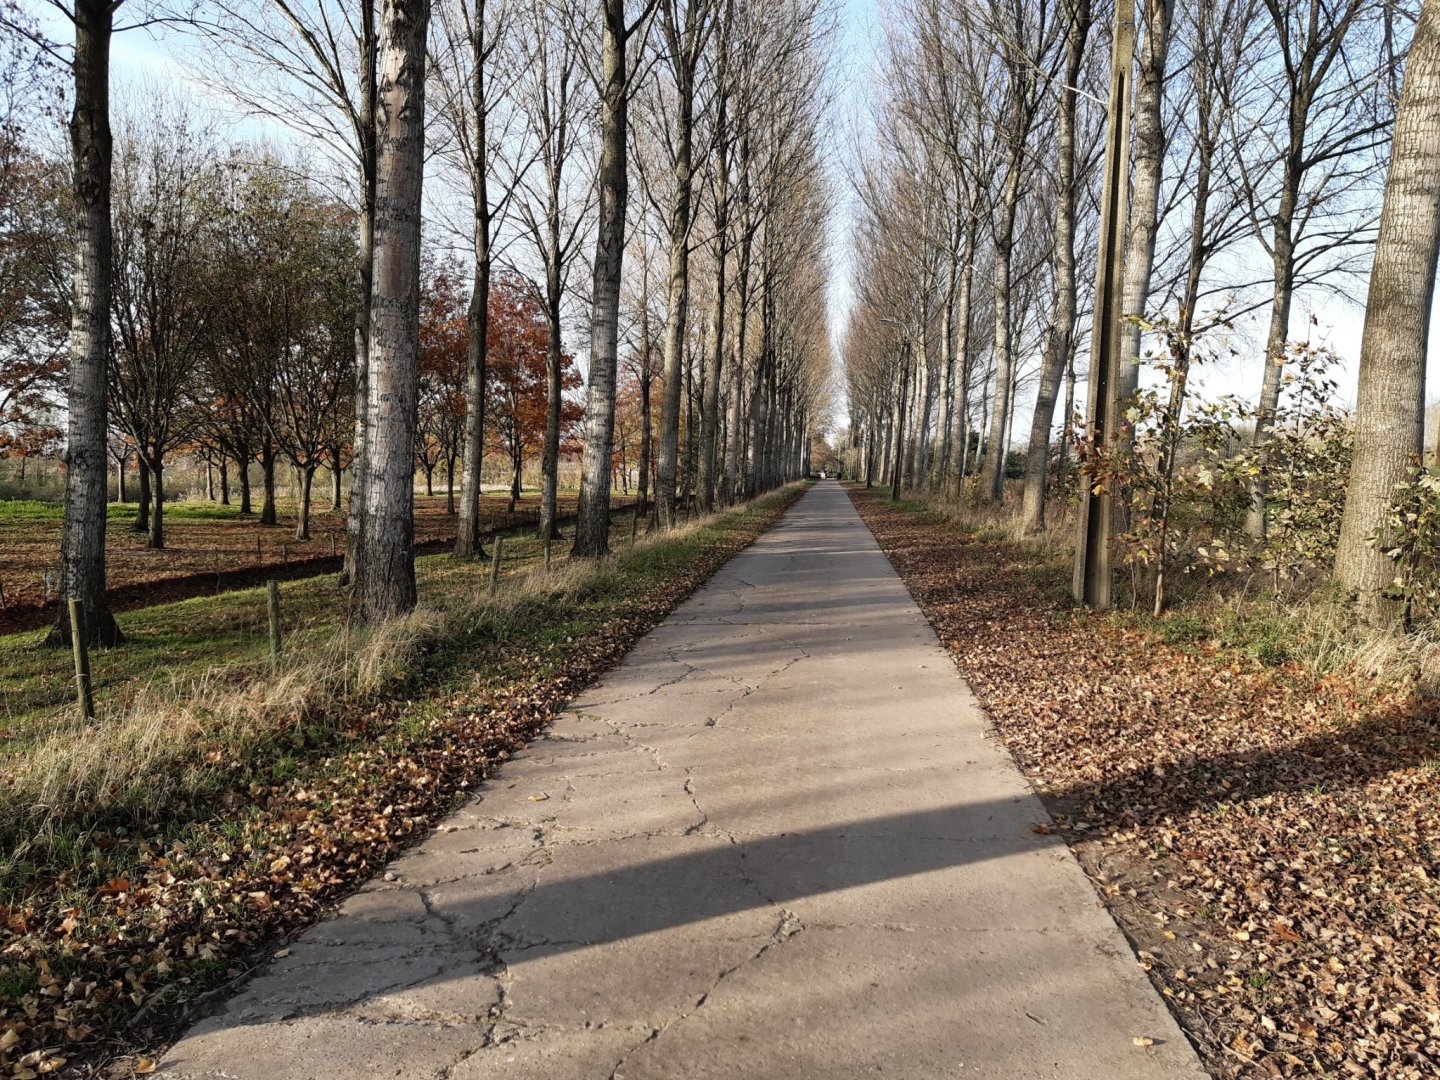
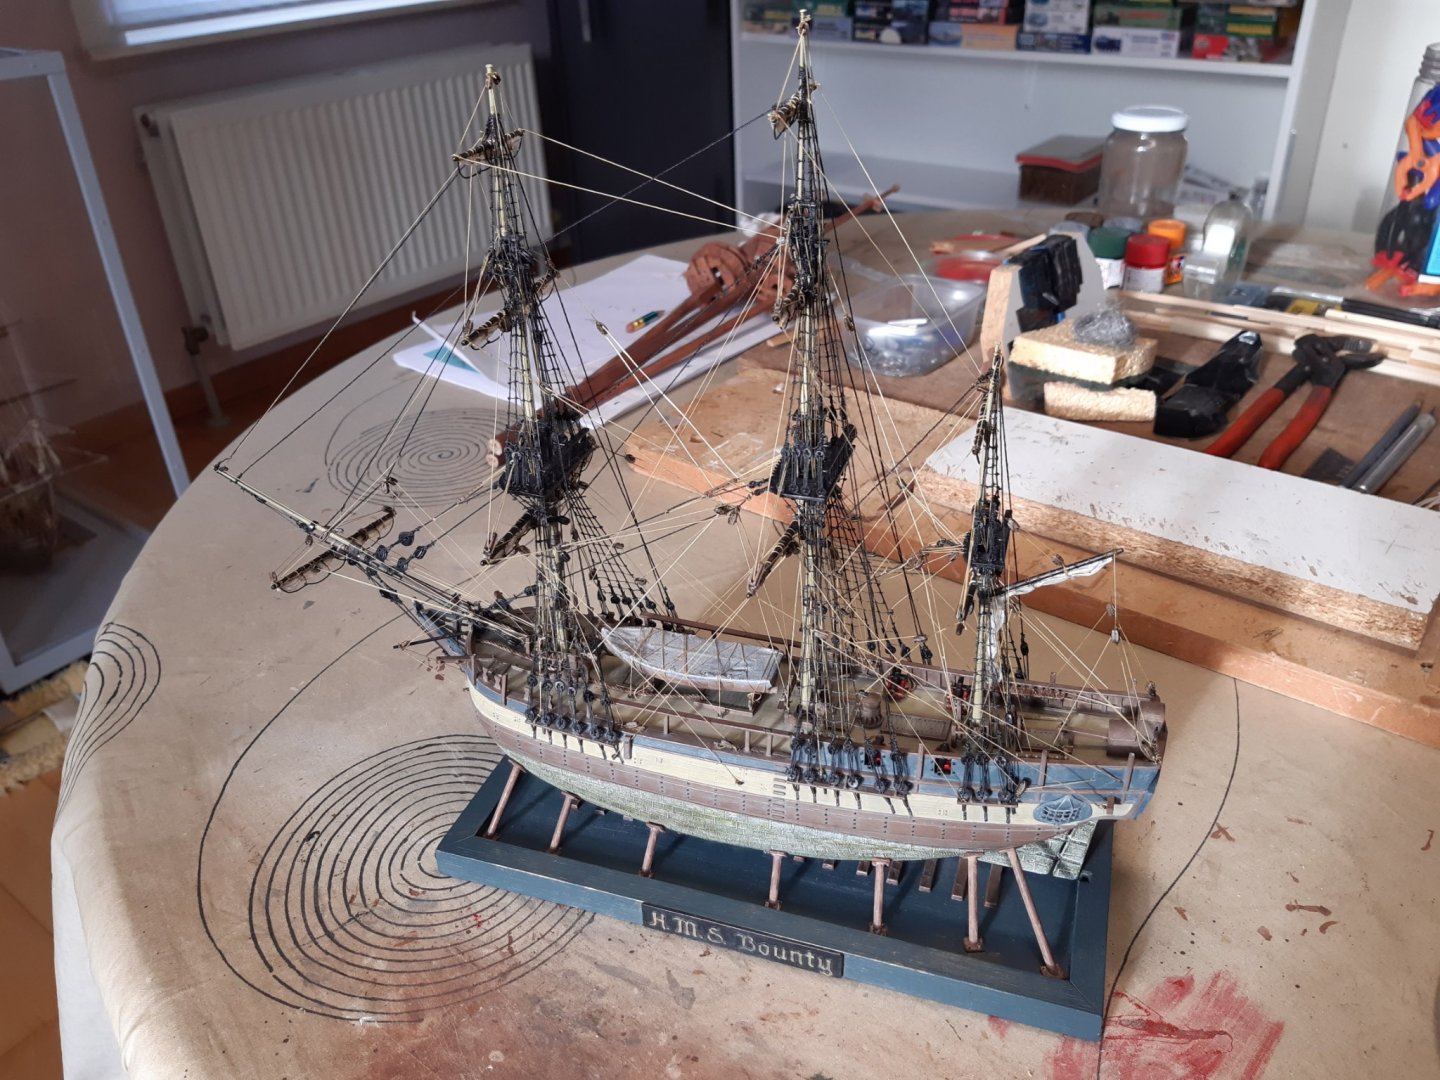
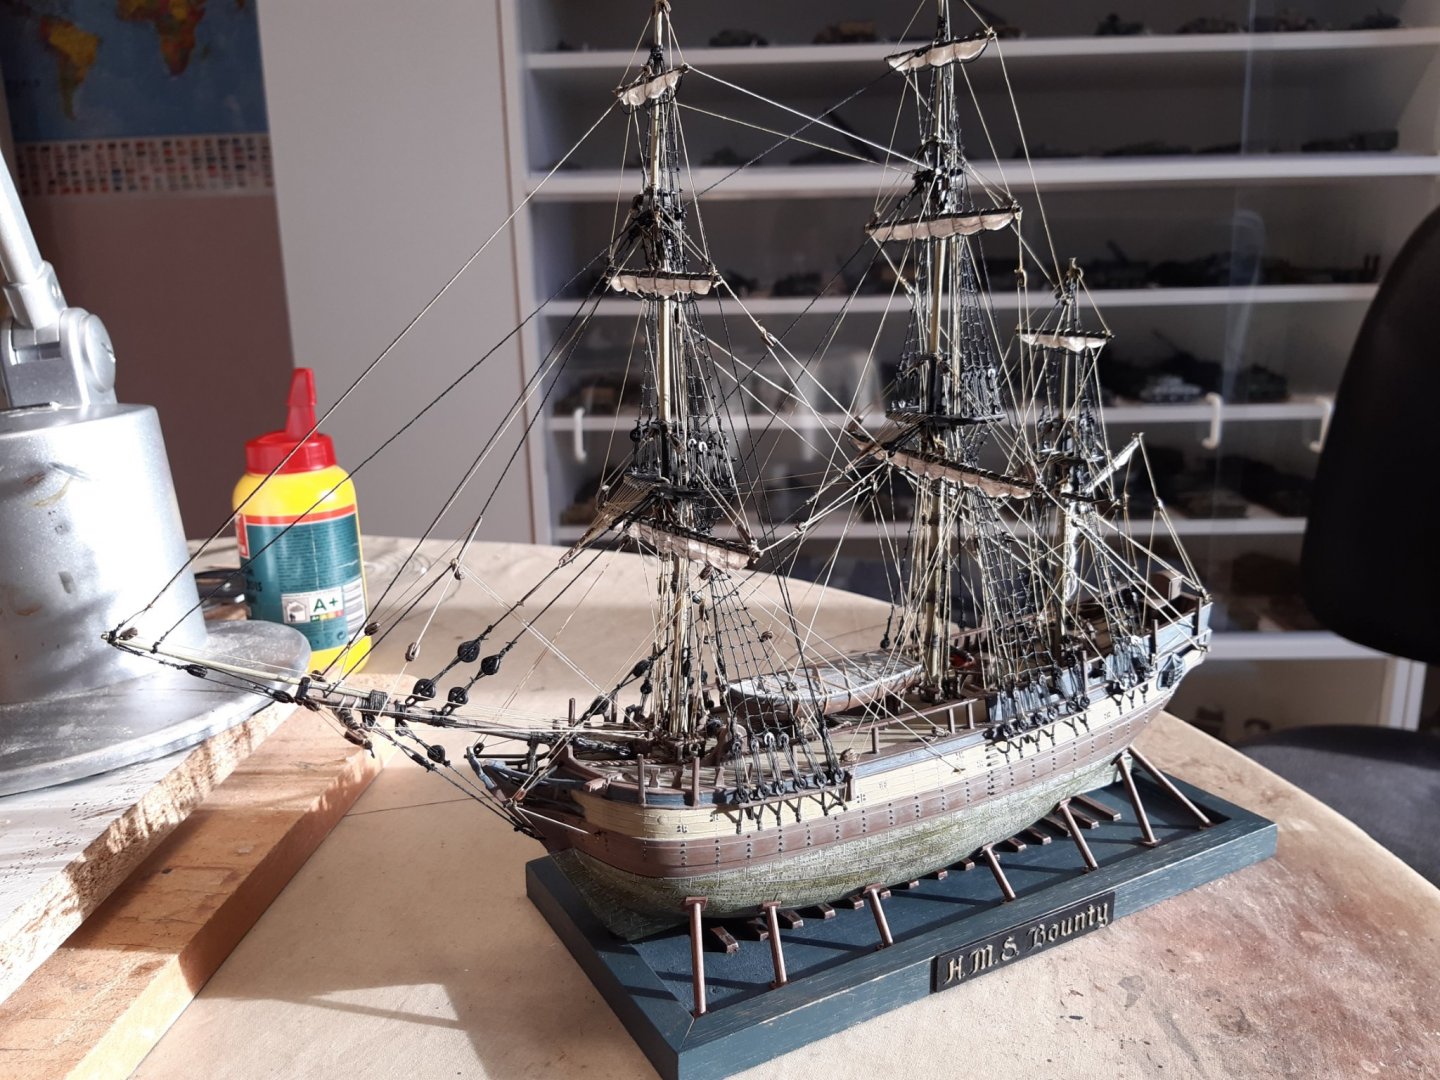
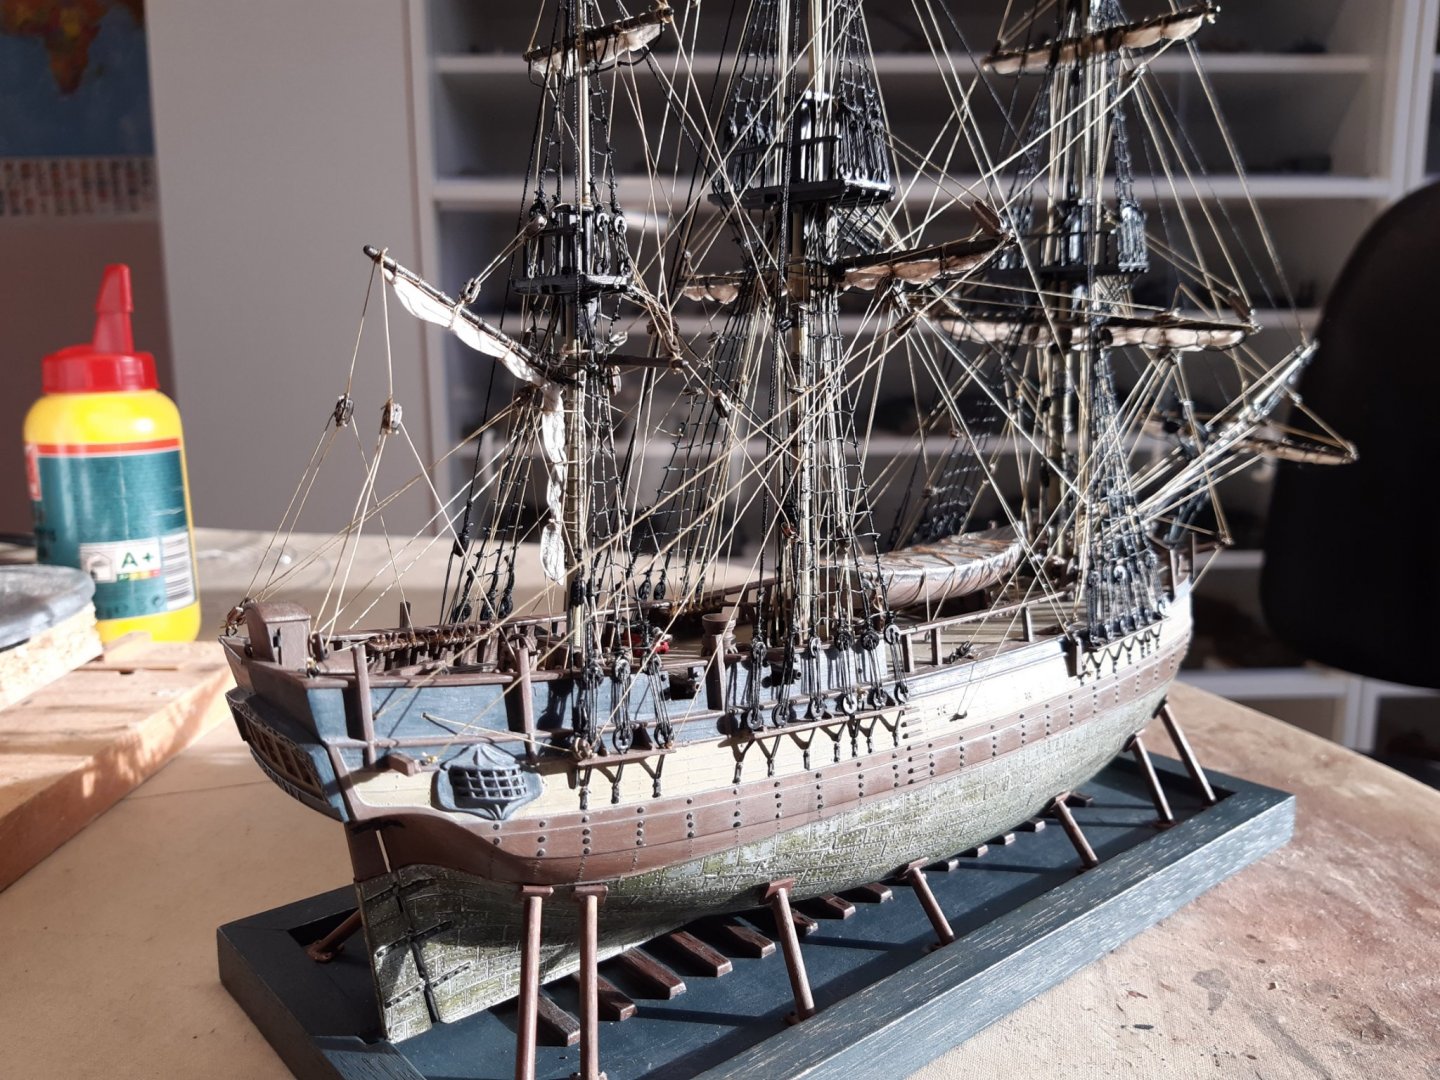
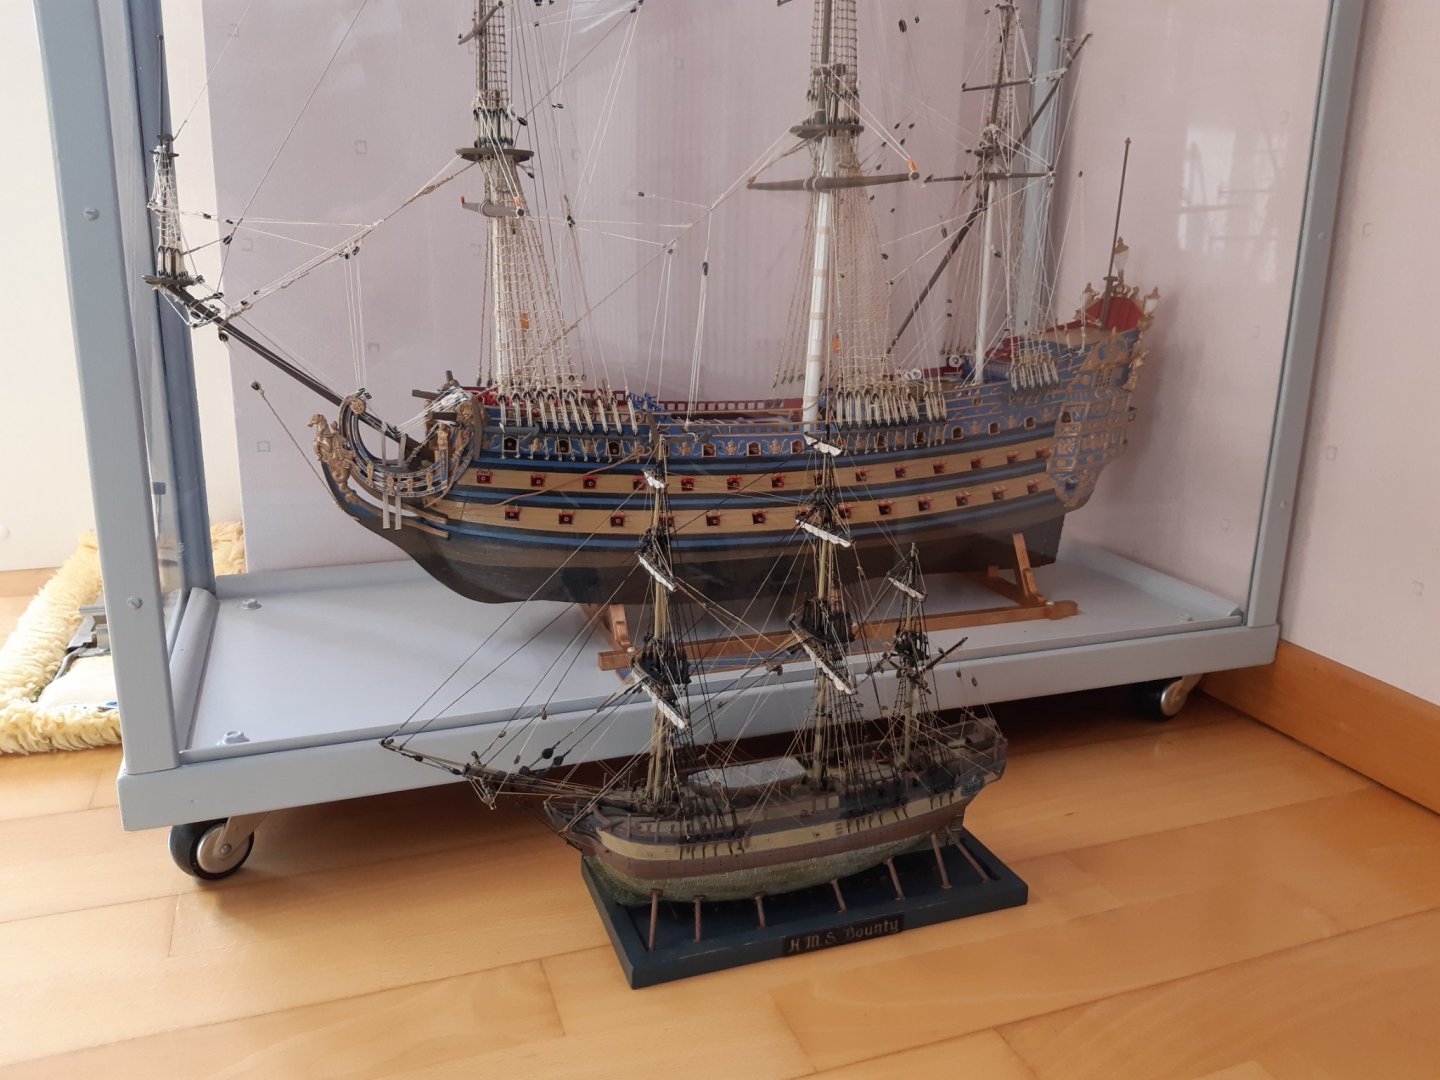
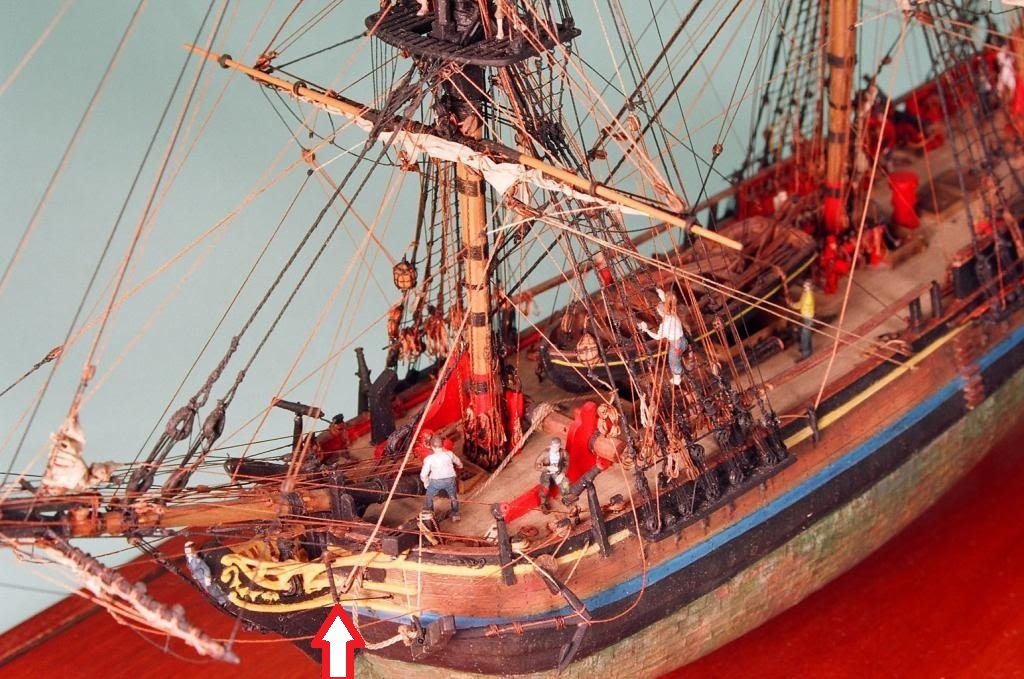
Well said. Thanks, Build update The mizzen sail is adjusted (thanks Roka) and all running rigging should be in place to operate yards and sails. Probably not every line is tied to the correct belaying pin but it is much better than the kit instructions. Next to do things : Make swivel guns, those of the kit are too thick, make the anchors, etc .. And apply extra ropework (picture) The Heller SR, roughly the same scale (built long ago) and the Bounty Corona update The healing is going well for me and my wife Still tired easily. Shipyard time is a little reduced because we take a short walk once or twice a day to get more oxygen into the lungs. The Flemish fields Recently I read a good description of what the lungs feel like when you breathe with corona. "It's like an elephant is sitting on your chest and you can barely breathe". (Believe me it feels like that sometimes) Thanks for following,comments and likes


-
Panzer II by jct - Tamiya - 1/35 - PLASTIC
Baker replied to jct's topic in Completed non-ship models
Nice model -
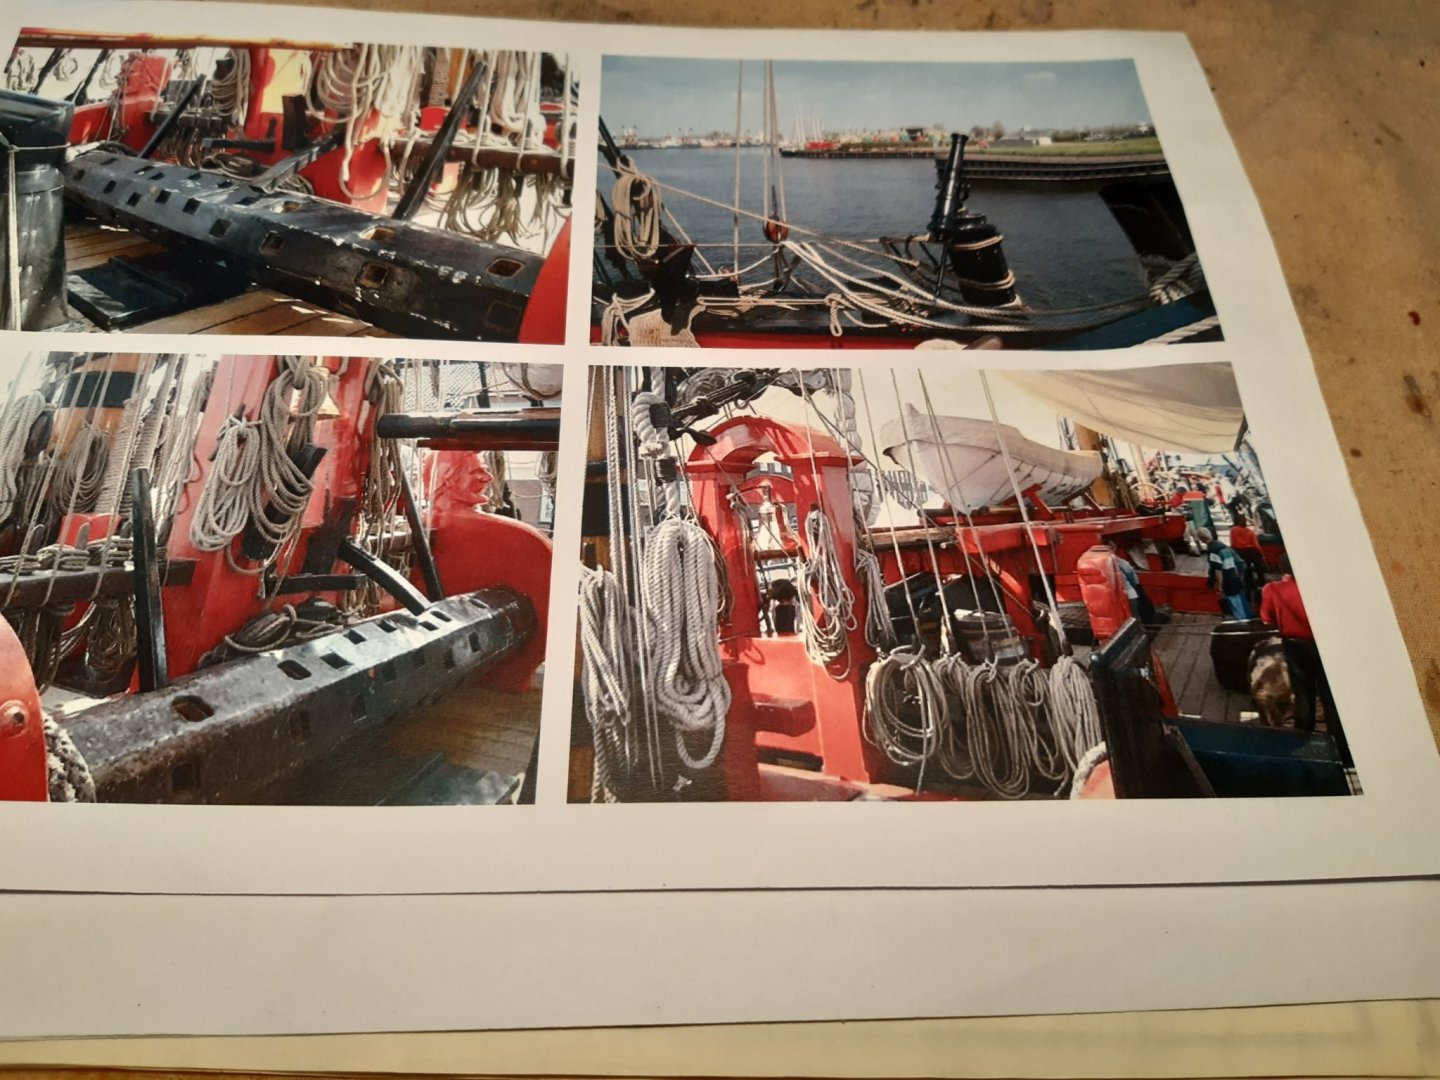
Where can you find the right information (my idea) Books: I never trust them blindly Replicas: are usually "full of errors" Internet: anyone can post anything here The remains of the one and only original example of the Bounty is located somewhere near an island far away from here. Considering no one bothered to take detailed photos then. We do not have a "walk around" book available. This build is relaxation for me, if a certain color is not right or a rope is knotted incorrectly so be it.
-
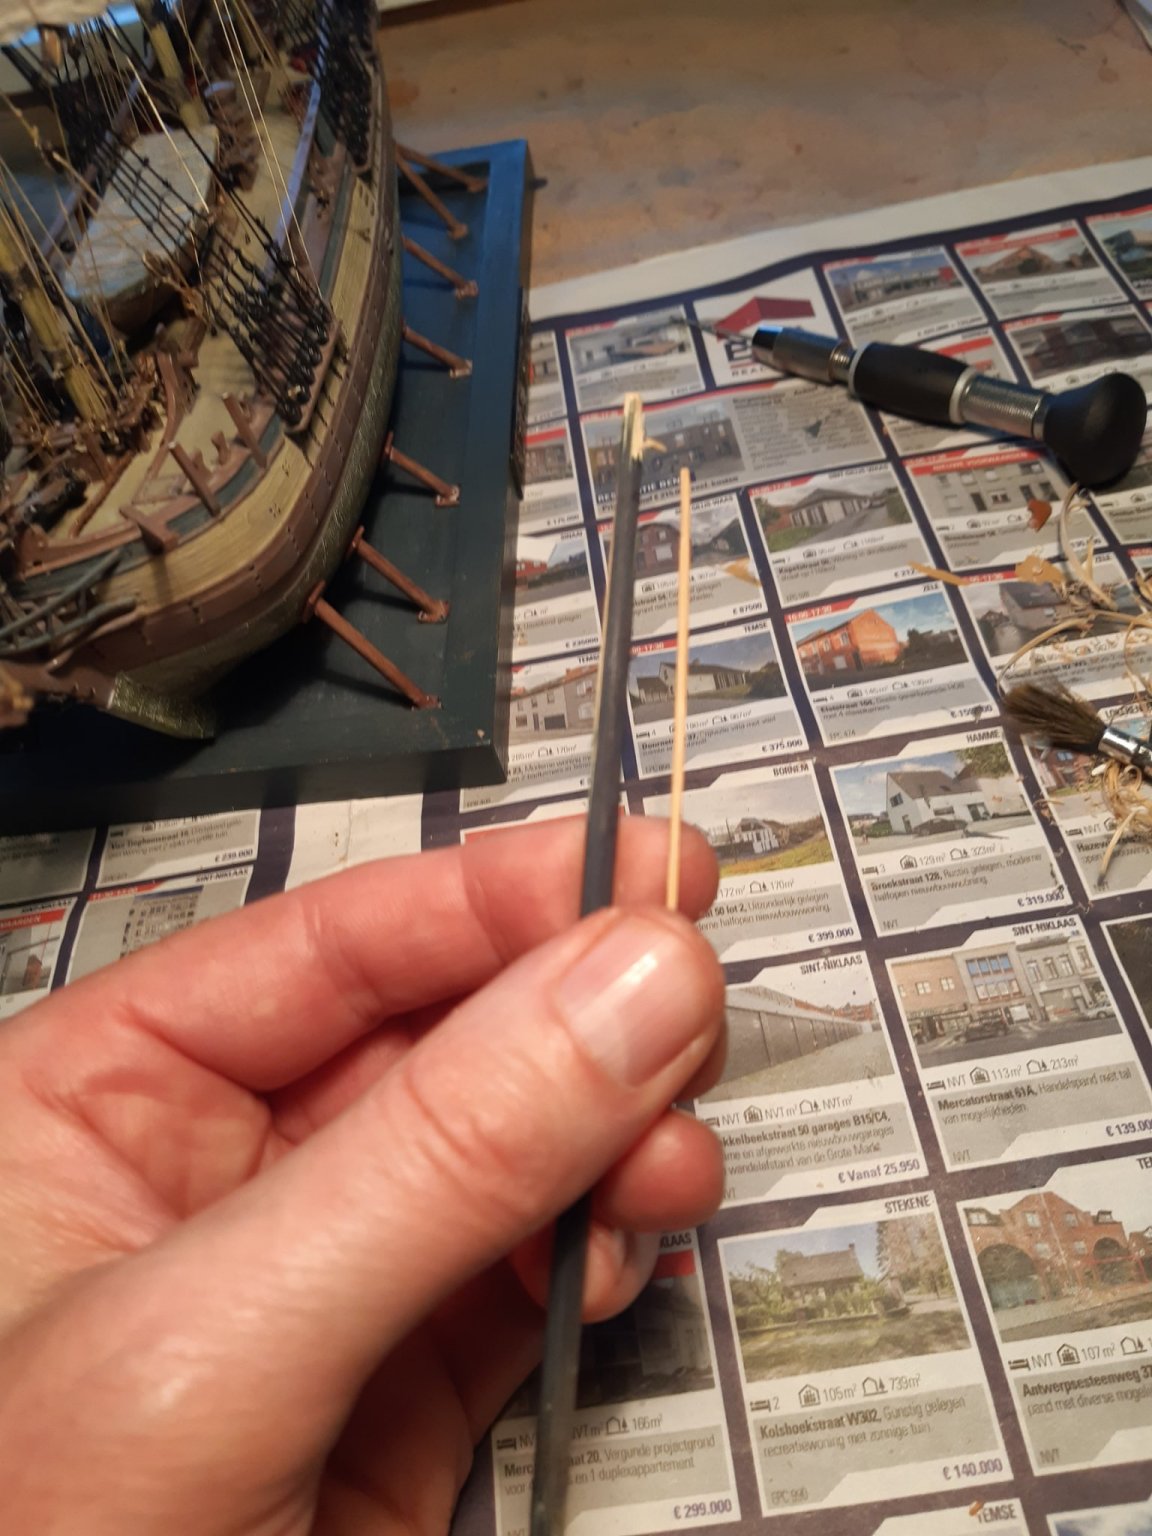
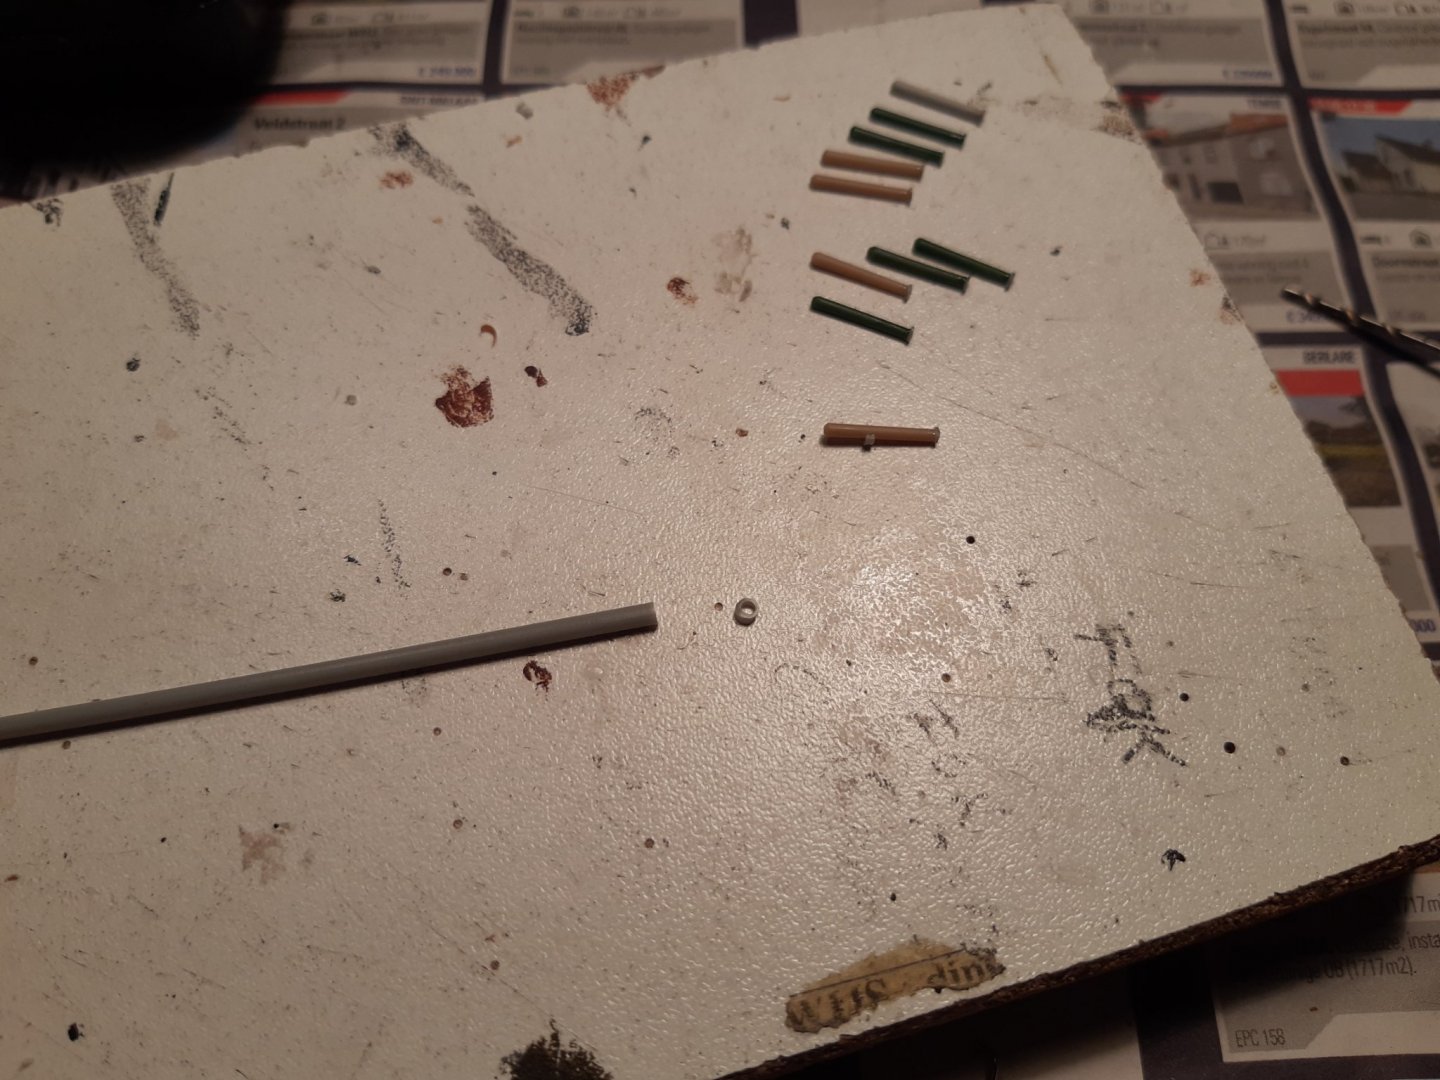
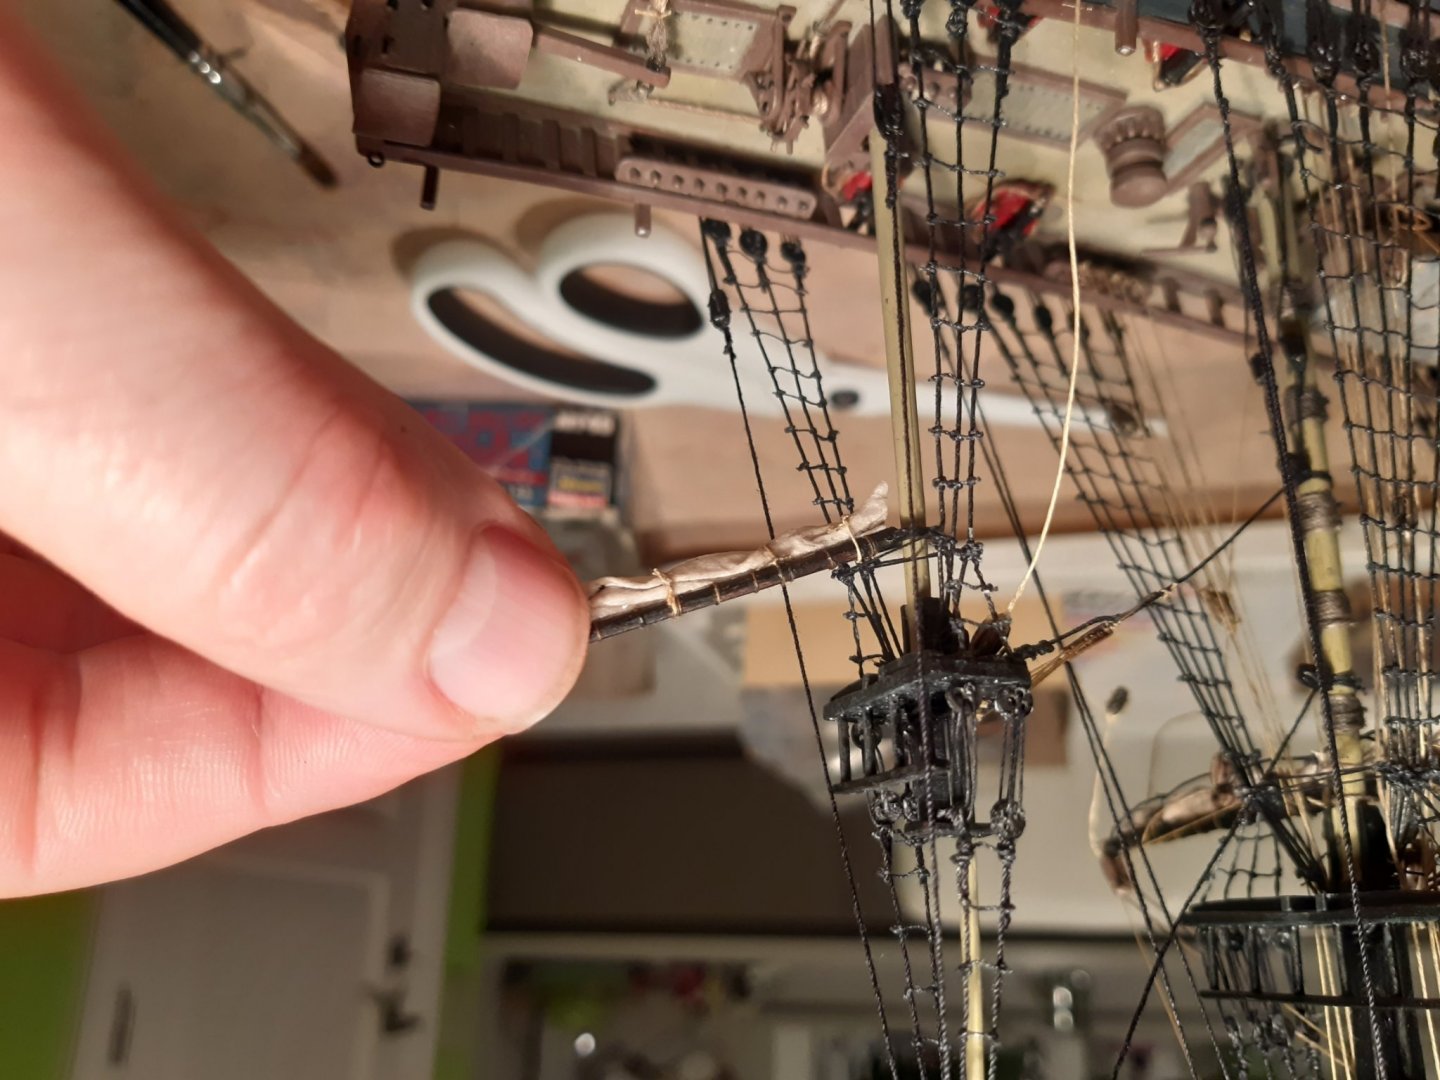
I found another model with this application (Some of us will recognize the photo). A very beautiful model !! Whether this is the correct way or not, this is the most elegant and logical solution. The bamboo plant stick, thinned down to size. and in place on the model (with the smaller Revell blocks)


-
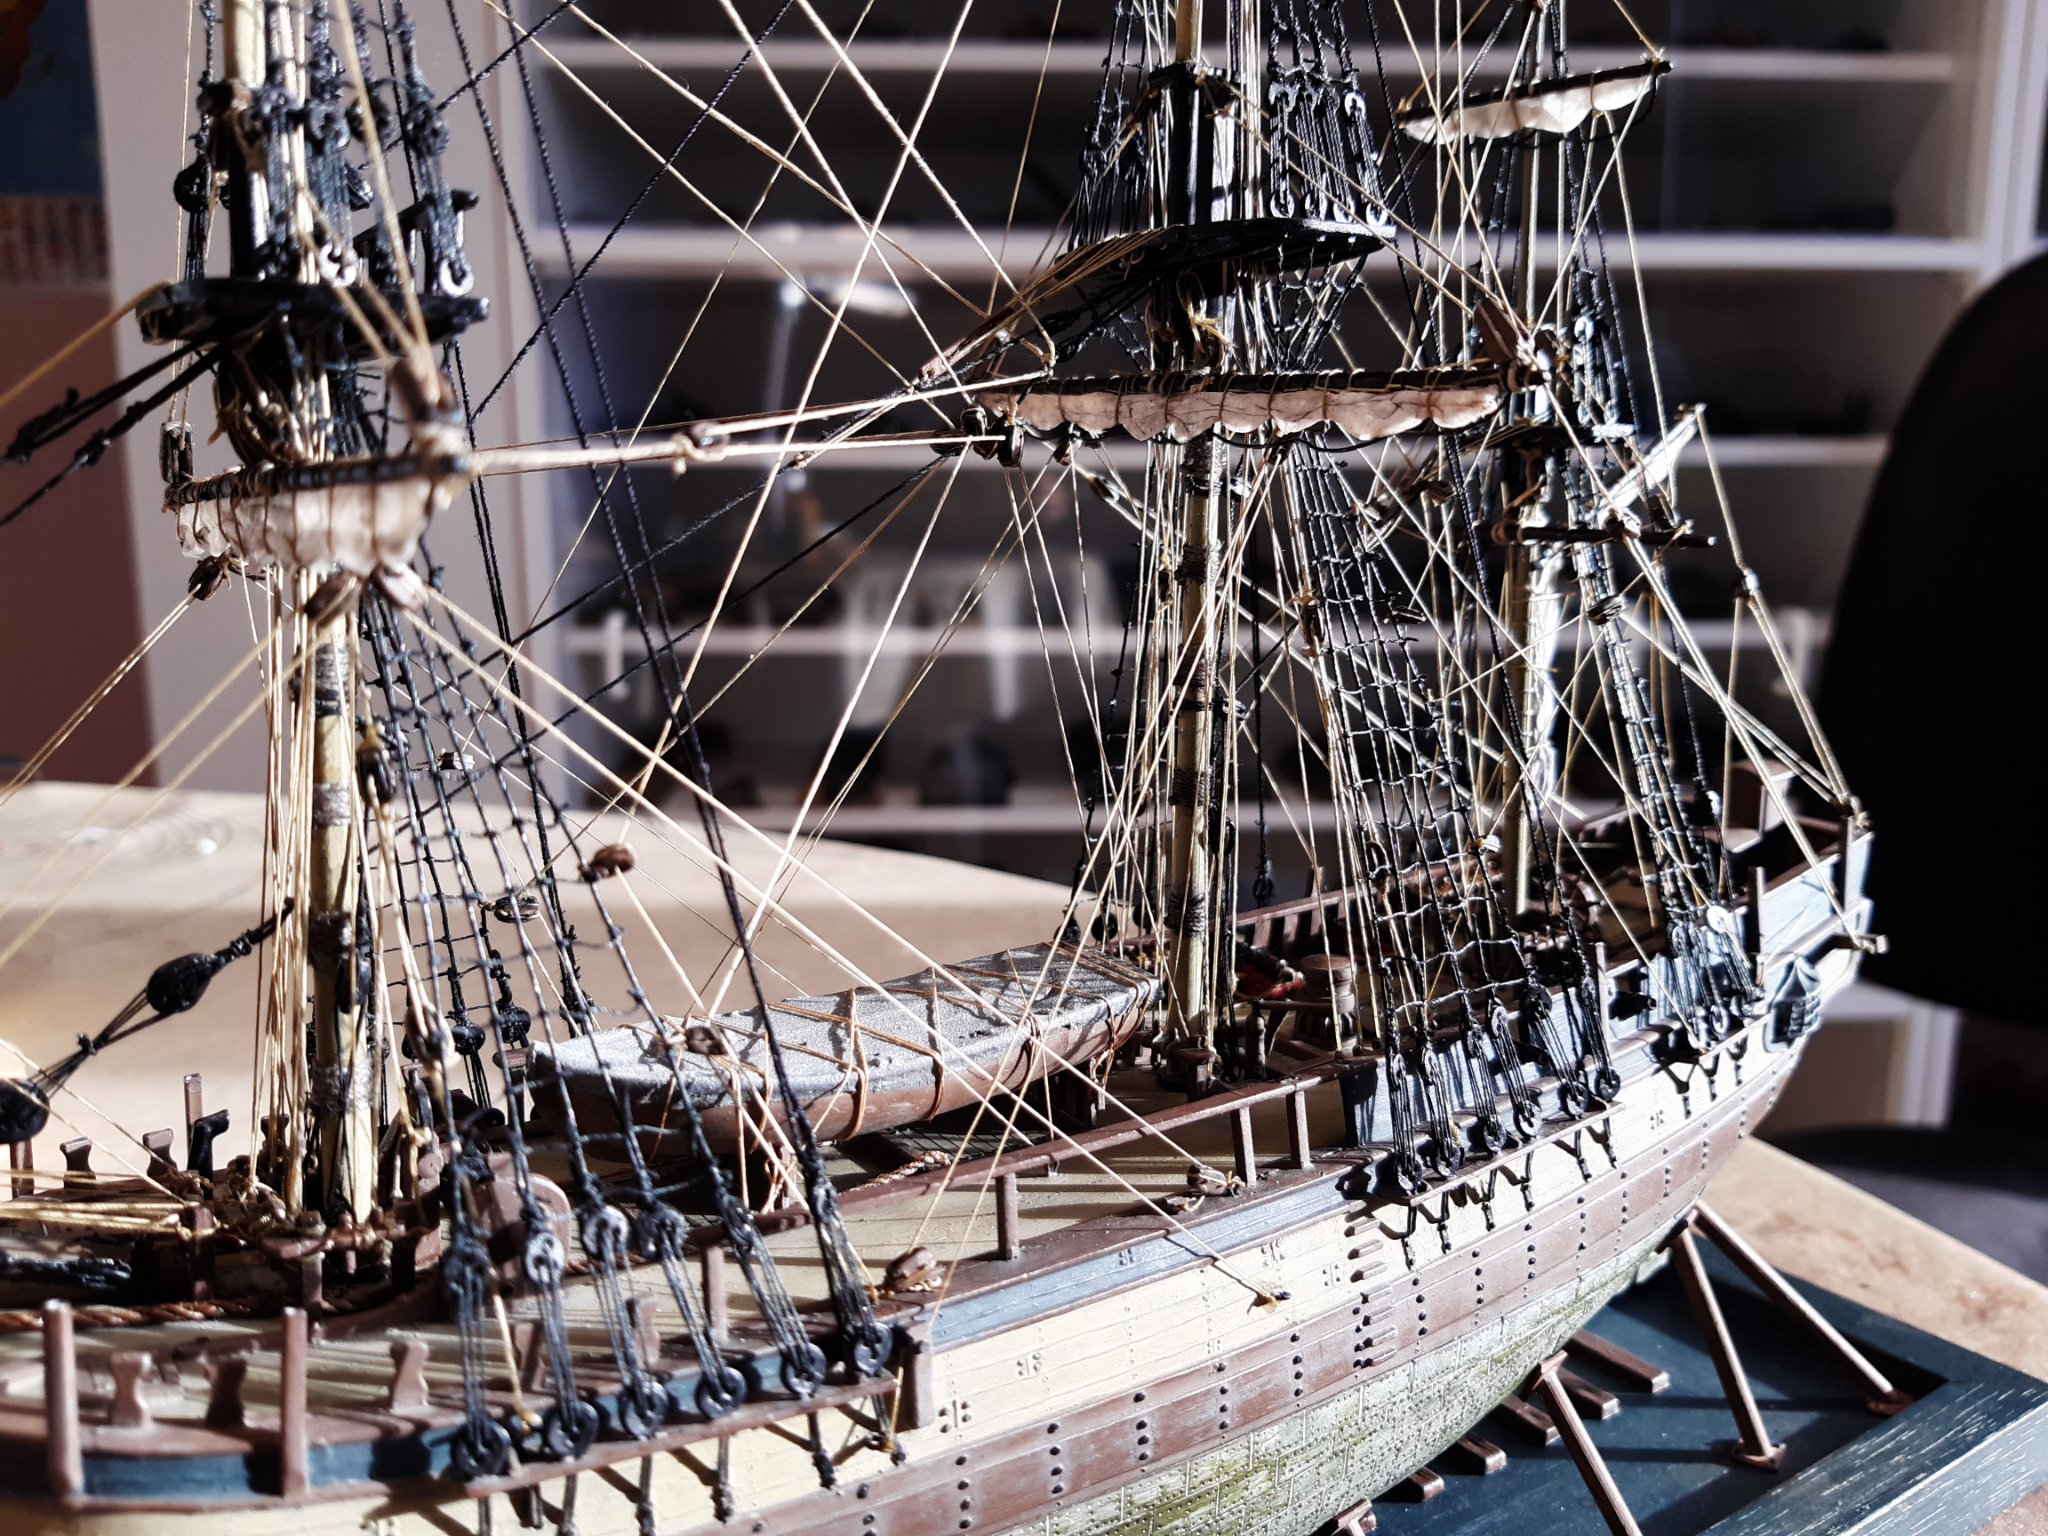
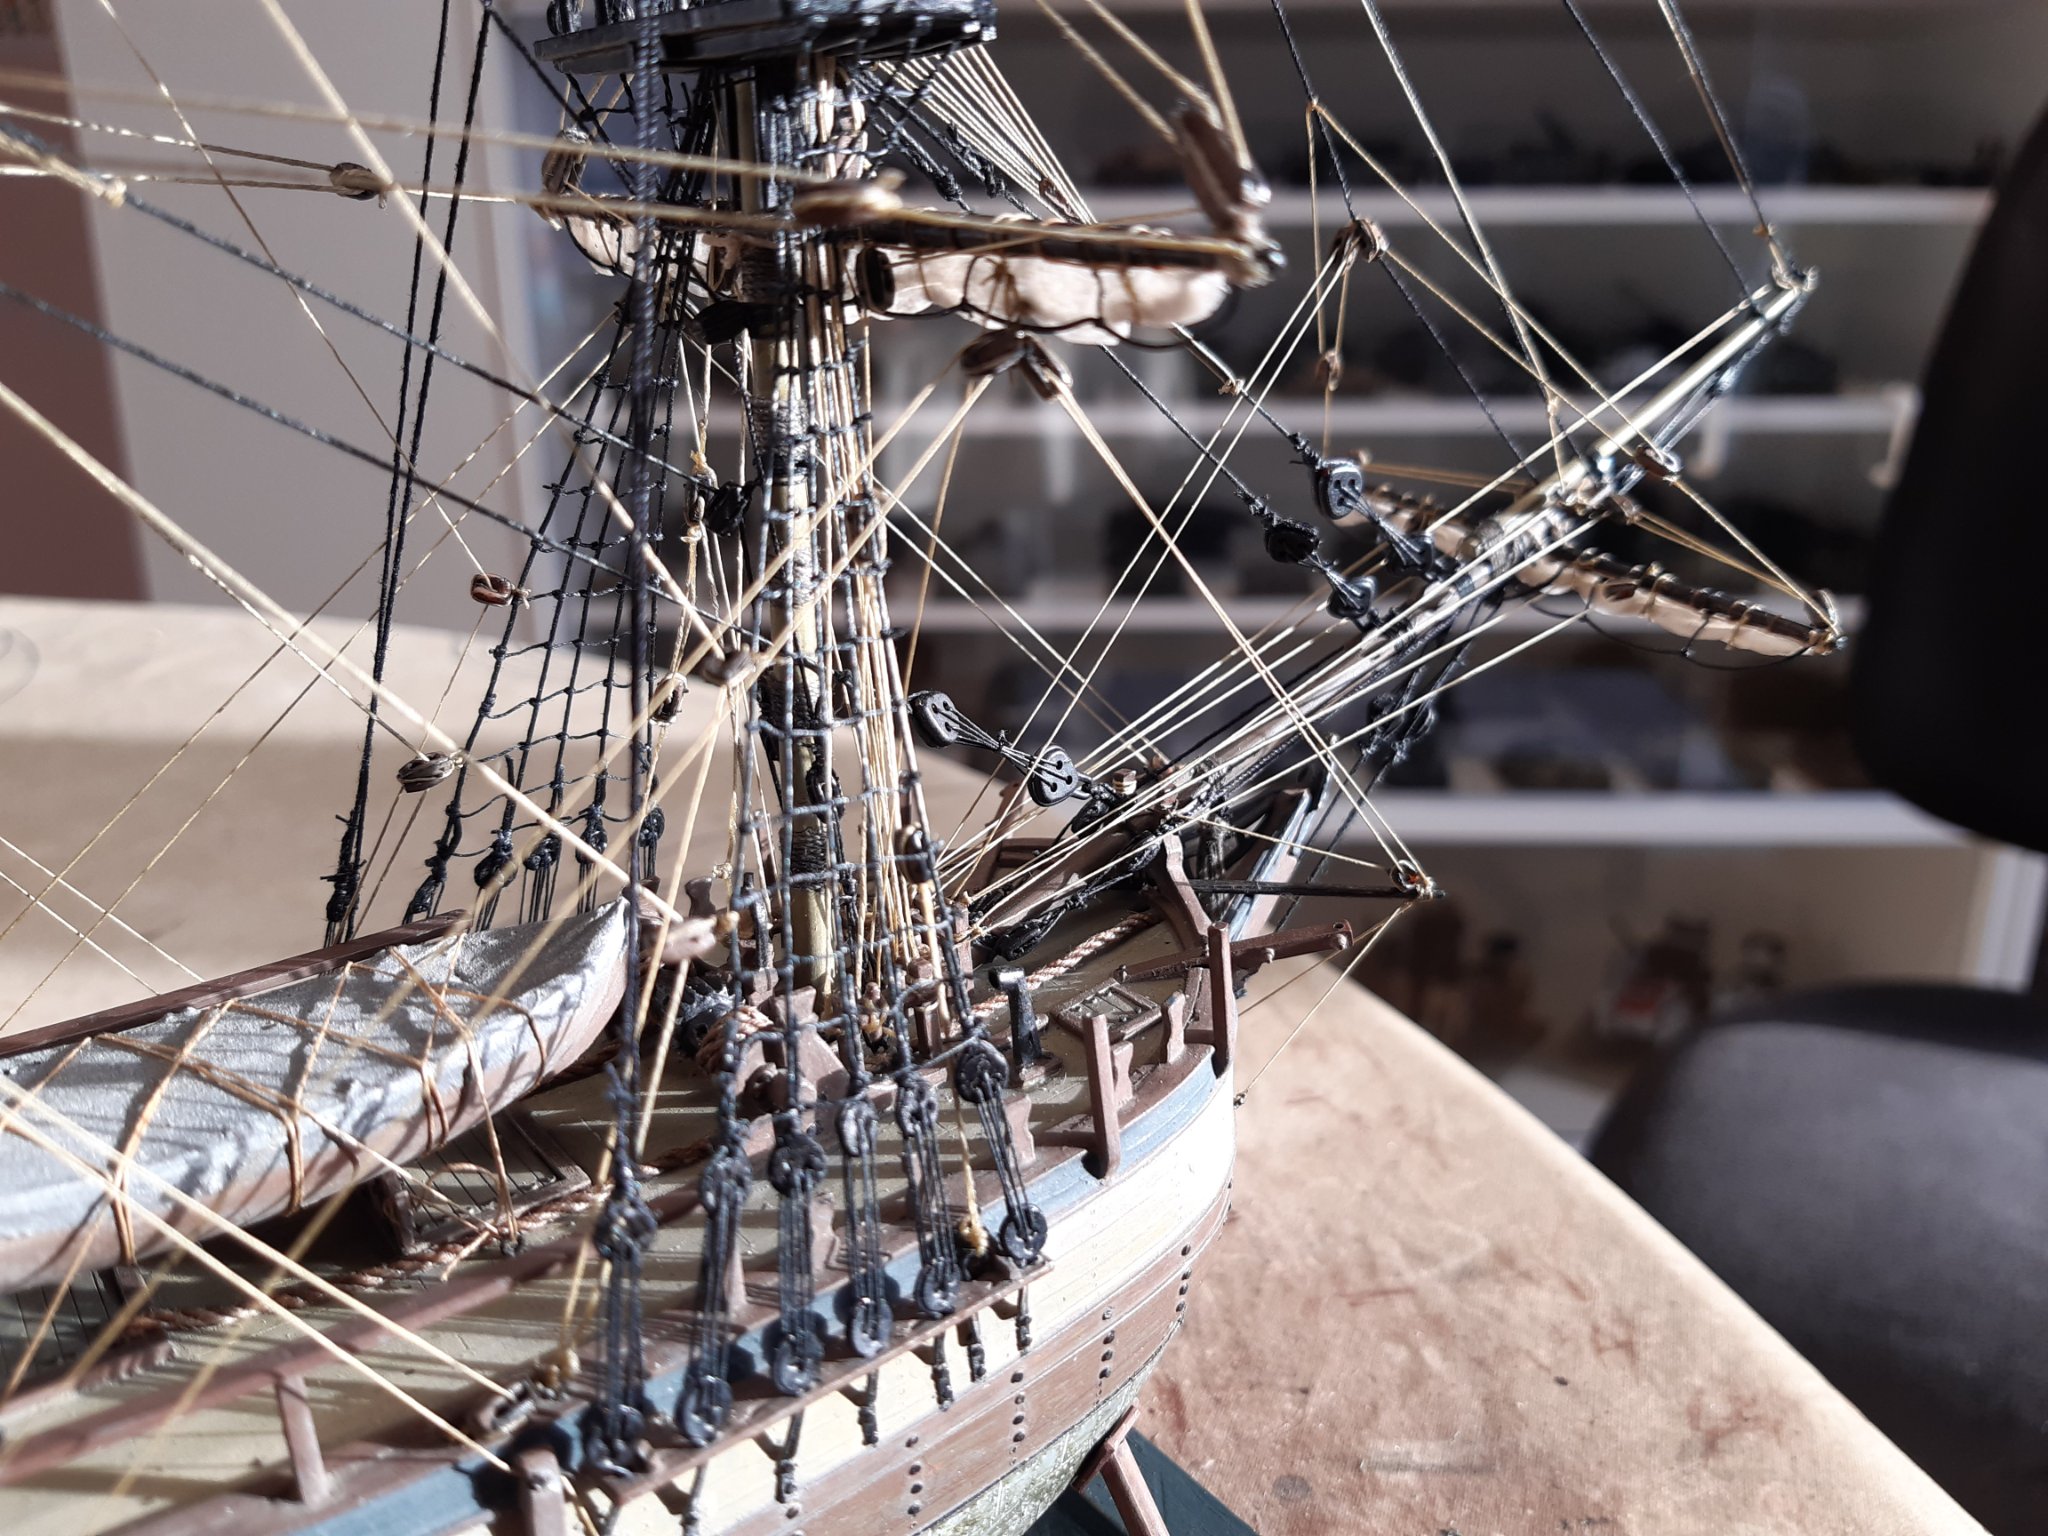
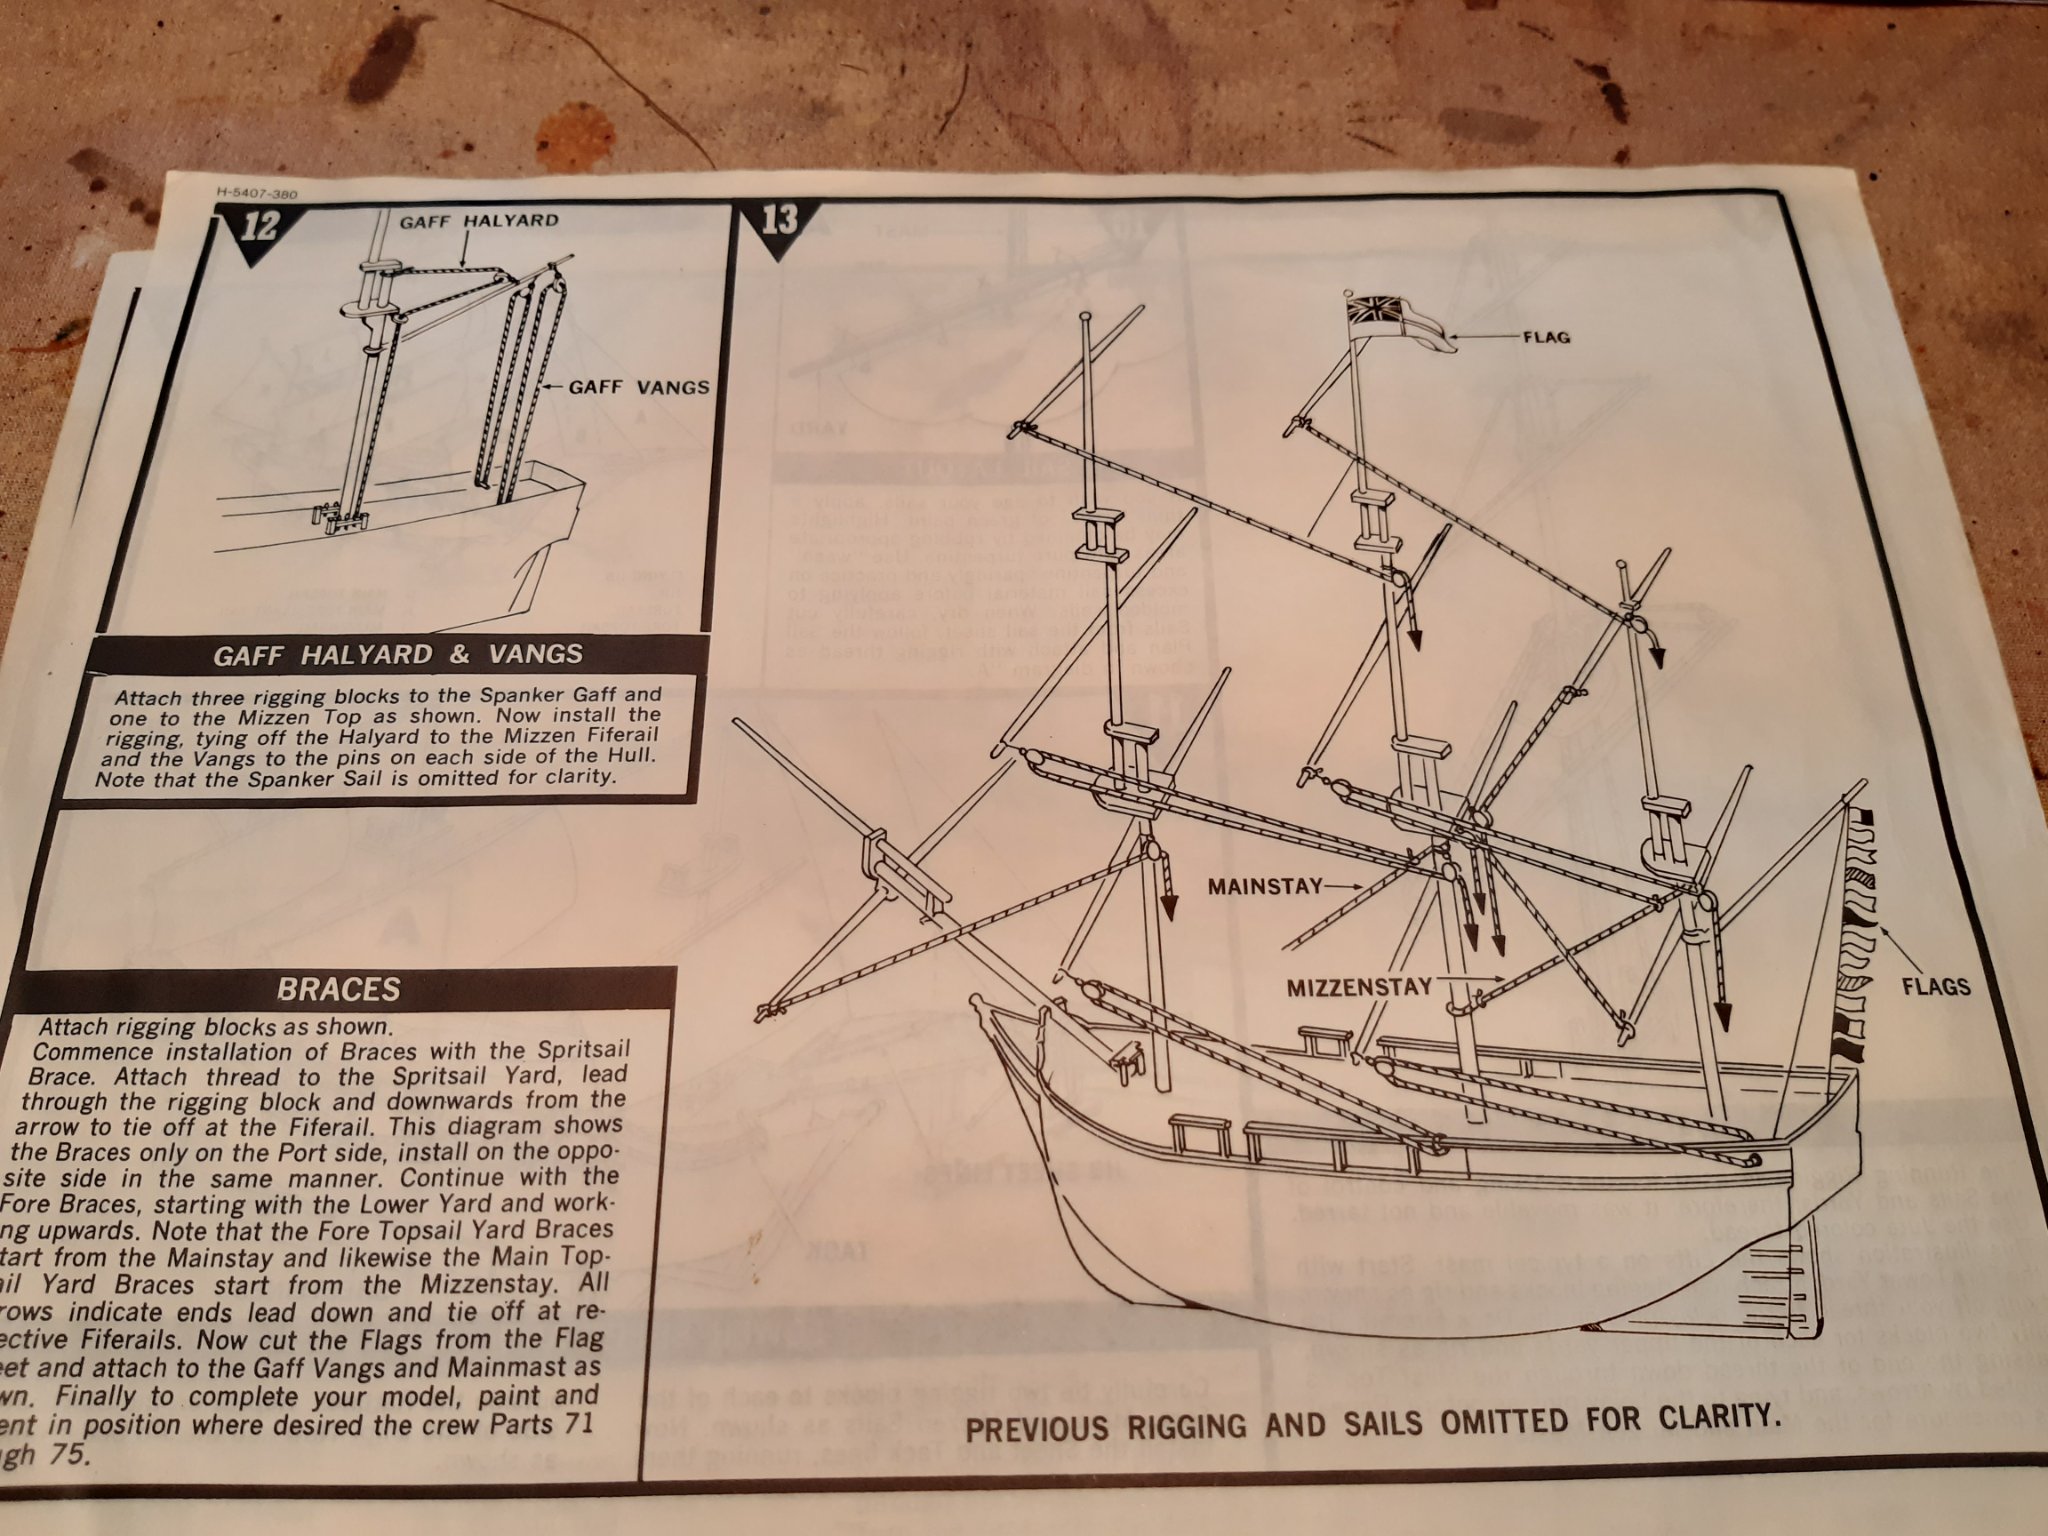
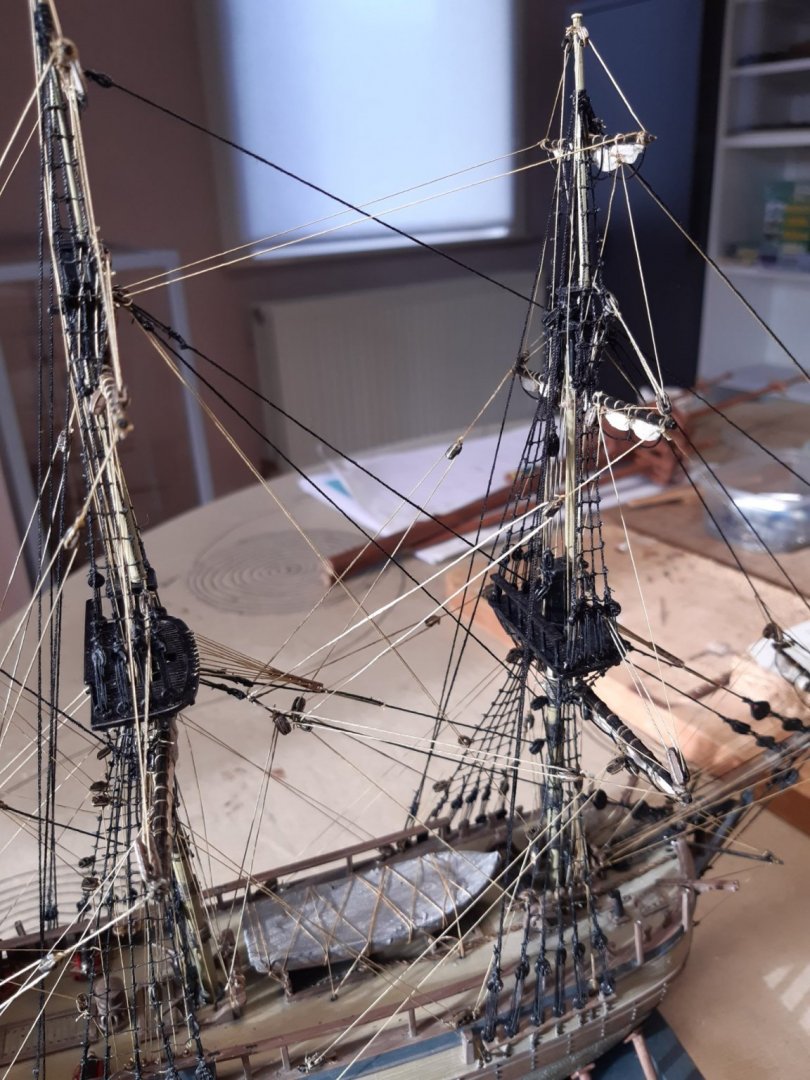
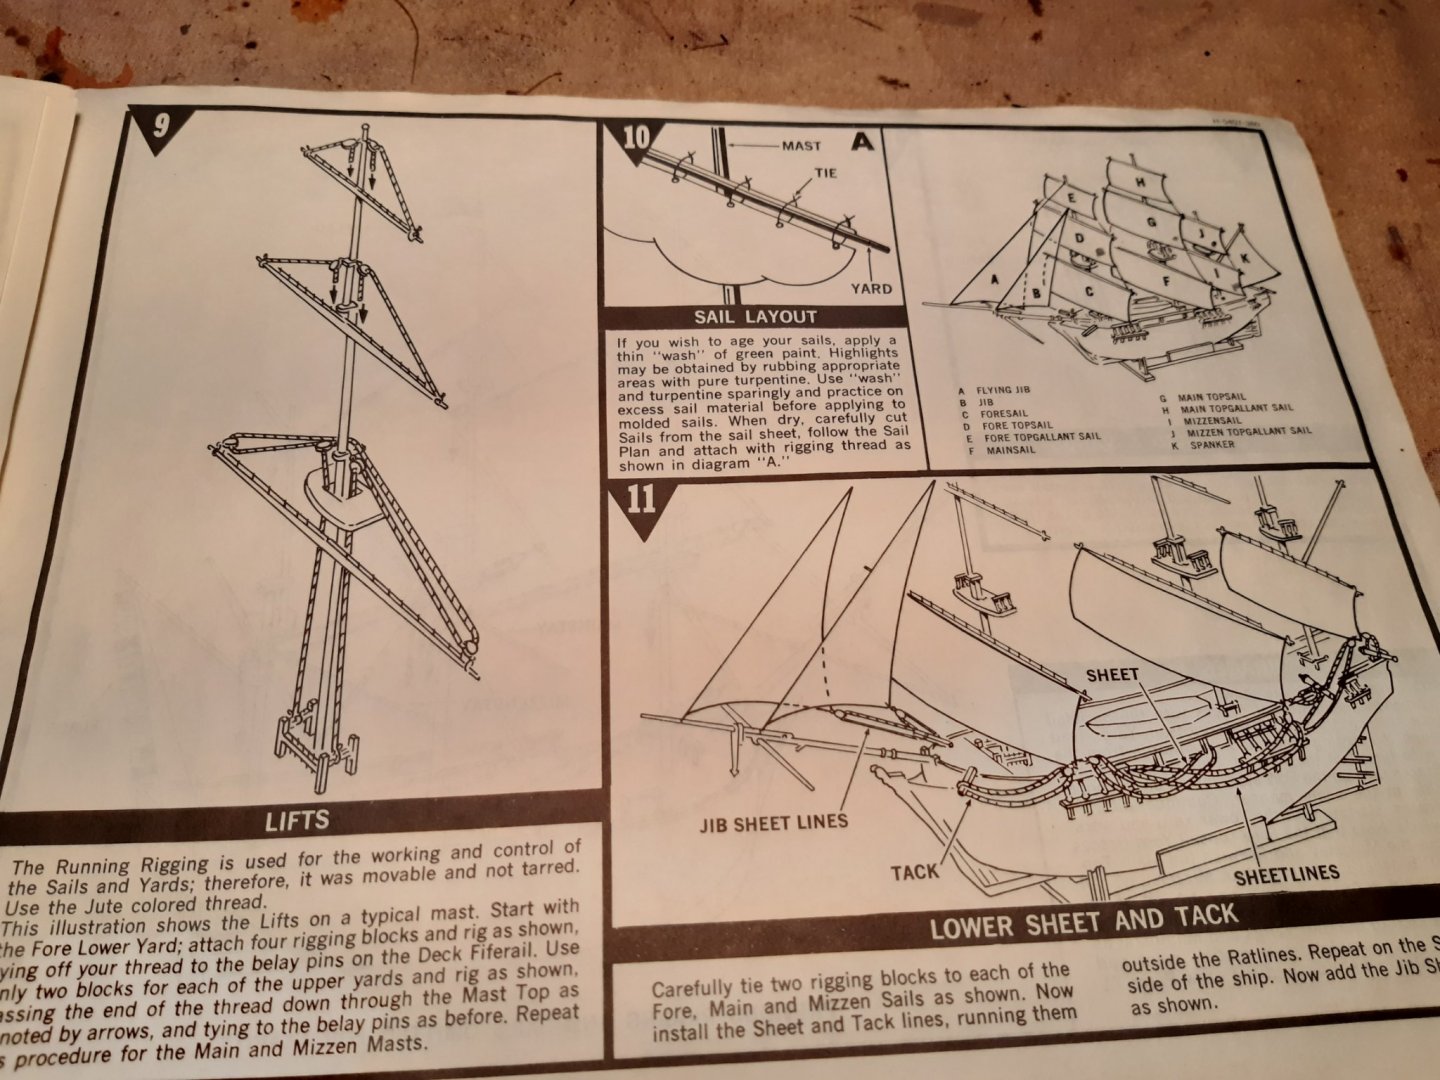
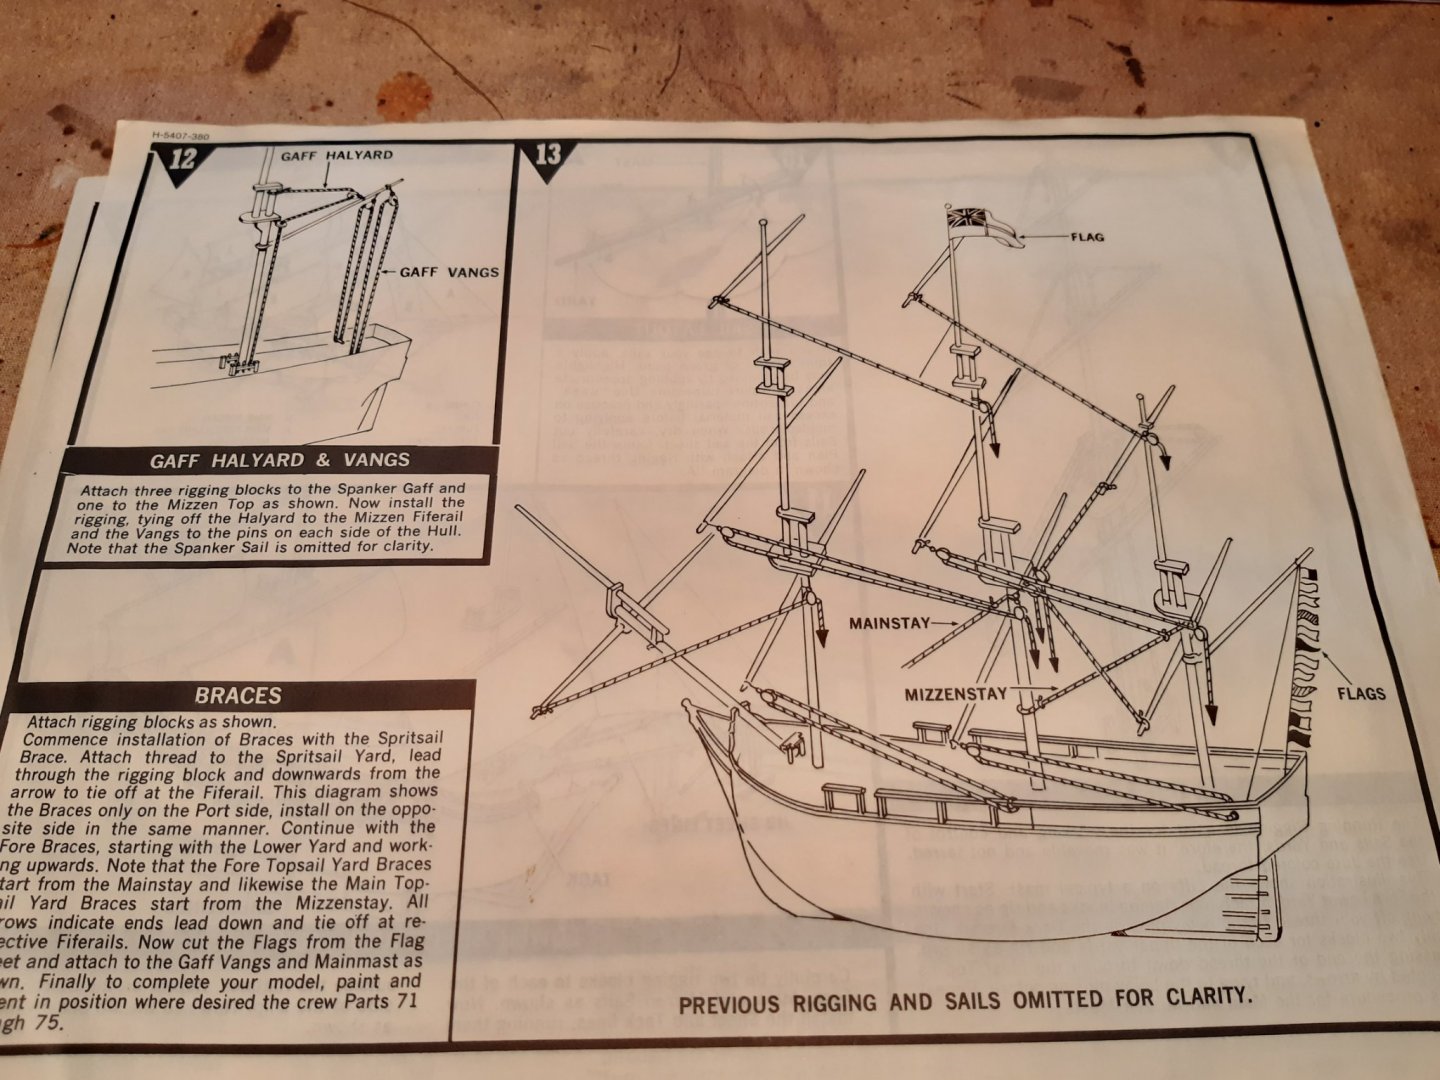
free advice Normally the standing rigging is done first (black wire) That is the wire that keeps the masts in place. Then the running rigging (natural wire color) That is the wire that the yards and sails operate
- 265 replies
-
- 2
-
-
- Golden Hind
- Airfix
- (and 1 more)
-
Nice painting on the figures
-
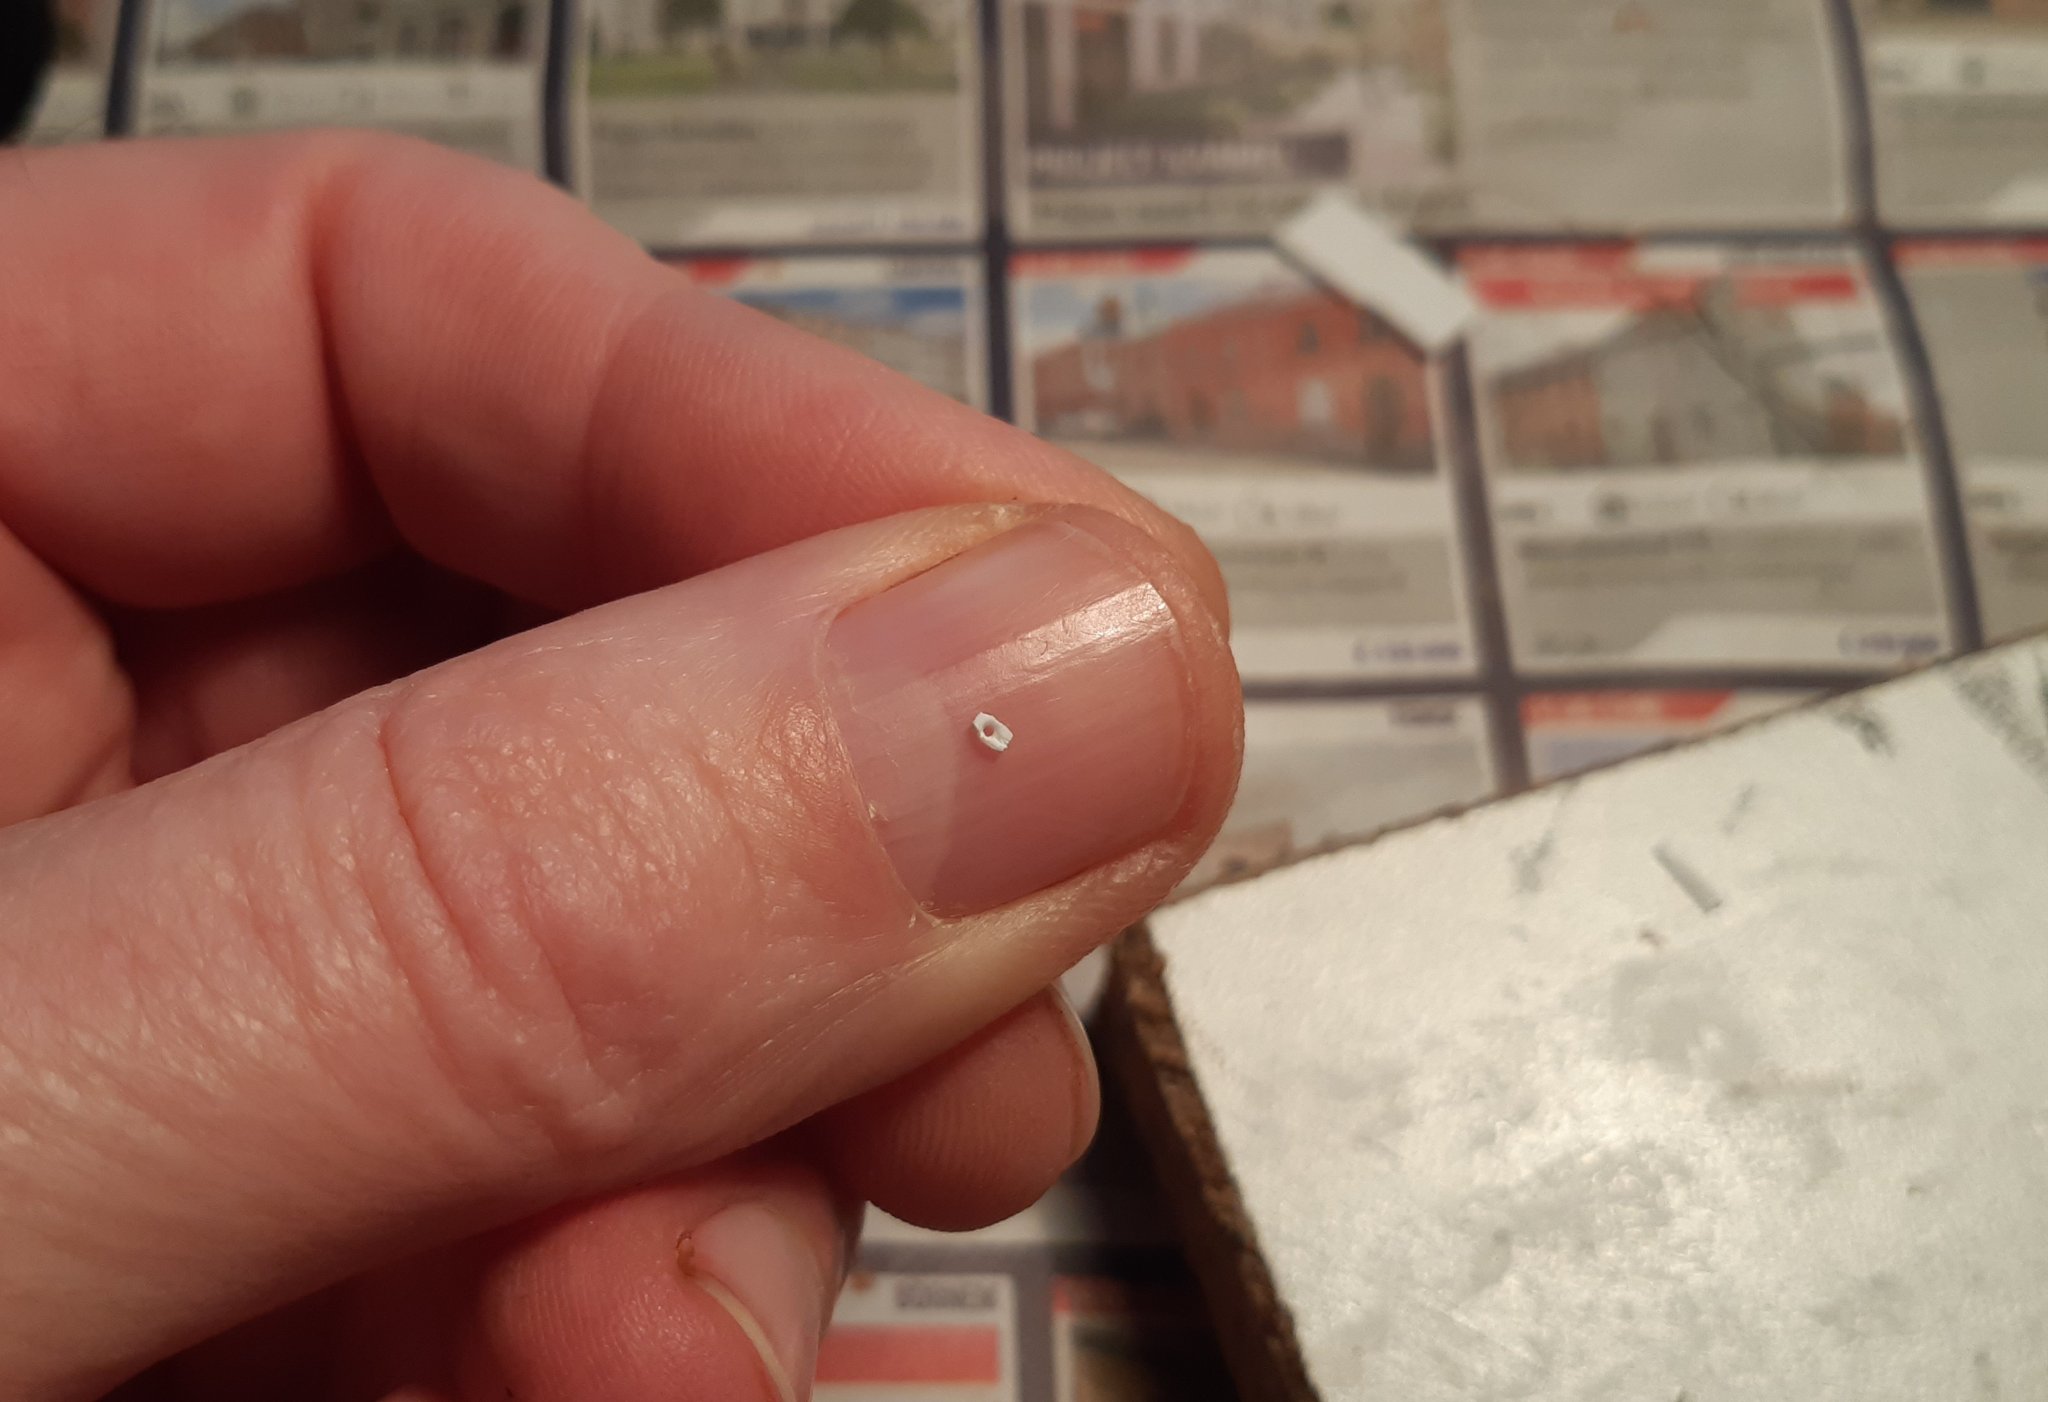
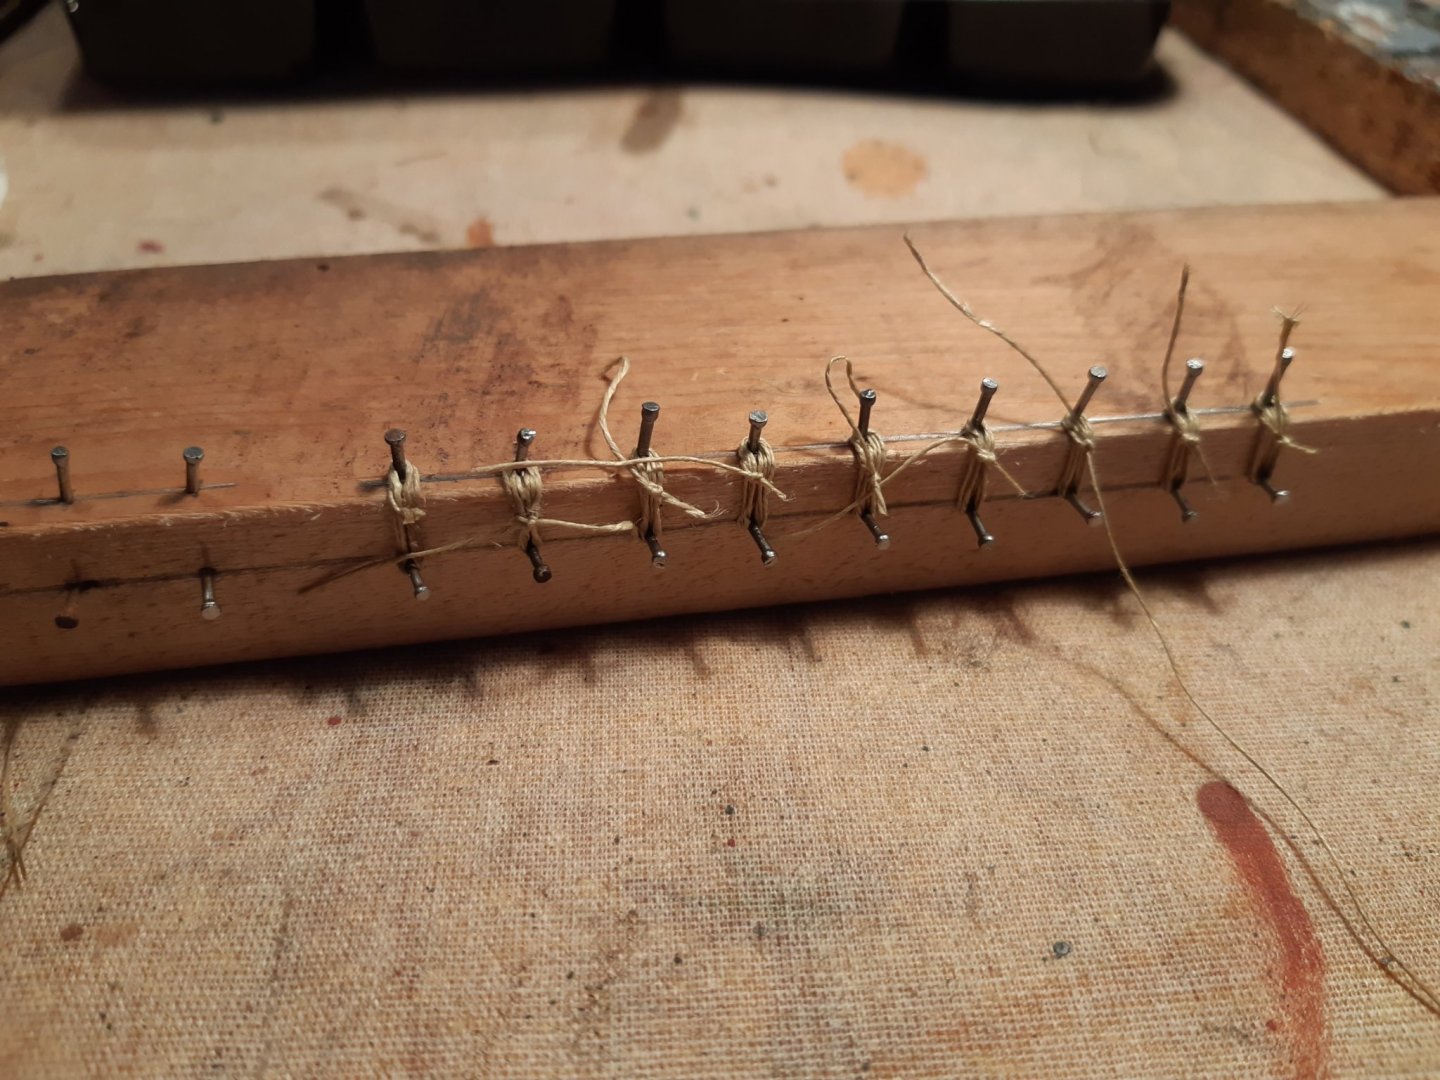
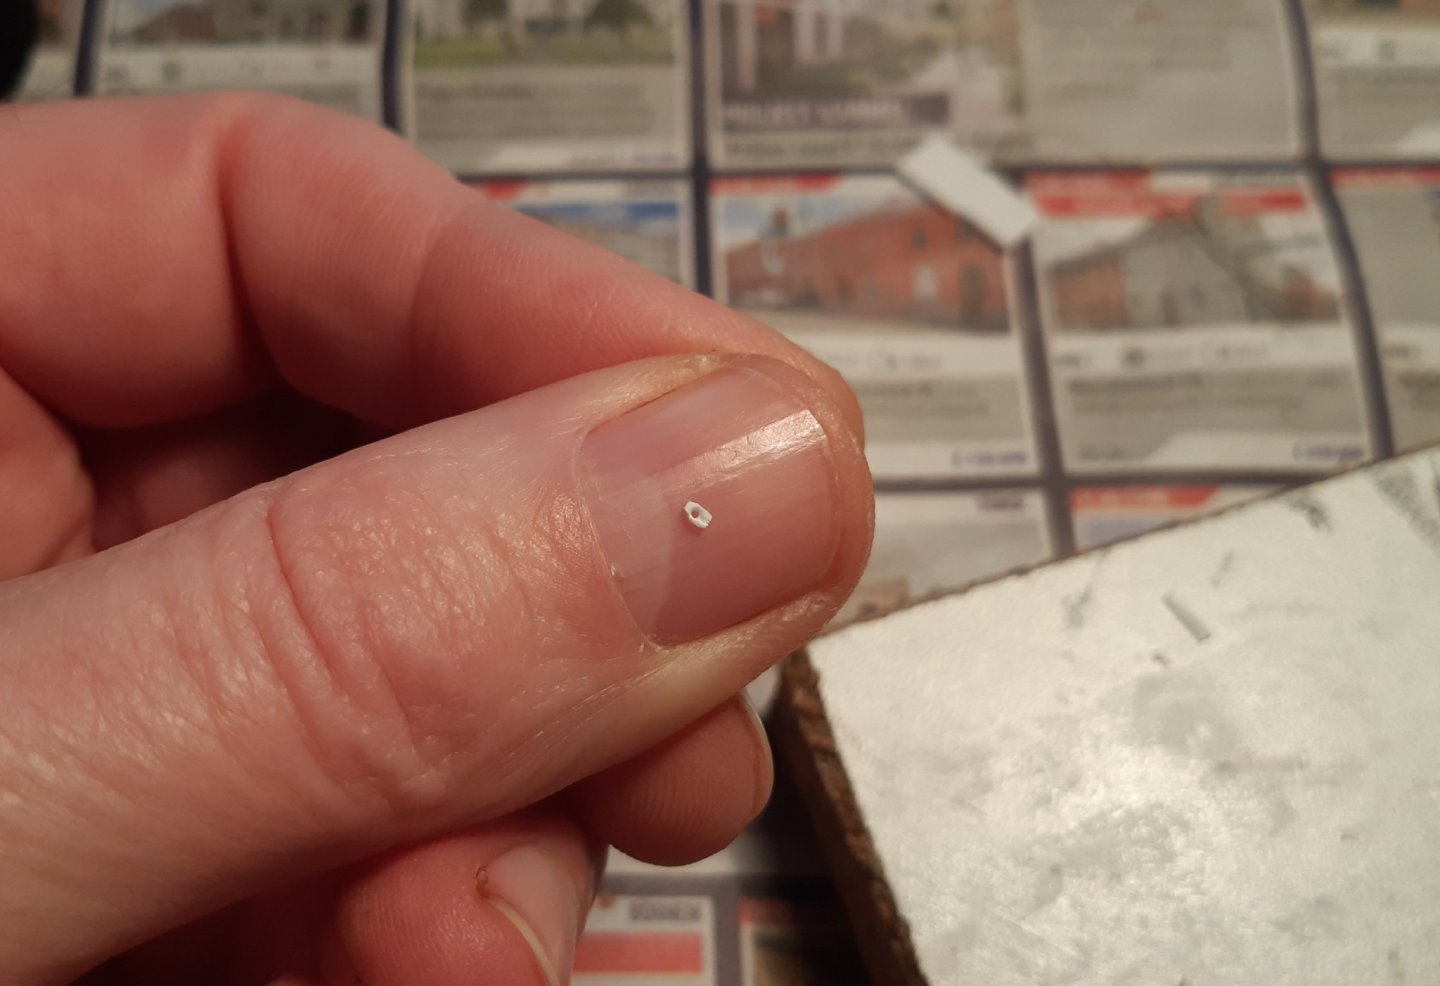
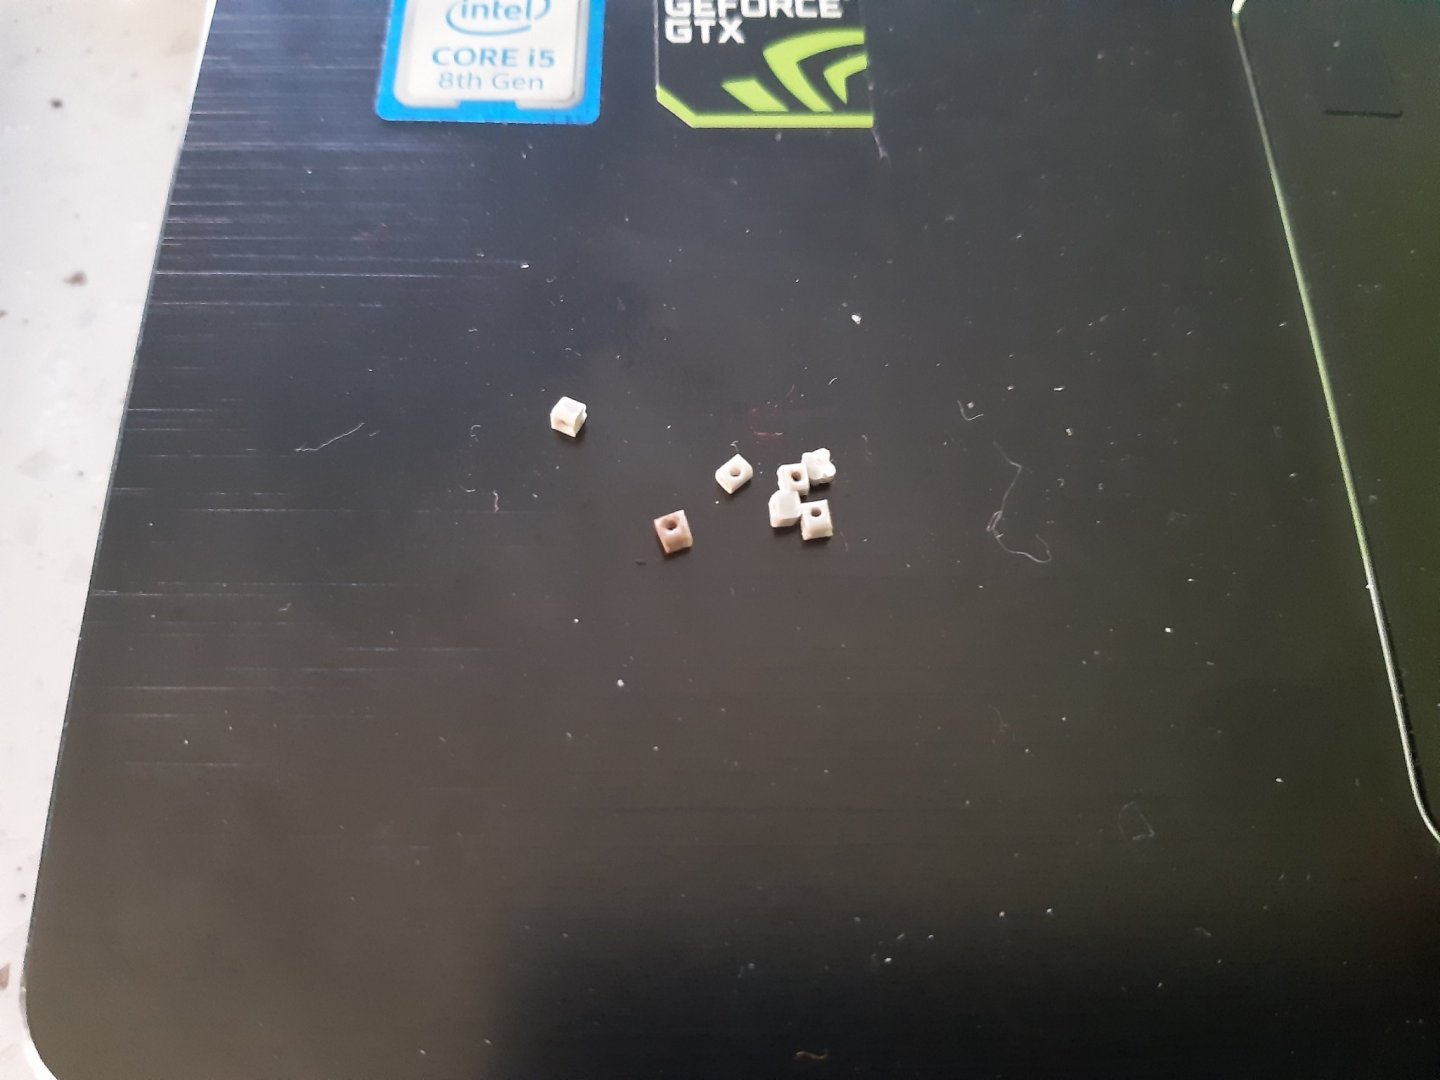
Thanks to all for the rigging info. I tried to make a "block". The shape could be a bit better with some more practice, but this was a first prototype. Length 1.5mm width 1mm thickness 0.5mm Making these blocks should work for me, but rigging them ... On the first try, the little block decided it was scared of rope and jumped somewhere far away on the kitchen floor 🤣 😳 This is far too small for my ability and not relaxing. I'm going to clean up and use the blocks provided in the kit (work in progress)
-
Golden Hind 1577 by goemon - 1:150
Baker replied to goemon's topic in - Build logs for subjects built 1501 - 1750
On this small scale and in wood, beautifully done -
Nice planking Michael 👍
-
Good idea. I have also used white wire for this application on my Vasa. That was a really bad idea
- 265 replies
-
- 1
-
-
- Golden Hind
- Airfix
- (and 1 more)
-
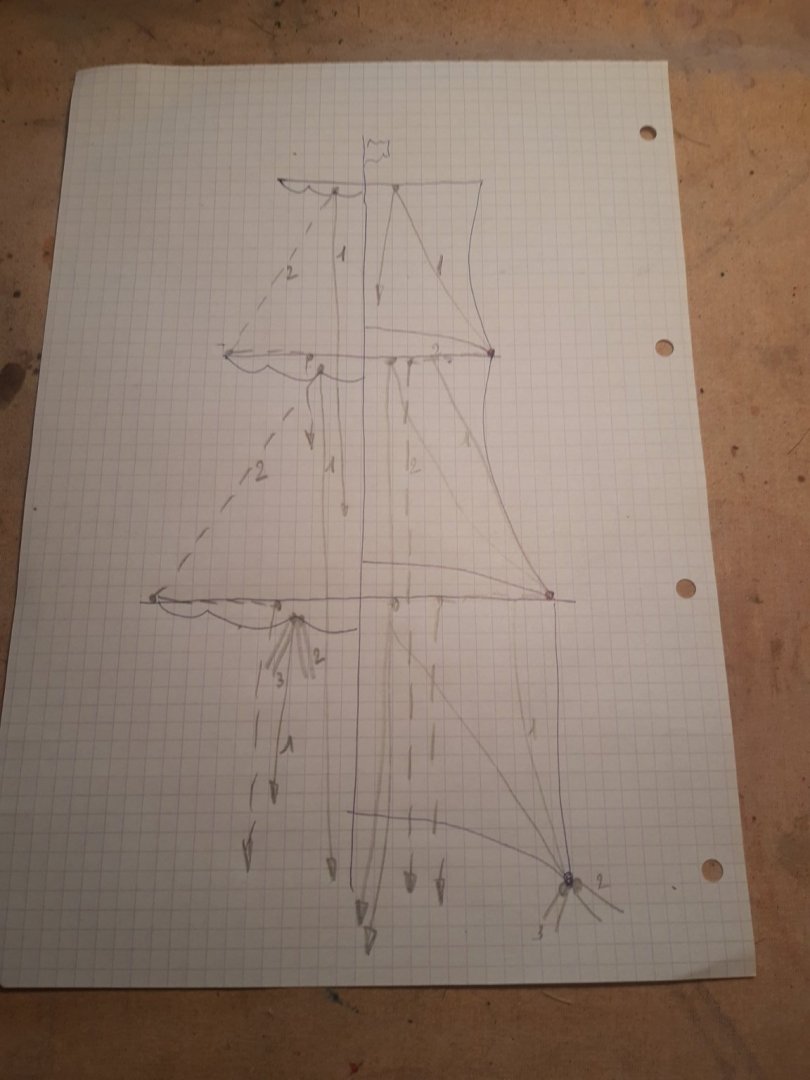
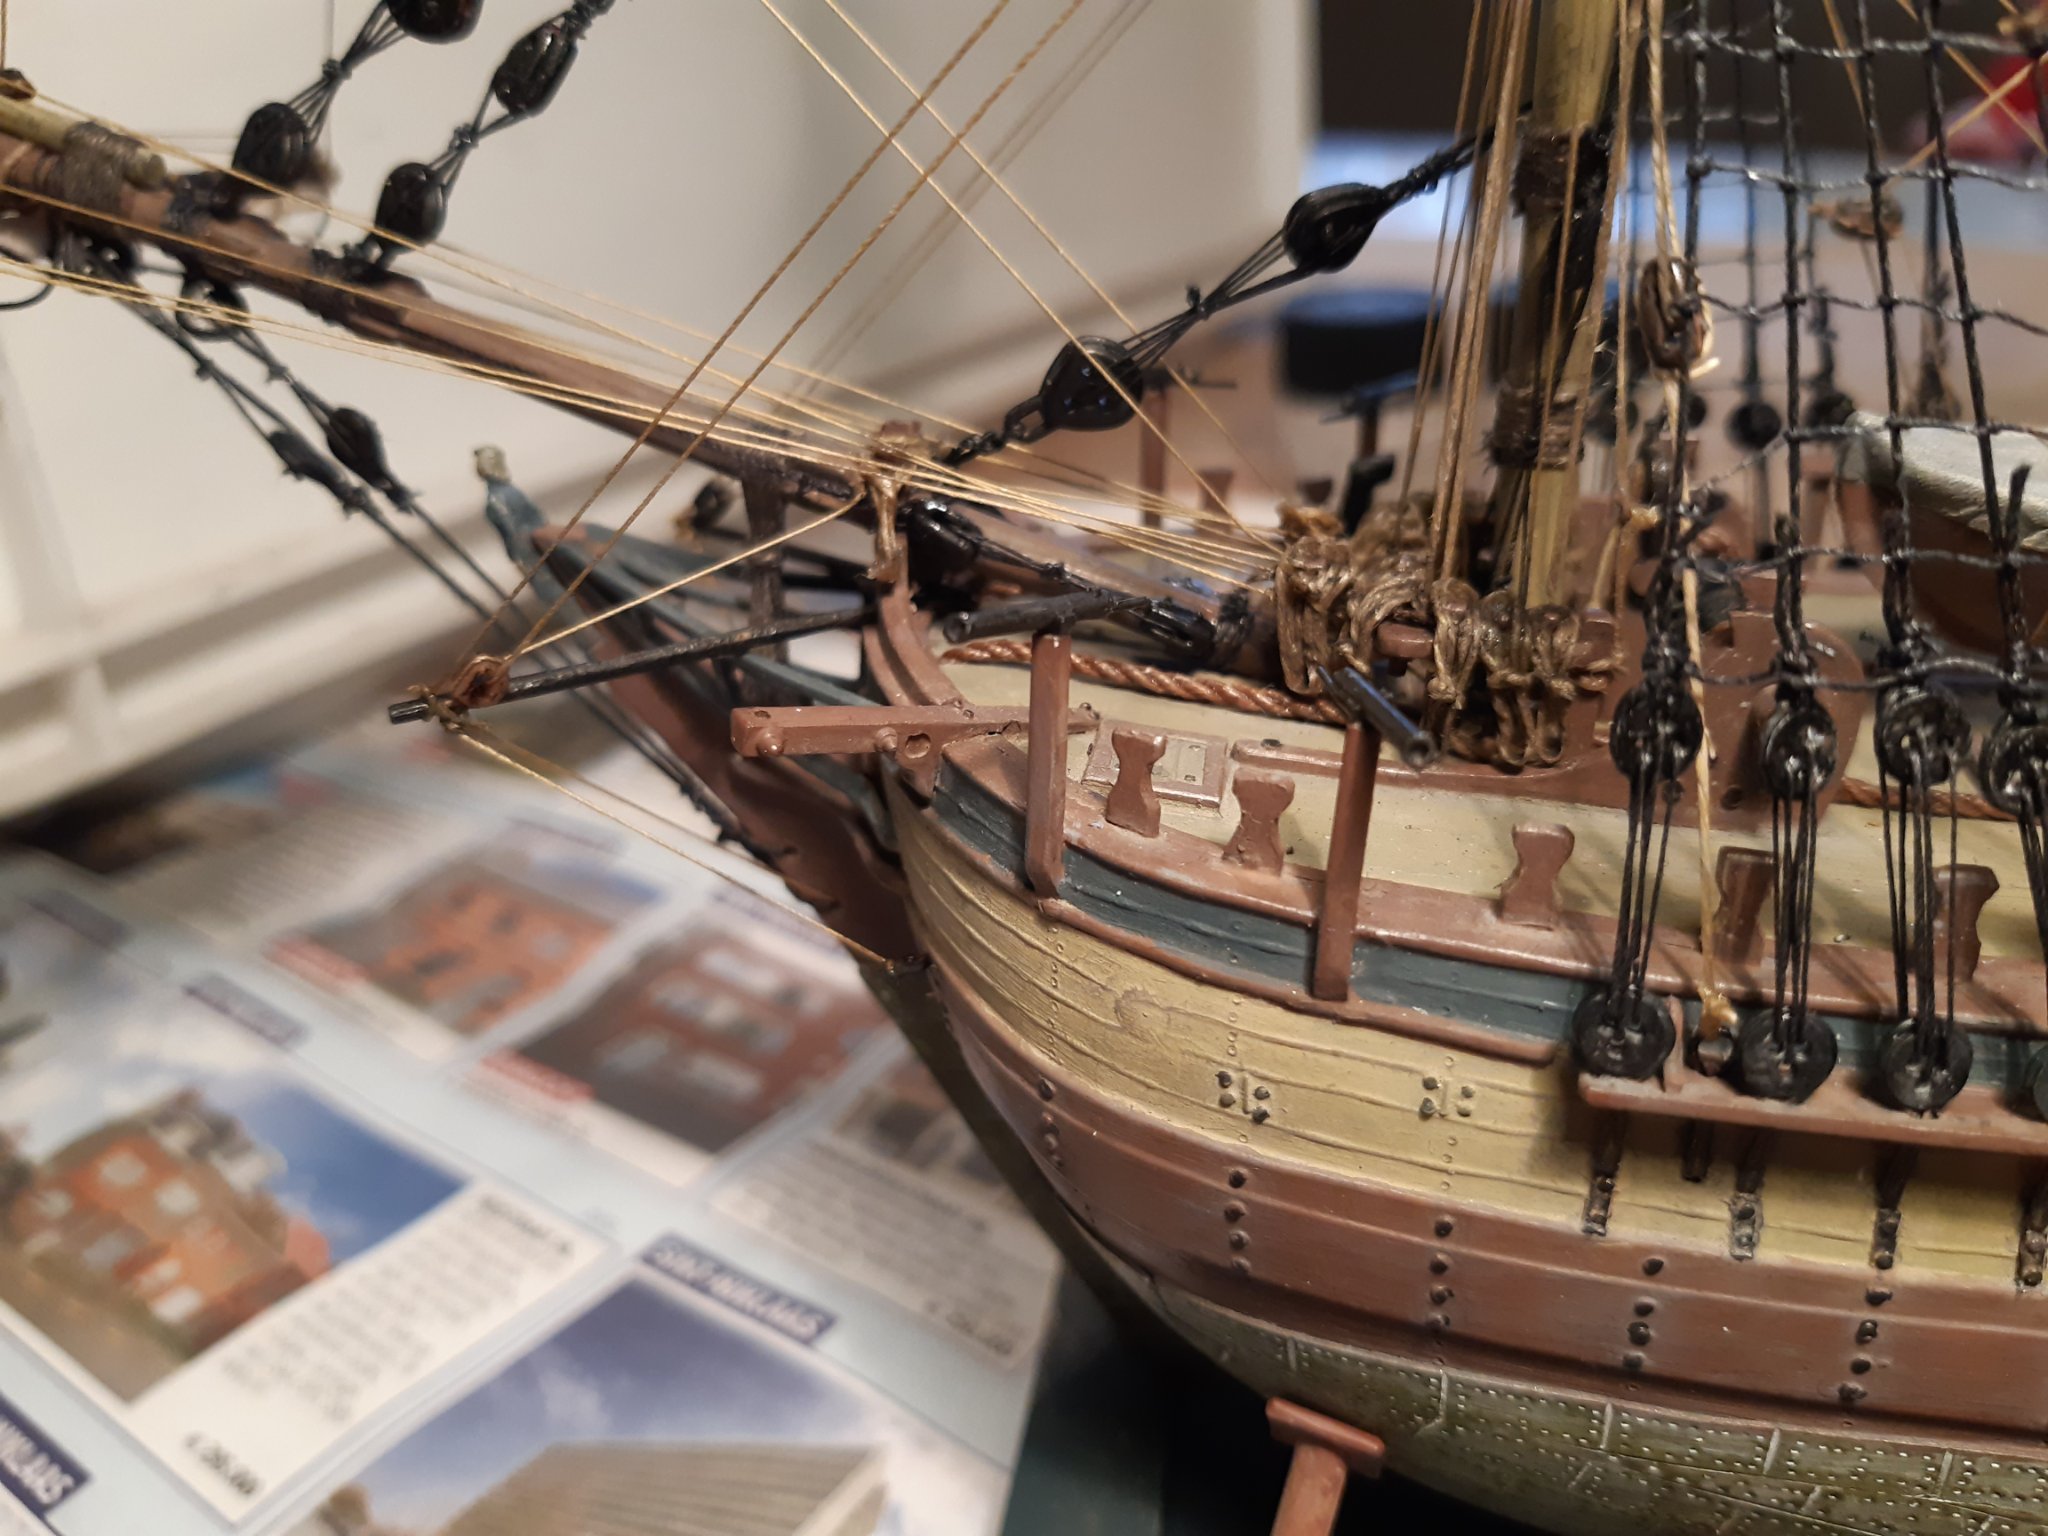
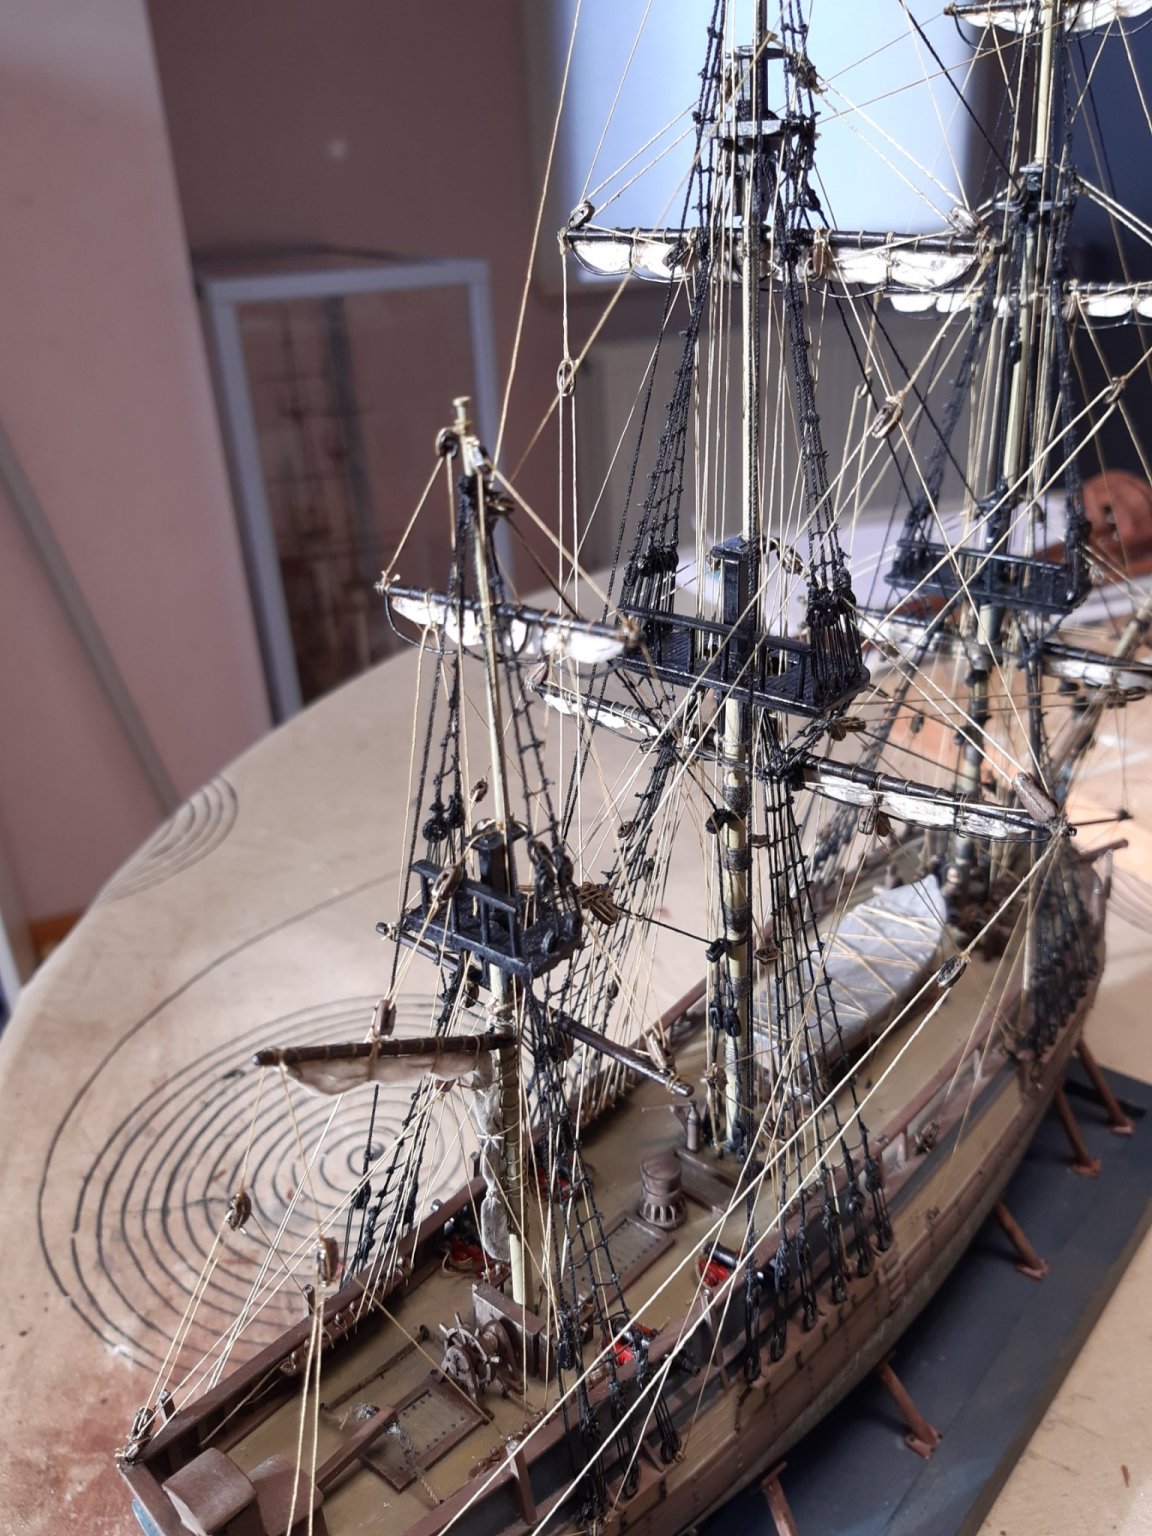
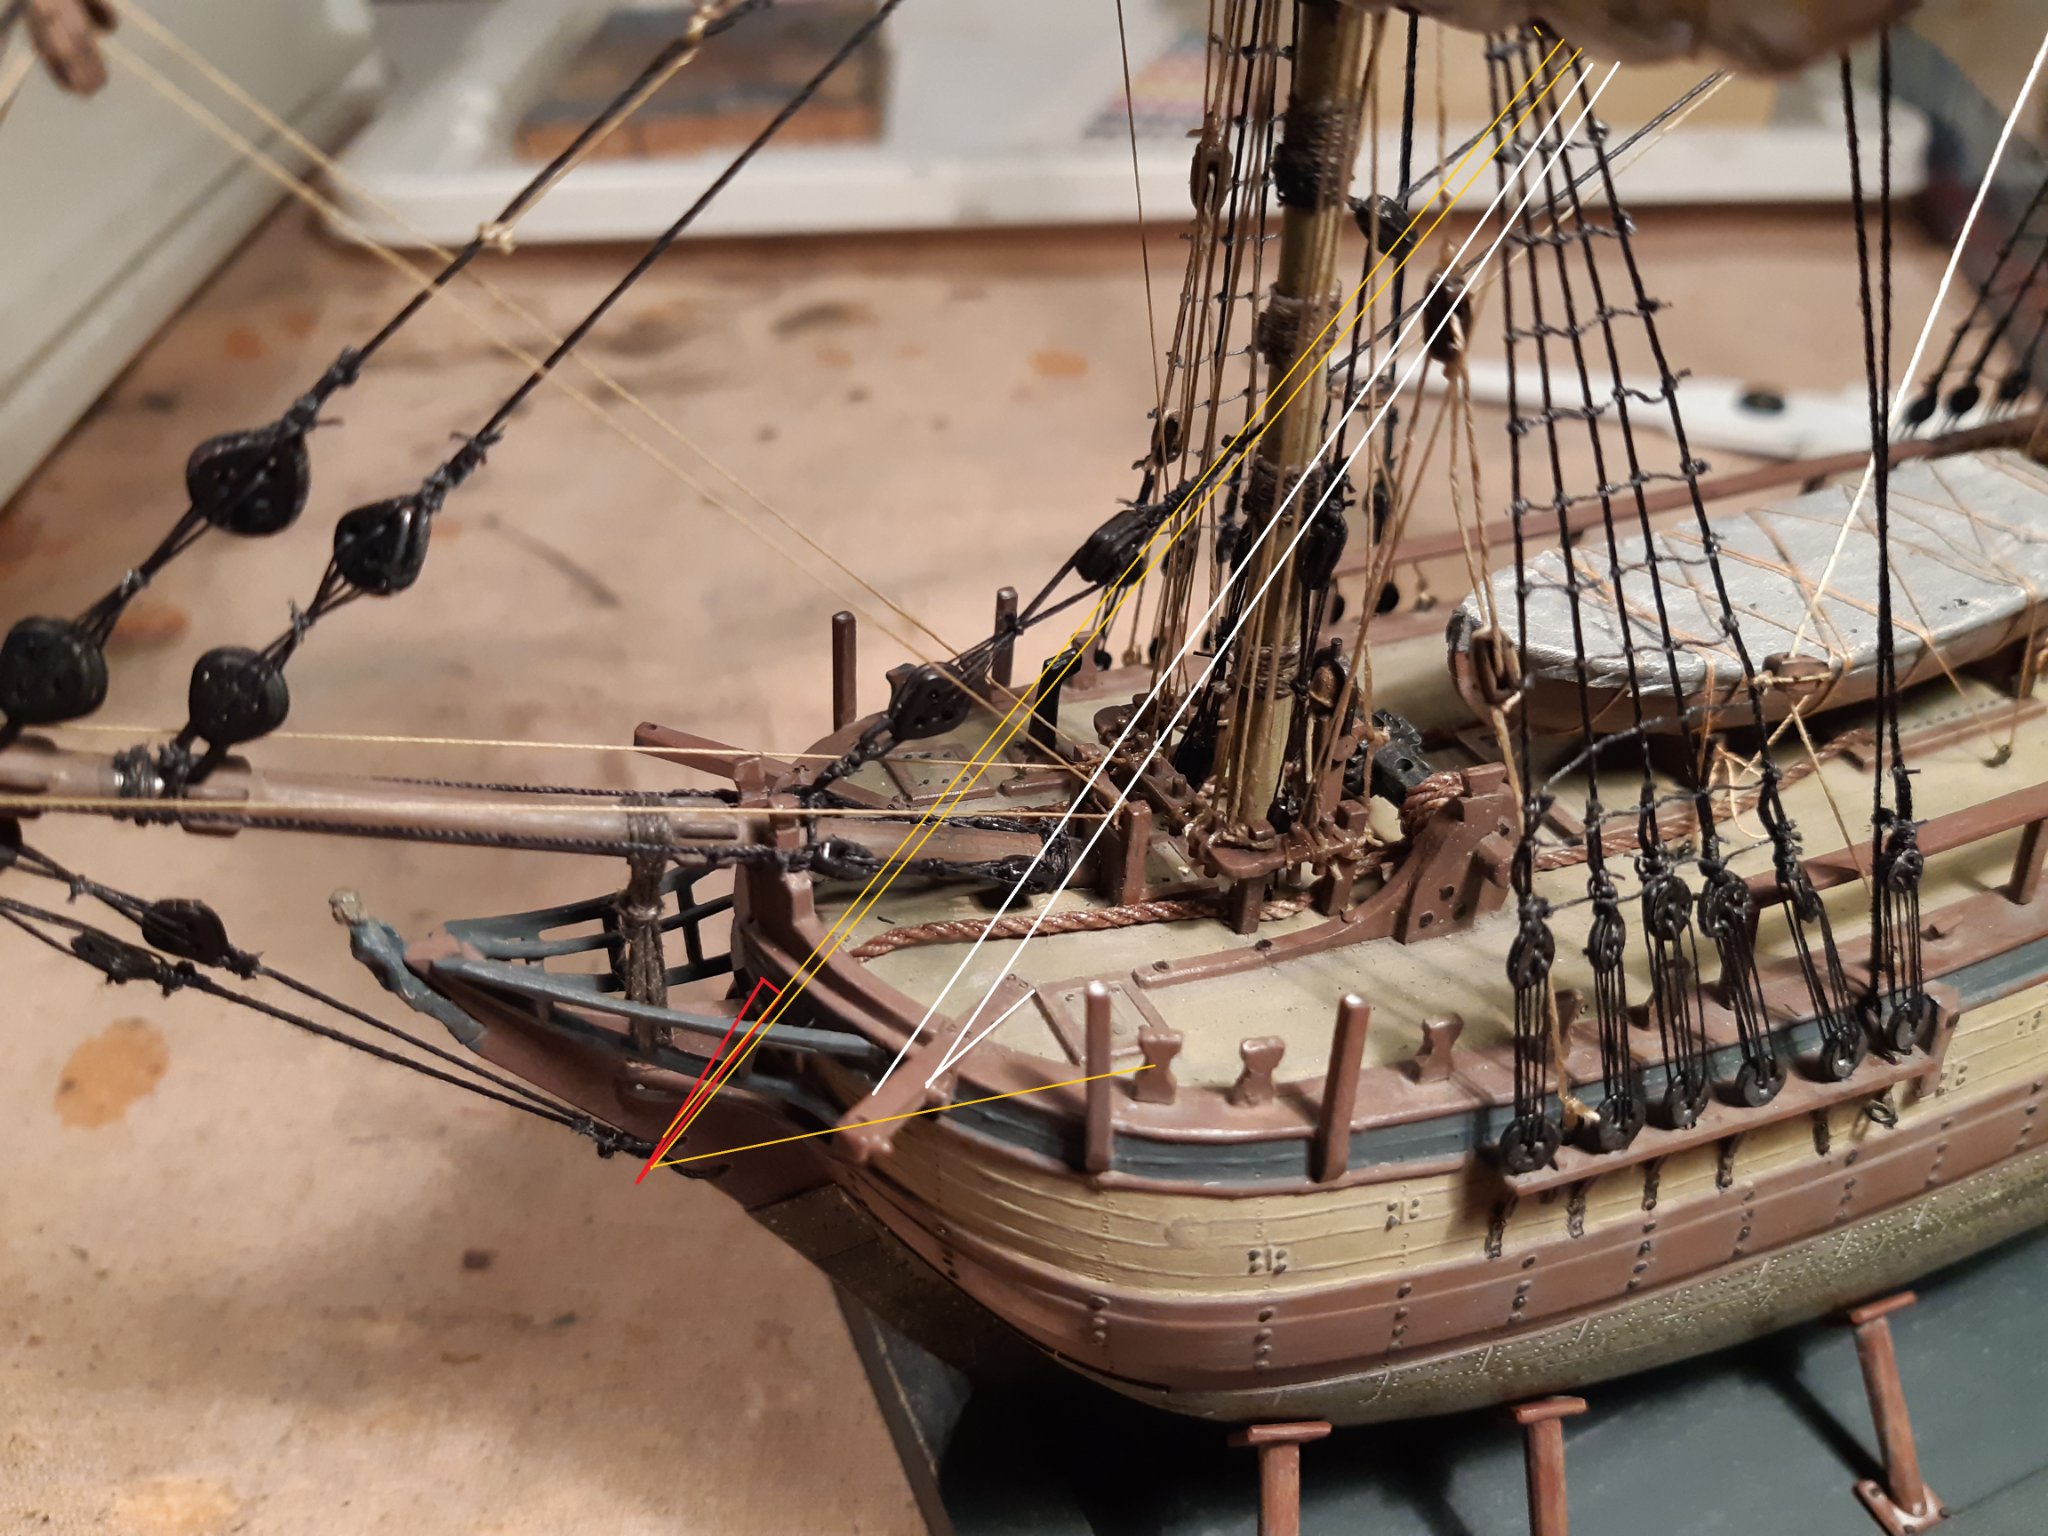
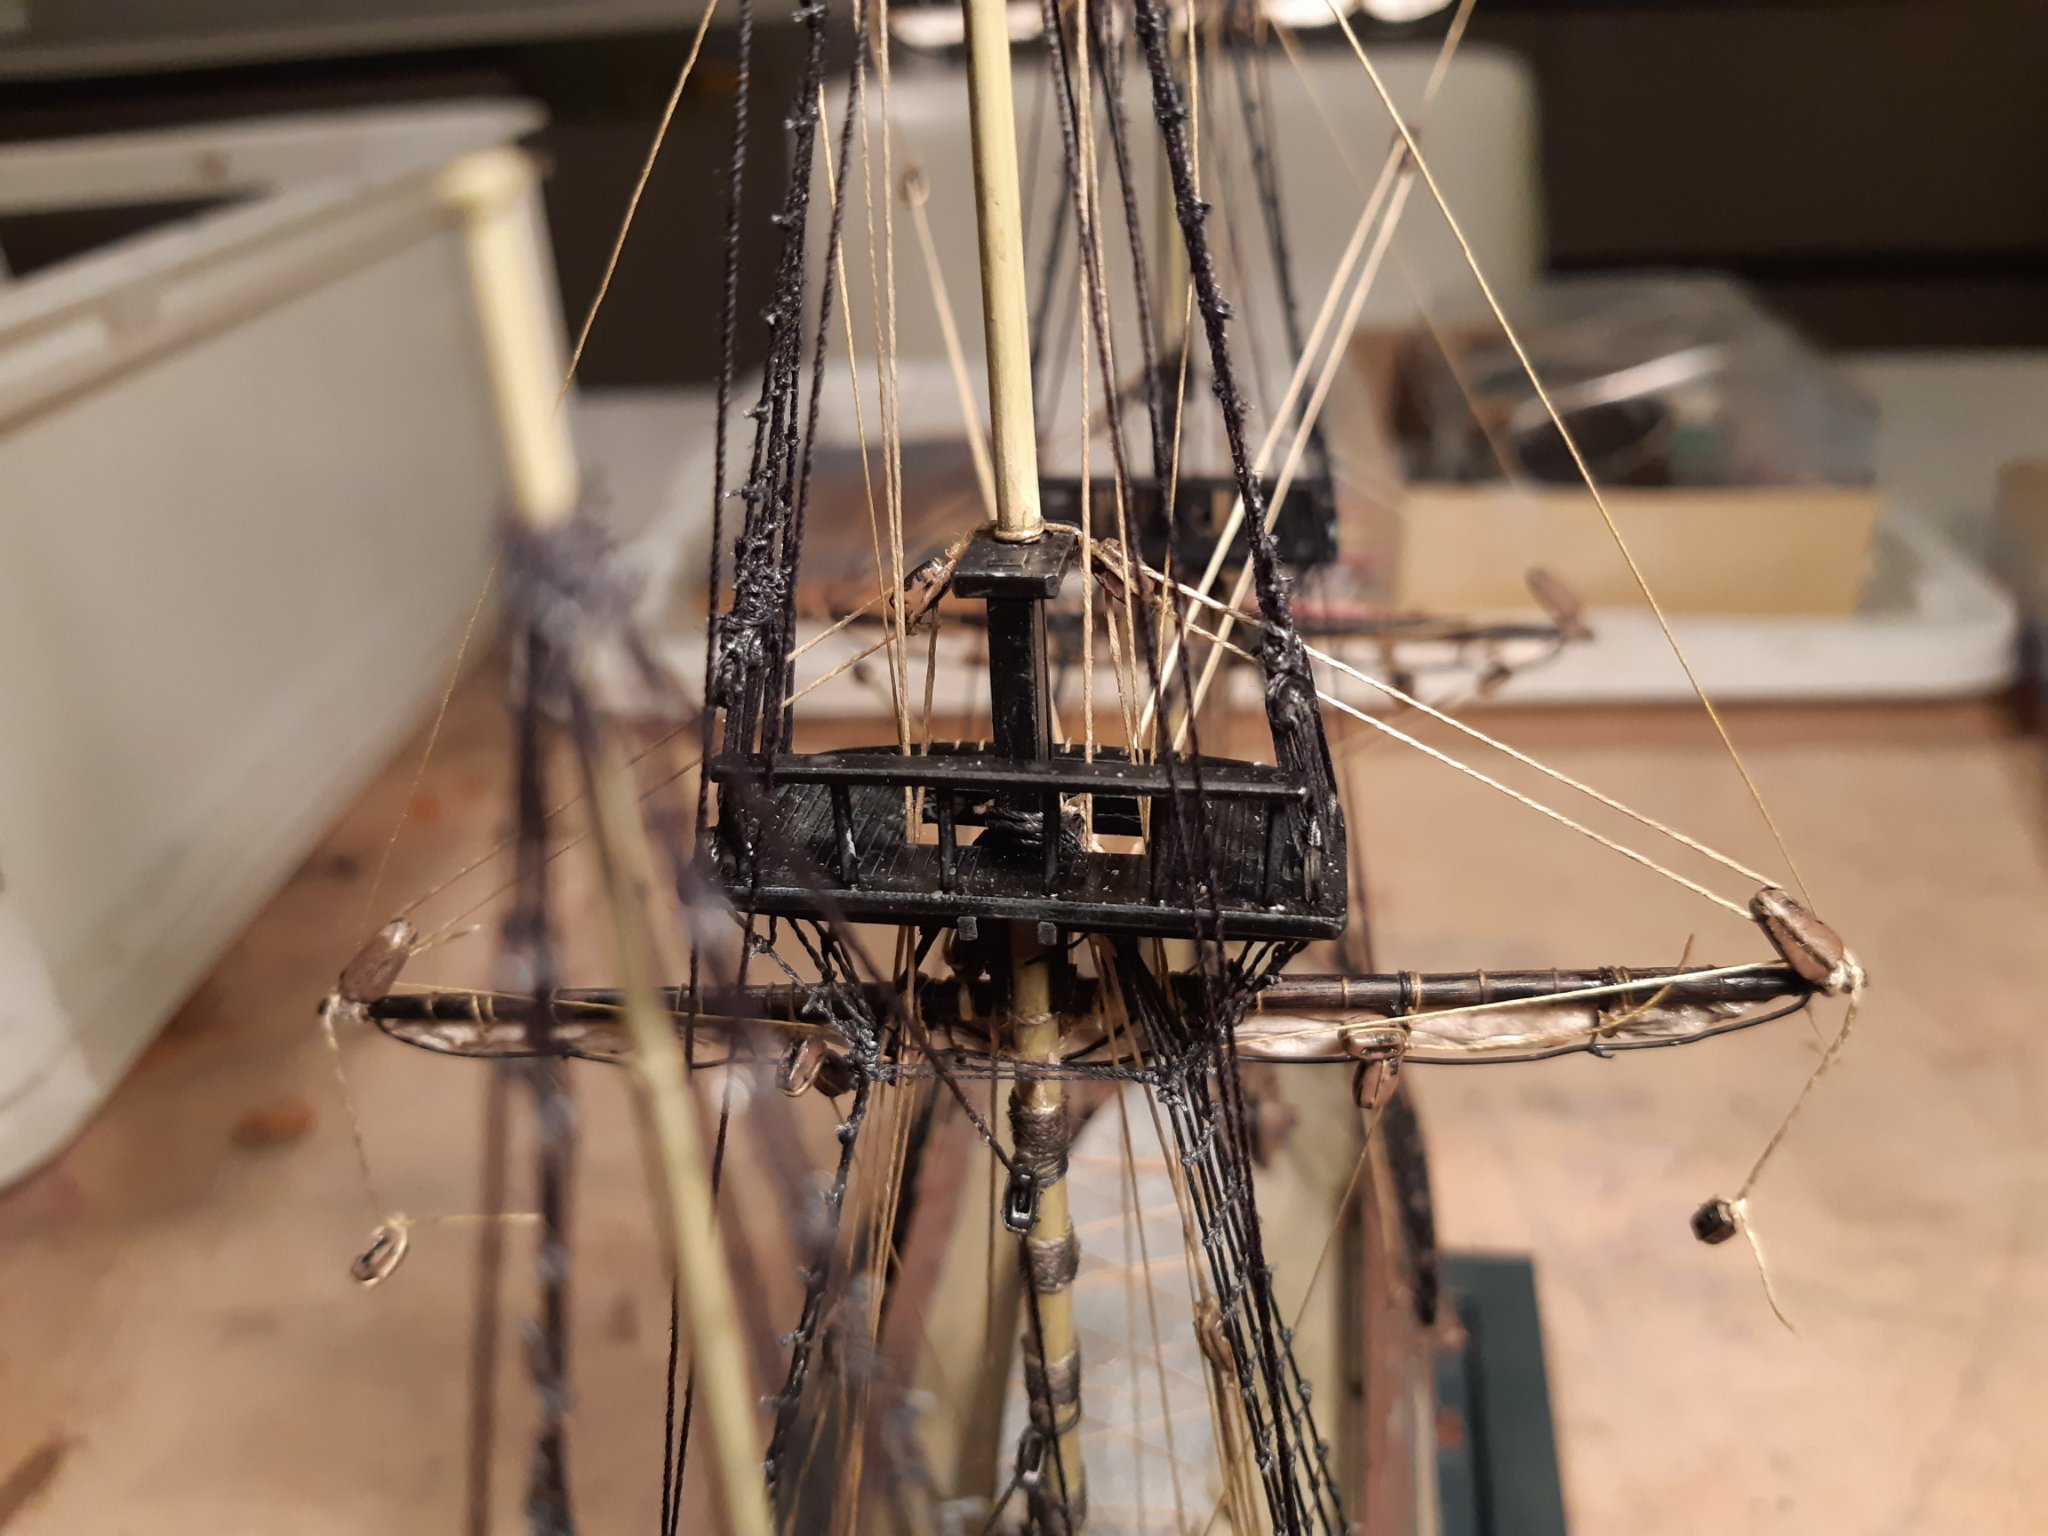
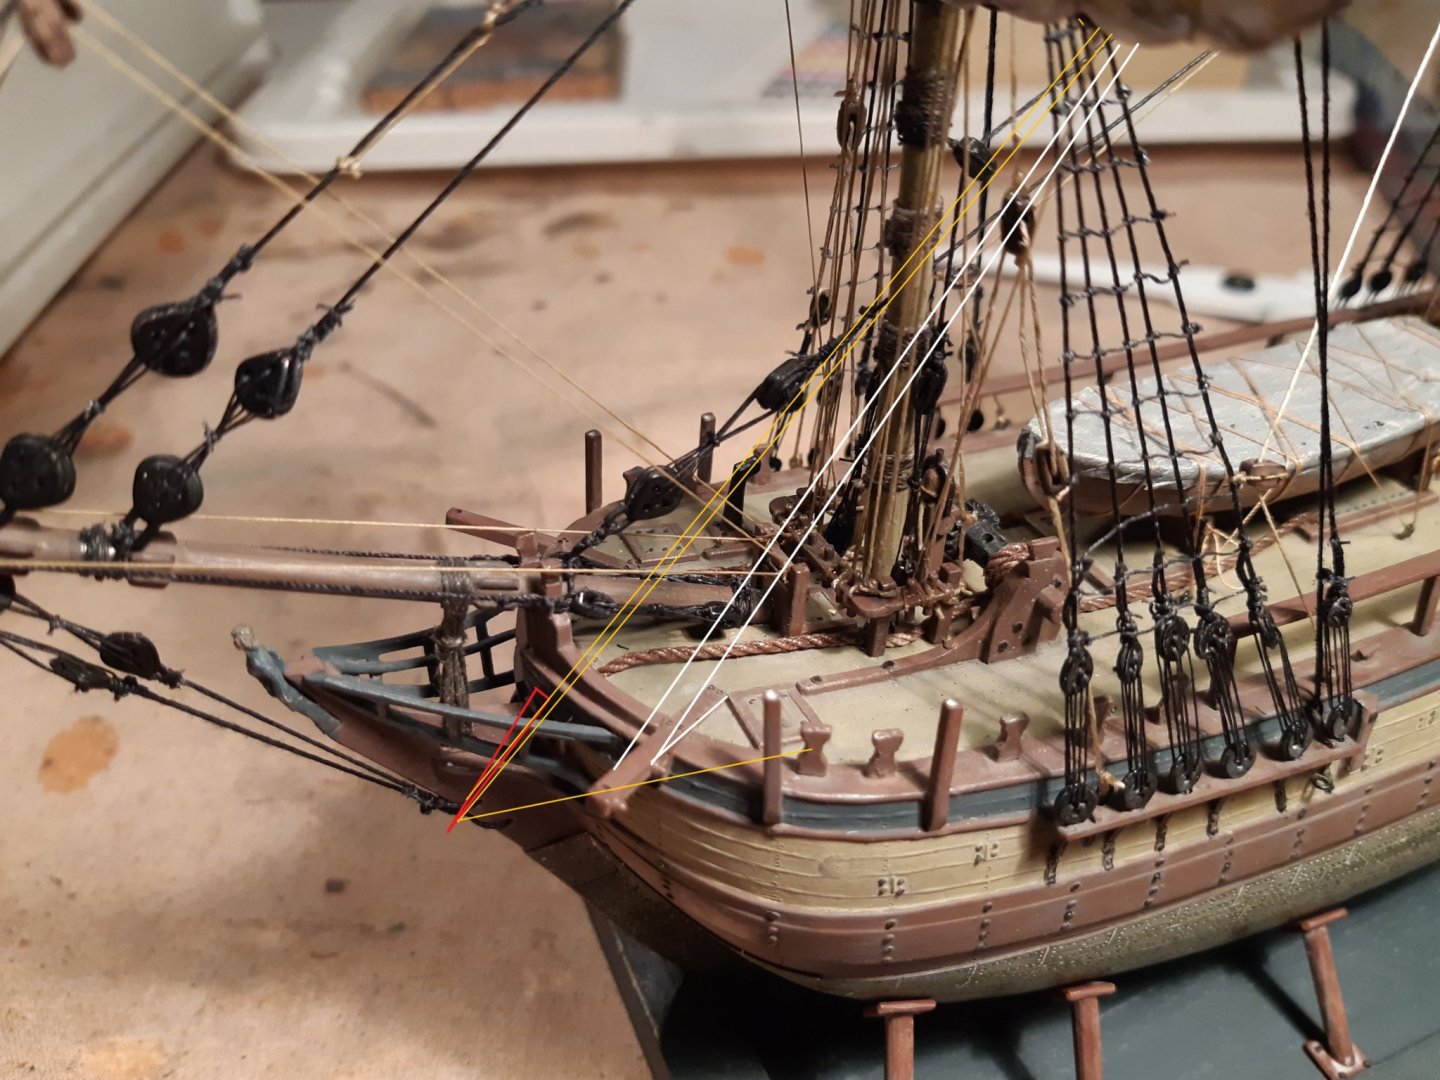
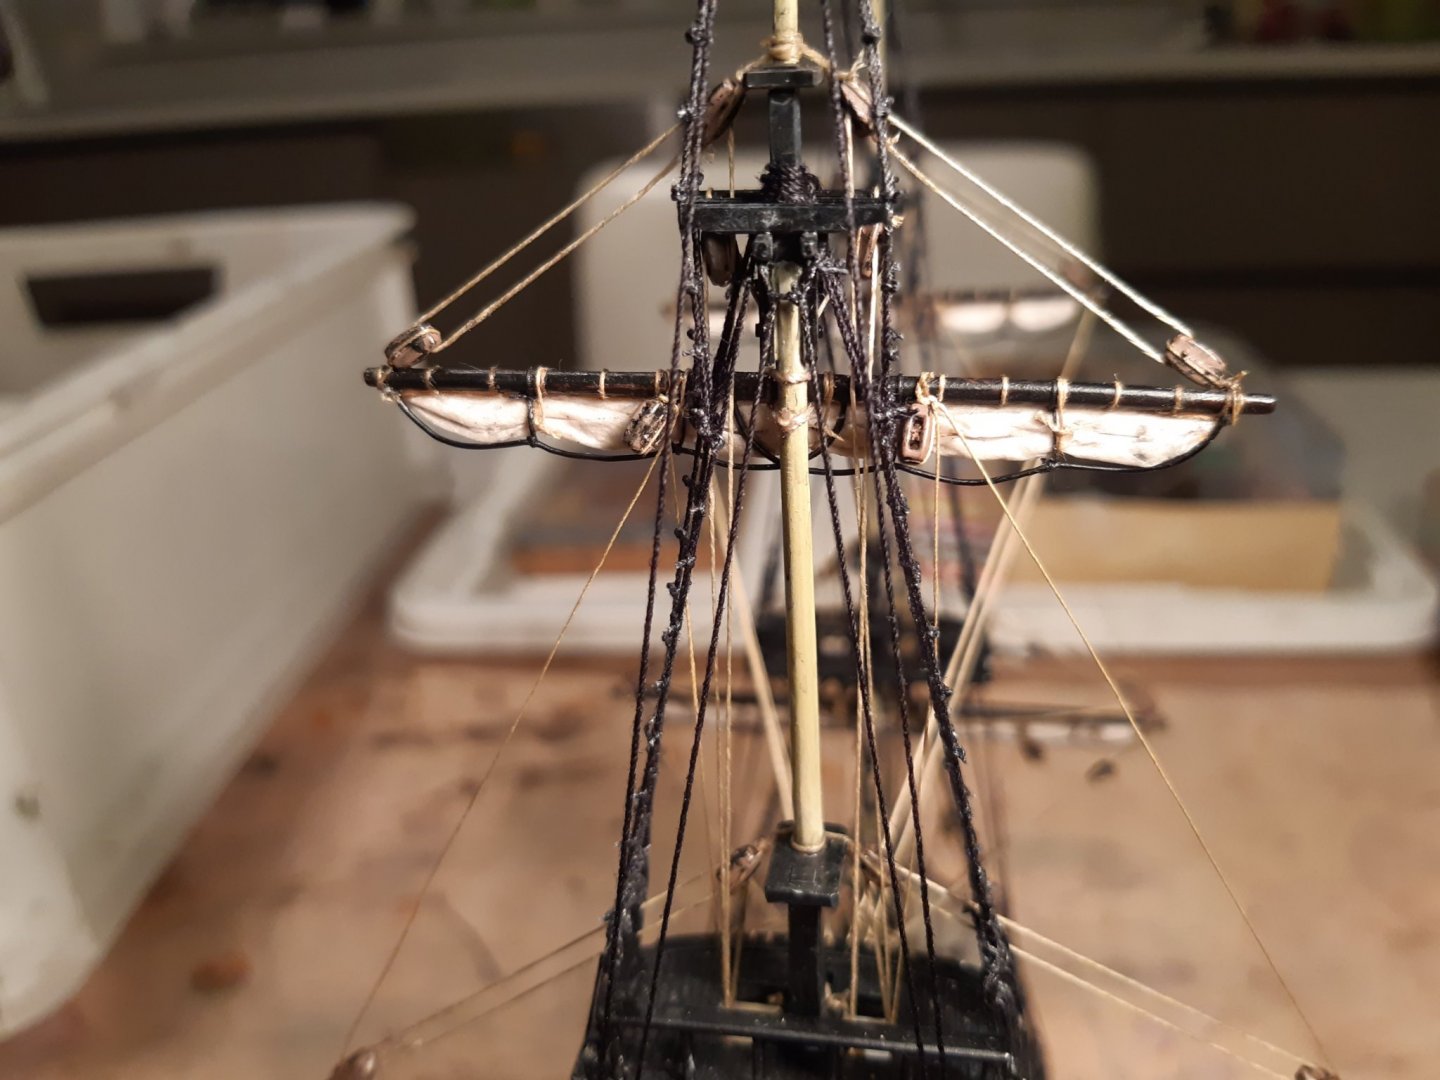
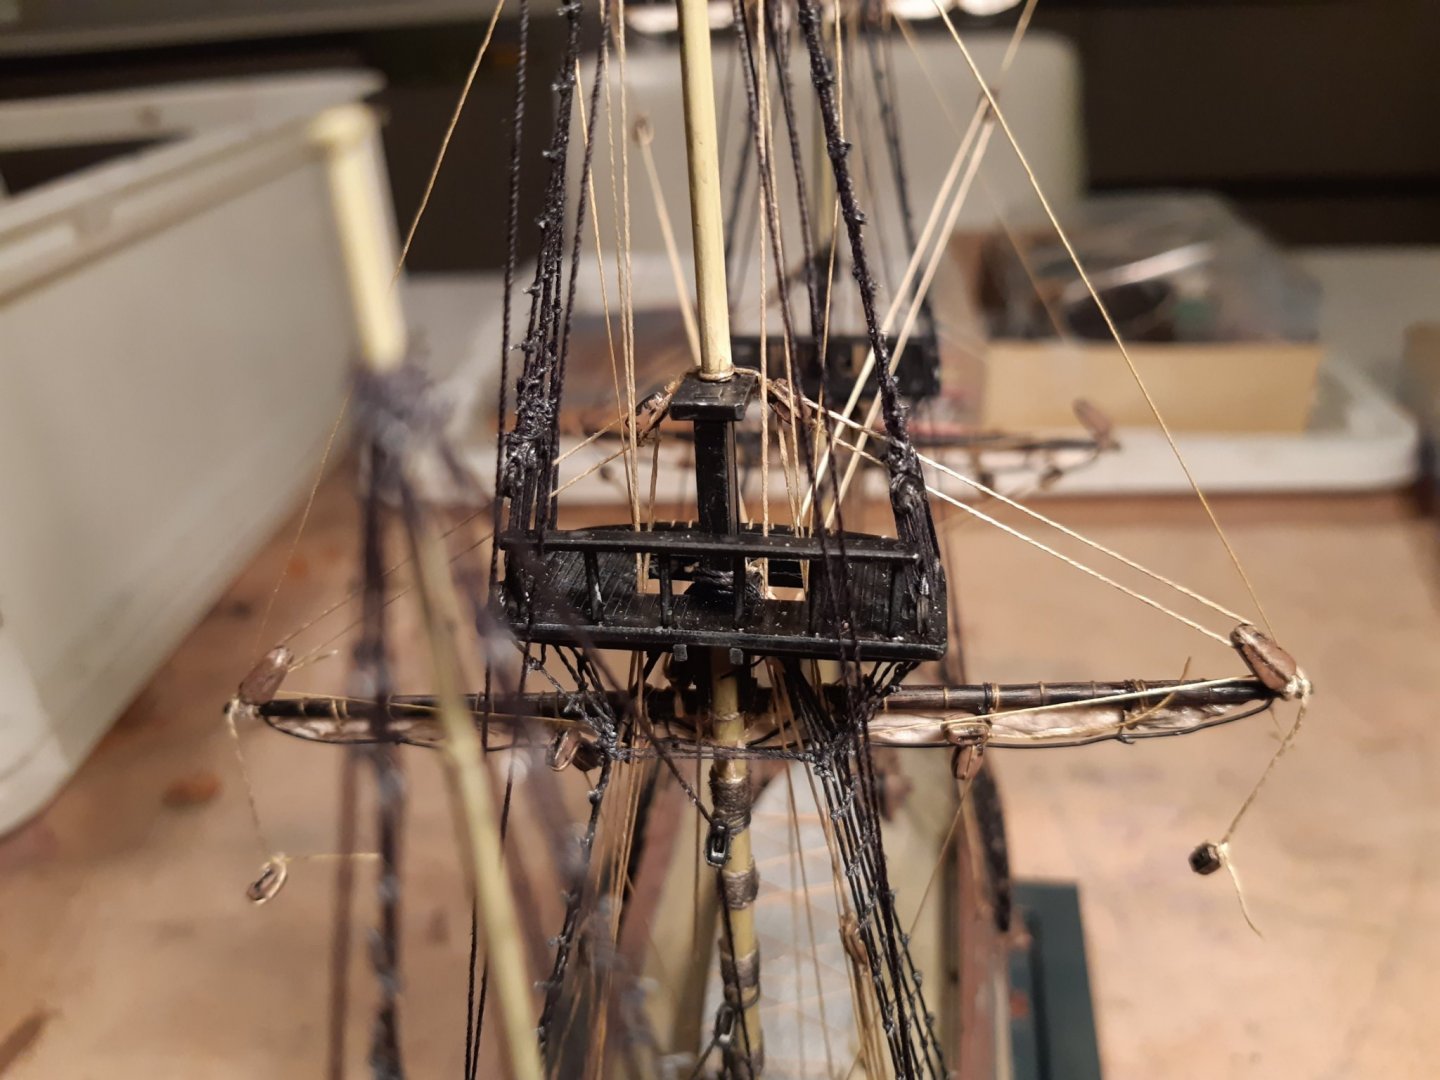
a few questions The yard of the mizzen sail. Should it stay on top (for some dark reason the photo is always upside down) May this go lower at the bottom of the mast 2. fore mast, lower sail. white lines On many kit models (and the Beagle replica) these ropes go to the cathead. Weird, I thought the cathead was just for the anchors. red, yellow lines Could this be a better solution. red is a wooden "stick, yard, mast?" and yellow are the ropes Rigging continues Discovered that treating the ropes with diluted matte black gives a positive result. And there are too few belaying pins in all the right places, and too much in the wrong places Thanks for following


-
Nice blocks, thanks. I had about the same idea ( also with holes 0.7 diameter). But it's not yet what I really want.
-
Actually, our good friend has experienced the pros and cons of Covid. Good, he can now sit inside the house every day. Not good, he had symptoms for one day but is now healthy again.
-
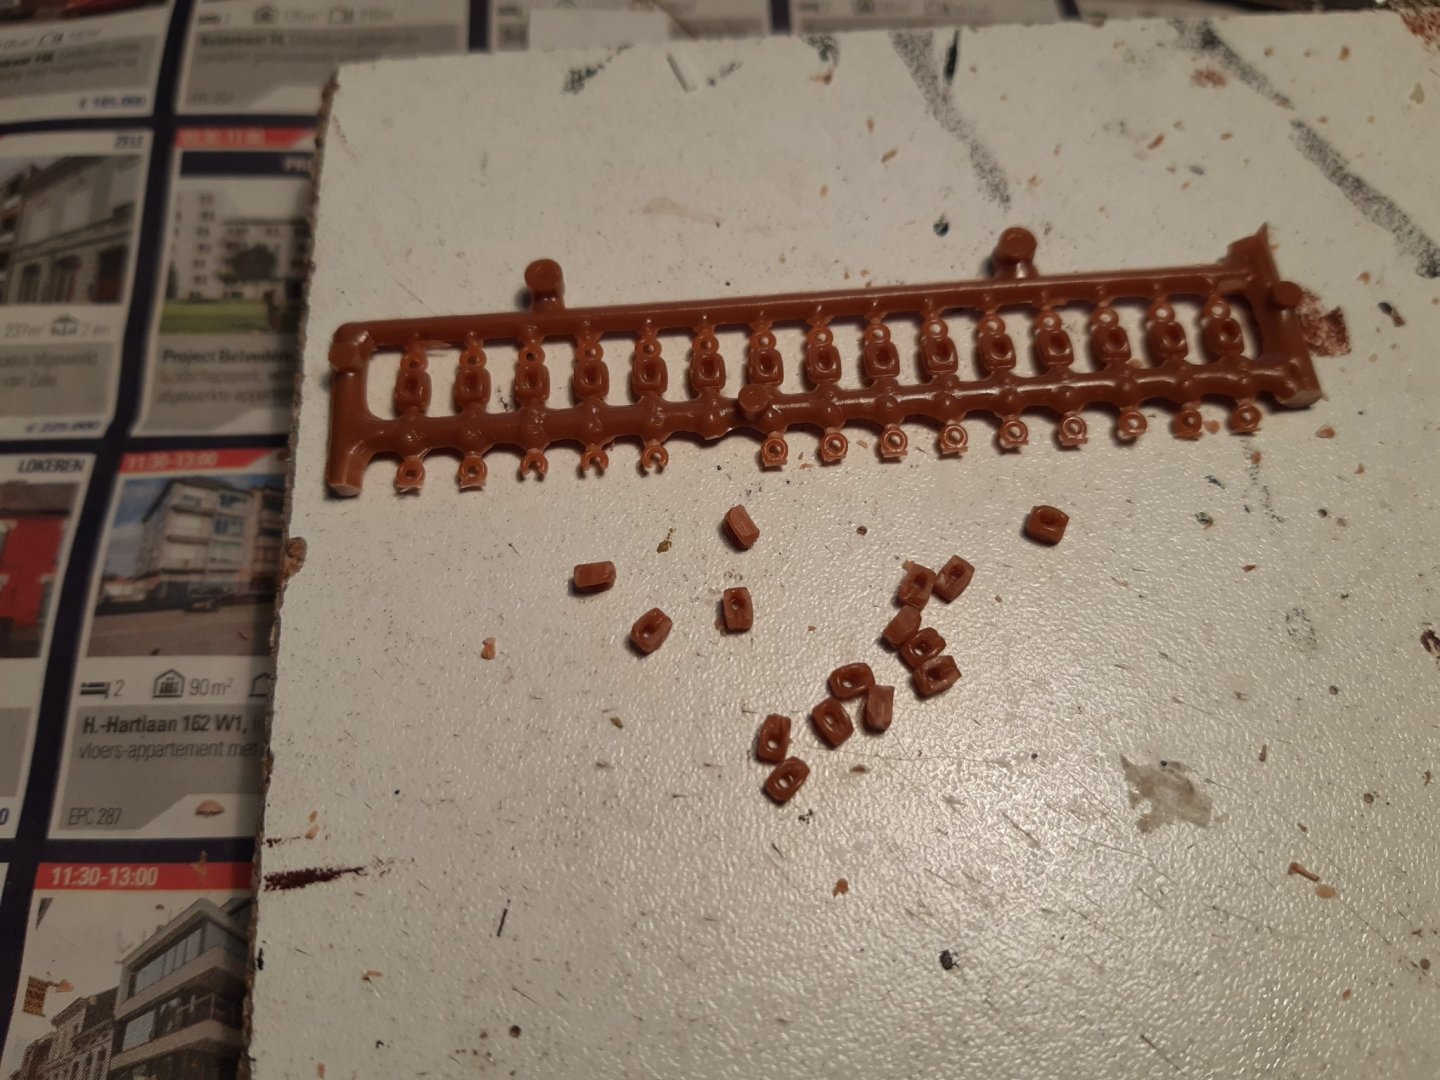
For the blocks I am happy that I have never thrown away the old blocks from Heller's SR. They are actually too big for the Revell Bounty, but for my application they are quite ok. I have already thought about how to make small blocks, without success for the time being. When I see how you can make such detailed parts on such a small scale. then making small blocks should be no problem for you . As stated in post 1. the whole box ended almost immediately in the waste bin 😳 First, i wanted to throw everything away. But it had some trouble with this idea. Main goals are : making of a good model and have fun.
-
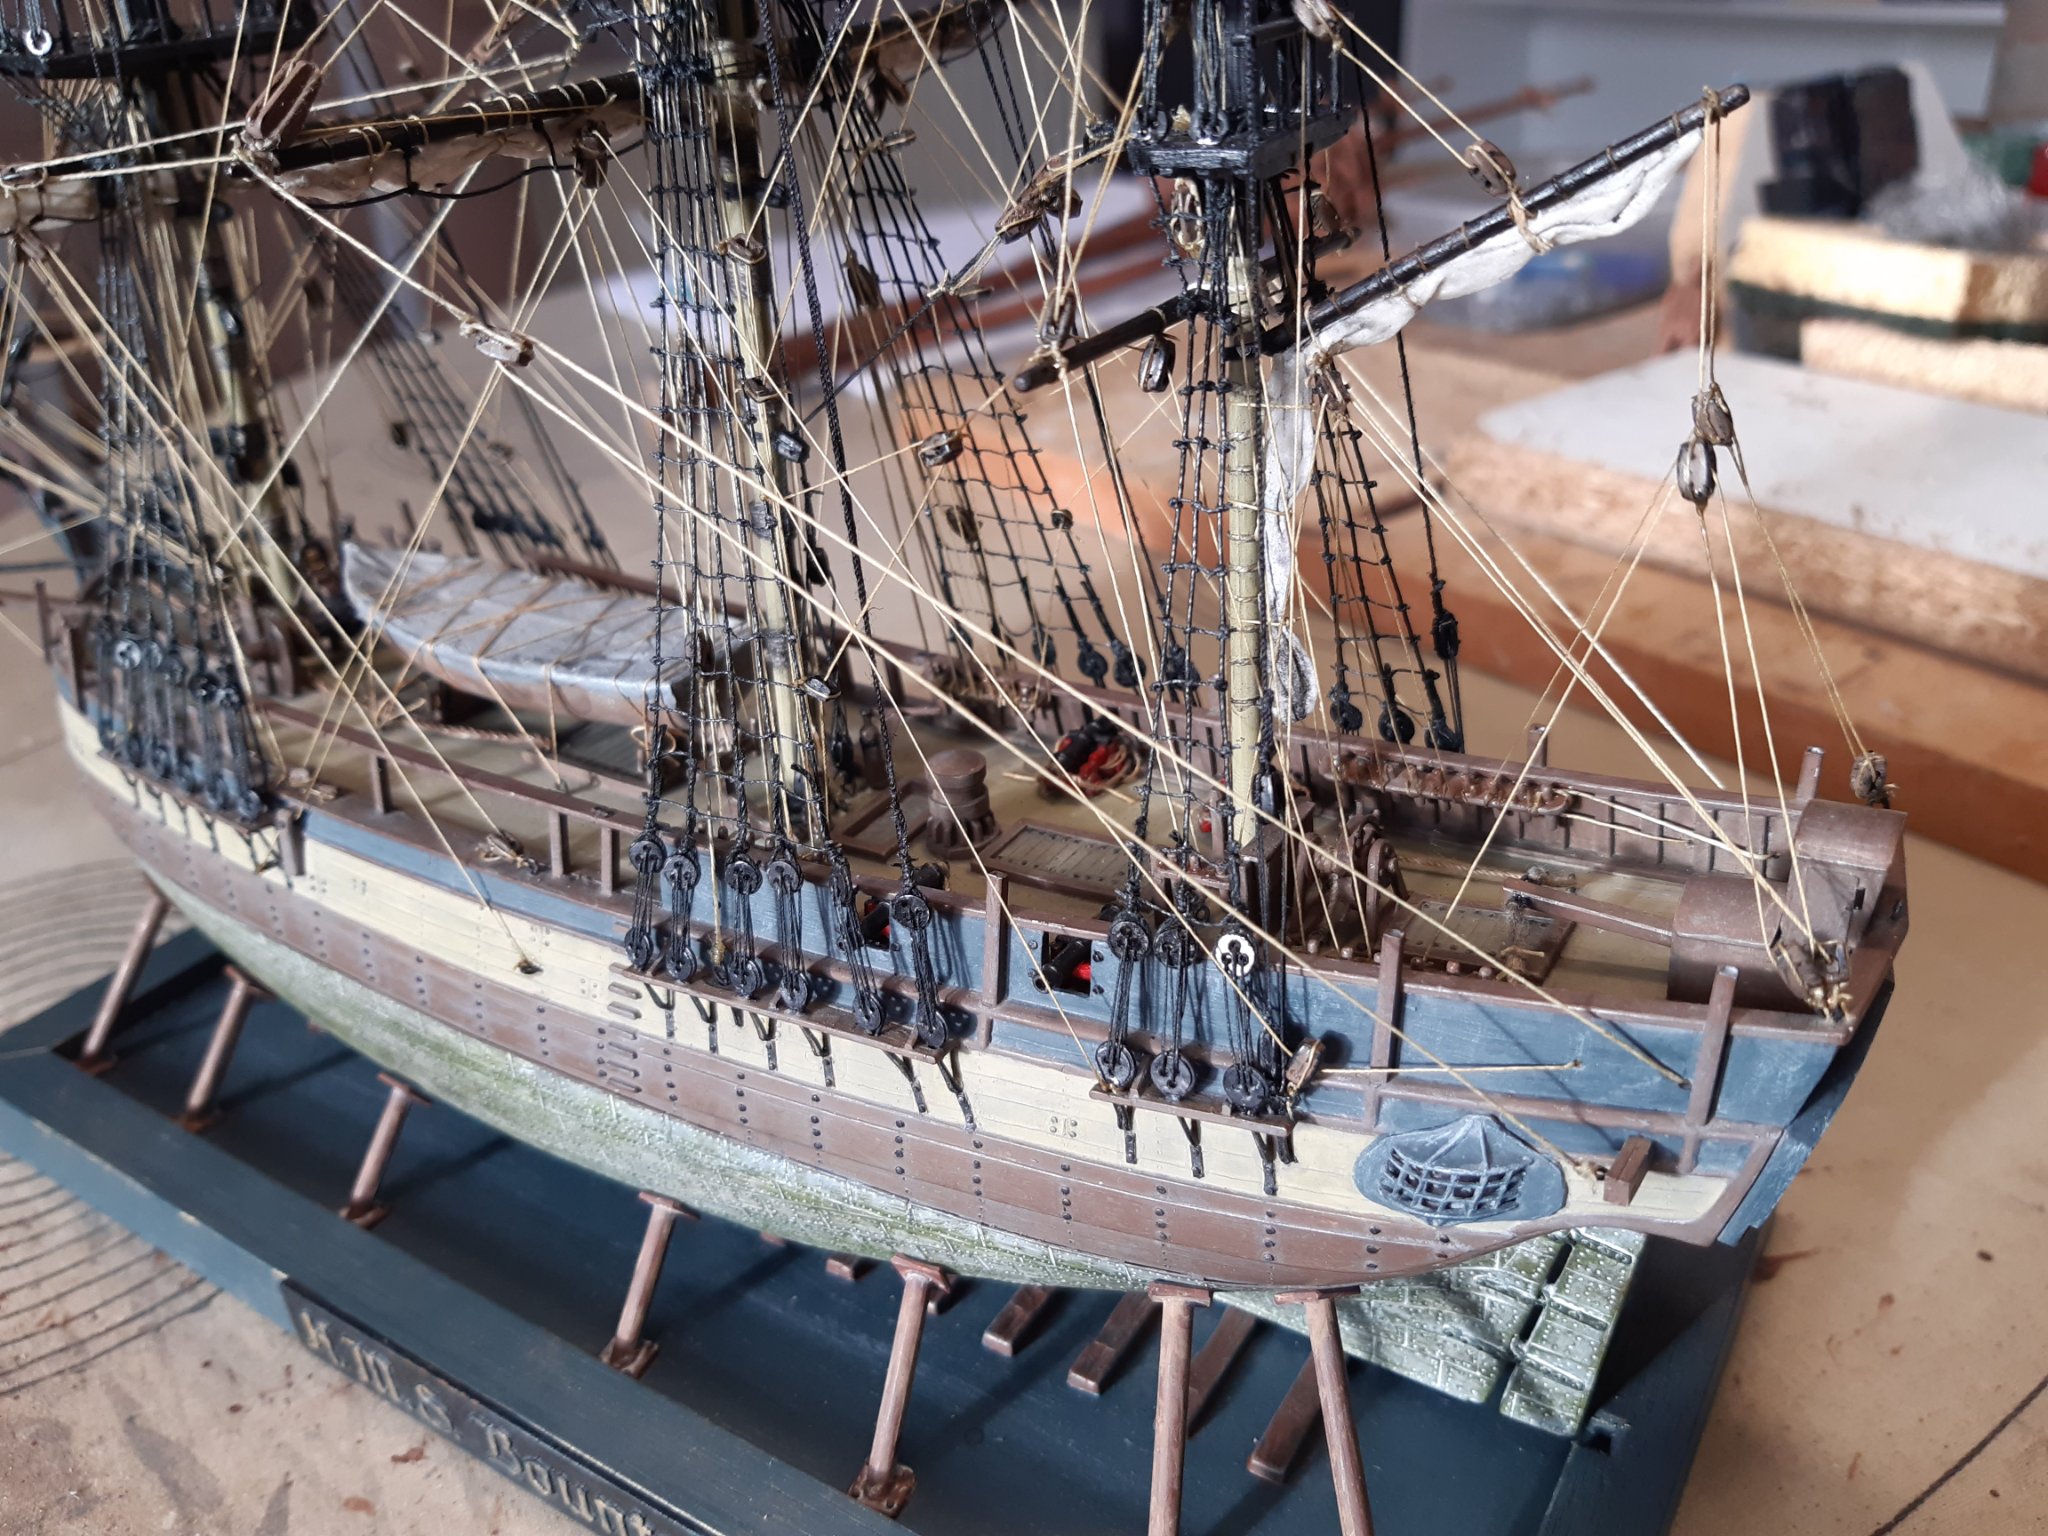
Rigging continues slowly. Lots of free time now, so I do an update faster than usual Made a sketch to have an idea of which wire should go where. And now and then a corona break, with wife and cat on the couch. The cat doesn't mind Thanks for following