
HOLIDAY DONATION DRIVE - SUPPORT MSW - DO YOUR PART TO KEEP THIS GREAT FORUM GOING! (Only 13 donations so far - C'mon guys!)
×


popeye the sailor
-
Posts
16,007 -
Joined
-
Last visited
Content Type
Profiles
Forums
Gallery
Events
Everything posted by popeye the sailor
-
 she's looking really good Sjors! I like the different woods as well
 -
such a nice start on the superstructure...looks really good !
-
it goes by the name Voltaren gel. they have a generic brand out there as well.....Diclofenac gel.....the only difference is the price
-
has your doctor mentioned that there is a topical cream out there that alleviates pain. my admiral uses it on her knee. she used it on my neck one day and it worked quite well. might be worth looking into it...hope it helps you out. get better!
-
I went through the information and articles I've compiled on her.......I see a number of refits and repairs, but doesn't say what was done. she did go through a modernization refit in 1832......and was decommissioned and recommissioned quite a few times. she remained in Norfolk Va. .....looks like the later part of 1800 till 1805, until she was recommissioned again......at this time, she was known as the U.S.F. United States. I have a birthday coming up......I think I know what to get myself hee.....hee I have a 1:150 {I think it is} U.S.S. constitution.....I quite agree..there were so many small consistencies in the kit, that I just built it as it was. I tend to blame it on the production date of the kit and the information available at the time of mold tooling. I like the older kits....I look for the tool dates on the parts {usually on the underside of the decks or inner hull halves}, or print dates on the instructions or box. I've never known her not to have the round house. that picture is included in one of the articles I have http://www.navsource.org/archives/09/86/86254.htm I have a few other articles as well.
-
looks great Julian!
-
glad to see your back at the table! I think it looks goo too following along in interest*
-
now you have me wanting to go out and purchase one of these kits. it appears to me that it in no way resembles the United states. where is the added poop deck and quarter deck badges? I have the 1:96 scale kit of the United States. I have built the 1:96 scale Constitution in my teen years........when I bought the United states kit, I found the extra poop deck parts were thrown in one of the bags, suggesting that the kit is a spin off of the Constitution model. if Revell didn't follow through with the 1:150 scale kit, then they failed you've done a great job of depicting life aboard a warship...but what I see is the Constitution....or even the President. unfortunately, it lacks the distinguishing features that depicts it as the United States. do carry on though......finished and with sails, this will be a really cool looking model. love to follow along
-
good to see some progress J. does the copper seem hard to work with at that thickness? craft stores may have some that might be thinner. this kit reminds me of my Thermopylae....some of the supplied parts look out of scale, or hard to work with due to the supplied material. try to scratch make the fife rails...you may find that you'll get better results. glad to see your back
- 258 replies
-
- 2
-

-
- harriet lane
- model shipways
- (and 1 more)
-
nicely done! they will look super with the finish work done on them
- 295 replies
-
- 3
-
-
- amatsukaze
- halinski
- (and 2 more)
-
sweet look'in boat Grant such a flawless finish! she's gonna look good on the water
- 339 replies
-
- 3
-
-
- dumas
- Chris-Craft
- (and 3 more)
-
I did an older production kit of the Nordkap. like yours, everything was printed and not die or laser cut. I was able to use 99% of the supplied wood, although some of the smaller parts were the dickens to cut out.
-
happy Birthday my friend! hope you had a great day
")
-
thanks Russ......I put in all the instruction rigging plus a few other lines. I'm kinda surprised that I'm not experiencing limp lines........only when the humidity is around. by the afternoon, the lines tighten back up and all is fine......I've even noticed it with the trawler. the only ones I'm not sure of are the bow braces....I hope I did them right. the anchors and the flag is all that's left. the blocks are another add-on that I found are working really well, even though they came from a 1:96 scale model. I'm very pleased with how they worked out.......they do enhance the model quite a bit. there is a second part to this log....I'll begin that when the Jolly Rogers is finished I appreciate the kind word........I can respect those who do the larger scale models of these particular ships.......there's so much to them! thanks again! thanks for the likes every one!
- 140 replies
-
- 5
-
-
- jolly roger
- lindberg
- (and 1 more)
-
thanks Lawrence.......yea, you know us pirates.......we sneak in your back door it's almost finished.......but not the log. it's a fun little kit.....I wouldn't suggest running right out to buy one though. but it is good for a bit of comic relief thanks for the good word my friend!
- 140 replies
-
- 4
-
-
- jolly roger
- lindberg
- (and 1 more)
-
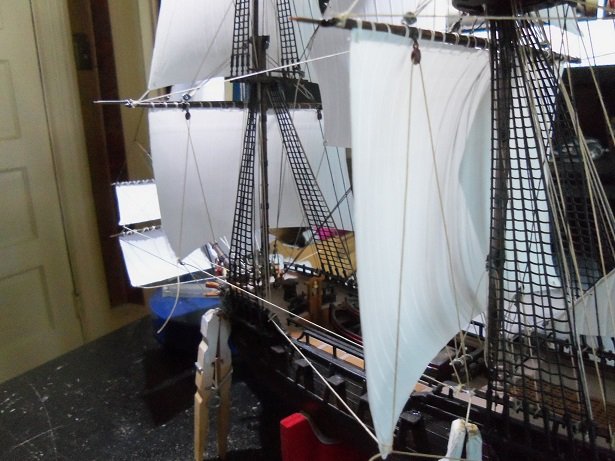
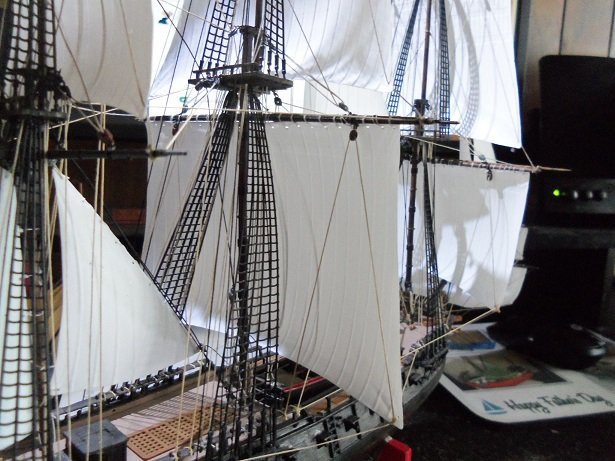
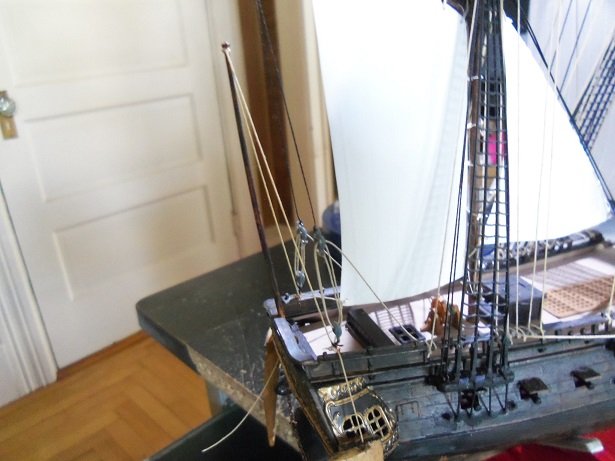
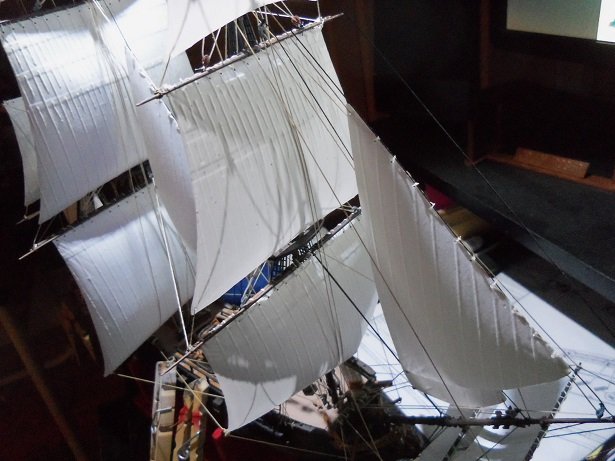
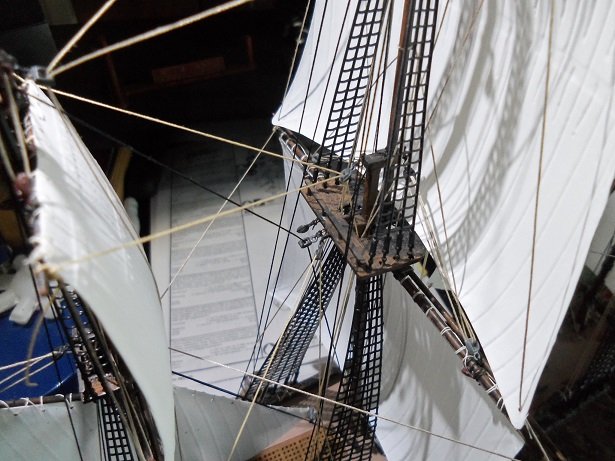
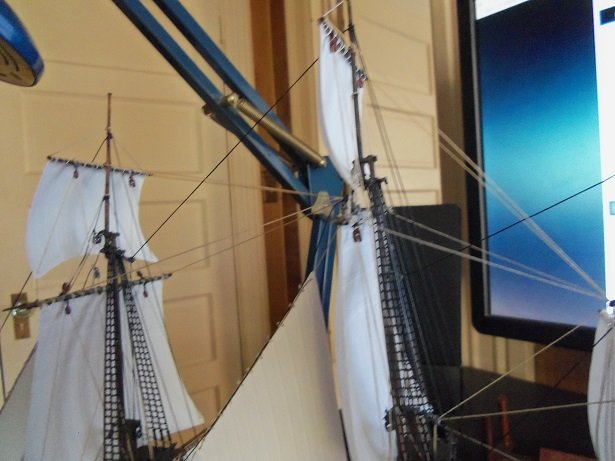
thanks Glenn...and all who hit the like button. I was having a problem with the like button.....not sure if anyone else was.......it would intermittently post my like. I'd get the 'X'....but if I went back to the log, it would be gone. it seems to be fixed....very happy to be posting my likes on all of the fine projects I watch! I did make a little more progress today........I thought I'd get another random shots of how the upper braces are rigged. they are done now......even the tack lines. I did the sheet/clew lines for the course sails........fore and main. I also rigged the flag staff.....I routed the thread through one way, then routed it the other way....which is the way it is now. I'm a bit surprised with how much rigging there is......it's not a large model......I suppose there could be more, if I were bold enough now I tackled the braces for the bow......I'm not sure if they are rigged this way, or down further on the fore mast. it does add a bit more to the bow just a tiny bit more to do..........then...... thanks for look'in in

- 140 replies
-
- 10
-
-
- jolly roger
- lindberg
- (and 1 more)
-
look'in great Frank! the paint is fantastic.....coming along in fine style another super way to make a ladder
-
I have the perfect project to try it on .......I just need to get to the point where I can start on it. I'd be pleased to try it out
- 420 replies
-
- 1
-
-
- captain roy
- lugger
- (and 2 more)
-
I'm catching up on your lugger Russ.....the bulwarks came out really swell! that's a neat idea about the jig......this would come in handy for anyone who has to do the small scuppers like these. Bluenose models especially the hull looks great.......nice job on the planking...wow!
- 420 replies
-
- 1
-
-
- captain roy
- lugger
- (and 2 more)
-
shadow looks to be a brute, next to Majellan......your largest project to date a fine collection indeed! amazing to see how small you can get....the jet skis are going to really test you, I think. looking good so far
-
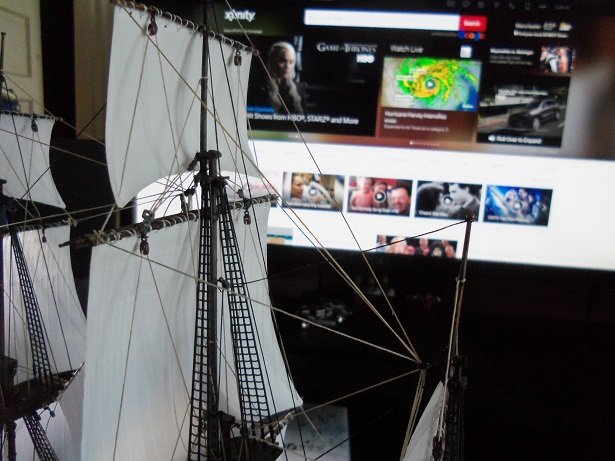
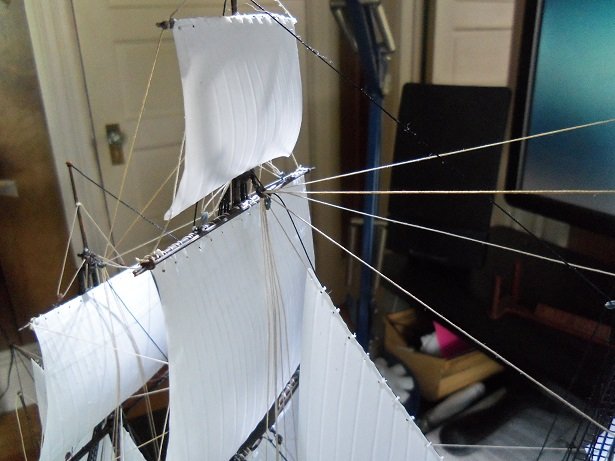
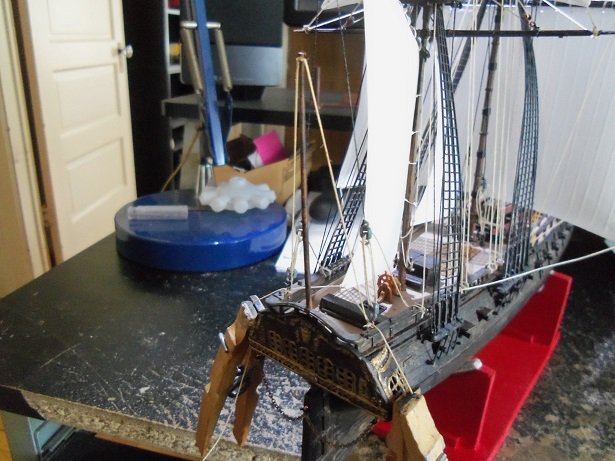
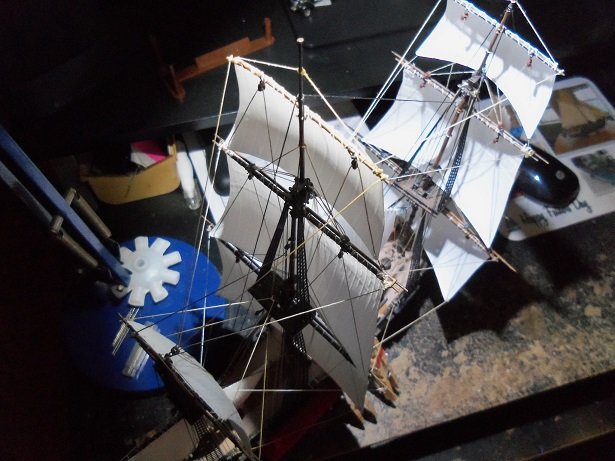
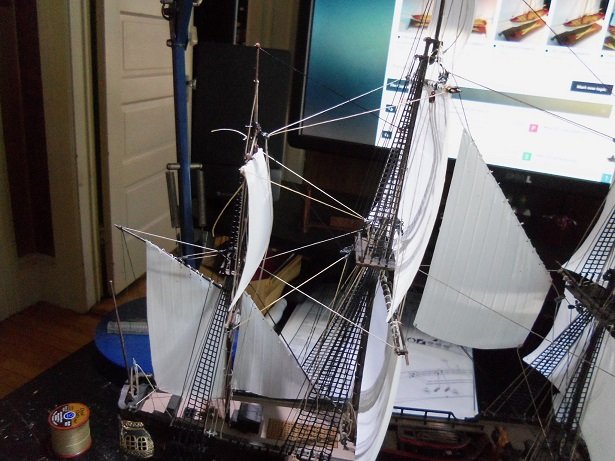
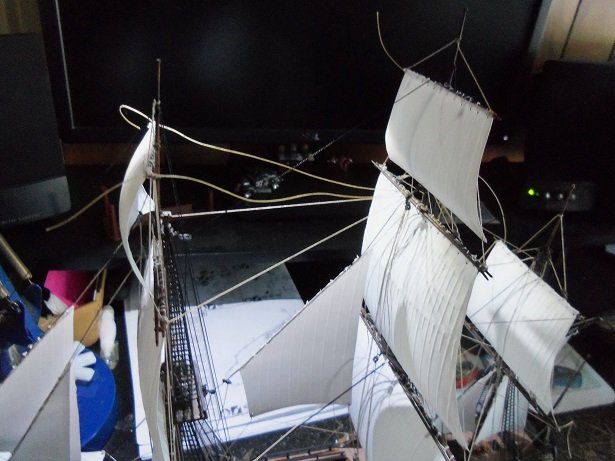
it been a while since I last posted....fine time for me to get the itch to do something.......my weekend is almost over! there's not much left to do on the Jolly Rogers, just finish the braces, rig the tack lines, the course sheet/clew lines, and the anchors....oh, and of course, the pirate flag. starting with the braces, I had rigged the fore mast braces, so I continued with the mizzen braces. there were only two sets.......the mizzen course yard and the Mizzen top sail yard. I then noticed that I didn't rig the pair for the main and fore top gallant yards. I hadn't tied any blocks for these lines, so I ran them through the blocks for the fore top sail yard braces. I ended up doing the same for the main top gallant yard, running them through the main top sail yard brace block, that I had tied to the mizzen mast. I also pulled a blunder.........I had tied the tack lines for the fore course sail on the port side.......I also tied on the sheet/clew line. when I got back to it.....I saw this and forgot why I had done it, so I cut it off.........DUH!!! now that I remember, I need to tie another on on in it's place, as well as the lines for the main course sail. I began to rig the tack lines. the stand works great......I haven't had any problems with the model becoming topsy-turvy, with the exception of knocking off those darn gun port lids! I just keep gluing them back on as I go along, thankful that I haven't knocked loose any cannons in the process. the top gallant braces are dry enough by now, that I can trim off all the excess thread. the redirection in the rigging process doesn't look bad at all. Another thing that I'm looking at, is the bow spirit and boom. I did not rig any sheet/clew lines for the sails.......and I'm sure that the yards must have had braces. I didn't rig any blocks for any of this.....I'm kinda stuck on what to do. I can remedy the braces dilemma.....but tying blocks for the clew lines might be a bit tight....I may forgo them. I'd really like to finish her this week.........

- 140 replies
-
- 15
-
-
- jolly roger
- lindberg
- (and 1 more)
-
I had no doubt you'd figure out your situation....you've become quite adept in dealing with these sort of problems. I look forward in seeing how you overcame it
-
I've noted that with smaller kits I've built......they use 3/16 plywood, when they could have gotten away with thinner stuff. some kit have you thin down the stern stem as well. are those plastic pintles? {I think it's the pintle side of the rudder hinge assembly that is attached to the stem}. Billings uses these parts as well......I don't use them........I make them from thin strip brass. it's flexible enough so I can adjust for the thickness difference. you may find that you'll need to widen the gap in the stem's face, to decrease the gap between the rudder and the stem. ah....yes........you said they are of a soft metal. I saw them and I thought of the Billing's crap right away.......pardon
- 179 replies
-
- 1
-
-
- santa maria
- mamoli
- (and 1 more)
-
thought you would be.........couldn't see you doing it any other way it's best to eat the whole elephant......and not just the parts you like
