HOLIDAY DONATION DRIVE - SUPPORT MSW - DO YOUR PART TO KEEP THIS GREAT FORUM GOING! (Only 24 donations so far out of 49,000 members - C'mon guys!)
×


mtaylor
-
Posts
26,273 -
Joined
-
Last visited
Content Type
Profiles
Forums
Gallery
Events
Everything posted by mtaylor
-
HI Walt, This may have more info that what you want, but here's a link: http://www.pettigrews.org.uk/lm/page030a.htm There is an excellent article in the database here:http://modelshipworldforum.com/ship-model-masts-and-yards.php There's also these: http://modelshipworld.com/index.php/topic/12265-mast-shaping-help/ http://modelshipworld.com/index.php/topic/12533-working-the-masts/ http://modelshipworld.com/index.php/topic/2876-octagonal-spars/ http://modelshipworld.com/index.php/topic/2128-octagon-portion-of-a-yardmast/
-
It's good that you got over the cold, Siggi. They can be nasty in the summer. I think this is beyond a captain's barge.. Maybe an admiral's barge? Incredible work, Siggi.
- 58 replies
-
- 3
-

-
- barge
- ships boat
- (and 1 more)
-
Grant, It's probable. EdT had some in his Niaid log that were made from wood with brass fittings. I just went for what I had handy. Maybe something like a spale type of measuring tool???
-
Charles Fryatt: The man executed for ramming a U-Boat
mtaylor replied to dgbot's topic in Nautical/Naval History
Fascinating article. I just wish it had more info as to the "why?". Seems as long as there have been merchant ships, they've been a target by pirates, various warring parties and were usually armed. Even today, many are still armed around the Somali coast. -
I can only imagine what the guys printing that cannon thought. I had to look to find it those pictures with the scale. Very impressive work on that.
-
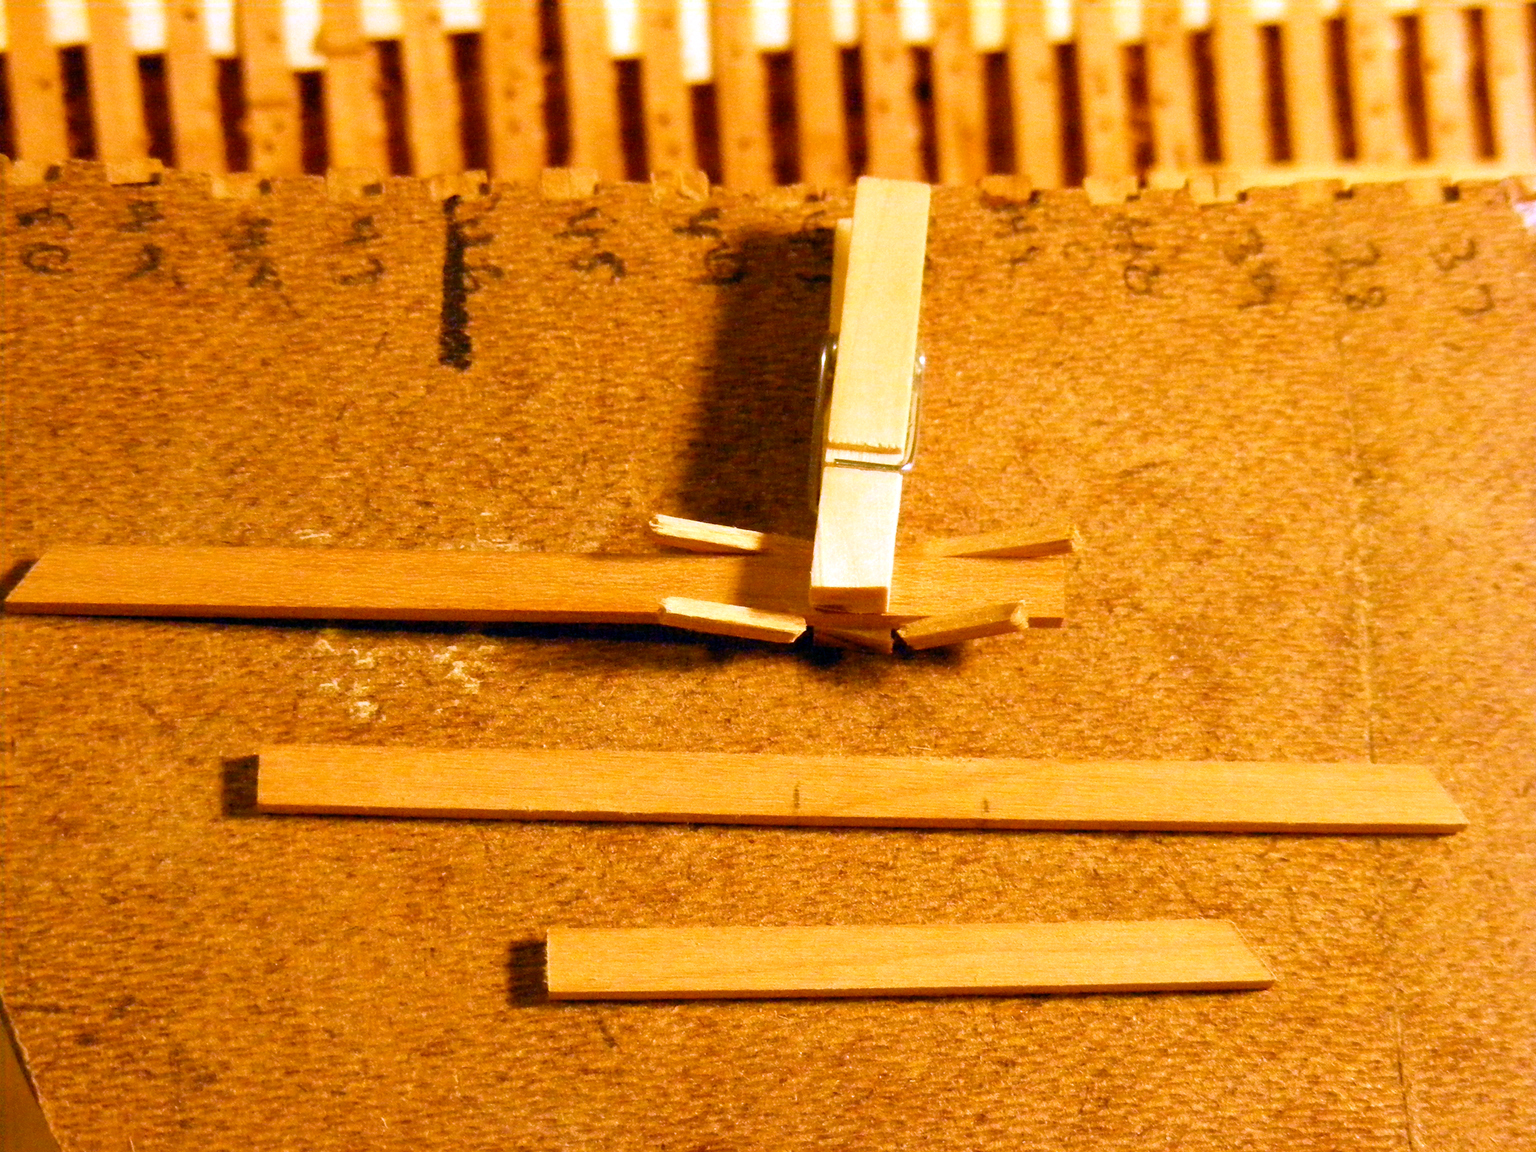
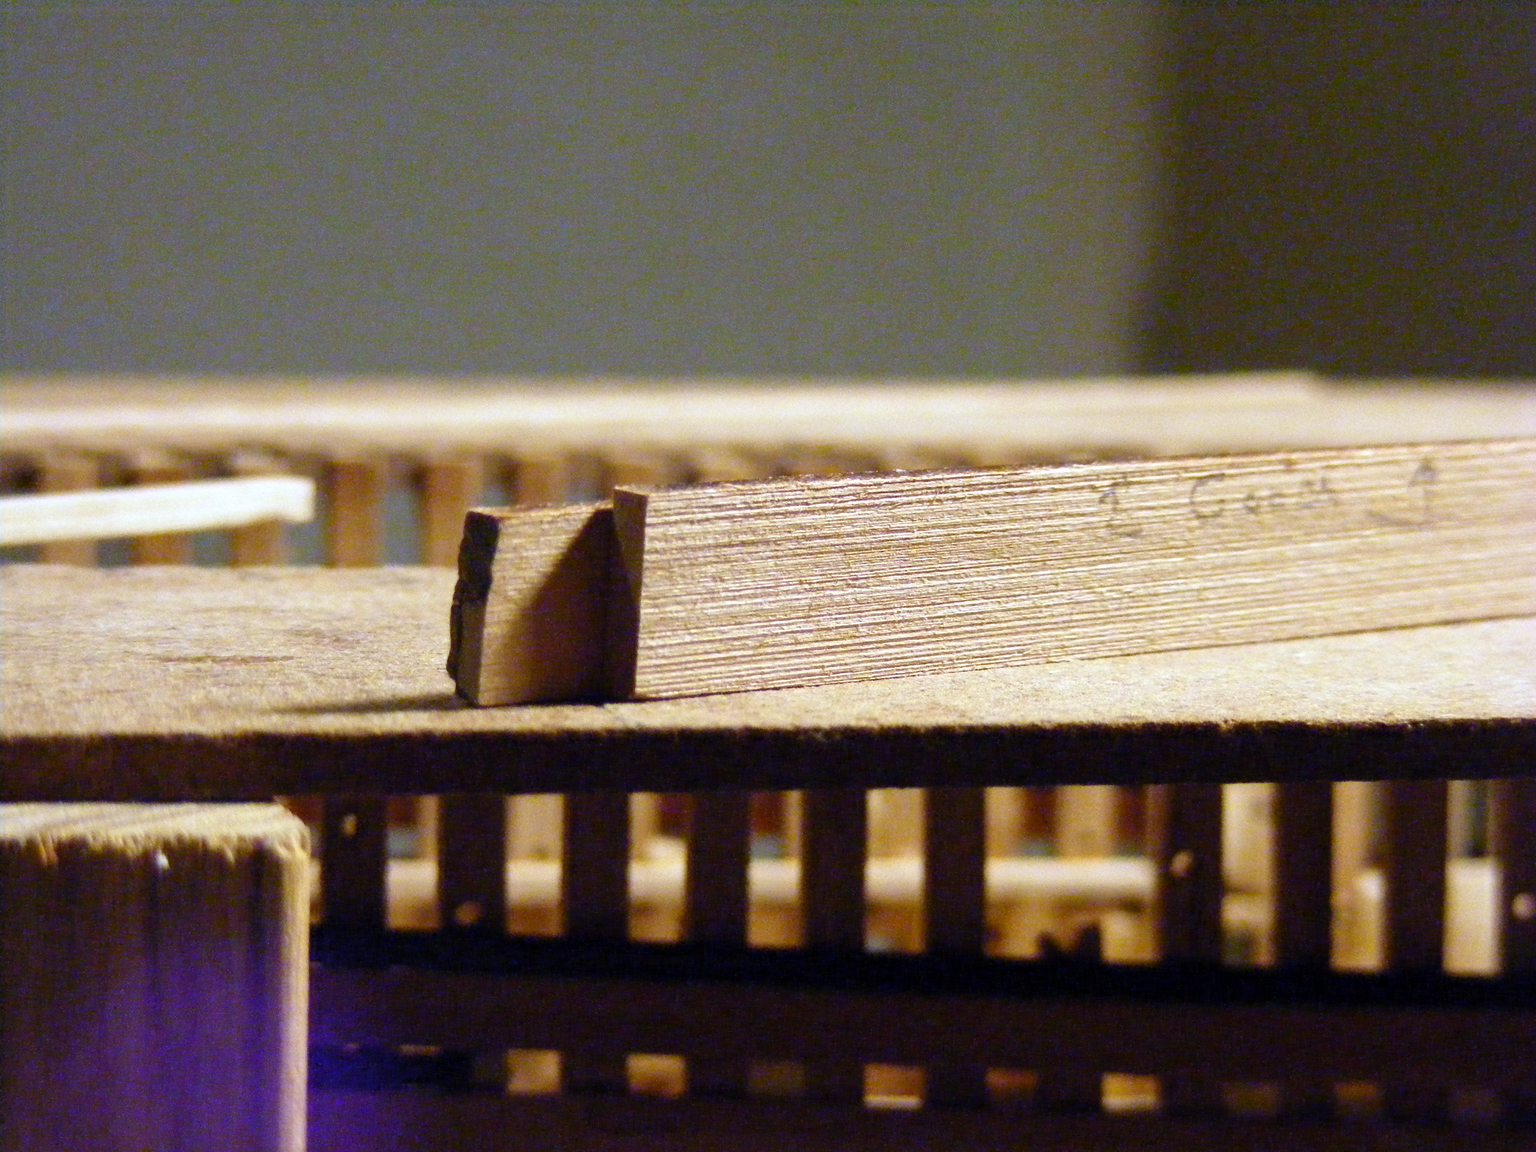
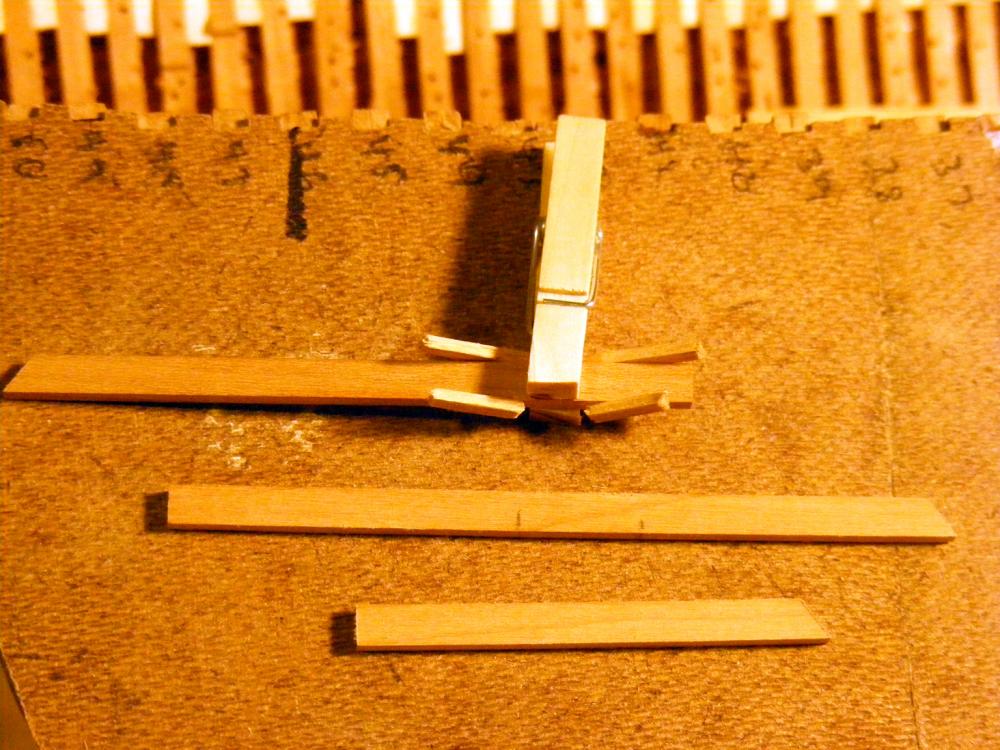
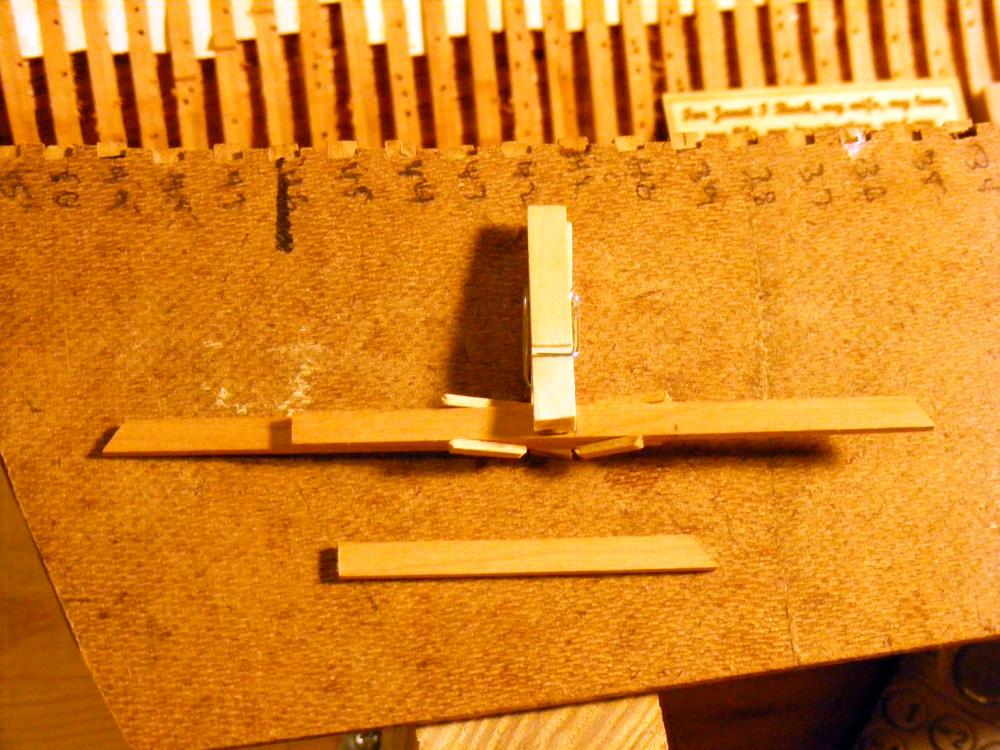
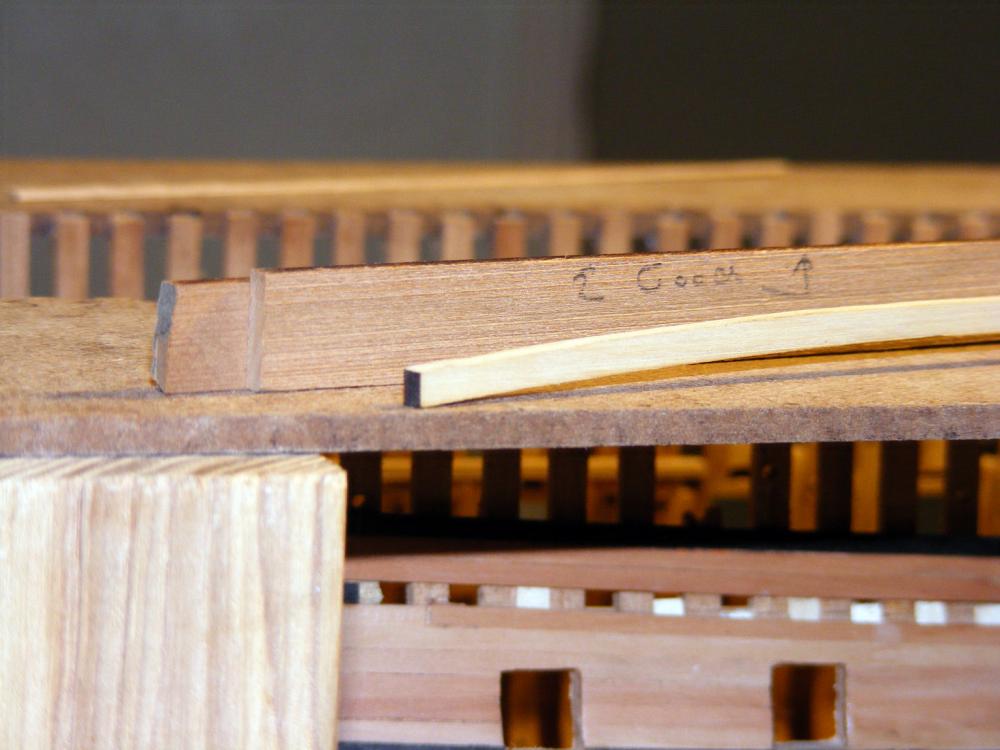
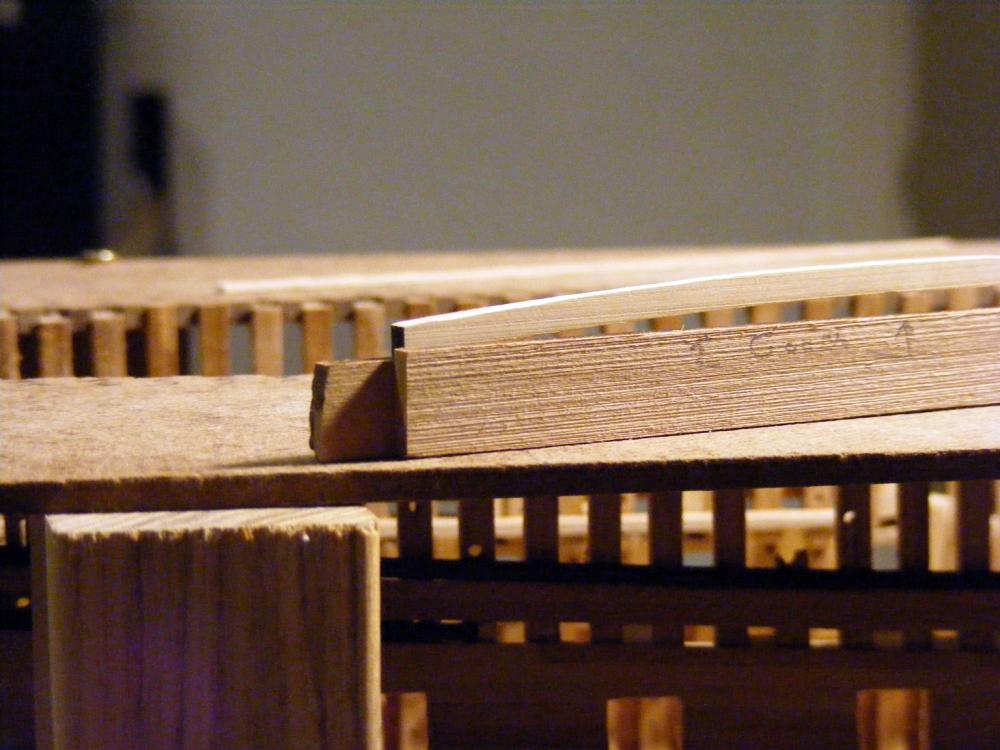
I started installing the deck clamps for all three decks... pictures will be forthcoming. I'm also making some tools/jigs. The first is an inside measuring tool. I put this one together as a test, I could make it fancier and neater, but it works. It's just a strip of wood with a miniature clothes pin (peg) glued on one side. There's 4 small strips for guiding the slider and there's two sliders of different lengths to allow me to measure from the narrowest part of the hull to the widest so I can cut the deck beams to fit properly. The next one is just a simple jig. Hahn's plans show a line indicating the top of the beams (bottom of the deck planks). So.... I worked backwards a bit when setting up the frames and put in tabs 1/4" (6.35mm) down from the line to place the clamps. My clamps are 1/8" (3.17mm) thick and the beams are 3/16" (4.76mm). To get the beams to the right height, I need to remove 1/16" (1.5mm) from the ends of the beam where they sit on the clamp. Yeah.. I know, complicated, but having had issues with measuring down into the hull and then lining up the clamp with the marks, I thought this would make life easier. It did. But the result is this jig. It's simple two pieces of scrap wood glued together with one being 1/16" taller than the other. The beam goes into the jig as shown in the last picture and can be marked or cut using it. It'll work for the narrowest to the widest beam as the arc is uniform across the beam. A nice side benefit is that I end up with a flat spot on the end of the beam for gluing it to the clamp. I'm making some spales at this time using the same method Grant used in his Granado group build..... only a bit smaller. Lord a willin' and the creek don't rise, I should have all the clamps in some time tomorrow. Maybe even some beams fitted... We'll see.

-
Glenn, What Zoltan said... welcome back. There was crash back in 2013 that completely trashed the site. What you're seeing here has been done since the site started again.. from scratch.
- 101 replies
-
- 1
-
-
- victory models
- amati
- (and 2 more)
-
John, Pop those questions in Painting and Finishing area as I have no idea about sanding sealer or the various finishes and stains.. I'm a pure Wipe-on-Poly type myself. Here's a link to it: http://modelshipworld.com/index.php/forum/21-painting-finishing-and-weathering-products-and-techniques/
-
San Martin by augustus
mtaylor replied to augustus's topic in - Build logs for subjects built 1501 - 1750
Just beautiful, Augustus. The wood choices you made are really working well together. -
Looking good, Michael. Red Oak does have a grain problem but it s a pretty wood, in my opinion. I think once you final sand and put on a finish it'll look really great.
-
Need Copper Plating for Amati Vanguard - HELP!
mtaylor replied to glbarlow's topic in Wood ship model kits
Glenn, Have you contacted Amati or Victory models? Cornwall Model Boats might sell this... not sure. -
Nice work on the wheel, Bug. The stain makes it pop.
- 2,191 replies
-
- 6
-
-
- confederacy
- Model Shipways
- (and 1 more)
-
I like what I see. I find it interesting that you're using a mix of bulkheads and frames.
-
Niiiiccccceeeeee........ She's looking great, Jack. I do like the way you did the rails.
- 250 replies
-
- 2
-
-
- willie l bennett
- model shipways
- (and 1 more)
-
Thanks for the "likes" and the comments. I'm still re-fairing the inside of the hull as time permits. Been a hectic week. Martin, I'll answer the first question first... The jig is actually a beam (the master beam) I made during Version 1.0. I checked the curvature against the new beams for exactness. After gluing it down, on the jig board, I ran a milling head through it so the sander would fit. It may not be pretty but it works. I take you have even the smaller mill that was discontinued then? Metric..on most of these mini's seems to be standard. Mine use the 4mm size which is NOT what I'd call standard when every other mini-mill uses 12mm. Also, the slots don't match any other mills (even MM's R8 Mill) which made/makes tooling a problem. Yes, getting the standard clamps to fit has been an ongoing issue. I have mine Mickey Mouse-d to work with nuts, washers, added screws, etc. Even a piece of wood off the "stern" of the clamp to help lock things down. I've been giving thought to going to a different mill.. maybe this one: http://www.littlemachineshop.com/products/product_view.php?ProductID=4962&category=1387807683 It's the same one MM sells but with shipping, there's not much price difference at least out here in Oregon. But, being "frugal" (ok.. the Admiral thinks I'm cheap but only on some things) I'm in a hold mode. I guess I'm waiting for an excuse...like HMS Visa being able to return to the line of battle.
-
That appears to be a rather complex bit of wood, Toni. I'm looking forward to seeing how you approach this.
-
Disappearing lines in drawing
mtaylor replied to Mark P's topic in CAD and 3D Modelling/Drafting Plans with Software
Don, That sounds like SW has memory leaks... Rebooting is the best fix. Might work for the AutoCAD problem also. Seems like more and more programs...err.. the correct name now is "apps"... have memory leaks. I guess the developers don't bother checking for such things any more. -
Those are gaps, John. Did you bevel the inside edges of the planks? Going a curved surface the inside edges keep the outside edges from meeting.