Tigersteve
-
Posts
1,327 -
Joined
-
Last visited
Content Type
Profiles
Forums
Gallery
Events
Everything posted by Tigersteve
-
 I had similar thinking on the decorative transom casting. I will be redesigning it as well. You're moving right along. Steve
- 156 replies
-
- 4
-

-
- pinnace
- model shipways
- (and 1 more)
-
Somehow I missed this build. Looks good. Steve
-
Thank you BE and Michael. I think being part of MSW increases all our skill levels. Steve
- 190 replies
-
- 2
-
-
- pinnace
- model shipways
- (and 1 more)
-
Thanks, Ryland. It's pretty difficult. Maybe more so than Chuck's longboat. Steve
- 190 replies
-
- 3
-
-
- pinnace
- model shipways
- (and 1 more)
-
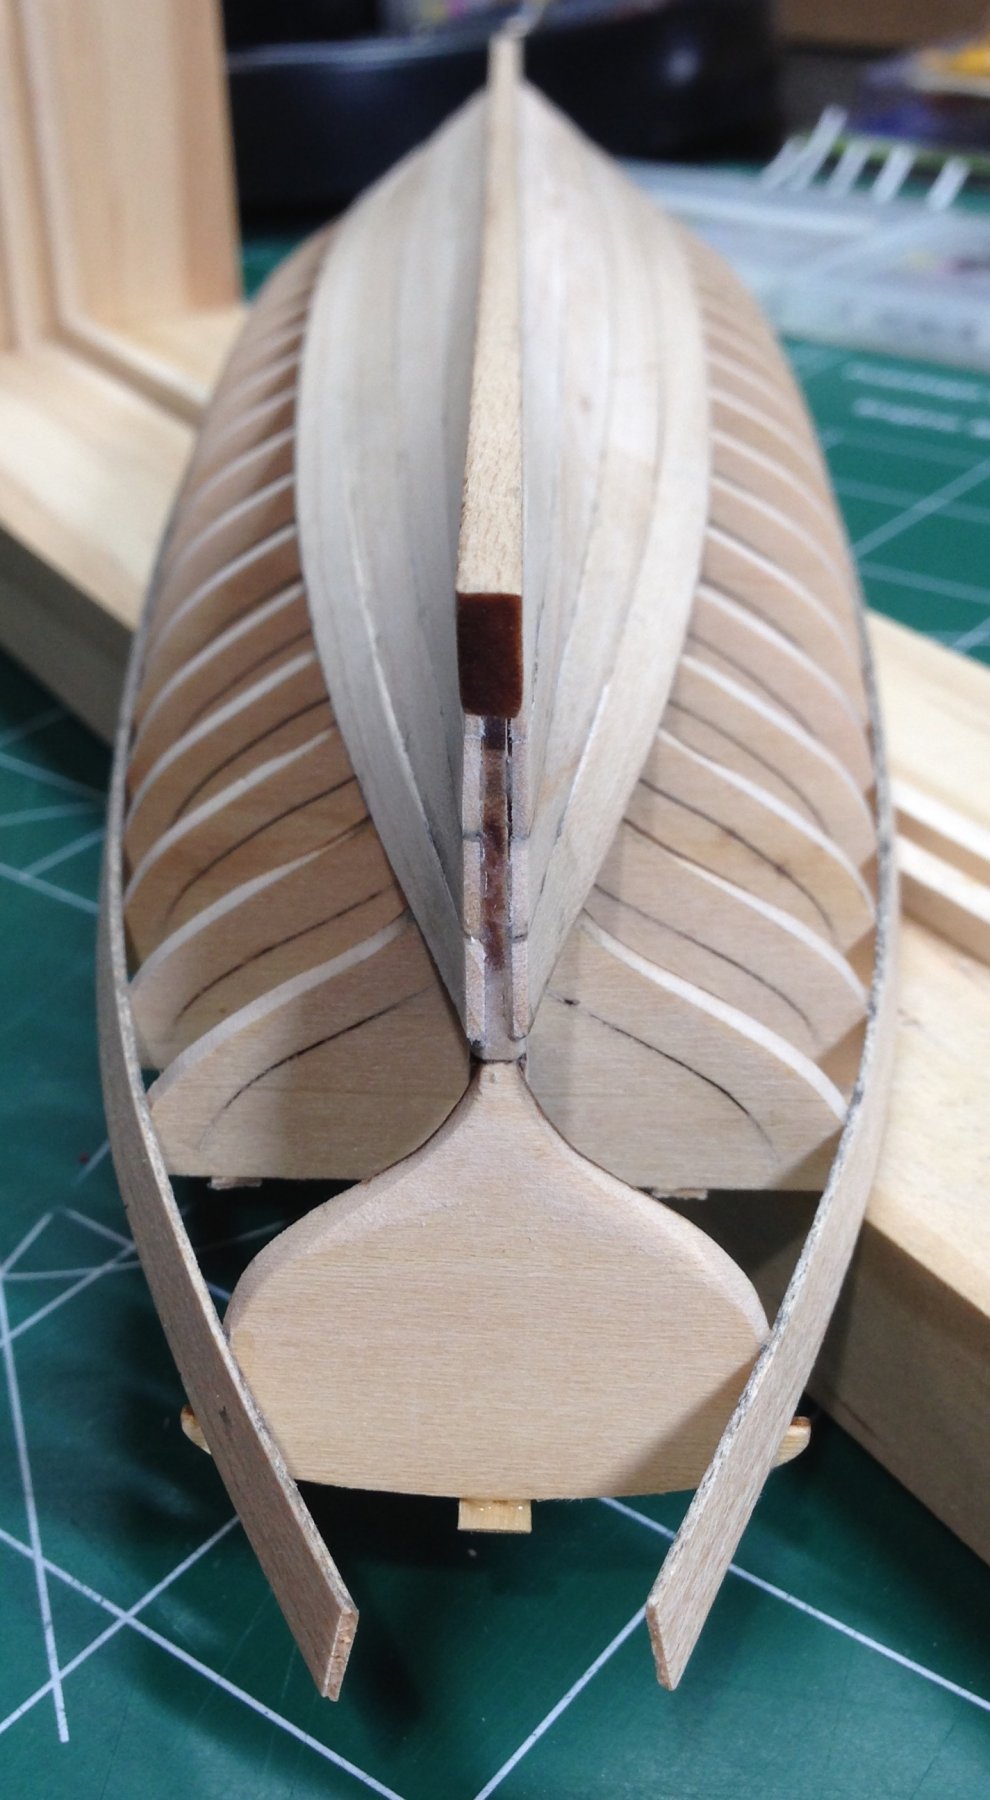
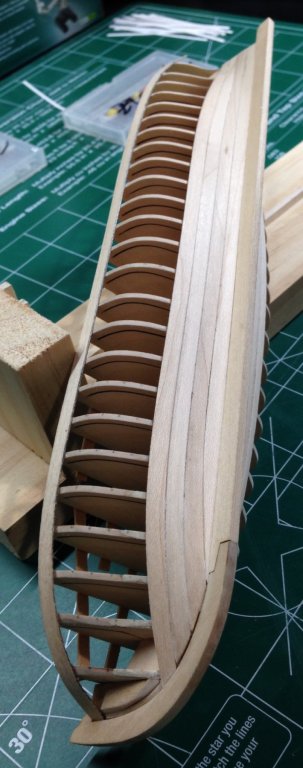
Halfway through hull planking. It's not as seamless as desired. I decided to check the remaining space at the stern. My initial measurements did not show a need for tapering. This is incorrect. Next steps will be to line off the hull towards the stern for the remaining five planks on each side. Steve

- 190 replies
-
- 17
-
-
- pinnace
- model shipways
- (and 1 more)
-
Take your time, Mike. It's going to turn out great. Steve
- 843 replies
-
- 2
-
-
- niagara
- model shipways
- (and 2 more)
-
I agree with Jim. Email John Garcia and Marc Mosko from Model Expo that photo. This reflects so poorly on their company. It's unfortunate. Even if you decide to rebuild with other materials. Still email that photo. Steve
-
Yikes! That should glue right up. Steve
-
Glad you're back. Steve
-
That's looking good. I can't wait to complete the outer hull planking! Steve
- 156 replies
-
- 3
-
-
- pinnace
- model shipways
- (and 1 more)
-
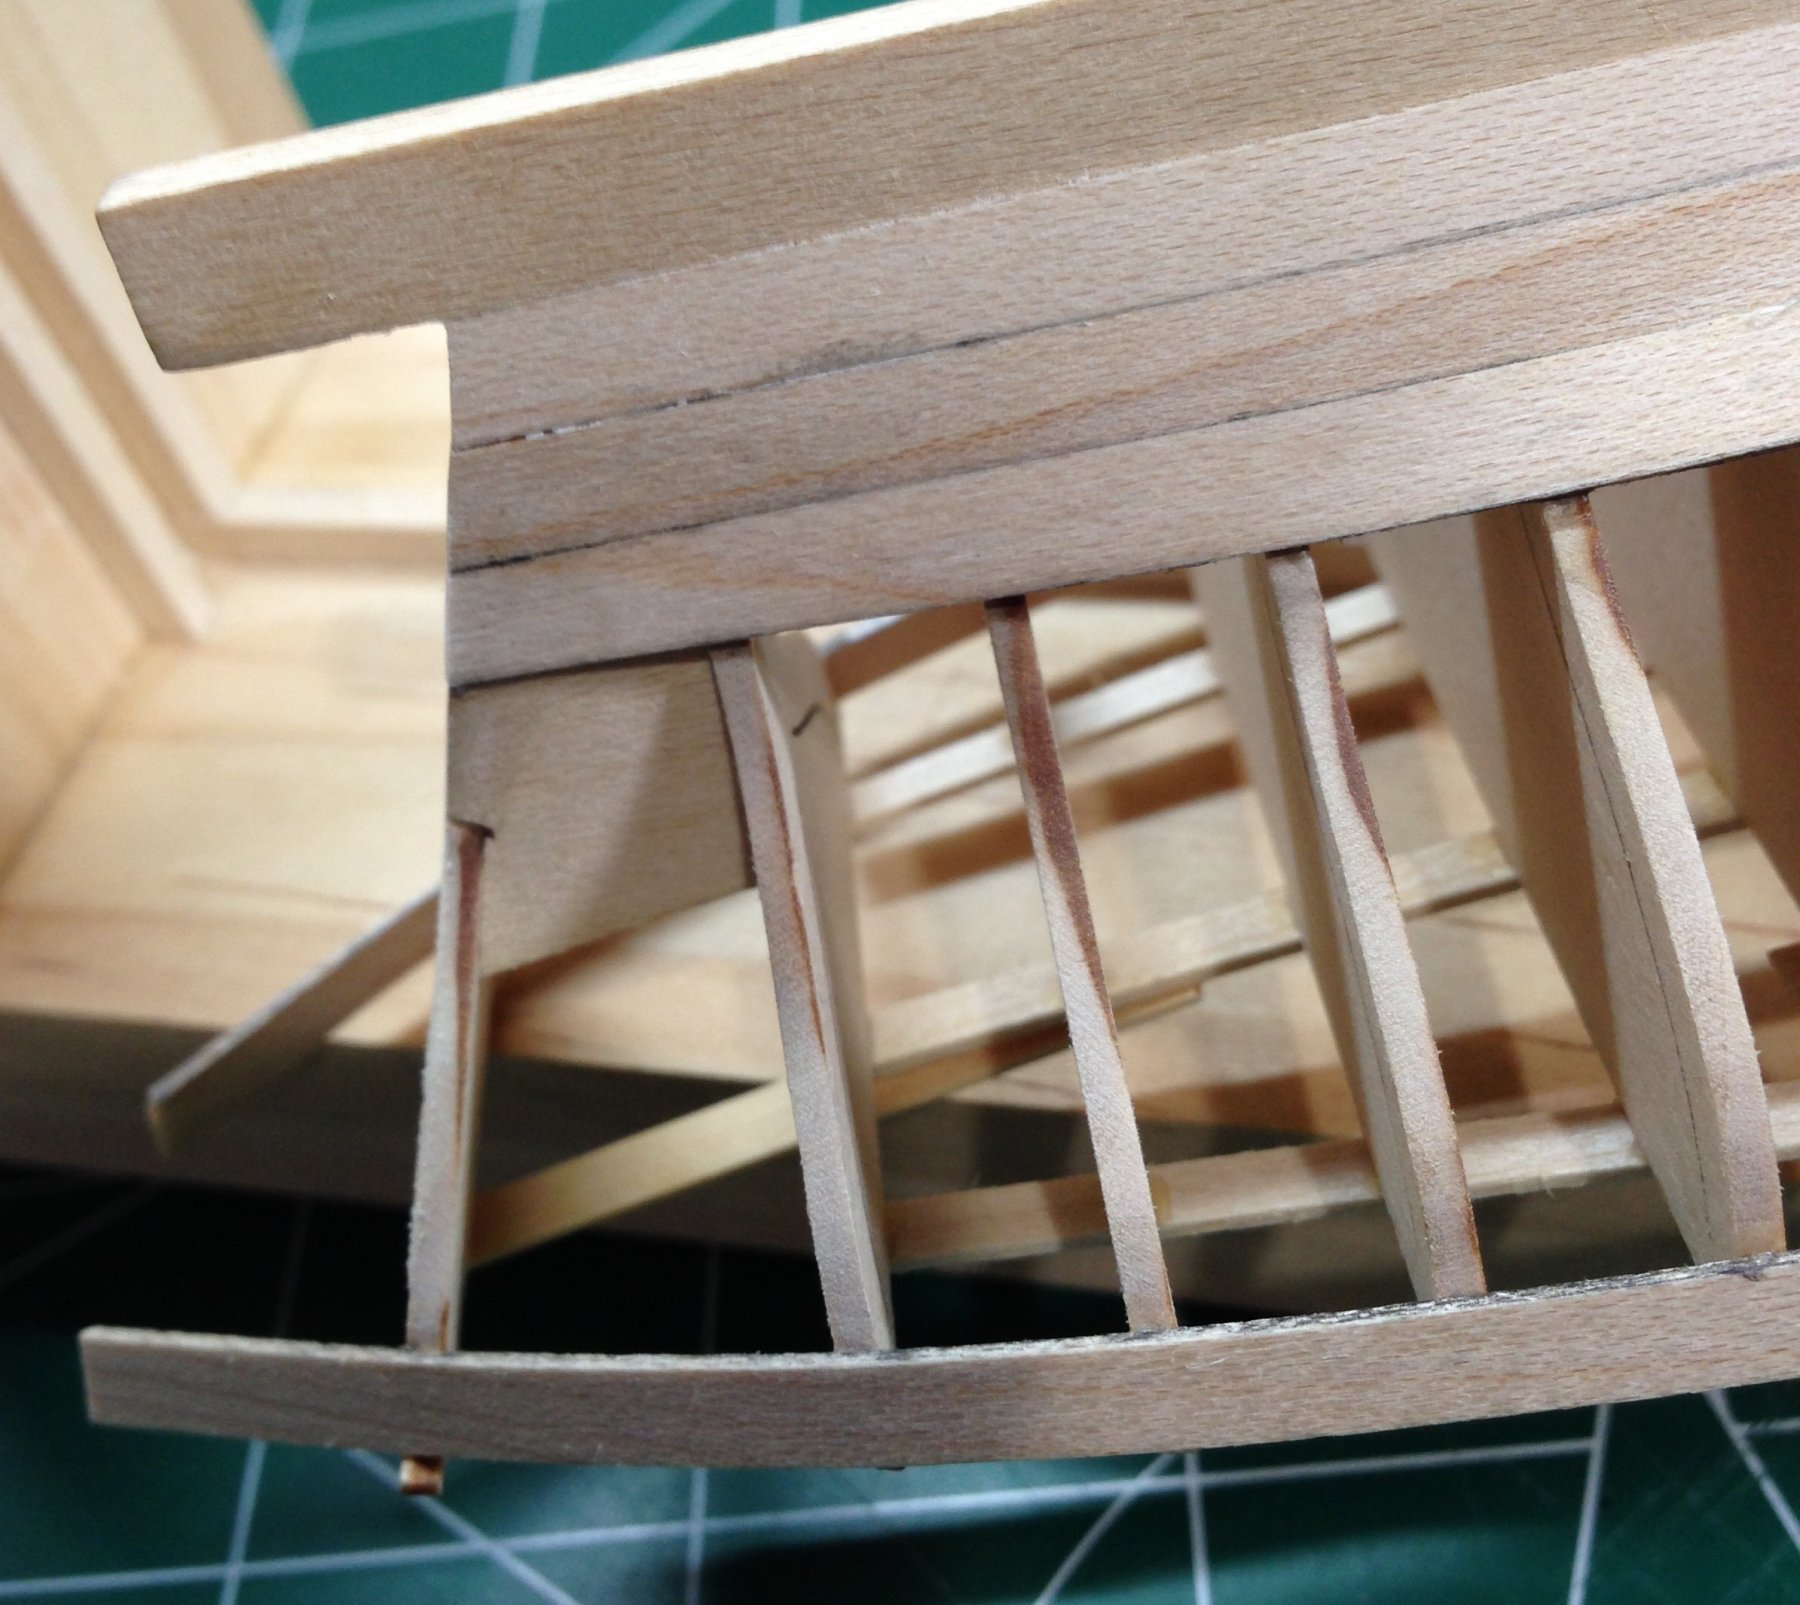
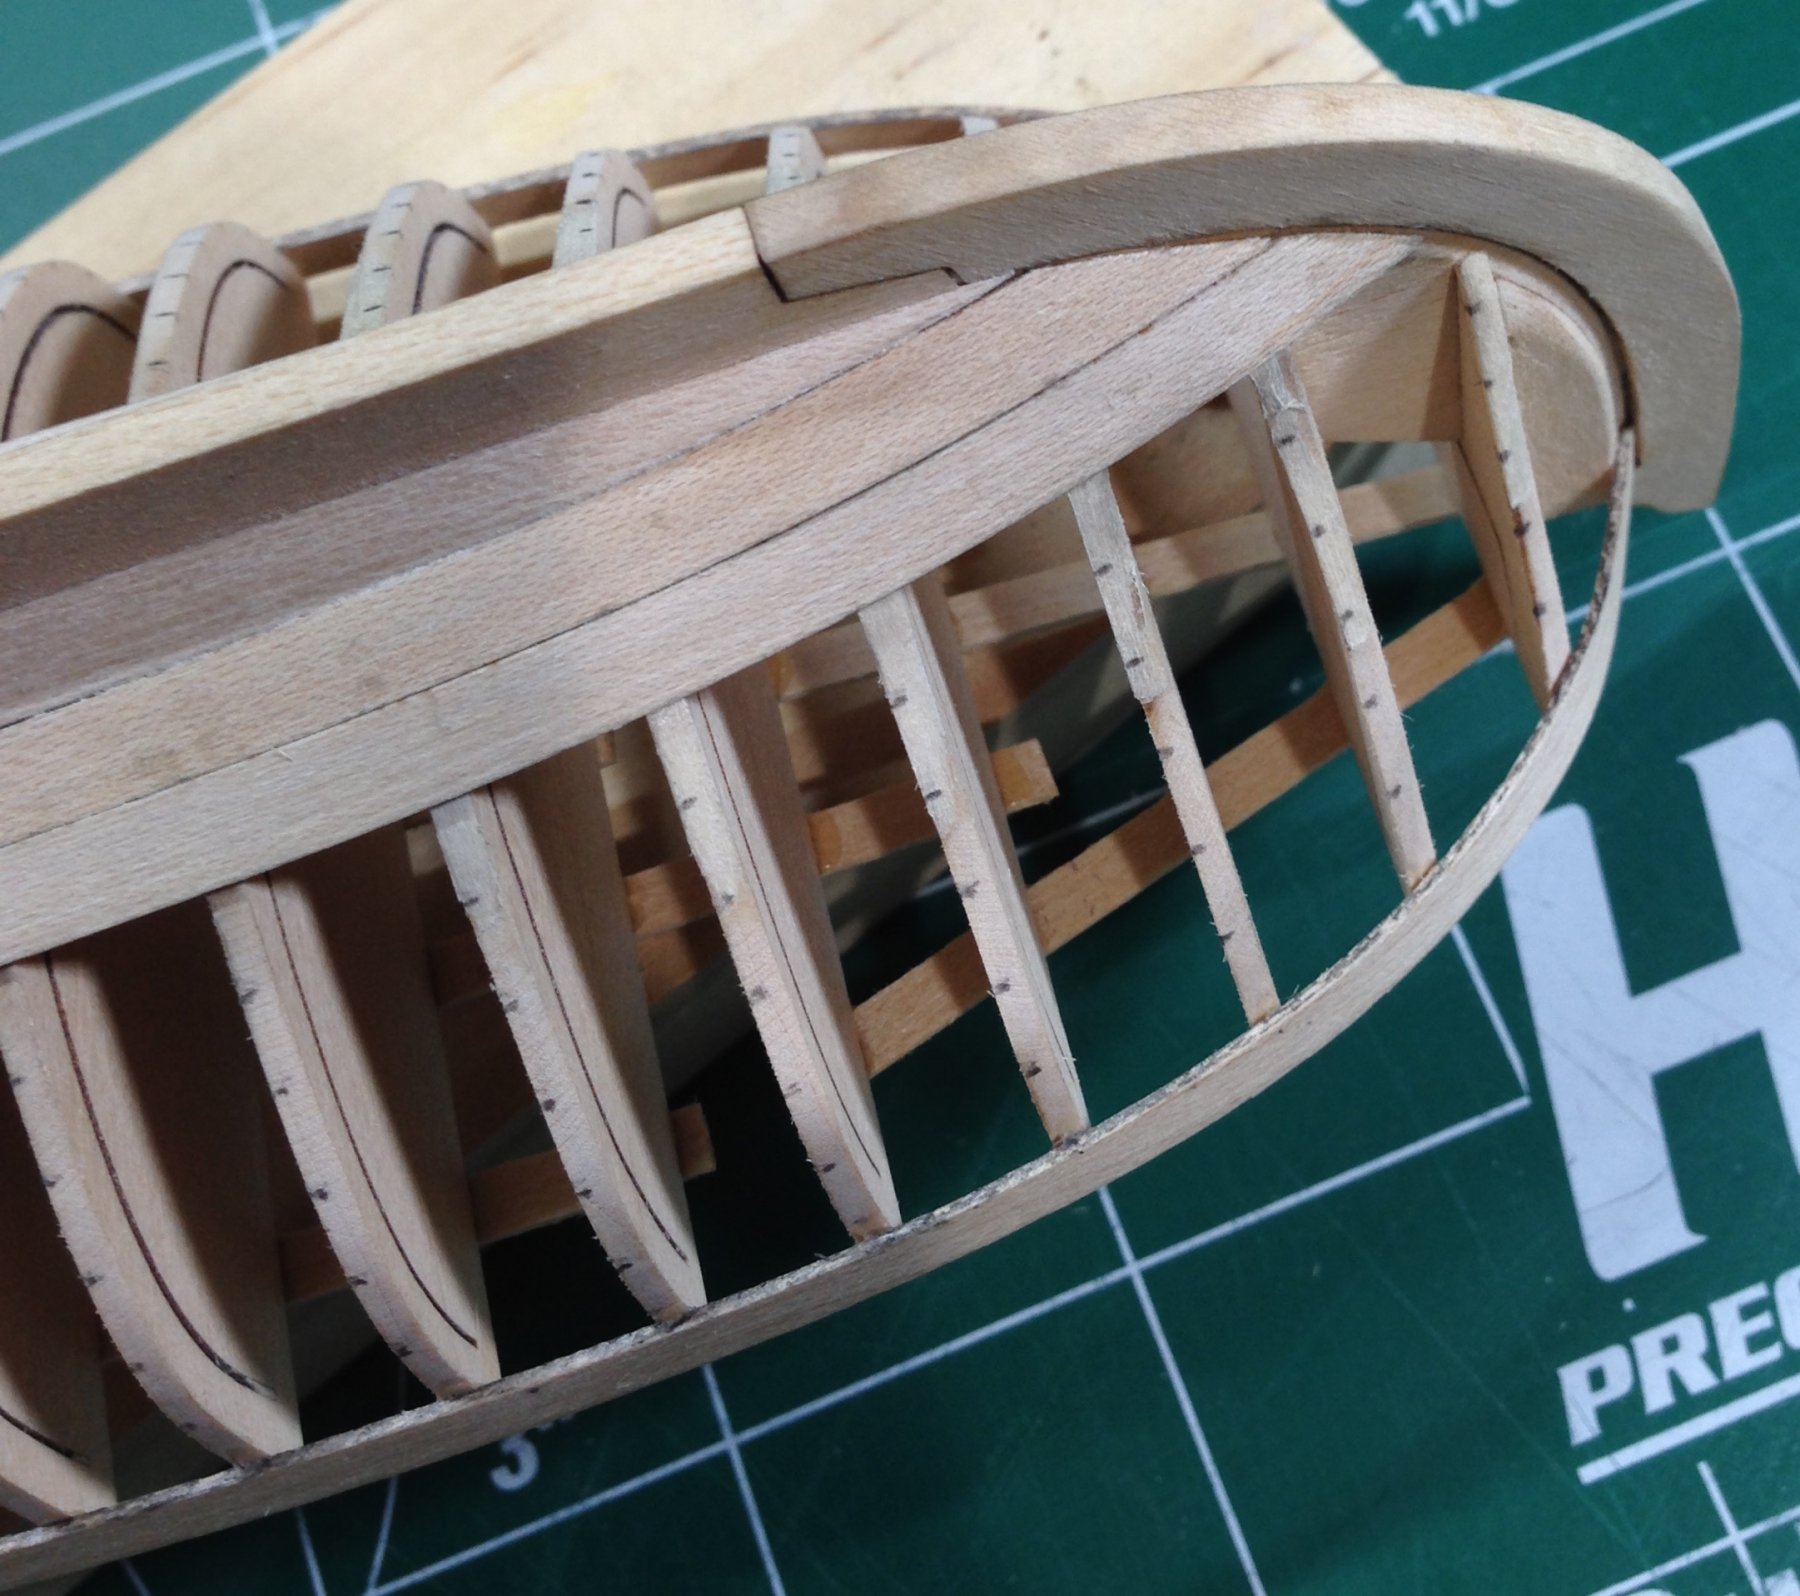
Thank you for the nice comments and likes! Let's talk about the stern for a moment. As we know, a 90 degree twist is needed to get the plank to conform to the shape of the hull. What's also needed is a slight edge-bend towards the keel to get the plank to butt up against the previously laid plank. That's the easy part. Bending and shaping the plank at the bow is done first. Here are the steps: 1. Create a severe edge-bend using dry heat and let the plank cool completely. 2. Hold the plank to the previously laid plank and note where to snip off the excess. 3. Sand the edge of the plank smooth and at a slight angle to fit into the rabbet. 4. Mark the first few bulkhead locations onto the plank to form the taper. 5. Bend and twist the plank and dry fit into the rabbet for a tight fit. 6. Clamp the entire plank to the hull and add heat. (Steps 5 and 6 are done several times until the plank fits properly.) The plank is then glued. This process takes a while and is not easy. None of these strategies are new. This is just the way I've applied what I learned from other modeler's logs and methods. Steve


- 190 replies
-
- 13
-
-
- pinnace
- model shipways
- (and 1 more)
-
US Brig Syren by knightyo
Tigersteve replied to knightyo's topic in - Build logs for subjects built 1801 - 1850
Nice work so far. Steve -
I'll follow too. Steve
-
Invitation accepted. I'm in. Steve
-
What...these Chinese castings were included in your Model Shipways kit? Steve
-
Beautiful work on the boats! Steve
-
Wow- you finished all that in a week? Welcome aboard. Look forward to more updates. Steve
- 23 replies
-
- 1
-
-
- finished
- 18th century longboat
- (and 1 more)
-
Swan class 3D model in progress
Tigersteve replied to dvm27's topic in CAD and 3D Modelling/Drafting Plans with Software
Cool stuff. Going to follow this one. Steve- 141 replies
-
- 2
-
-
- pof swan series
- swan
- (and 1 more)