


marsalv
-
Posts
531 -
Joined
-
Last visited
Content Type
Profiles
Forums
Gallery
Events
Posts posted by marsalv
-
-
-
Thank you very much guys!
To dvm27 - this model will be installed in my living room together with my other models.
To wyz - some people will be have the possibility to see this model in September 2018 in Romania (Naviga´s World Championship) and in Czech Republik (Czech Championship).
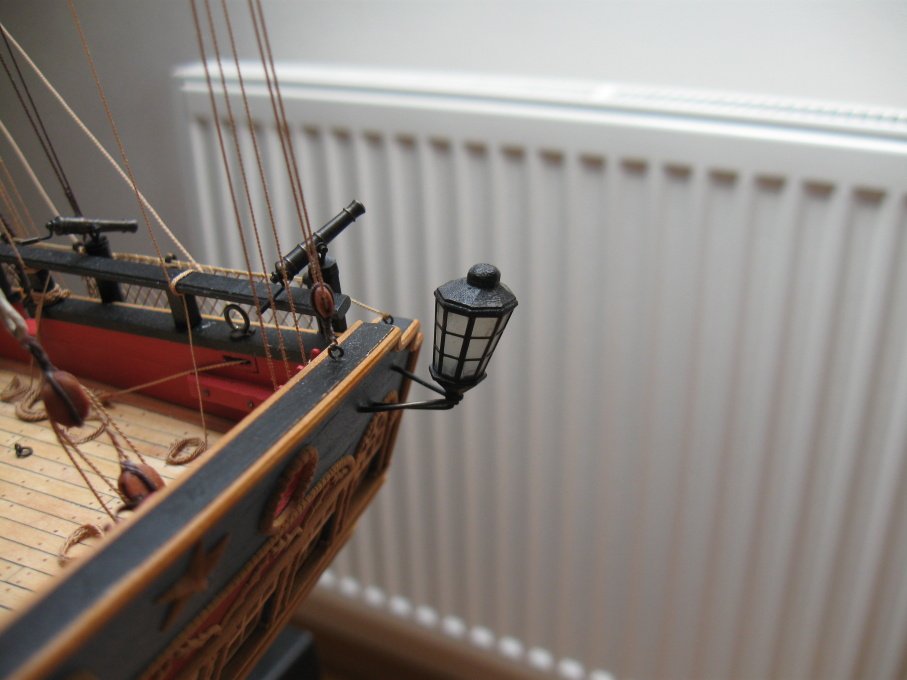
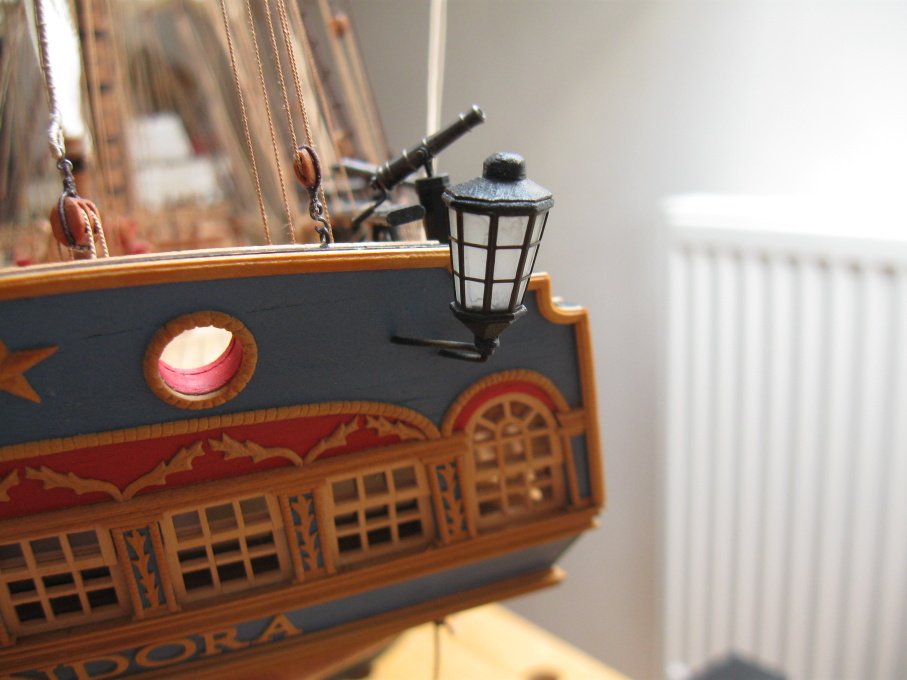
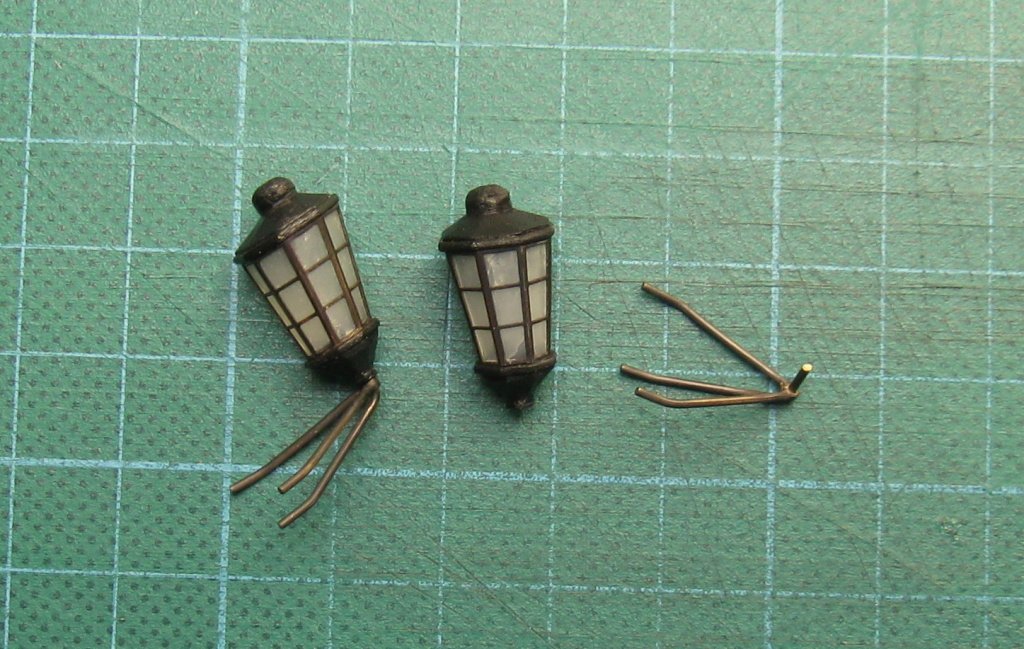
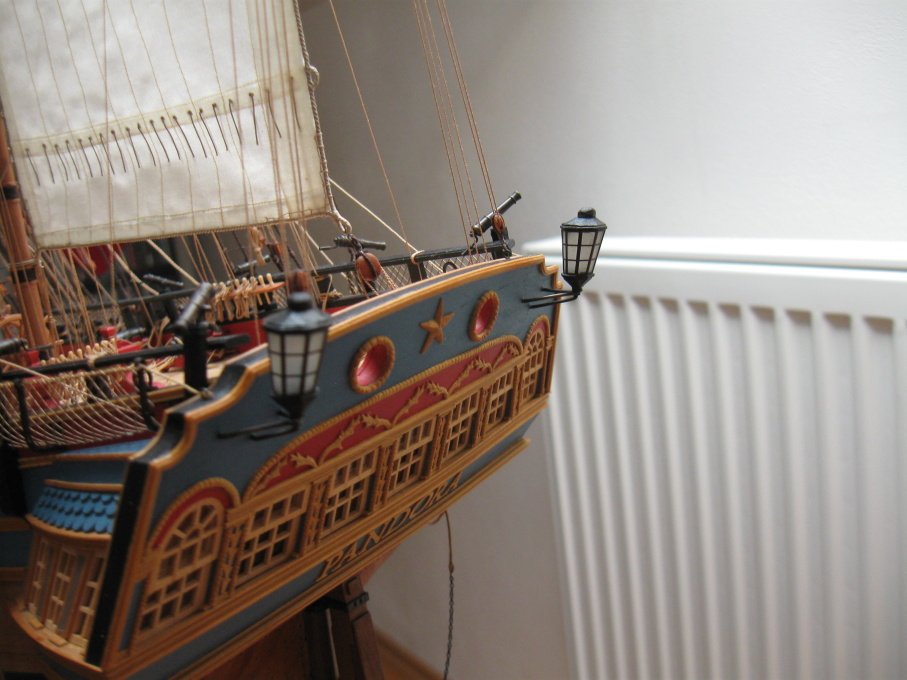
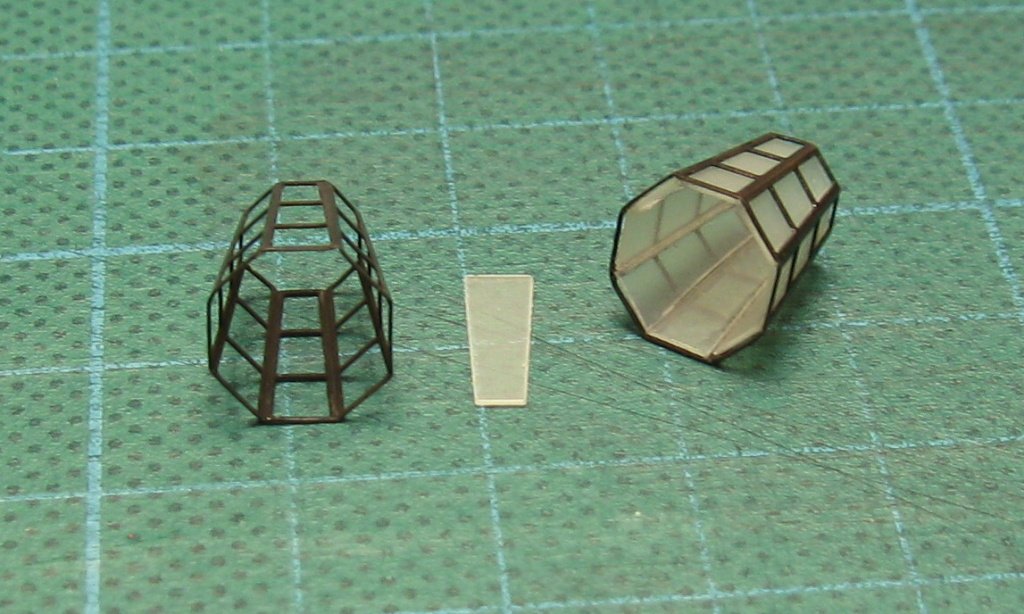
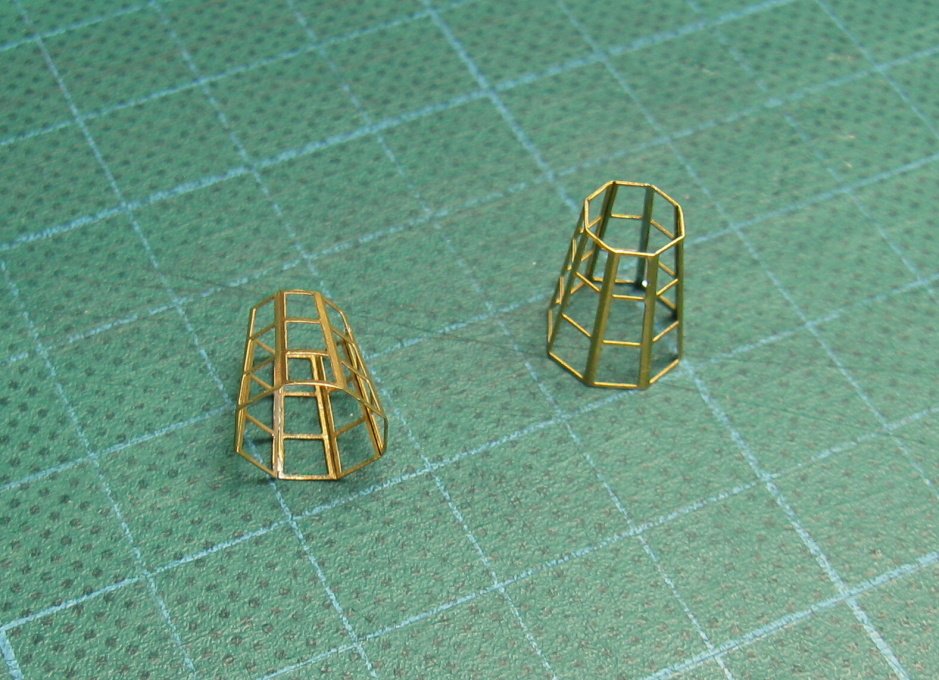
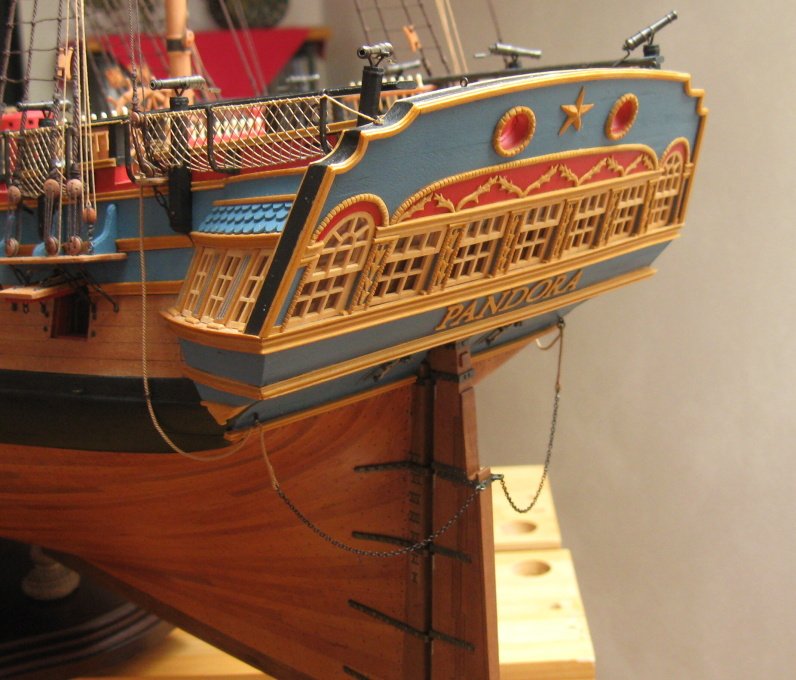
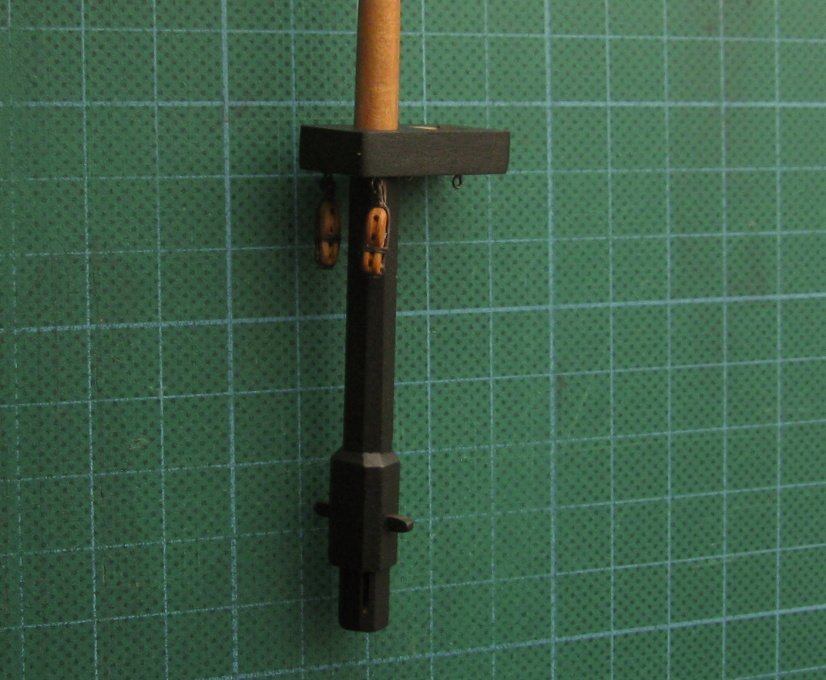
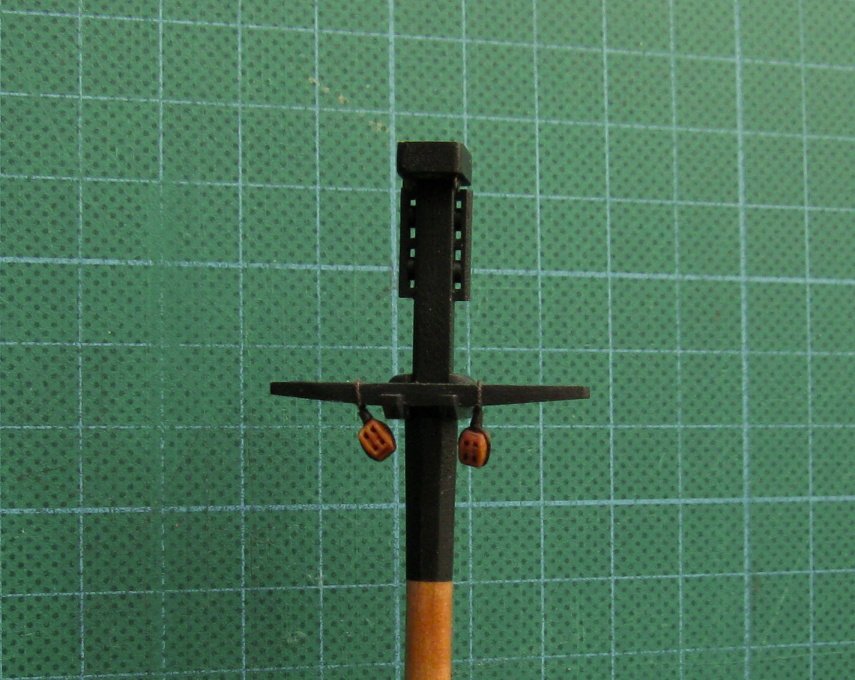
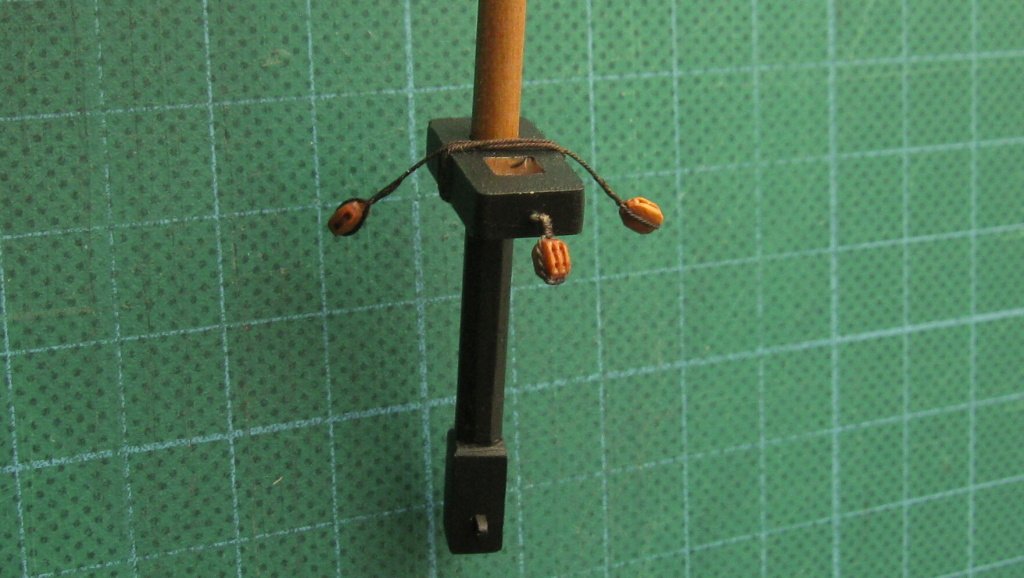
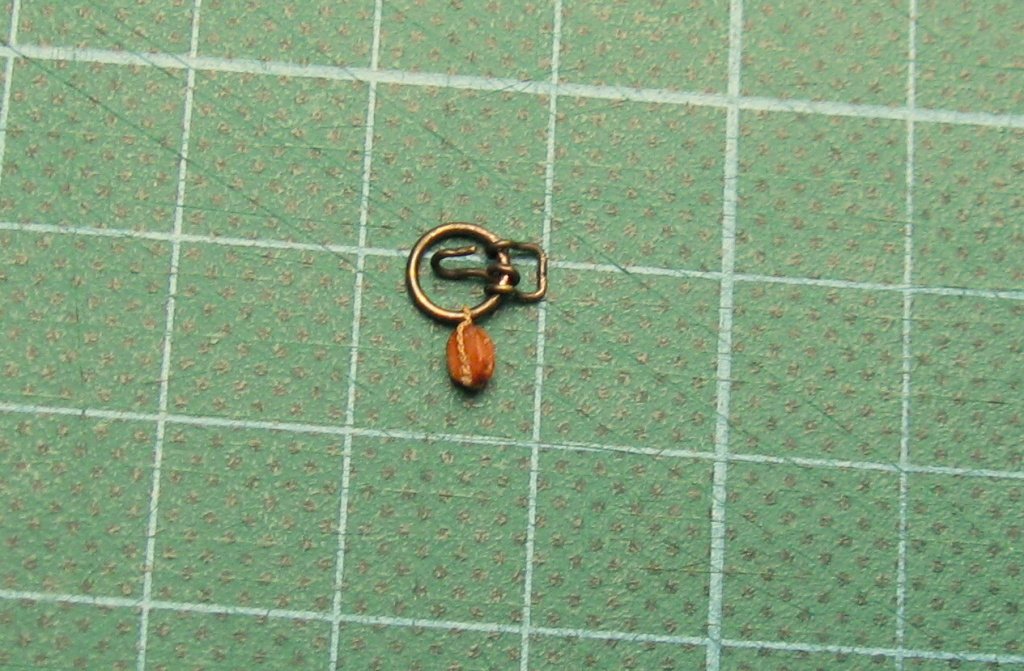
Some pictures from lanterns production.


-
Rest of pictures:
- tlevine, coxswain, Ryland Craze and 29 others
-
 32
32
-
-
Thank you guys for all comments and likes. I am very happy because number of followers reached 100
 .
.
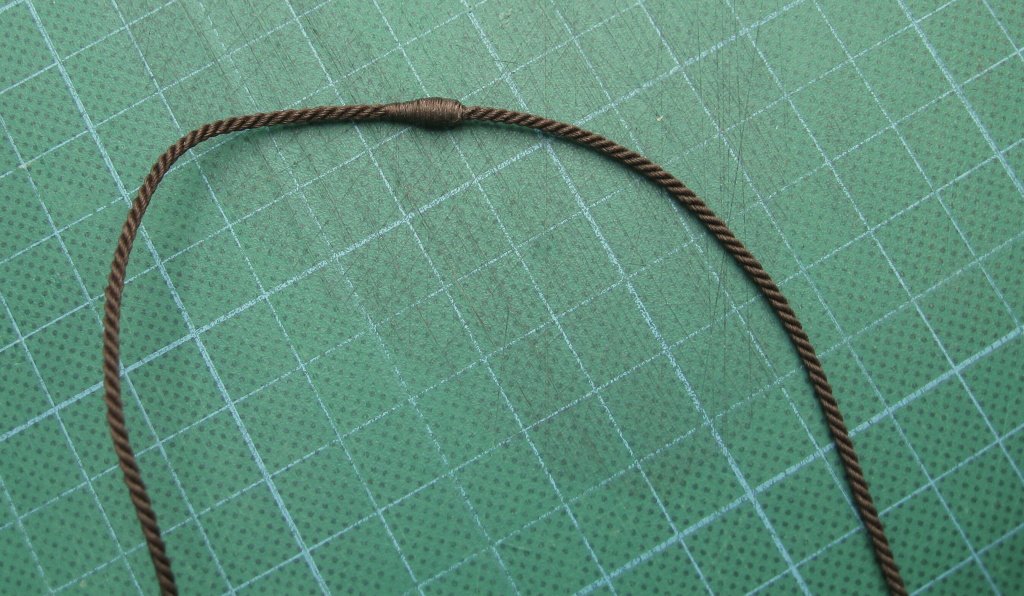
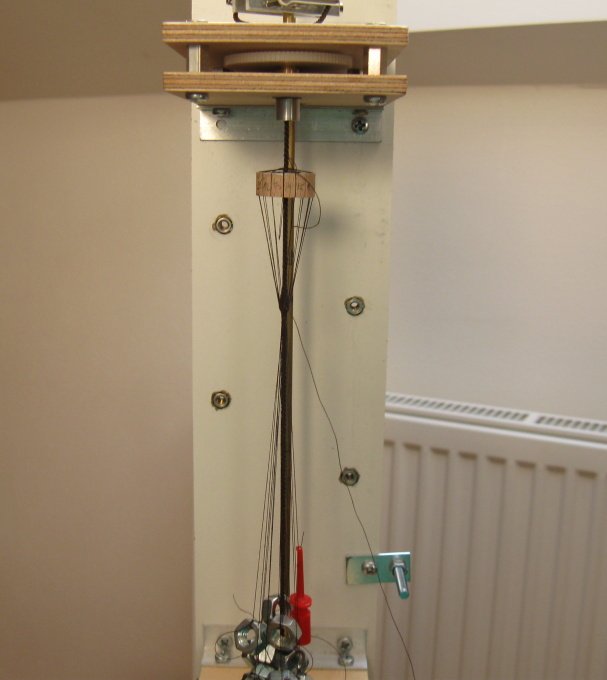
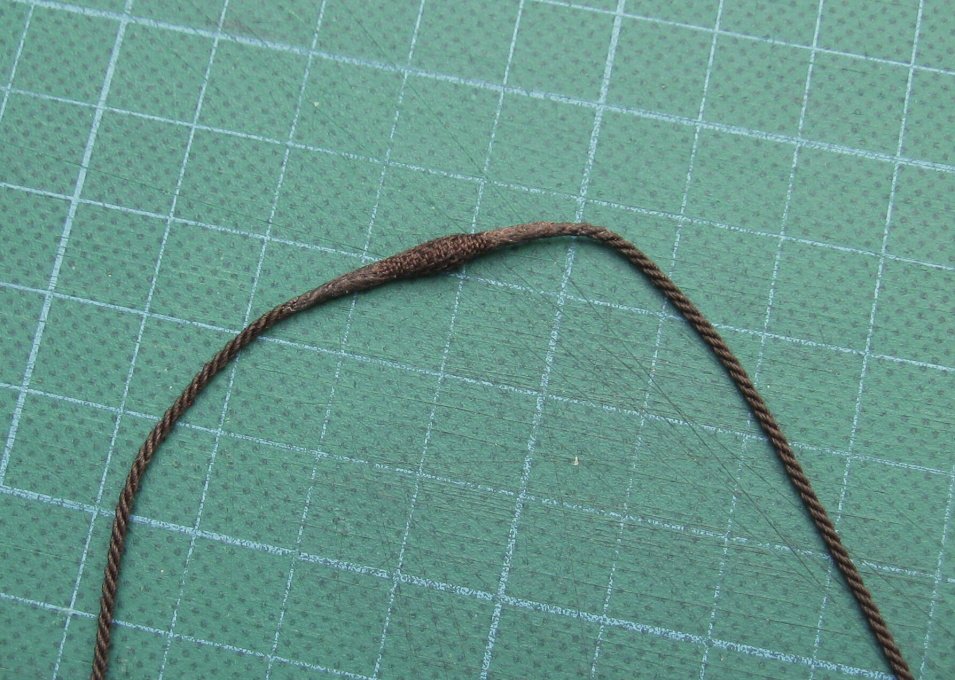
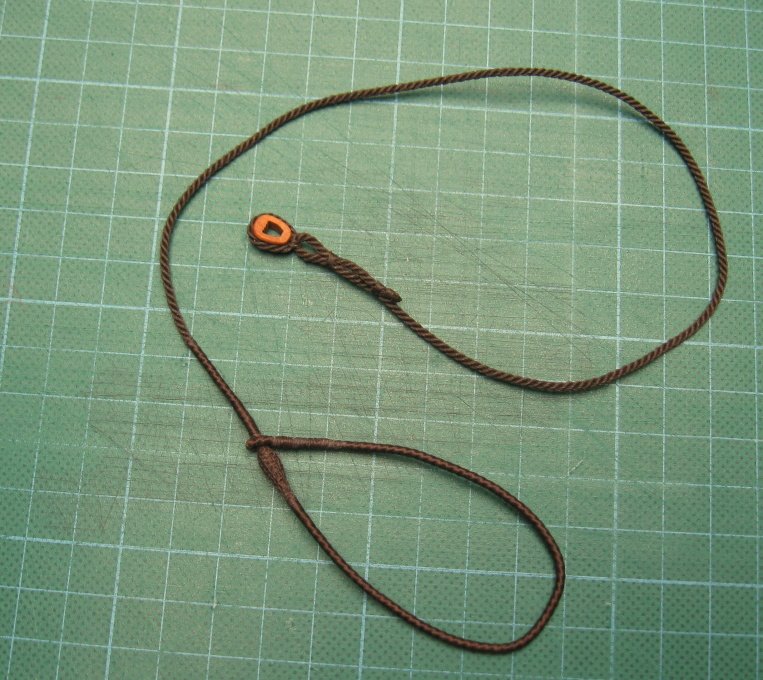
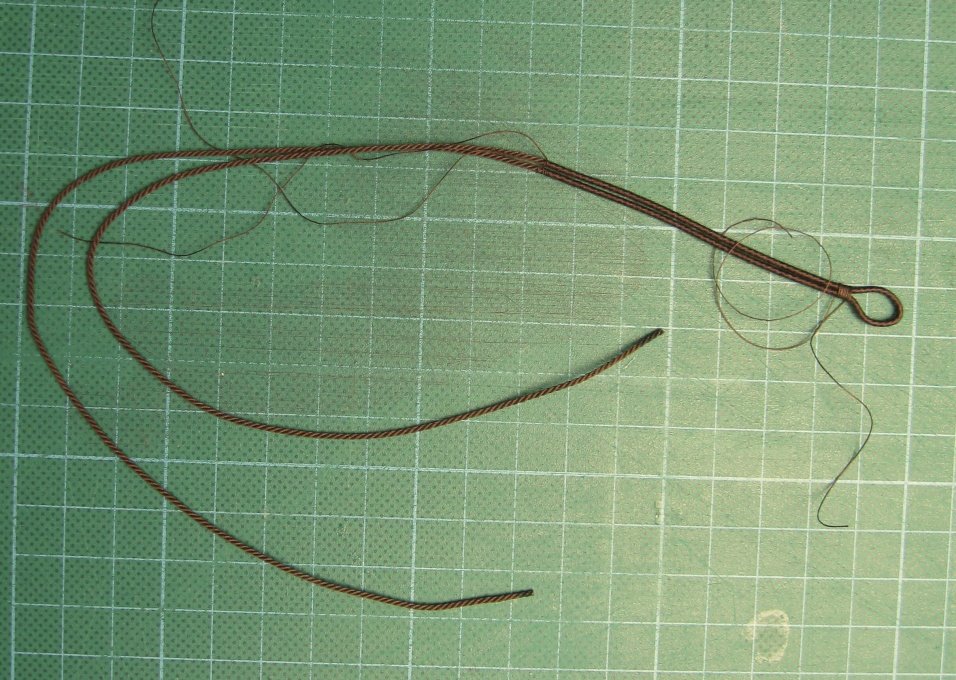
To druxey: I have tried the metod of making ropes you describe, but the result was not good for me. If you unwind the thread and rewind it left handed before spinning resulting rope is not the same quality as the ropes without unwinding (my opinion). From this reason I decided to make the left handed ropes.
To cabrapente: I dont undestand the word " cabuyeria ", but all knots are fixed with diluted white PVA glue.
To Ryzuhr: Most information is taken form Anatomy of the ship PANDORA book. But this book does not include the all necessary information so I use the following books for addition:
James Lees - The masting and rigging of english ships of war
David Antscherl The fully framed model, rigging a sixth rate sloop of 1767-1780
Klaus Schrage - Rundhloelzer, Tauwerk und Segel.
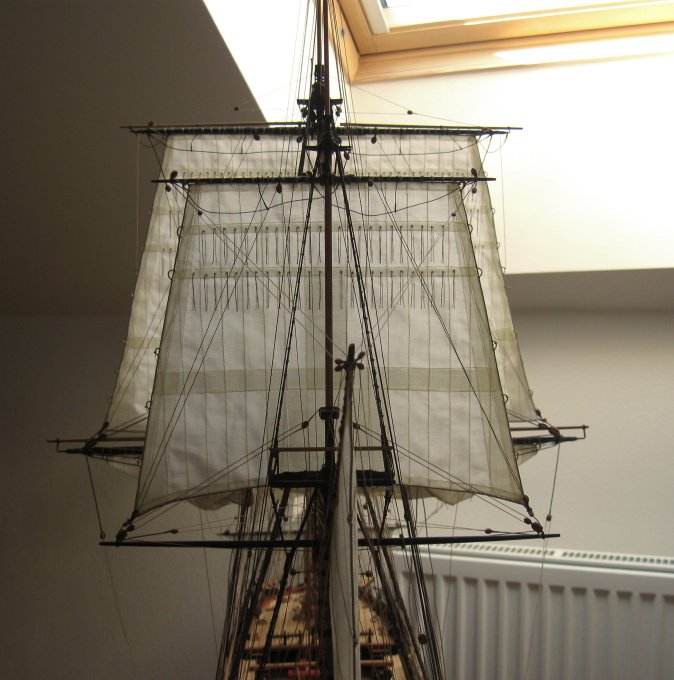
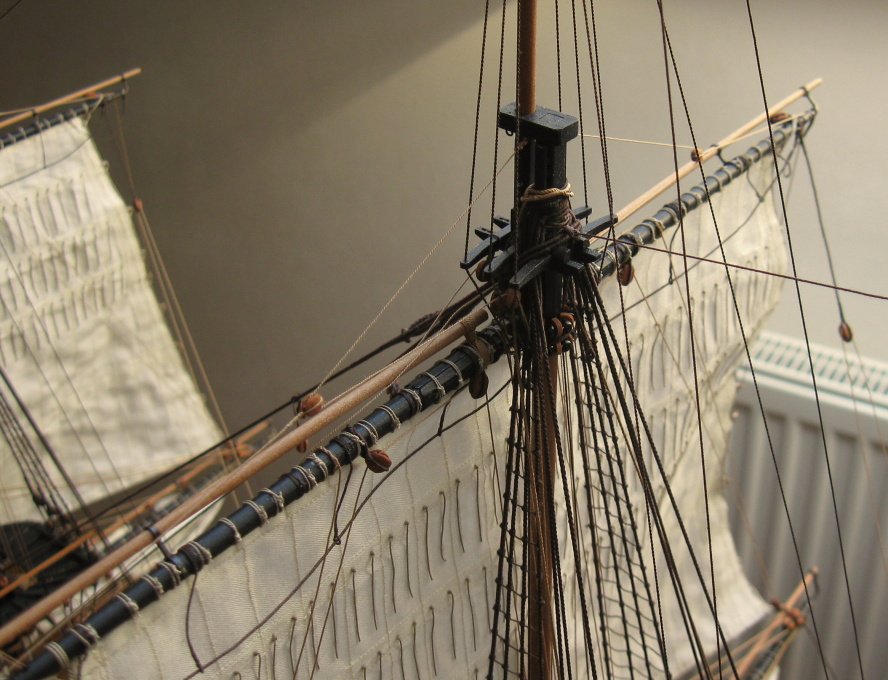
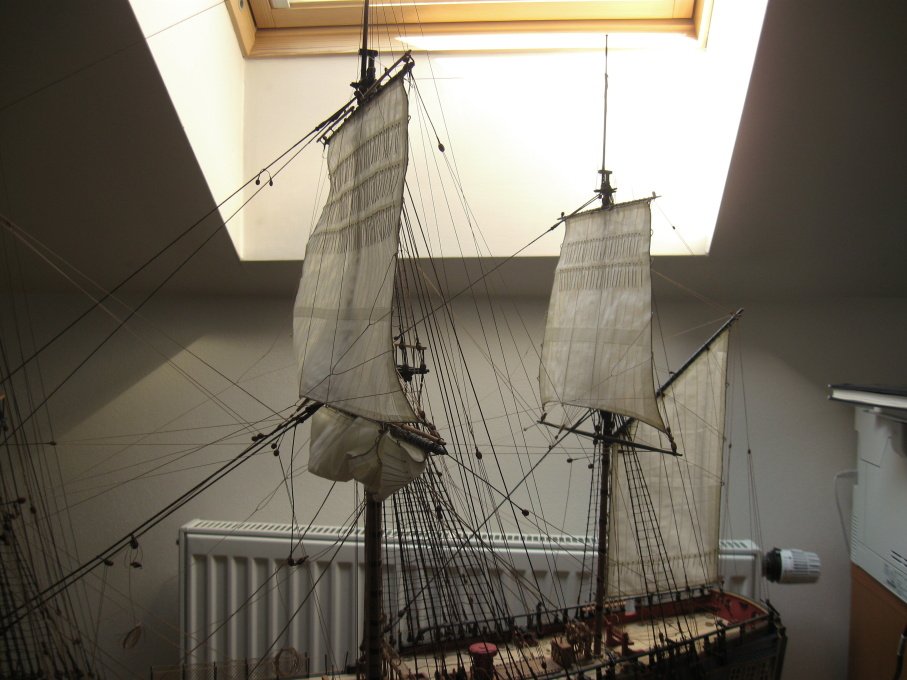
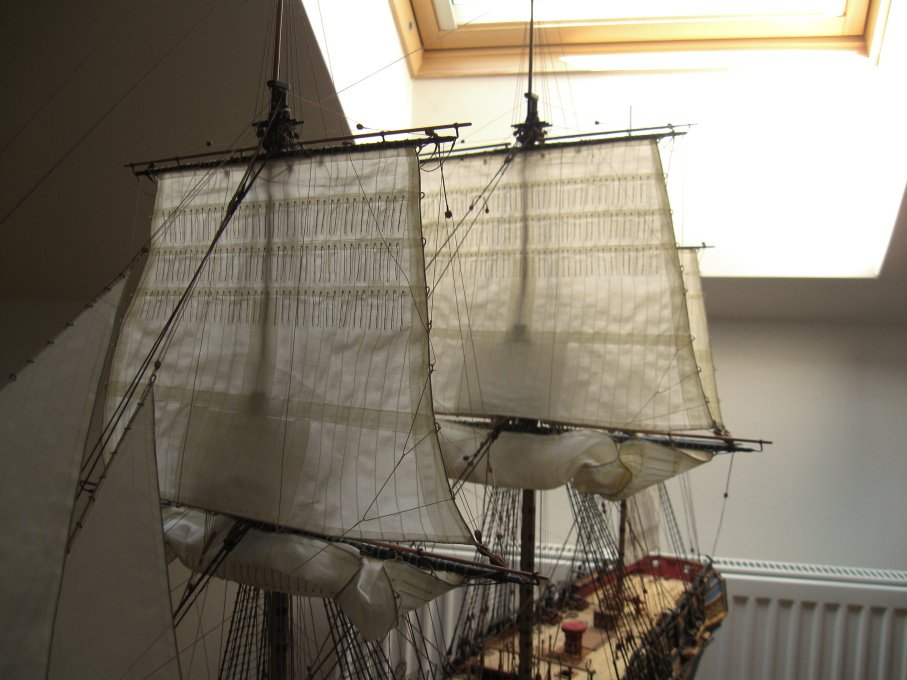
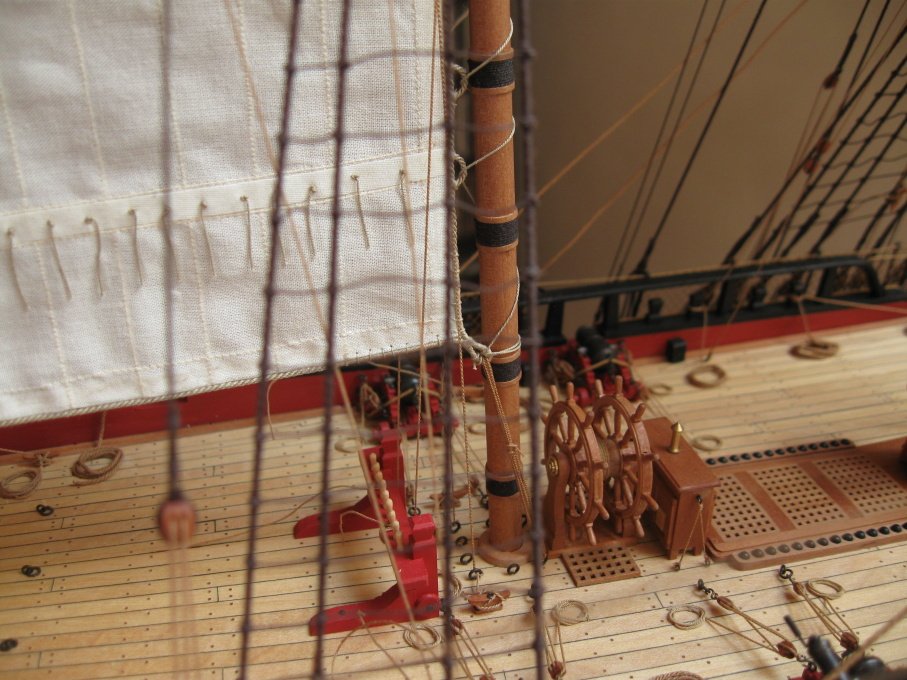
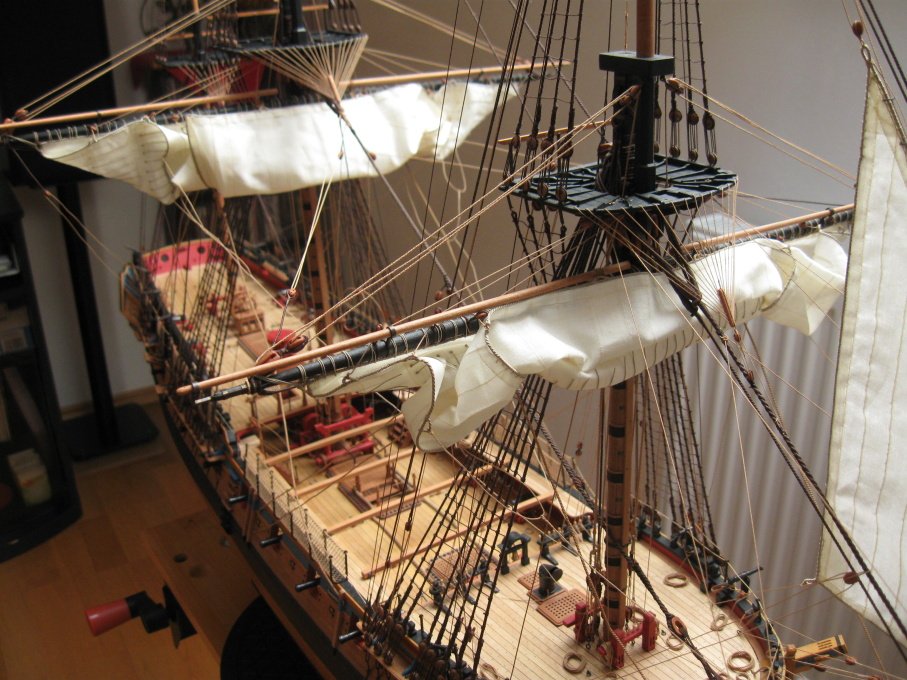
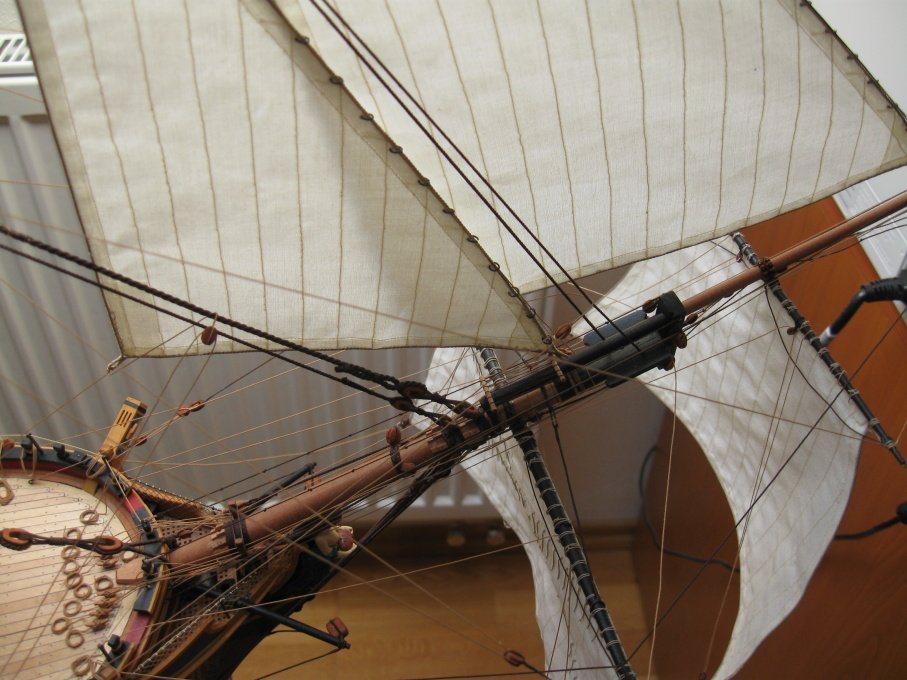
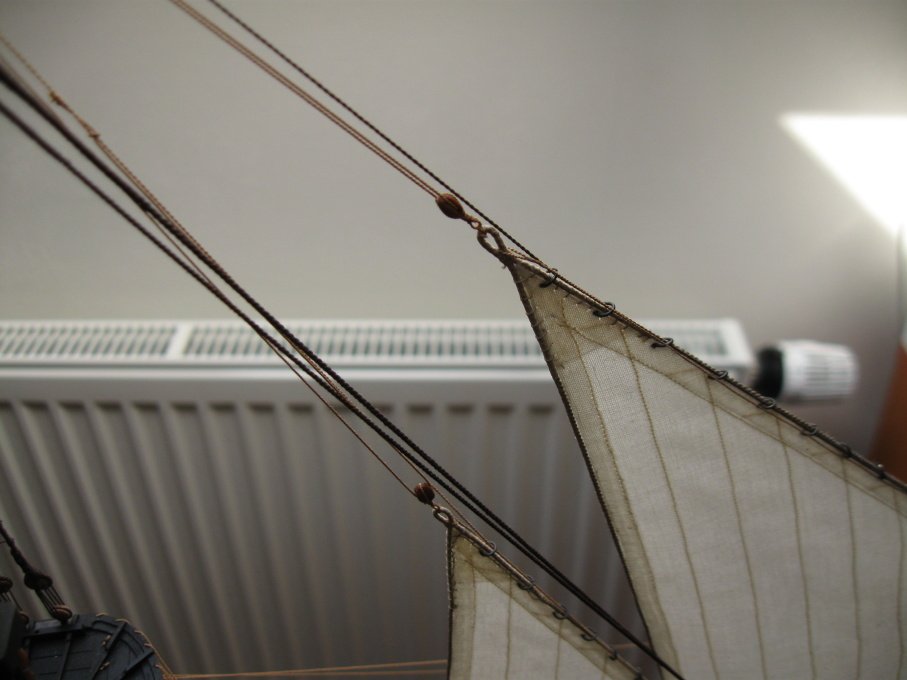
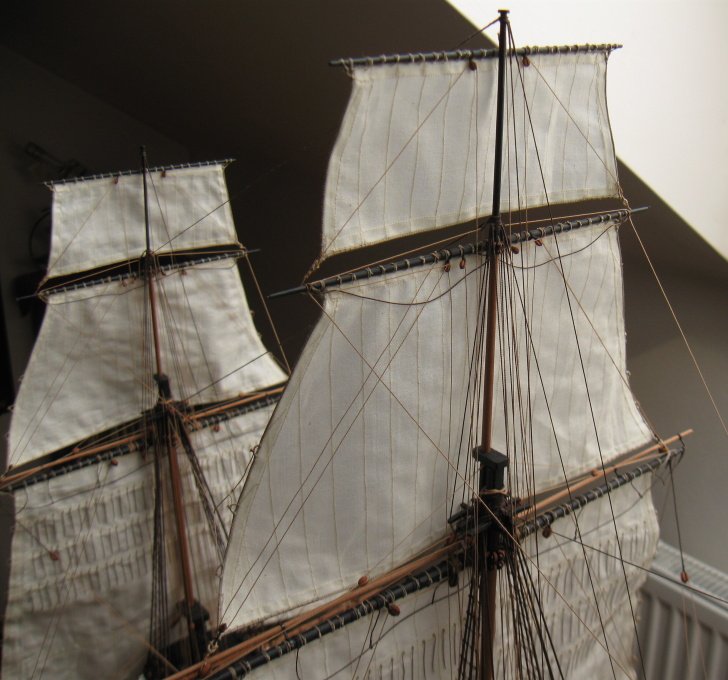
So and now some new pictures - installation of topsails.
-
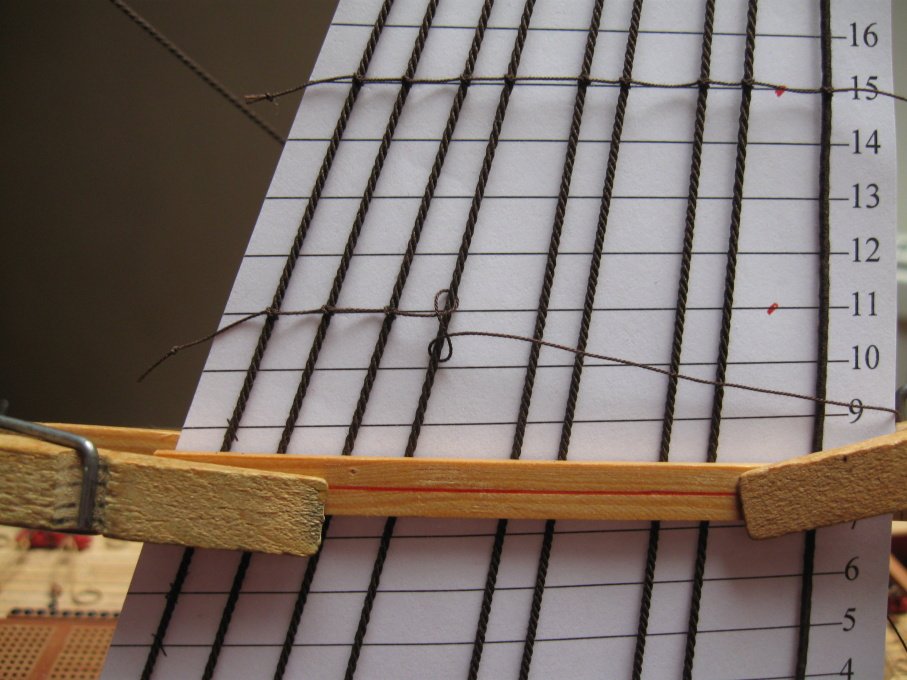
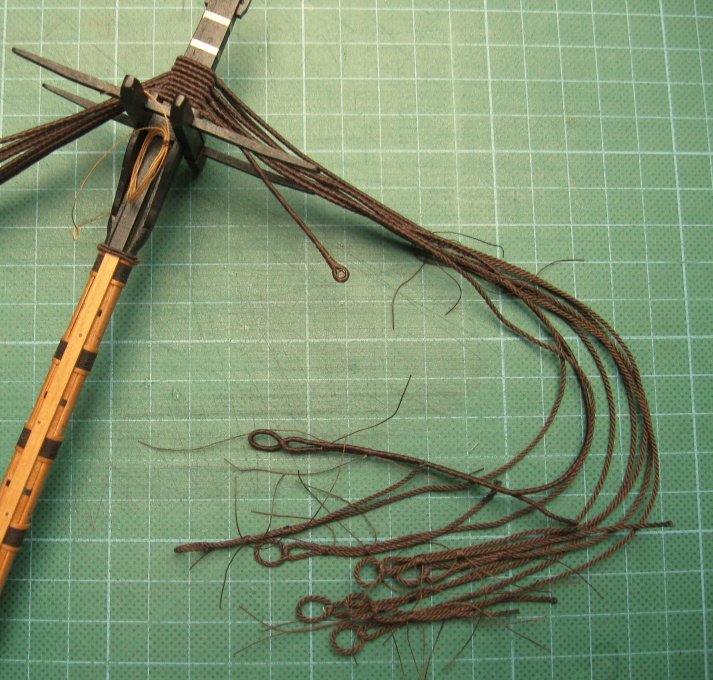
The running rigging should have right direction, but it is difficult to make right-handed rigging from the right-handed threads. I tried it, but the results was not acceptable. So I decided to make all rigging as left-handed.
Next part - cross jack yard and mizzen course installation.
- Erebus and Terror, herask, matiz and 34 others
-
37
-
Thank you guys for so many nice responses
 .
.
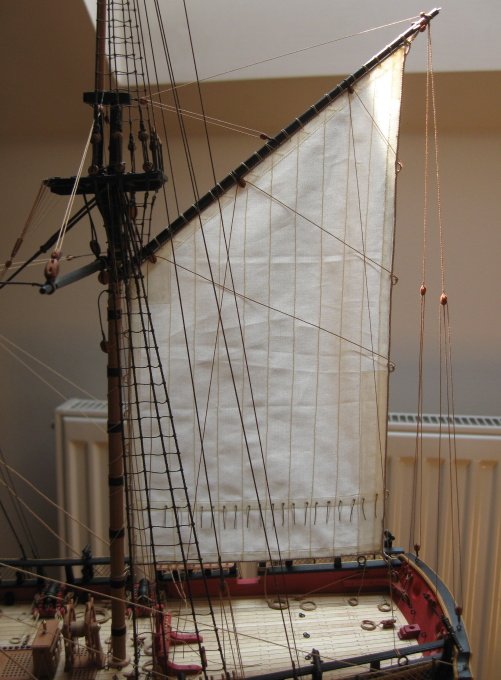
To aviaamator: I have found no informations about it, but there are many pictures in the Lees book (The masting and rigging of english ships of war), where can you see that direction of leech rope was the same on both sides of the sail.
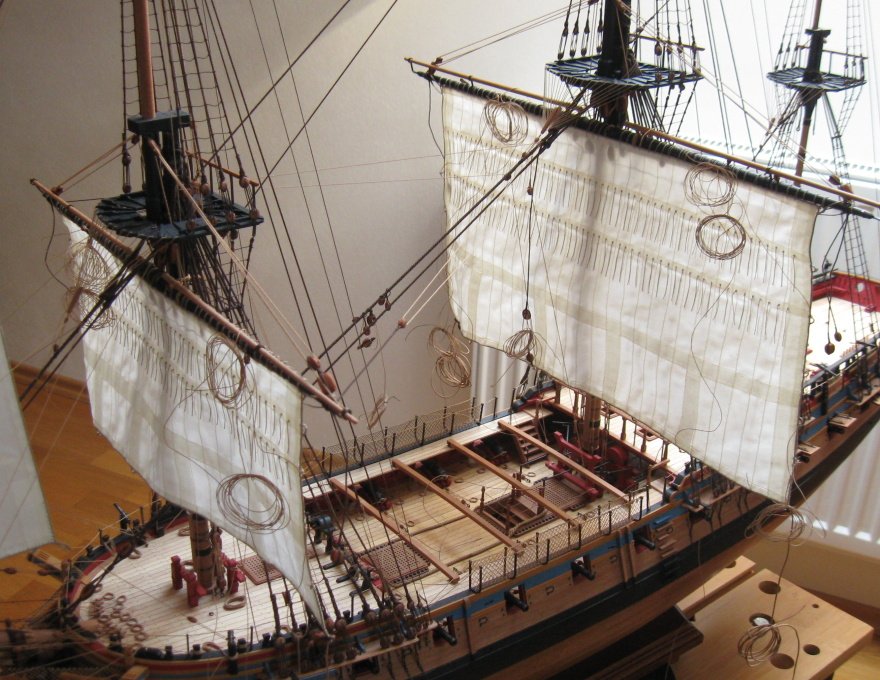
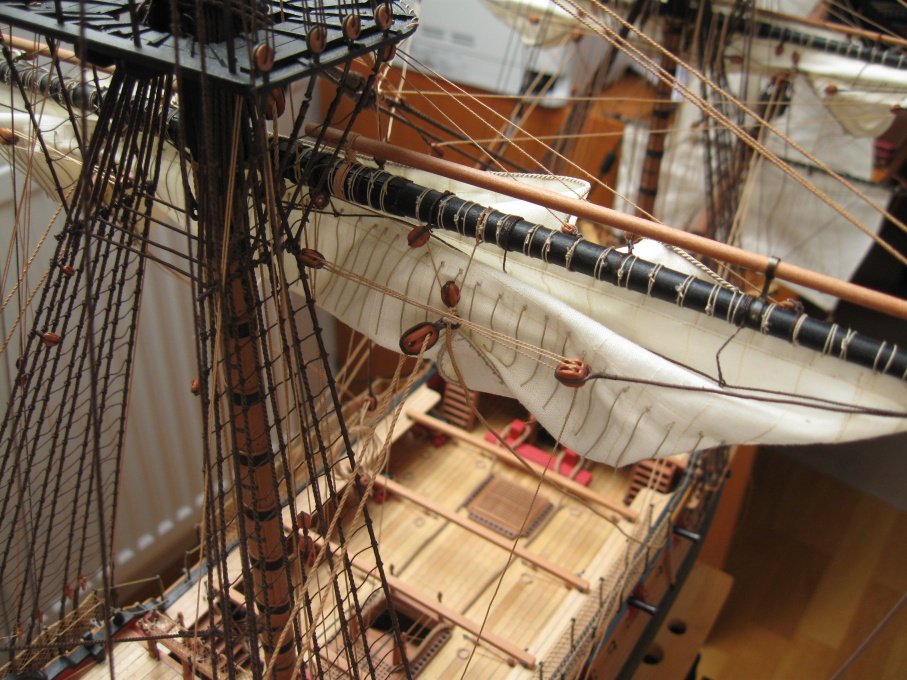
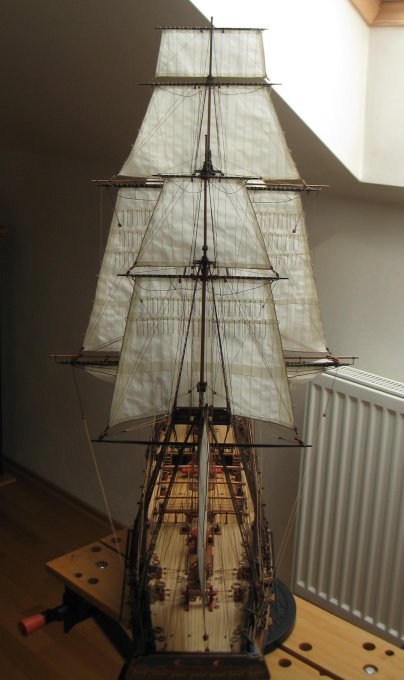
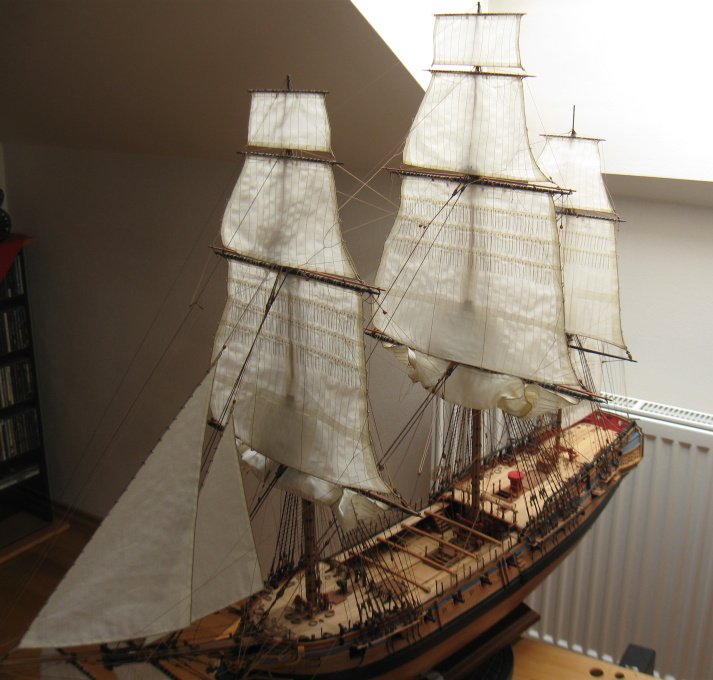
I continue with the fore and main course. Only these two sails will be partially furled.

- j21896, Tigersteve, coxswain and 20 others
-
23
-
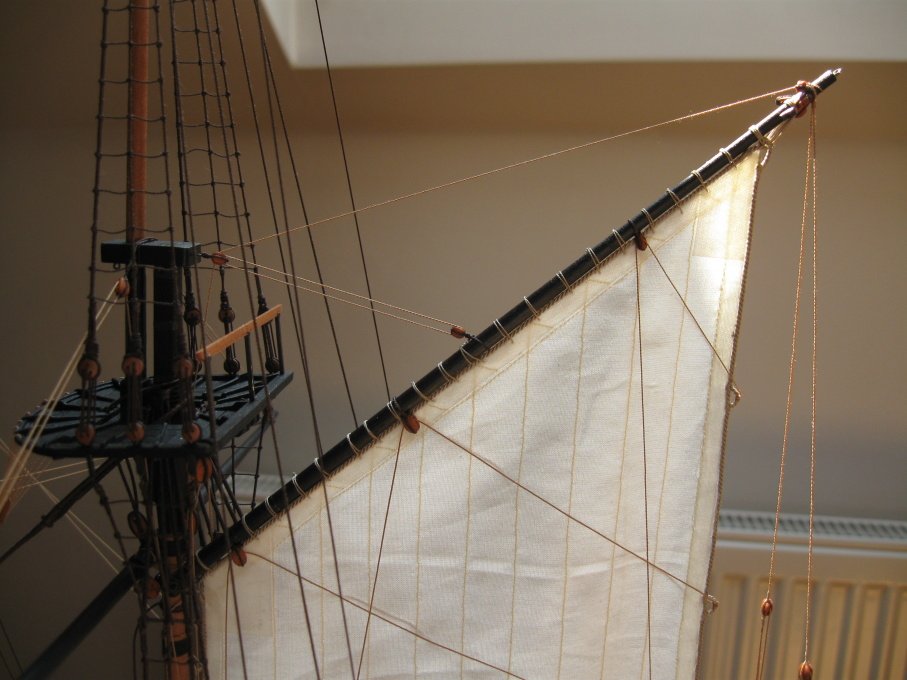
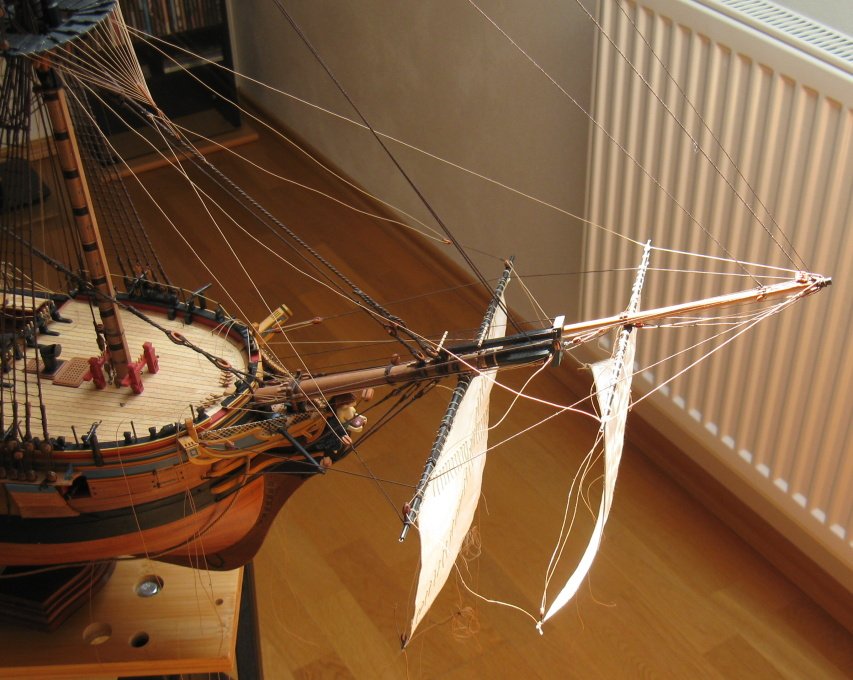
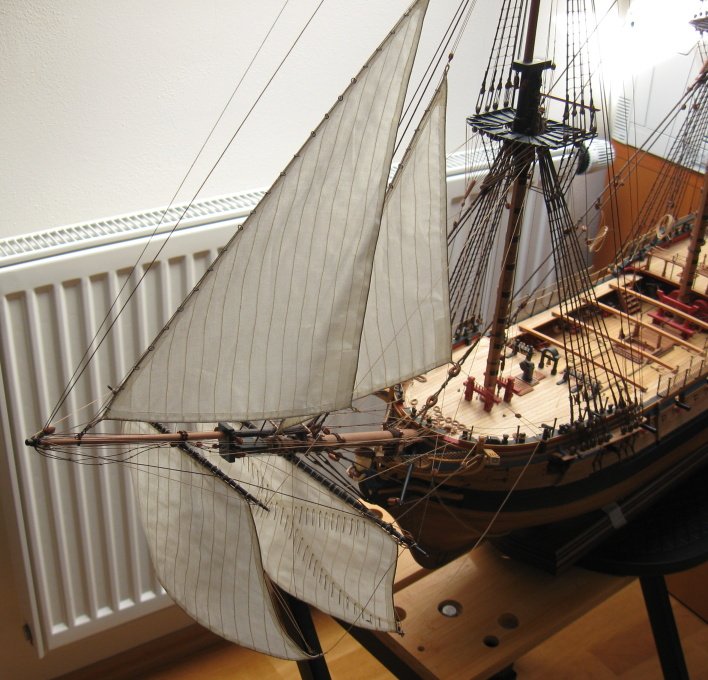
I started to install yards and sails. I wanted to furl the spritsail course and spritsai topsail, but I was not satisfied with the result, so I changed my mind and decided to leave these sails without furling. From this reason I had to make additionally the water holes in the spritsail course (Druxey - you were right). It was somewhat complicated because the yard with sail has already been installed on the bowsprit.

-
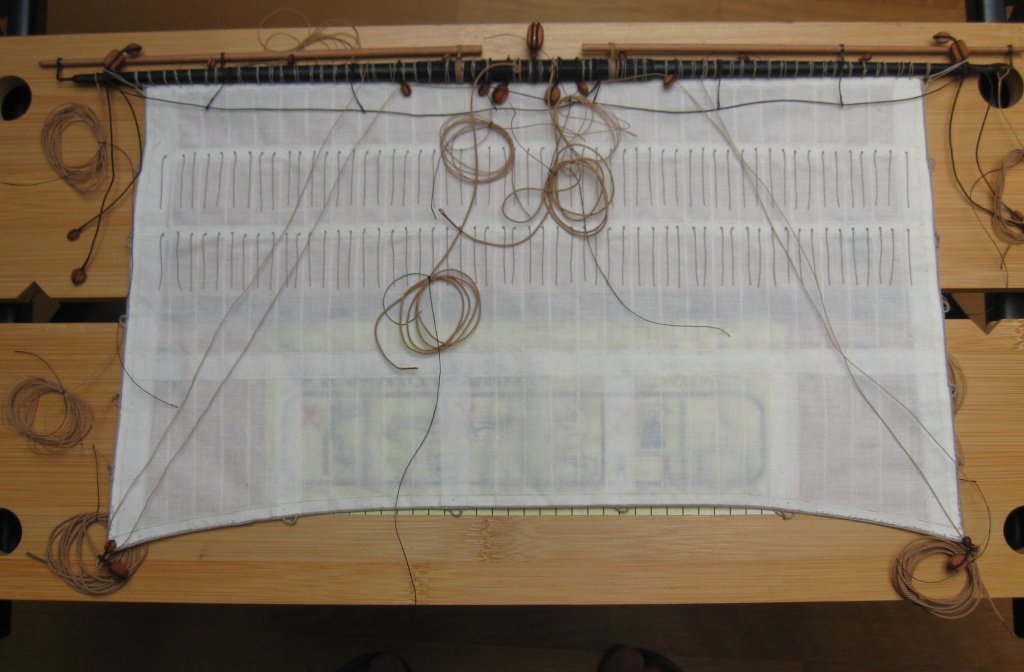
To Druxey - some sails will be partially furled - fore and main course, sprit sail and sprit topsail - from this reason I saved little bit time and made no water holes - they will not be visible.
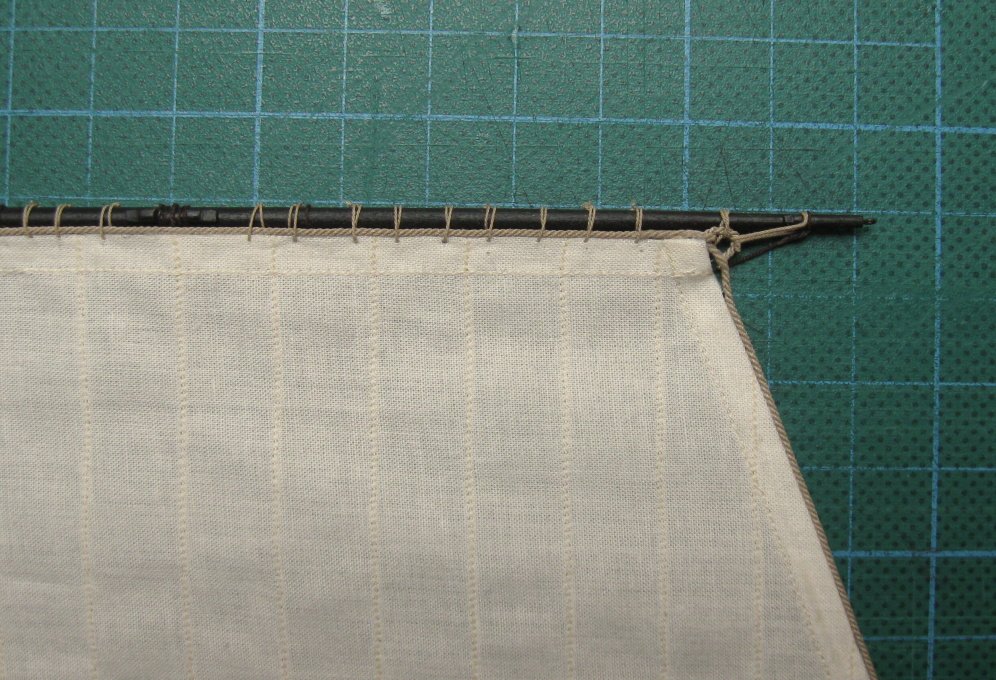
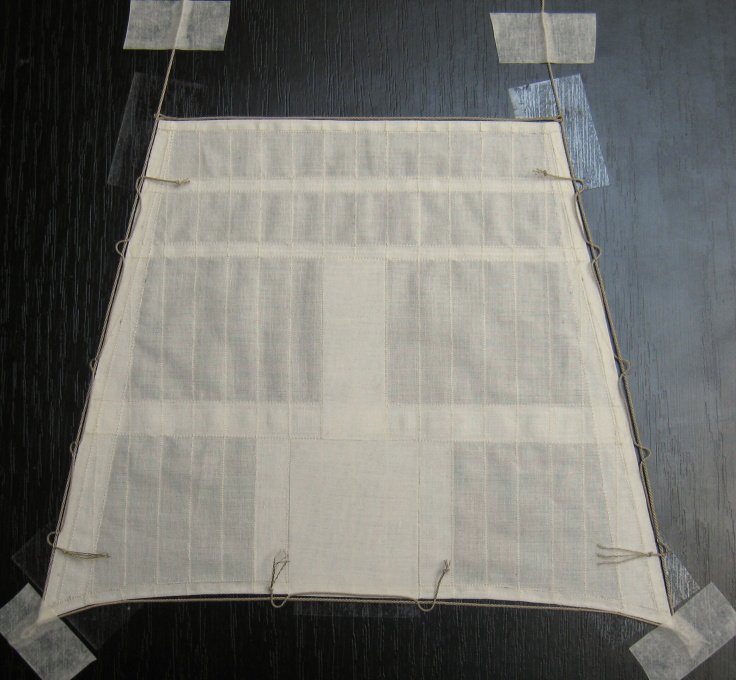
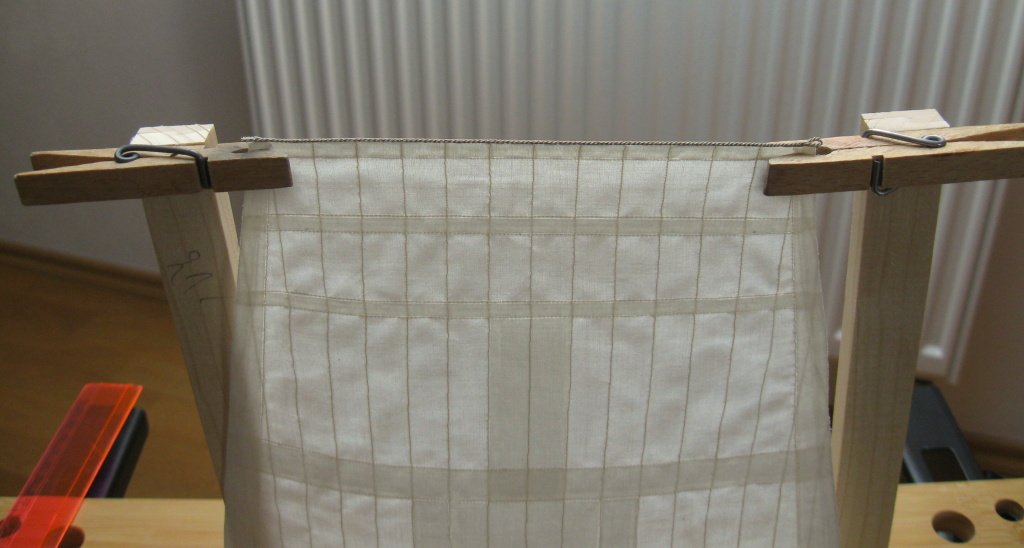
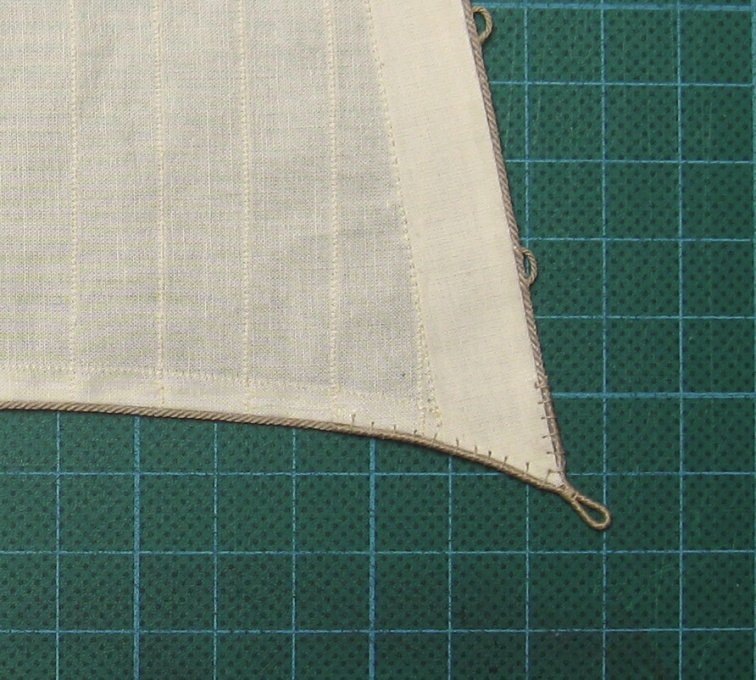
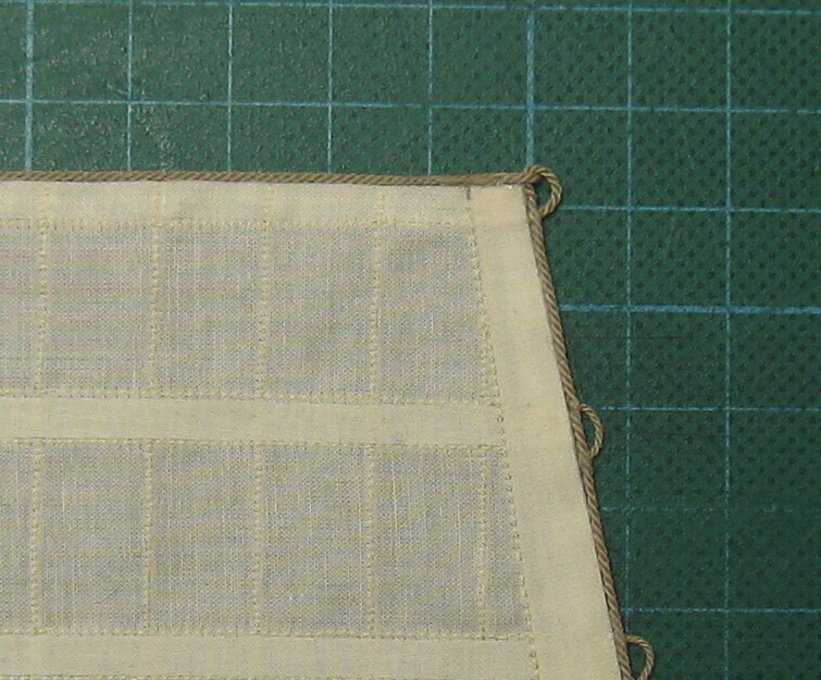
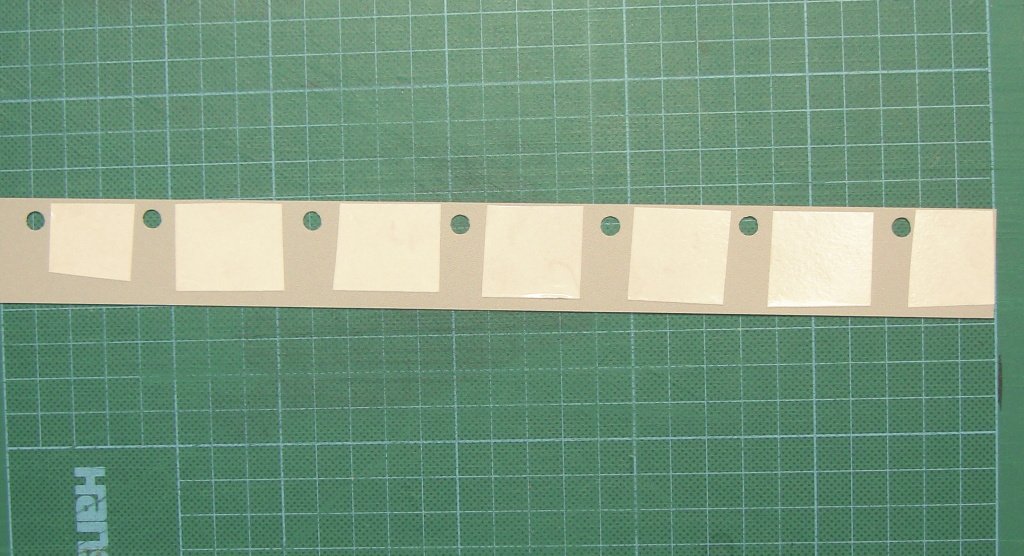
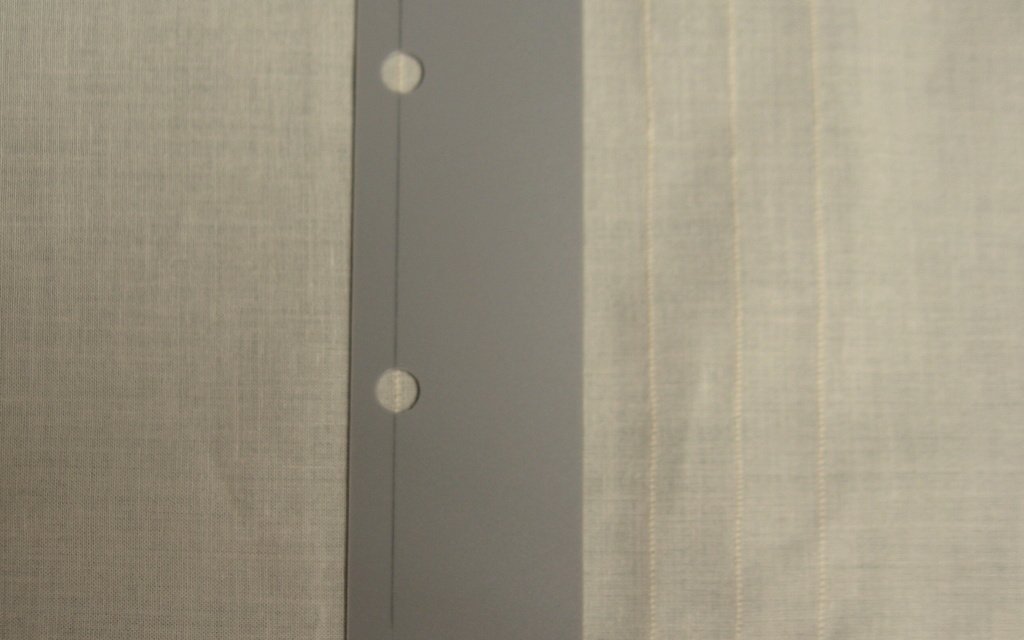
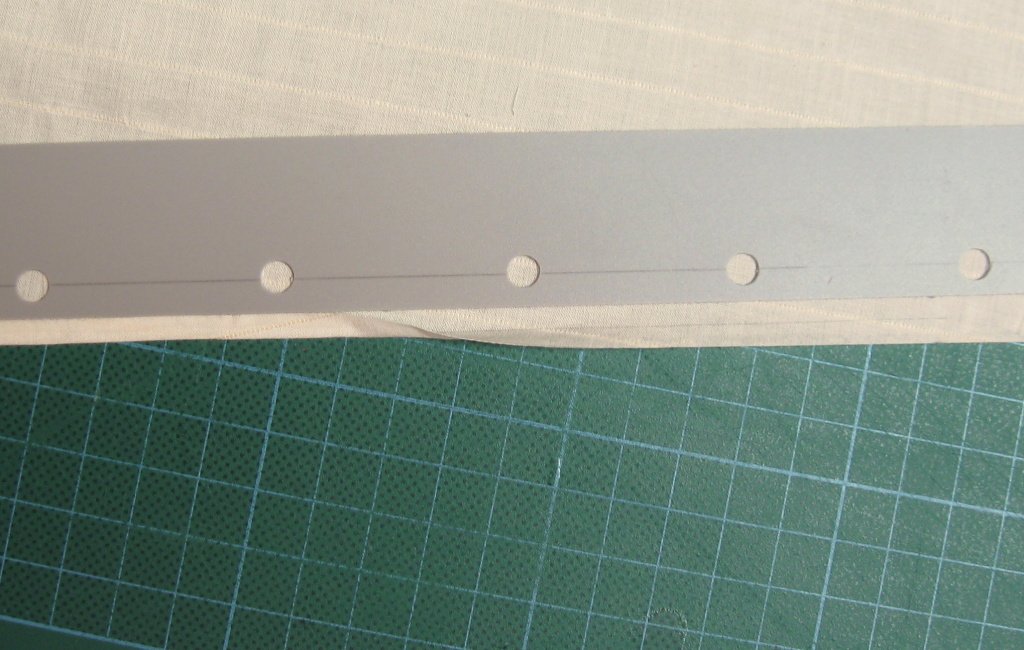
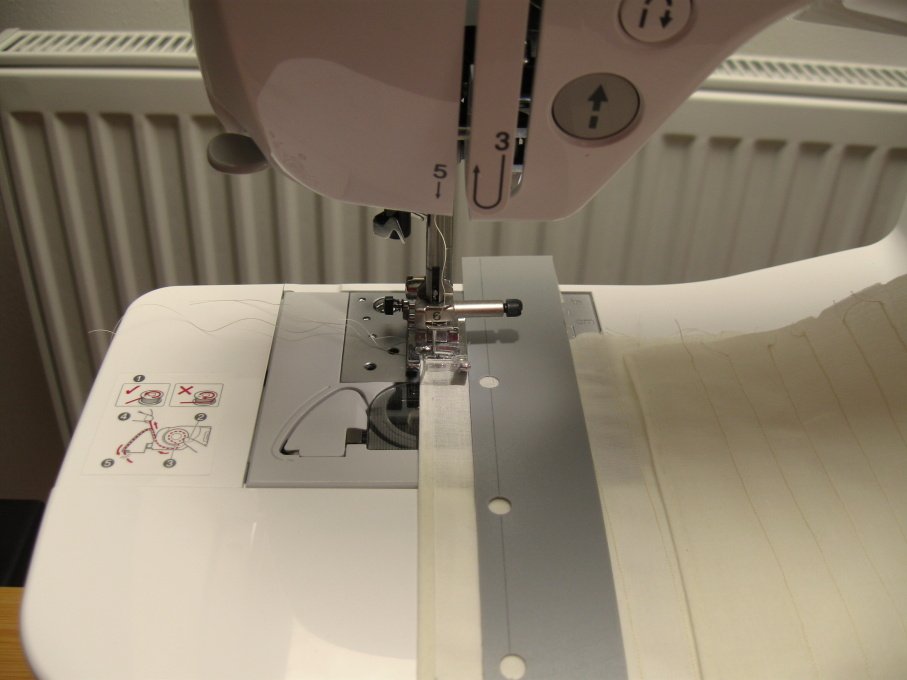
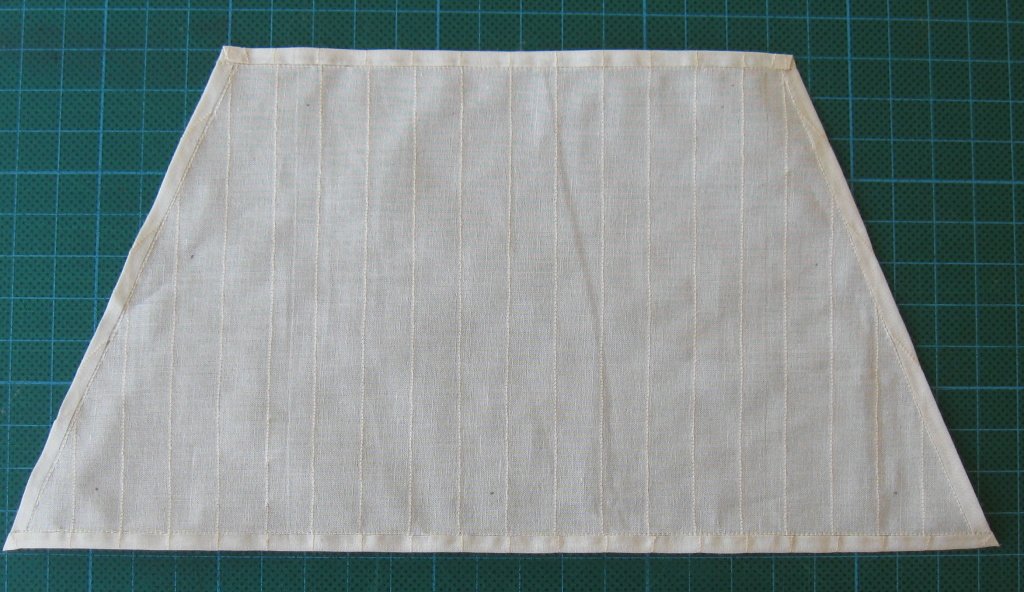
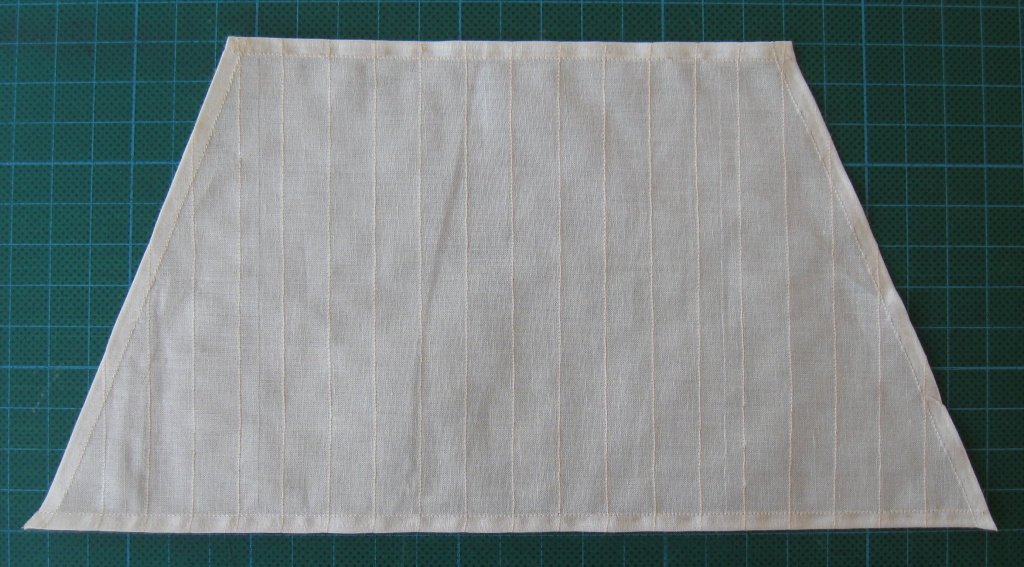
To Ilhan Gokcay - there are only two folds at the edge. The edges are reinforced with diluted PVA ( 3 (water):1 (PVA) ratio). After drying is posiible tu cut the cloth without fraying.The belts are made from the same reinforced cloth - without folds.
Mike R - bolt rope is attached with glue for textile.
Now all the sails are attached to their yards.

- NMBROOK, FatFingers, aviaamator and 30 others
-
33
-
Many thanks.
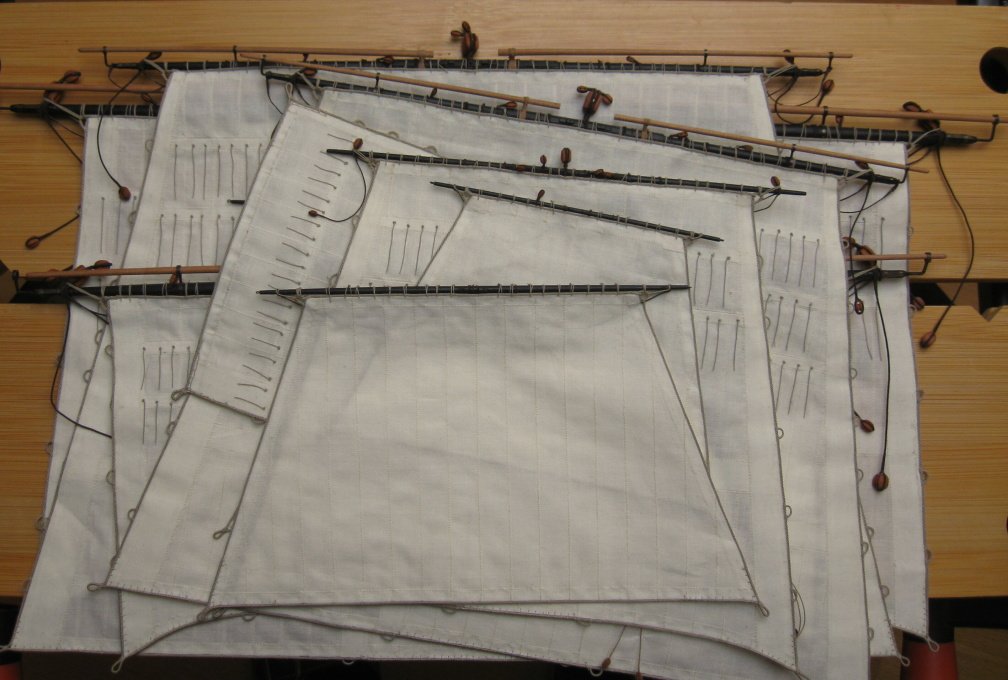
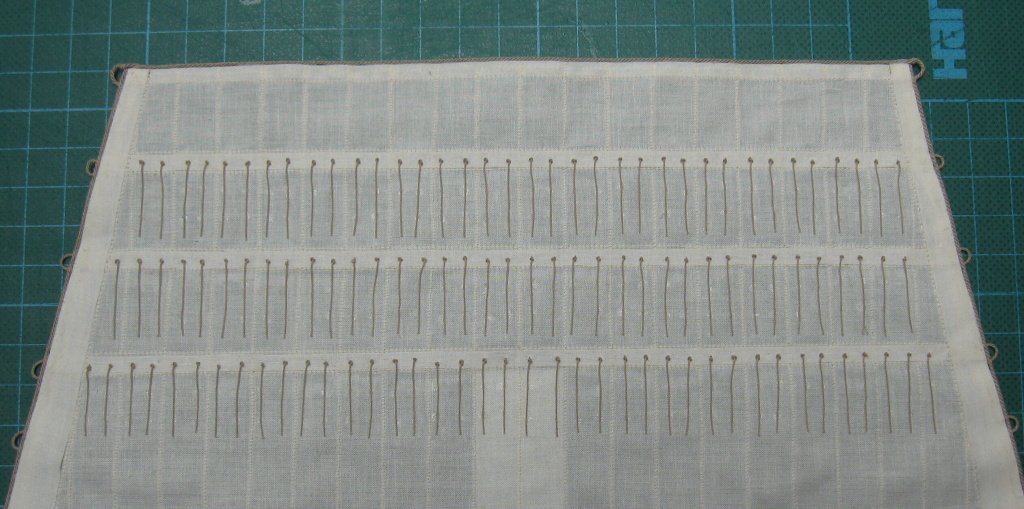
All about 600 pcs reef points are in place. Now the only thing left is to attach the sails on the yards.

- dvm27, John Cheevers, matiz and 31 others
-
34
-
Thank you guys for very nice comments and likes
.
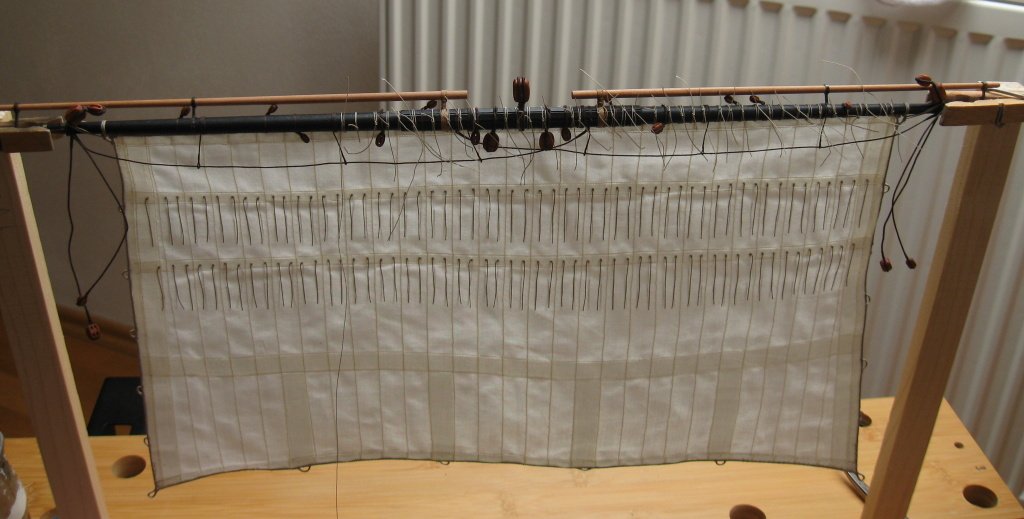
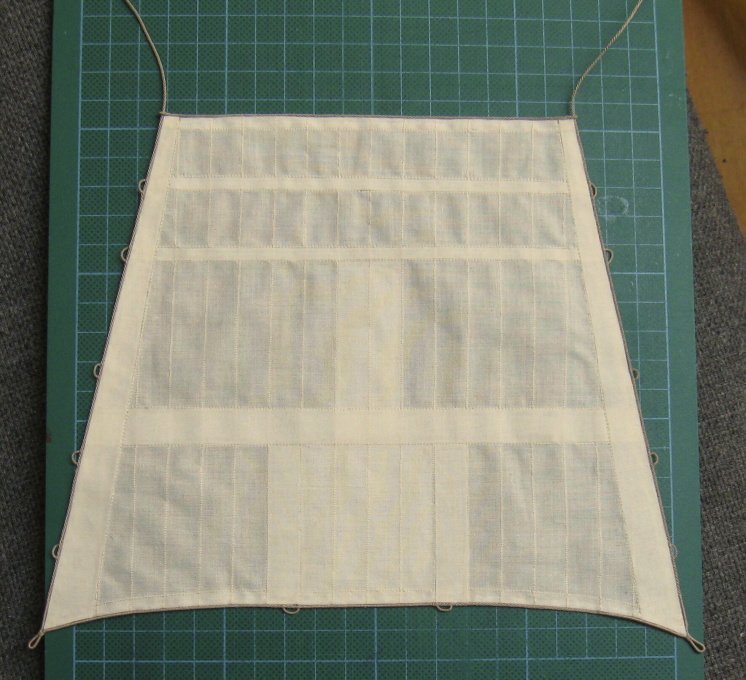
I added all strenghtening belts and bolt ropes with cringles. For the finishing of the sails, it is only necessary to add the reef points.
-
Thank you guys
") .
.
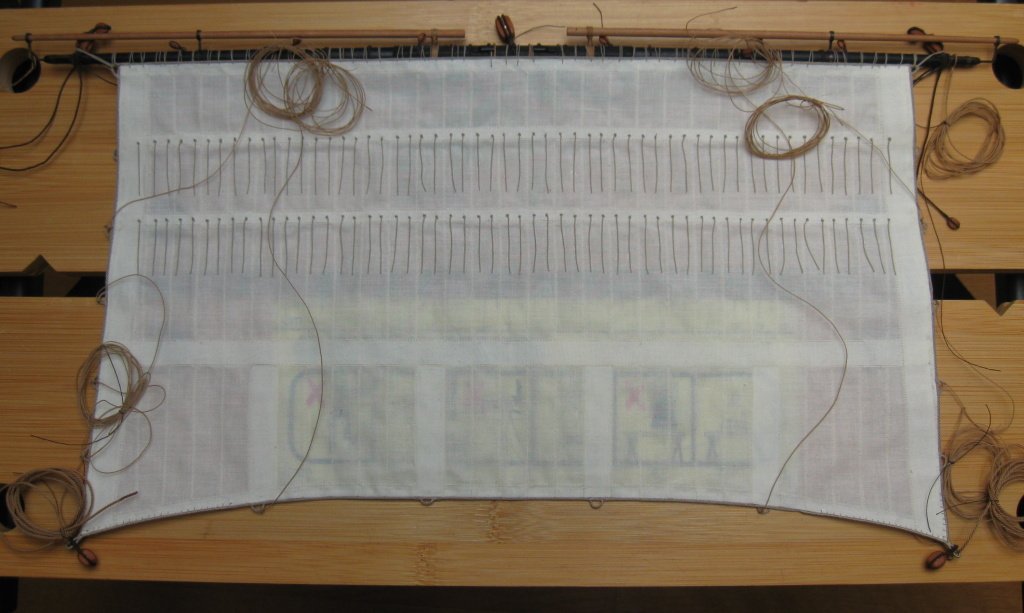
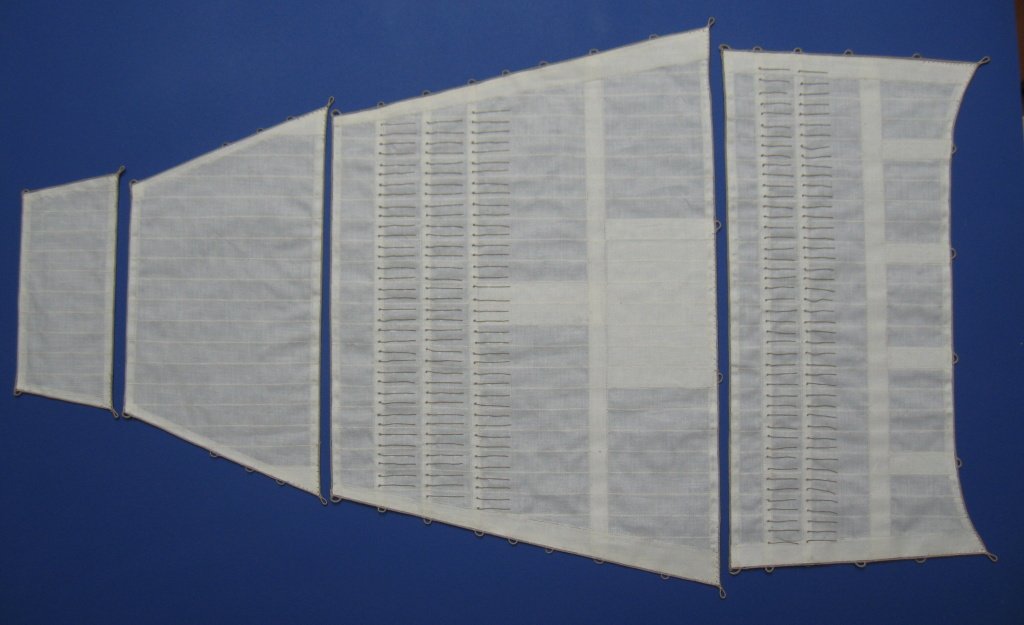
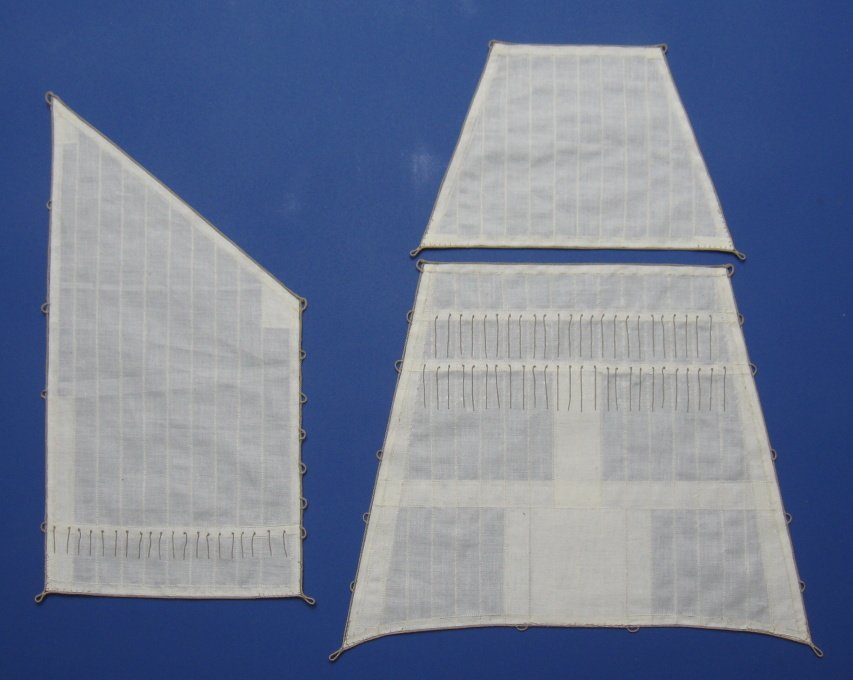
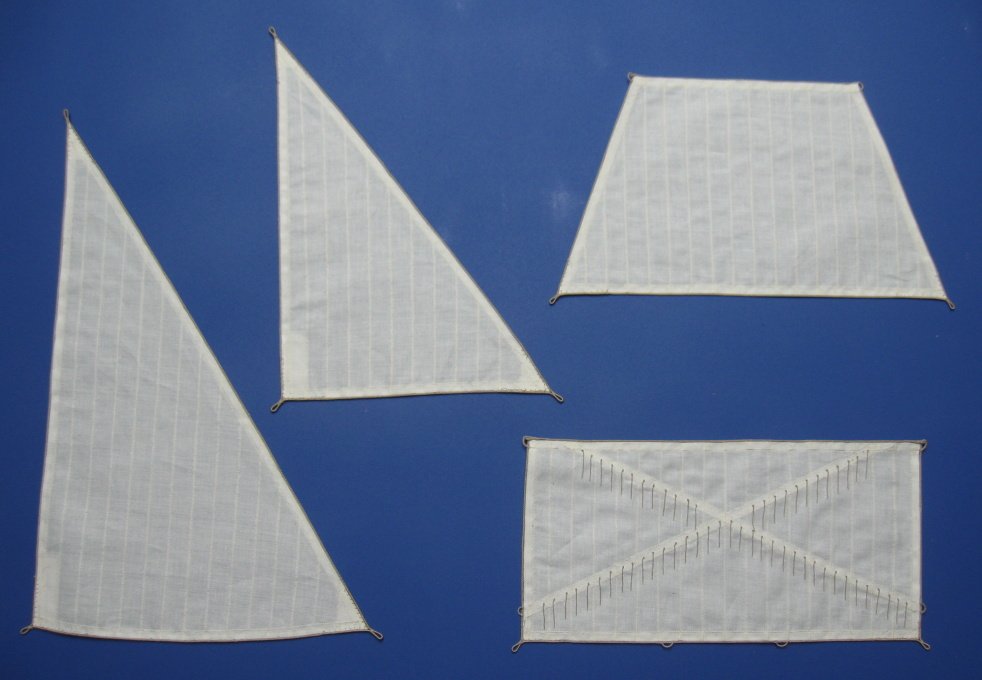
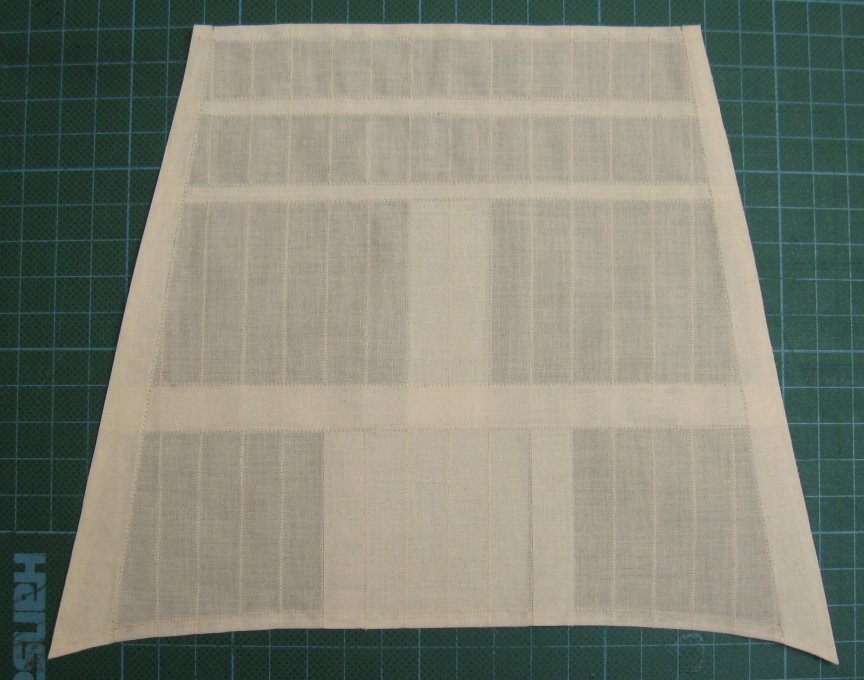
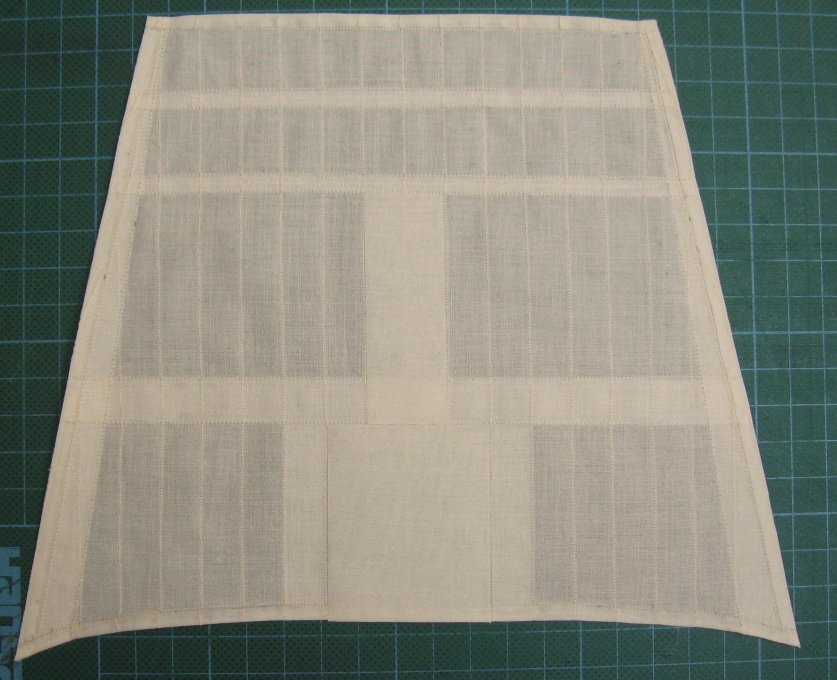
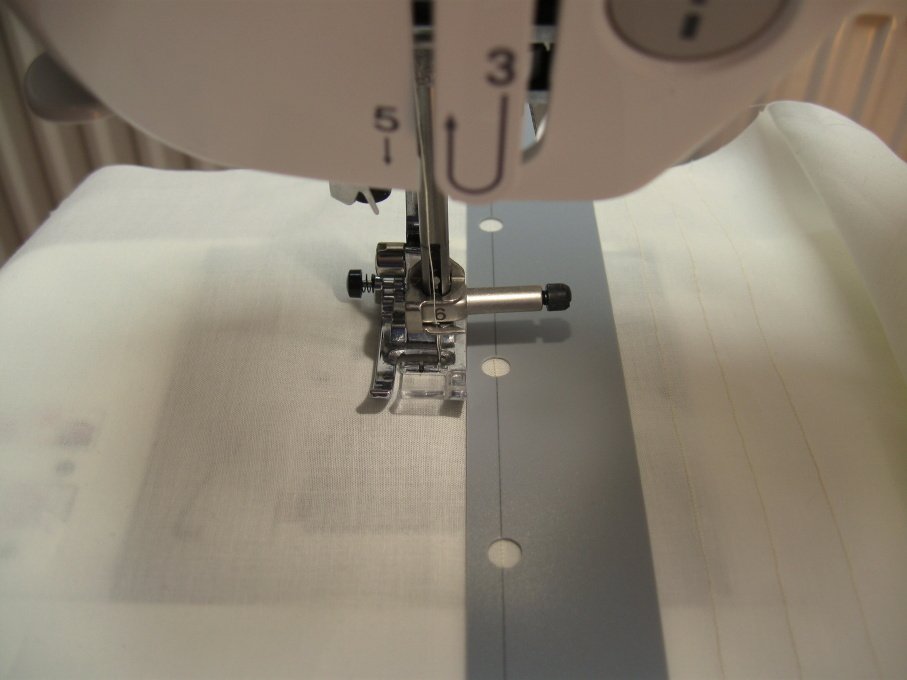
After a short break I started to sewing the sails. I managed to get a nice soft batiste with a slight beige touch, so I did not have to work with a dye. At this moment, I have sewn all the sails on which "only" is left to add different reinforcement and reef bands, add a bolt rope and fasten the reef points. And then, of course, bending the sails to the yards - that´s enough work.
-
Hi druxey,
I know about this problem. This situation describes David Antscherl in his book of Swan model (the picture from your post is propably from this book). But on the other hand, I have no reason to disbelive informations which was published by Lees and Petersson (both books I own)
.
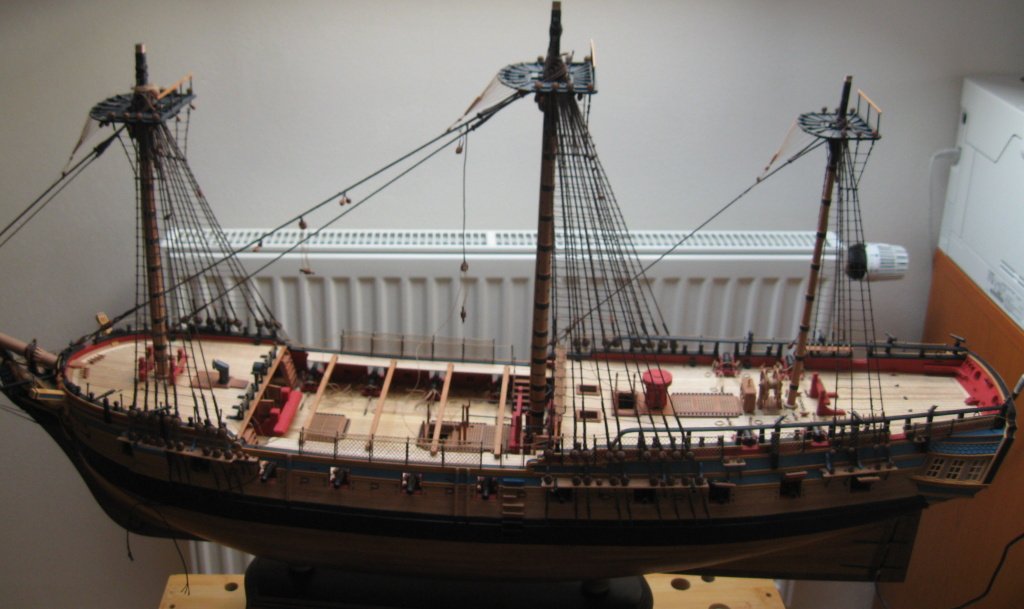
Standing rigging is finished, the rudder is in place. Now is the time to prepare the sails.

- Cpt Jack Sparrow, albert, Erik W and 33 others
-
36
-
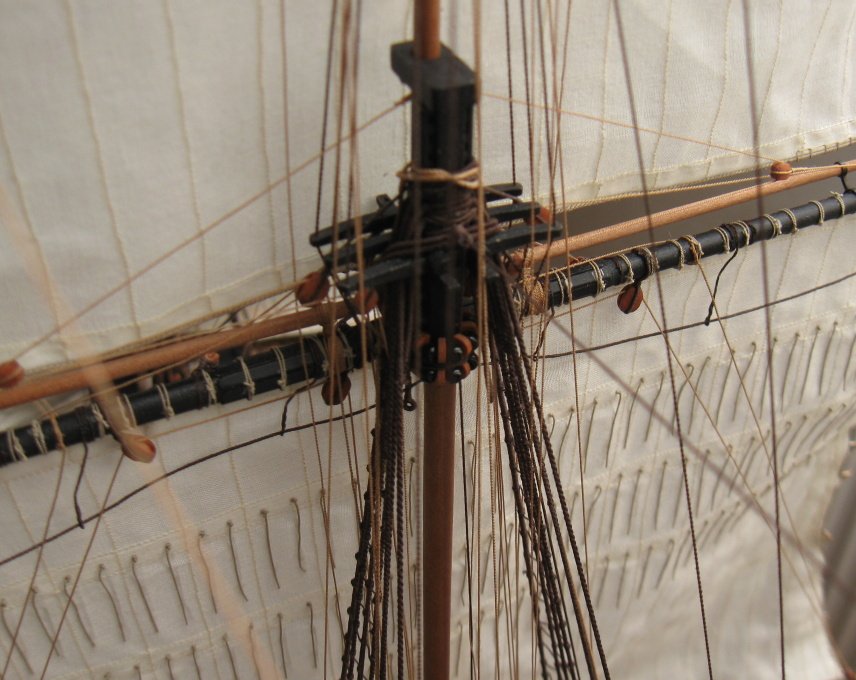
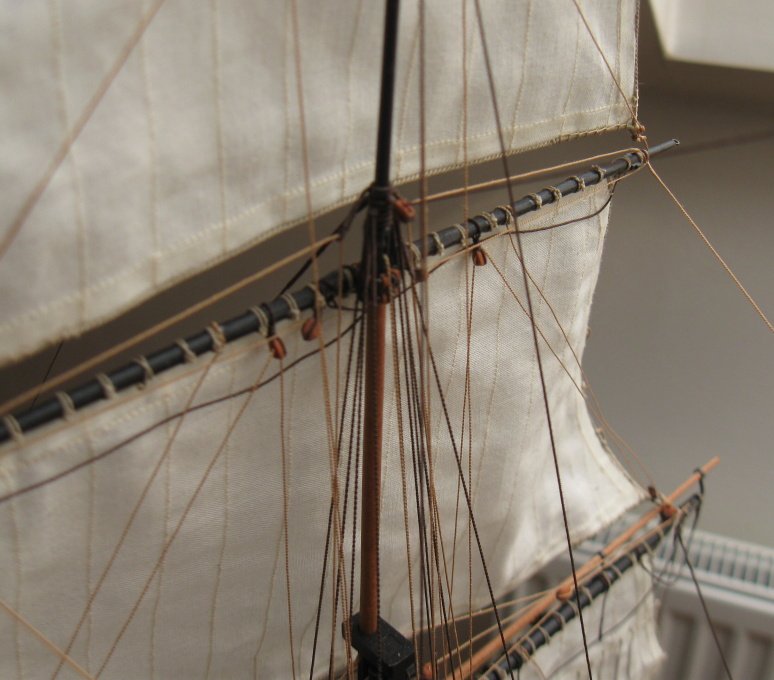
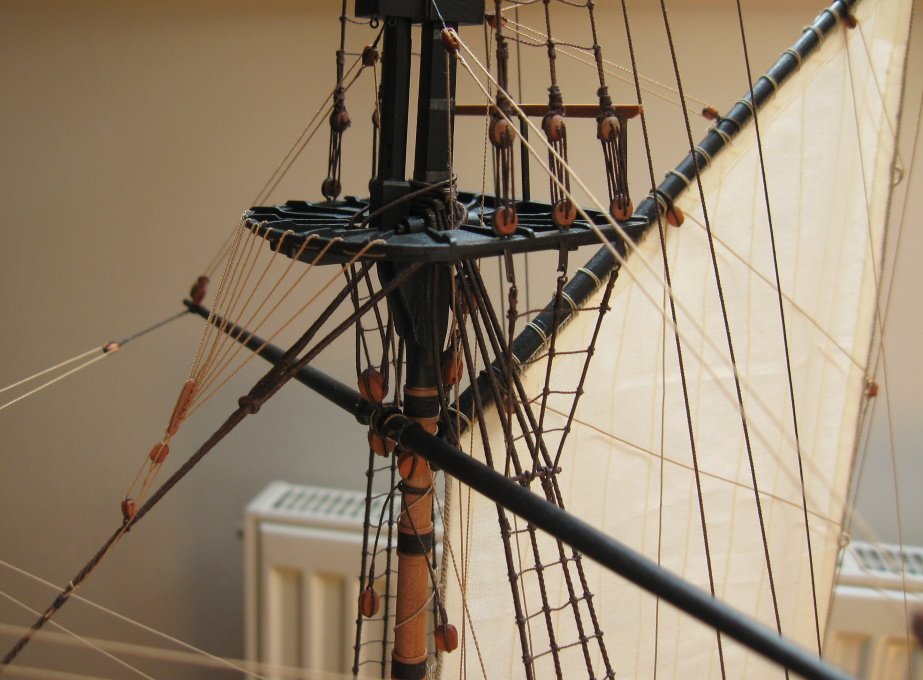
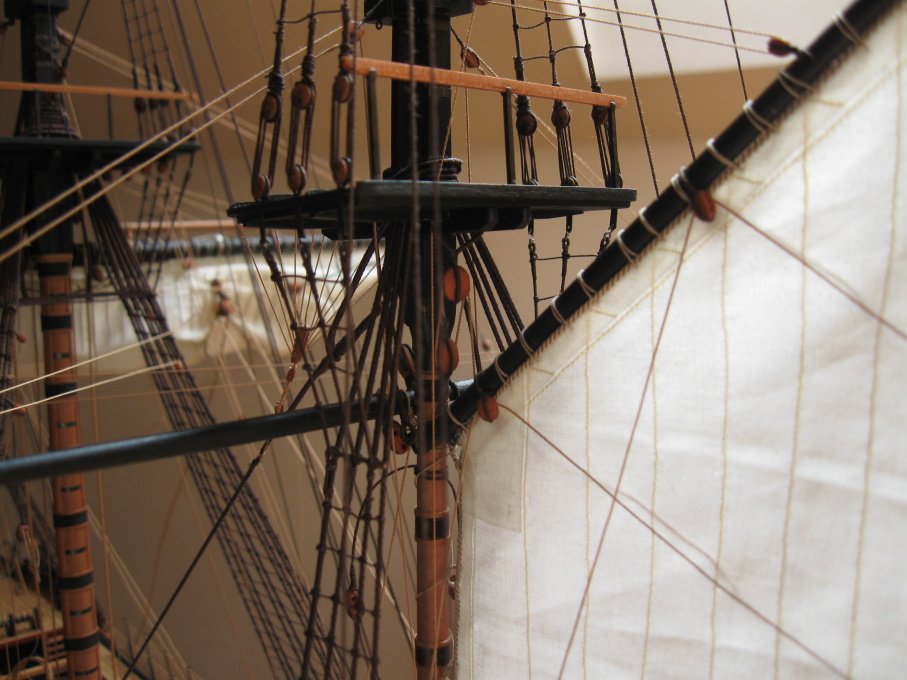
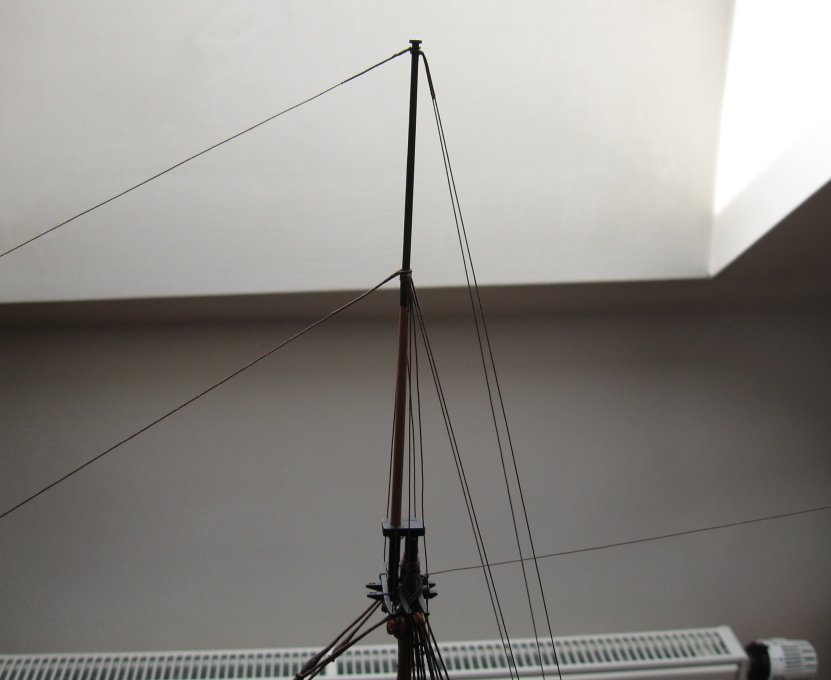
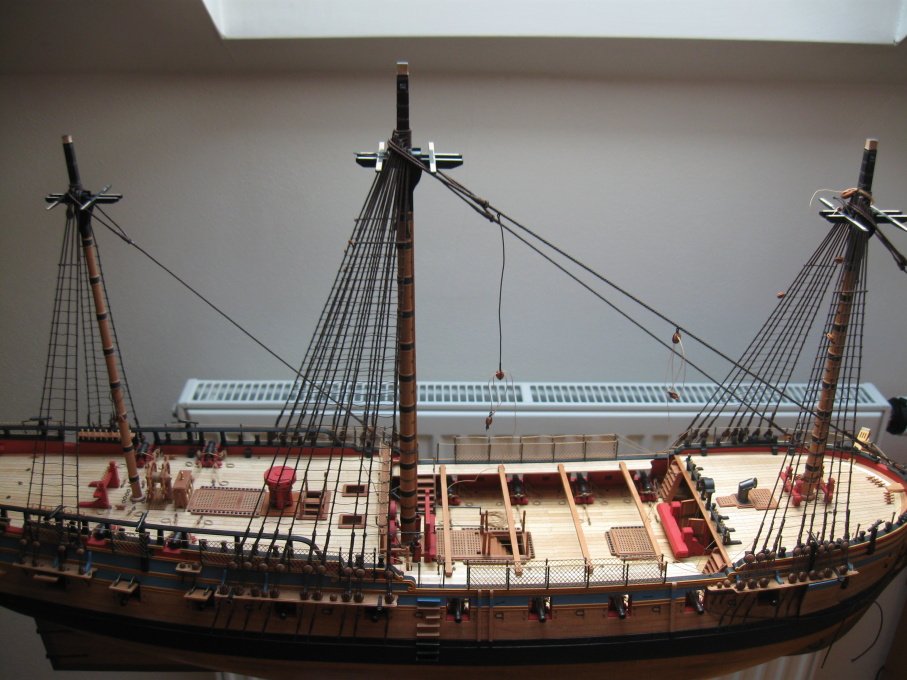
The topmast level is done, it remains only topgallant level and the standing rigging will be completed.


- aviaamator, dvm27, tlevine and 19 others
-
22
-
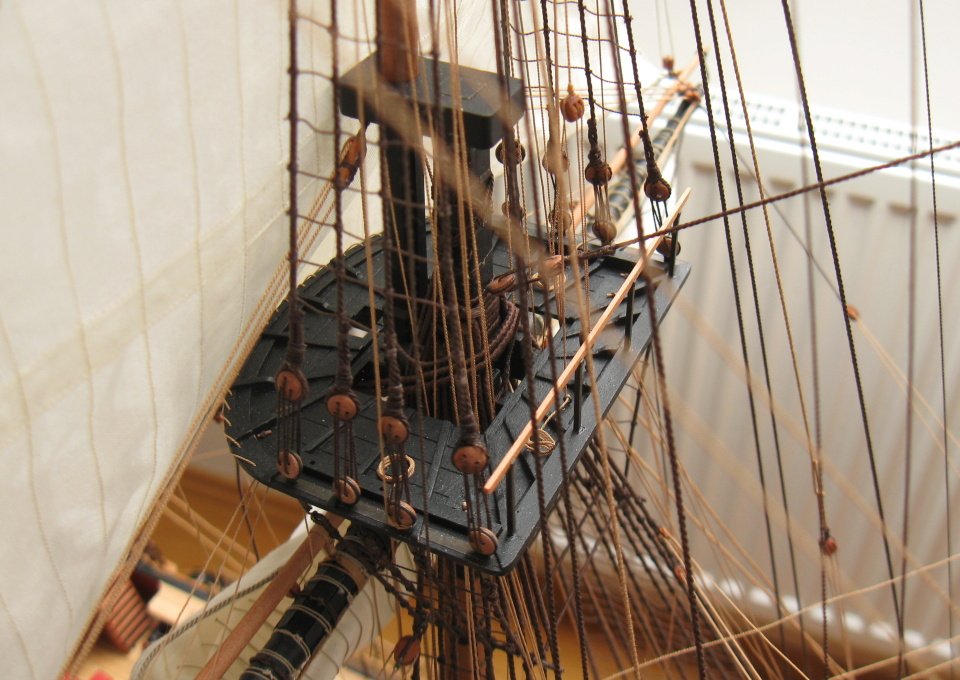
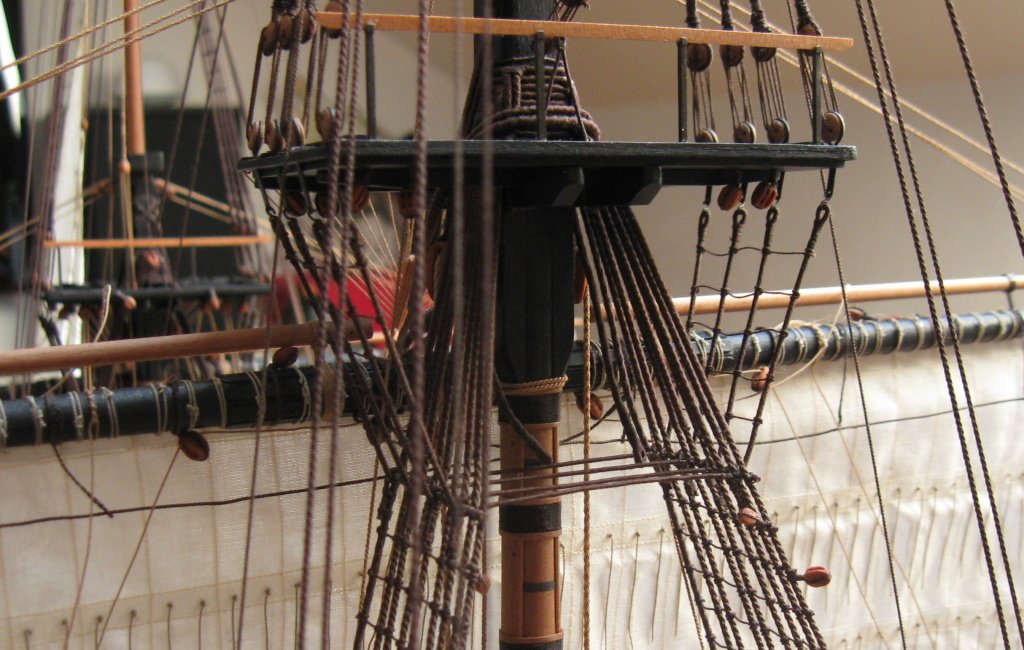
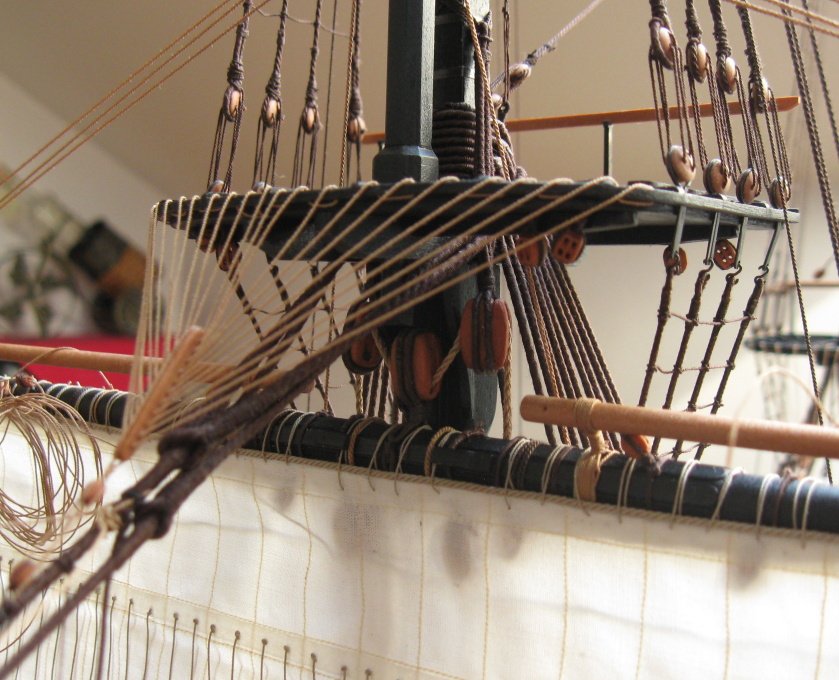
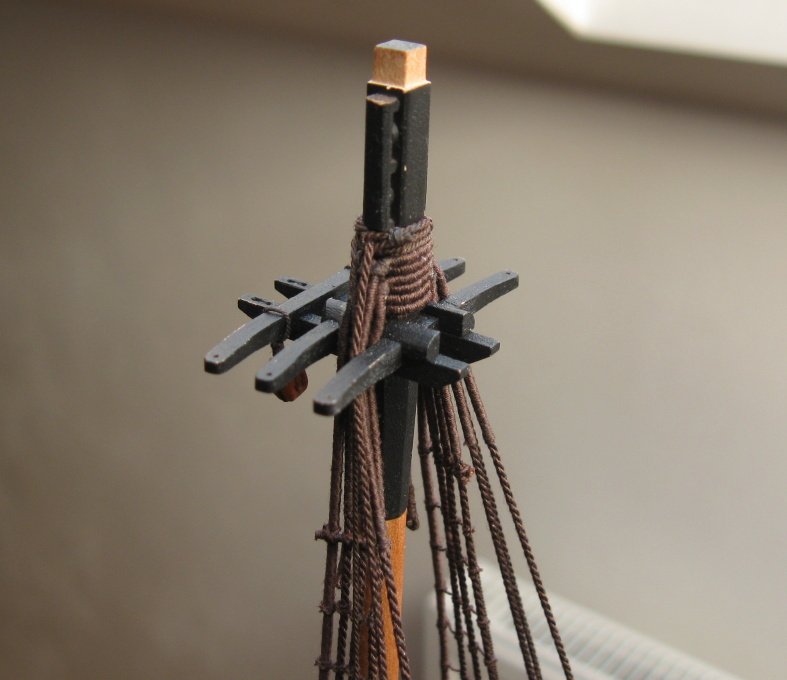
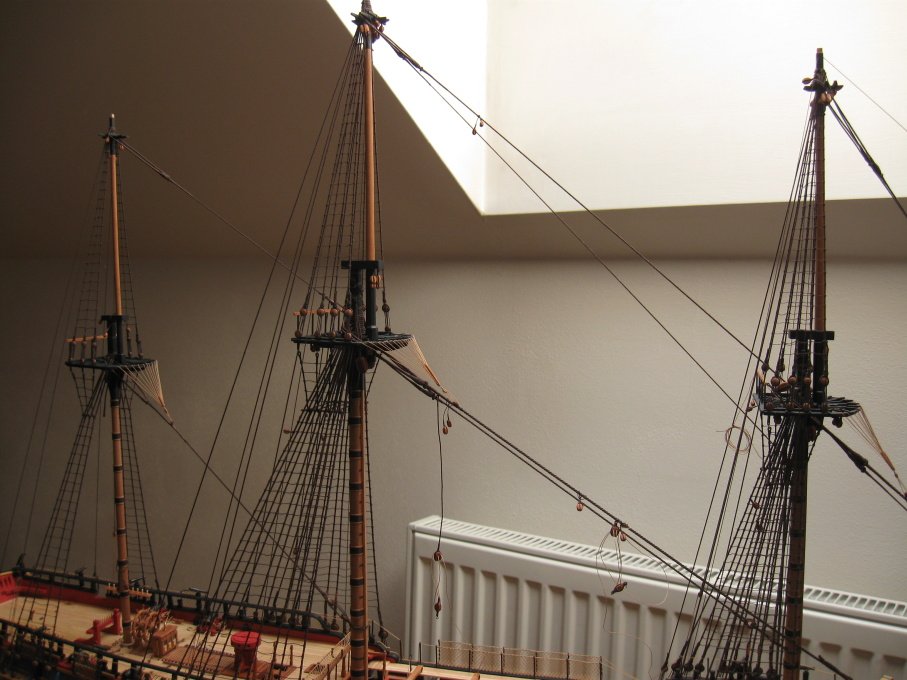
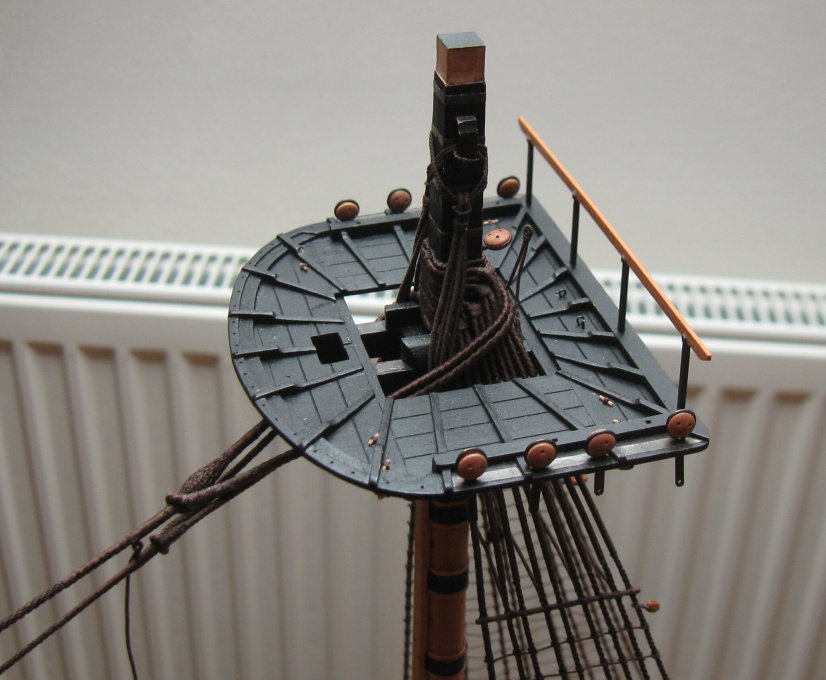
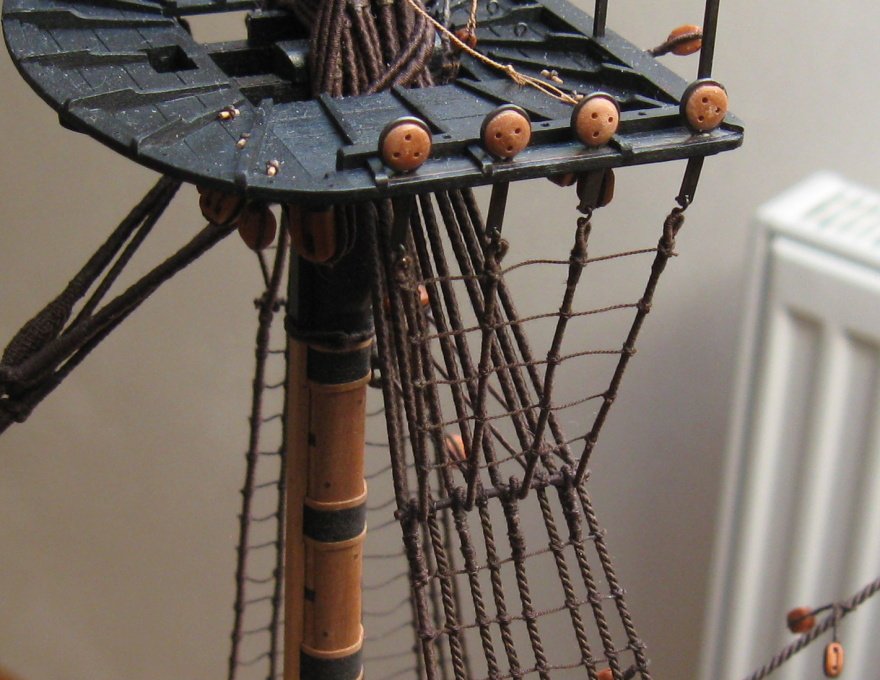
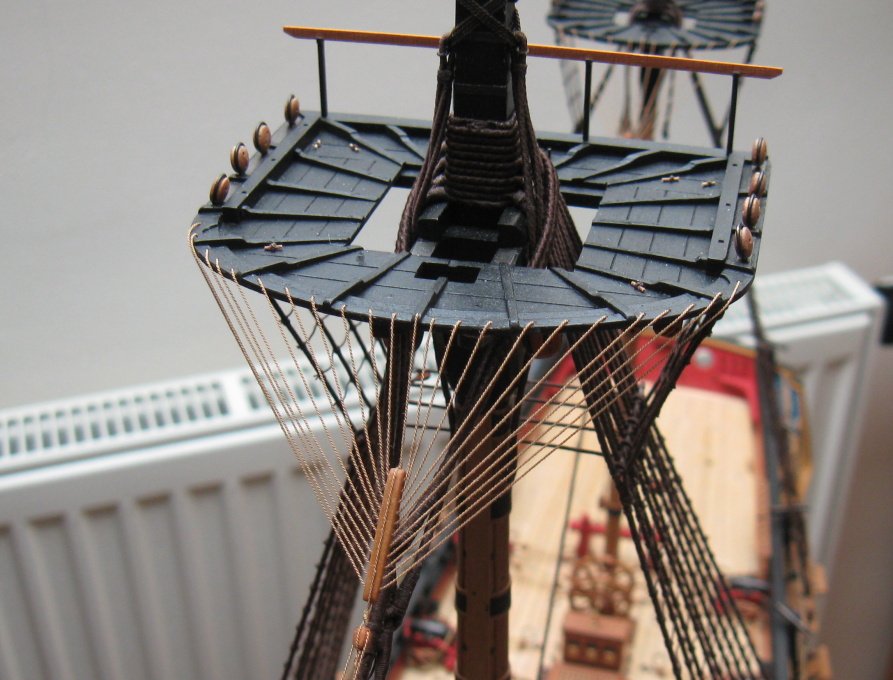
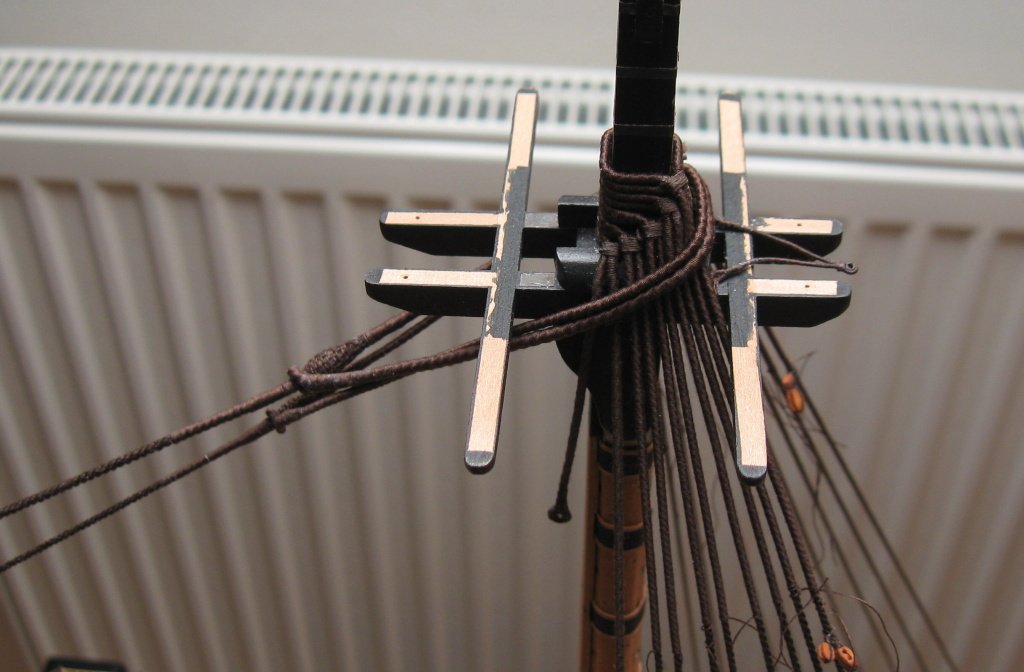
Tops are now installed on the masts, completed futtock shrouds and crowsfeets. The "first floor" is finished and I can start with "second floor" - the topmasts.


- dvm27, sparrow, John Cheevers and 27 others
-
30
-
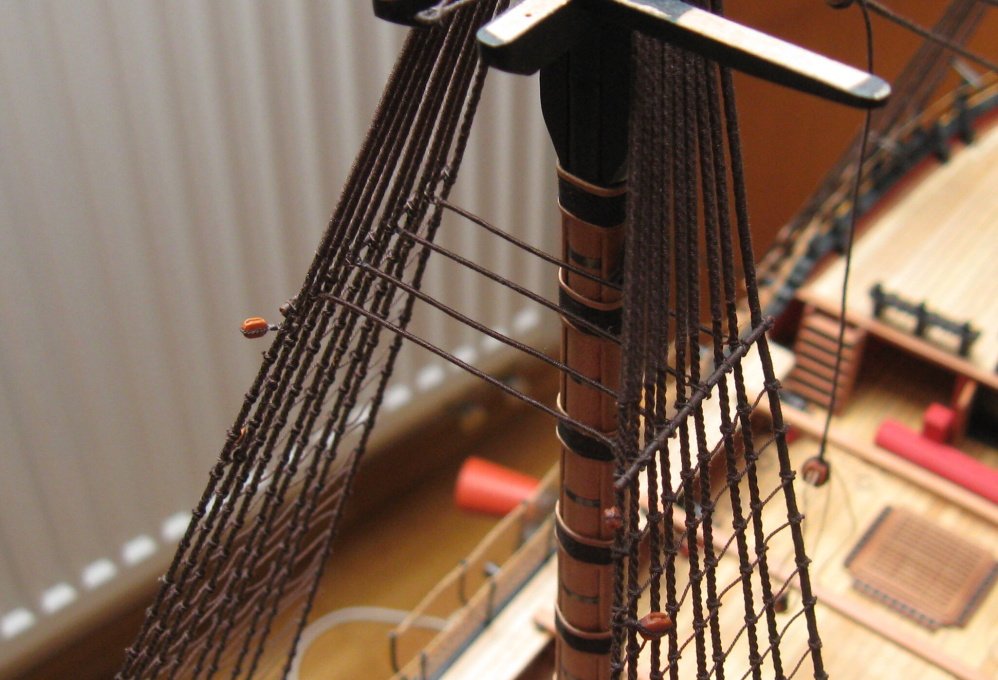
Futtock staves, ratlines and catharpins.


- paulsutcliffe, Erik W, Tigersteve and 18 others
-
21
-
Thank you guys for nice comments and all likes.
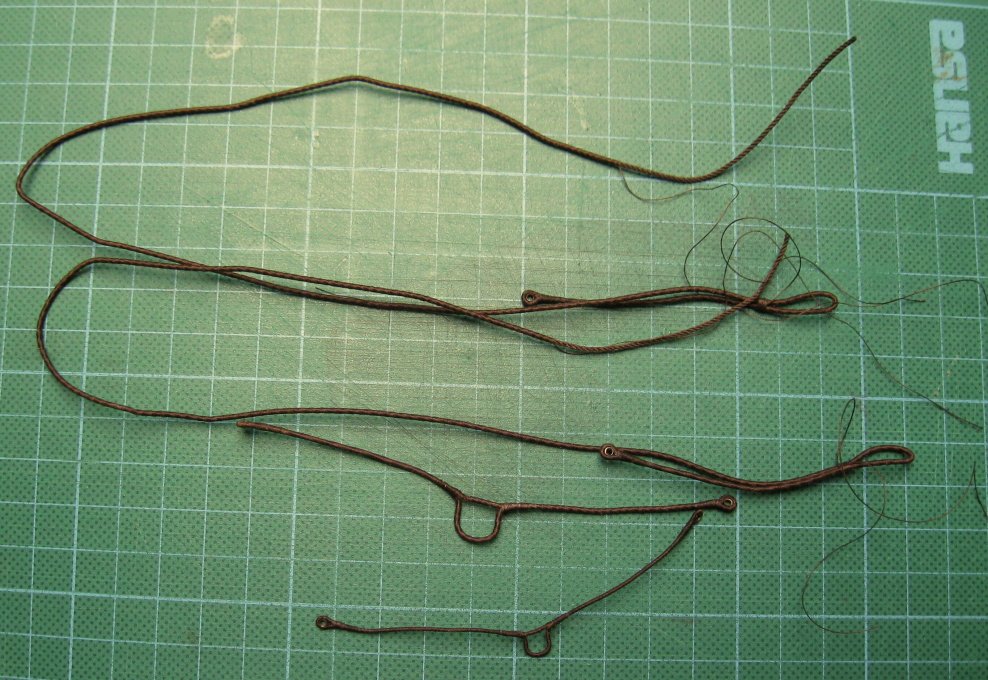
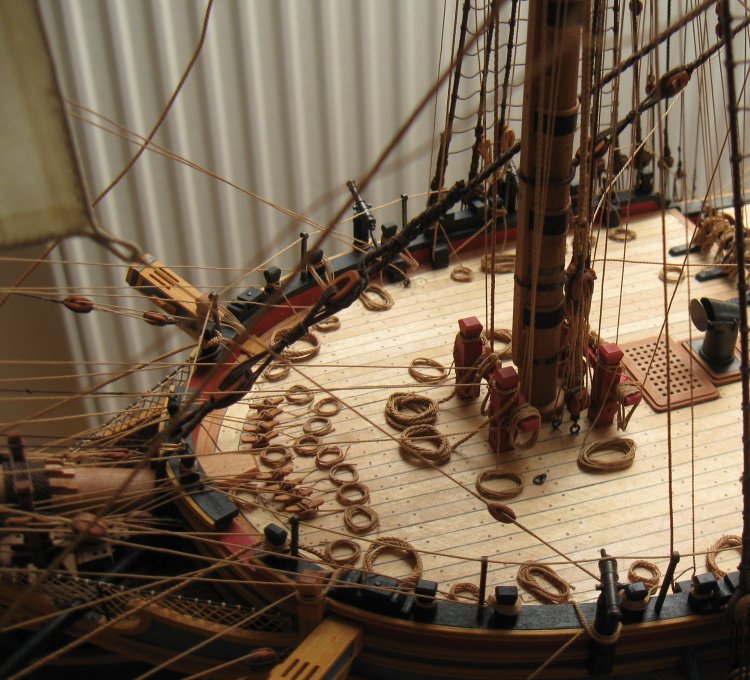
I continue with stays (including mouses), stay tackle pendant and fore hatch stay pendant.
- Bluto 1790, Ondras71, SimonV and 21 others
-
24
-
-
Hi Greg, it was not so complicated, it just needed enough patience and time
.
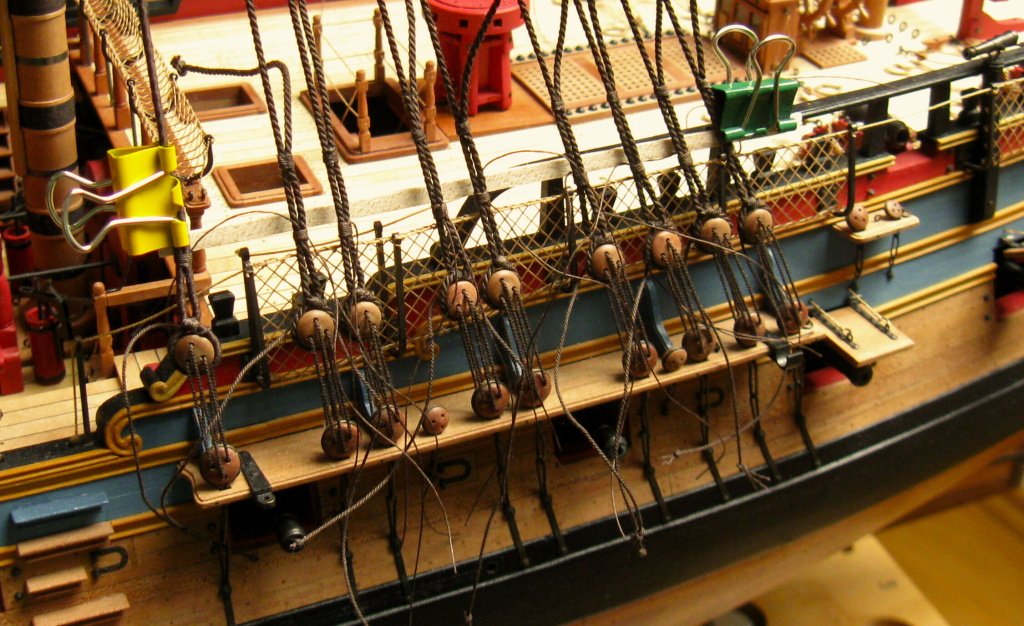
Next task - the shrouds.


- John Cheevers, Erik W, Tigersteve and 18 others
-
21
-
Thank you to all for the comments and likes.
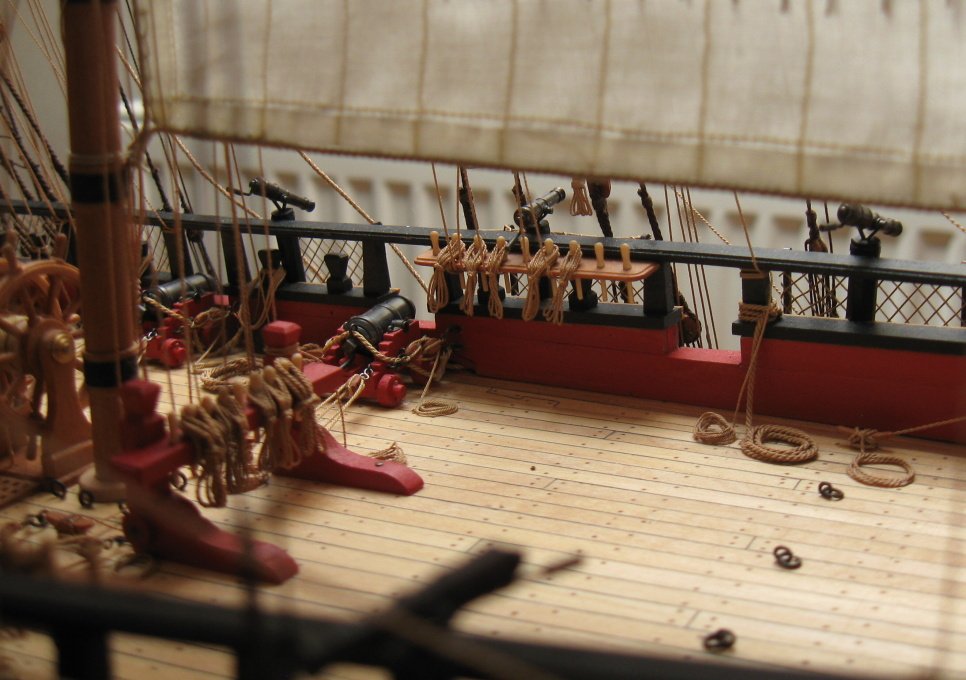
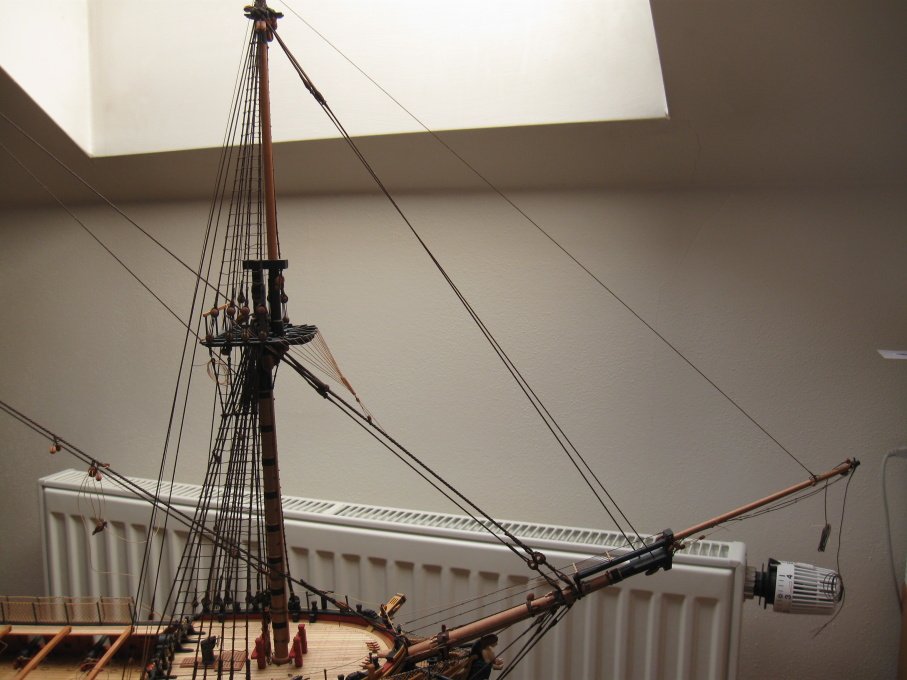
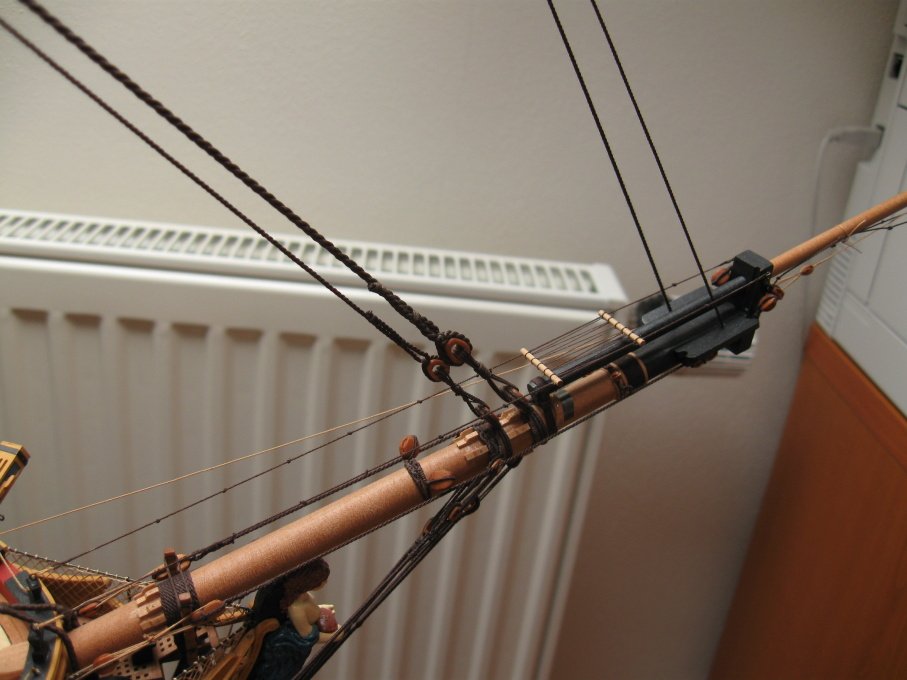
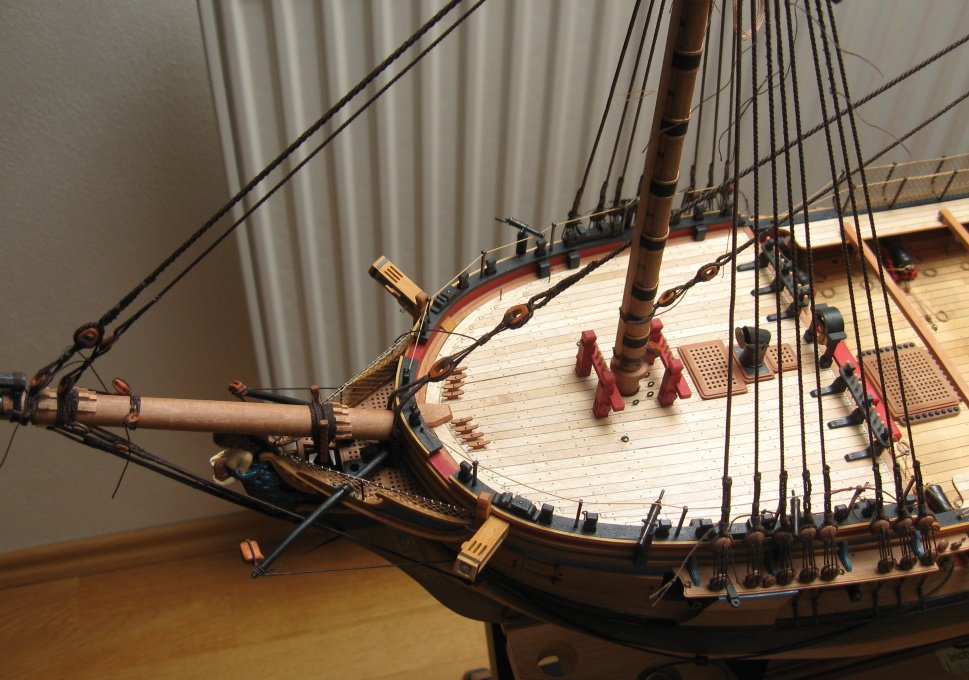
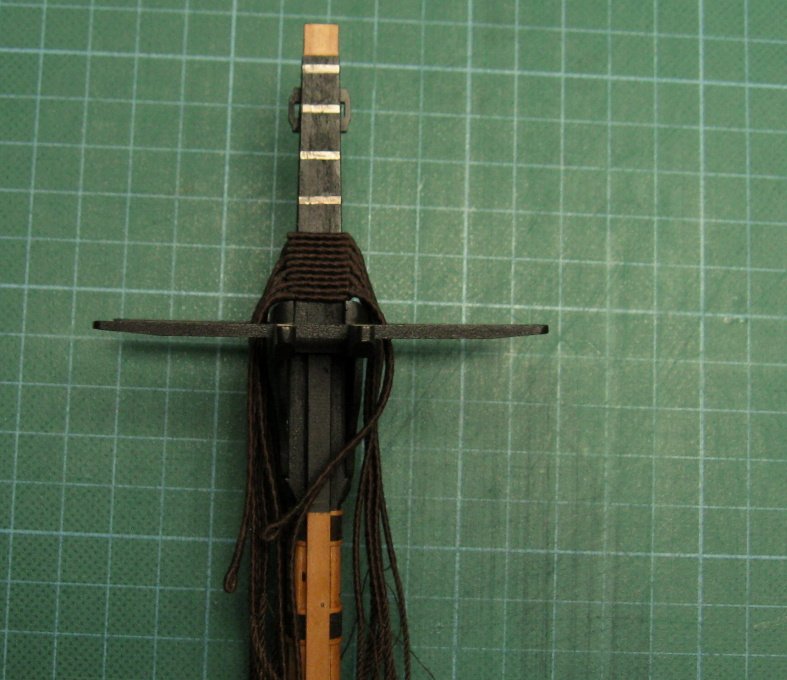
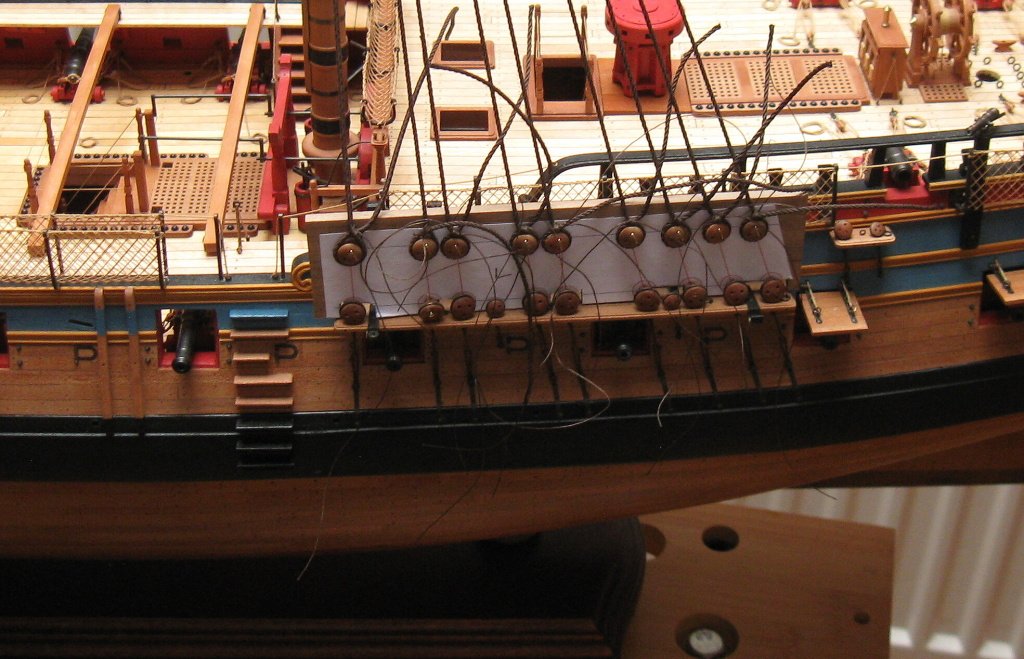
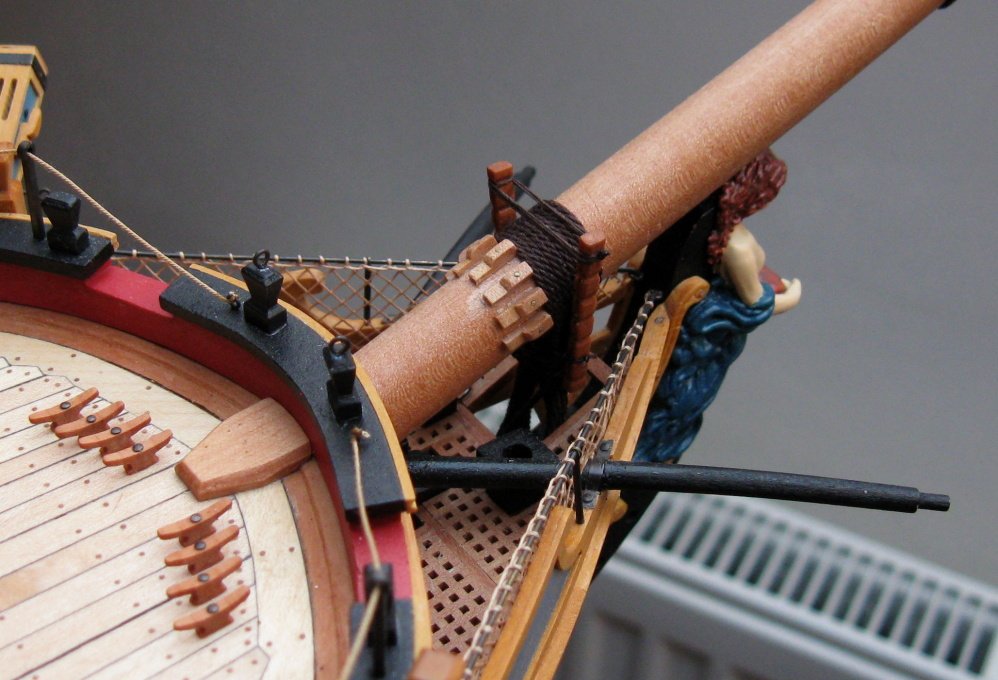
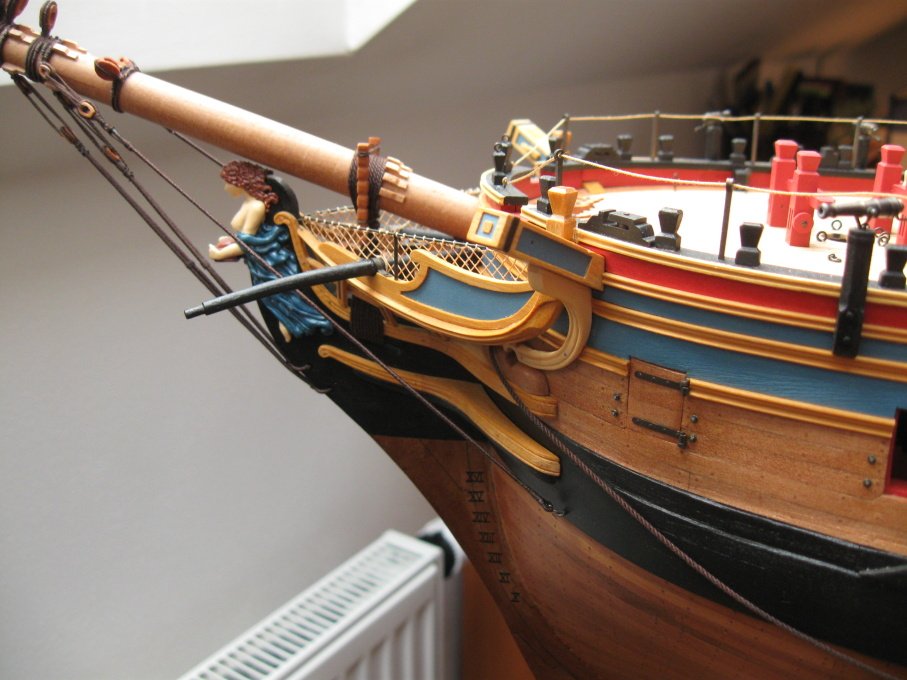
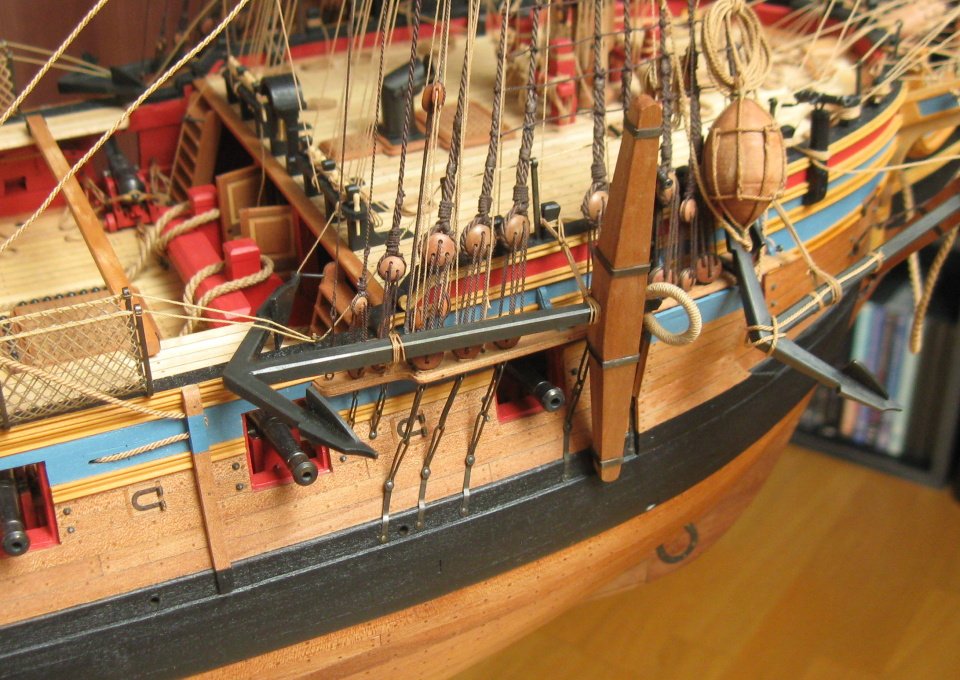
Tha last rigging on the bowsprit - main stay collar and bumkin shrouds - is done. Now I start the works on the shrouds.


-
Thank you Albert.
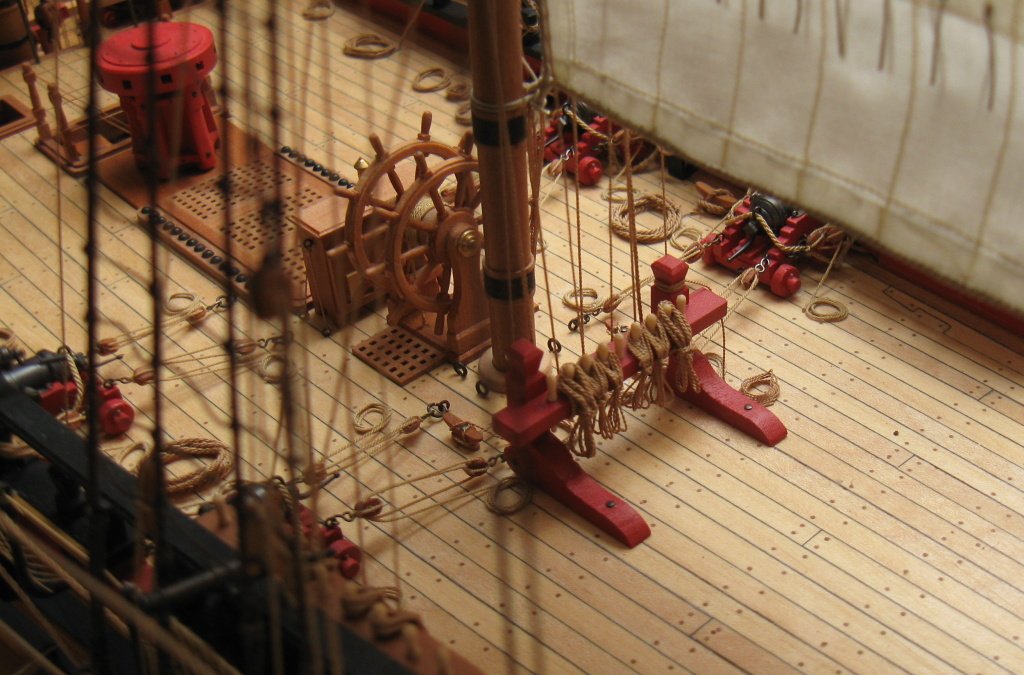
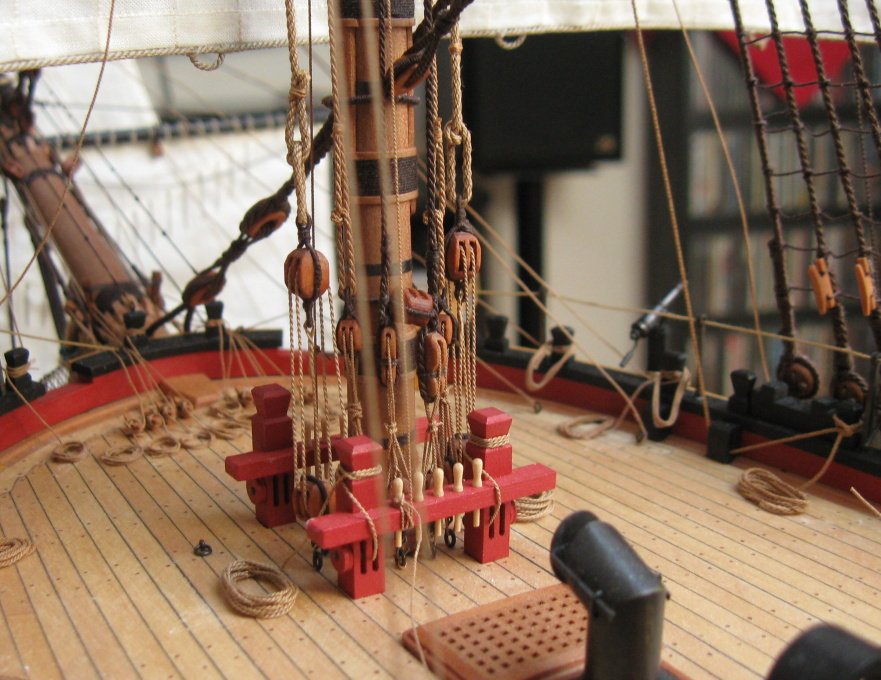
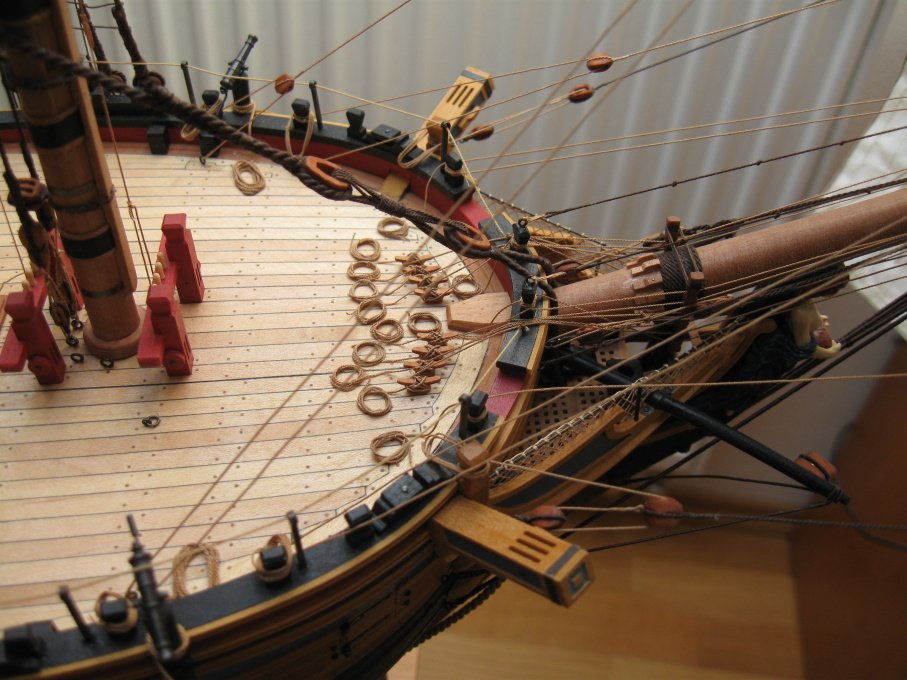
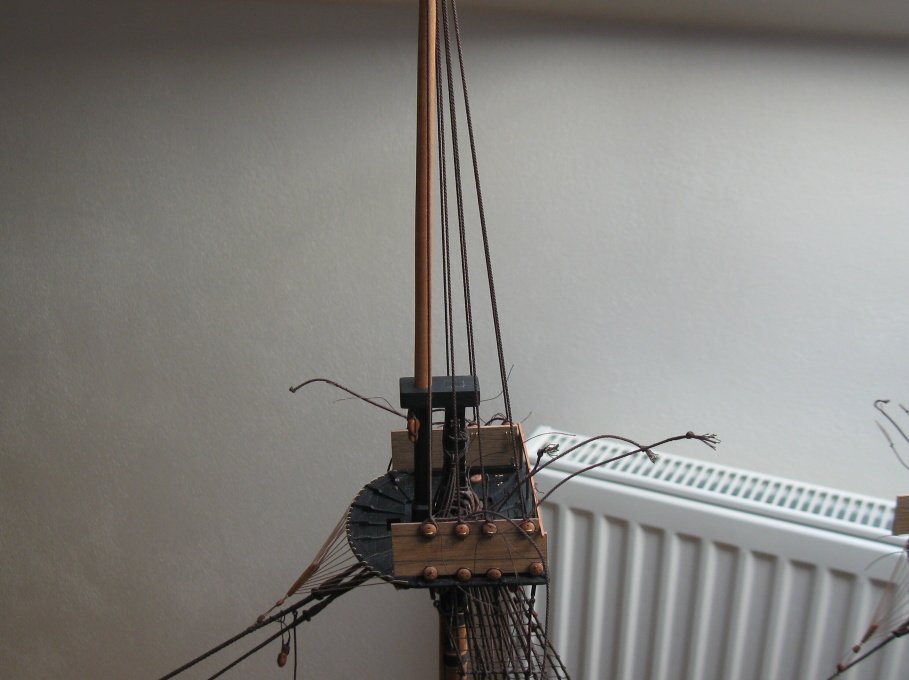
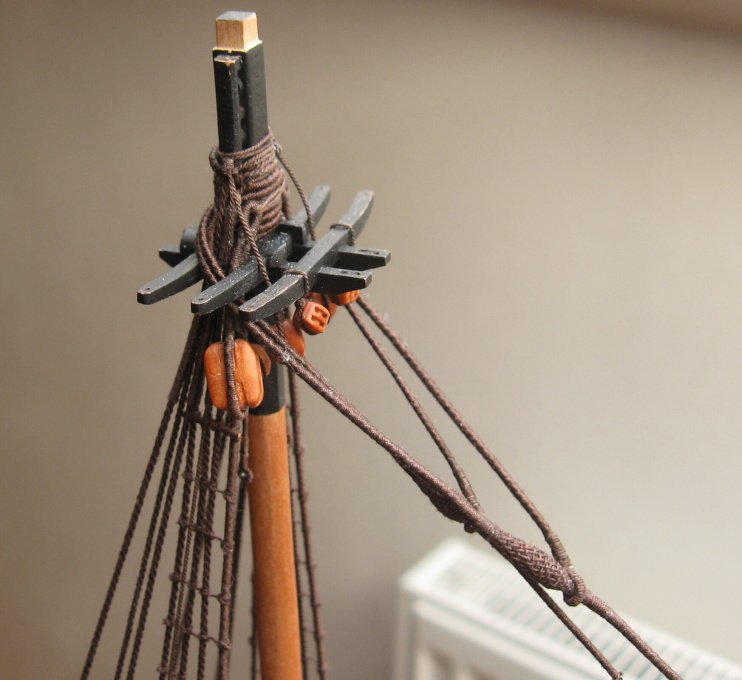
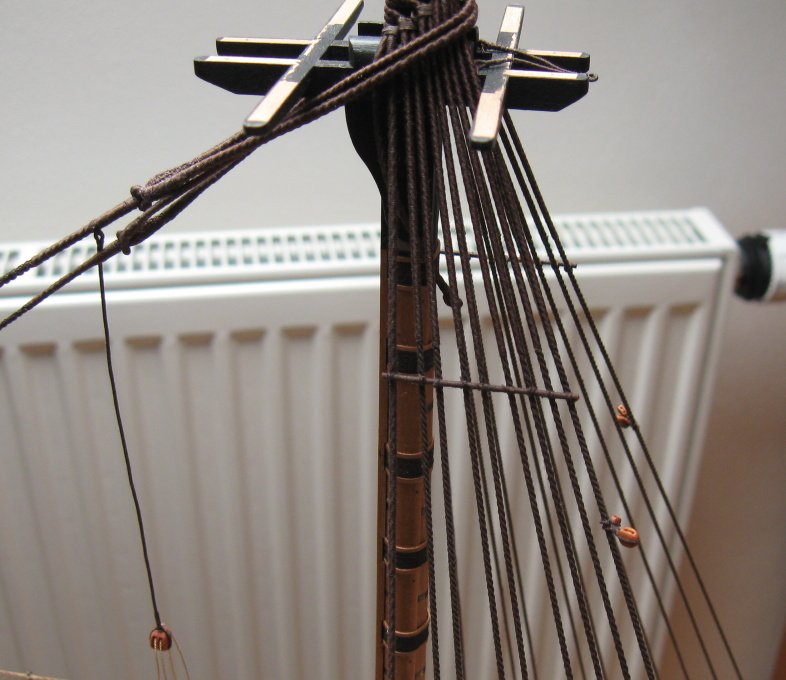
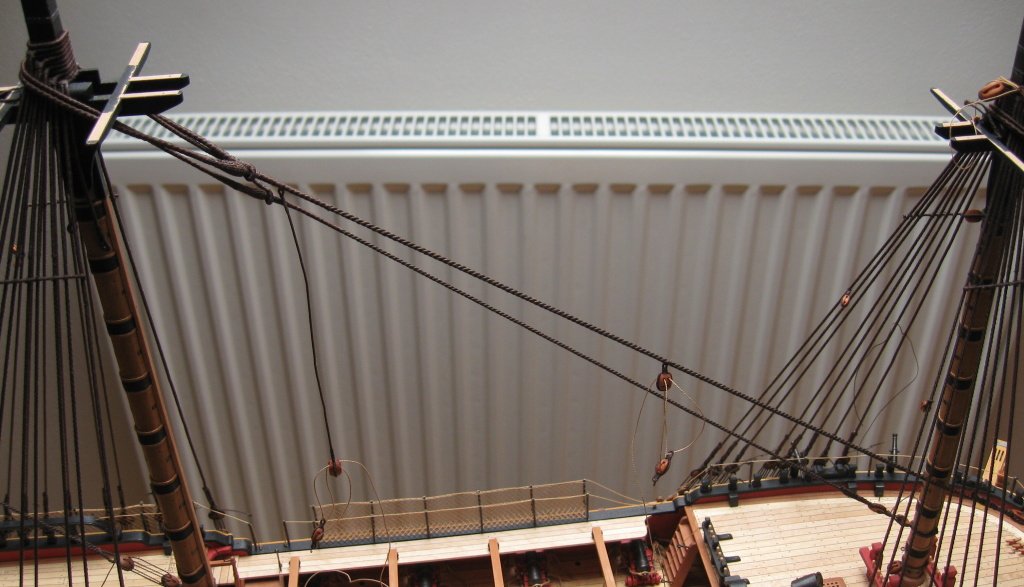
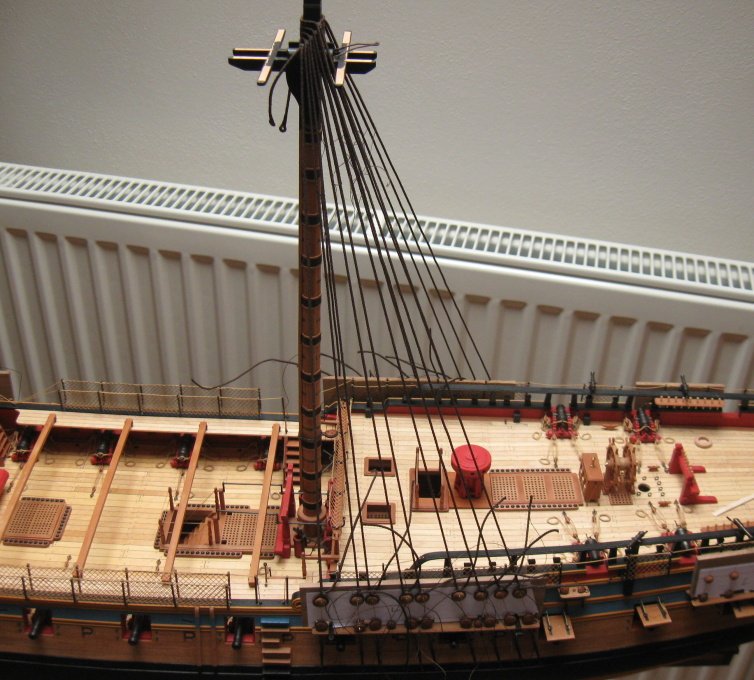
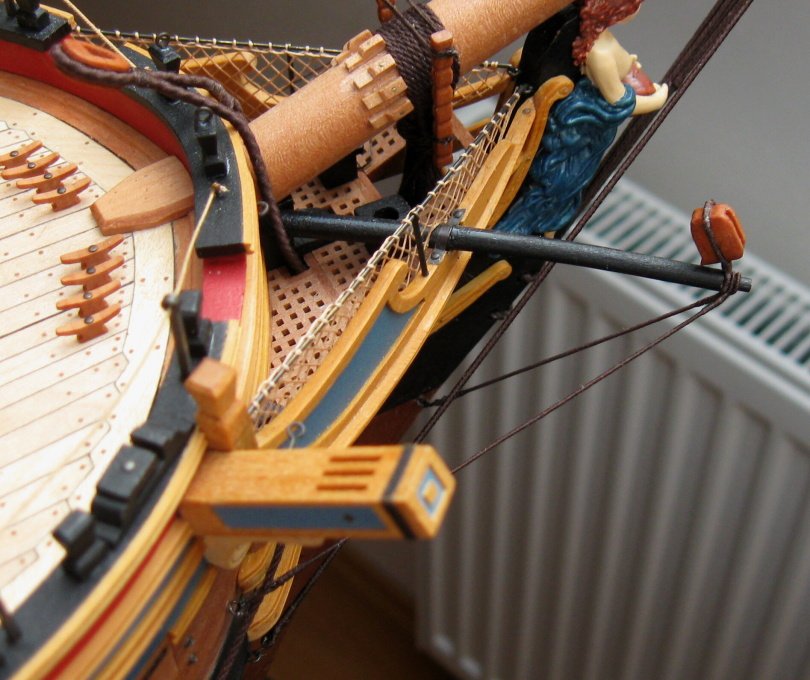
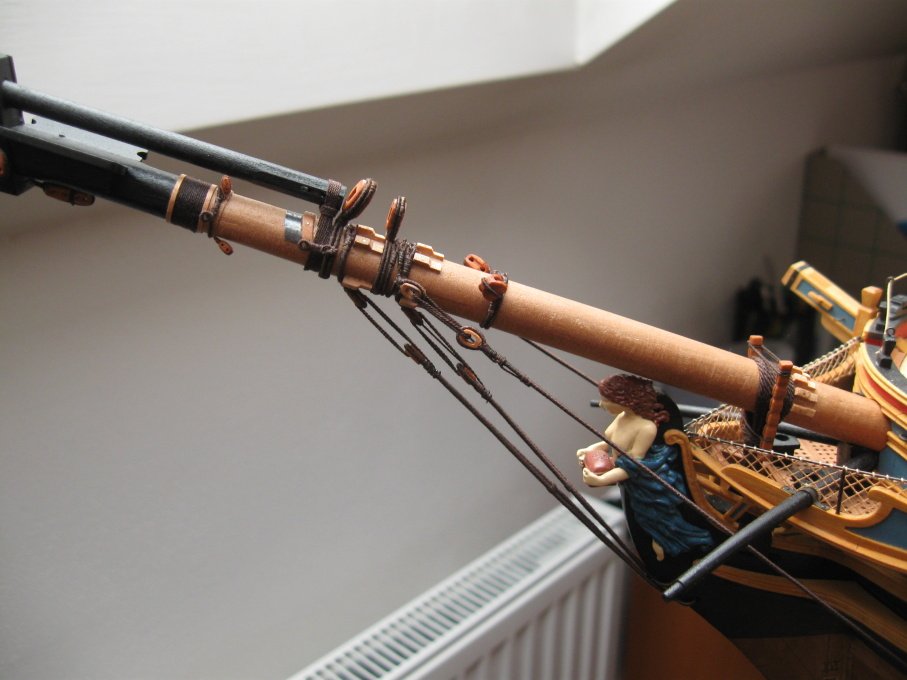
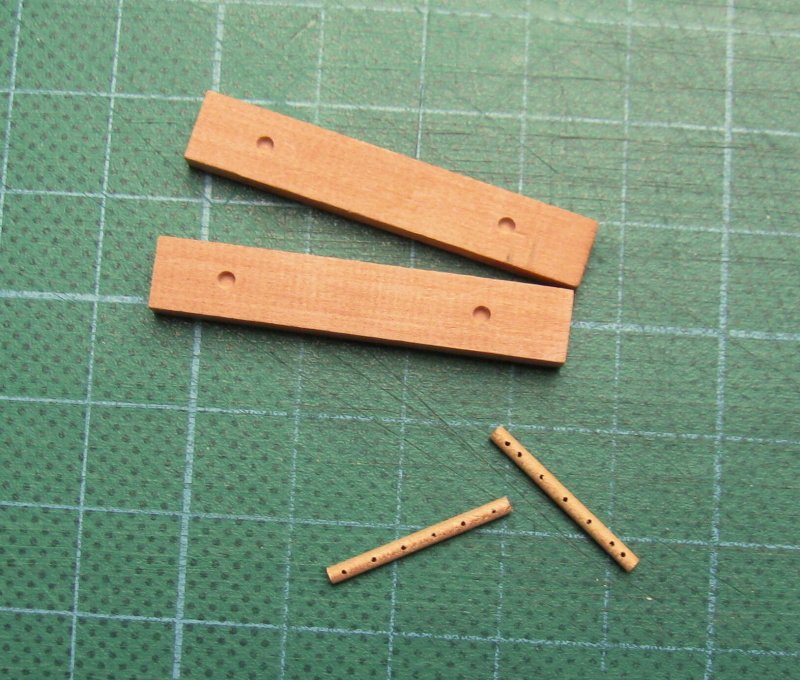
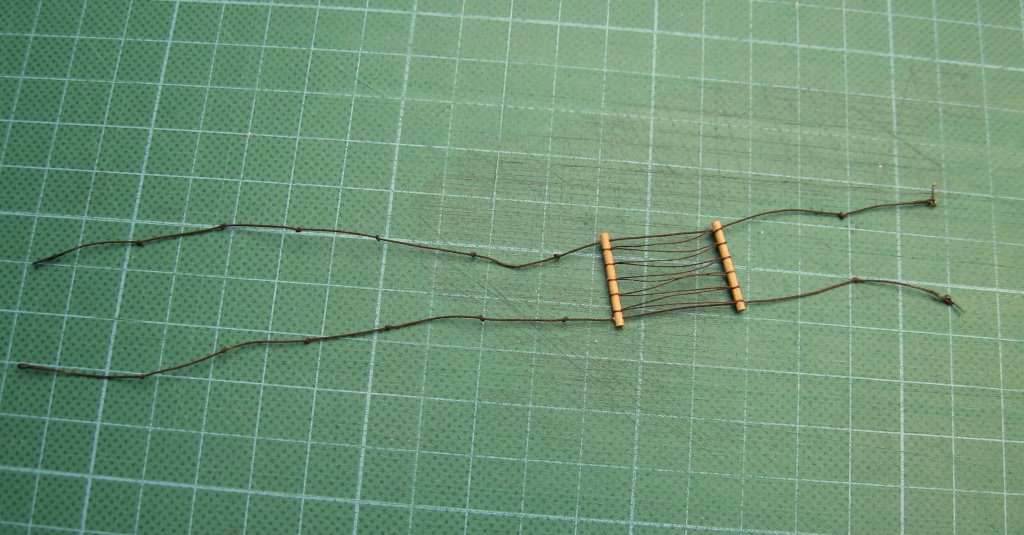
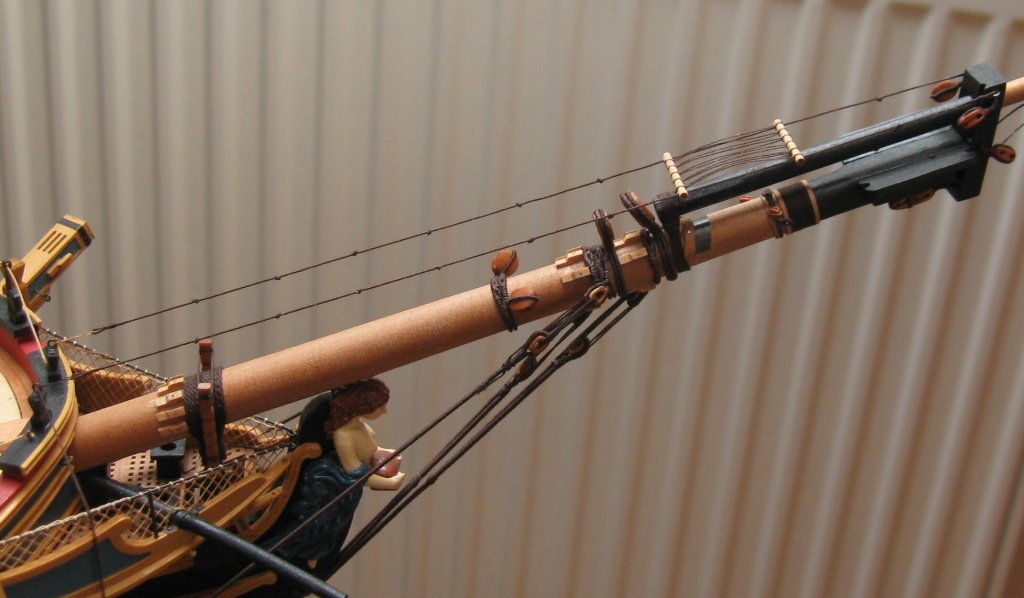
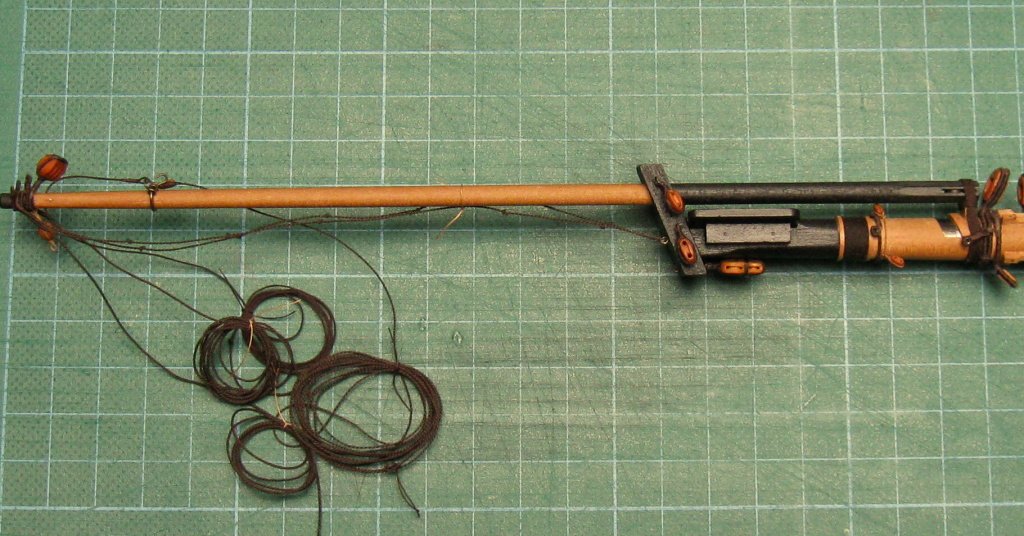
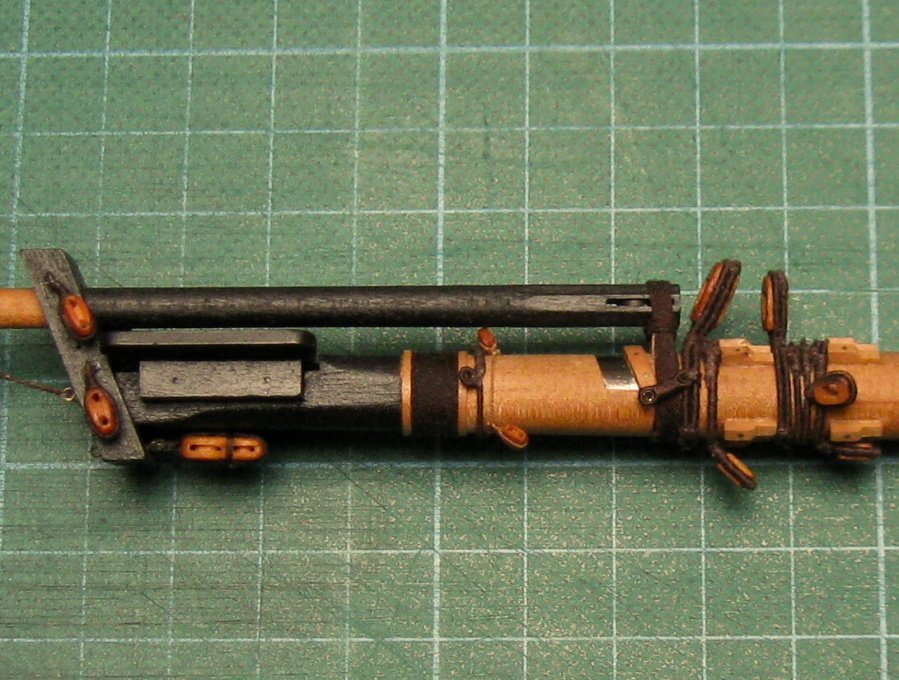
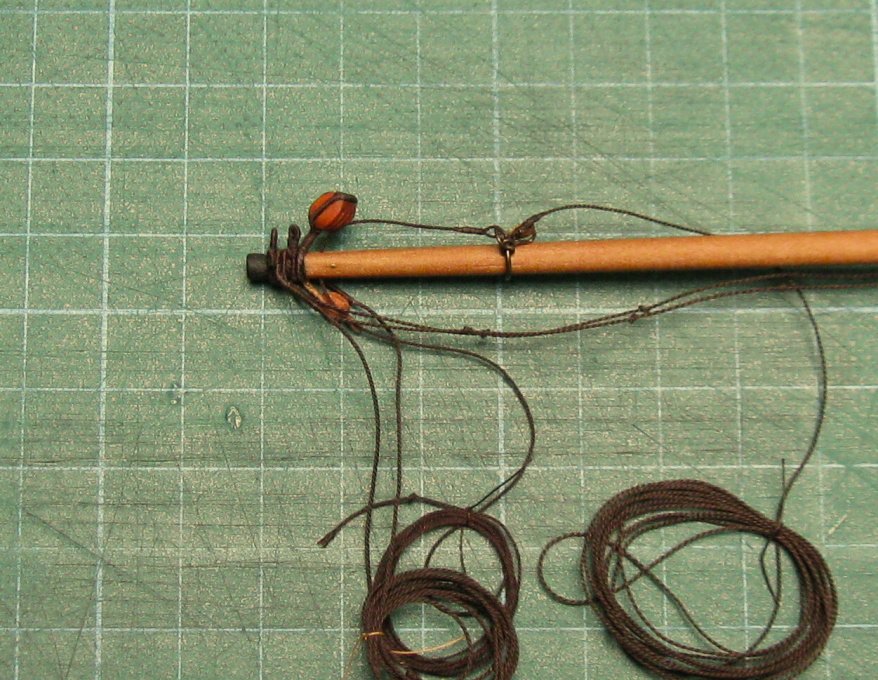
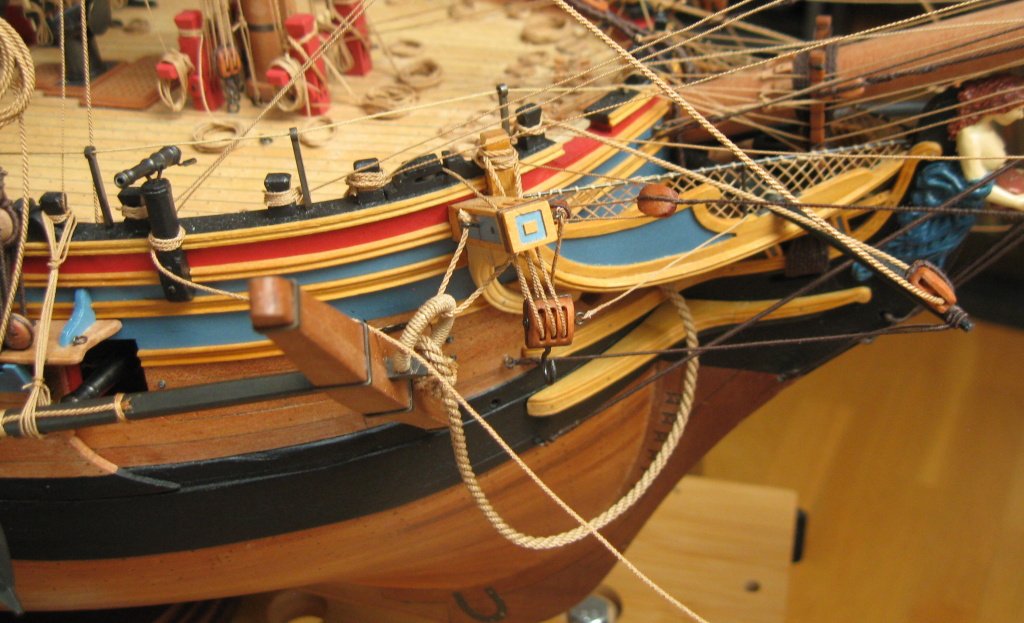
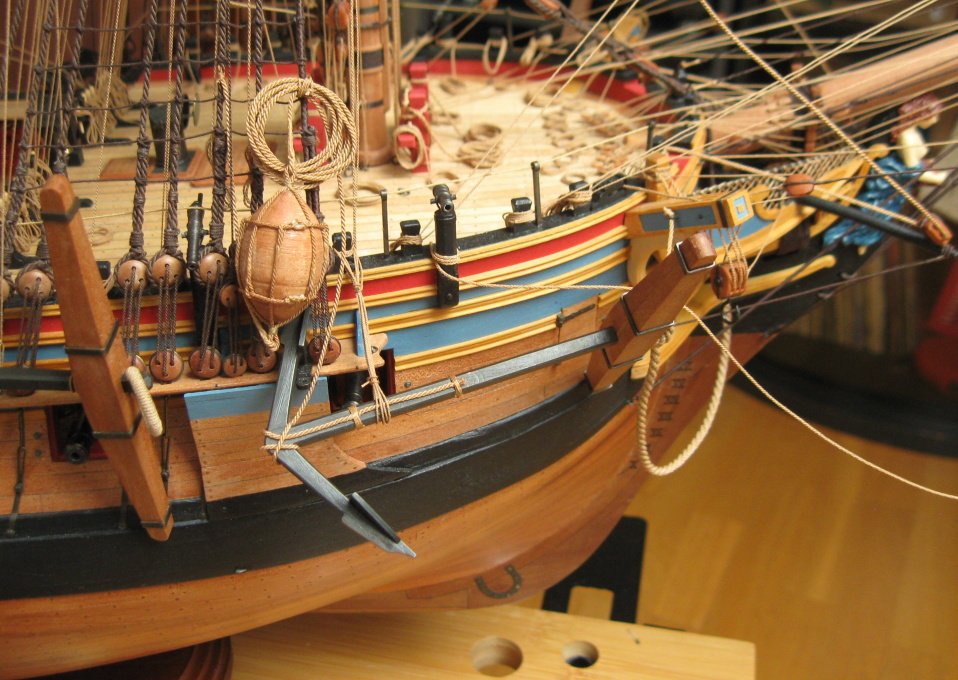
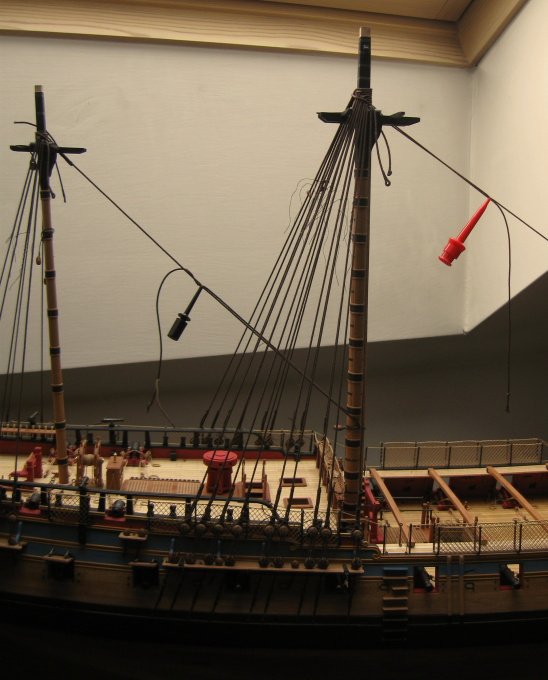
So finally is here a moment when I started the installation of masts and related standing rigging. As first I installed bowsprit and the following ropes: gammoning, inner and outer bobstay, bowsprit shrouds. At the same time, I have prepared footropes with a netting, the picture shows only temporary attachment, the final attachment will occur after the installation of the stays.


- aviaamator, JOUFF, dvm27 and 28 others
-
31
-
-
Your welcome Harley
.
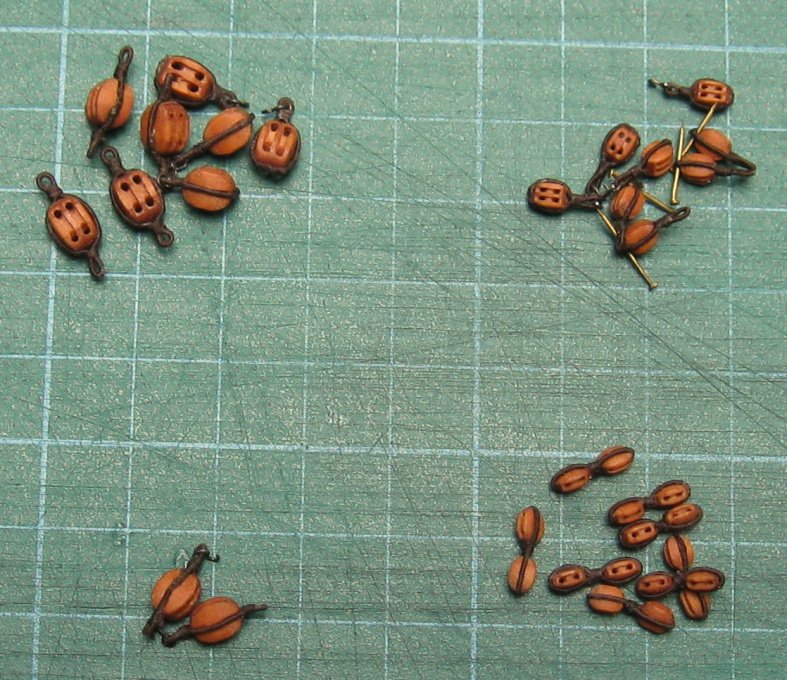
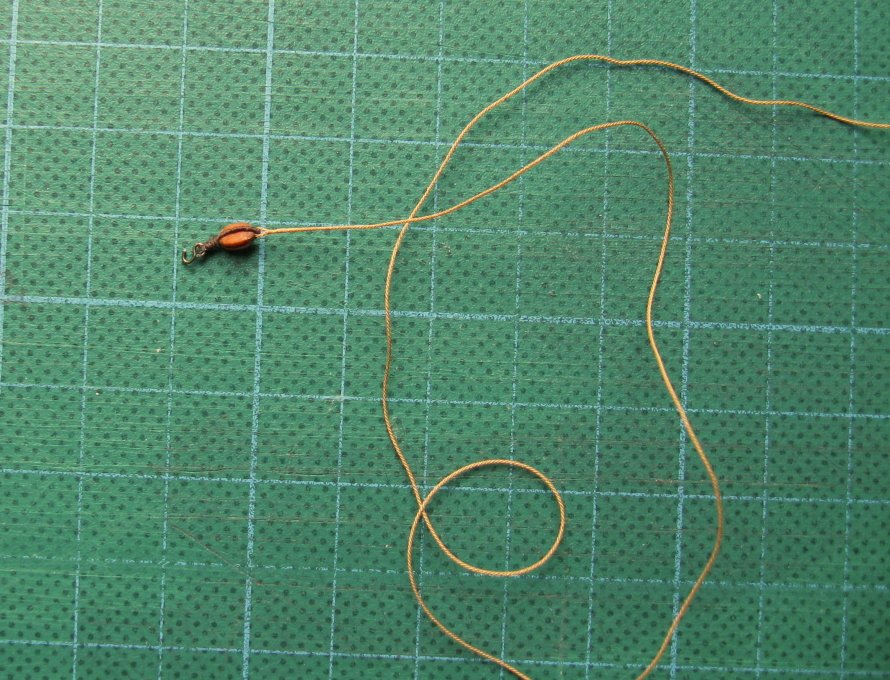
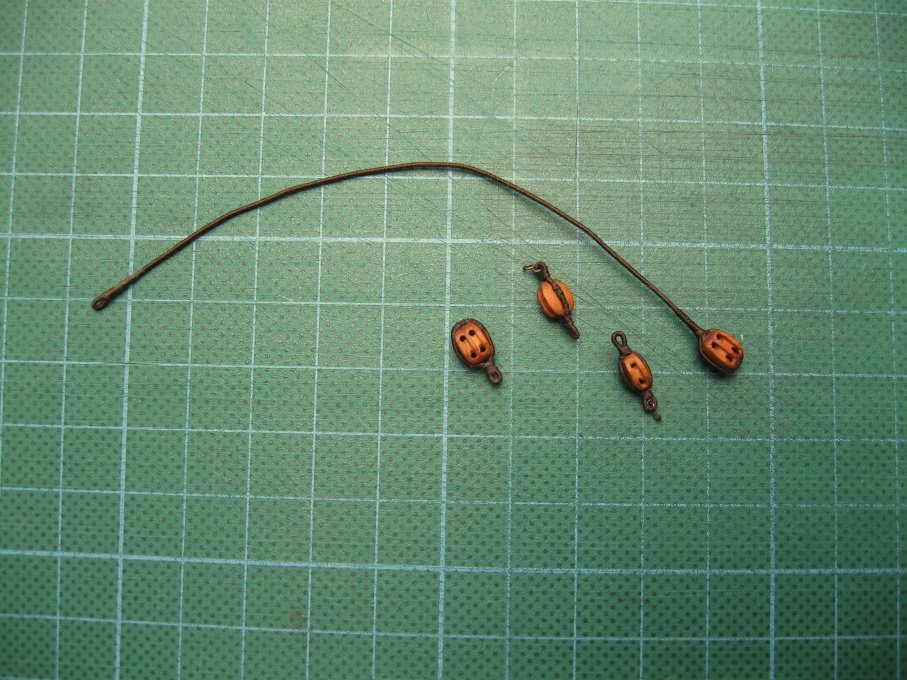
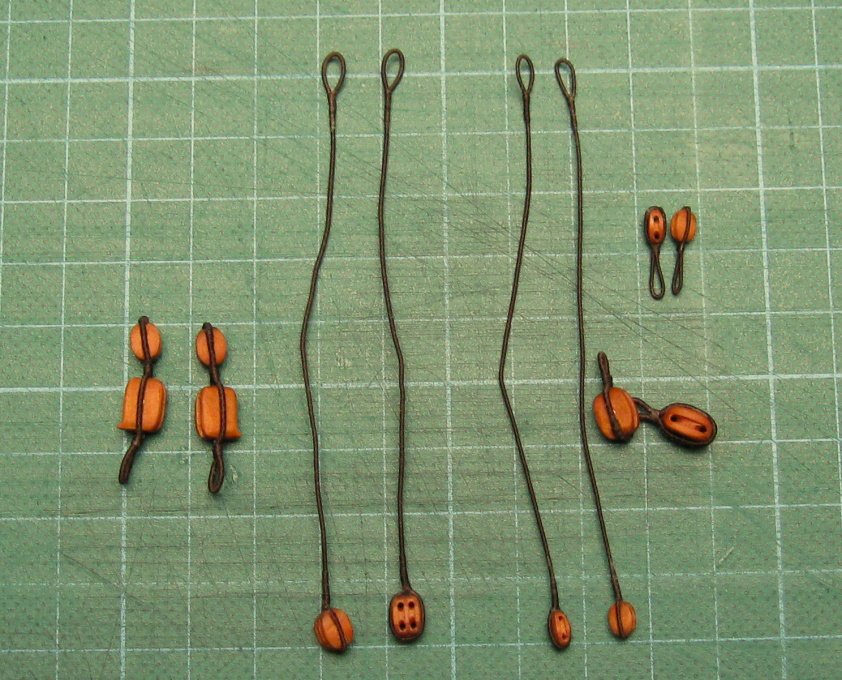
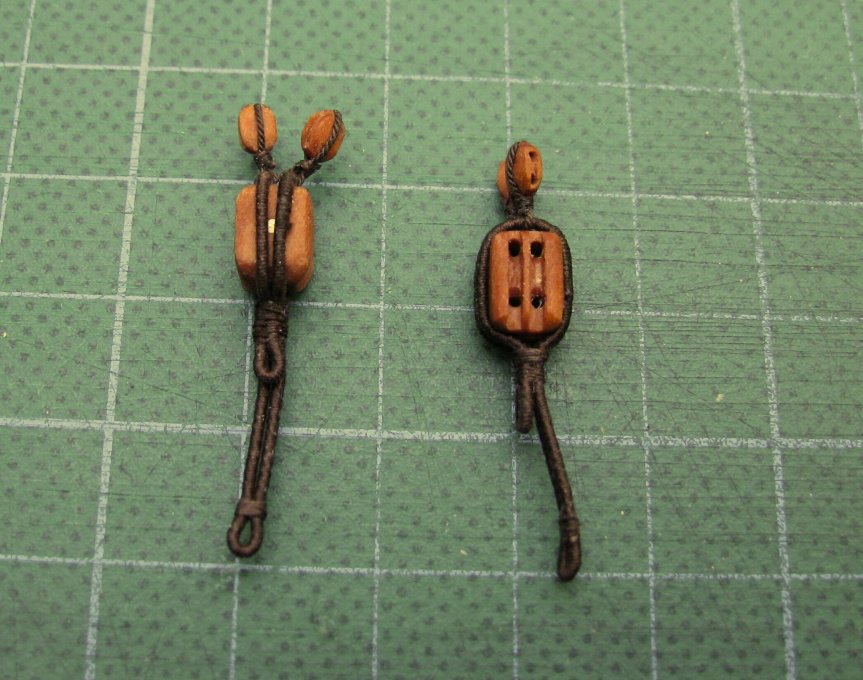
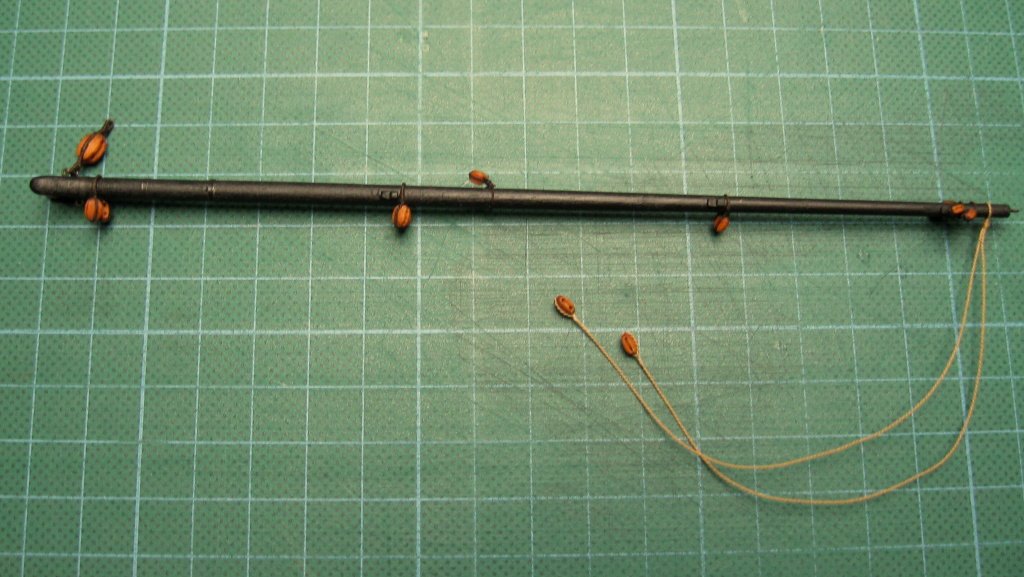
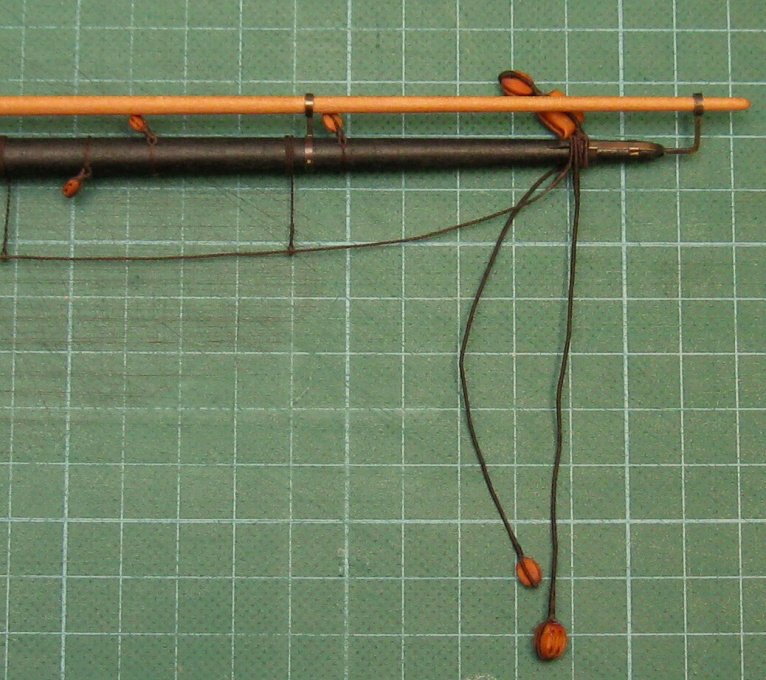
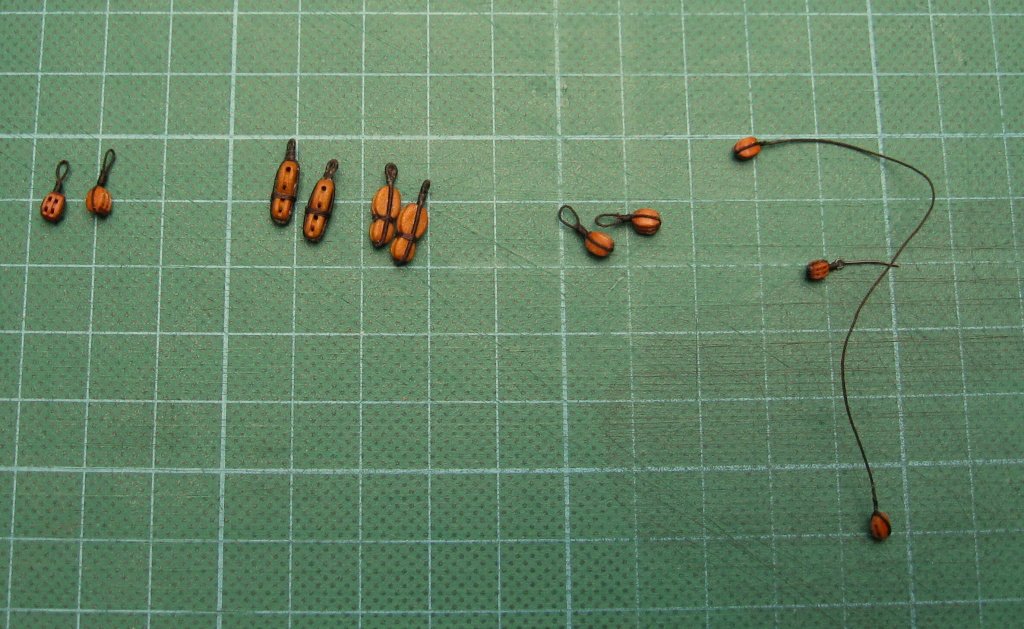
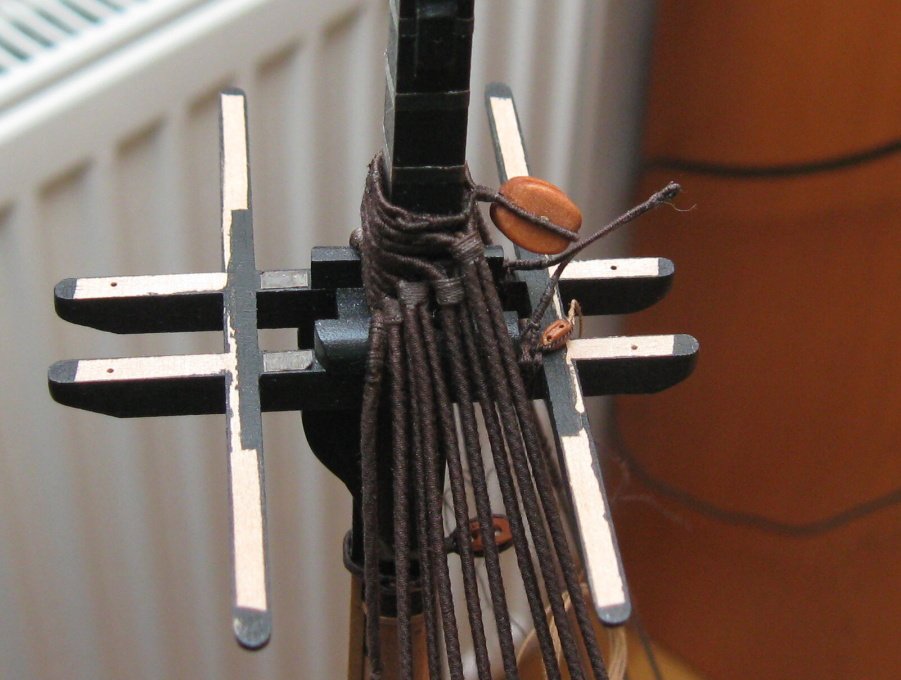
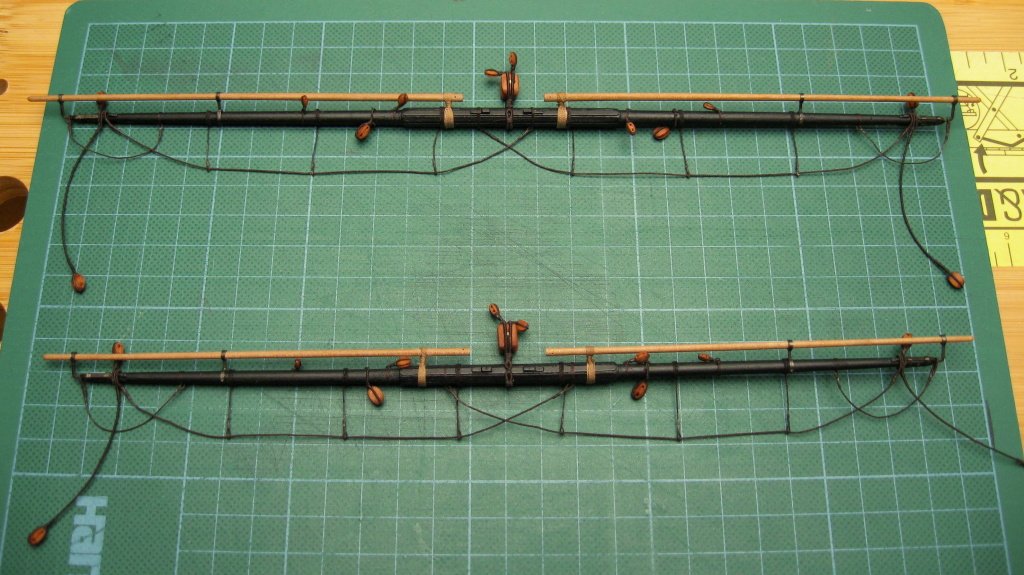
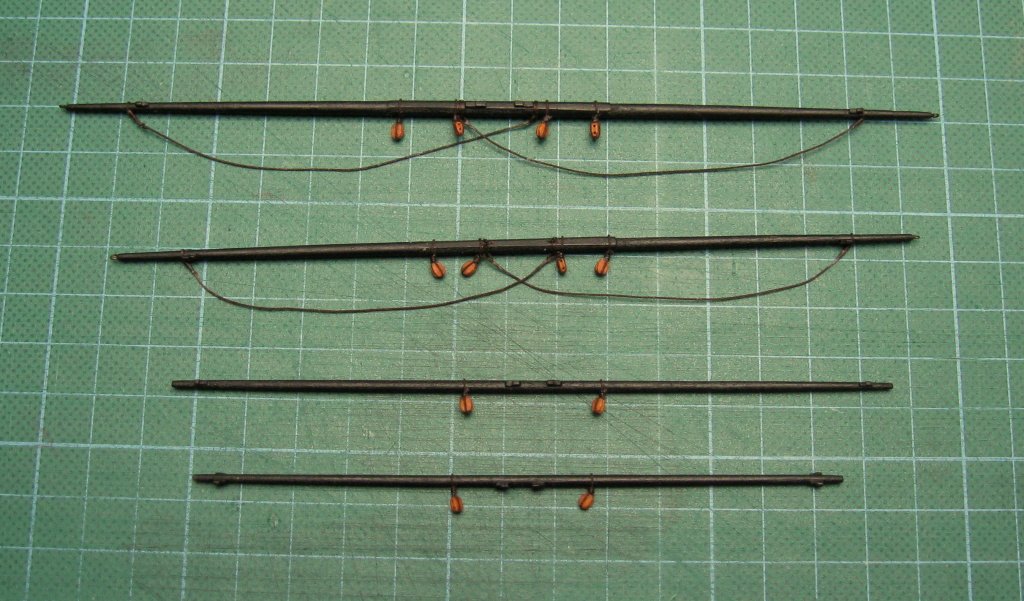
So all blocks for the yards are prepared and I started to install them on the yards. There are only two yards completed in this moment, but I hope that the works will go faster now.


- Tigersteve, NMBROOK, coxswain and 18 others
-
21
-
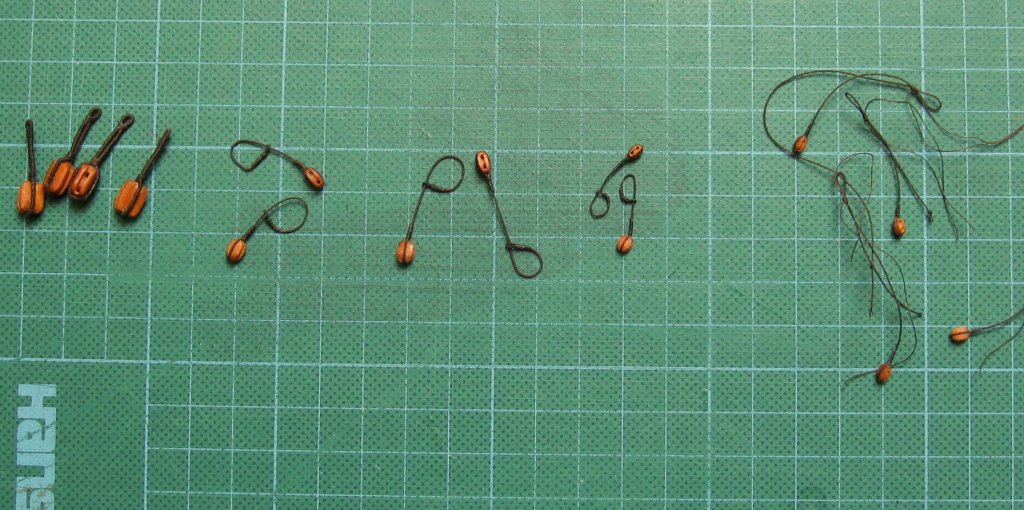
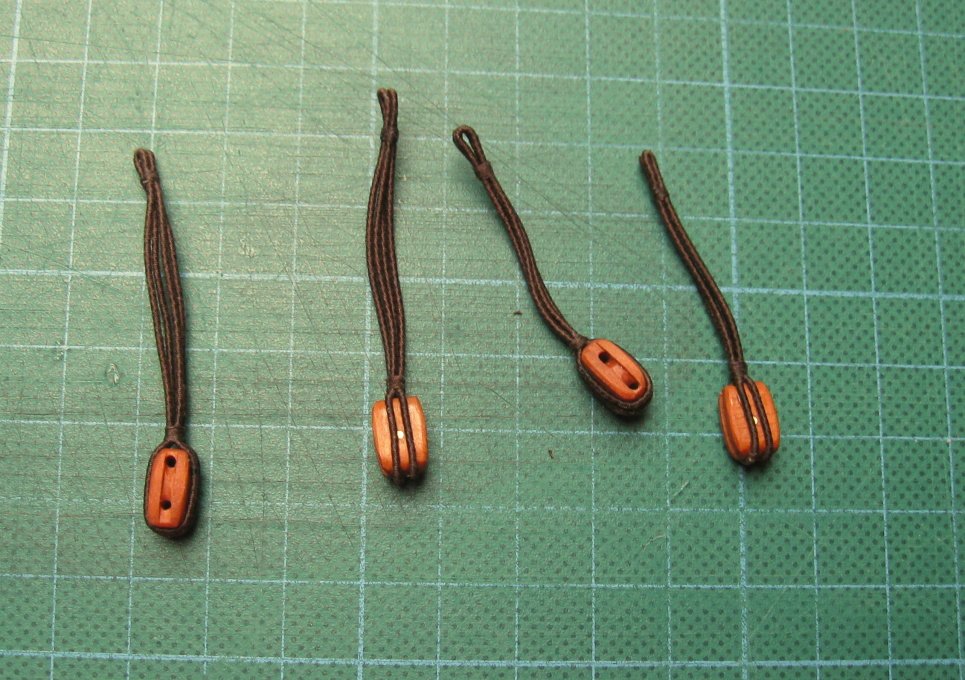
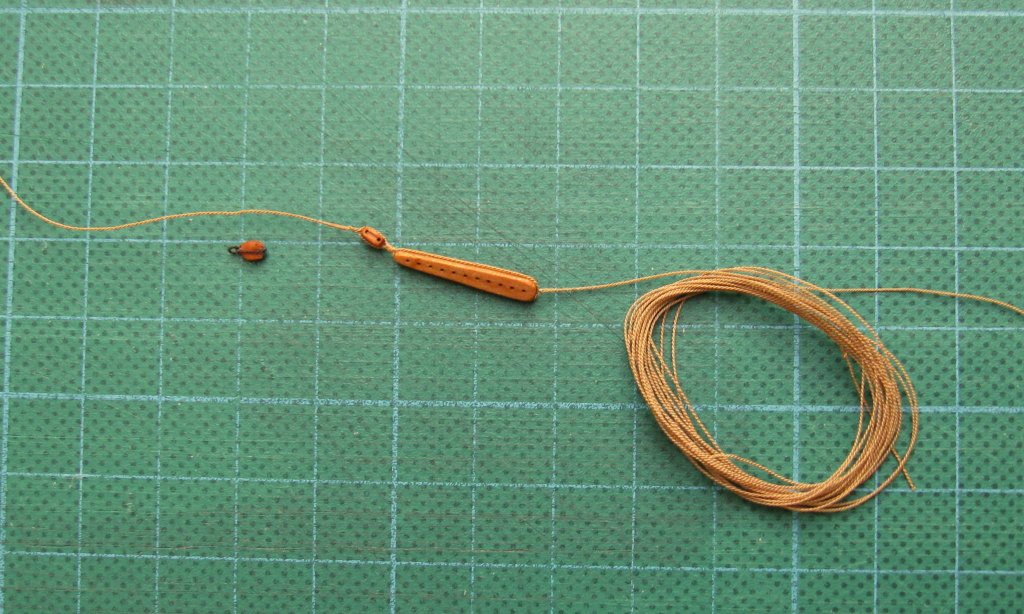
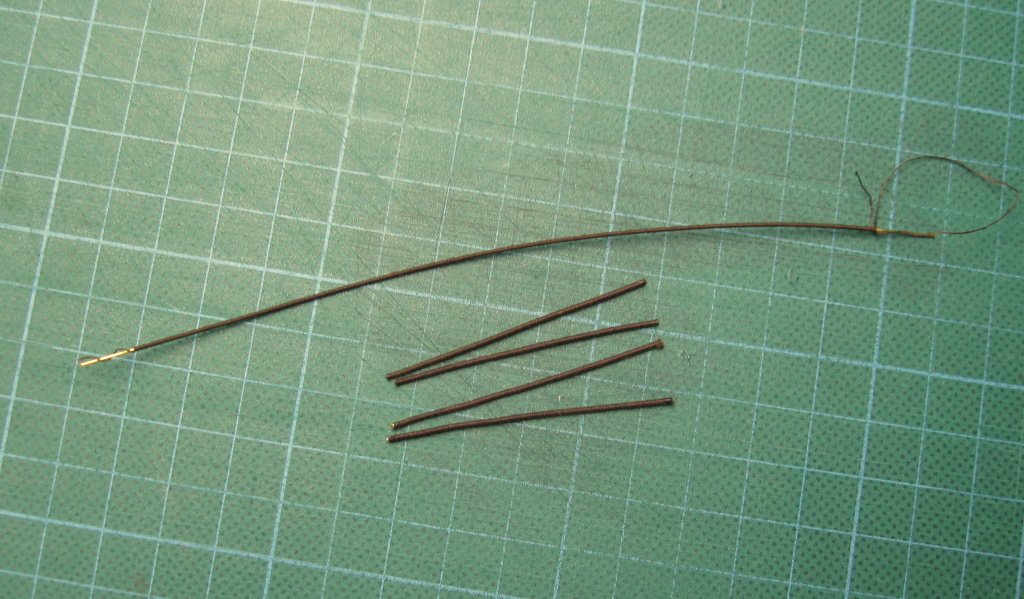
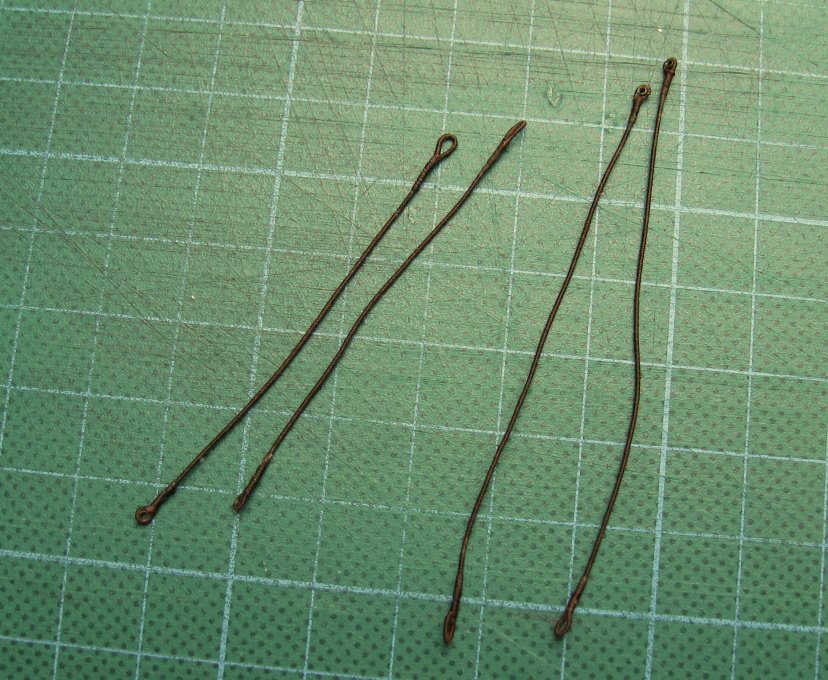
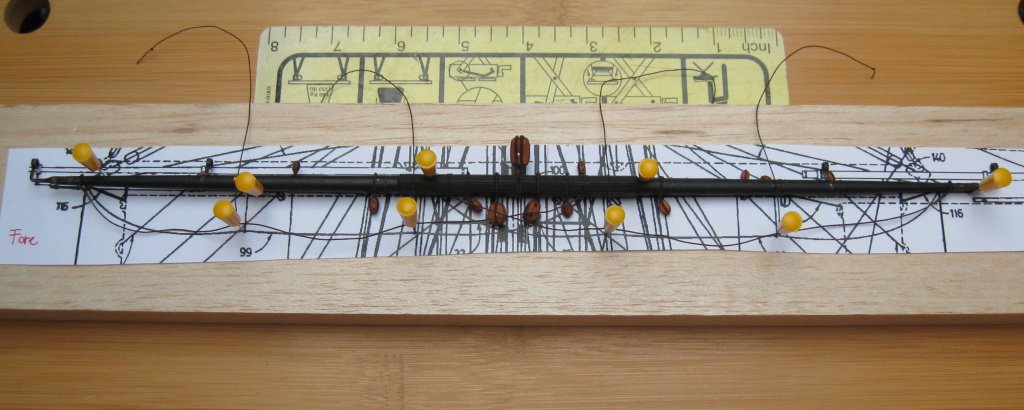
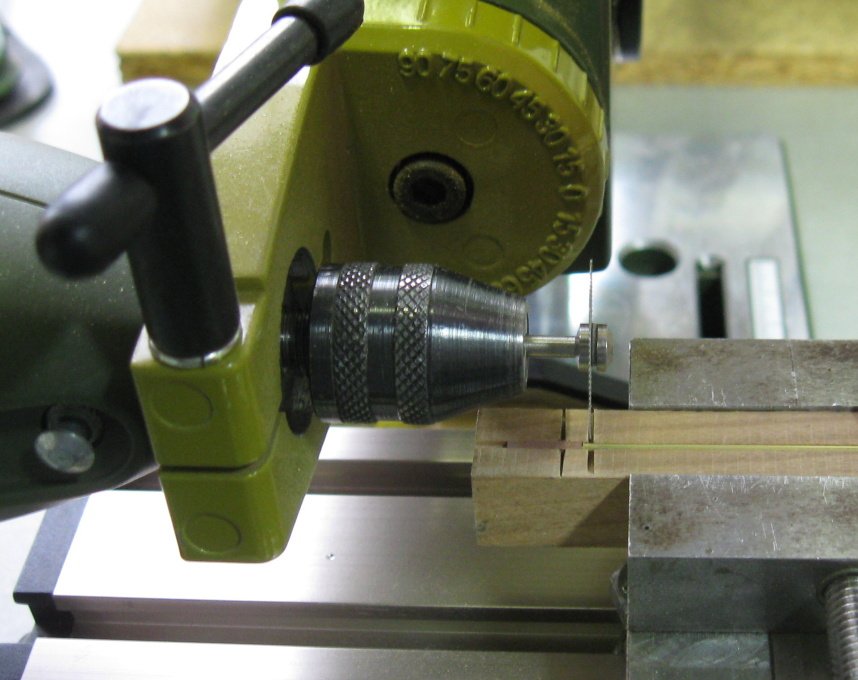
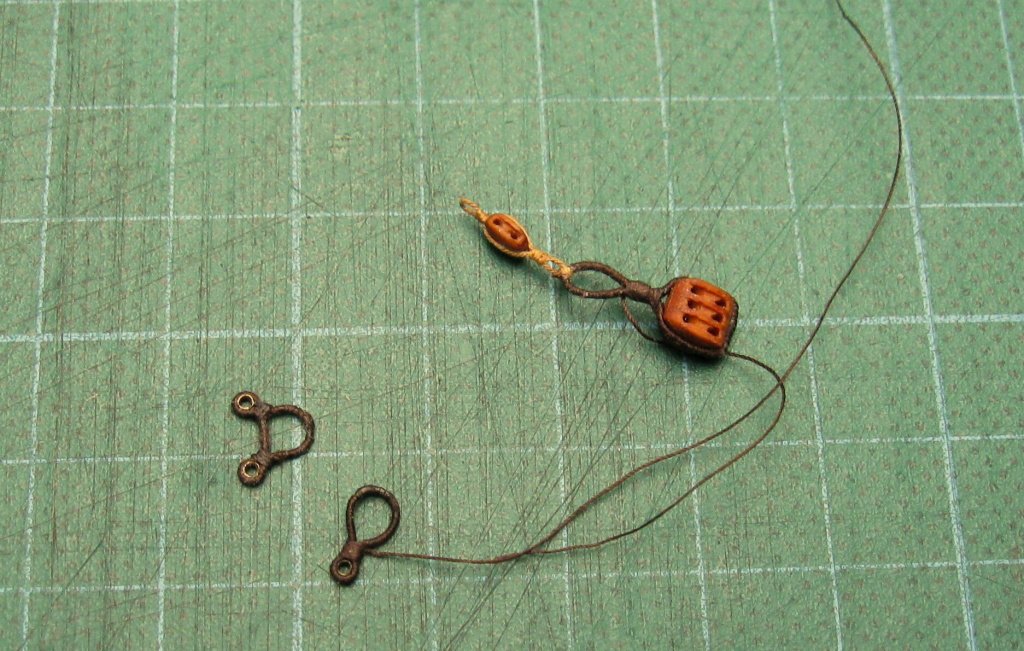
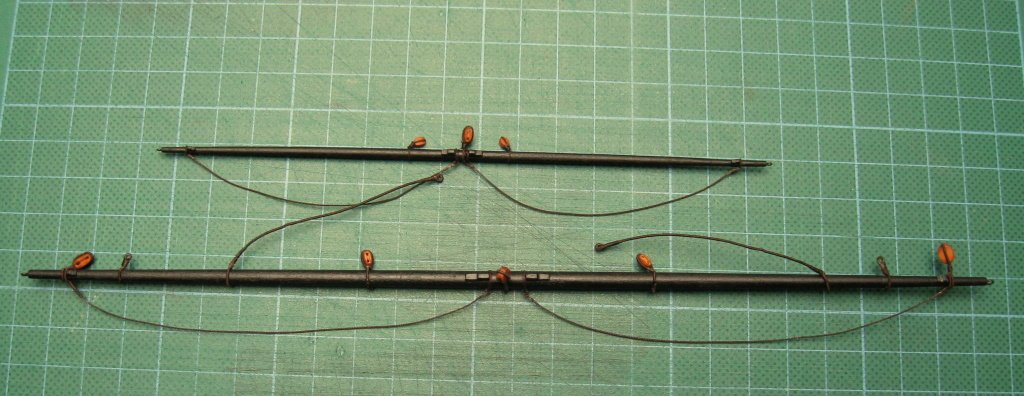
Hi Johann, it is nothing difficult. Thimbles are made from brass tube 1,0x0,1 mm (resp. 1,5x0,1 mm). The tubes are cut to lenght cca 0,8 mm (resp. 1,2 mm) (see first picture) and then they are slightly compressed on both sides by a punch and hammer.
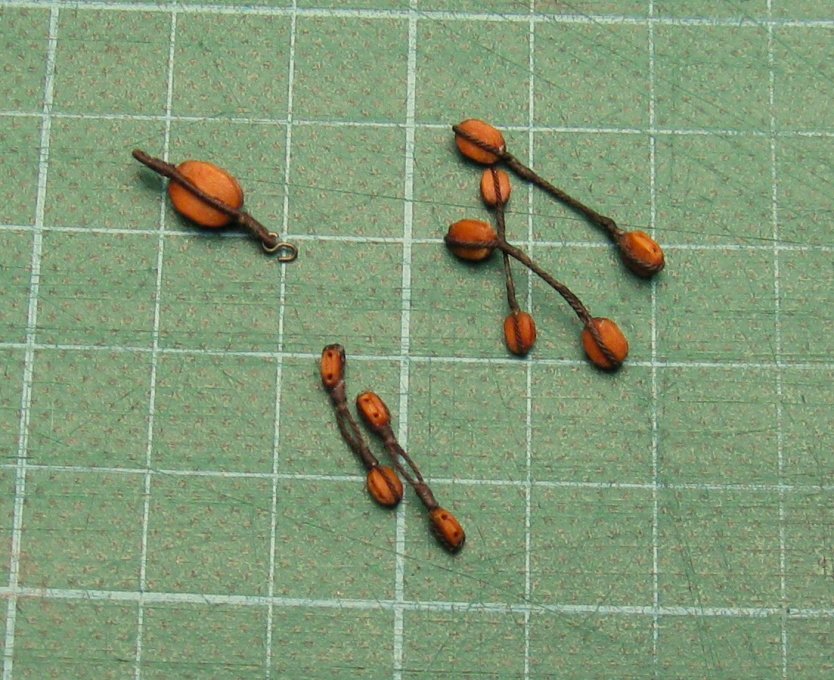
So blocks for masts are prepared and partly installed on the relevant masts, now I will continue with the blocks on the yards.
- Mike Y, Erebus and Terror, toms10 and 16 others
-
19


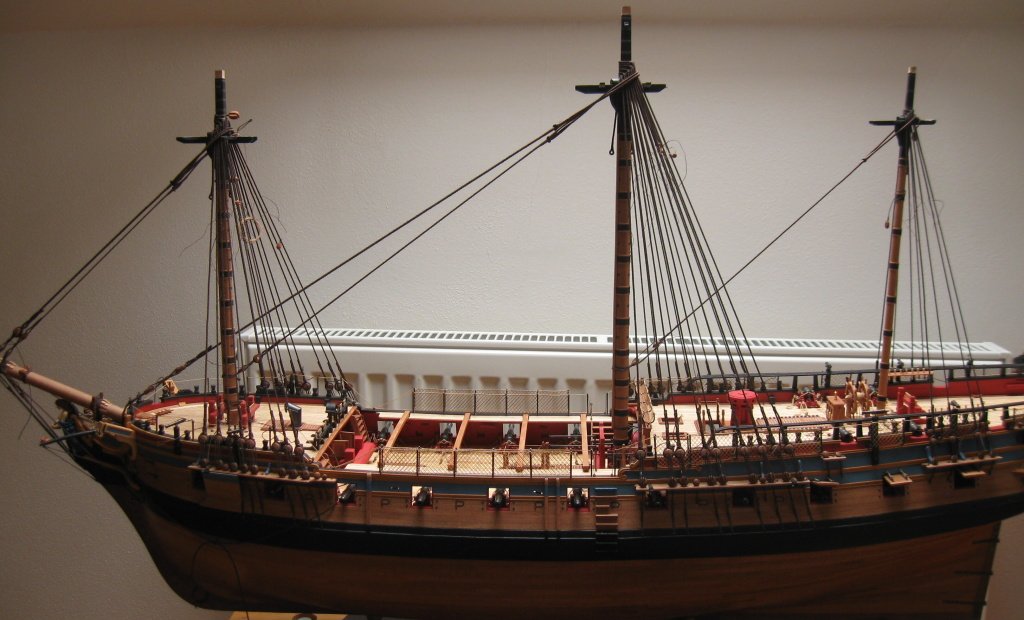
Pandora by marsalv - FINISHED - 1:52
in - Build logs for subjects built 1751 - 1800
Posted
Thank you montaňes") .
.
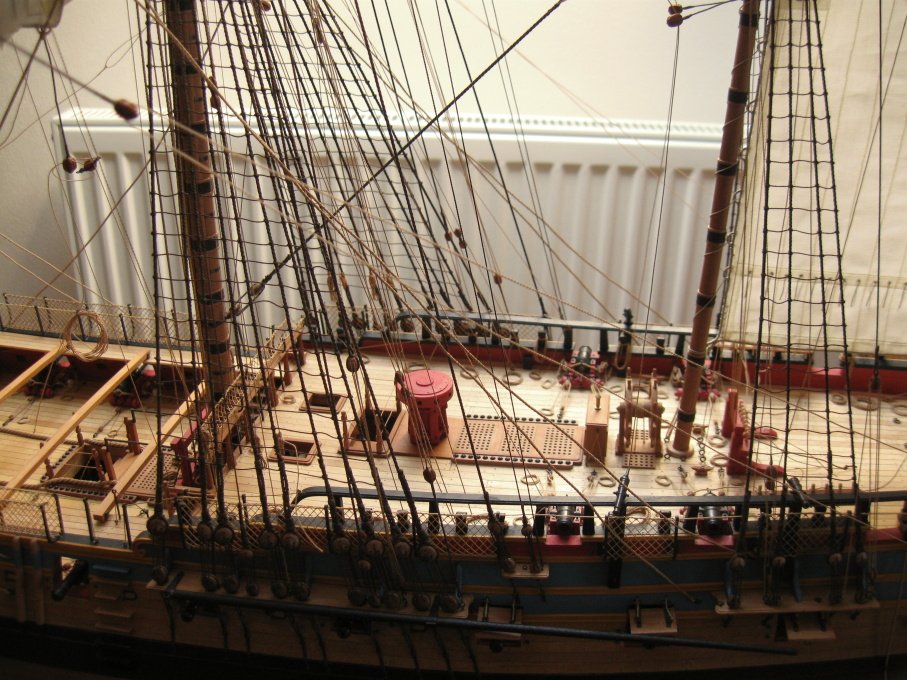
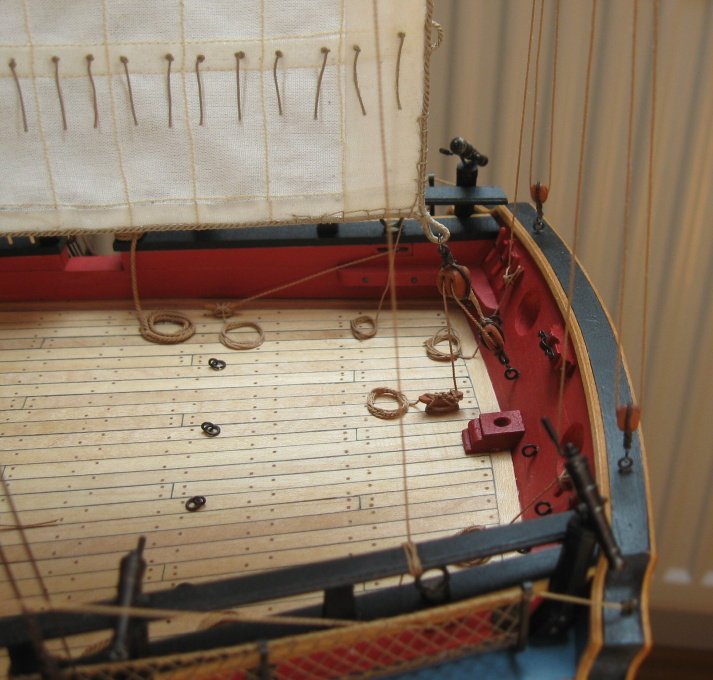
I installed the flags on the model and now only boats remain to do. The Pandora included 5 boats which all are placed in central part of the ship. To see equipment on the board I decide to make only two boats.