dvm27
-
Posts
2,468 -
Joined
-
Last visited
Content Type
Profiles
Forums
Gallery
Events
Everything posted by dvm27
-
 Lovely work, Mike. There's something about this hull that has always appealed to me. Lot's of planking ahead!
- 607 replies
-
- 7
-

-
- winchelsea
- Syren Ship Model Company
- (and 1 more)
-
For those who wish to mask , spar, and rig their ship You could always buy the plan we get for the few left. I got to tell you though that you will be changing your case from perhaps 8“ x 8” x 8” to 8“ x 25“ x 30+ inches! Pegasus transforms from that cute little desktop case to awkward object
-
When Chuck's creative mind is unleashed all sort of innovative ideas spew forth. Think of this cross-section as a diversion from your current multi-year build. In just a month or so you'll have a beautiful desk top model and you will return to your current project with renewed enthusiasm.
- 130 replies
-
- 15
-
-
Each layer just makes the model look cooler and cooler, Dan!
- 287 replies
-
- 2
-
-
- michelangelo
- ocean liner
- (and 1 more)
-
Swan class 3D model in progress
dvm27 replied to dvm27's topic in CAD and 3D Modelling/Drafting Plans with Software
Just to be clear this is the work of Denis Rakaric, on behalf of Admiralty Models. I believe his work ranks among the best in the world!
- 141 replies
-
- 21
-
-
- pof swan series
- swan
- (and 1 more)
-
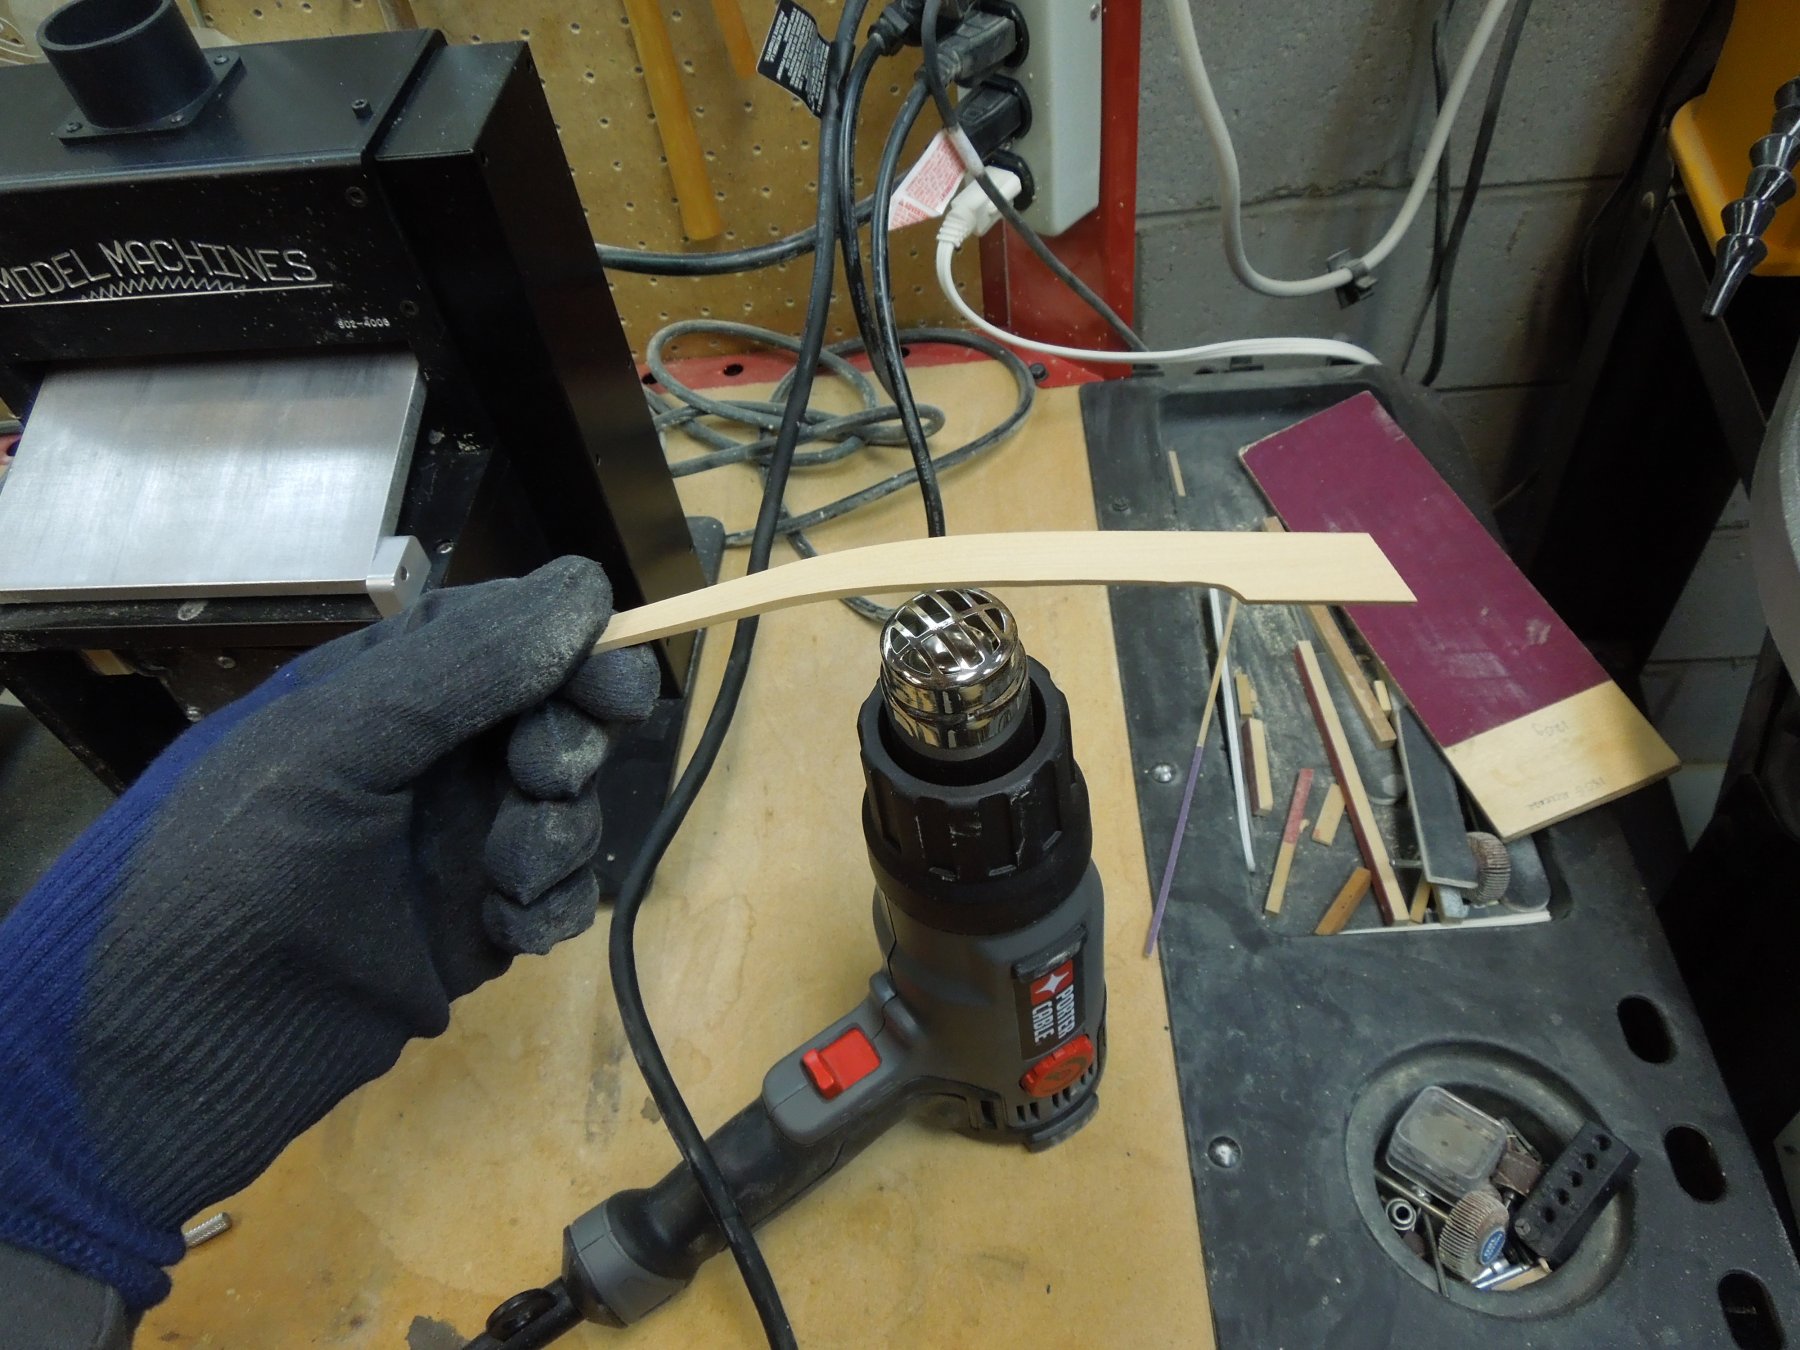
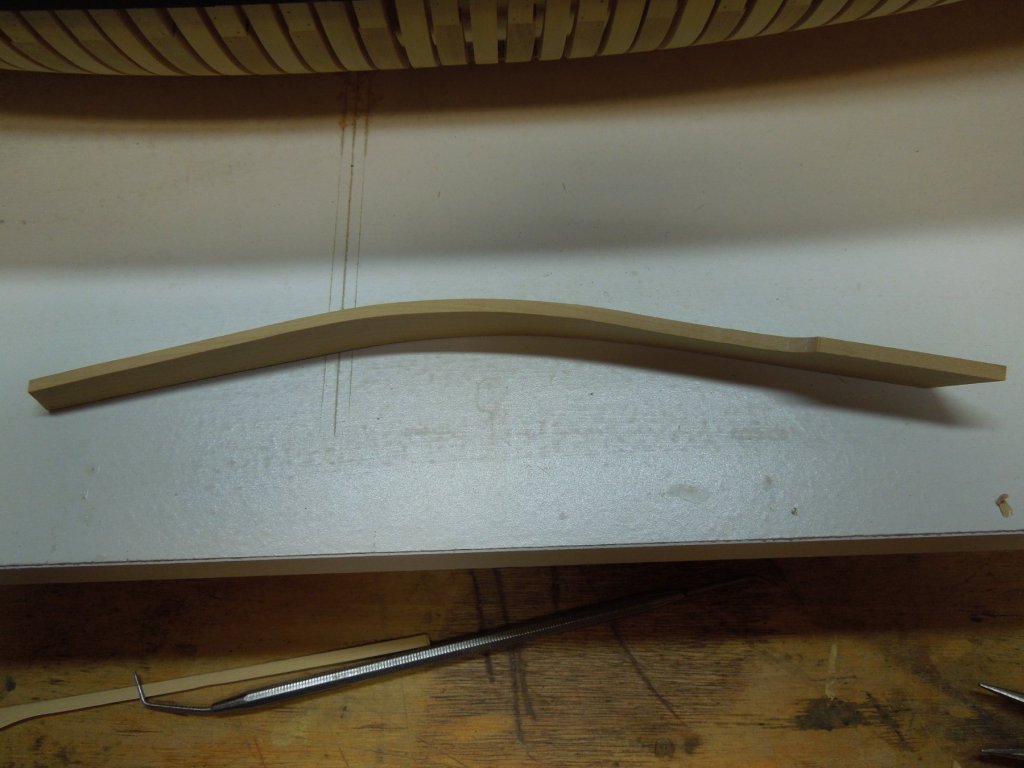
I got the Porter Cable hot air gun off Amazon. It was somewhere around $35. I shape the plank off the model by applying heat wherever required to get the twist and bend I need. Just keep gentle shaping, offer up to model to assess then add more heat where bend or twist is still needed. It's quite therapeutic because your're shaping it to the hull and not relying on clamps and soaking to massage it into place. When finished, I don't need clamps to secure the plank; just glue and 90 seconds of finger pressure (I still use clamps after it appears set, though, just to be sure there is maximum adhesion throughout the entire plank). Extreme bends at one end can be done by using a pair of pliers to facilitate the curve under heat On caveat - the hot air gun is...hot!!! As Fire Safety Engineer Kurt has pointed out it can burn wood or flesh quite easily. I can attest to smokey gloves when first learning to use it.

-
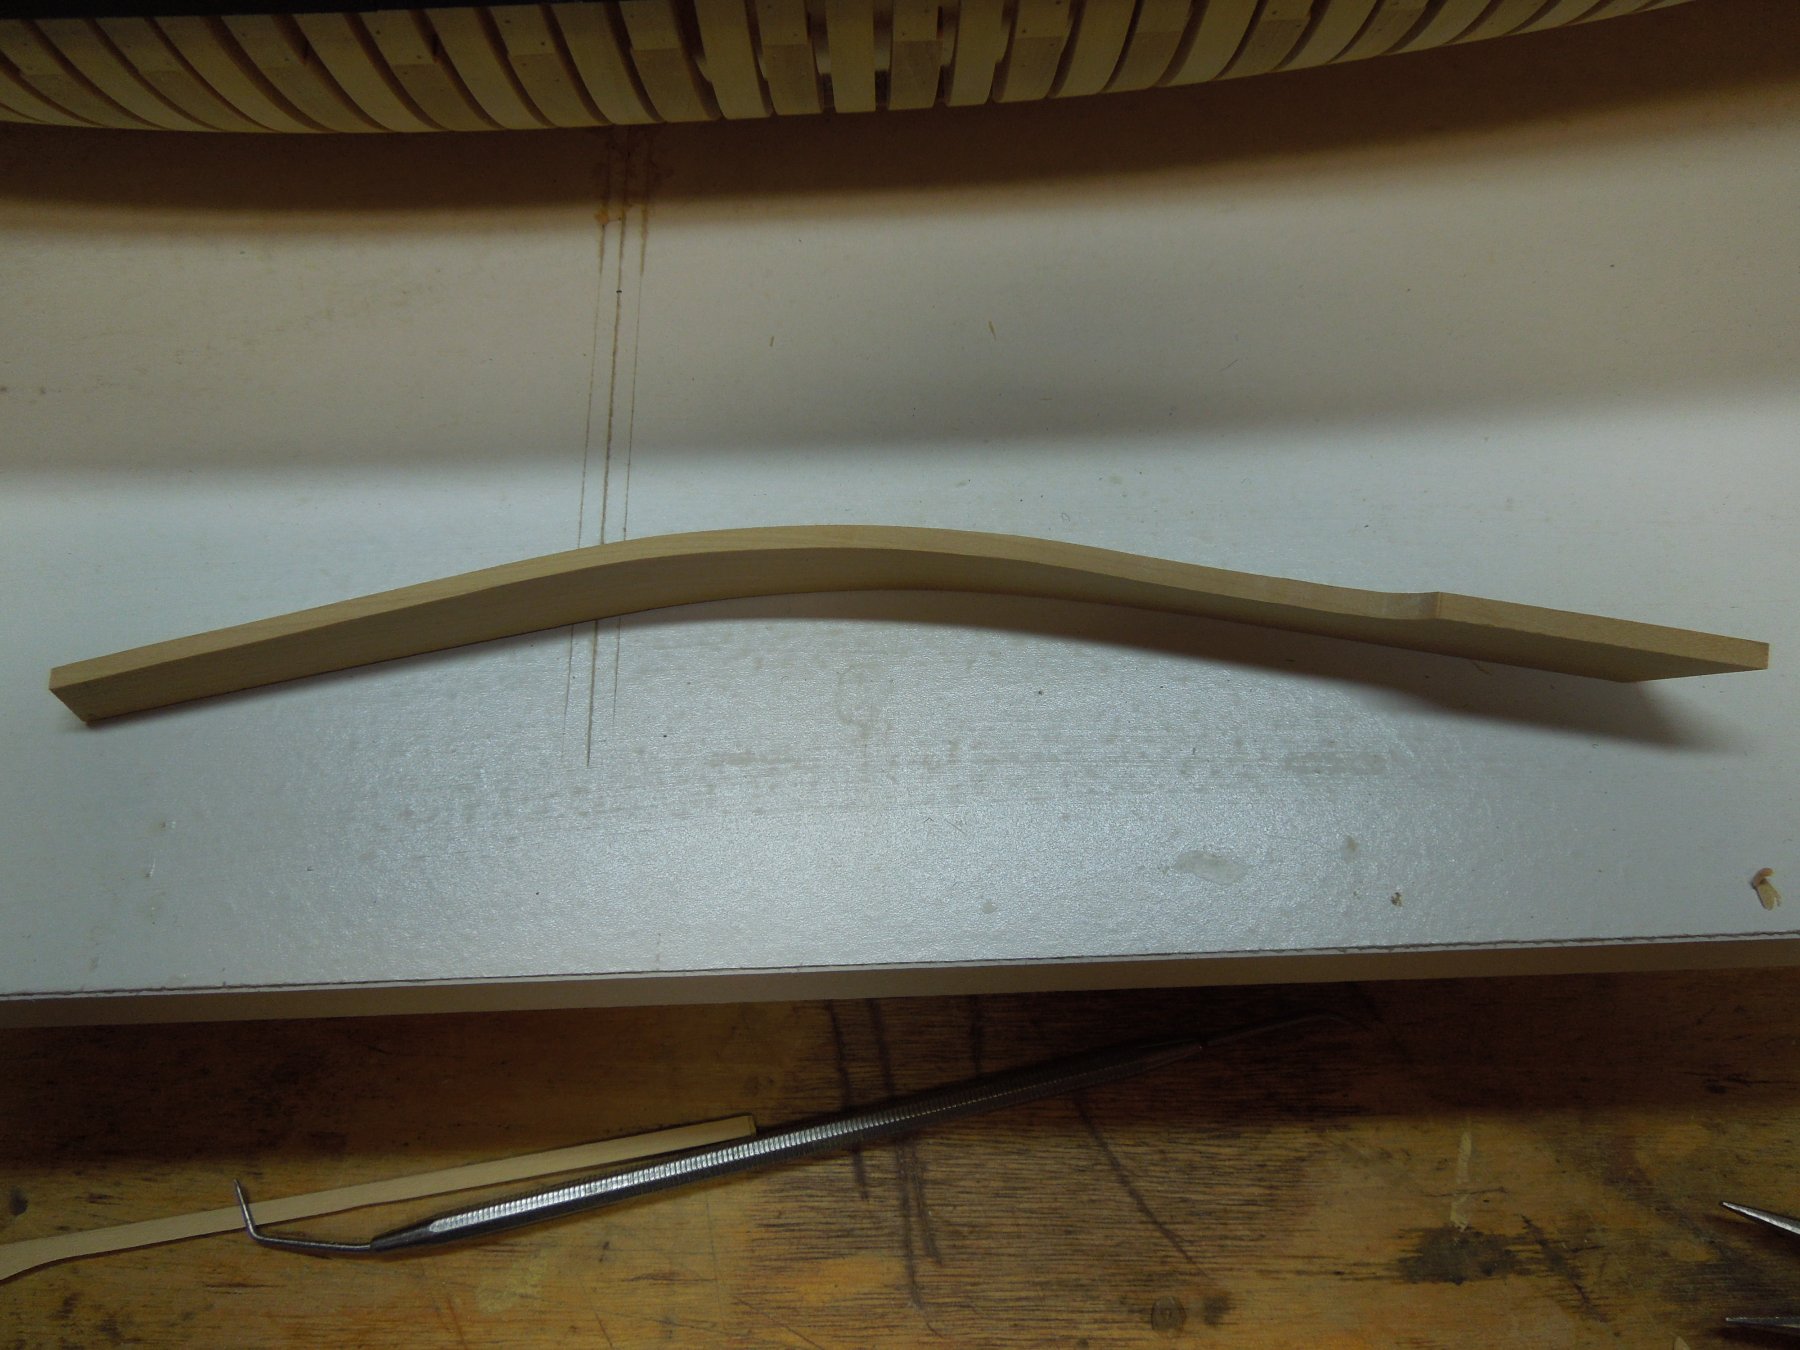
Darn it , Mark. I just encountered the exact same problem and your solution seems to do the trick. I assume you removed the yellow rubber insets to extend the width of the clamp? Have you tried a hot air gun? I'm achieving twists and bends I thought were impossible before. No more overnight clamping of wet wood for me! Look at this beautiful piece of 1/8" boxwood I ruined while experimenting with the hot air gun the first day I received it. That was a month ago and the shape is exactly the same.
-
Pandora by marsalv - FINISHED - 1:52
dvm27 replied to marsalv's topic in - Build logs for subjects built 1751 - 1800
Lovely work Marsalv! I'm trying to envision how you fished that collar under the bowsprit with all those other elements in place! -
With regards to wood movement I am reminded of a anecdote by Robert Bruckshaw, whose Navy Board style models are (or were) on display in the Smithsonian Museum. After framing the hull he took a break from it for several months. Upon returning to the model he noted the hull was a full 1/4 " shorter. Fearing the worst, he covered it with a wet cloth and returned 24 hours later to find it had returned to it's specified length. He added clamps and wales and that was the end of the problem.
-
Been an enthusiastic user of the Sherline mill and lathe for over 15 years. Check out their Craftsmanship page https://www.craftsmanshipmuseum.com/. Great stuff!
-
Great photos, Mark! I have the same problem with my current hull. A couple of the joint lines along the continuous solid plane have separated. I have filled and sanded but they reappear religiously, always in the same place. Wood just wants to be wood!
-
Mark, if you're going to continue doing work of this quality (which obviously you are) you must take some of that hoarded retirement income and invest in a camera with macro capabilities and post higher resolution photographs. I had no doubt you were going to solve the wale planking issue flawlessly and we all want to see your work close up to find those .001" gaps you must have somewhere. I mean, you are human aren't you?!?!
-
Nice work, Ben. She looks like a great side project to palliate the inevitable burnout that accompanies a multi-year build.
- 74 replies
-
- 5
-
-
- queen anne barge
- Syren Ship Model Company
- (and 1 more)
-
Yes, David and I (Admiralty Models) are excited to partner with Chuck on this new project. Both of our companies share the same philosophy with regards to service and quality. I, for one, can't wait to see how Chuck innovates our cross-section and makes it accessible to those lacking scroll saws, spindle sanders and the like. I have seen Chuck's concept for constructing built up frames and believe that beginners with a bit of confidence to advanced model makers will be able to make a beautiful fully framed model small enough to fit on their desk. Here is my version of the Pegasus cross-section which was constructed as a side project when building the full version. Chuck's may not look exactly like this but his will be similar (probably nicer!).

-
Swan class 3D model in progress
dvm27 replied to dvm27's topic in CAD and 3D Modelling/Drafting Plans with Software
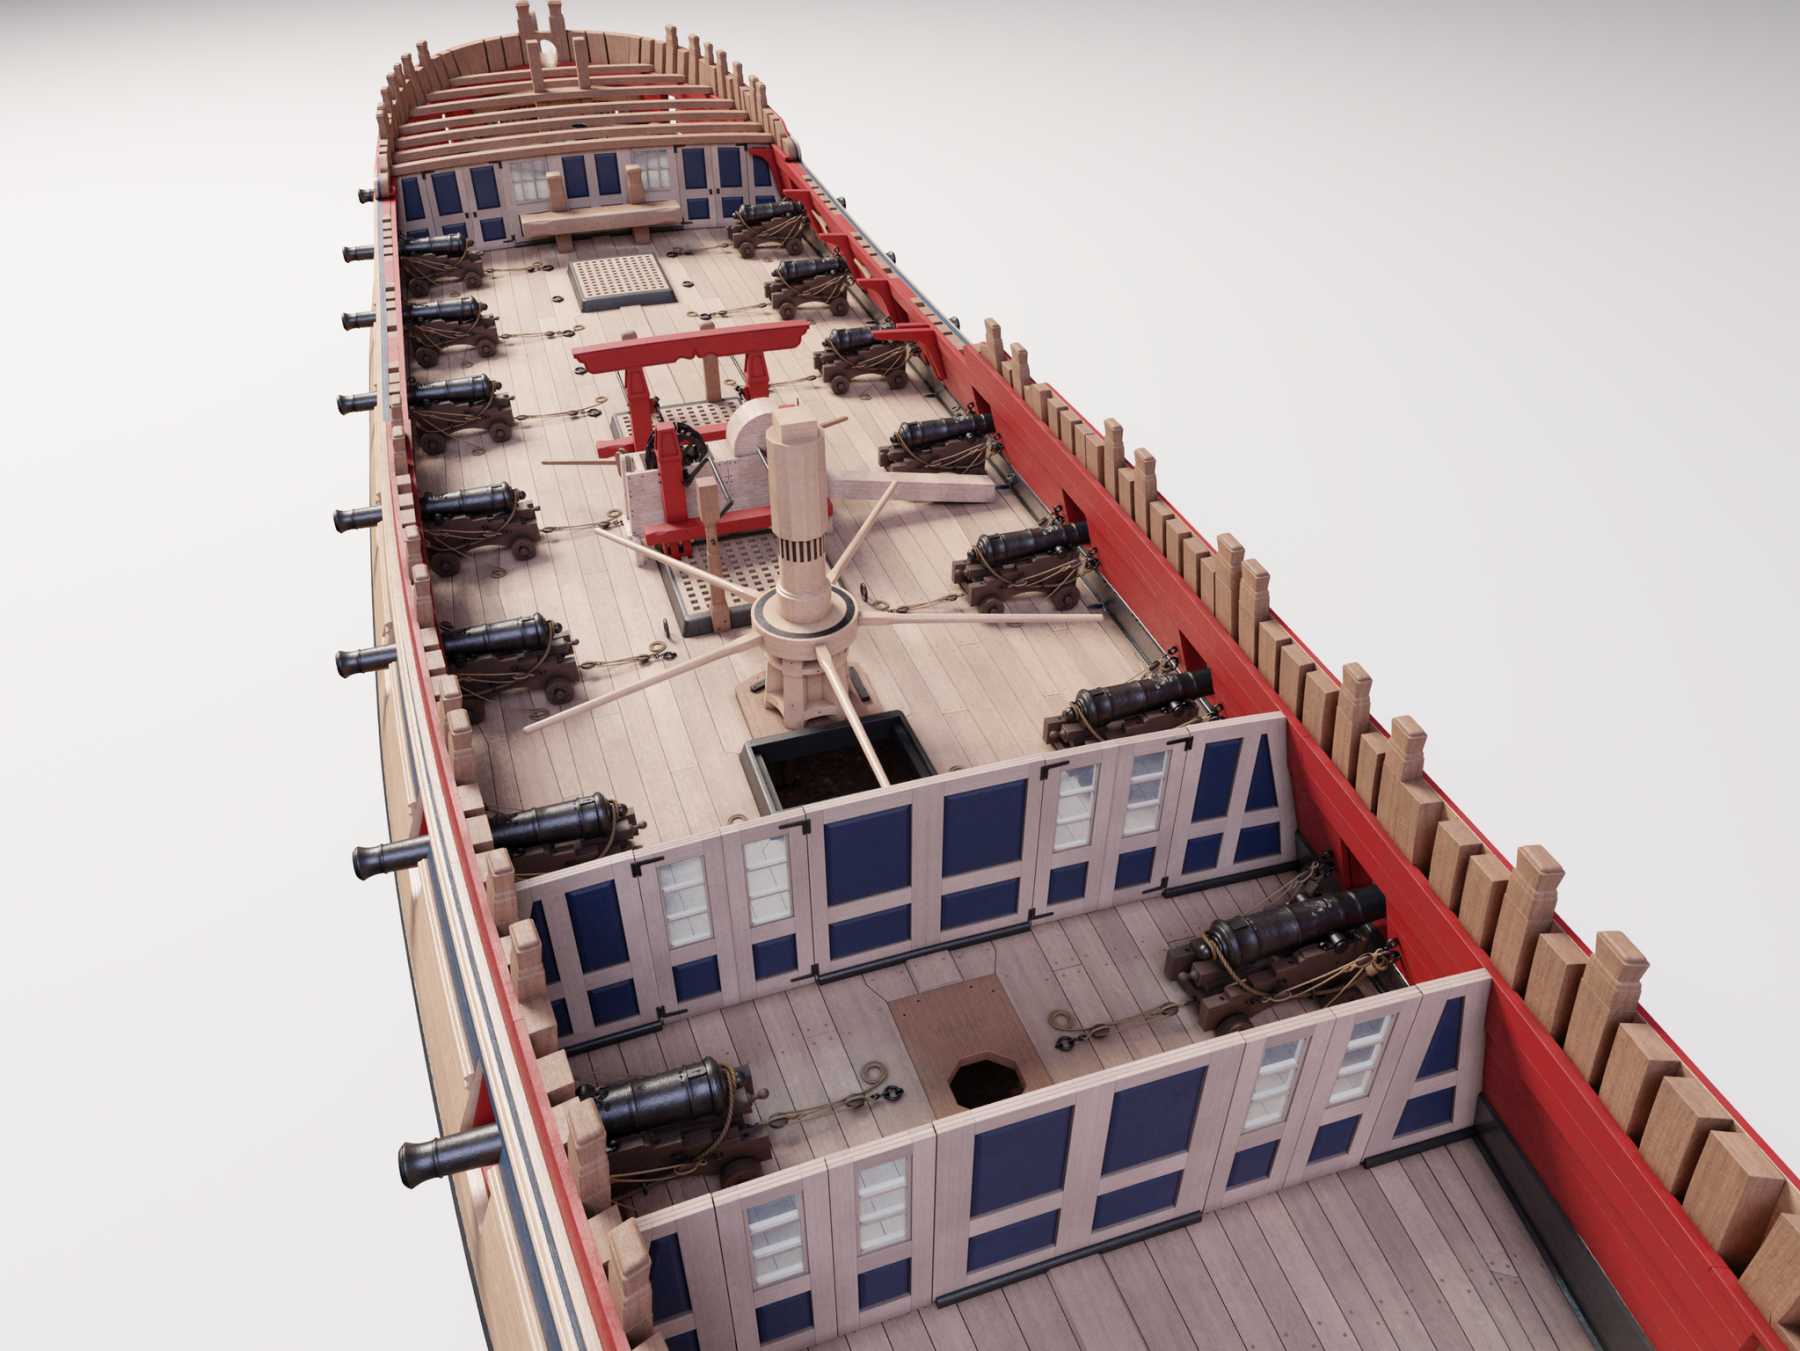
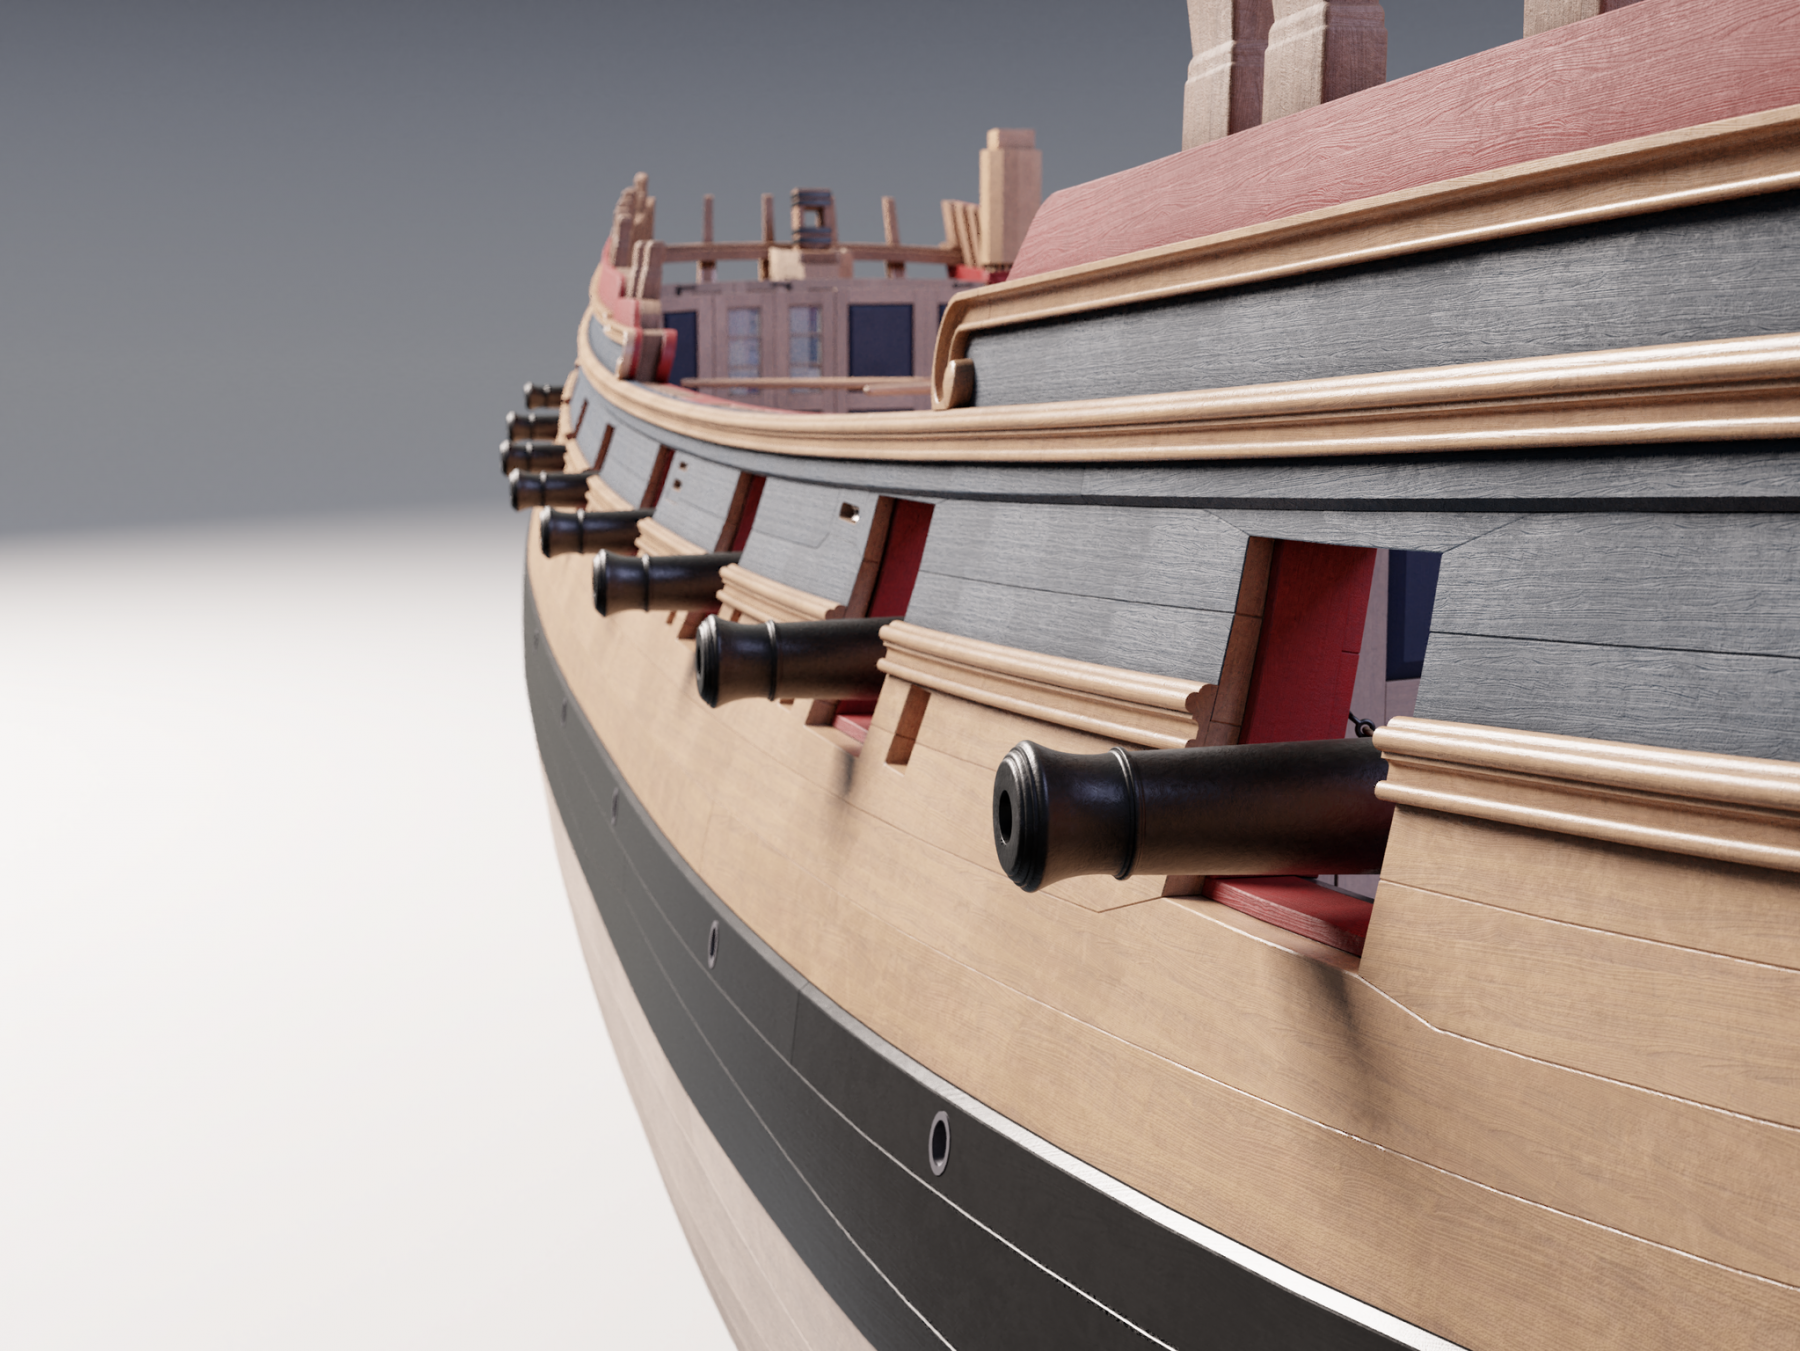
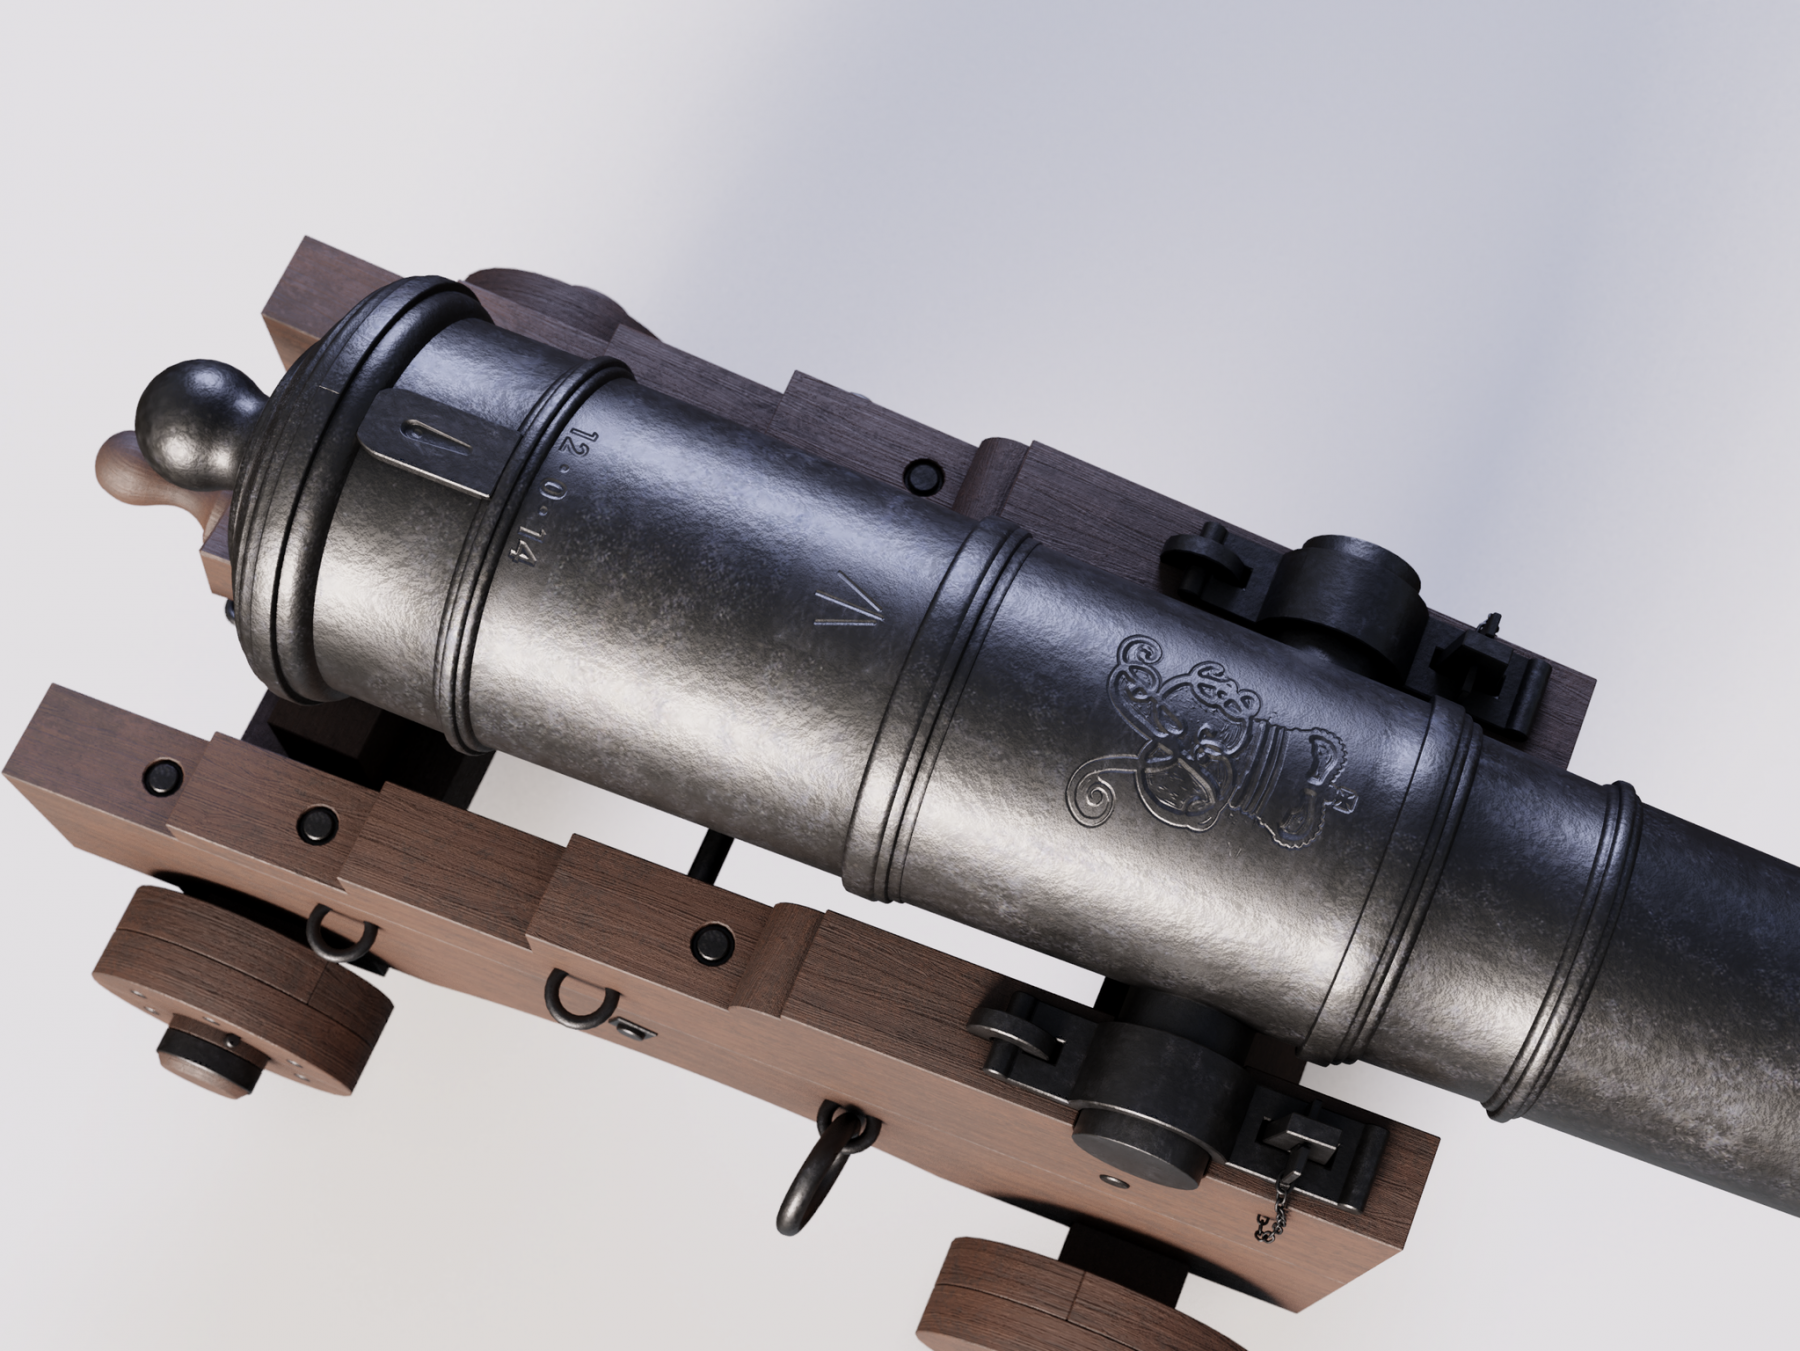
We want to make this CD as accurate and fun as possible but also affordable to everyone. Some of the higher end animations may not run on everyone's computers. We'll have to see how large the files are when finished. But chew on these for now. Denis is a genius!


- 141 replies
-
- 30
-
-
- pof swan series
- swan
- (and 1 more)
-
Will follow this topic, Chuck. I really liked the frame building technique you shared with me previously. I think this will be a very satisfying mini project for a lot of people. I suspect most of them would leave 1/2 of the frames unplanked. Best, Greg
-
Swan class 3D model in progress
dvm27 replied to dvm27's topic in CAD and 3D Modelling/Drafting Plans with Software
Yes, Dan, it will be available to all, most likely on a thumb drive as these files are huge!- 141 replies
-
- 4
-
-
- pof swan series
- swan
- (and 1 more)
-
Nice work, Ben. Keep on marking that centerline cause everything looks perfectly symmetrical.
-
You have insanely high standards, Johann. Which is why your model is amongst the tops!
-
Regarding the wood blanks for masts and spars I have had similar problems (I believe it's referred to as sprung wood). Jeff Hayes, formerly of the HobbyMill, was particularly adept at providing perfectly straight lengths of boxwood for mast and spars. I have some blanks of wood from him over a decade old that are still straight as a pool cue.
- 19 replies
-
- 5
-
-
- milling wood
- echo cross section
- (and 1 more)
-
I just tried out my new Porter Cable hot air gun for the first time and the results were astonishing! I bent a 1/8" boxwood strip, 1/2" wide, in several directions in less thank a minute. No water, no opening grain and no marks. It's almost as if the lignins are liquified and retain their new shape as the heat is turned off. Although not happy about ruining a perfectly good strip of boxwood I'm never going back to soaking wood and clamping in place until dry to bend. But be careful not to burn your fingers! I did use a blow dryer previously, as Chuck has demonstrated, and achieved mixed results but nothing comparable to the above. Here's a link for anyone interested. Thanks to Michael for exposing me to it (I believe) in one of his posts. https://www.amazon.com/PORTER-CABLE-PC1500HG-1500-Watt-Heat-Gun/dp/B004Q04X44/ref=sr_1_3?ie=UTF8&qid=1514407837&sr=8-3&keywords=hot+air+gun
-
Echo by davec - FINISHED - cross-section
dvm27 replied to davec's topic in - Build logs for subjects built 1751 - 1800
Well, Dave, you are correct in that the clearance is insufficient for the outer pump tube to pass between the well wall and the carling. Your choices would either be to cut it into the well wall or to move the carling 2" inboard (as I did). I believe I also may have narrowed the lower deck partner and carlings an inch or two but I can't recall. At any rate with the inner-most deck planks hiding the evidence I can't be sure. Just cut a blank tube to the correct dimensions and shipwright it until it fits.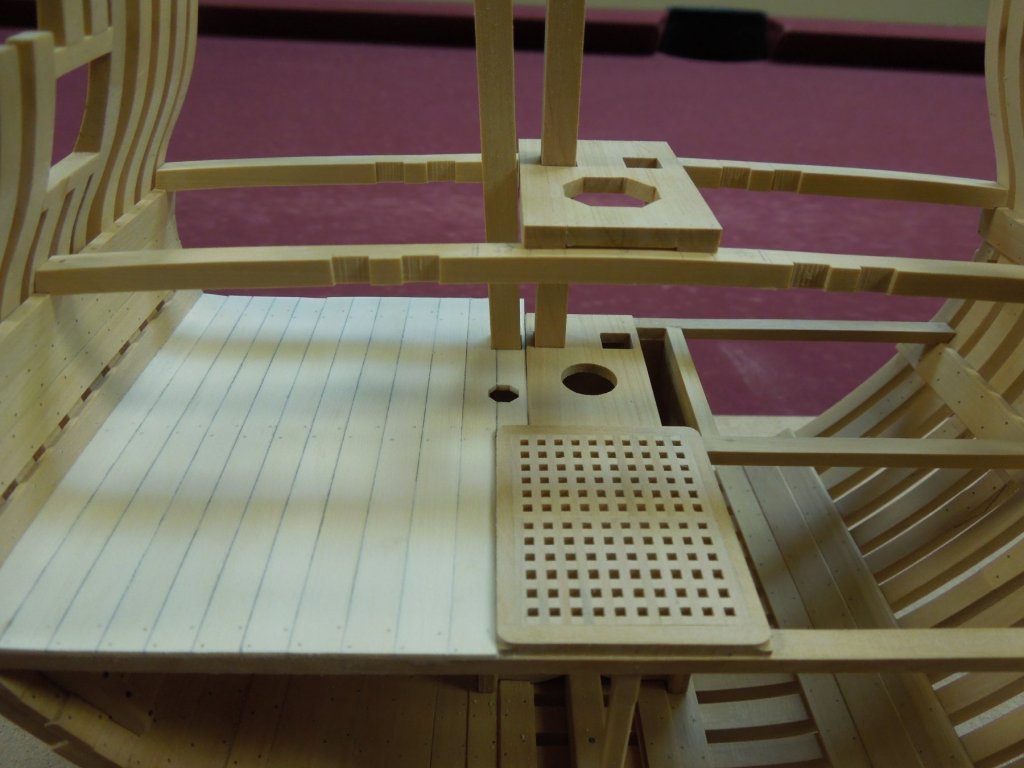
-
The fore and aft faces of my rudderhead cover are parallel, Toni. Aesthetically, it looks pleasing and I believe this is how David has illustrated it in TFFM.