
HOLIDAY DONATION DRIVE - SUPPORT MSW - DO YOUR PART TO KEEP THIS GREAT FORUM GOING! (Only 13 donations so far - C'mon guys!)
×


popeye the sailor
-
Posts
16,007 -
Joined
-
Last visited
Content Type
Profiles
Forums
Gallery
Events
Everything posted by popeye the sailor
-
 did you brush it on and wipe it off? looked very scary..........but very effective looks awesome!
 -
yepper J.....it won't be much longer before I'm done. I have a few other non ships I could do
-
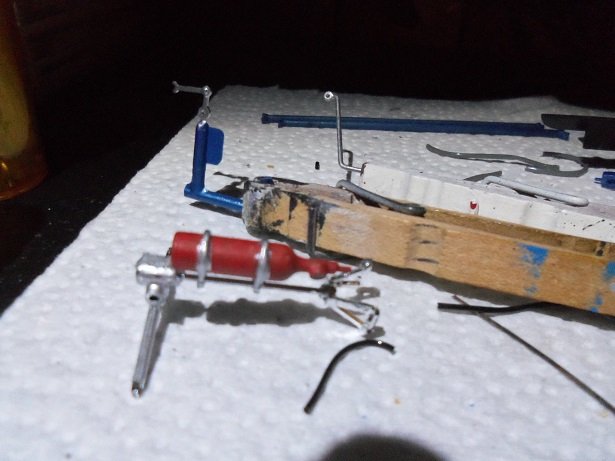
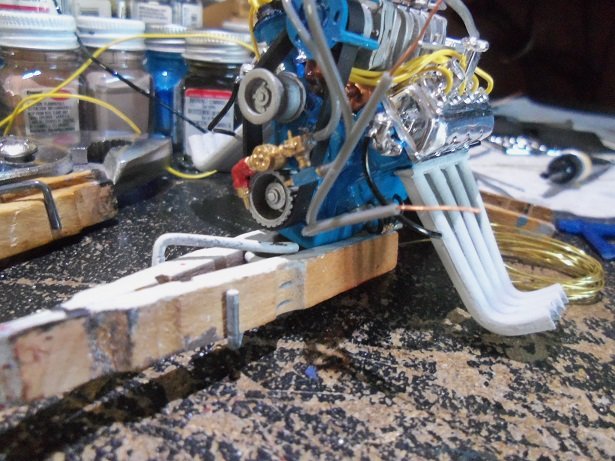
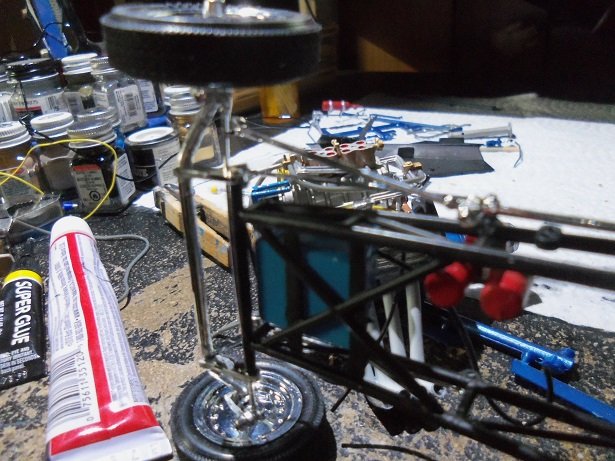
Friday was errand day .........but I still managed to gt some work done on the car. there are two braces that help support the sides of the cockpit shroud. they both needed to be shortened a little, to fit in place. using the rear wheel well as a guide, I saw that one side of the shroud was bowed outward, so it was closer to the wheel well than the other side. a clothes pin corrected the problem. the chute cable was installed, running it through the hole in the body, and through the inner panel after drilling a hole for it. the clutch pedal and shifter was added to the engine assembly next. the fuel shut off line was run from it's lever.....figured I'd do this before the engine was cemented in place. it will run under the passenger side header and connect to the pump at the front of the engine. I inserted a piece of wire to keep it straight. there aren't too many parts left.....they were painted and set aside to dry. still more to be done on the extinguisher. finally, the engine was cemented into the chassis. now the cockpit panels can be added, and the rest of the hoses can be connected. the steering can also be finished off as well. thanks for the likes!


- 172 replies
-
- 11
-

-
awesome job...........very nice paintmanship
-
very nice
-
if your working on a Billing Boats kit, you may be in luck. just go to the Billing USA, or the Billing Danmark site. you should be abl to find what you need.......or you can even contact them: http://www.billingboatsusa.com/ http://www.billingboats.com/ I have the plans for the Bluenose I
-
look'in very nice Sjors...........the hull looks great!
-
good to see an update peter I see you've been very busy! the deck looks very nice. the battens look really good to, but I can't help but think that the top batten should follow the deck line all the way to the bow. is there a reason why you have them like that?
-
Revelle fictional ship?
popeye the sailor replied to William-Victory's topic in Nautical/Naval History
yea,,,,what you have is just a run of the mill pirate ship. practically every model company at the time had one or two........except for lindberg line {or you can call them just lindberg}.....they had three if you wanted to change it over to a know or lesser know galleon, you could do a search on line, and find one that it closely resembles. all is not lost my friend, they do make nice models. to make her look good, you still need to use assembly and weathering techniques . I built the Jolly Rogers....left off at masting the Flying Dutchman....and still nee to tackle the Henry Morgan...AKA Captain Kidd......the three Lindberg kits! -
nice bit of progress...the mast looks really good
-
either that or about to be run over by the tank! look'in sweet!
- 106 replies
-
- 5
-
-
- trumpeter
- john brown
- (and 2 more)
-
nice work with the planking......looking really sweet.
- 131 replies
-
- 1
-
-
- santa lucia
- panart
- (and 1 more)
-
look'in amazing so far........don't know how your not plagued with eye strain quite impressive
-
she's coming along great EJ.........the added decorations and dead eye / channels look really super. very nice work
-
look'in good, as you unravel the spaghetti saga! the sails look really good too
- 525 replies
-
- 2
-
-
- cutty sark
- mantua
- (and 2 more)
-
thanks J....I was relieved to see the body comes down with plenty of clearance. it will fit much better when the cockpit panels are in place. hope to get something done on her today....errands to run. once the chassis is complete, the rest of the build should finish quickly
-
too much eye candy.............I'd be broke in a second! beautiful stuff though
-
wow.........now this brings her more into the light! looks great with a full skin can't get over how much detail is in that power plant
-
with how attentive the police are here in Manchester....we'd probably get away with it thanks for the good word CDW
-
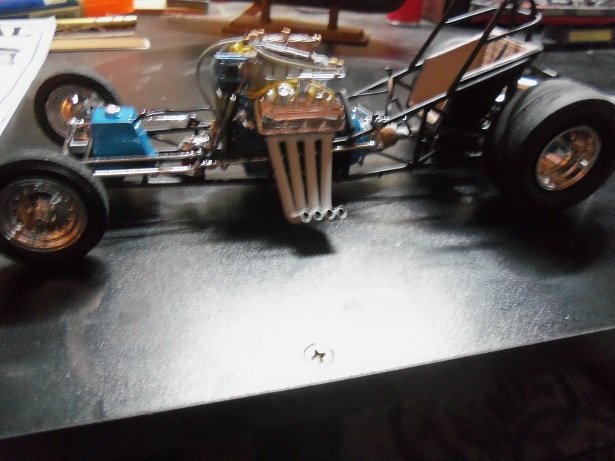
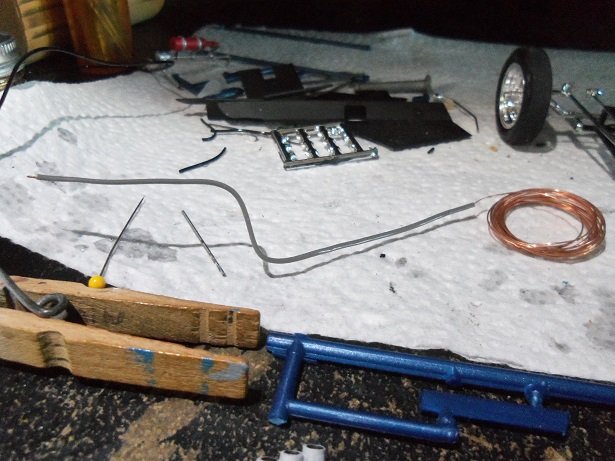
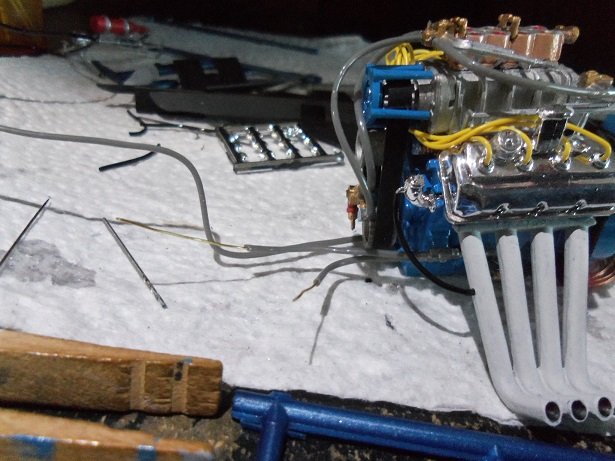
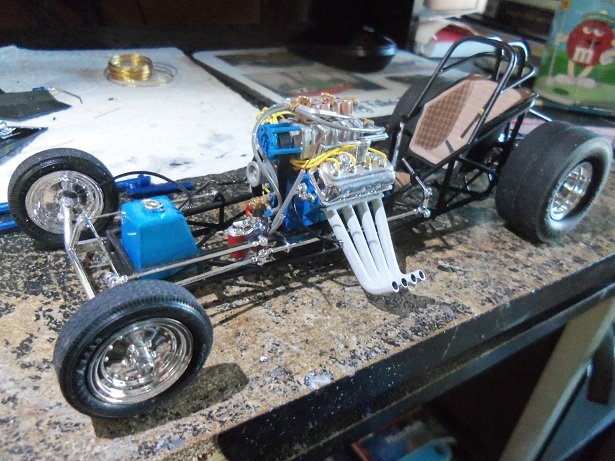
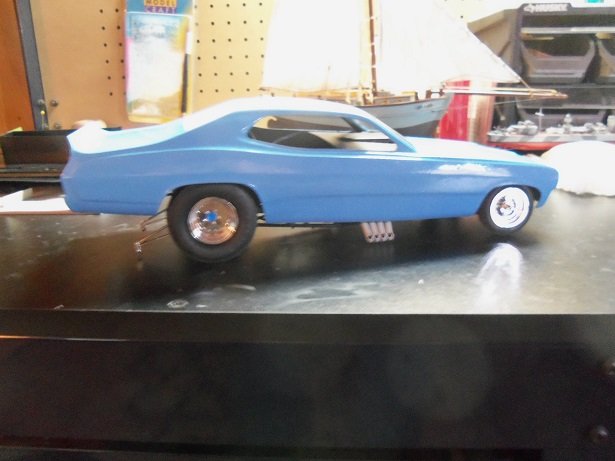
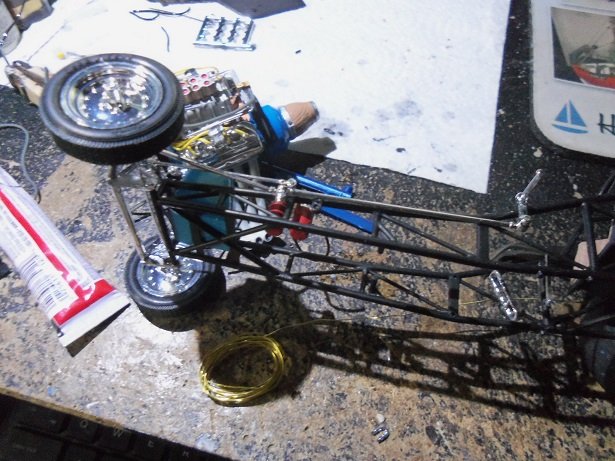
today, as I mentioned, I was around quite a bit. .......and as I said earlier, I got some work done. I need to find a remedy for that hose problem, that I feel will impede the installation of the engine. hopefully, it will make the hose routing look neater too. I was using some really thin brass wire from one of my boat projects. it fits easily into the gray tubing, but I found that CA had traveled down one of the oil hoses, so the wire couldn't go the full length of the hose. not having a drill that was that long, I resorted to clamping a piece of the wire in the chuck of my drill, and tried to ream out the hose. that went over about as big as flatulence in a frat house, so I gave up that idea....I might as well as used a wet noodle! here are the hoses with the brass wire inserted. they bent well, but not as good as I would have liked......seemed to have some 'give' to them still. the exhaust overflow line can be seen in the picture above. I must have something stiffer, I thought..........then it hit me! I have some copper colored wire from past billing's kits....I have a lot of it too! taking the length of gray tubing I have left, I inserted the wire into the full length.........holds the bends a lot better I replaced the clogged hose........no way to clear it out. bent up and out of the way, I'll be able to install the engine, and route them the way I want them. here's another shot of the steering assembly, now that I have it under better lighting. I may cut off the pins on the oil filter housing and drill holes for the wires to go instead. the other hoses assembled well doing it this way. the drive shaft tunnel has to be aligned with the tranny and differential....it was cemented into the splatter shield {gearbox shroud}, and then fitted on the pin of the differential to dry. there is to be a clutch pedal, which locates on the bell housing, and the hole you see in the side of the tunnel, is where the bracket part of the shifter, will locate. once the engine is cemented into place, I can finish the steering assembly. I've done some painting to it, to get it ready. so, this is how the beast is shaping up. I like the looks of her with the gray headers. I forgot to mention.........there is some 'toe out' with the front end..... that's what one gets when assembling only part of an assembly, and then letting it dry. most of it is because I keep moving it around, but once I set her up, it fairly small. haven't checked how much, but there is some play in there too. would be a good name if I had to change it...........the Loose Goose I also got the driver side logo decal on there too today..........yep, confirmed........another year or two, and these decals would be junk! I even used warm water and decal set, and I still ended up with a couple of areas to touch up. overall though, it's not as bad as it looks...the decals for the Jukebox Ford were worse than these. I really shouldn't show this.....I would think you'd like to see her in ALL her glory, but I did dry fit the body on the chassis. she has a few thing hang'in up the body, so she's not sitt'in at 100%.......but I like the way she looks in this picture. did you think it would be that easy?


- 172 replies
-
- 11
-
-
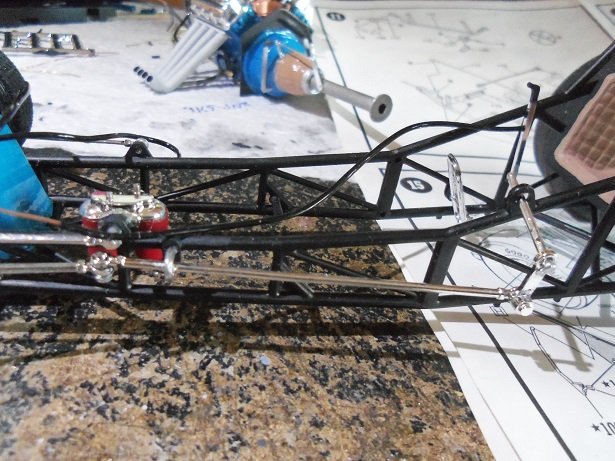
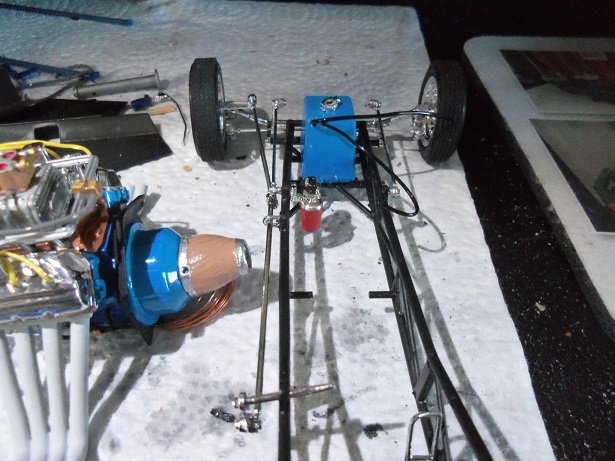
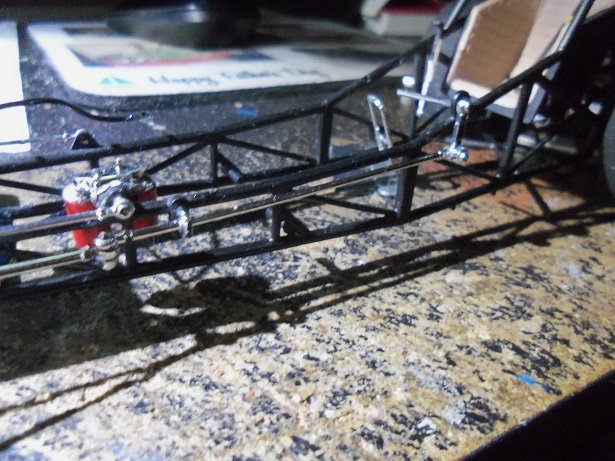
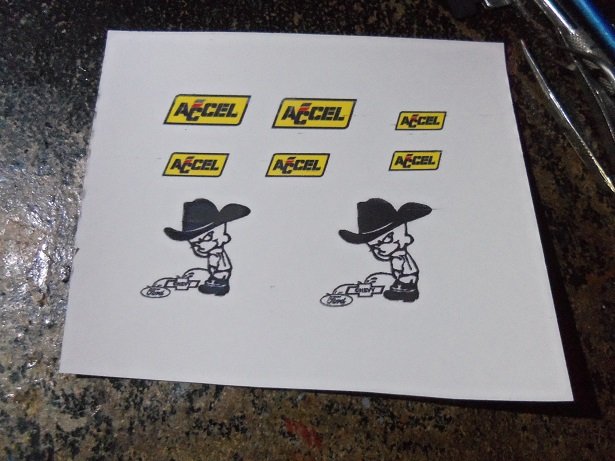
hey there folks. I've been all over the place today........but I managed to do some work on the car. thanks for the info Mark......but they already have a hole in the body for the chute cable. just so there isn't an unsightly hole there, I'll route it that way. in looking at the logic here...... if the body goes flying, so does the chute...it's attached to the body. I get what your saying.....I've seen it myself....don't know why model companies make mistakes like this. that's only part of the plumbing CDW....the wires are done what I'm experiencing with this model.....I had the same go around with the English Leather. this time though, I've gotten a bit smarter. the hose tubing is soft, but very stiff....and doesn't want to forget how it was packed in the kit. I will be covering more with this next update........whether my idea worked or not I hope so J........I've done much more than what I did with the English Leather. thinking back to those days, I can see how much I've learned......without the visual aides {models in front of me} I used to do minimal painting.......just detail work on some; but that depended a lot on how drawn to the model I was. the Revellution won't be perfect, but I do hope it will show the effort I'm putting into her as always........thanks for the likes! glad to see folks are look'in in so......anyways.......the admiral went to bed last night........and I was getting creamed in my video game {just couldn't gt my hack 'n slash together}. to get a breather, I tinkered a bit, attaching the drag link to the steering arm. the little cap that was to be cemented on took a fly from the tweezers, so I spent a few moments looking for it. I had a spare........I'll continue the search in the morning. these are a little blurry........but you can see the U bracket that the drag link runs through.......and how the steering linkage pin goes through the frame bracket and how it looks. the pin won't be moving once it's cemented into the steering box, but the rest of the assembly will have full mobility. when the outer cockpit panels are added, the lower part of the linkage and drag link will be hidden. so, with the completion of the steering, being movable is a complete success earlier in the afternoon, I made up and printed the decals I needed. meet Fred..........
-
that is a nice body scheme.........will watch this leopard change her spots