mtaylor
-
Posts
26,273 -
Joined
-
Last visited
Content Type
Profiles
Forums
Gallery
Events
Everything posted by mtaylor
-
Excellent 3D work. Looks like photo and not a render.
-
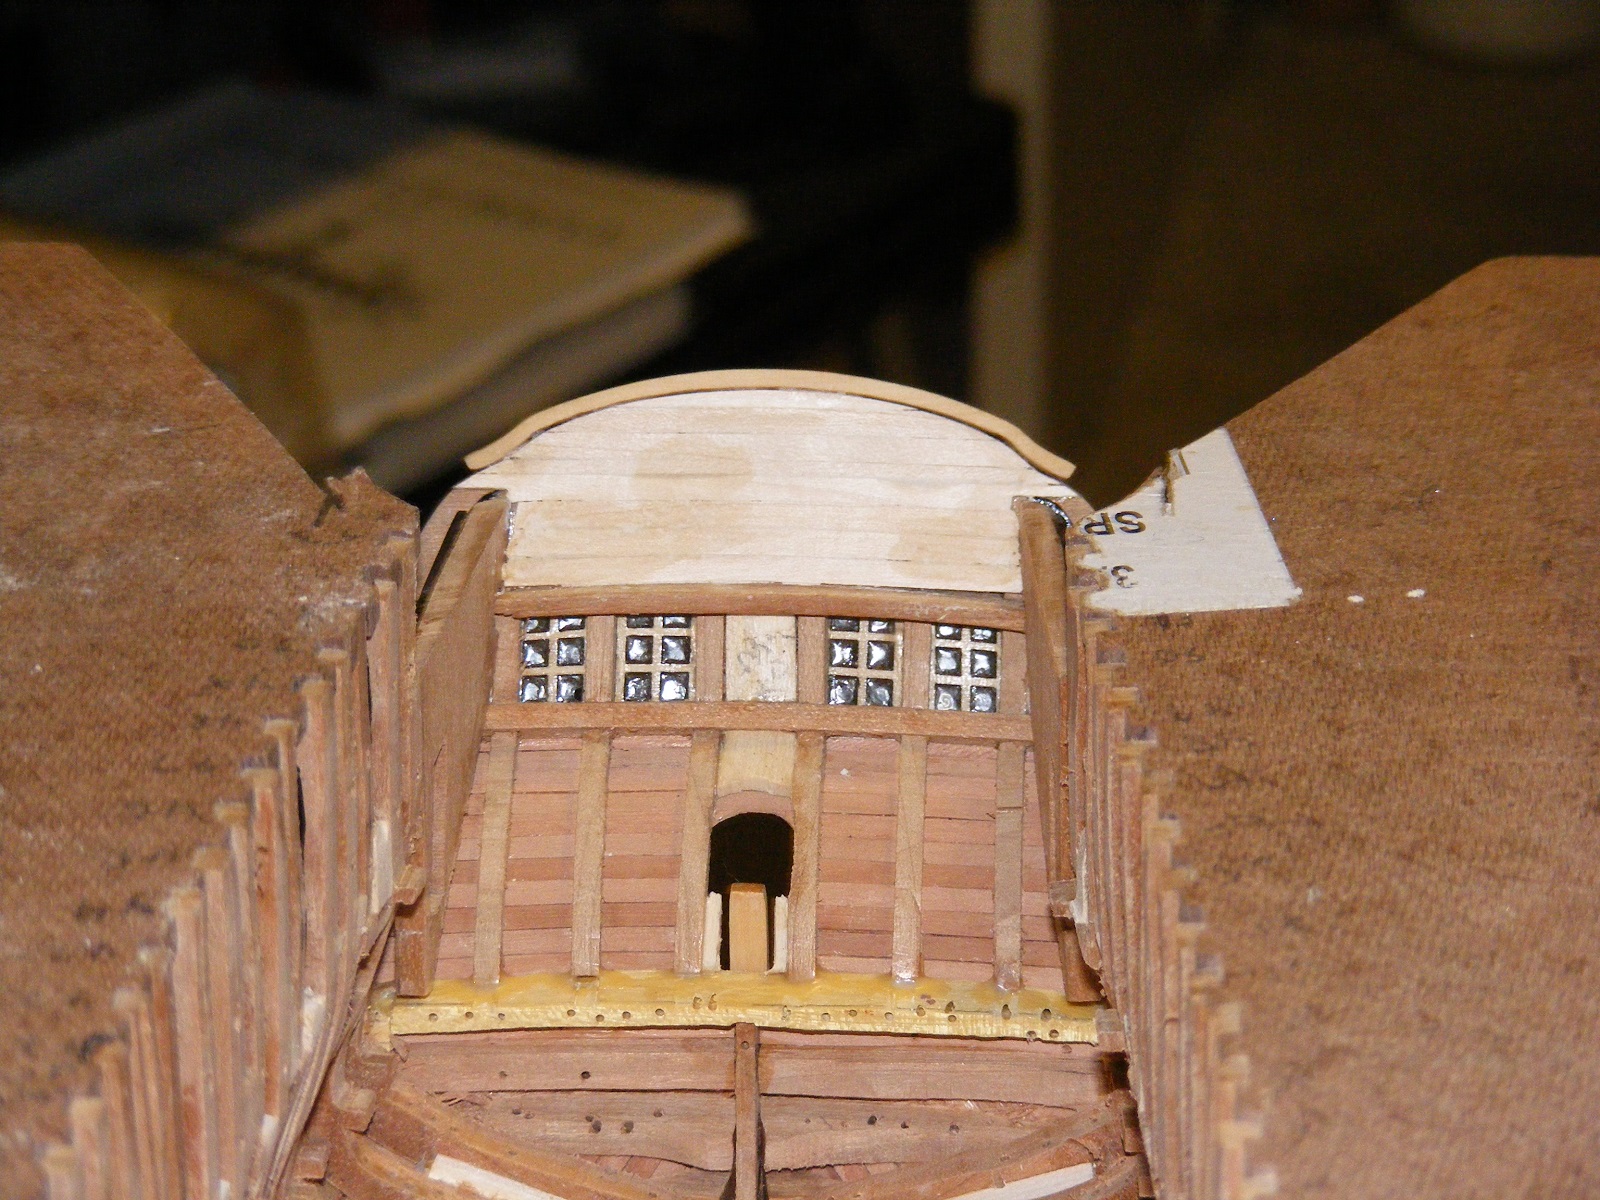
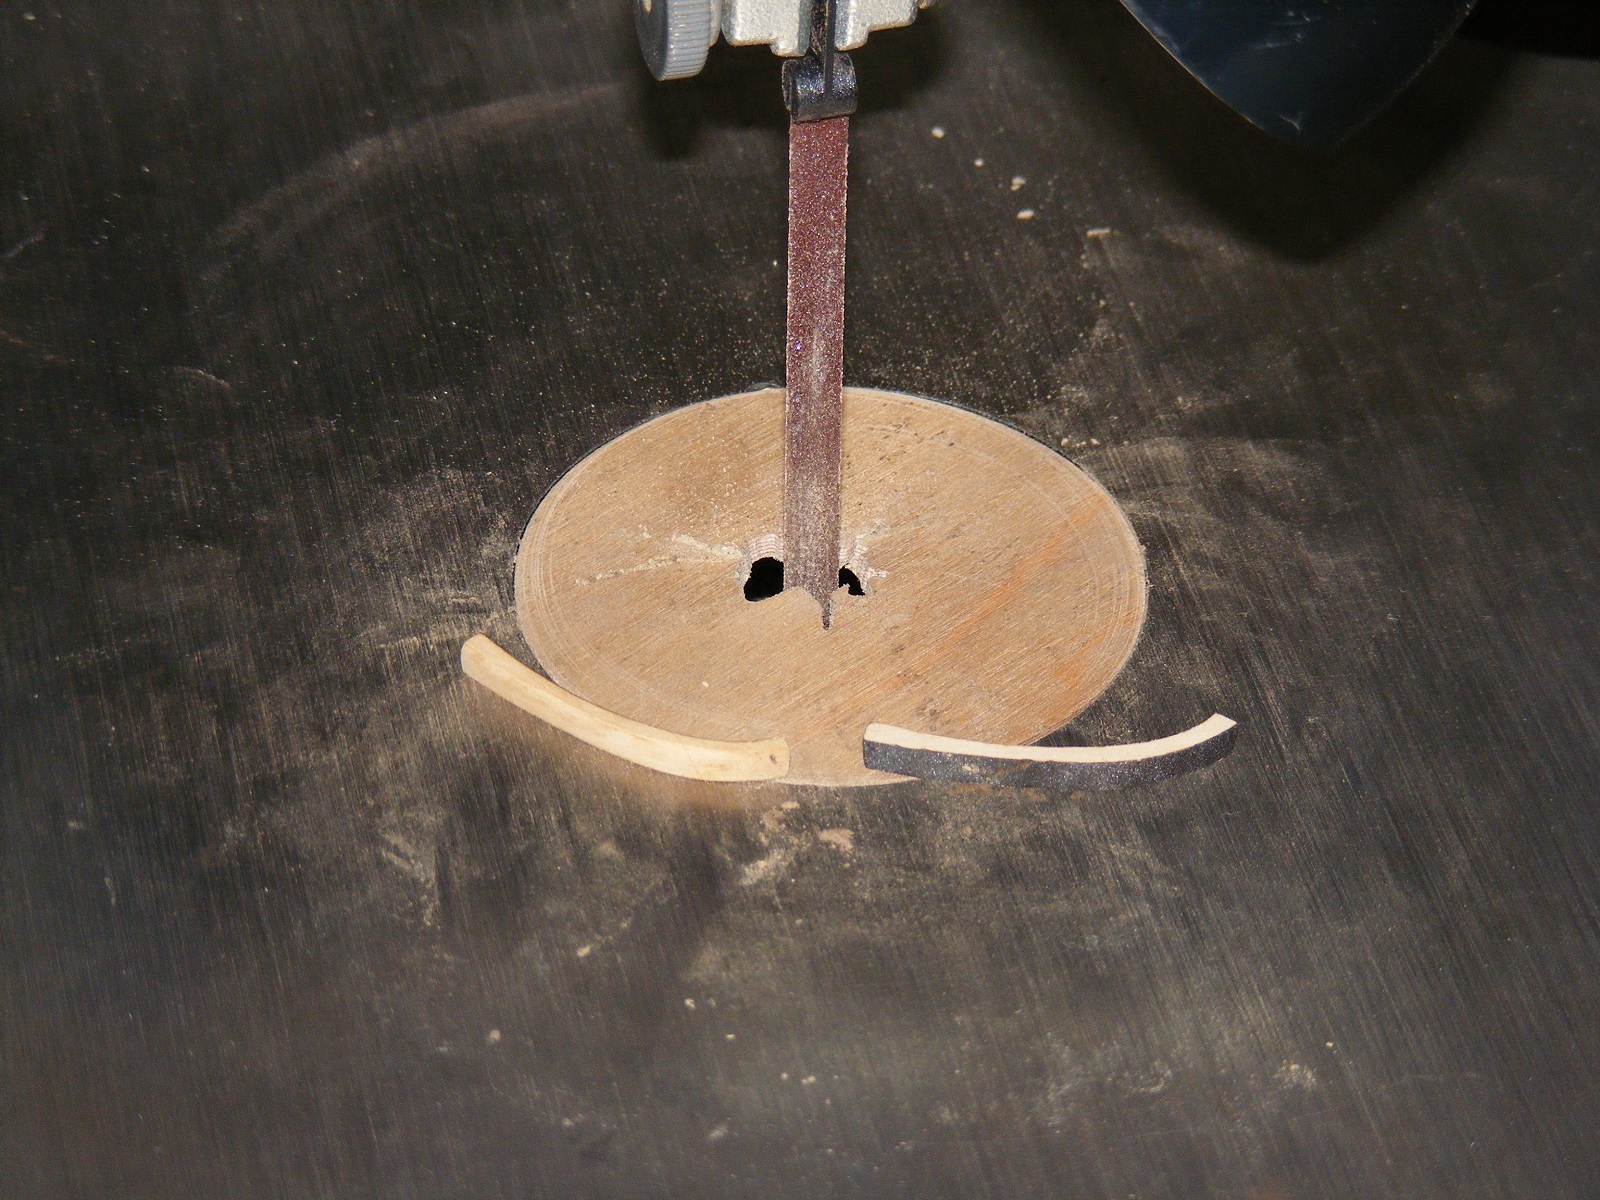
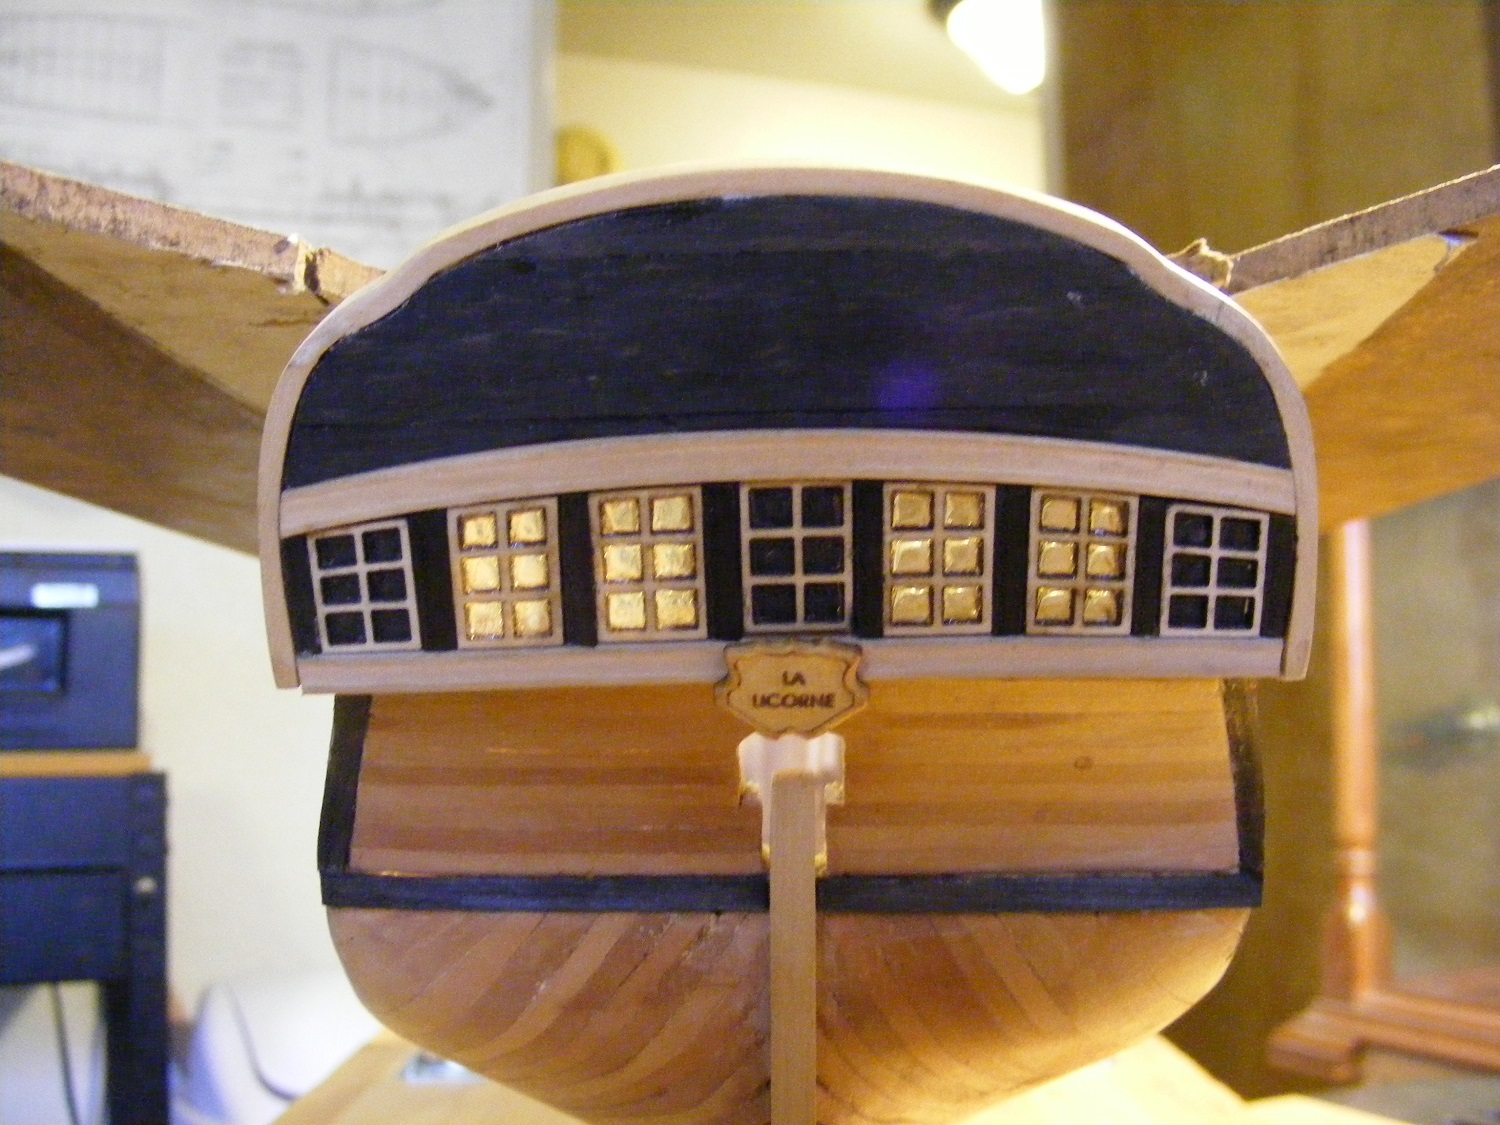
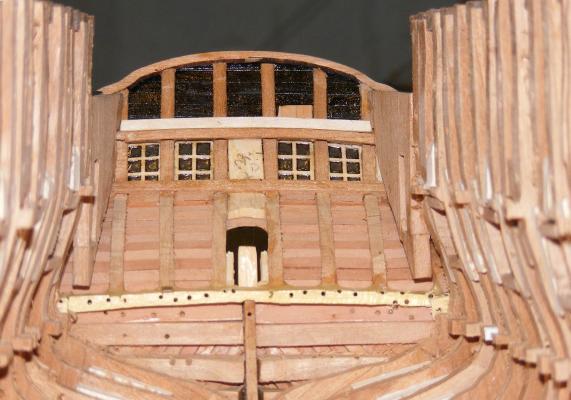
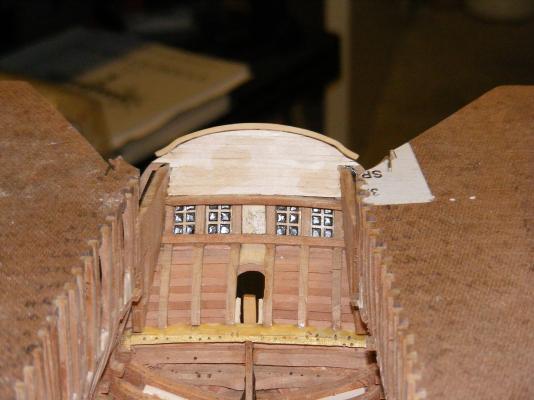
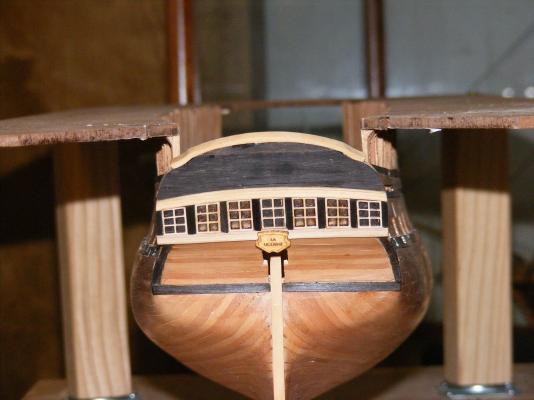
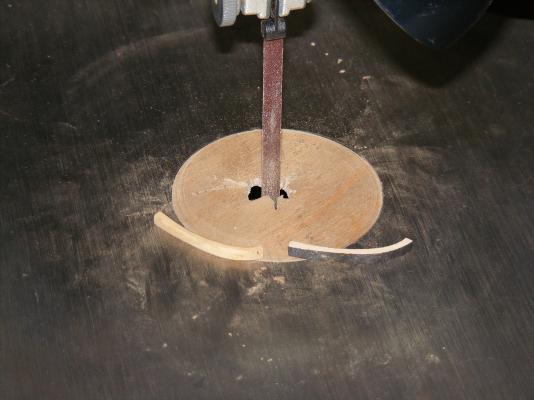
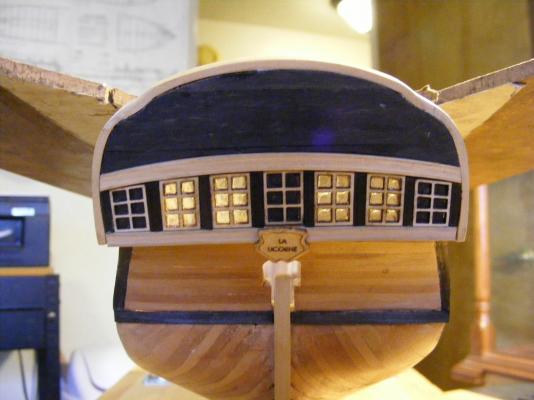
A minor update, model wise. A biggie for me. The stern is more or less complete. It still needs the carvings and the taffrail needs the finials but those are in-work and may be that way for some time as I move on to other things. I carve while waiting for glue to dry, etc. I was playing with the camera and some settings... here's the inboard side of the stern unplanked and then planked in silver maple. I'm using the maple where things would have been white-washed. The planked version also shows part of the taffrail installed. From the outboard side with part taffrail installed. This is the two other pieces of the taffrail on the scroll saw using the ScrollSander to clean off the laser char and finesse the fit. The final finessing was using a file and sanding sticks. And with the full taffrail installed. It needs a bit of cleanup and some wipe-on poly, but I'll that when get the carvings ready. The quarter galleries need to be built also before finishing. It's a bit off (about 1mm on the port side) but I'll live with it. All in all, I'm pretty chuffed about this as it was a big learning curve. I wanted the joinery perfect.. not quite there yet but to my eye, it looks good. Next up is the rudder while I sort out the quarter galleries. These have a bit of unusual shape in that they curve out past the stern and then back to the hull, like a half circle only not... Hard to explain but I'm researching and sorting it out.
-
Keep selling the Sculpy, Dave. With results like that, no argument here, only a "wow"....
- 962 replies
-
- 8
-

-
- sovereign of the seas
- ship of the line
- (and 1 more)
-
Cutty Sark by NenadM
mtaylor replied to NenadM's topic in - Build logs for subjects built 1851 - 1900
Like many things in life, Nenad, there's a compromise. A bit overscale won't hurt the final appearance and it's better to have the strength you need than to get way beyond this and suddenly the part breaks.
- 4,152 replies
-
- 8
-
-
- cutty sark
- tehnodidakta
- (and 1 more)
-
Wonderful work to see, Gerhard. Production work like this is never that much fun but when you figure out how do it, the rewards are well worth it.
-
Depends on which Triton.
-
Frégate d'18 par Sané , la Cornélie
mtaylor replied to JohnE's topic in CAD and 3D Modelling/Drafting Plans with Software
Research is a fun thing just by itself, isn't it? -
I don't think we're going to listen to you, Piet when you say, "I've never done this". Maybe you haven't but you definitely have the talent and the knack for it.
-
ancre La Salamandre by tadheus - 1:24
mtaylor replied to tadheus's topic in - Build logs for subjects built 1751 - 1800
Joe, See Danny's log: http://modelshipworld.com/index.php/topic/11747-hms-vulture-1776-cross-section-by-dan-vadas-148-scale-from-tffm-books/?p=391772 -
I thought re-do's were part of modelshipbuilding? Like sort of mandatory.. I feel your pain and understand it, though.
-
Super nice work on some very fiddly parts, Ian.
-
I think that's a very astute observation, Greg.
- 1,051 replies
-
- 6
-
-
- cheerful
- Syren Ship Model Company
- (and 1 more)
-
Cutty Sark by NenadM
mtaylor replied to NenadM's topic in - Build logs for subjects built 1851 - 1900
Your efforts paid off well, Nenad. The pinrail is perfect.- 4,152 replies
-
- 5
-
-
- cutty sark
- tehnodidakta
- (and 1 more)
-
ancre La Salamandre by tadheus - 1:24
mtaylor replied to tadheus's topic in - Build logs for subjects built 1751 - 1800
Lovely, just lovely, Paul. I find the mast wedges interesting as they are different from what the English used. -
Pandora by marsalv - FINISHED - 1:52
mtaylor replied to marsalv's topic in - Build logs for subjects built 1751 - 1800
Just beautiful, Marsalv. -
Lady Nelson by Leo-zd - 1:119 - SMALL
mtaylor replied to Leo-zd's topic in - Build logs for subjects built 1751 - 1800
Leo, Thanks for the explanation. It's such a great looking bell. -
Uh, Robbyn.. I like the idea but don't copy what's on the plans with the copper. The plans are flat and your hull is curved. Line off the hull per the plans (much like spiling) and work the copper that way. If you'll go to the Victory and Contitution sites and look at the copper, you'll see they are really "even" and straight. The copper has to be fitted due to the curve of the hull.
-
I agree with Druxey. It's a tough choice but you'll happier you did.
-
The word "spectacular" comes to mind seeing this....
- 2,625 replies
-
- 2
-
-
- kaiser wilhelm der grosse
- passenger steamer
- (and 1 more)
-
Lady Nelson by Leo-zd - 1:119 - SMALL
mtaylor replied to Leo-zd's topic in - Build logs for subjects built 1751 - 1800
Nice looking ship's bell... is it wood or metal? Either way, it's great.